Articles
How Do I Hang Curtains
Modified: August 30, 2024
Learn how to hang curtains with our informative articles. Find step-by-step guides and expert tips for a perfect window treatment.
(Many of the links in this article redirect to a specific reviewed product. Your purchase of these products through affiliate links helps to generate commission for Storables.com, at no extra cost. Learn more)
Introduction
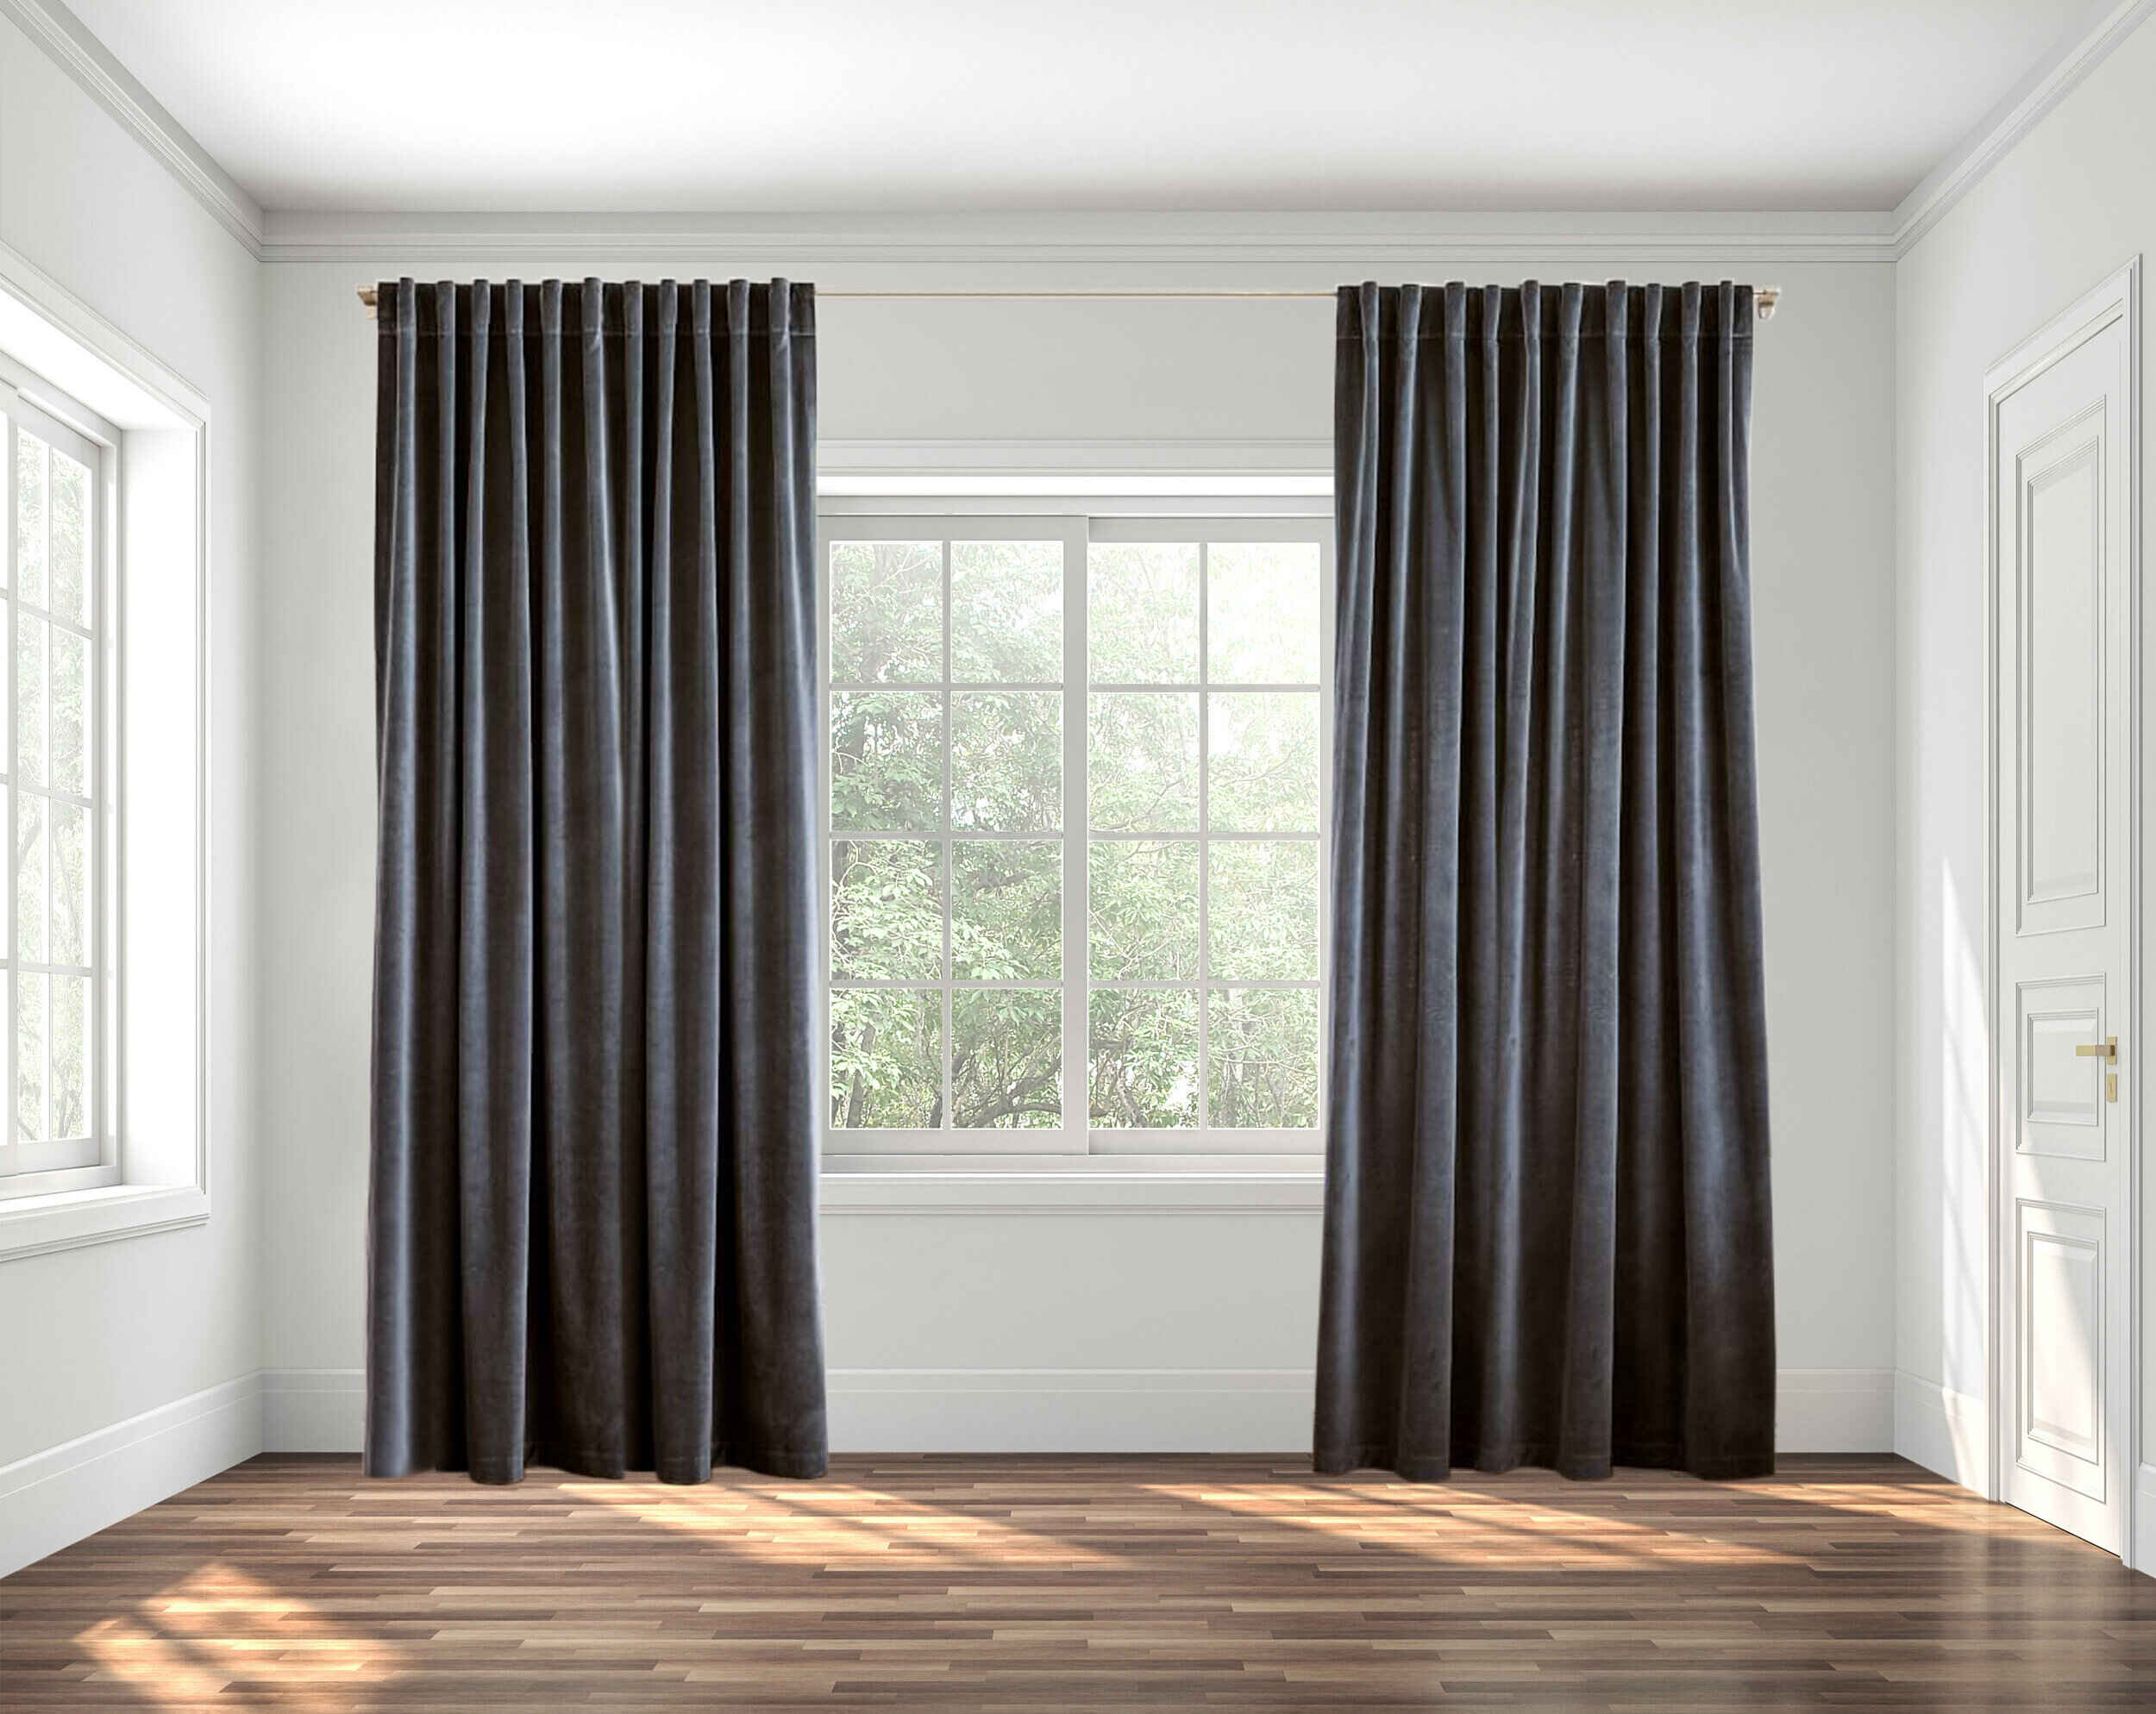
Adding curtains to your windows is a fantastic way to enhance the aesthetics of your space, provide privacy, and control the amount of light that enters a room. Whether you’re moving into a new home or looking to refresh the look of your current living space, knowing how to hang curtains properly is an essential skill to master. A well-hung curtain can transform a room and tie together the overall decor.
In this article, we will guide you through the process of hanging curtains from start to finish. We’ll cover everything from choosing the right curtain rod to the final touches and considerations to ensure your curtains look their best. So, let’s dive in and learn how to hang curtains like a pro!
Key Takeaways:
- Master the art of hanging curtains by choosing the right rod, measuring accurately, and ensuring stable hardware. Pay attention to details for a professional and polished look.
- Elevate your space with beautifully hung curtains. Consider length, light control, and final touches to create a visually stunning window treatment that reflects your personal style.
Read more: How Do I Hang Curtains Over Vertical Blinds
Choosing the Right Curtain Rod
When it comes to selecting the right curtain rod, there are a few factors to consider. The first consideration is the weight of your curtains. If you have heavy drapes, you’ll need a sturdy and durable rod that can support the weight. On the other hand, if you have lightweight curtains, you have more flexibility in choosing a rod style.
Next, think about the style and aesthetic you want to achieve. Curtain rods come in various materials, such as metal, wood, or plastic. Each material has its own unique look and can complement different decor styles. Consider the existing elements in your room, such as furniture and finishes, and choose a curtain rod that complements the overall design theme.
Another important consideration is the length of the rod. Make sure to measure the width of your window and add a few inches on each side to allow the curtains to fully cover the window when open. If you want to create the illusion of larger windows, consider extending the rod beyond the window frame.
Lastly, consider the type of curtain rod you prefer. There are several options available, including:
- Standard Curtain Rods: These rods have a simple and straight design, making them suitable for most curtain styles.
- Traverse Rods: These rods have a cord or wand mechanism that allows you to easily open and close curtains. They are ideal for heavy drapes or large windows.
- Tension Rods: These rods don’t require any hardware or installation as they rely on tension to hold them in place. They are great for lightweight curtains or temporary solutions.
Take your time to consider these factors and choose a curtain rod that meets your needs and complements your interior design. Remember, the right curtain rod will not only support your curtains but also add to the overall aesthetic appeal of your space.
Measuring and Marking the Placement
Accurate measurements are crucial when it comes to hanging curtains. Improper measurements can result in curtains that are too short, too long, or don’t properly cover the window. Follow these steps to ensure you measure and mark the placement correctly:
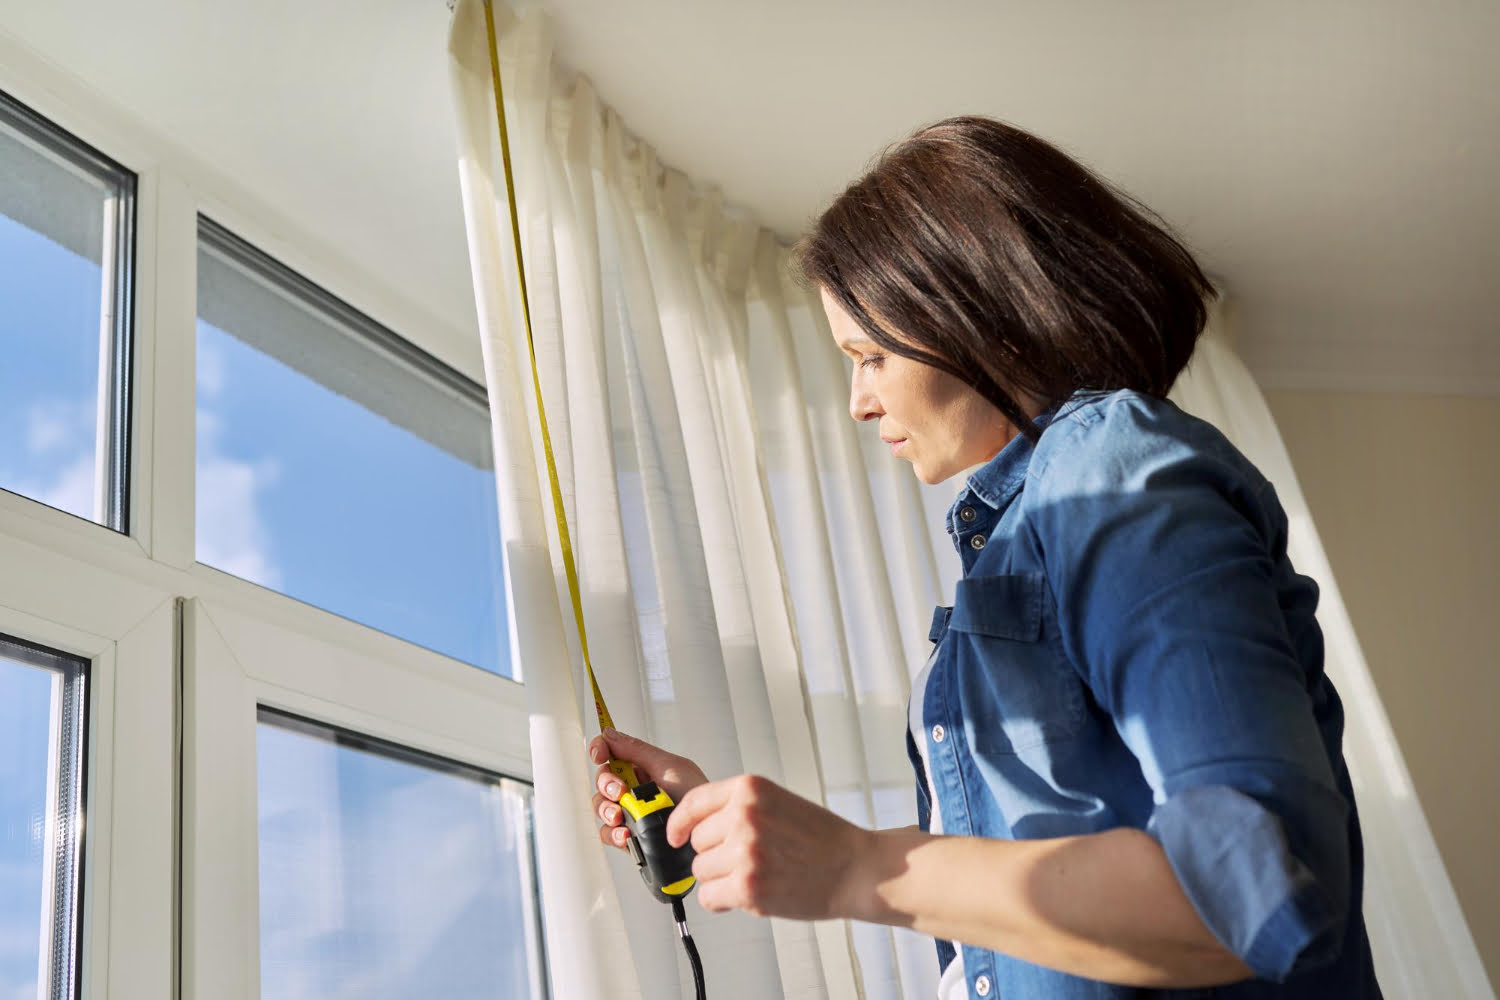
- Start by measuring the width of your window. Use a measuring tape to measure the distance between the inside edges of the window frame. Add a few inches on each side to allow for proper coverage and fullness when the curtains are closed.
- Next, determine the height at which you want to hang the curtains. Measure from the top edge of the window frame down to your desired height. Consider factors such as the length of your curtains and any furniture or fixtures that may obstruct the curtains.
- If you’re using curtain rings or clips, you need to account for their height as well. Measure the distance from the top edge of the window frame to where the rings or clips will be attached. This will help you determine the final placement of the curtain rod.
- Once you have your measurements, use a pencil or a removable marker to mark the placement of the curtain rod brackets. Measure from the floor up to the marked height and make a small horizontal mark on each side of the window frame.
- Now, measure the distance from the edge of the bracket to the end of the rod on each side. This will help you determine the exact placement of the brackets. Use a level to ensure your marks are straight and level.
- Double-check your measurements and marks before proceeding with the installation. Adjust as necessary to ensure everything lines up and will result in properly hung curtains.
Remember, taking accurate measurements and marking the placement correctly is essential for achieving a professional and polished look when hanging curtains. Take your time during this step to avoid any mistakes or issues later on.
Preparing the Wall and Hardware
Before you begin installing the curtain rod and hardware, it’s important to prepare the wall to ensure a secure and stable installation. Follow these steps to properly prepare the wall and hardware:
- Clean the wall: Start by cleaning the area where the curtain rod brackets will be installed. Remove any dust, dirt, or debris using a damp cloth. This will ensure a clean surface for the brackets to adhere to.
- Locate studs or use anchors: If you’re mounting the curtain rod brackets onto a drywall, it’s important to locate the studs for a secure installation. Use a stud finder to locate the studs and mark their position. If there are no studs in the desired location, you’ll need to use wall anchors for added support. Choose wall anchors that are appropriate for the weight of your curtains and follow the manufacturer’s instructions for installation.
- Pre-drill holes: If you’re using screws directly into the wall or anchors, pre-drill guide holes at the marked bracket placement. Use a drill bit that is slightly smaller than the diameter of the screws or anchor to prevent the wall from splitting.
- Install brackets: Place the brackets over the pre-drilled holes and align them with the marks on the wall. If using screws, attach the brackets to the wall using a screwdriver or drill. If using anchors, follow the manufacturer’s instructions to secure them into the wall. Ensure the brackets are securely attached and level.
- Test the stability: Once the brackets are installed, give them a gentle tug to ensure they are securely attached and can support the weight of the curtains. If there is any wobbling or instability, double-check the installation or consider using additional support such as wall anchors or thicker screws.
- Allow time for the hardware to set: If you’re using adhesive hooks or brackets, follow the instructions on the packaging regarding drying or setting time. Allow the adhesive to fully set before proceeding to hang the curtain rod.
By properly preparing the wall and ensuring the stability of the hardware, you can ensure a strong and secure foundation for your curtain rod. This will prevent any accidents or damage and ensure a long-lasting and reliable installation.
Hanging the Curtain Rod
Once the wall and hardware are prepared, it’s time to hang the curtain rod. Follow these steps to properly hang the rod:
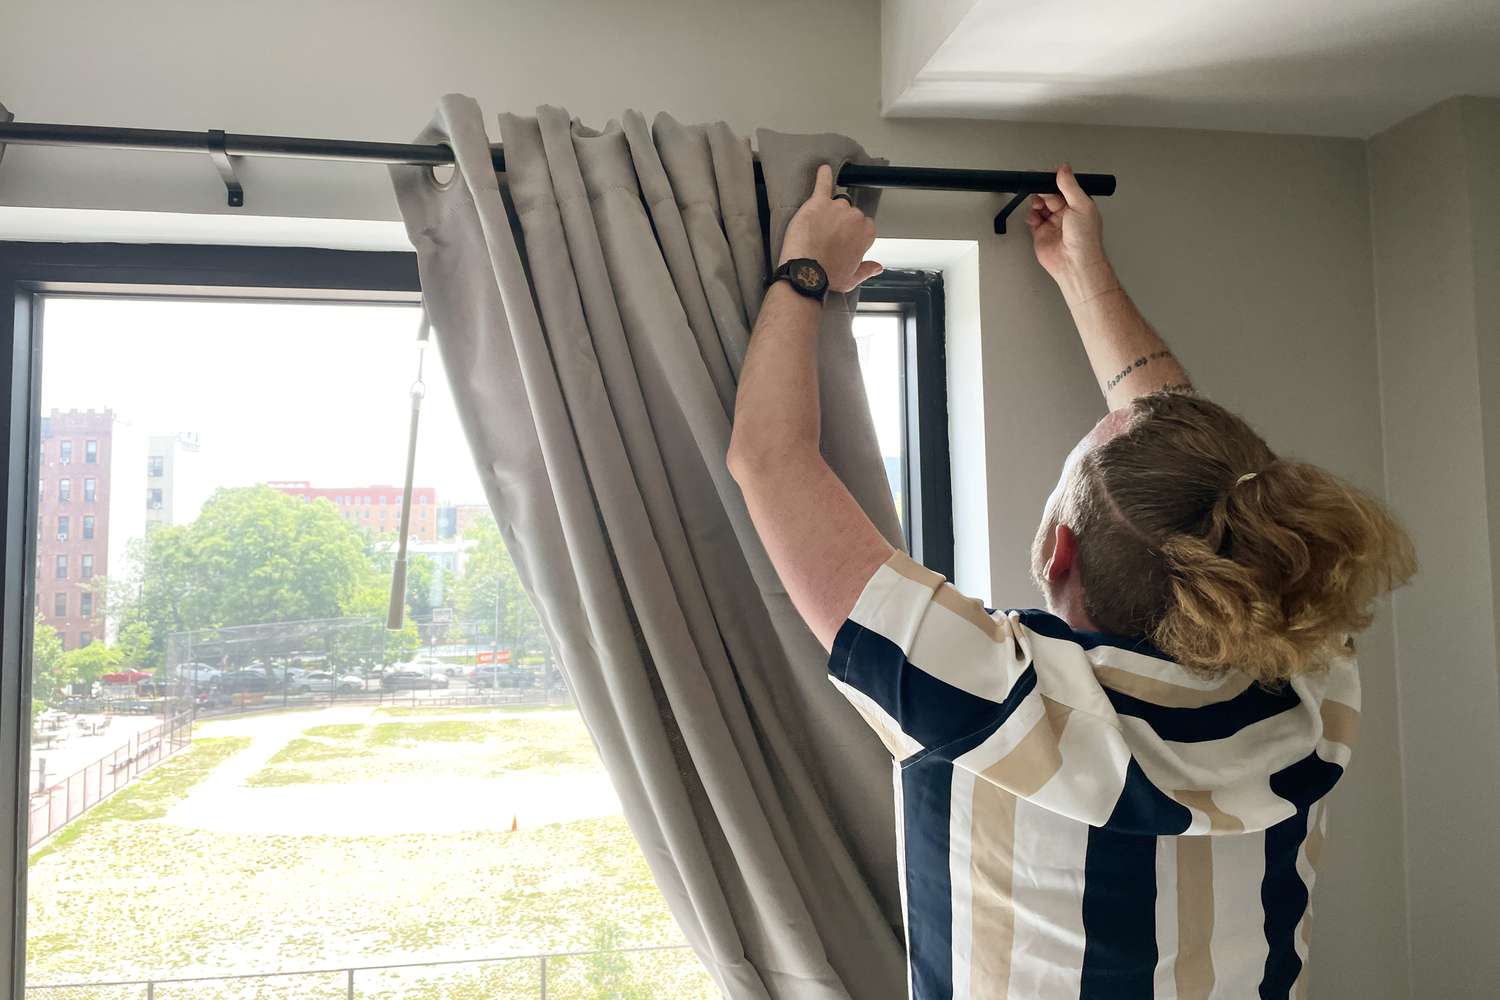
- Start by inserting the curtain rod into the brackets. If you’re using a standard rod, simply slide it into the brackets until it rests securely. For traverse rods or tension rods, follow the manufacturer’s instructions on how to insert and secure the rod.
- Ensure that the rod is level: Use a level to check that the rod is straight and level. Adjust the positioning of the rod if necessary to achieve a balanced appearance.
- Tighten the brackets: If your brackets have screws or tightening mechanisms, use a screwdriver or an appropriate tool to secure the brackets tightly against the wall.
- Double-check the stability: Give the rod a gentle push or tug to ensure it is securely held by the brackets. Make sure there is no wobbling or movement. If you notice any instability, recheck the installation of the brackets or consider using additional support.
- If you’re using a traverse rod, test the opening and closing mechanism to ensure it is functioning properly. Adjust any tension or settings as needed to achieve smooth operation.
Hanging the curtain rod is a key step in the process, as it sets the foundation for the curtains or drapes. By ensuring the rod is straight, level, and securely held by the brackets, you’ll create a solid base for further installation.
When hanging curtains, make sure to measure the height and width of your window accurately to ensure the curtains will fit properly. Use a level to ensure the curtain rod is straight for a professional finish.
Read more: How Do I Make Curtains
Attaching the Curtains or Drapes
Once the curtain rod is securely in place, it’s time to attach your curtains or drapes. Follow these steps to properly attach them:
- Start by opening your curtains or drapes, ensuring they are unfolded and ready for installation.
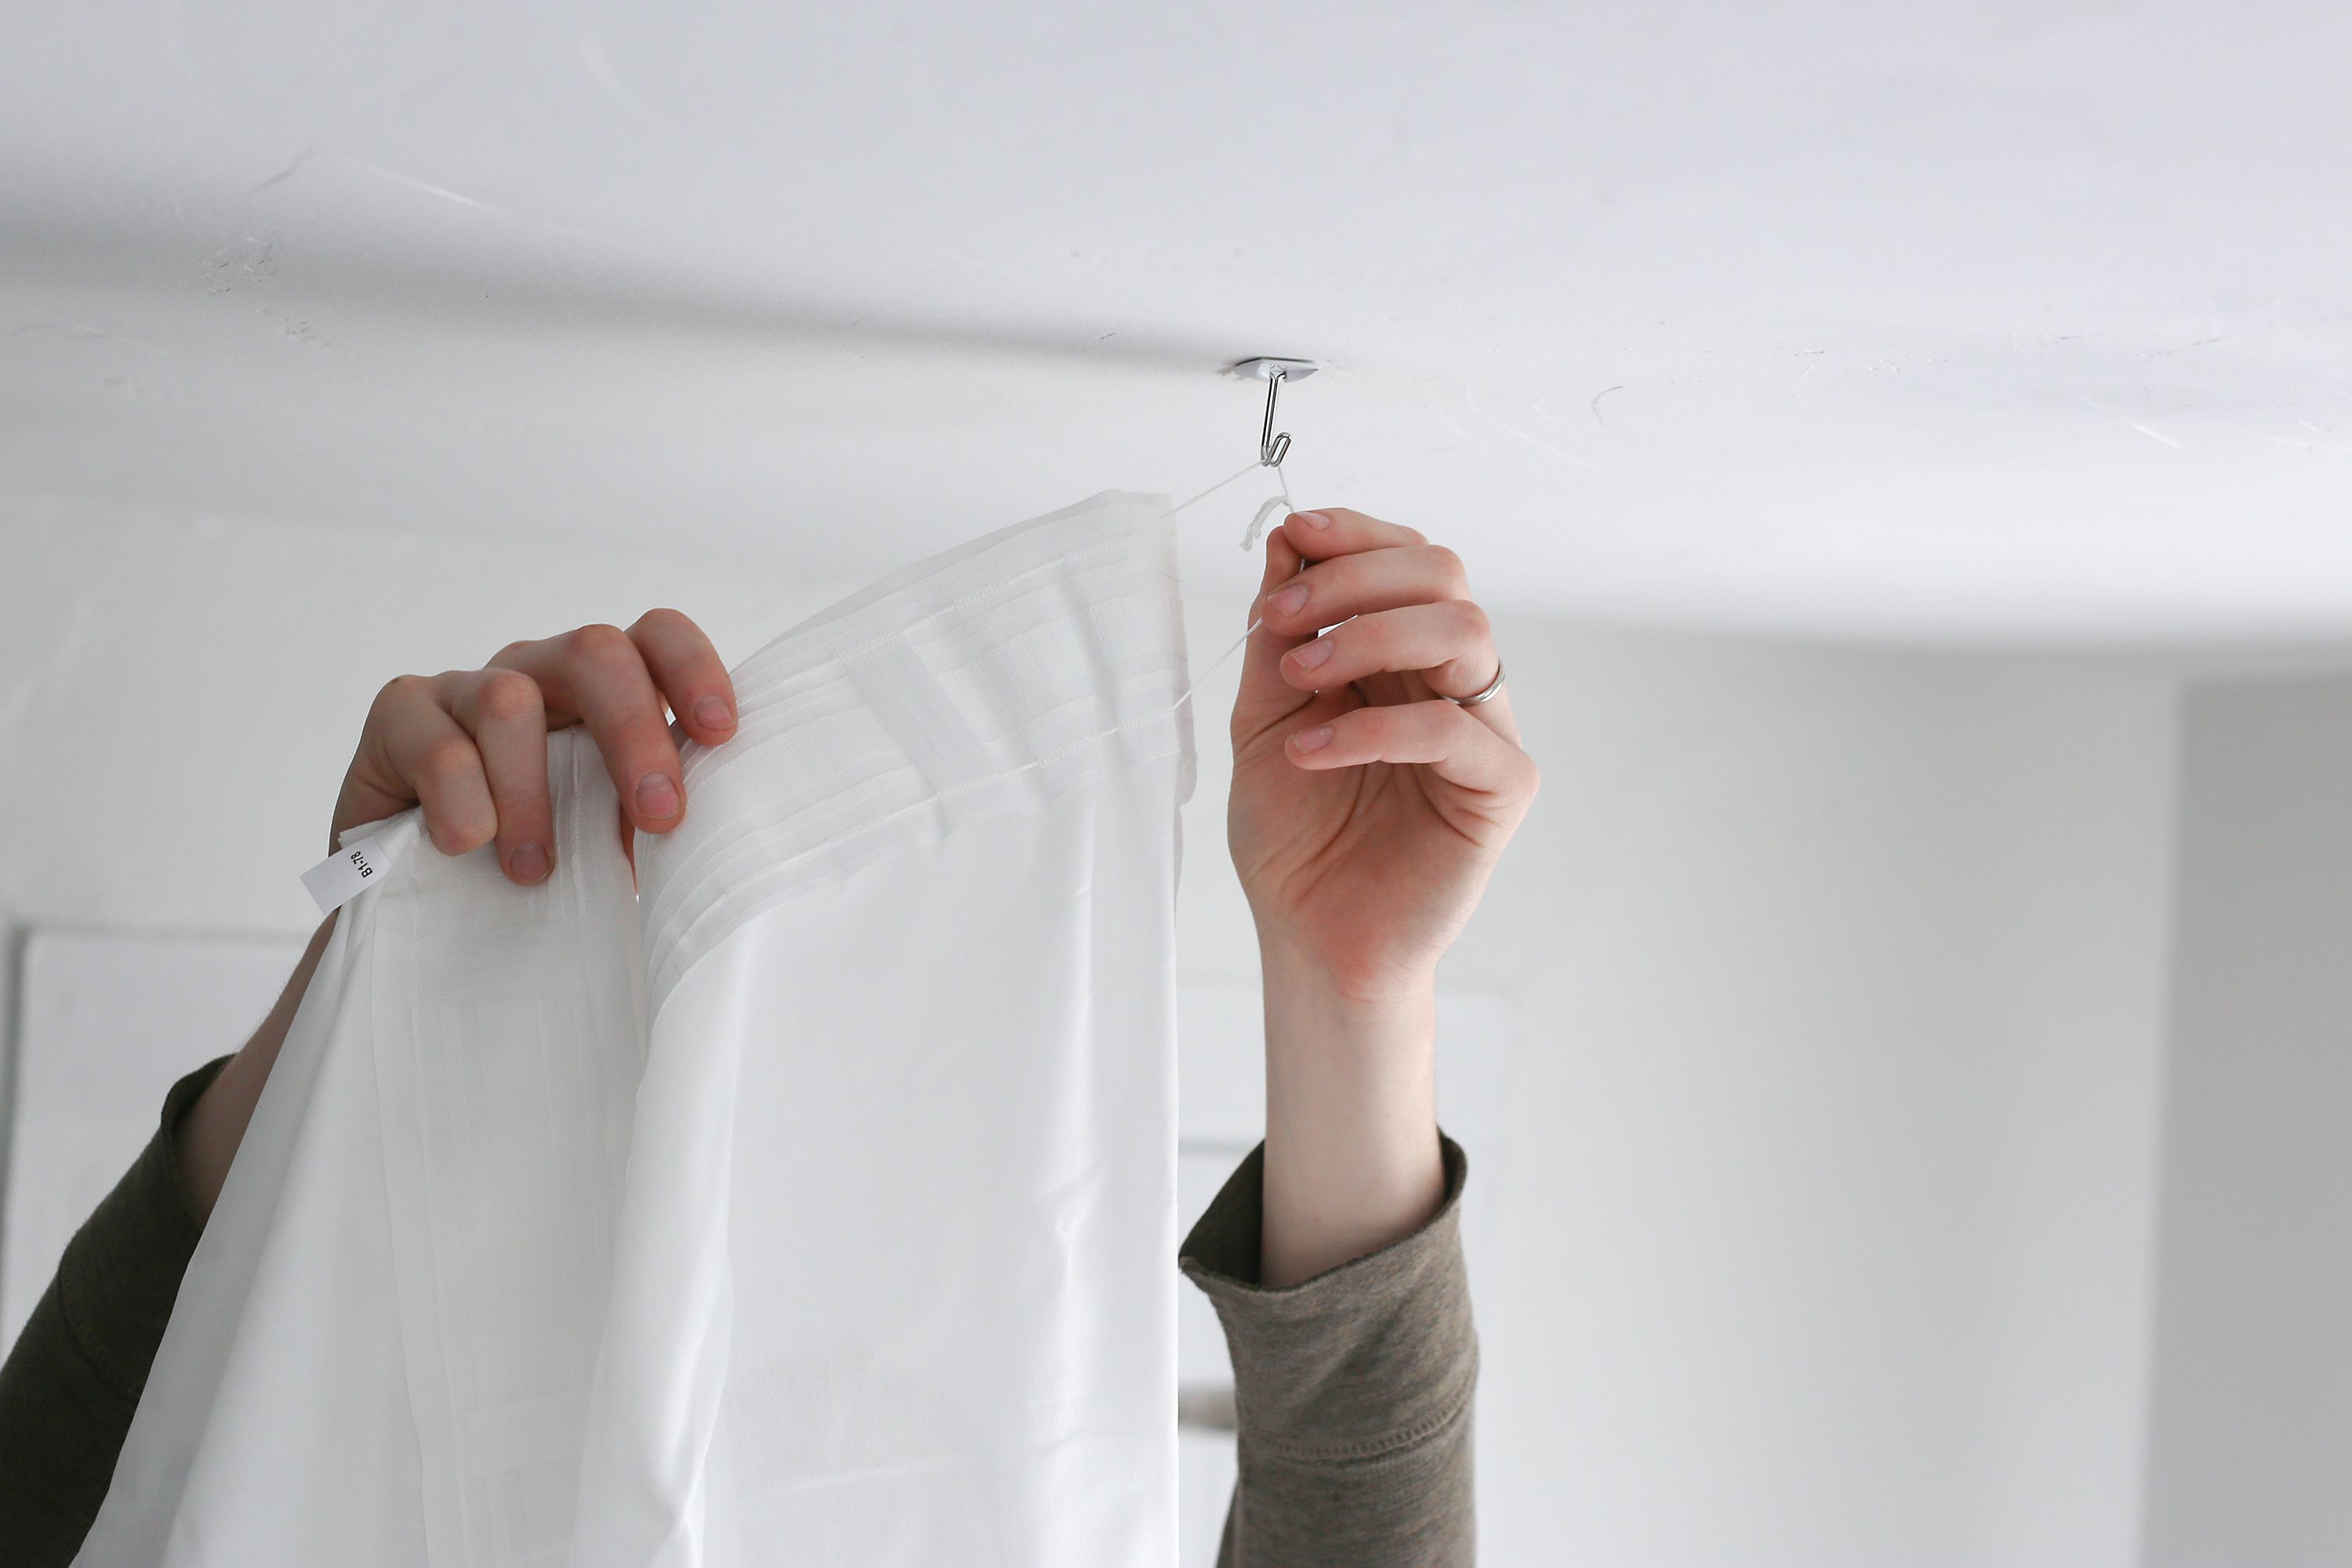
- Inspect the top of the curtains or drapes and locate any curtain tabs, grommets, or hooks that are designed to be attached to the rod. Depending on the style of your curtains, you may need to thread the rod through the tabs or hooks.
- If your curtains have curtain rings with clips, open the clips and attach them to the curtain fabric at regular intervals. Space the clips evenly to distribute the weight of the fabric.
- Once the tabs, hooks, or clips are attached, carefully slide or clip the curtains onto the curtain rod. Take your time to ensure the curtains are evenly distributed and hang neatly.
- Double-check the placement of the curtains to ensure they are level and sit at the desired height. Adjust as necessary by sliding the curtains along the rod.
If you have multiple curtain panels, repeat the process for each panel, ensuring they are evenly spaced and aligned. It’s also a good idea to step back and evaluate the overall appearance of the curtains to ensure they hang properly and create the desired effect.
Attaching the curtains or drapes is the final step to bring your window treatment to life. Take care when handling the fabric to avoid any wrinkles or damage, and pay attention to the details to achieve a polished and cohesive look.
Adjusting and Leveling the Curtains
Once you’ve attached the curtains or drapes to the rod, it’s time to make some final adjustments to ensure they are properly leveled and aligned. Follow these steps to adjust and level your curtains:
- Step back and assess the overall appearance of the curtains. Check for any unevenness or discrepancies in height, and make note of any adjustments that need to be made.
- If the curtains appear uneven, adjust the position of the curtain rod. Gently slide the rod to one side or the other to level out the curtains.
- If you have multiple curtain panels, make sure they are evenly spaced and aligned. Adjust the positioning of each panel as necessary to create a balanced and symmetrical look.
- Ensure that the bottom hem of the curtains is also level. Use a measuring tape or ruler to check that the distance from the floor to the bottom of each panel is consistent.
- If needed, make small adjustments to the curtain rod brackets to level out the curtains. Loosen the screws or adjusting mechanisms, reposition the brackets, and retighten them to hold the rod in a level position.
- Step back again to assess the final appearance of the curtains. Make any additional adjustments as needed until you are satisfied with the overall look.
By taking the time to adjust and level the curtains, you’ll ensure that they hang properly and create an aesthetically pleasing effect. A well-leveled curtain will enhance the overall appearance of the room and provide a polished finishing touch to your window treatment.
Final Touches and Considerations
After you have adjusted and leveled your curtains, there are a few final touches and considerations to take into account to ensure that your window treatments are perfect. Here are some important factors to keep in mind:
- Finishing touches: Take a moment to step back and inspect the curtains for any wrinkles or creases. If you notice any, use a fabric steamer or iron on a low heat setting to gently remove the wrinkles and create a smooth, polished look.
- Length considerations: Consider the appropriate length of your curtains. They can hover just above the floor for a modern and clean look or pool slightly on the floor for a more luxurious and elegant feel. Make sure the length is consistent across all the panels for a cohesive appearance.
- Light control and privacy: If you want to block out light or enhance privacy, consider adding blackout or sheer curtains as an additional layer. Blackout curtains provide maximum light control and privacy, while sheer curtains allow some natural light to filter through while still maintaining privacy.
- Window treatment accessories: Consider adding additional accessories to enhance the overall look of your curtains. This could include curtain tiebacks, valances, or decorative curtain rods to add a touch of style and flair to your window treatment.
- Maintenance and cleaning: Keep in mind the maintenance requirements for your curtains. Read the care instructions provided by the manufacturer to ensure proper cleaning and care. Some curtains may be machine washable, while others may require professional dry cleaning.
- Consider the surrounding decor: Take into account the overall theme and design of the room when selecting curtains and window treatments. Consider the color scheme, patterns, and textures to ensure that your curtains harmonize with the existing decor and contribute to the overall aesthetic.
By paying attention to these final touches and considerations, you can elevate the overall look of your curtains and create a visually appealing window treatment that complements your space.
Tips and Tricks for Hanging Curtains
Here are some valuable tips and tricks to help you hang your curtains like a pro:
- Use a stepladder or sturdy stool: To safely and easily reach the curtain rod, make sure you have a stable platform to stand on. This will ensure that you can install the brackets and adjust the curtains with ease.
- Consider double rods: If you want to layer curtains with sheers or blackout panels, consider using double curtain rods. This allows you to hang two sets of curtains on separate rods, giving you the flexibility to open, close, or adjust them separately.
- Install curtain rod extenders: If you want to widen the coverage of your curtains, consider using curtain rod extenders. These are available in various lengths and can easily be connected to your existing rod to provide extra width.
- Hang curtains higher and wider: To create the illusion of larger windows and make your ceiling appear higher, consider mounting the curtain rod a few inches above the window frame and extending the rod beyond the frame on both sides. This will give the room a more spacious and grandiose feel.
- Use curtain holdbacks or tiebacks: If you want to let more light into the room and create an open and airy feel, consider using curtain holdbacks or tiebacks. These accessories allow you to hold the curtains to the side, exposing the window and maximizing natural light.
- Add curtain weights: If your curtains tend to billow or move in the breeze, consider adding curtain weights to the bottom hems. These small weights will help keep the curtains in place and prevent them from blowing around.
- Use a level: Always use a level to ensure that your curtains are straight and level. This will give your window treatment a professional and polished appearance.
- Consider the fabric length: If you have patterned curtains, pay attention to the pattern repeat when measuring and attaching them. Ensure that the pattern lines up smoothly across multiple curtain panels for a cohesive look.
- Take your time and enlist help if needed: Hanging curtains can be a two-person job, especially if you have long or heavy curtains. Don’t be afraid to ask for assistance to ensure a smooth and successful installation.
These tips and tricks will help you achieve a beautiful and functional window treatment that enhances the overall look and ambiance of your space. Remember to be patient, pay attention to detail, and have fun with the process!
Read more: How Do I Hang A Towel Bar
Conclusion
Hanging curtains may seem like a simple task, but it requires careful consideration and attention to detail to achieve the desired results. By following the steps outlined in this article, you can confidently hang your curtains and create a beautiful and functional window treatment that enhances the aesthetics of your space.
From choosing the right curtain rod to adjusting and leveling the curtains, each step plays a crucial role in achieving a professional and polished look. Taking accurate measurements, preparing the wall and hardware, and properly attaching the curtains or drapes are essential for a successful installation. Don’t forget the final touches and considerations, such as removing wrinkles, considering length and light control, and maintaining your curtains for long-lasting beauty.
Throughout the process, remember to be patient and take your time. Enlist the help of a friend or family member if needed, and don’t be afraid to make adjustments along the way. By paying attention to the small details and applying the tips and tricks provided, you can create a visually stunning window treatment that reflects your personal style and enhances the overall ambiance of your space.
Now that you have the knowledge and know-how, it’s time to get started on hanging those curtains. Embrace your inner designer and transform your windows into focal points that bring joy and beauty to your home!
Frequently Asked Questions about How Do I Hang Curtains
Was this page helpful?
At Storables.com, we guarantee accurate and reliable information. Our content, validated by Expert Board Contributors, is crafted following stringent Editorial Policies. We're committed to providing you with well-researched, expert-backed insights for all your informational needs.


0 thoughts on “How Do I Hang Curtains”