Articles
How To Make Pinch Pleat Curtains
Modified: January 5, 2024
Learn how to create beautiful pinch pleat curtains with these helpful articles. Step-by-step instructions and expert tips for perfect pleating.
(Many of the links in this article redirect to a specific reviewed product. Your purchase of these products through affiliate links helps to generate commission for Storables.com, at no extra cost. Learn more)
Introduction
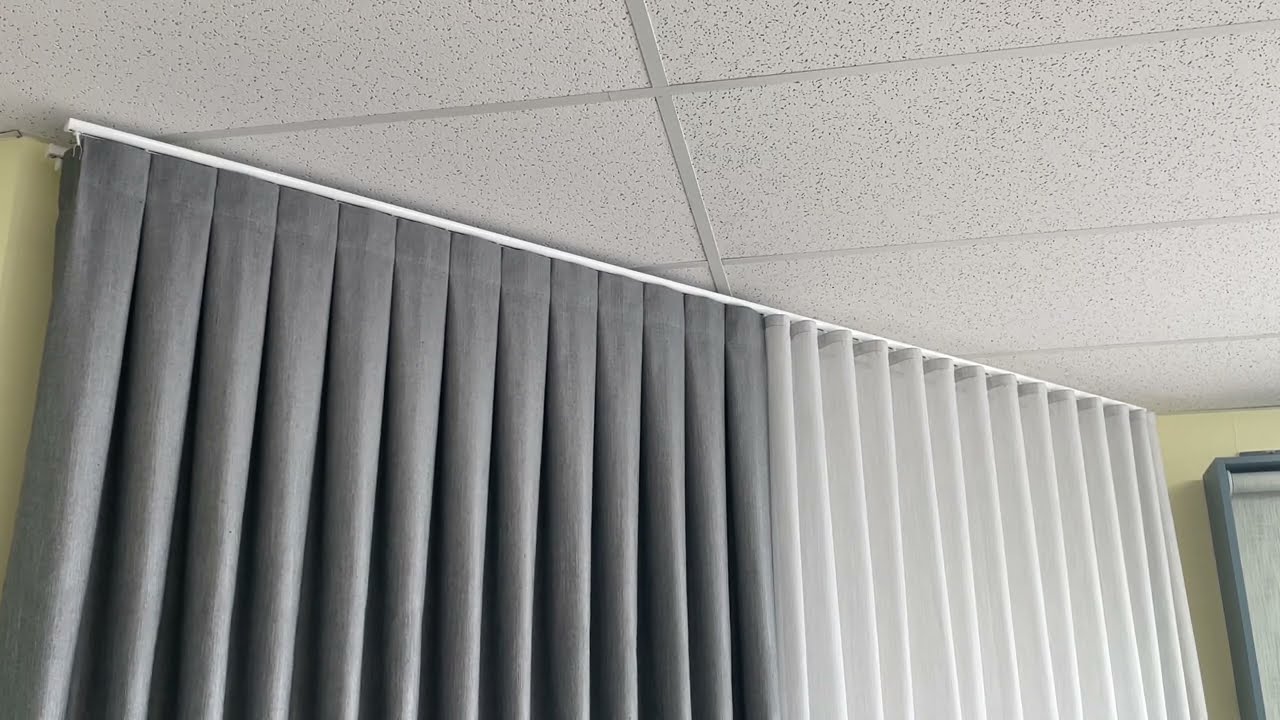
When it comes to enhancing the aesthetics and functionality of your home, curtains play a vital role. Not only do they add privacy and control sunlight, but they also serve as a fashionable design element. If you’re looking to elevate the look of your windows, pinch pleat curtains can be an excellent choice. The timeless and tailored appearance of pinch pleats can instantly transform any room, creating an elegant and sophisticated atmosphere.
In this article, we’ll guide you through the step-by-step process of creating pinch pleat curtains. No sewing experience? No problem! With the right tools, materials, and a little bit of patience, you’ll be able to make your own stunning pinch pleat curtains that perfectly fit your style and windows.
Before we dive into the tutorial, let’s gather the necessary materials to make your own pinch pleat curtains.
Key Takeaways:
- Elevate your home’s aesthetics and functionality with elegant pinch pleat curtains. Follow our step-by-step guide to create customized window treatments that add a timeless and sophisticated touch to any room.
- Enjoy the satisfaction of crafting unique and stylish pinch pleat curtains for your home. With attention to detail and the right materials, you can achieve a rewarding DIY project that brings elegance and privacy to your space.
Read more: What Are Pinch Pleat Curtains
Materials Needed
Before you get started, make sure you have the following materials on hand:
- Fabric: Choose a fabric that complements your decor and is suitable for curtains. Measure the width and length of your window to determine the amount of fabric needed.
- Lining Fabric: If you want to add extra insulation or block out more light, lining fabric is essential.
- Thread: Use a high-quality thread that matches the color of your fabric.
- Curtain Hooks: These hooks will be used to hang the curtains on your curtain rod.
- Measuring Tape: Accurate measurements are crucial for a perfect fit, so make sure you have a measuring tape handy.
- Sewing Machine: A sewing machine will make the sewing process faster and more efficient, but you can also sew by hand if you prefer.
- Pins: Pins will be used to hold the fabric in place while sewing.
- Scissors: A good pair of fabric scissors will make cutting the fabric a breeze.
- Pencil or Chalk: These will be used to mark measurements and cutting lines on the fabric.
- Iron: An iron is essential for pressing seams and creating crisp pleats.
Now that you have all the necessary materials, it’s time to measure your window and calculate the fabric needed for your pinch pleat curtains.
Measure and Calculate
Before you start cutting your fabric, it’s important to accurately measure your window and calculate the dimensions for your pinch pleat curtains. Follow these steps:
- Measure the width of your window: Use a measuring tape to measure the width of your window from one side to the other. Take note of this measurement.
- Decide on the fullness: The fullness of your curtains refers to how much fabric you want to gather at the top. A fullness ratio of 2 to 2.5 is common for pinch pleat curtains. Multiply the width of your window by the desired fullness ratio to calculate the total fabric width needed.
- Measure the length: Measure the length of your window from the top to the desired length of your curtains. Take note of this measurement.
- Add seam allowances: Add extra inches to the width and length measurements to account for seam allowances. A 1-2 inch allowance is usually sufficient.
Once you have all the measurements and calculations, it’s time to cut your fabric panels.
Cut Fabric Panels
Now that you have your measurements and calculations, it’s time to cut your fabric panels for your pinch pleat curtains. Follow these steps:
- Prepare your fabric: Lay your fabric out on a clean and flat surface. If there are any wrinkles, use an iron to smooth them out.
- Measure and mark: Use your measurements to determine the width and length of each fabric panel. Use a measuring tape, pencil, or chalk to mark the cutting lines on the fabric.
- Cut the fabric: Using fabric scissors, carefully cut along the marked cutting lines. Ensure that your cuts are straight and clean.
Once you have cut your fabric panels, it’s time to move on to sewing the side seams.
Sew Side Seams
With your fabric panels cut to the correct size, it’s time to sew the side seams of your pinch pleat curtains. Follow these steps:
- Place the fabric panels together: Take two fabric panels and place them together with right sides facing each other. Align the edges and pin them in place to secure.
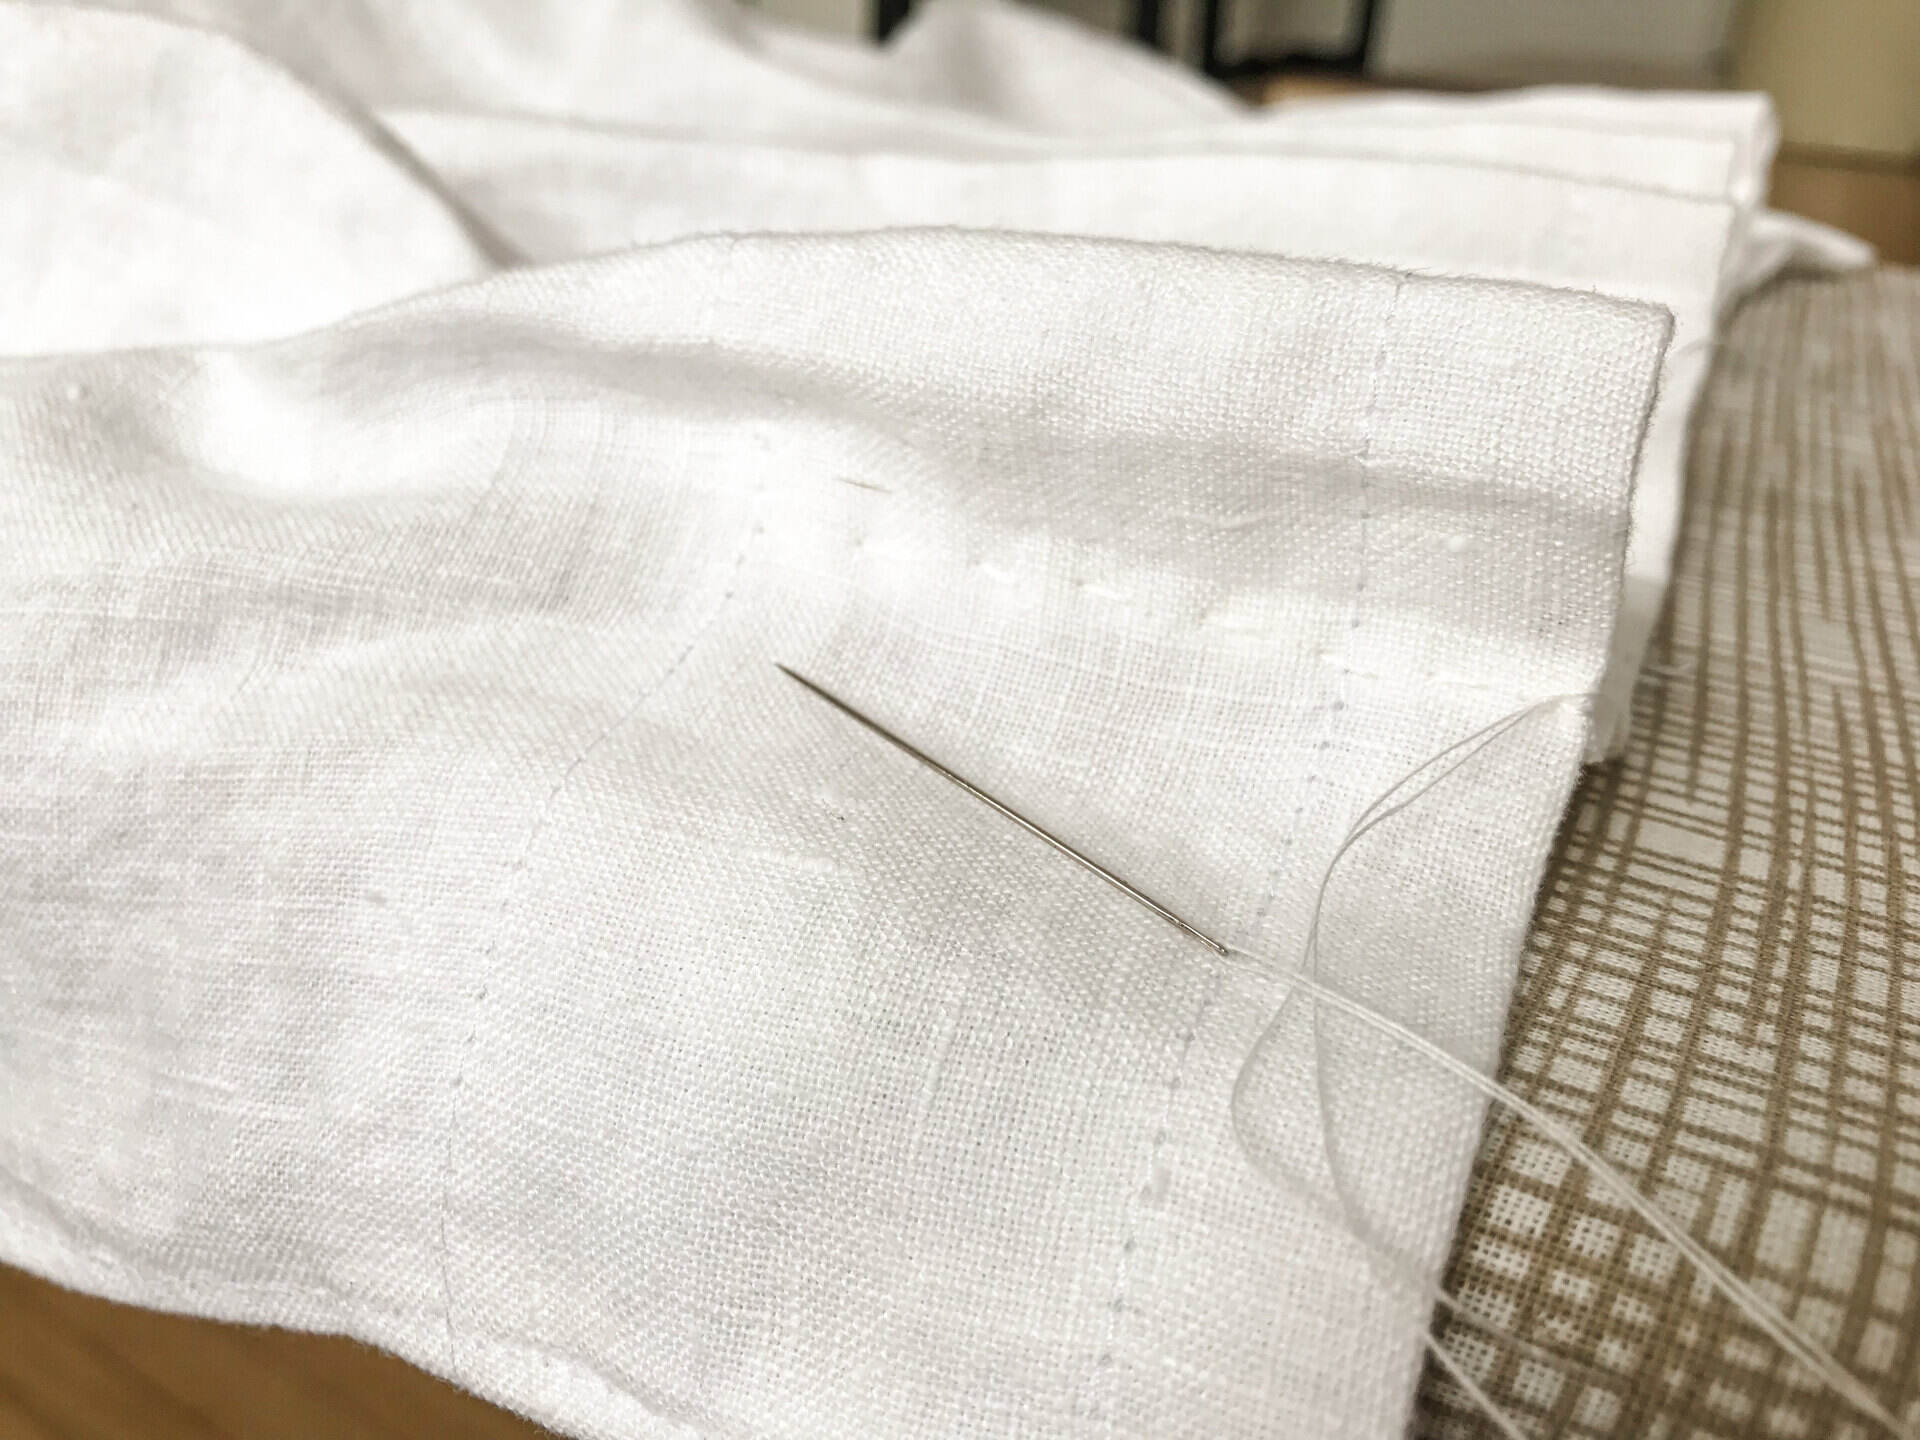
- Sew the side seams: Using a sewing machine or hand sewing, stitch a straight seam along the pinned edges, leaving a 1/2 inch seam allowance. Backstitch at the beginning and end of the seam to secure it.
- Finish the raw edges: After sewing the side seam, you can finish the raw edges to prevent fraying. You can use a serger, a zigzag stitch on your sewing machine, or fold the raw edges over and hand stitch them in place.
- Repeat for the remaining fabric panels: Repeat the same process for the remaining fabric panels until all the side seams are sewn.
Once the side seams are sewn, it’s time to move on to hemming the bottom edge of your curtains.
Read also: 14 Unbelievable Pinch Pleat Drapes for 2025
Hem Bottom Edge
After sewing the side seams, it’s time to hem the bottom edge of your pinch pleat curtains. Follow these steps:
- Measure and mark: Measure the desired length for your curtains from the bottom edge. Use a measuring tape, pencil, or chalk to mark the hemline.
- Fold and pin: Fold the fabric up along the marked hemline, creating a double-fold hem. Pin the fabric in place to secure it.
- Sew the hem: Using a sewing machine or hand sewing, stitch a straight seam along the folded edge of the hem, securing it in place.
- Press the hem: After sewing, use an iron to press the hem. This will create a crisp and professional finish.
Once you have hemmed the bottom edge of your curtains, it’s time to create the pinch pleats.
When making pinch pleat curtains, be sure to measure and mark the pleats evenly to ensure a professional and polished look. Use a sturdy fabric and quality curtain tape for best results.
Create Pleats
Now comes the fun part – creating the pinch pleats in your curtains. Follow these steps:
- Decide on the pleat spacing: Determine how far apart you want your pleats to be. A common spacing is around 4-6 inches.
- Measure and mark: Starting from one side of the top edge of your curtain panel, measure and mark the pleat spacing intervals along the top edge. Use a measuring tape, pencil, or chalk to make the marks.
- Create the pleats: To create a pinch pleat, fold the fabric at each marked interval, bringing the marked point toward the back of the fabric. The fabric should fold in a slight ‘V’ shape, with the top edge of the fabric meeting at the marked point.
- Pin the pleats: Once you have created the pleats, use pins to secure them in place at the top edge. Make sure the pleats are aligned and evenly spaced.
With the pleats created and pinned, it’s time to sew them to secure the pleats in place.
Sew Pleats
To ensure that your pinch pleats stay in place and maintain their shape, it’s important to sew them. Follow these steps:
- Remove the pins: Carefully remove the pins that were holding the pleats in place at the top edge.
- Stitch the pleats: Starting from the top edge of the fabric, stitch along the fold of each pleat. This will secure the pleats in place and prevent them from unraveling.
- Backstitch at the beginning and end: For added reinforcement, backstitch at the beginning and end of each pleat to ensure it stays securely sewn.
Once you have sewn the pleats, it’s time to attach the curtain hooks.
Attach Curtain Hooks
Now that your pleats are securely sewn, it’s time to attach the curtain hooks. These hooks will allow you to easily hang your pinch pleat curtains on a curtain rod. Follow these steps:
- Decide on the hook placement: Determine the number of hooks you will need based on the width of your curtain panel. Typically, you will need one hook for every pleat.
- Measure and mark: Starting from the top edge of the curtain panel, measure and mark the placement for each hook. Ensure that the hooks are evenly spaced and aligned with each pleat.
- Attach the hooks: Take a curtain hook and slide it through the fabric at the marked point. The hook should go through both layers of fabric, gripping it securely. Repeat this step for each marked point.
With the curtain hooks attached, it’s time to hang and adjust your pinch pleat curtains.
Read more: How To Pleat IKEA Curtains
Hang and Adjust
With your pinch pleat curtains complete, it’s time to hang them and make any necessary adjustments. Follow these final steps to achieve the perfect look:
- Prepare the curtain rod: Install the curtain rod according to the manufacturer’s instructions. Ensure that it is level and securely attached to the wall.
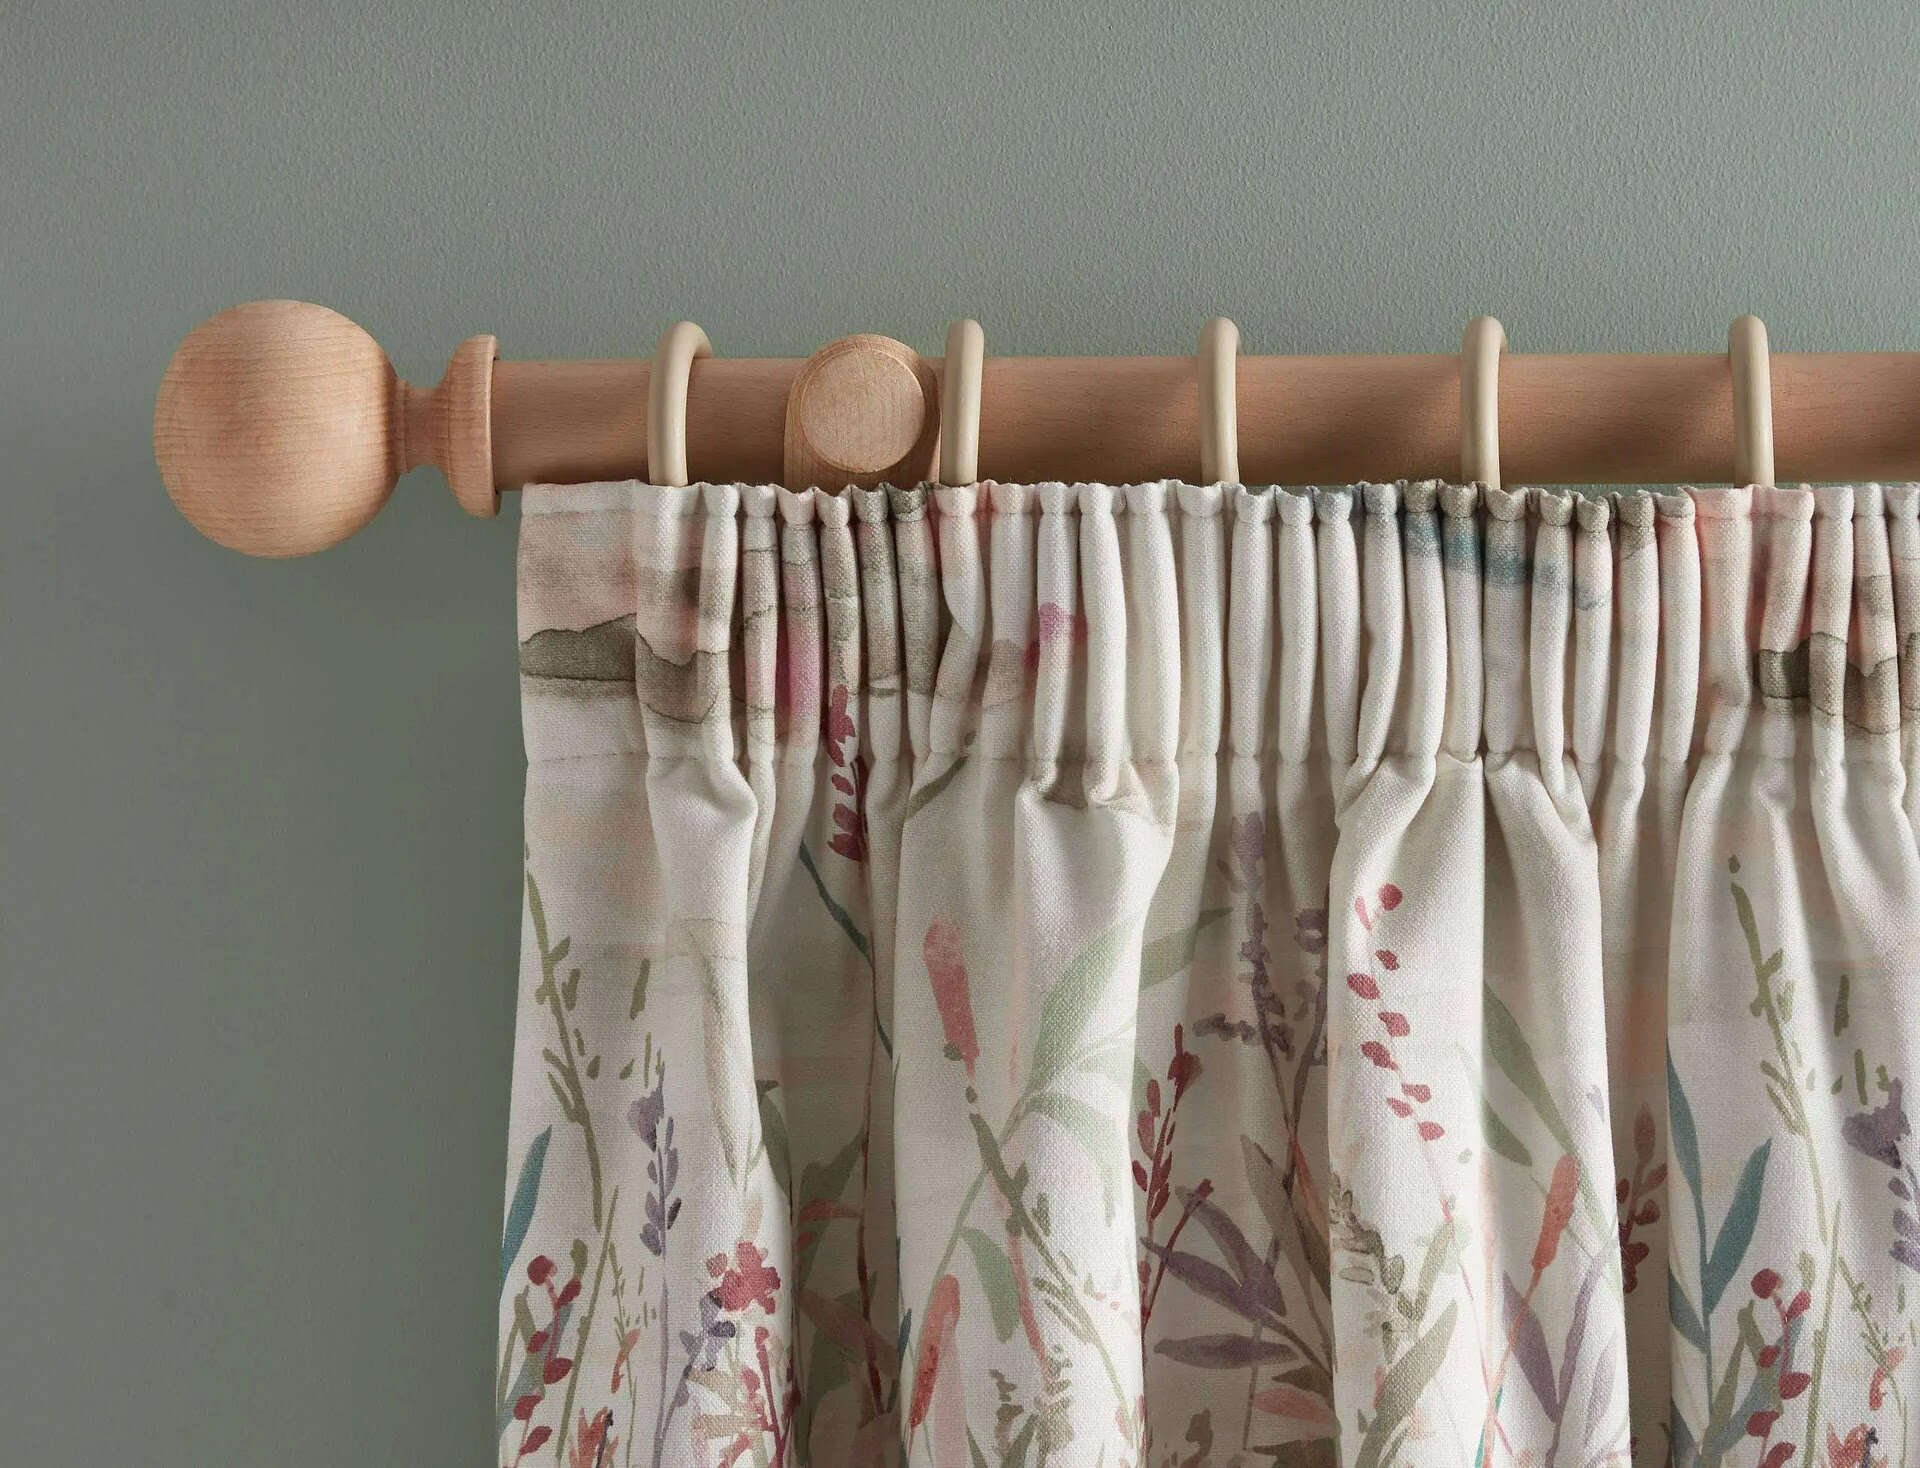
- Hang the curtains: Take your pinch pleat curtains and slide the curtain hooks onto the curtain rod. Make sure the curtains are evenly distributed along the rod.
- Adjust the pleats: Once the curtains are hung, take a few moments to adjust the pleats. Gently tug on each pleat to create a uniform and desired look. Ensure that the pleats are evenly spaced and aligned.
- Check the length: Stand back and assess the length of the curtains. If necessary, make adjustments to the hem to achieve the desired length. Remember to consider any additional factors, such as floor length or clearance from furniture.
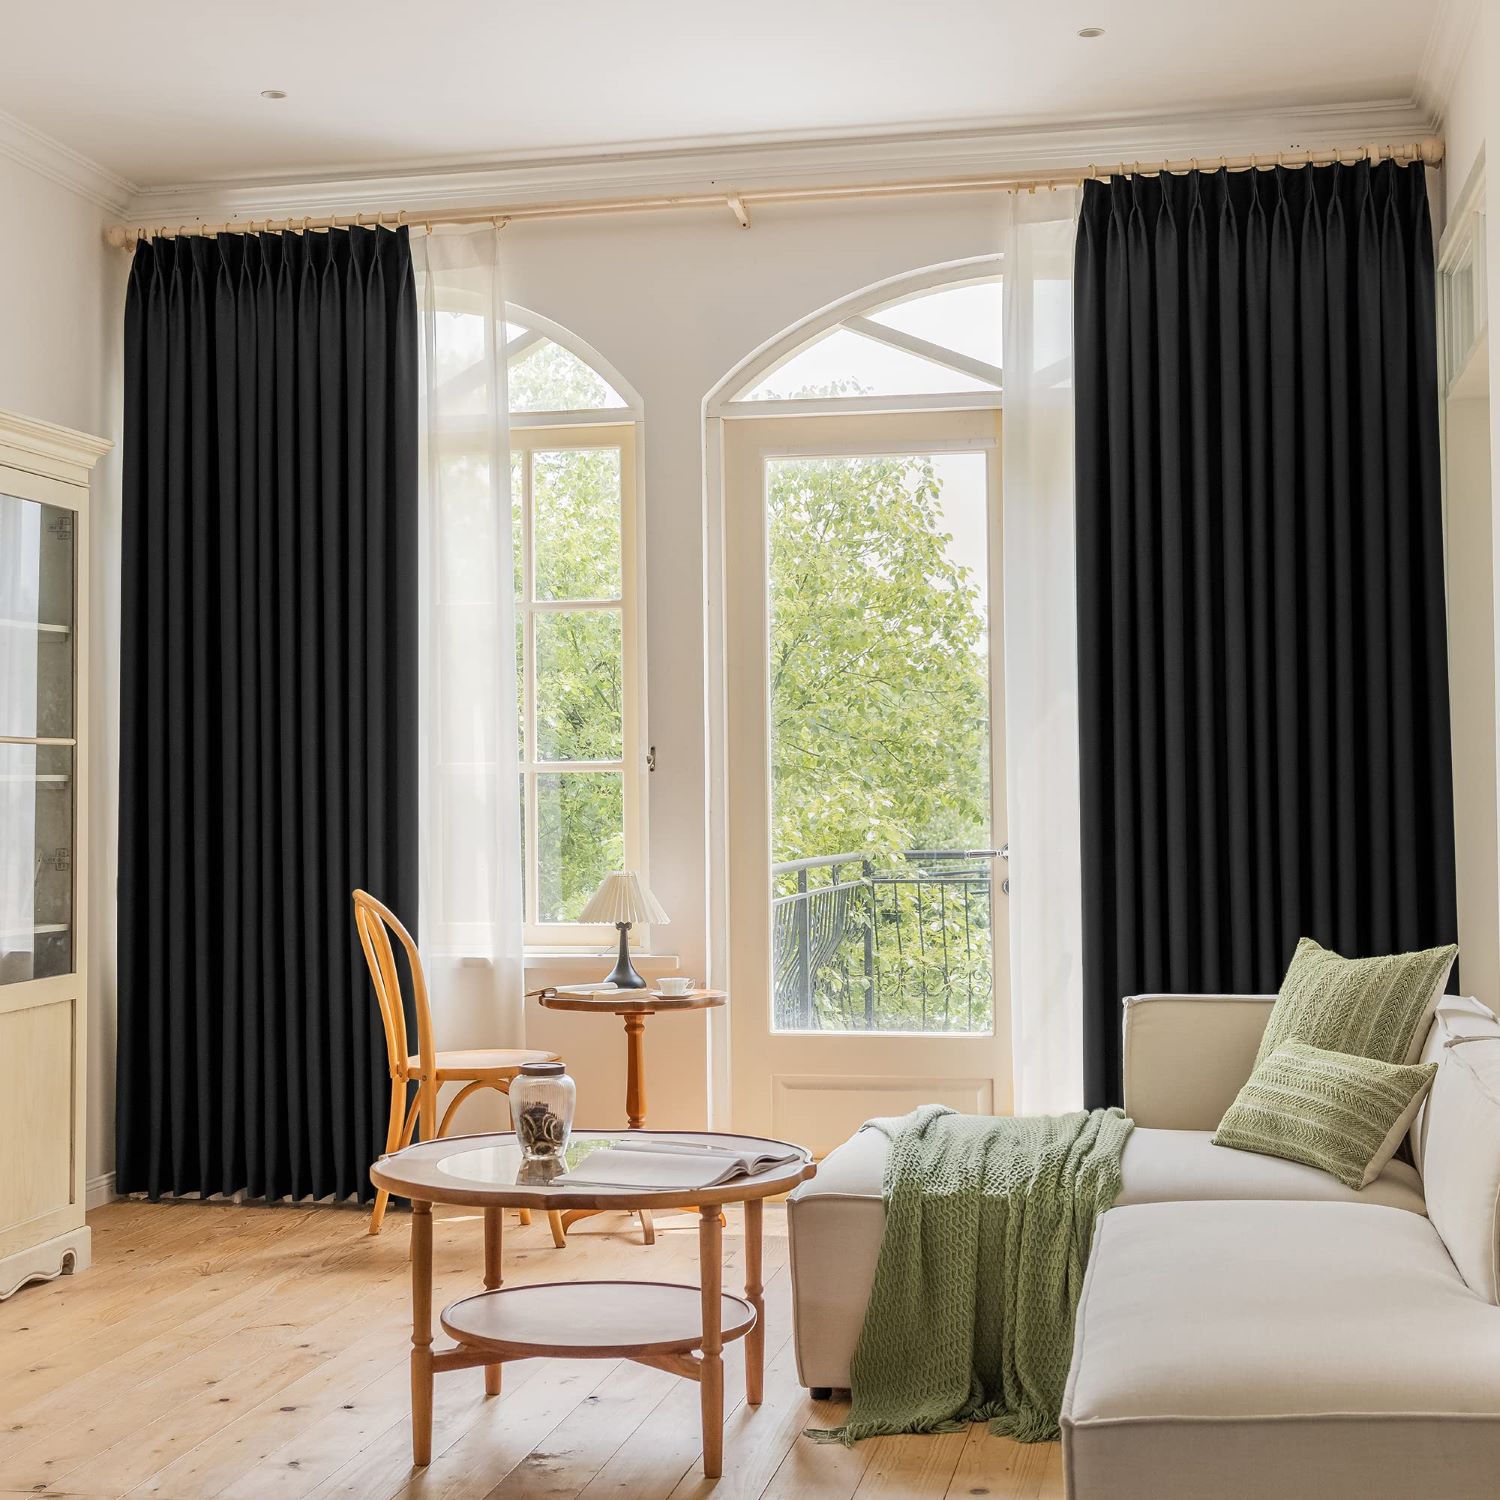
After hanging and adjusting your pinch pleat curtains, take a step back and admire the beautiful transformation they have brought to your space. Not only do pinch pleat curtains provide an elegant and timeless look, but they also add functionality and privacy to your windows.
By following this step-by-step guide, you have successfully created your own pinch pleat curtains. Enjoy the beauty and satisfaction that comes with making something custom and unique for your home!
Conclusion
Congratulations! You have successfully learned how to make pinch pleat curtains. By following the step-by-step guide in this article, you have created elegant and customized window treatments that perfectly fit your style and enhance the aesthetic appeal of your home.
Making your own pinch pleat curtains not only allows you to have control over the design and fabric choice, but it also offers a sense of accomplishment and satisfaction. With the right materials, tools, and a little bit of patience, you can create stunning curtains that elevate the look of any room.
Remember, when making pinch pleat curtains, accuracy and attention to detail are crucial. Take the time to measure your windows carefully, sew precise seams, and create evenly spaced pleats. These small details will make a big difference in the final result.
Whether you’re a sewing enthusiast or a beginner, making pinch pleat curtains is a rewarding DIY project that can add elegance and style to your home. So, grab your materials, follow the steps outlined in this article, and let your creativity shine through as you create beautiful pinch pleat curtains that will be the envy of your friends and family.
Enjoy the process and have fun transforming your windows with your own handmade pinch pleat curtains!
Frequently Asked Questions about How To Make Pinch Pleat Curtains
Was this page helpful?
At Storables.com, we guarantee accurate and reliable information. Our content, validated by Expert Board Contributors, is crafted following stringent Editorial Policies. We're committed to providing you with well-researched, expert-backed insights for all your informational needs.


0 thoughts on “How To Make Pinch Pleat Curtains”