
Articles
How To Hang Curtains On A Corner Window
Modified: October 20, 2024
Learn how to hang curtains on a corner window with our comprehensive articles. Find expert tips and step-by-step instructions for a seamless installation.
(Many of the links in this article redirect to a specific reviewed product. Your purchase of these products through affiliate links helps to generate commission for Storables.com, at no extra cost. Learn more)
Introduction
When it comes to dressing up your windows, curtains can add an exquisite touch to any room. However, hanging curtains on a corner window can be a bit challenging compared to standard windows. The unique angles and shape of corner windows require a different approach to ensure a perfect fit and a visually appealing look.
In this article, we will guide you through the steps of how to hang curtains on a corner window, from measuring the window to attaching the curtains. Whether you are a seasoned DIY enthusiast or a newbie looking to take on a new project, this guide will provide you with all the information you need to achieve a professional look.
So, let’s dive in and learn how to hang curtains on a corner window like a pro!
Key Takeaways:
- Hanging curtains on a corner window requires precise measurements, careful selection of curtains, and secure installation of curtain rods. Attention to detail and adjustments are key to achieving a polished and professional look.
- Adding finishing touches such as tiebacks, curtain rings, or valances can enhance the aesthetic appeal and functionality of curtains on a corner window. Regular maintenance ensures the longevity of the window treatments.
Step 1: Measure the Corner Window
The first step in hanging curtains on a corner window is to accurately measure the size of the window. This will ensure that you choose the right size of curtains and curtain rods for a perfect fit.
Grab a measuring tape and measure the width and height of the corner window. Pay attention to any obstructions such as window frames or molding that may affect the curtains’ measurements. It is also important to measure the distance between the two walls where the curtains will be installed.
Once you have the measurements, add a few extra inches to both the width and height to allow the curtains to hang properly and create an elegant drape. Make sure to take note of these measurements as you will need them when selecting the curtains and curtain rods later on.
If you’re unsure about taking accurate measurements, consider consulting a professional or a knowledgeable salesperson at a home improvement store who can assist you in getting the right measurements for your corner window.
Remember, precise measurements are the foundation for a successful curtain hanging project, so take your time and double-check your measurements before proceeding to the next step.
Step 2: Choose the Right Curtains
After measuring the corner window, the next step is to choose the right curtains that will complement the style of your room and fit the window perfectly. Here are a few key considerations to keep in mind:
1. Curtain Length: Decide whether you want floor-length curtains that pool on the floor or ones that hang just above the windowsill. Take into account any furniture or accessories that may be positioned below the window.
2. Width and Fullness: Determine how full you want the curtains to appear when closed. Some prefer a more gathered look, while others prefer a sleeker, more streamlined appearance. Consider the fabric’s weight and the desired level of privacy and light control.
3. Fabric and Style: Consider the overall style and mood of your room. Choose a fabric that complements the existing decor, such as sheer curtains for a light and airy feel or heavier fabrics for a cozy and luxurious ambiance. Additionally, select a curtain style that aligns with your design preferences, whether it’s traditional, modern, or eclectic.
4. Curtain Rod Compatibility: Keep in mind the type of curtain rods you’ll be using and ensure that the chosen curtains have a suitable heading or top panel that can easily slide onto the rods.
Once you have a clear idea of the type of curtains you’re looking for, visit curtain stores or browse online to find the perfect match. Take advantage of the provided measurements to select the appropriate curtain size and quantity.
Remember, the right curtains can transform the entire look and feel of a room, so take your time to choose wisely and consider seeking advice from interior design professionals if you’re unsure.
Step 3: Install Curtain Rods on Each Wall
With your corner window measured and the curtains chosen, it’s time to move on to installing curtain rods on each wall. This step will provide the necessary support for your curtains and ensure they hang properly. Follow these steps to install the curtain rods:
1. Determine the Placement: Measure and mark the height at which you want the curtain rod to be installed on each wall. This will depend on your desired curtain length and the visual effect you want to achieve.
2. Find the Studs: Use a stud finder to locate the wall studs where the curtain rods will be mounted. This will ensure the rods are securely anchored to the wall. Mark the stud locations on the wall using a pencil.
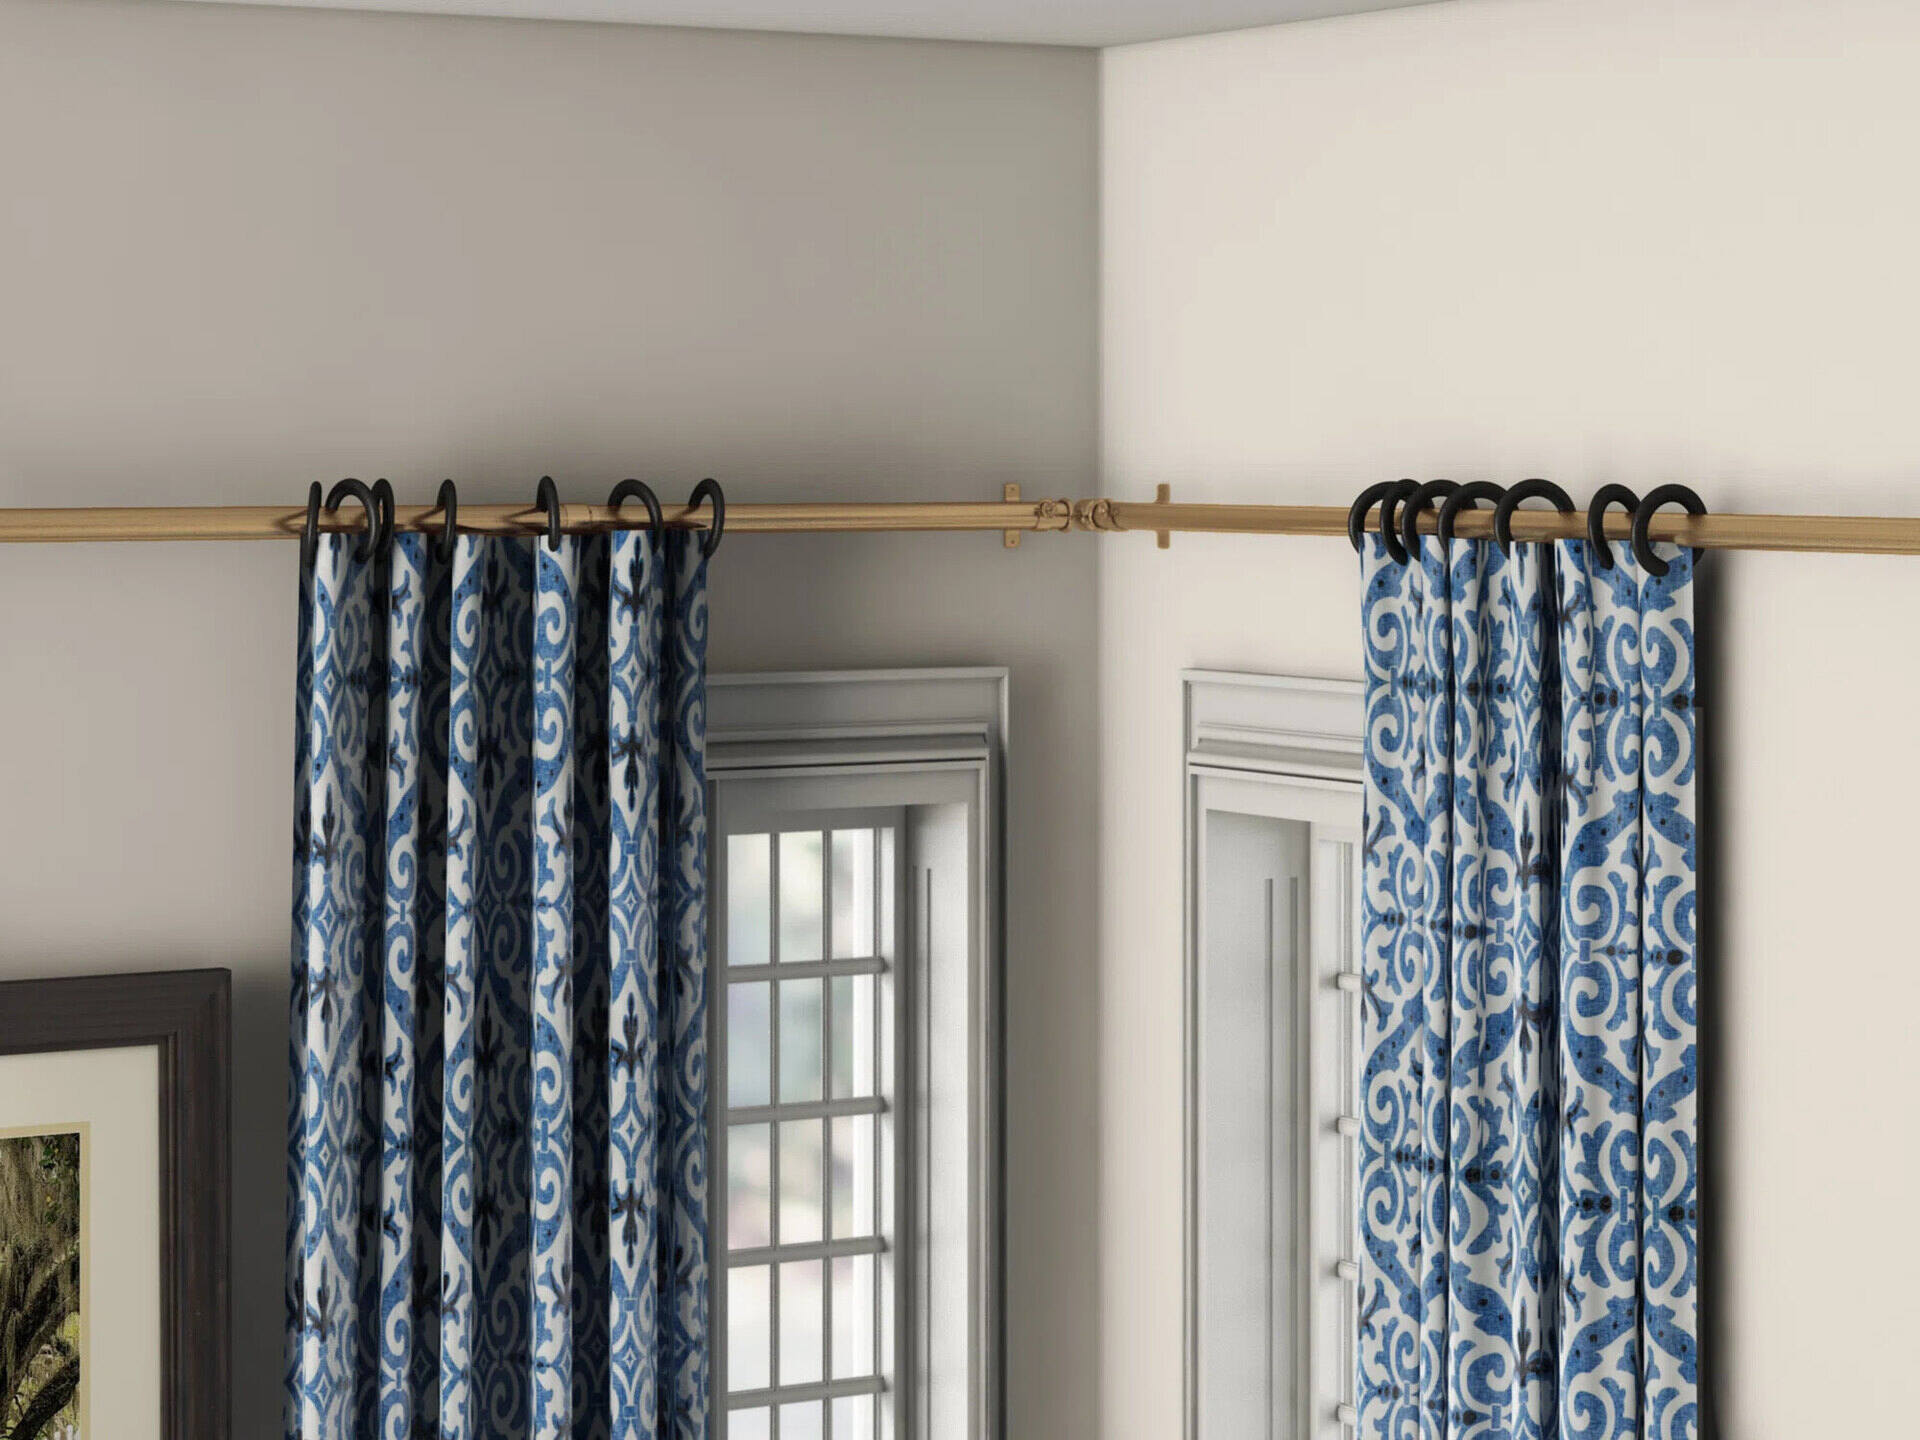
3. Install the Brackets: Take the curtain rod brackets and position them on the marked spots. Use a level to ensure they are straight. Depending on the type of brackets you have, you may need to use screws or other hardware provided to attach the brackets firmly to the wall.
4. Double Check Alignment: After installing the brackets, double check their alignment and make any necessary adjustments to ensure the rods will hang straight and level.
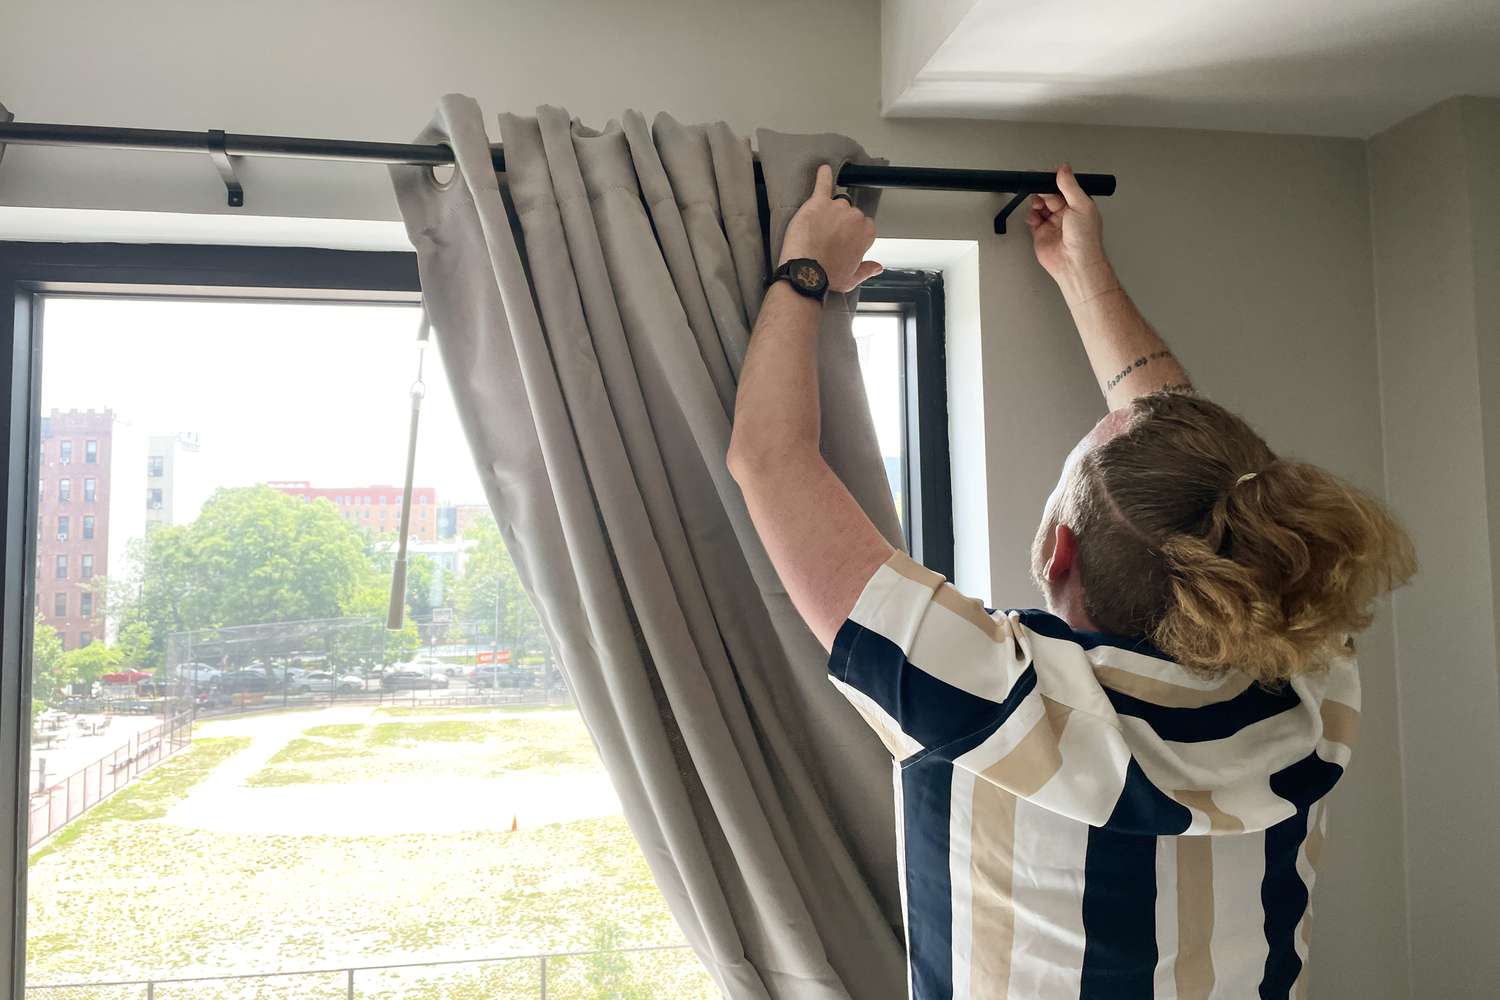
5. Attach the Curtain Rods: Once the brackets are securely in place, insert the curtain rods into the brackets. Make sure the rods fit snugly and are properly aligned before moving on to the next step.
Installing the curtain rods is a crucial step in the process, as they provide the foundation for hanging the curtains. Take your time and be diligent in ensuring the rods are installed securely and at the desired height.
When hanging curtains on a corner window, use a corner connector or double rod to create a seamless look. This will allow the curtains to flow smoothly around the corner without any gaps.
Step 4: Attach the Curtains to the Rods
With the curtain rods securely installed on each wall, it’s time to attach the curtains and bring your corner window to life. Follow these steps to properly attach the curtains to the rods:
1. Prepare the Curtains: Lay out the curtains on a flat surface and carefully iron or steam them to remove any creases or wrinkles. This will ensure a polished and neat appearance once they are hung.
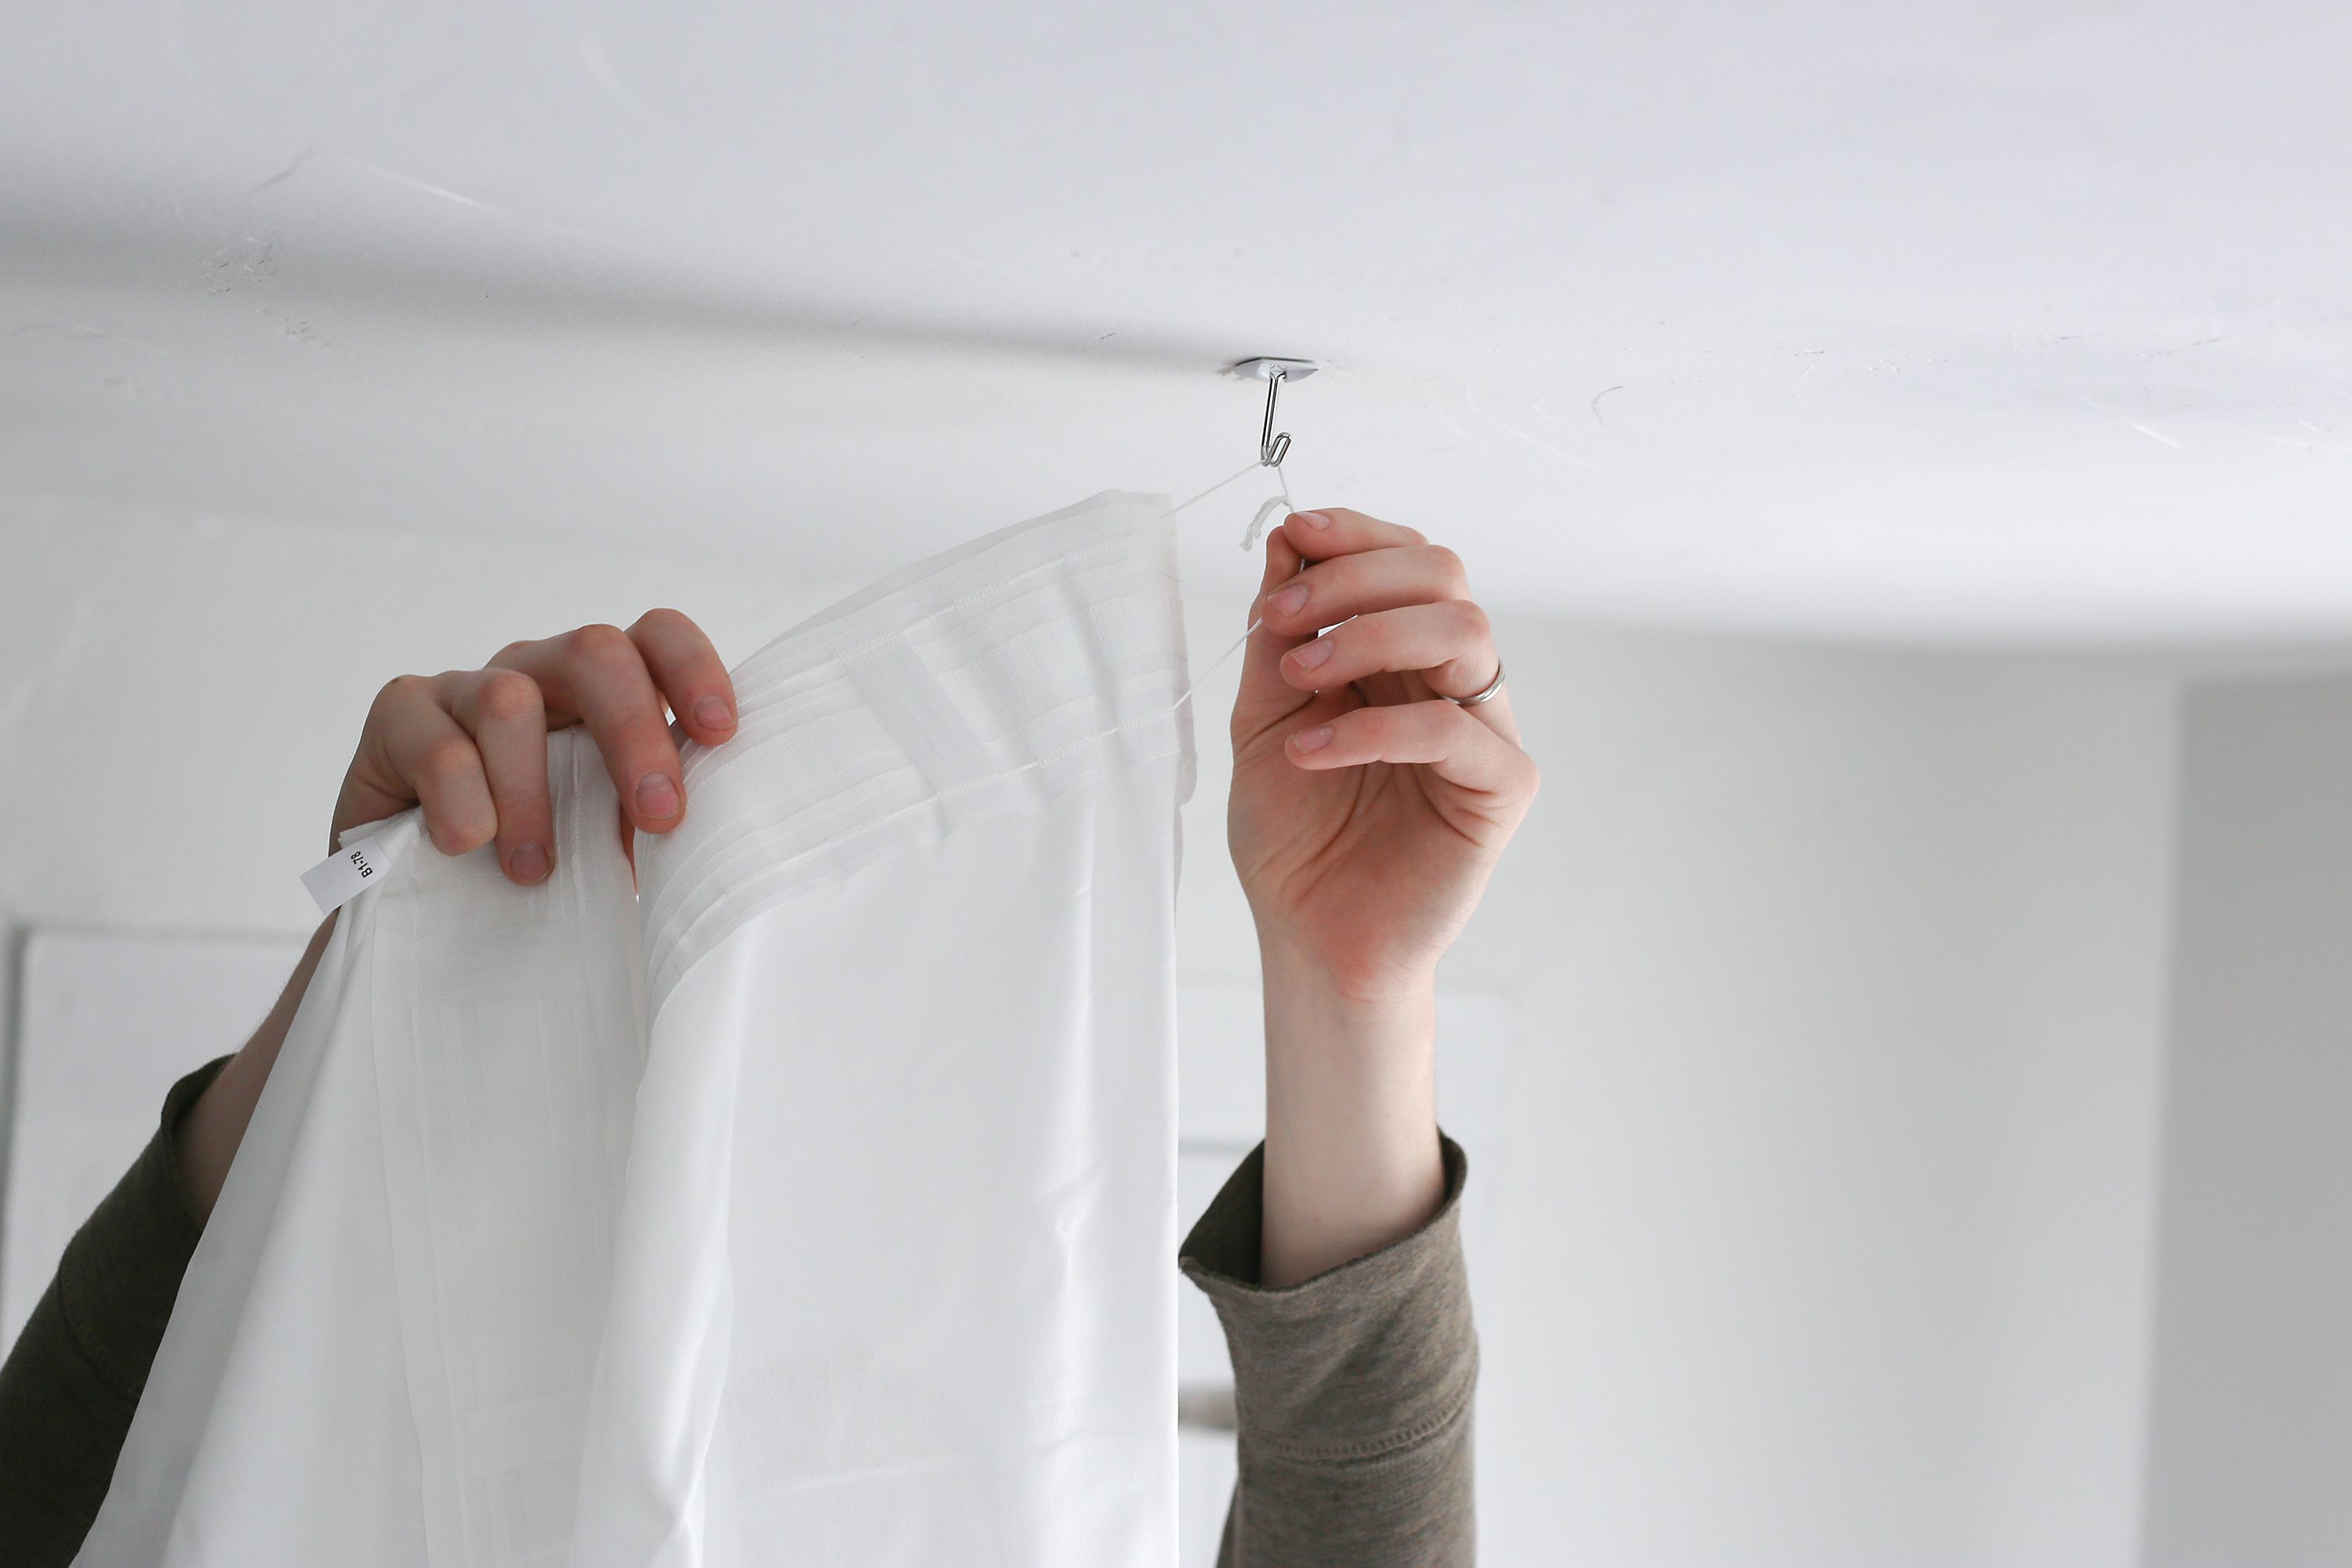
2. Slide the Curtains onto the Rods: Depending on the type of curtain rod and heading style of your curtains, you may need to slide the curtains onto the rods. Starting from one end, gently gather the curtain fabric and slide it onto the rod. Continue this process until the entire curtain is evenly distributed across the rod.
3. Secure the Curtains: Once the curtains are on the rods, make sure they are evenly spaced and hang straight. Adjust the gathers or pleats as necessary to create a balanced look.
4. Fasten the Curtains: If your curtains have tabs, loops, or hooks, fasten them securely to the curtain rings or rod. Make sure the curtains are properly attached and won’t slip or fall when opened or closed.
5. Repeat for Multiple Panels: If you have multiple curtain panels, repeat the process for each one, ensuring that they are evenly spaced and aligned with each other.
Hanging the curtains onto the rods requires attention to detail and precision to achieve a polished look. Take your time and make any necessary adjustments to ensure that the curtains are evenly distributed and hang straight.
Read more: How To Hang Bay Window Curtains
Step 5: Adjust and Level the Curtains
Once the curtains are attached to the rods, it’s important to take the time to adjust and level them for a finished and professional appearance. Follow these steps to adjust and level the curtains on your corner window:
1. Adjust the Length: Stand back and evaluate the length of the curtains. If they are too long and dragging on the floor, you may need to hem them to achieve the desired length. Alternatively, if they are too short, you may need to consider adding a trim or purchasing new curtains with appropriate length.
2. Ensure Proper Alignment: Check that the curtains are aligned properly with each other and hang evenly on both sides of the window. They should not appear lopsided or crooked. Use a level to determine if the rods and curtains are straight, making any necessary adjustments.
3. Create a Balanced Look: Adjust the gathers, pleats, or folds of the curtains to create a balanced and symmetrical appearance. You can move the fabric along the rod or manipulate the curtains gently to achieve the desired effect.
4. Allow for Natural Draping: Step back and observe the natural draping of the curtains. They should have a soft and elegant flow without excessive pulling or bunching. Adjust the fabric as needed to create a pleasing drape.
5. Test the Movement: Open and close the curtains to ensure they move smoothly and without any obstructions. They should be easy to operate and allow for proper light control and privacy.
6. Double Check Stability: Finally, confirm that the curtain rods and brackets are securely fastened to the walls. Give the curtains a gentle tug to ensure they are firmly in place and won’t come loose.
By taking the time to adjust and level the curtains, you can create a visually appealing and cohesive look for your corner window. Step back and admire your work before moving on to the finishing touches.
Step 6: Finishing Touches
After successfully hanging and adjusting the curtains on your corner window, it’s time to add the finishing touches to complete the look. These final steps will enhance the aesthetic appeal and functionality of your curtains:
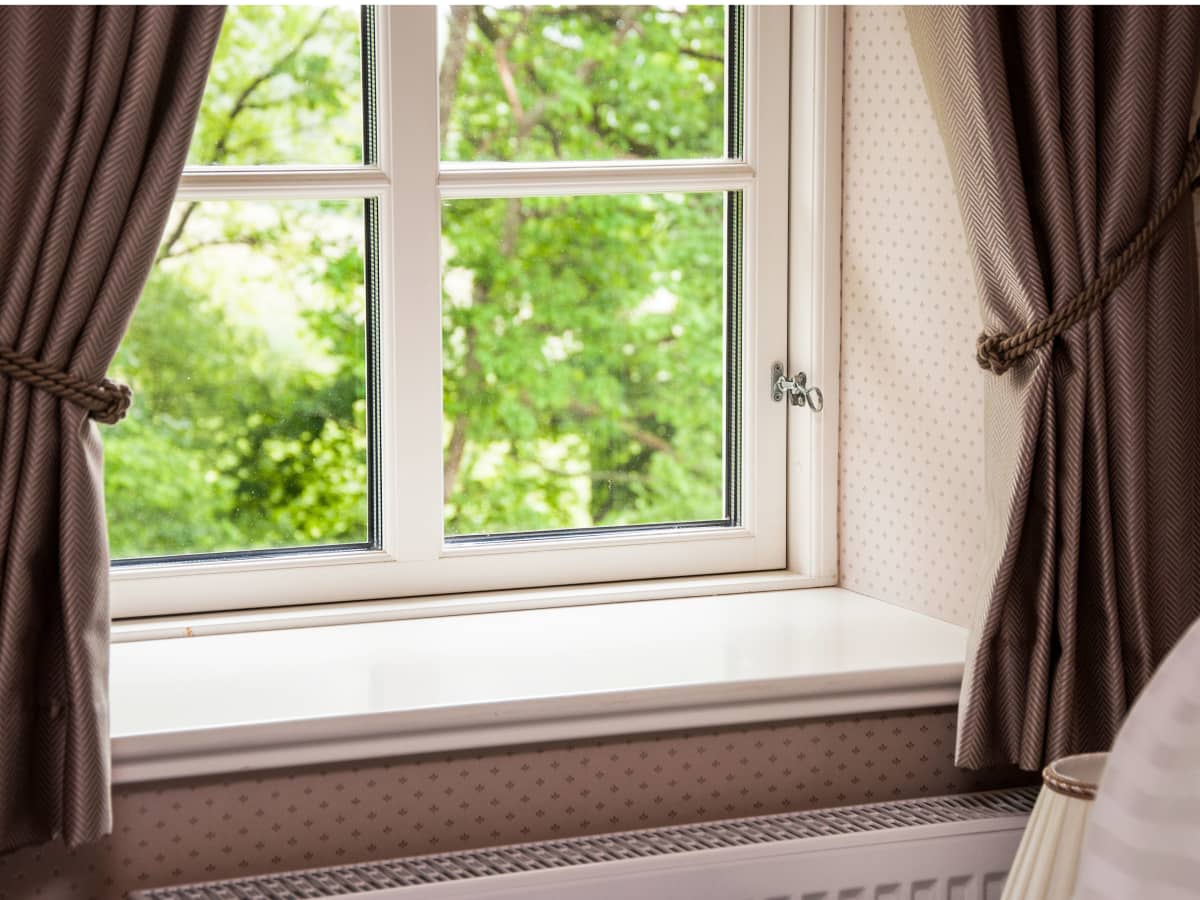
1. Install Tiebacks or Holdbacks: Consider adding tiebacks or holdbacks to keep the curtains neatly pulled to the sides when they are open. This will allow natural light to enter the room and create an elegant and structured look.
2. Use Curtain Rings or Clips: Depending on the style of your curtains, you may want to use curtain rings or clips to add a decorative touch. This can also make it easier to slide the curtains along the rod for smooth opening and closing.
3. Add a Valance or Cornice: If you desire an extra layer of decoration, consider adding a valance or cornice board above the curtains. This can provide a luxurious and cohesive look to your window treatment.
4. Install a Curtain Track System: For maximum versatility and ease of use, you may choose to install a curtain track system. This allows you to smoothly slide the curtains along the track, providing effortless operation and precise control over the curtain positioning.
5. Consider Light Control and Privacy: Evaluate if additional measures are required to control light and ensure privacy in your space. Depending on the fabric of your curtains, you may want to add blackout liners or sheer curtains for varying levels of light filtering and privacy.
6. Regular Maintenance: Keep your curtains looking their best by regularly cleaning them according to the manufacturer’s instructions. This will help maintain their color, texture, and overall appearance over time. Regularly inspect the curtain rods and brackets, tightening any loose screws or hardware as needed.
With these final touches, your curtains on the corner window will be complete. Step back and admire the beautiful transformation they have brought to your space.
Conclusion
Hanging curtains on a corner window requires careful planning, precise measurements, and attention to detail. By following the steps outlined in this guide, you can successfully hang curtains on a corner window and create a stunning focal point in your space.
Remember to start by accurately measuring the corner window to ensure you choose the right size curtains and curtain rods. Select curtains that complement your room’s style and consider factors such as length, width, and fabric.
Install the curtain rods securely on each wall, making sure they are properly aligned and level. Attach the curtains to the rods, adjusting and leveling them for a polished and professional appearance. Take the time to make any necessary adjustments to ensure the curtains hang evenly and drape gracefully.
Add the finishing touches such as tiebacks, curtain rings, or valances to enhance the overall aesthetic and functionality of the curtains. Regular maintenance and cleaning will help maintain the beauty and longevity of your window treatments over time.
With these steps, you can transform your corner window into a stylish and inviting focal point that enhances the overall ambiance of your room. Enjoy the beauty and functionality that well-hung curtains provide, and revel in the cozy and elegant atmosphere they create.
Now, armed with the knowledge and guidance from this article, you are ready to take on the task of hanging curtains on a corner window with confidence and skill. Embrace the creativity and personalization you can bring to your window treatment, and watch as your space is transformed into a haven of style and comfort.
Now that you've mastered hanging curtains on a corner window, why stop there? Every designer knows that proper placement can transform a room, so don't miss our guide on how high to hang curtains. This article offers professional rules to ensure your curtains not only fit perfectly but also create an elegant, visually appealing space. Perfect your home's look by learning more about hanging curtains efficiently and stylishly.
Frequently Asked Questions about How To Hang Curtains On A Corner Window
Was this page helpful?
At Storables.com, we guarantee accurate and reliable information. Our content, validated by Expert Board Contributors, is crafted following stringent Editorial Policies. We're committed to providing you with well-researched, expert-backed insights for all your informational needs.









0 thoughts on “How To Hang Curtains On A Corner Window”