Home>Articles>How To Straighten A Pendant Light Electrical Cord
Articles
How To Straighten A Pendant Light Electrical Cord
Modified: October 20, 2024
Learn how to straighten a pendant light electrical cord with these informative articles. Find helpful tips and tricks to fix and maintain your lighting fixtures.
(Many of the links in this article redirect to a specific reviewed product. Your purchase of these products through affiliate links helps to generate commission for Storables.com, at no extra cost. Learn more)
Introduction
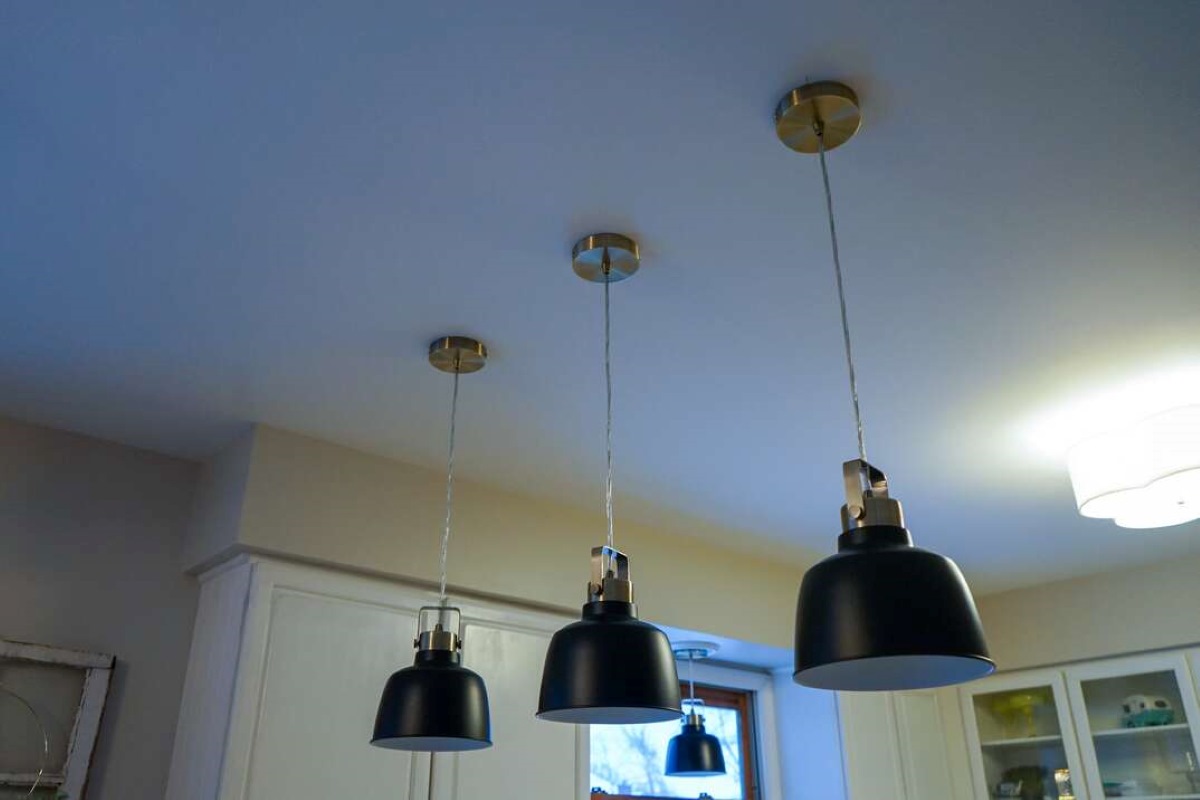
Welcome to our guide on how to straighten a pendant light electrical cord! If you have a pendant light in your home or office with a cord that has become twisted or tangled, don’t worry – we have you covered. A twisted electrical cord not only looks unsightly, but it can also affect the functionality and safety of your pendant light. Luckily, straightening the cord is a relatively simple process that you can do yourself with just a few basic tools and a little bit of patience.
In this article, we will walk you through each step of the process, from gathering the necessary materials to reconnecting your pendant light. By following our step-by-step instructions, you’ll be able to restore your pendant light to its original condition and eliminate any annoyances caused by a twisted electrical cord.
Before we begin, it’s important to note that safety should always be your top priority when working with electrical wires. Be sure to turn off the power supply to the pendant light before attempting any repairs or modifications. If you’re not comfortable working with electricity, it’s always best to consult a professional electrician to avoid any potential hazards.
Now that you understand the importance of safety, let’s dive into the process of straightening a pendant light electrical cord. Grab your tools and let’s get started!
Key Takeaways:
- Safety first! Always turn off the power supply and use the right tools when straightening a pendant light electrical cord to prevent accidents and ensure a hassle-free repair process.
- Regular maintenance and inspection of your pendant light can help prevent future cord twisting or damage, ensuring the functionality, safety, and aesthetic appeal of your fixture.
Read more: How To Straighten Out Electrical Cord
Step 1: Gather the necessary materials
Before we can begin straightening the pendant light electrical cord, we need to gather a few essential materials. These tools will help make the process easier and ensure that you have everything you need to complete the task successfully.
Here’s a list of the materials you’ll need:
- Work gloves: It’s always a good idea to protect your hands when working with electrical cords. A pair of work gloves will provide added safety and grip.
- Pliers: Pliers will come in handy for gripping and manipulating the electrical cord.
- Tape measure: This will be useful for measuring the length of the cord and ensuring that it’s straightened properly.
- Electrical tape: Electrical tape is essential for securing any loose or exposed wires and ensuring a safe connection.
- Scissors: You’ll need a pair of scissors to cut the electrical tape to the desired length.
Once you have gathered all the necessary materials, you’re ready to move on to the next step.
Tip: If you don’t have these tools readily available, you can find them at your local hardware store or online.
Step 2: Unplug the pendant light
Before you begin working on the electrical cord of your pendant light, it’s crucial to ensure your safety by turning off the power supply. Locate the switch or the circuit breaker that controls the pendant light and switch it off. This step will prevent any potential electrical shocks or accidents while you’re working on the cord.
Once you have confirmed that the power is turned off, double-check by attempting to turn on the pendant light. If it doesn’t turn on, you can proceed with confidence. However, it’s always a good idea to use a voltage tester to ensure that there is no electrical current running through the cord.
Upon confirming that the power is off, gently unplug the pendant light from the electrical outlet. This will give you the freedom to work on the cord without any obstructions. Be cautious when handling the light fixture and avoid any excessive pulling or tugging that could damage the cord.
Remember, safety should always be your top priority when working with electrical components. Taking the necessary precautions will prevent accidents and ensure a smooth and hassle-free repair.
Now that the pendant light is unplugged and the power supply is switched off, you’re ready to move on to the next step: removing the pendant light cover.
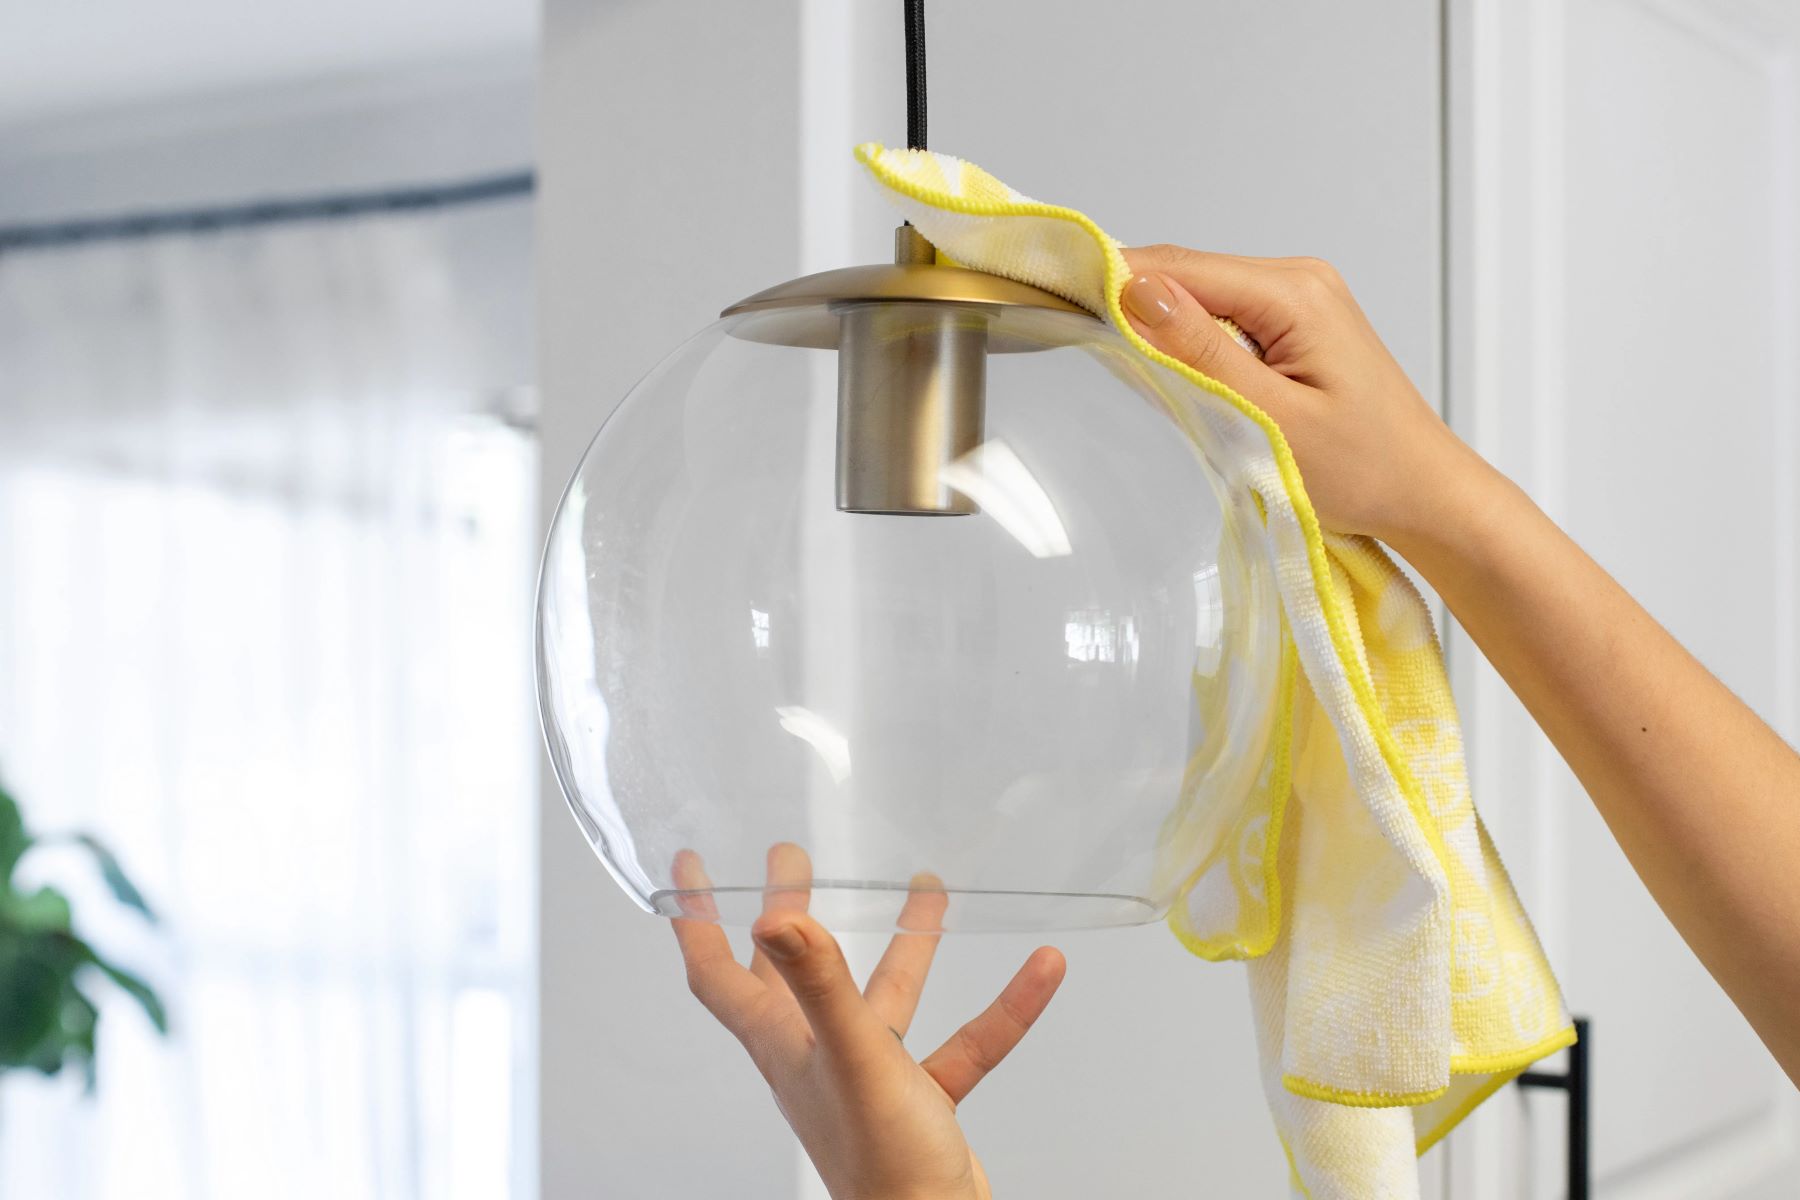
Step 3: Remove the pendant light cover
With the pendant light unplugged and the power supply turned off, it’s time to remove the pendant light cover. The cover is the protective casing that encloses the wiring and light bulb.
Follow these steps to remove the pendant light cover:
- Using a step stool or ladder, position yourself so that you can easily access the pendant light fixture.
- Inspect the pendant light and locate any screws or fasteners that are securing the cover in place. These are typically located on the sides or bottom of the fixture.
- Using a screwdriver or the appropriate tool, carefully loosen and remove the screws or fasteners. Keep them in a safe place as you’ll need them later to reassemble the light fixture.
- Once the screws or fasteners are removed, gently lift off the pendant light cover. Be mindful of any delicate parts or accessories that may be attached.
Set the pendant light cover aside in a secure location where it won’t get damaged. Take a moment to inspect the inside of the fixture and check for any debris or dust that may have accumulated over time. If needed, use a soft cloth or a brush to clean the interior of the light fixture.
Now that you have successfully removed the pendant light cover, you’re ready to move on to the next step: inspecting the electrical cord for any damage.
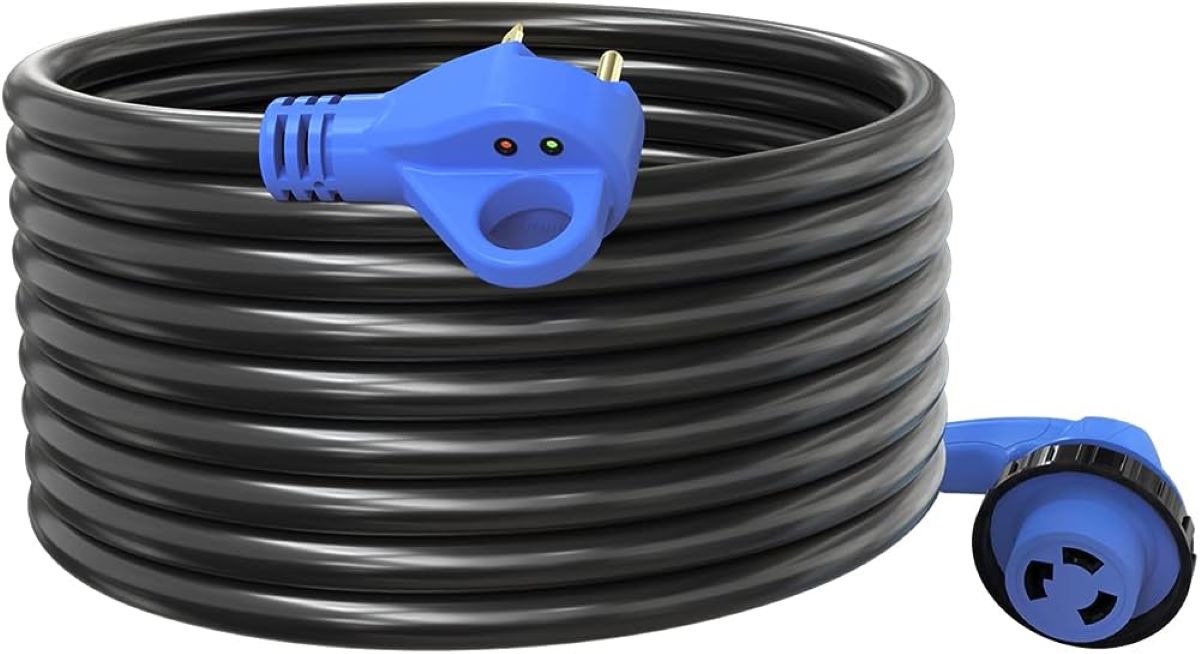
Step 4: Inspect the electrical cord for damage
Now that the pendant light cover has been removed, it’s time to inspect the electrical cord for any signs of damage. Over time, cords can become worn, frayed, or have exposed wires, which can pose safety hazards. By examining the cord closely, you can identify any areas that require attention.
Follow these steps to inspect the electrical cord:
- Unwind the cord and lay it out on a flat surface. This will make it easier to inspect the entire length of the cord.
- Start at one end of the cord and run your fingers along its length, feeling for any irregularities such as bumps, cuts, or frayed sections.
- Visually examine the cord, looking for any visible signs of damage, such as exposed wires or melted insulation.
- Check the plug for any discoloration or loose connections.
- If you come across any damaged areas, it’s important to address them before proceeding. Depending on the severity of the damage, you may need to repair or replace the cord. It’s always better to err on the side of caution and opt for a new cord if you’re unsure of its safety.
Remember, working with damaged electrical cords can be dangerous, so it’s essential to take the necessary precautions. If you’re uncertain about the extent of the damage or how to proceed, consult a professional electrician for guidance.
Once you have inspected the electrical cord and ensured it’s in good condition, you’re ready to move on to the next step: straightening the cord to remove any twists or tangles.
When straightening a pendant light electrical cord, gently untangle any knots or kinks to avoid damaging the cord. Use a hairdryer to soften the cord if it’s too stiff, then carefully straighten it out.
Step 5: Straightening the electrical cord
Now that you have inspected the electrical cord and confirmed its good condition, it’s time to straighten out any twists or tangles. A straightened cord not only improves the aesthetic appeal of your pendant light but also ensures proper functionality and prevents any potential hazards.
Follow these steps to straighten the electrical cord:
- Begin by holding one end of the cord firmly.
- Gently but firmly pull the cord through your hand, running it between your thumb and fingers. This action helps to straighten out any twists or kinks in the cord.
- Continue to work your way down the length of the cord, repeating the pulling motion until the entire cord is straightened.
- If the cord has multiple twists, you can try rotating it in the opposite direction to unwind the twists.
Be patient and take your time when straightening the cord, as excessive force may cause damage. It’s better to work in small sections, gradually working out any twists or tangles until the entire cord is straightened.
If the cord is still stubbornly twisted or tangled, you can try using a hairdryer or a heat gun on low heat. By applying gentle heat to the twisted sections, you can soften the plastic coating and make it more pliable for straightening. Be careful not to overheat the cord or expose it to direct flames or excessive heat.
Once you have successfully straightened the electrical cord, take a moment to inspect it again to ensure you haven’t missed any twists or kinks. If the cord remains twisted or damaged despite your efforts, it’s best to replace it with a new one for safety reasons.
With the electrical cord now straightened, you’re ready to move on to the next step: reinstalling the pendant light cover.
Step 6: Reinstall the pendant light cover
Now that you’ve straightened the electrical cord, it’s time to reassemble the pendant light by reinstalling the cover. The pendant light cover not only protects the internal components but also adds a finishing touch to the overall appearance of the fixture.
Follow these steps to reinstall the pendant light cover:
- Hold the pendant light cover in position, aligning it with the screw holes or fastener slots.
- Insert the screws or fasteners into the corresponding holes or slots, tightening them just enough to hold the cover securely in place. Be careful not to overtighten, as this can cause damage.
- Double-check that the cover is fitted snugly and evenly around the pendant light fixture.
If your pendant light has any additional attachments, such as decorative elements or trim pieces, make sure to reattach them securely as well.
With the pendant light cover reinstalled, take a moment to ensure that everything looks aligned and in place. If you notice any loose parts or areas that require adjustment, address them before moving on to the next step.
Now that your pendant light is fully reassembled with the cover in place, you’re ready to move on to the final step: plugging the pendant light back in and restoring power.
Step 7: Plug the pendant light back in
Now that you’ve successfully reinstalled the pendant light cover, it’s time to plug the light back into the electrical outlet and restore power. by following this final step, you’ll be able to enjoy your straightened and fully functional pendant light once again.
Follow these steps to plug the pendant light back in:
- Ensure that the pendant light switch or circuit breaker is still in the off position.
- Gently insert the plug of the pendant light cord into the electrical outlet, making sure it’s fully inserted and secure. Avoid any excessive force or twisting that could damage the cord or outlet.
- Double-check that the plug is inserted correctly and that there are no loose connections.
- Finally, switch on the pendant light through the switch or circuit breaker.
Once you’ve restored power to the pendant light, observe to ensure that it’s functioning properly. Check that the light bulb illuminates, and there are no flickering or unusual sounds. If you notice any issues or abnormalities, switch off the power supply immediately and consult a professional electrician for further assistance.
Congratulations! You’ve successfully straightened the pendant light electrical cord and completed all the necessary steps to restore your pendant light to its original condition. Enjoy the newly straightened cord and the refreshed look of your pendant light!
Remember, regular maintenance and inspection of your pendant light can help prevent future cord twisting or damage. If you notice any signs of wear or twisting recurring, be sure to address them promptly to ensure the functionality and safety of your pendant light.
Disclaimer: This article is intended for informational purposes only. It is always recommended to consult a professional electrician for any electrical repairs or modifications to ensure safety and compliance with local codes and regulations.
Conclusion
Congratulations on successfully straightening the pendant light electrical cord! By following the steps outlined in this guide, you were able to eliminate twists and tangles, improving the functionality, safety, and aesthetic appeal of your pendant light.
Remember, when working with electrical components, it’s crucial to prioritize safety. Always turn off the power supply and take the necessary precautions to prevent any accidents or electrical hazards. If you’re unsure about any step or encounter significant damage to the cord, it’s best to consult a professional electrician.
Regular maintenance and inspection of your pendant light can help identify and address potential issues early on, preventing further damage and ensuring the longevity of your fixture. If you notice any recurring twisting or damage to the cord, consider replacing it with a new one to maintain a safe and reliable lighting solution.
We hope this guide has been helpful in guiding you through the process of straightening a pendant light electrical cord. Remember, proper maintenance and care will not only enhance the functionality of your pendant light but also contribute to the overall ambiance of your space.
Thank you for joining us, and we wish you many well-lit and beautifully styled moments with your pendant light!
Frequently Asked Questions about How To Straighten A Pendant Light Electrical Cord
Was this page helpful?
At Storables.com, we guarantee accurate and reliable information. Our content, validated by Expert Board Contributors, is crafted following stringent Editorial Policies. We're committed to providing you with well-researched, expert-backed insights for all your informational needs.


0 thoughts on “How To Straighten A Pendant Light Electrical Cord”