
Articles
How To Hang Curtains On Windows With Transoms
Modified: October 28, 2024
Learn how to hang curtains on windows with transoms in this helpful articles. Find tips and tricks for achieving the perfect look and functionality.
(Many of the links in this article redirect to a specific reviewed product. Your purchase of these products through affiliate links helps to generate commission for Storables.com, at no extra cost. Learn more)
Introduction
Transom windows are a beautiful architectural feature that add character and charm to any home. These windows are typically located above regular windows or doors and are designed to let in additional light and provide a decorative touch. However, when it comes to hanging curtains on windows with transoms, many people are unsure of the best approach.
In this article, we will guide you through the process of hanging curtains on windows with transoms, ensuring that you can enjoy both the functionality of curtains and the visual appeal of these unique windows. Whether you want to add privacy, control light, or simply enhance the aesthetic of your space, we’ve got you covered.
Understanding how to properly hang curtains on windows with transoms is essential to ensure they look great and function as intended. From measuring the window and transom to selecting the right curtain rod and installation technique, we will provide you with a step-by-step guide to make this process easy and efficient.
So, if you’re ready to learn how to hang curtains on windows with transoms like a pro, let’s dive in and get started!
Key Takeaways:
- Hanging curtains on windows with transoms requires careful measurement, selection of the right curtain rod, and proper installation. Overcoming the challenges presented by transom windows can result in a visually stunning and functional curtain installation.
- Attention to detail and patience are key when hanging curtains on windows with transoms. By following the step-by-step process and considering the style and functionality of the curtains, you can create a harmonious and visually appealing environment.
Read more: How To Hang Curtains On A Corner Window
Understanding Transom Windows
Before we delve into the process of hanging curtains on windows with transoms, let’s take a moment to understand what transom windows are and why they are a unique feature in many homes.
Transom windows are small, horizontal windows that are typically installed above a regular window or door. They were a popular architectural element in the 19th and early 20th centuries and are still found in many older homes and historic buildings today. Transoms were originally designed to allow for additional airflow and light to enter a room, while also adding a touch of elegance to the overall aesthetic.
There are two common types of transom windows: fixed transoms and operable transoms. Fixed transoms are stationary and cannot be opened, while operable transoms can be opened and closed to control airflow. Depending on the design, transom windows may be hinged at the top or bottom, or they may slide horizontally.
When it comes to hanging curtains on windows with transoms, it’s important to consider the position and size of the transom. Transoms that are located close to the top of the window frame can pose a challenge for curtain installation, as they may obstruct the space where the curtain rod should be placed. Additionally, the width of the transom may limit the amount of clearance available for the curtains to hang freely.
However, with the right techniques and tools, these challenges can be overcome, allowing you to enjoy the benefits of both curtains and transom windows in your home. In the next sections, we will guide you through the step-by-step process of hanging curtains on windows with transoms, ensuring a seamless and visually pleasing result. Let’s move on to the first step: measuring the window and transom.
Step 1: Measure the Window and Transom
Measuring the window and transom is a crucial first step in ensuring that your curtains fit properly and look aesthetically pleasing. Here’s how you can do it:
1. Start by measuring the width of the window frame. Use a measuring tape and measure from one side of the frame to the other. Write down this measurement.
2. Next, measure the height of the window frame. Again, use a measuring tape and measure from the top of the frame to the bottom. Note down this measurement as well.
3. Now, it’s time to measure the transom. Measure the width of the transom from one side to the other. If the transom is wider than the window frame, make sure to take note of this measurement.
4. Similarly, measure the height of the transom from top to bottom. If the transom is taller than the window frame, make a note of this measurement as well.
By accurately measuring the window frame and transom, you will have a clear understanding of the dimensions you need to work with when selecting your curtain rod and curtains. Additionally, these measurements will help you determine if any adjustments need to be made to accommodate the transom.
Remember, it’s always a good idea to double-check your measurements to ensure accuracy. Taking precise measurements will save you time and effort in the long run, as it will prevent any issues with ill-fitting curtains or improper installation. With the measurements in hand, you’re ready to move on to the next step: choosing the right curtain rod.
Step 2: Choose the Right Curtain Rod
Choosing the right curtain rod is essential for both functionality and aesthetic appeal when it comes to hanging curtains on windows with transoms. Here are some key factors to consider:
1. Curtain Rod Length: Start by considering the width of the window frame and transom. Ideally, the curtain rod should extend beyond the edges of the window frame to allow the curtains to fully cover the window when closed. If your transom is wider than the window frame, choose a curtain rod that can extend to the width of the transom.
2. Curtain Rod Type: There are several types of curtain rods to choose from, including tension rods, wall-mounted rods, and ceiling-mounted rods. The type of rod you choose depends on your specific setup and personal preference. Tension rods are a popular choice for transom windows as they can be installed without drilling or using hardware.
3. Hardware and Supports: If you opt for wall-mounted or ceiling-mounted curtain rods, make sure to choose appropriate hardware and supports that can hold the weight of both the curtains and the rod itself. This is especially important when dealing with transoms, as they can add additional weight and require sturdy supports.
4. Style and Design: Consider the overall style and design of your space when selecting the curtain rod. Choose a rod that complements the aesthetic of your room and enhances the visual appeal of both the curtains and transom windows.
5. Finials and Accessories: Finials are decorative end pieces that are attached to the ends of the curtain rod. These can add a finishing touch to your curtains and tie together the overall look. Additionally, consider any additional accessories you may need, such as curtain rings or hooks, to ensure smooth functioning of the curtains.
Taking the time to choose the right curtain rod will ensure that your curtains hang properly and enhance the beauty of both the transom windows and the entire room. Once you’ve selected the curtain rod, it’s time to move on to the next step: installing the curtain rod.
When hanging curtains on windows with transoms, consider using a double curtain rod to hang the lower curtains on the lower rod and the upper curtains on the upper rod, allowing the transom to remain visible.
Step 3: Install the Curtain Rod
Installing the curtain rod properly is essential to ensure that it is secure and can support the weight of both the curtains and the rod itself. Here’s a step-by-step guide on how to install the curtain rod:
1. Determine the Mounting Location: Start by determining where you want to mount the curtain rod. Typically, the rod should be installed just above the window frame, allowing the curtains to hang freely and cover the entire window when closed. However, when dealing with transoms, you may need to adjust the mounting location to accommodate the height of the transom.
2. Mark the Mounting Points: Using a measuring tape, measure and mark the desired height of the curtain rod on both sides of the window frame. Make sure the marks are level and aligned. If you’re using a wall-mounted rod, use a level to ensure accurate placement.
3. Mount the Brackets: Depending on the type of curtain rod you are using, attach the brackets to the wall or ceiling at the marked positions. Use appropriate screws and anchors for extra stability if needed. Make sure the brackets are securely fastened and level.
4. Install the Curtain Rod: Once the brackets are in place, attach the curtain rod to the brackets. Ensure that the rod is centered and level before tightening any screws or fasteners. If you’re using a tension rod, extend it to fit snugly within the window frame or transom.
5. Test and Adjust: Once the curtain rod is installed, test its stability by gently tugging on the rod and ensuring it doesn’t wobble or come loose. If needed, make any necessary adjustments to ensure a secure and level installation.
By following these steps, you will be able to properly install the curtain rod and create a solid foundation for hanging your curtains. With the rod securely in place, it’s time to move on to the next step: hanging the curtains.
Read more: How To Hang Bay Window Curtains
Step 4: Hang the Curtains
Now that you have your curtain rod installed, it’s time to hang the curtains on your windows with transoms. Follow these steps to ensure a smooth and seamless process:
1. Prepare the Curtains: Before hanging the curtains, ensure they are clean, ironed or steamed, and ready to be hung. This will ensure a neat and polished look once they are in place. If necessary, hem or adjust the length of the curtains to fit your window and transom dimensions.
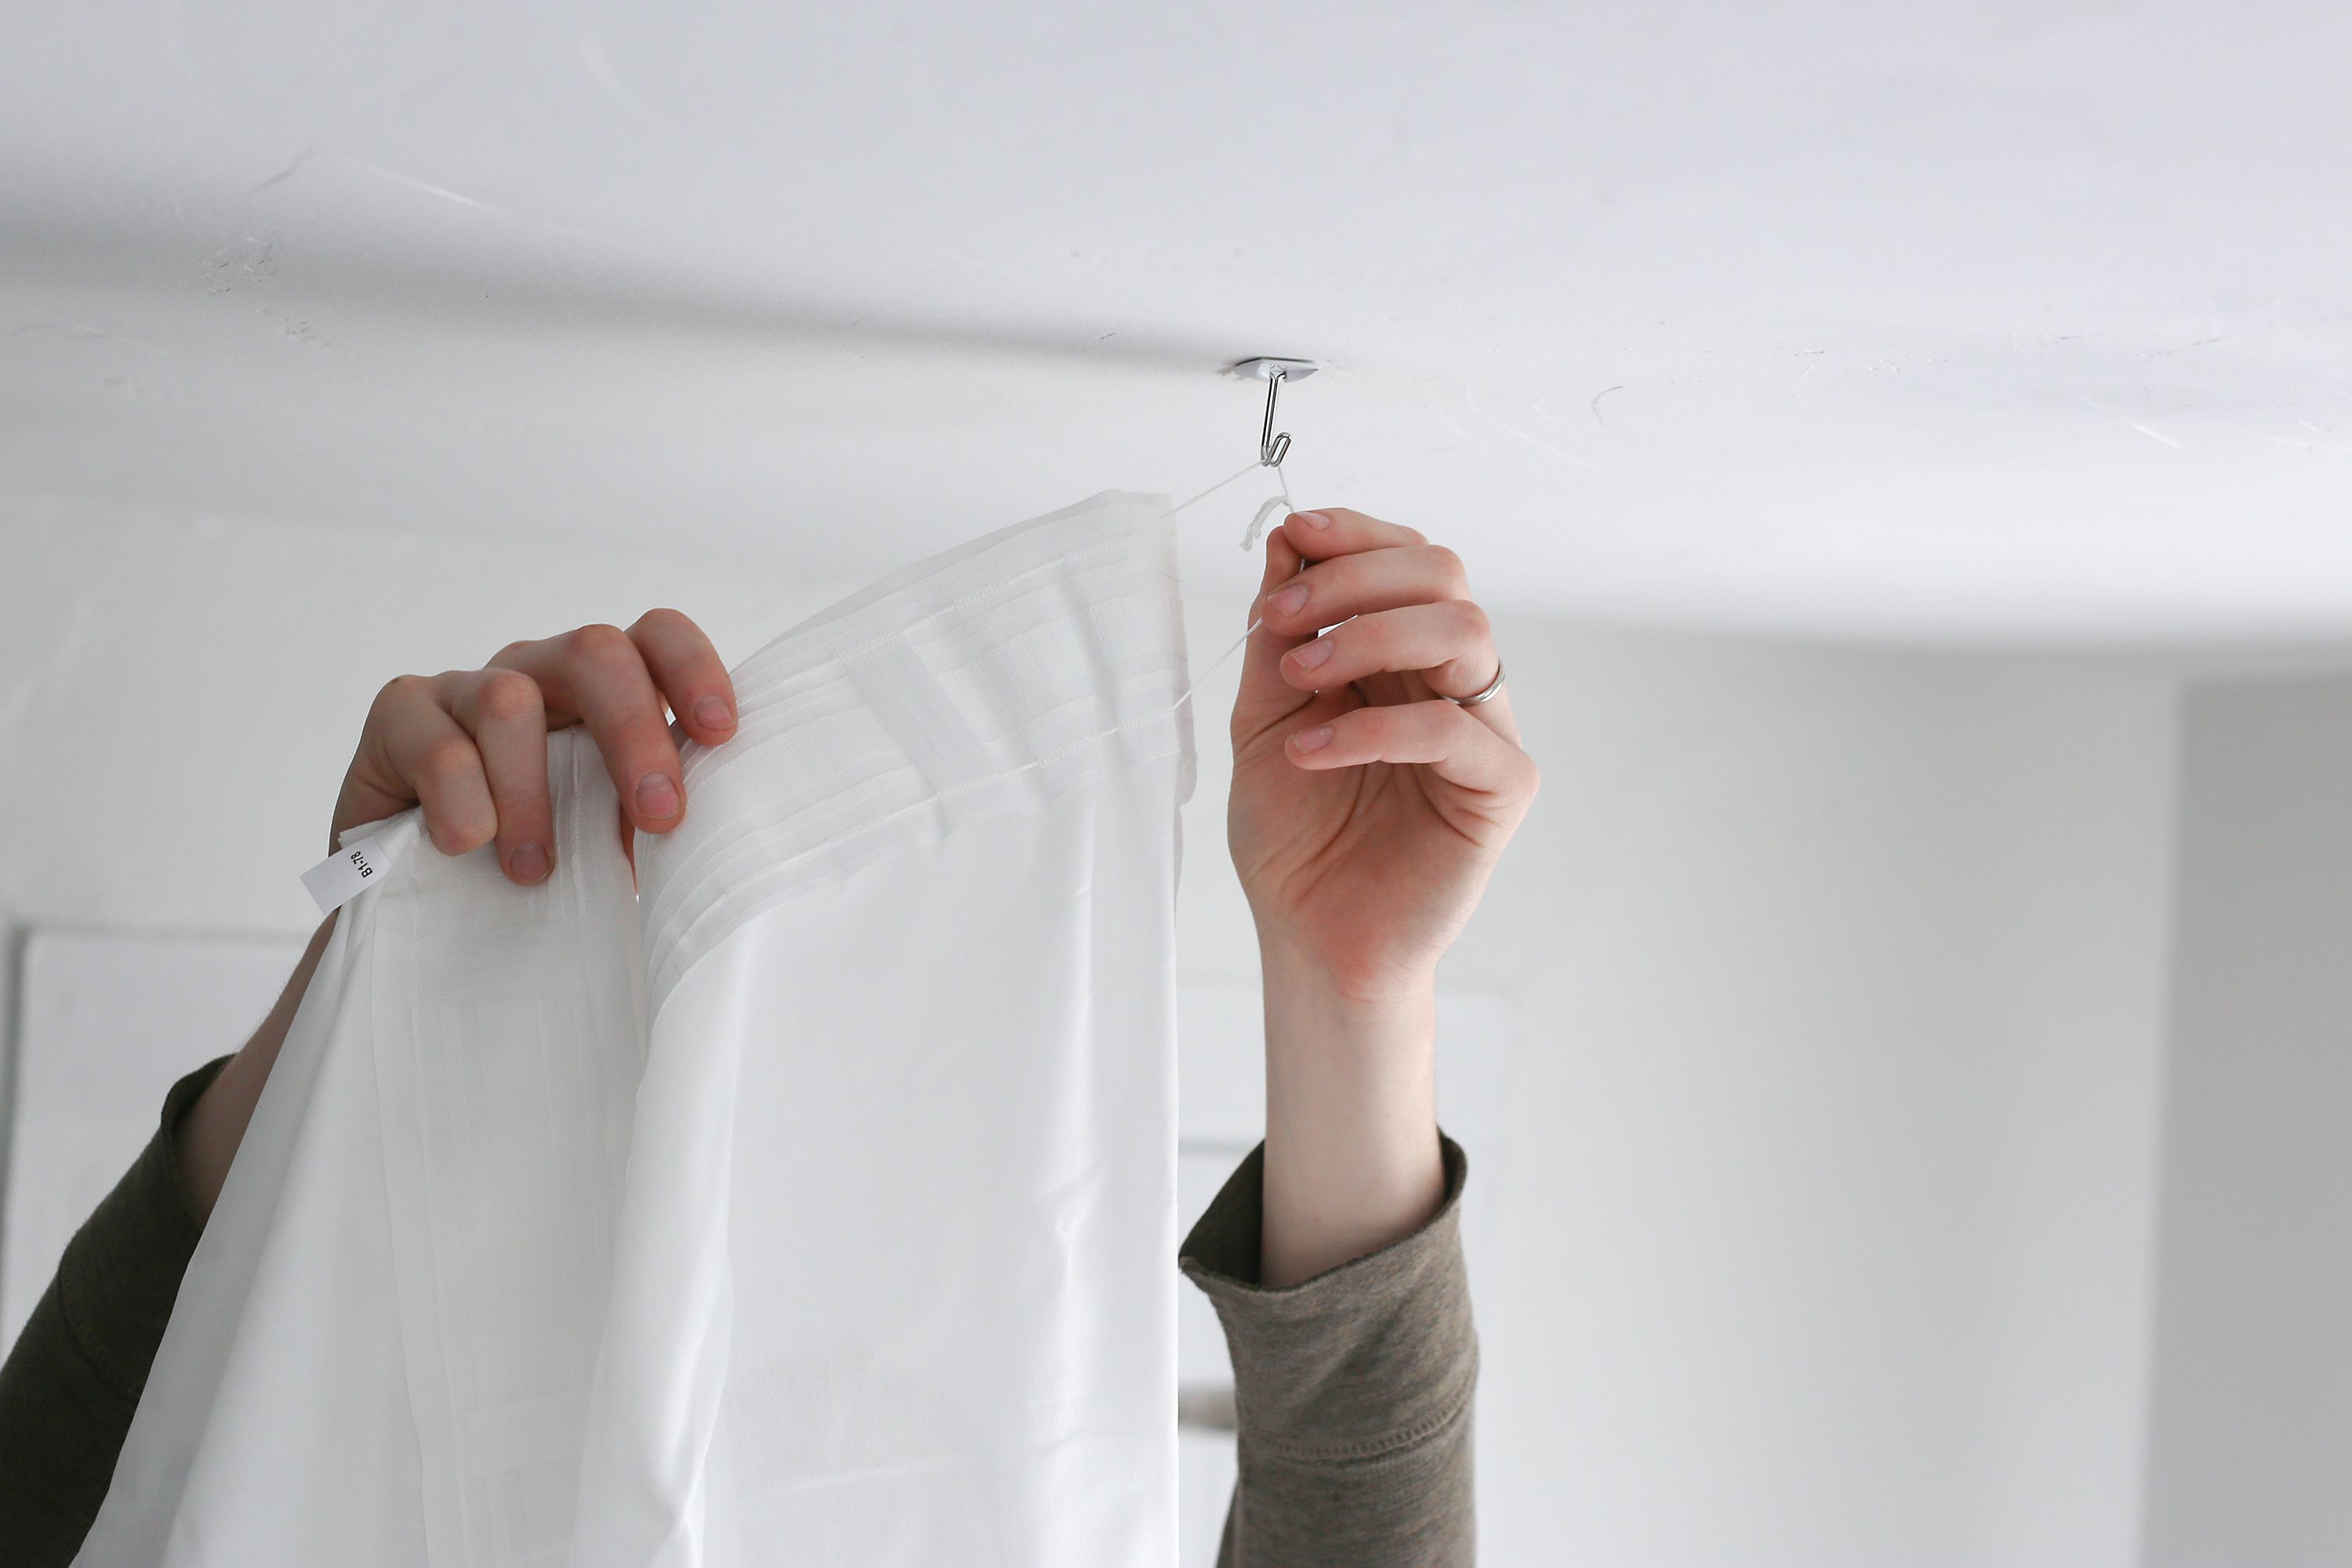
2. Attach the Curtain Rings or Hooks: If you are using curtain rings or hooks, attach them to the curtains. Place one ring or hook at each end of the curtain panel, ensuring an equal distribution of weight. If your curtains have pleats, be sure to evenly space the rings or hooks along the top edge to maintain a uniform appearance.
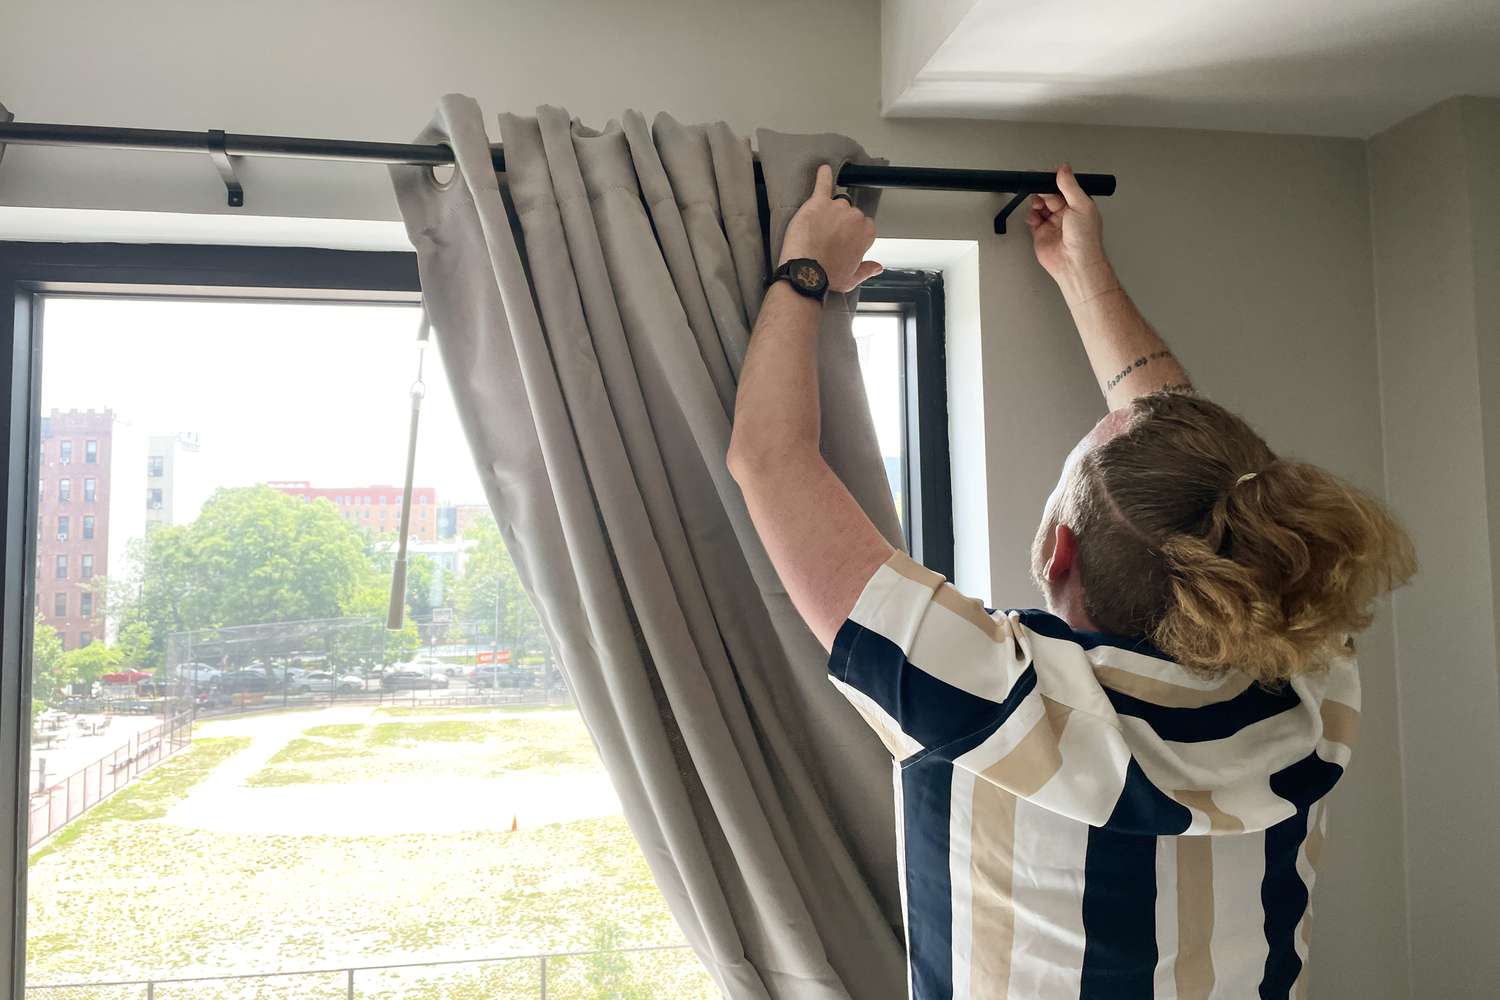
3. Slide the Curtains onto the Rod: Once the rings or hooks are in place, slide the curtains onto the curtain rod. Start from one end and work your way to the other, ensuring that the curtains are evenly distributed across the rod.
4. Adjust the Placement: Adjust the curtains as needed to achieve the desired look. Make sure they hang evenly and cover the entire window and transom when closed. If necessary, adjust the height of the curtains by sliding the curtain rings or hooks up or down the curtain rod.
5. Test the Functionality: Open and close the curtains to test their functionality. Ensure that they move smoothly along the rod and don’t get caught on any obstructions, such as the transom or window frame.
Once the curtains are hung, step back and assess the overall appearance. Make any final adjustments to ensure that the curtains are evenly spaced and look visually appealing. With the curtains in place, you’re almost done. The final step is to adjust and level the curtains for a perfect finish.
Step 5: Adjust and Level the Curtains
After hanging your curtains on windows with transoms, it’s important to take the time to adjust and level them for a polished and professional look. Here’s how you can do it:
1. Check for Unevenness: Stand back and assess the curtains to determine if they are hanging evenly. Look for any areas where one side may appear higher or lower than the other. This could be due to uneven curtain rings, hooks, or an unevenly installed curtain rod.
2. Adjust the Curtain Rings or Hooks: If you notice any unevenness, start by adjusting the curtain rings or hooks. Slide them along the curtain rod to ensure that they are evenly spaced and that the curtains hang straight and level. This may require some trial and error until you achieve the desired appearance.
3. Level the Curtain Rod: If the curtain rod itself appears uneven or slanted, you may need to make adjustments to level it. Loosen the mounting brackets slightly and use a level to ensure that the rod is straight. Once it is level, tighten the brackets securely.
4. Check the Length: Ensure that the curtains are properly adjusted in terms of length. They should just skim the floor or window sill for a clean and polished look. If necessary, make small adjustments by adjusting the curtain rings or hooks to achieve the desired length.
5. Test the Movement: Open and close the curtains to ensure smooth movement. They should glide effortlessly along the curtain rod without getting stuck or tangled. If you encounter any issues, double-check the alignment of the rings or hooks and adjust them accordingly.
By taking the time to adjust and level your curtains, you can achieve a visually balanced and aesthetically pleasing result. Remember to step back and assess the overall appearance from different angles to ensure that the curtains are hanging straight and even.
Once you are satisfied with the positioning and alignment of the curtains, you have successfully completed the process of hanging curtains on windows with transoms. Sit back, relax, and enjoy the enhanced privacy, light control, and decorative appeal that your curtains bring to your space.
Conclusion
Hanging curtains on windows with transoms can be a bit more challenging than hanging curtains on regular windows. However, with the right approach and attention to detail, you can achieve stunning results that enhance both the functionality and beauty of your space.
In this article, we’ve walked you through the process of hanging curtains on windows with transoms, step-by-step. Understanding transom windows, measuring the window and transom, choosing the right curtain rod, installing the curtain rod, and hanging and adjusting the curtains are all crucial elements of the process.
By measuring accurately, selecting the appropriate curtain rod, and ensuring proper installation, you can overcome the challenges presented by transom windows. The result will be curtains that beautifully complement the transoms, providing privacy, light control, and adding a touch of elegance to your space.
Remember to consider the style and design of your room, as well as the desired functionality of the curtains, when making your choices. With attention to detail and a bit of patience, you can create a harmonious and visually stunning environment.
So, whether you’re looking to add privacy to your bedroom, create a cozy ambiance in your living room, or enhance the overall aesthetic of your home, don’t let transom windows stop you from hanging curtains. Follow the steps outlined in this article, and you’ll be well on your way to achieving the perfect curtain installation.
Now that you have the knowledge and guidance to hang curtains on windows with transoms, it’s time to put it into practice. Enjoy the process, and have fun transforming your windows into beautiful focal points in your home.
Frequently Asked Questions about How To Hang Curtains On Windows With Transoms
Was this page helpful?
At Storables.com, we guarantee accurate and reliable information. Our content, validated by Expert Board Contributors, is crafted following stringent Editorial Policies. We're committed to providing you with well-researched, expert-backed insights for all your informational needs.


0 thoughts on “How To Hang Curtains On Windows With Transoms”