Articles
How To Wire An AC Disconnect
Modified: September 2, 2024
Learn how to wire an AC disconnect with these informative articles. Find step-by-step guides, tips, and expert advice for a successful installation.
(Many of the links in this article redirect to a specific reviewed product. Your purchase of these products through affiliate links helps to generate commission for Storables.com, at no extra cost. Learn more)
Introduction
When it comes to electrical installations, safety is of utmost importance. This is particularly true when dealing with high-voltage appliances and systems, such as an air conditioning unit. An AC disconnect is an essential component in ensuring the safe operation and maintenance of an air conditioner. It acts as a switch that disconnects power to the unit, allowing for servicing, repairs, or emergencies.
In this guide, we will walk you through the process of wiring an AC disconnect box. While it is always recommended to hire a licensed electrician for any electrical work, having a basic understanding of how to wire an AC disconnect can be helpful in emergency situations or for those who prefer to undertake the task themselves.
Before we begin, it’s important to note that this guide provides a general overview of the wiring process. Always refer to the manufacturer’s instructions and consult local building codes to ensure compliance and safety. Additionally, make sure to turn off the power supply and follow all necessary precautions to avoid electrical shock or injury.
Now, let’s dive into the steps involved in wiring an AC disconnect box.
Key Takeaways:
- Safety First
When wiring an AC disconnect box, prioritize safety by turning off the power supply, organizing wires, and testing the connections. Always follow manufacturer’s instructions and consider consulting a licensed electrician for complex installations. - Proper Wiring for Efficiency
Properly wiring an AC disconnect box ensures the efficient and reliable operation of your air conditioning unit. From gathering tools to testing the connections, each step contributes to a well-connected and safe system.
Read more: How To Disconnect Wires From Stacked Washer
Step 1: Gather the Necessary Tools and Materials
Before you start wiring an AC disconnect box, it’s important to gather all the tools and materials you’ll need. Having everything ready beforehand will ensure a smoother installation process. Here’s a list of what you’ll need:
- AC disconnect box: Purchase a suitable AC disconnect box based on the specifications of your air conditioning unit. Ensure that it is rated for the appropriate voltage and current.
- Wire cutters and strippers: These tools will help you cut and strip the electrical wires to the required length.
- Wire nuts or terminal connectors: These are essential for securely connecting the electrical wires.
- Screwdriver: Choose a screwdriver that fits the screws or terminals in the AC disconnect box.
- Electrical tape: Use electrical tape to insulate and secure the wires after connecting them.
- Voltage tester: A voltage tester will help you verify that the power supply to the unit is turned off before starting the wiring process.
Make sure you have all the necessary tools and materials nearby before proceeding to the next steps. This will save you time and ensure a more efficient installation process.
Step 2: Turn Off the Power Supply
Before you begin working on the AC disconnect box, it’s crucial to turn off the power supply. This is to ensure your safety and prevent any electrical accidents. Follow these steps to turn off the power:
- Find the main electrical panel: Locate the main electrical panel in your home. It is usually found in a basement, garage, or utility room.
- Identify the circuit breaker: Look for the circuit breaker that controls the power supply to your air conditioning unit. It is typically labeled as “AC” or “Air Conditioner.”
- Switch off the circuit breaker: Flip the corresponding circuit breaker to the “Off” position. Double-check that the power to the air conditioning unit is indeed turned off by testing it with a voltage tester.
- Label the circuit breaker: To make future maintenance or repairs easier, consider labeling the circuit breaker that controls the AC unit. This will help you quickly identify the correct breaker in case any issues arise.
Once you have turned off the power supply and confirmed it with a voltage tester, you can proceed with confidence to the next step of wiring the AC disconnect box.
Step 3: Locate the AC Disconnect Box
After ensuring the power supply is turned off, the next step is to locate the AC disconnect box. This box is typically installed near the air conditioning unit and serves as a means to disconnect power to the unit when needed. Follow these steps to locate the AC disconnect box:
- Check the exterior of your home: Start by inspecting the exterior of your home where the air conditioning unit is located. Look for a metal or plastic box mounted on the wall near the unit.
- Look for a conduit: The AC disconnect box is usually connected to the air conditioning unit by a conduit. This conduit is a pipe or tube that houses the electrical wires and protects them from damage. Trace the conduit from the unit to find the disconnect box.
- Inspect the electrical panel: In some cases, the AC disconnect box may be located near the main electrical panel of your home. Check if the box is installed there, especially if the air conditioning unit is close to the panel.
- Refer to the manufacturer’s instructions: If you are having trouble locating the AC disconnect box, consult the manufacturer’s instructions for your specific air conditioning unit. They may provide guidance on the location of the disconnect box.
Once you have located the AC disconnect box, you are ready to proceed with the next step of the wiring process. Make sure you have a clear path to the box and all necessary tools and materials are within reach.
Step 4: Remove the Cover of the AC Disconnect Box
With the AC disconnect box located, it’s time to remove its cover before proceeding with the wiring. Removing the cover will give you access to the internal components where the wiring connections will be made. Follow these steps to remove the cover of the AC disconnect box:
- Safety first: Before you begin, ensure that the power supply to the AC disconnect box is turned off. Double-check with a voltage tester to confirm that there is no electrical current running through the wires.
- Identify the fastening mechanism: Look for screws, bolts, or latches that are holding the cover in place. The exact type and number of fasteners may vary depending on the specific model of the AC disconnect box.
- Use the appropriate tools: Based on the fastening mechanism, use the necessary tools such as a screwdriver or wrench to remove the screws, bolts, or release the latches.
- Set the cover aside: Once the fasteners are removed, carefully lift or slide the cover off the AC disconnect box. Set it aside in a safe place, making sure not to misplace it.
- Inspect the interior: Take a moment to inspect the internal components of the AC disconnect box. Look for any signs of damage or wear that may require repair or replacement.
Removing the cover of the AC disconnect box is an important step that allows you to access the wiring terminals and make the necessary connections. Proceed to the next step to continue the wiring process.
When wiring an AC disconnect, always make sure to turn off the power at the main electrical panel before beginning any work to ensure safety.
Read more: How To Disconnect Doorbell
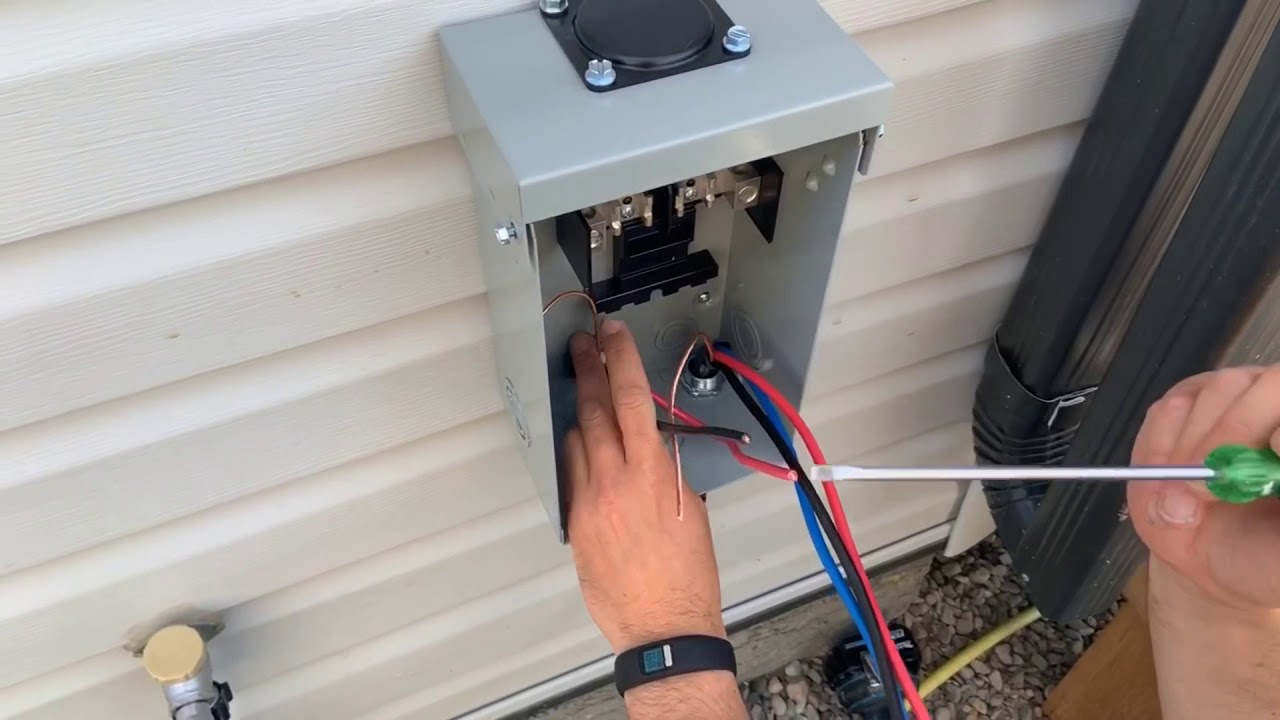
Step 5: Connect the Wires to the Disconnect Switch
Now that you have removed the cover of the AC disconnect box, it’s time to connect the wires to the disconnect switch. The disconnect switch is the main component responsible for controlling the power supply to the air conditioning unit. Follow these steps to connect the wires:
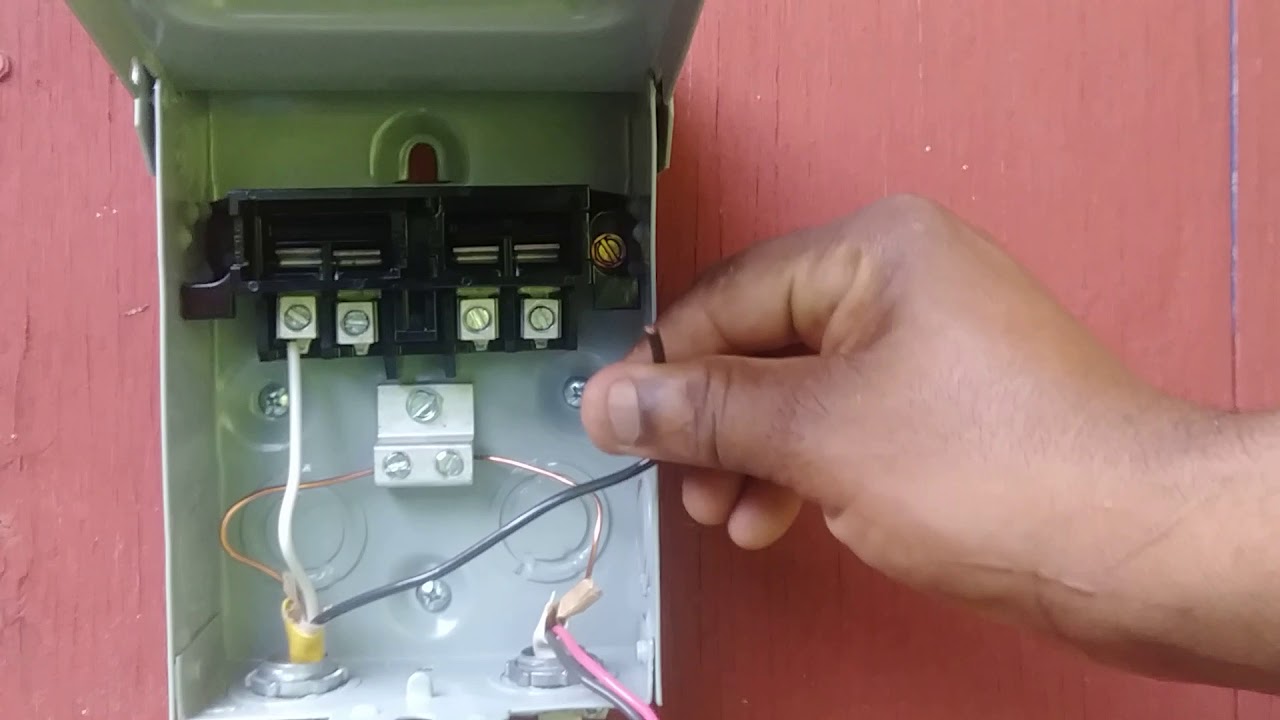
- Identify the wiring terminals: Inside the AC disconnect box, you will find two sets of wiring terminals. One set is for the power supply wires coming from the electrical panel, and the other set is for the wires that will connect to the air conditioning unit. These terminals are usually labeled “Line” and “Load.”
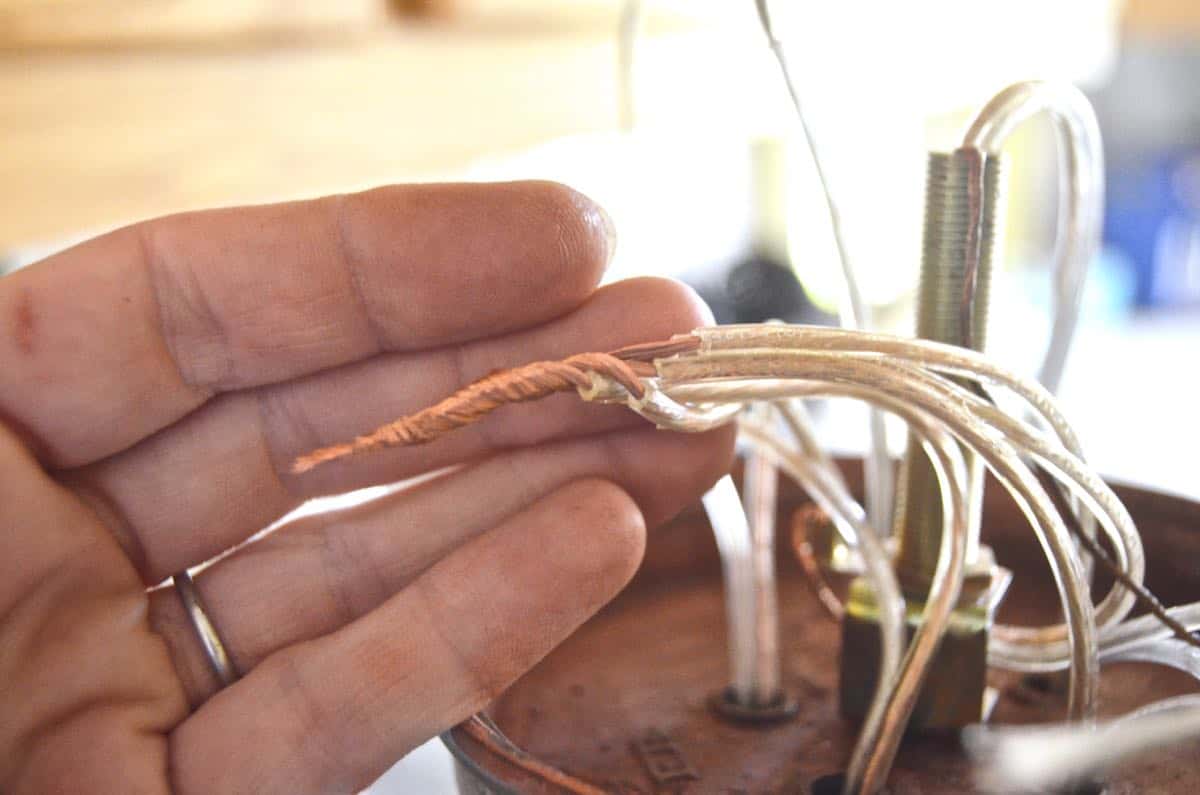
- Prepare the wires: Strip approximately half an inch of insulation from the ends of the wires. This will expose the bare copper conductors for proper connection.
- Connect the power supply wires: Take the wires coming from the electrical panel, usually colored black and white, and connect them to the “Line” terminals. Attach the black wire to the brass terminal and the white wire to the silver terminal. Use wire nuts or terminal connectors to secure the connections.
- Connect the wires to the air conditioning unit: Take the wires that will connect the AC unit to the disconnect box and attach them to the “Load” terminals. Refer to the manufacturer’s instructions or wiring diagram for your air conditioning unit to determine which wire should be connected to which terminal.
- Double-check the connections: After connecting the wires, double-check that all connections are secure and tight. Avoid leaving any loose or exposed wires.
Connecting the wires to the disconnect switch is a crucial step in ensuring a safe and reliable electrical connection. Once you have completed this step, you can proceed to the next step to continue the wiring process.
Step 6: Connect the Wires to the Terminal Block
After connecting the wires to the disconnect switch, the next step is to connect them to the terminal block. The terminal block serves as a junction point where the wires from the AC disconnect box are connected to the wires from the air conditioning unit. Follow these steps to connect the wires to the terminal block:
- Locate the terminal block: Inside the AC disconnect box, you will find a terminal block. This block typically has multiple screw terminals that allow for the connection of wires.
- Prepare the wires: Strip approximately half an inch of insulation from the ends of the wires that will be connected to the terminal block. This will expose the bare copper conductors for proper connection.
- Identify the corresponding terminals: Refer to the manufacturer’s instructions or wiring diagram for your air conditioning unit to determine which wires should be connected to which terminals on the terminal block.
- Make the connections: Attach the wires from the air conditioning unit to the corresponding screw terminals on the terminal block. Ensure that each wire is securely fastened by tightening the screws with a screwdriver. It’s important to make sure there is a solid and reliable connection.
- Double-check the connections: After connecting the wires to the terminal block, double-check that all connections are secure and tight. Ensure there are no loose or exposed wires that could pose a safety risk.
Connecting the wires to the terminal block ensures that power is efficiently and safely transferred from the disconnect switch to the air conditioning unit. Once you have completed this step, you can proceed to the next step to continue the wiring process.
Step 7: Secure the Wires and Close the AC Disconnect Box
With the wires connected to the terminal block, it’s important to secure them properly and close the AC disconnect box to protect the wiring and ensure safety. Follow these steps to secure the wires and close the AC disconnect box:
- Arrange and organize the wires: Neatly arrange the wires inside the AC disconnect box. Make sure they are not intertwined or crossing each other. This will help prevent any potential hazards and make it easier to work with the box in the future.
- Use cable ties or clamps: Secure the wires using cable ties or clamps. This will help keep them in place and prevent any movement that could lead to damage or accidental disconnection.
- Insulate the wire connections: Wrap each wire connection with electrical tape. This provides an extra layer of insulation and helps ensure the connections remain secure and protected from moisture or other potential hazards.
- Close the AC disconnect box: Once the wires are properly secured and insulated, close the AC disconnect box by replacing the cover. Ensure that the cover is securely fastened using the appropriate screws, bolts, or latches.
- Tighten all fasteners: Double-check that all screws, bolts, or latches on the AC disconnect box are tightened properly. This will help ensure the box is sealed and prevent any accidental opening that could expose the wiring.
Securing the wires and closing the AC disconnect box is crucial for the overall safety and functionality of the electrical connections. Take your time to properly organize and protect the wiring before proceeding to the next step.
Step 8: Test the AC Disconnect Wiring
After completing the wiring process and securing the AC disconnect box, it’s important to test the wiring to ensure that everything is functioning properly. This step is essential in guaranteeing the safety and efficient operation of your air conditioning unit. Follow these steps to test the AC disconnect wiring:
- Restore the power supply: Turn on the circuit breaker that controls the power supply to the air conditioning unit. This will restore power to the system.
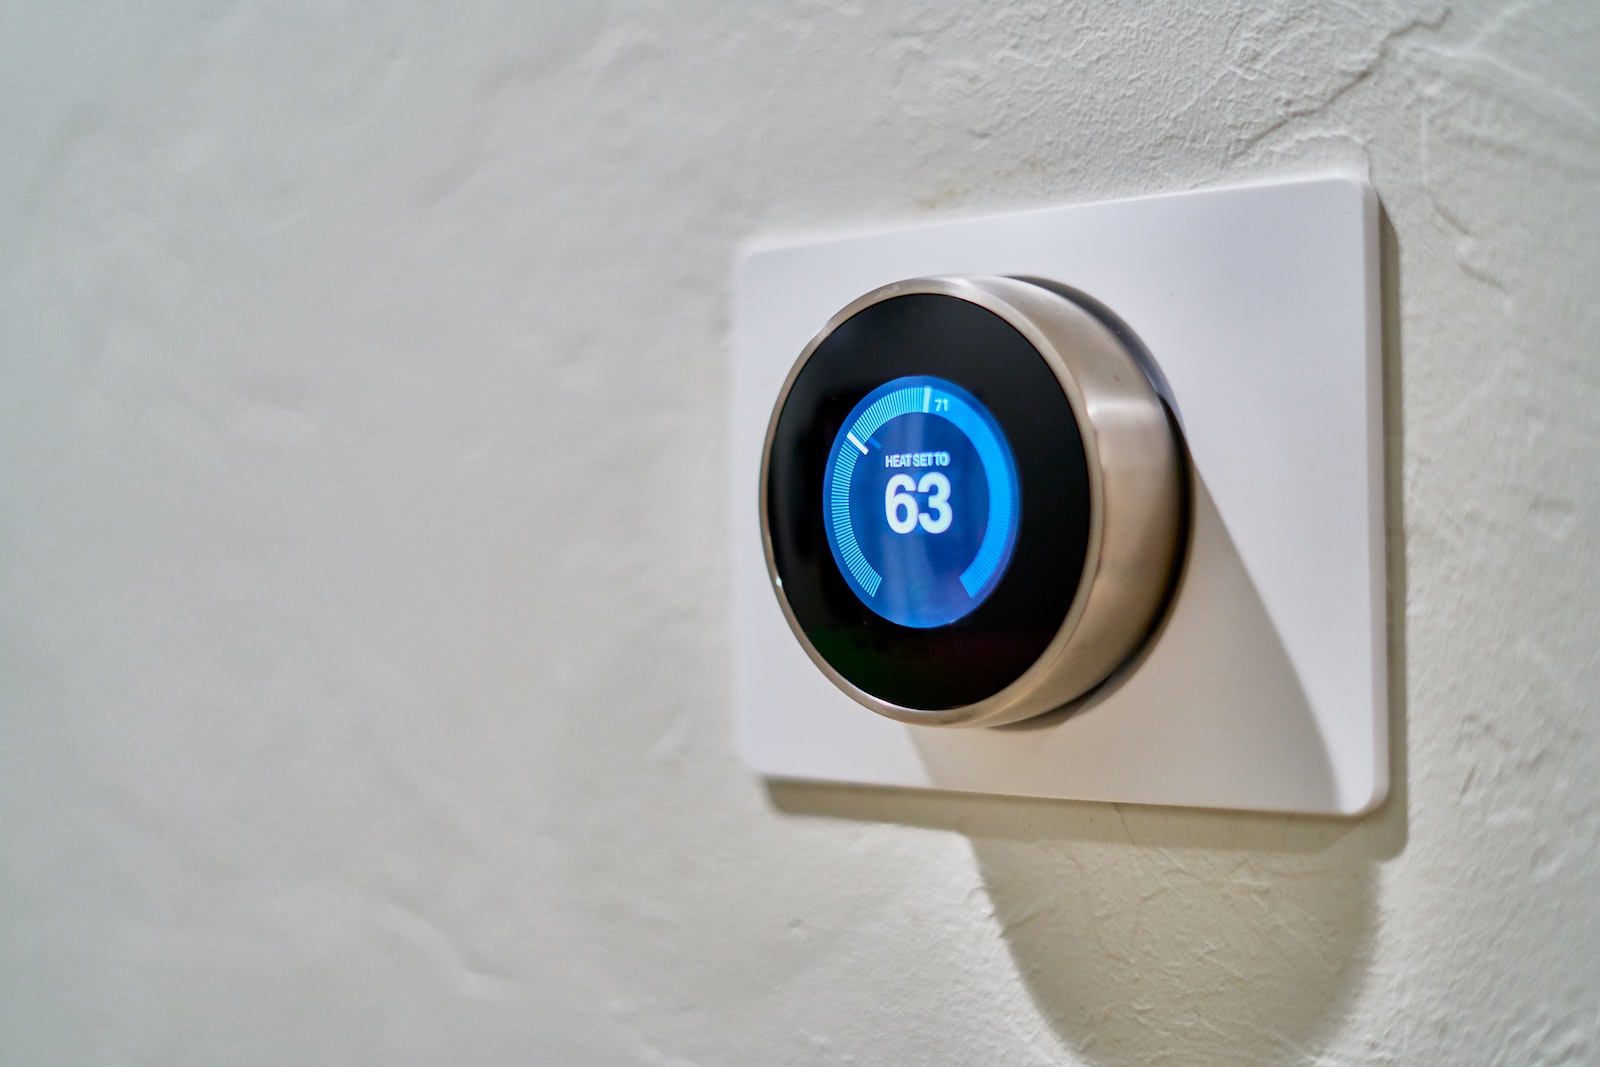
- Switch on the AC unit: Turn on the air conditioning unit by adjusting the thermostat and activating the cooling mode. Listen for any unusual sounds or vibrations that could indicate a problem.
- Check for proper operation: Observe the air conditioning unit to ensure that it is functioning as expected. Pay attention to the airflow and cooling performance. If there are any issues or abnormalities, it may indicate a wiring problem that needs to be addressed.
- Verify the disconnect switch functionality: Test the disconnect switch by turning it on and off. This will help ensure that it is properly disconnecting and connecting the power supply to the air conditioning unit as intended.
- Monitor for any signs of overheating: Keep an eye on the AC disconnect box and the wires for any signs of overheating, such as burning smells or discoloration. If you notice any of these signs, immediately turn off the power supply and consult a qualified electrician.
Testing the AC disconnect wiring is a critical final step to confirm that the connections are secure and the air conditioning unit is operating correctly. If everything is functioning properly, you can have peace of mind knowing that you have successfully wired the AC disconnect box. However, if you encounter any issues during the testing process, it is wise to seek professional assistance to resolve any potential wiring problems.
Read more: How To Jump 3 Wire AC Pressure Switch
Conclusion
Wiring an AC disconnect box is an important task that ensures the proper and safe operation of your air conditioning unit. While it is always recommended to hire a licensed electrician for any electrical work, having a basic understanding of how to wire an AC disconnect can be helpful in emergency situations or for those who prefer a DIY approach.
In this guide, we have walked you through the step-by-step process of wiring an AC disconnect box. From gathering the necessary tools and materials to testing the wiring, each step is crucial in ensuring a successful installation.
Remember, safety is paramount when working with electrical systems. Always turn off the power supply and follow all necessary precautions to prevent electrical shock or injury. Additionally, consult the manufacturer’s instructions and local building codes to ensure compliance and safety.
By following these steps and guidelines, you can confidently wire an AC disconnect box and contribute to the efficient and reliable functioning of your air conditioning unit.
If you are unsure or uncomfortable with any aspect of the wiring process, it is always best to seek professional assistance. A licensed electrician can ensure that the wiring is done correctly and in accordance with local regulations.
Stay safe, stay informed, and enjoy the comfort of your well-connected air conditioning system!
Frequently Asked Questions about How To Wire An AC Disconnect
Was this page helpful?
At Storables.com, we guarantee accurate and reliable information. Our content, validated by Expert Board Contributors, is crafted following stringent Editorial Policies. We're committed to providing you with well-researched, expert-backed insights for all your informational needs.


0 thoughts on “How To Wire An AC Disconnect”