Home>Home Security and Surveillance>How To Hang Motion Detector Lights On A Rain Gutter
Home Security and Surveillance
How To Hang Motion Detector Lights On A Rain Gutter
Modified: August 17, 2024
Increase your home security and surveillance with our step-by-step guide on how to hang motion detector lights on a rain gutter. Safeguard your property effectively!
(Many of the links in this article redirect to a specific reviewed product. Your purchase of these products through affiliate links helps to generate commission for Storables.com, at no extra cost. Learn more)
Introduction
Welcome to our comprehensive guide on how to hang motion detector lights on a rain gutter. Installing motion detector lights is an excellent way to enhance the security and safety of your home, particularly during nighttime. These lights are designed to automatically turn on when they detect motion, providing you with an effective deterrent against unwanted intruders and giving you peace of mind.
Hanging motion detector lights on a rain gutter may seem like a daunting task, but with the right tools and step-by-step instructions, you can easily accomplish this DIY project. In this guide, we will walk you through the process of installing motion detector lights on your rain gutter, ensuring that they are properly positioned and wired for optimal functionality.
Before we delve into the step-by-step instructions, it’s important to note that safety should always be your top priority. Make sure to take necessary precautions, such as turning off the power and using a stable ladder or scaffolding, to avoid any accidents. Additionally, it’s recommended to consult the manufacturer’s instructions that come with your specific motion detector light for any unique installation considerations.
Now, let’s gather the necessary tools and get started on hanging motion detector lights on your rain gutter!
Key Takeaways:
- Hanging motion detector lights on rain gutters enhances home security by automatically illuminating when motion is detected, deterring potential intruders and providing peace of mind.
- Proper installation and testing of motion detector lights, along with regular maintenance, ensure optimal functionality and improved safety for your property.
Read more: How To Hang Lights Without Gutters
Step 1: Gather the necessary tools
Before you begin the installation process, it’s important to gather all the necessary tools and equipment. Having everything you need on hand will make the installation process smoother and more efficient. Here’s a list of tools and materials you’ll need:
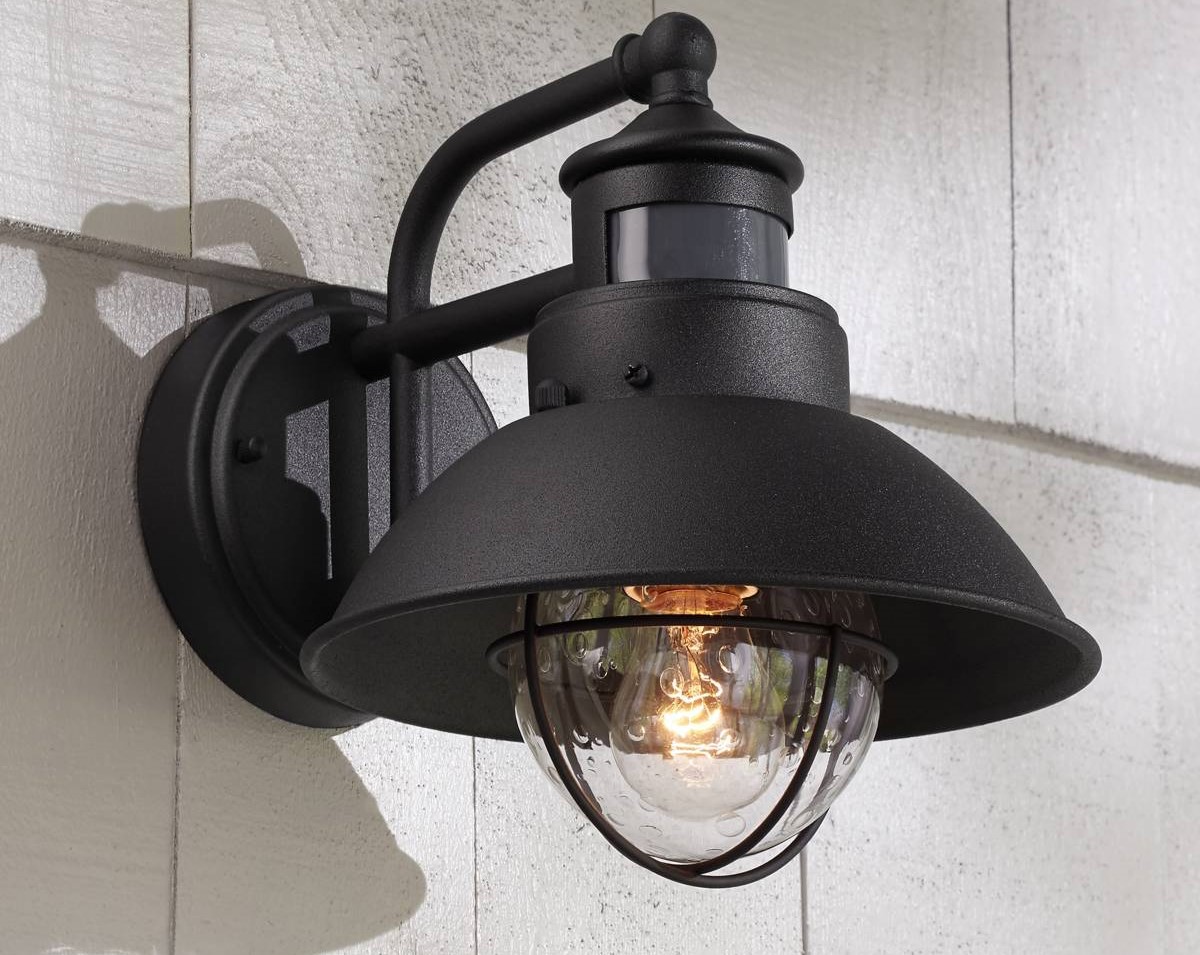
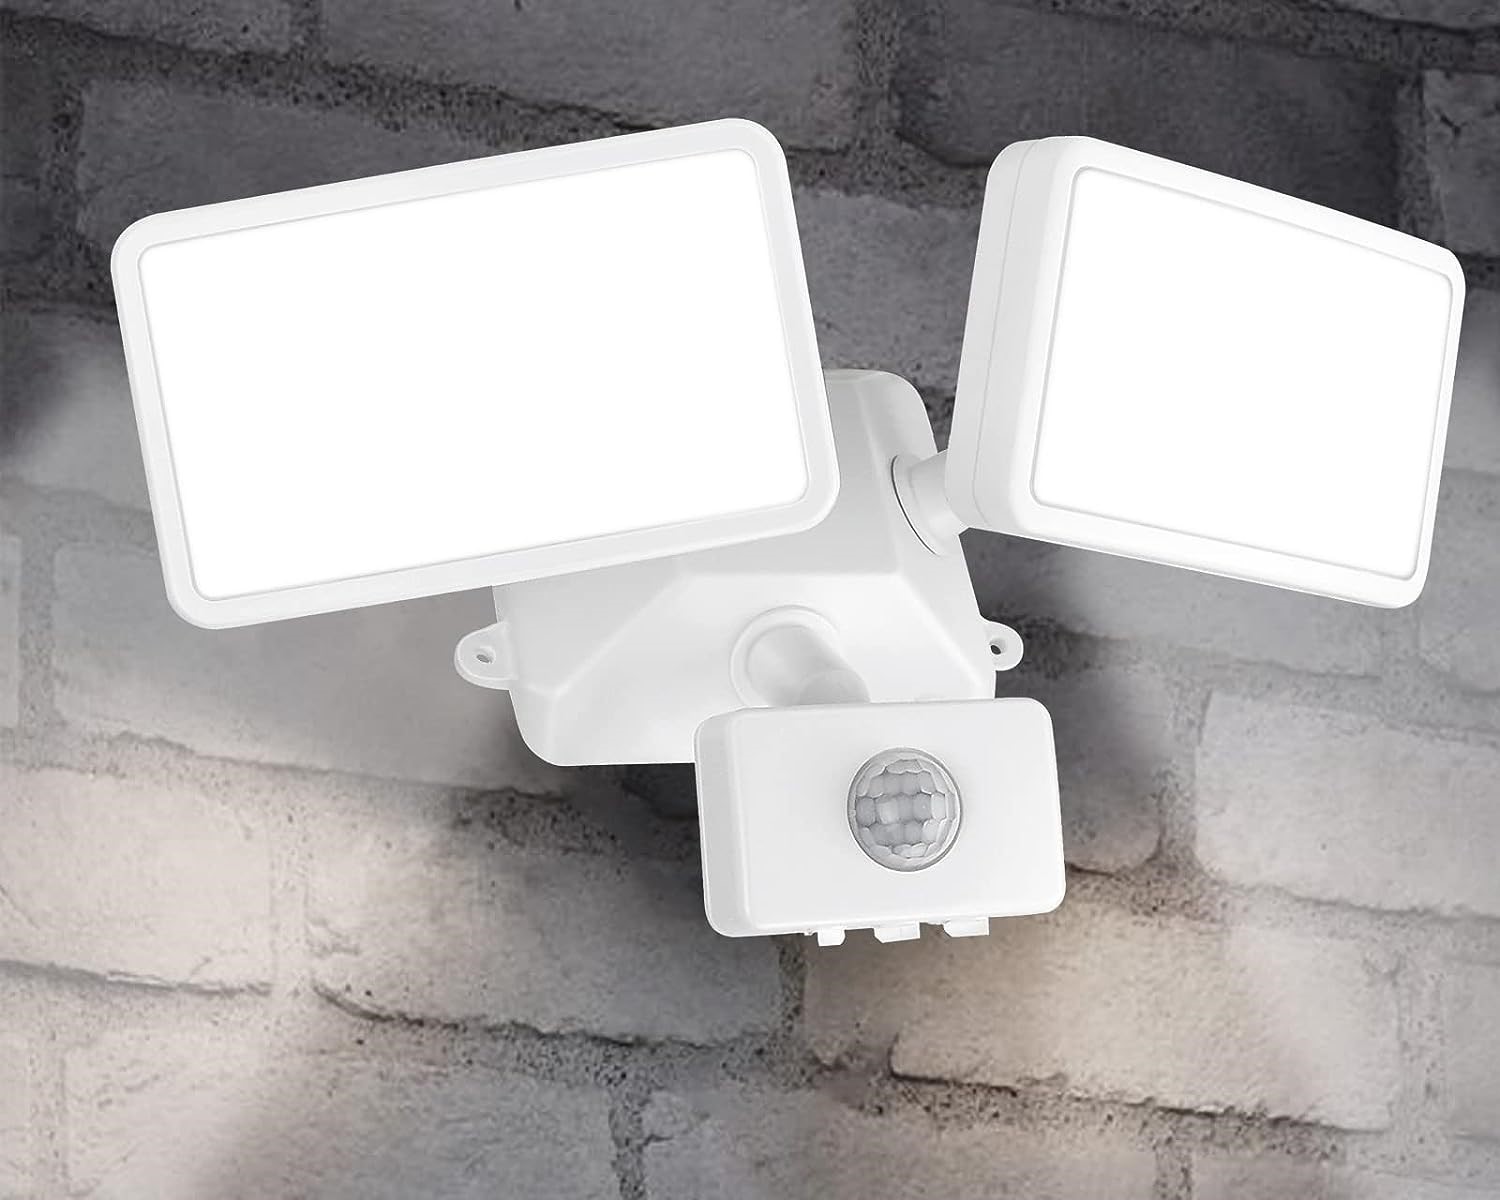
- Motion detector lights: Choose a suitable motion detector light that is designed for outdoor use and compatible with rain gutter installation.
- Mounting brackets: These brackets will be used to attach the motion detector lights to the rain gutter securely.
- Screws and anchors: Select appropriate screws and anchors that are suitable for your rain gutter material and can withstand outdoor elements.
- Screwdriver or drill: Depending on the type of screws you choose, you’ll need a screwdriver or a drill to attach the mounting brackets to the rain gutter.
- Ladder or scaffolding: Since you’ll be working at an elevated height, ensure you have a stable ladder or scaffolding to safely reach the rain gutter.
- Wire nuts: These are necessary for connecting the wiring of the motion detector lights.
- Electrical tape: Use electrical tape to secure and insulate the wiring connections.
- Wire strippers: These are essential for stripping the insulation off the electrical wires.
- Voltage tester: A voltage tester will help ensure that the power is turned off before you start working on the wiring.
Once you have gathered all the necessary tools and materials, you’re ready to move on to the next step: determining the ideal location for the motion detector lights.
Step 2: Determine the ideal location for the motion detector lights
Choosing the right location for your motion detector lights is crucial for maximizing their effectiveness. You need to consider various factors, such as the angle of detection, range, and potential obstructions. Here’s how you can determine the ideal location:
- Assess your property’s vulnerable points: Take a walk around your property and identify areas that are susceptible to break-ins or areas where you need additional illumination. These can include entry points like doors, windows, and dark corners.
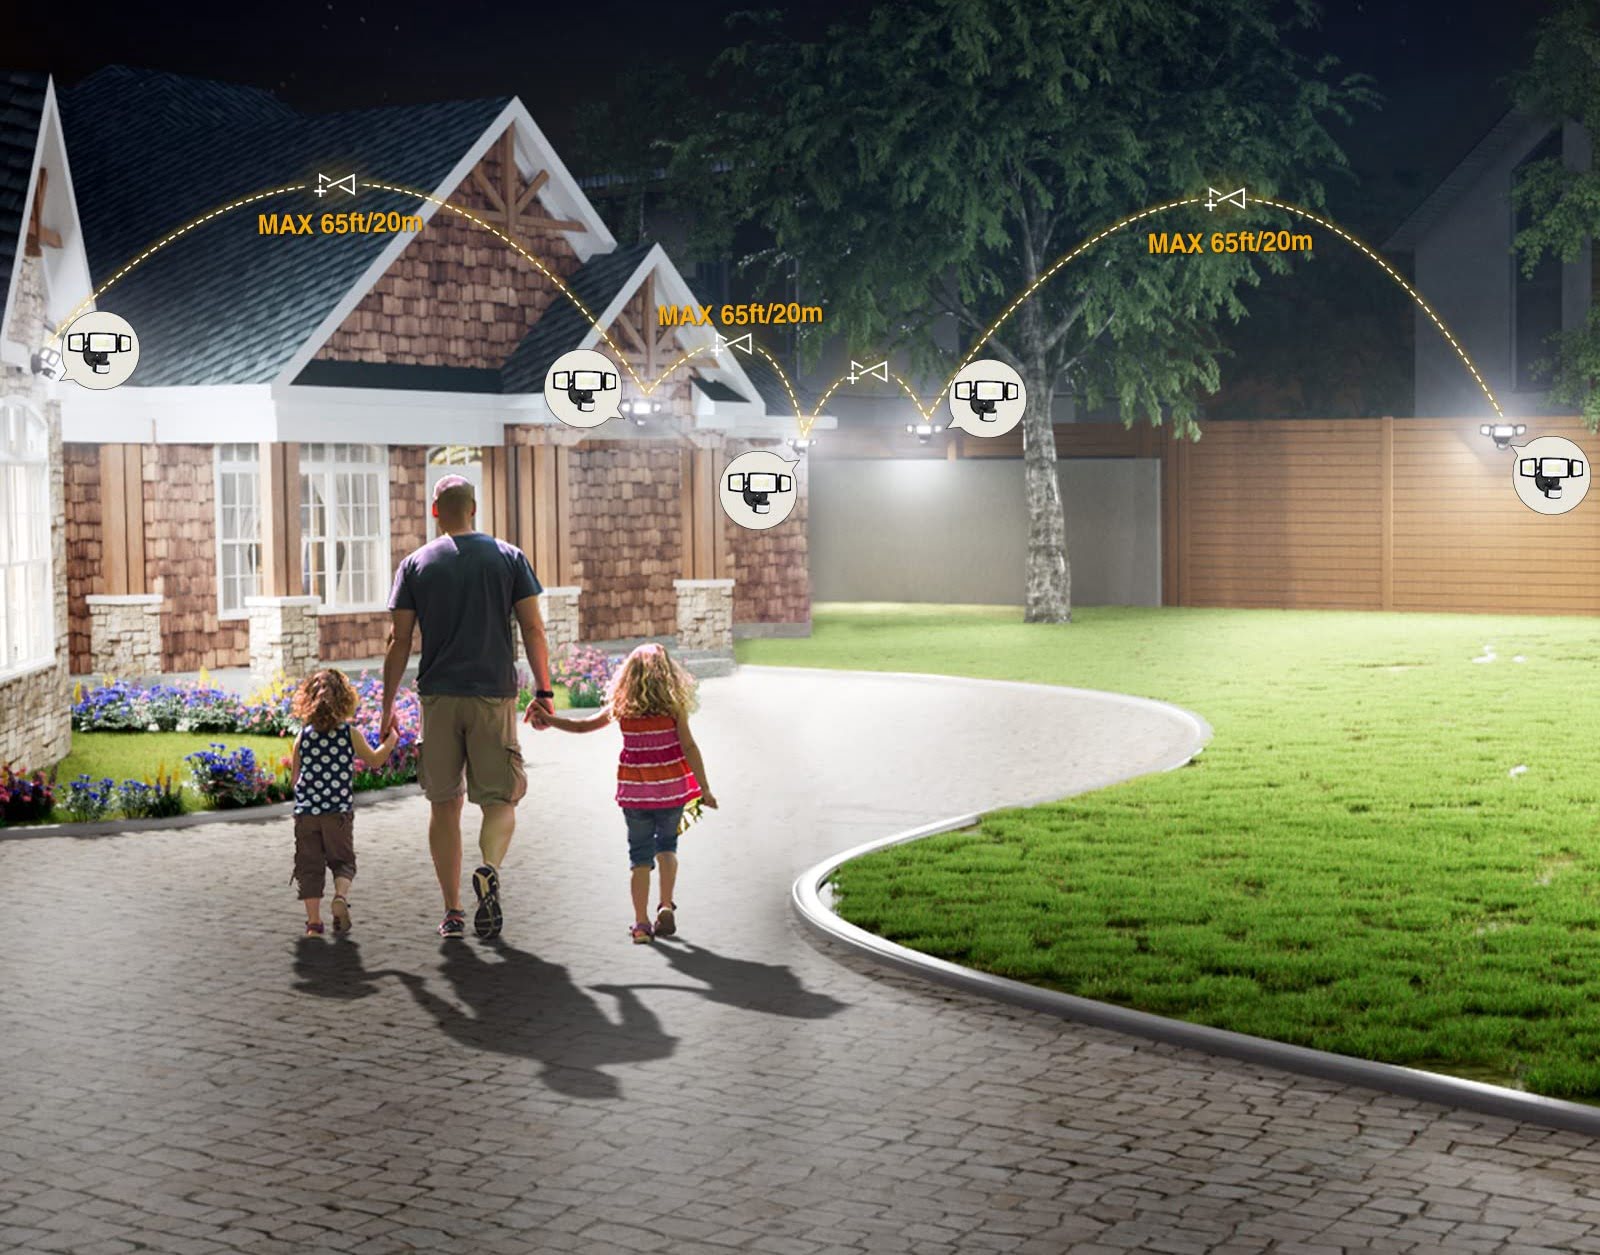
- Consider the angle of detection: Motion detector lights have a specific angle of detection, usually around 180 degrees. You’ll want to position the lights in a way that covers the desired area when motion is detected.
- Check for potential obstructions: Look for any obstructions that may hinder the performance of the motion detector lights. These can include trees, shrubs, or architectural features. Make sure there is a clear line of sight between the lights and the areas you want to illuminate.
- Measure the distance: Determine the required distance between the motion detector lights and the area you intend to cover. This will help you select lights with suitable range capabilities.
- Take into account wiring considerations: Consider the proximity to power sources and the feasibility of running wiring to the chosen location. It’s important to ensure that you have access to power for the motion detector lights.
Once you have taken these factors into consideration, you can finalize the location for your motion detector lights. Remember, the goal is to provide maximum security and visibility for your property.
With the ideal location in mind, it’s time to move on to the next step: measuring and marking the placement on the rain gutter.
Step 3: Measure and mark the placement on the rain gutter
Now that you have determined the ideal location for your motion detector lights, it’s time to measure and mark the placement on the rain gutter. This step will ensure precise positioning and proper alignment of the lights. Here’s how you can do it:
- Grab a measuring tape: Start by measuring the length of the motion detector light and the height of the rain gutter. This will give you a reference point for marking the placement.
- Select the mounting height: Consider the height at which you want to install the motion detector lights. The height will depend on factors such as the range of the lights and the desired coverage area. Typically, a height of 6-10 feet above the ground is recommended.
- Hold the measuring tape against the rain gutter: Use the measuring tape to mark the desired mounting height on the rain gutter. Make sure the measurement is consistent across all the locations where you plan to install the lights.
- Use a pencil or marker to make the markings: Make small but visible markings on the rain gutter using a pencil or marker. These markings will serve as a guide when you are installing the mounting brackets.
Remember to double-check your measurements and adjust as necessary before proceeding to the next step. This will ensure that the motion detector lights are positioned correctly and provide optimal coverage.
With the placement marked on the rain gutter, you’re ready to move on to the next step: installing the mounting bracket.
Step 4: Install the mounting bracket on the rain gutter
With the placement marked on the rain gutter, it’s time to install the mounting bracket. The mounting bracket provides a secure base for attaching the motion detector lights to the rain gutter. Here’s how you can install the bracket:
- Position the bracket: Place the mounting bracket on the rain gutter, aligning it with the marked placement. Ensure that the bracket is level and securely positioned on the gutter.
- Use a screwdriver or drill: Depending on the type of mounting bracket and screws provided, use a screwdriver or drill to attach the bracket to the rain gutter. If required, pre-drill holes in the gutter using an appropriately sized drill bit.
- Tighten the screws: Ensure that the screws are tightened securely, but be careful not to over-tighten and damage the rain gutter.
- Check the stability: Gently give the bracket a slight tug to check if it is securely attached to the rain gutter. It should be stable and not wobble or move.
Repeat this process for each motion detector light you are installing. It’s important to make sure that each mounting bracket is installed correctly and securely.
Now that you have successfully installed the mounting bracket, you’re ready to move on to the next step: attaching the motion detector light to the mounting bracket.
When hanging motion detector lights on a rain gutter, make sure to use gutter clips or hooks specifically designed for outdoor lights. These will securely attach the lights to the gutter without causing damage.
Read more: How To Replace A Motion Detector Light
Step 5: Attach the motion detector light to the mounting bracket
Now that the mounting bracket is securely installed on the rain gutter, it’s time to attach the motion detector light to the bracket. This step will ensure that the light is properly positioned and aligned for optimal functionality. Here’s how you can attach the motion detector light:
- Position the motion detector light: Hold the motion detector light against the mounting bracket, aligning it with the screw holes on the bracket. This will help you determine the correct positioning.
- Insert and tighten the screws: Insert the screws through the holes on the motion detector light and into the corresponding holes on the mounting bracket. Use a screwdriver or drill to tighten the screws, ensuring that the light is securely attached.
- Ensure proper alignment: Adjust the position of the motion detector light as needed to ensure it is properly aligned with the area you want to illuminate. Make sure the light is facing in the desired direction for optimal coverage.
Repeat this process for each motion detector light you are installing. Double-check that each light is securely attached and properly aligned before moving on to the next step.
With the motion detector lights successfully attached to the mounting brackets, you’re ready to move on to the next step: adjusting the position and angle of the lights.
Step 6: Adjust the position and angle of the motion detector light
Now that the motion detector light is attached to the mounting bracket, it’s important to adjust its position and angle to ensure optimal performance and coverage. Here’s how you can do it:
- Activate the motion sensor: Most motion detector lights have a test mode or temporary mode that allows you to activate the motion sensor without waiting for actual motion. Follow the manufacturer’s instructions to activate this mode.
- Observe the sensor’s range: Stand in the area that you want the motion detector light to cover and observe the sensor’s range. Move around to ensure that the sensor detects your movement at various distances and angles.
- Reposition the light if necessary: Based on your observations, adjust the position of the motion detector light if needed. You may need to move it closer to or farther away from the desired coverage area to achieve the desired range.
- Check for any obstructions: Ensure that there are no obstructions, such as tree branches or walls, blocking the sensor’s field of view. Trim any foliage or move objects that may interfere with the light’s effectiveness.
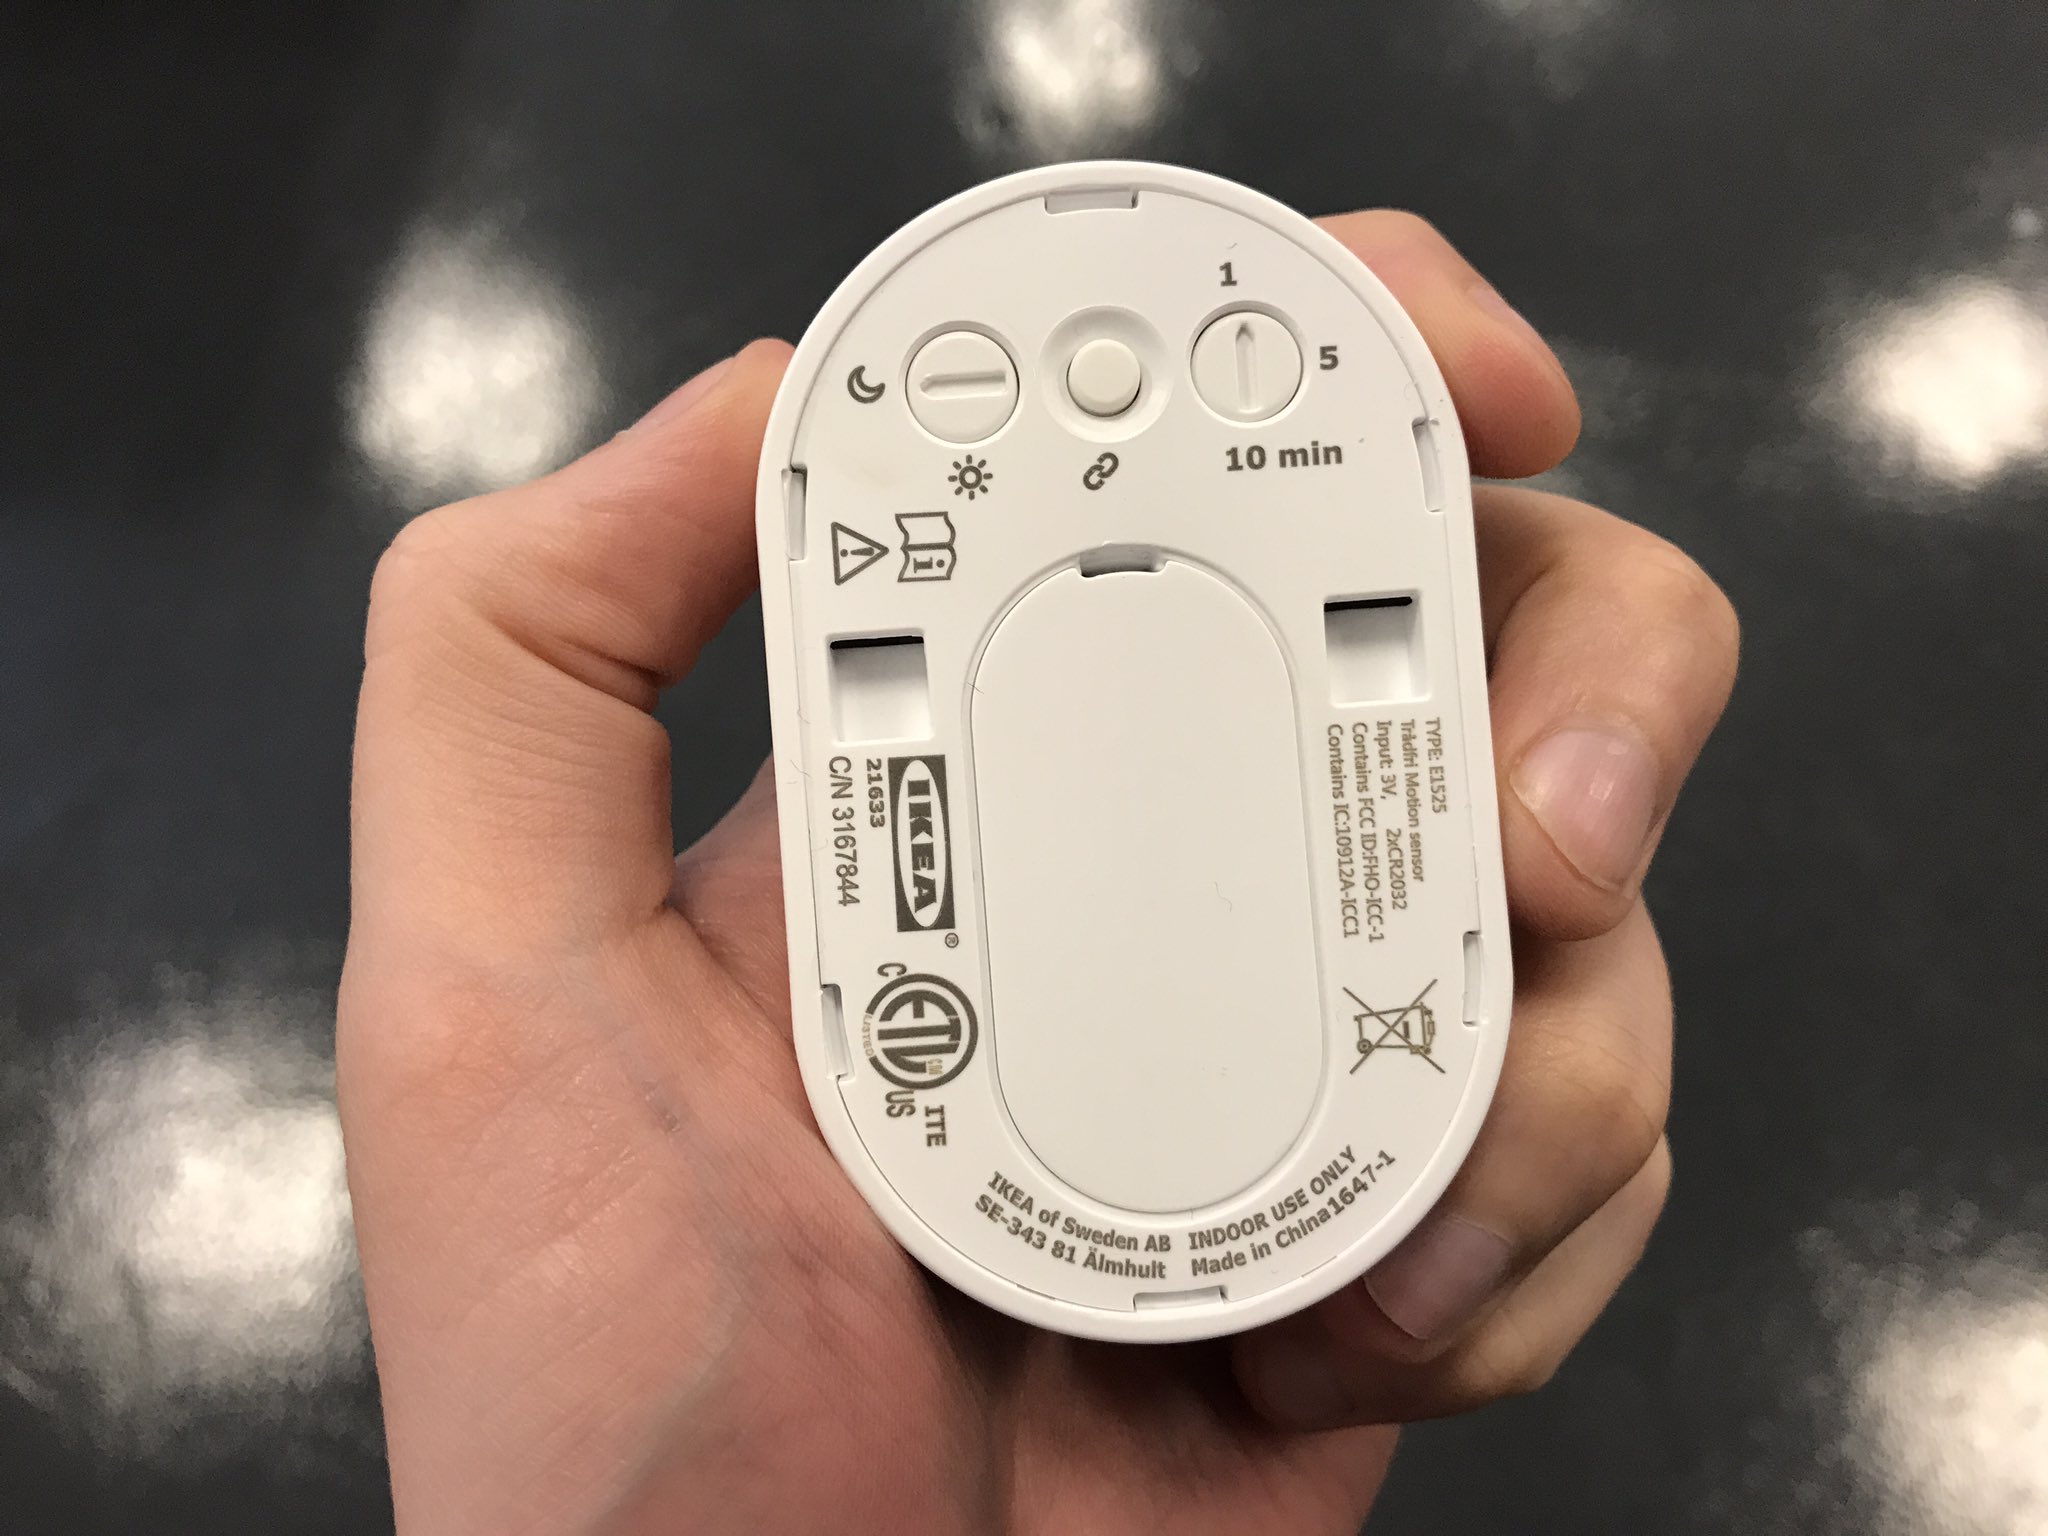
- Test the sensitivity settings: Some motion detector lights allow you to adjust the sensitivity settings. Test different sensitivity levels to ensure that the light is triggered appropriately and isn’t overly sensitive or too insensitive.
Remember to take your time and fine-tune the position and angle of each motion detector light. Make sure that they are aligned correctly and provide adequate coverage for your desired areas.
With the motion detector lights adjusted, you’re ready to move on to the next step: connecting the wiring to the motion detector light.
Step 7: Connect the wiring to the motion detector light
Connecting the wiring to the motion detector light is a crucial step in ensuring its proper functioning. Follow these steps to safely and correctly connect the wiring:
- Turn off the power: Before working on any electrical connections, ensure that the power to the area is turned off. Locate the circuit breaker or switch that controls the lights and turn it off.
- Prepare the wires: Strip about half an inch of insulation off the ends of the electrical wires. This will expose the bare copper wire for connection.
- Connect the wires: Depending on the specific instructions provided by the manufacturer, match the wires of the motion detector light to the corresponding wires in your electrical system. This typically involves connecting the black wire to the black wire, the white wire to the white wire, and the green or copper wire to the grounding wire.
- Secure the connections: Once the wires are matched and lined up, twist them together tightly. Use wire nuts to secure the connections and prevent any loose or exposed wires.
- Insulate the connections: Wrap electrical tape around the wire nuts to provide additional insulation and protect the connections from moisture and damage.
After completing the wiring connections, carefully tuck the wires into the back of the motion detector light to ensure they are out of sight and protected from the elements. Always double-check the connections to ensure they are secure and insulated properly.
With the wiring successfully connected, you’re ready to move on to the final step: testing the motion detector light!
Step 8: Test the motion detector light
Testing the motion detector light is the final step to ensure that it is functioning correctly and providing the desired level of security and illumination. Here’s how you can test the light:
- Turn on the power: Once you have completed the wiring and made sure all connections are secure, go to the circuit breaker or switch and turn on the power to the motion detector light.
- Adjust the settings: Refer to the manufacturer’s instructions to adjust any settings or sensitivity levels on the motion detector light. This may include adjusting the range, duration of illumination, and sensitivity to motion.
- Walk in the detection area: Move around within the detection range of the motion sensor to trigger the light. Observe if the light turns on quickly and stays on for the desired duration.
- Test at different times: Perform tests during different times of the day to ensure that the light is responsive and functional during both daylight and nighttime conditions.
- Make any necessary adjustments: If you find that the light is not turning on when expected or is too sensitive, make adjustments to the settings or reposition the light slightly to improve its performance.
By testing the motion detector light, you can confirm that it is operating as intended and providing the added security and convenience you were looking for. If any issues arise during the testing phase, refer to the manufacturer’s instructions or seek assistance to troubleshoot and resolve the problem.
Congratulations! You have successfully hung motion detector lights on your rain gutter. With these lights in place, you can enjoy improved security and peace of mind knowing that your home is well-protected.
Now that you have completed the installation and testing, it’s important to periodically check and maintain the motion detector lights to ensure they continue to function properly. Regularly inspect the lights for any damage, clean them as needed, and replace any worn-out components to maintain optimal performance.
Thank you for following this comprehensive guide. We hope it has been helpful in assisting you with hanging motion detector lights on your rain gutter.
Please note that this article provides general instructions and guidelines. It is always recommended to consult the specific instructions and guidelines provided by the manufacturer for your particular motion detector lights to ensure proper installation and safety.
Read more: How To Reset Motion Detector Lights
Conclusion
Installing motion detector lights on your rain gutter is a valuable addition to your home security and surveillance system. By following the step-by-step guide outlined in this article, you have learned how to hang motion detector lights with ease. These lights enhance the safety of your property by automatically turning on when they detect motion, serving as a deterrent to potential intruders.
Throughout the installation process, you have learned the importance of gathering the necessary tools, determining the ideal location, measuring and marking the placement on the rain gutter, installing the mounting bracket, attaching the motion detector light, adjusting its position and angle, connecting the wiring, and testing the light to ensure proper functionality.
Remember, safety should always be a priority. Take necessary precautions, such as turning off the power and using a stable ladder or scaffolding, to avoid any accidents during the installation process. Additionally, be sure to consult the manufacturer’s instructions provided with your motion detector lights for any specific considerations.
Once your motion detector lights are installed and tested successfully, periodically check and maintain them to ensure they continue to operate effectively. Regular inspection, cleaning, and component replacement, when necessary, will help keep your lights in optimal working condition.
We hope that this guide has provided you with valuable insights and assistance in hanging motion detector lights on your rain gutter. With these lights in place, you can enjoy improved home security and peace of mind, knowing that your property is well-protected.
Thank you for taking the time to follow this comprehensive guide. If you have any further questions or need additional assistance, don’t hesitate to reach out. Stay safe!
Frequently Asked Questions about How To Hang Motion Detector Lights On A Rain Gutter
Was this page helpful?
At Storables.com, we guarantee accurate and reliable information. Our content, validated by Expert Board Contributors, is crafted following stringent Editorial Policies. We're committed to providing you with well-researched, expert-backed insights for all your informational needs.