Articles
How To Hang Microwave Under Cabinet
Modified: August 24, 2024
Looking to hang your microwave under the cabinet in your kitchen? Find tips and step-by-step instructions for installing kitchen furniture with ease.
(Many of the links in this article redirect to a specific reviewed product. Your purchase of these products through affiliate links helps to generate commission for Storables.com, at no extra cost. Learn more)
Introduction
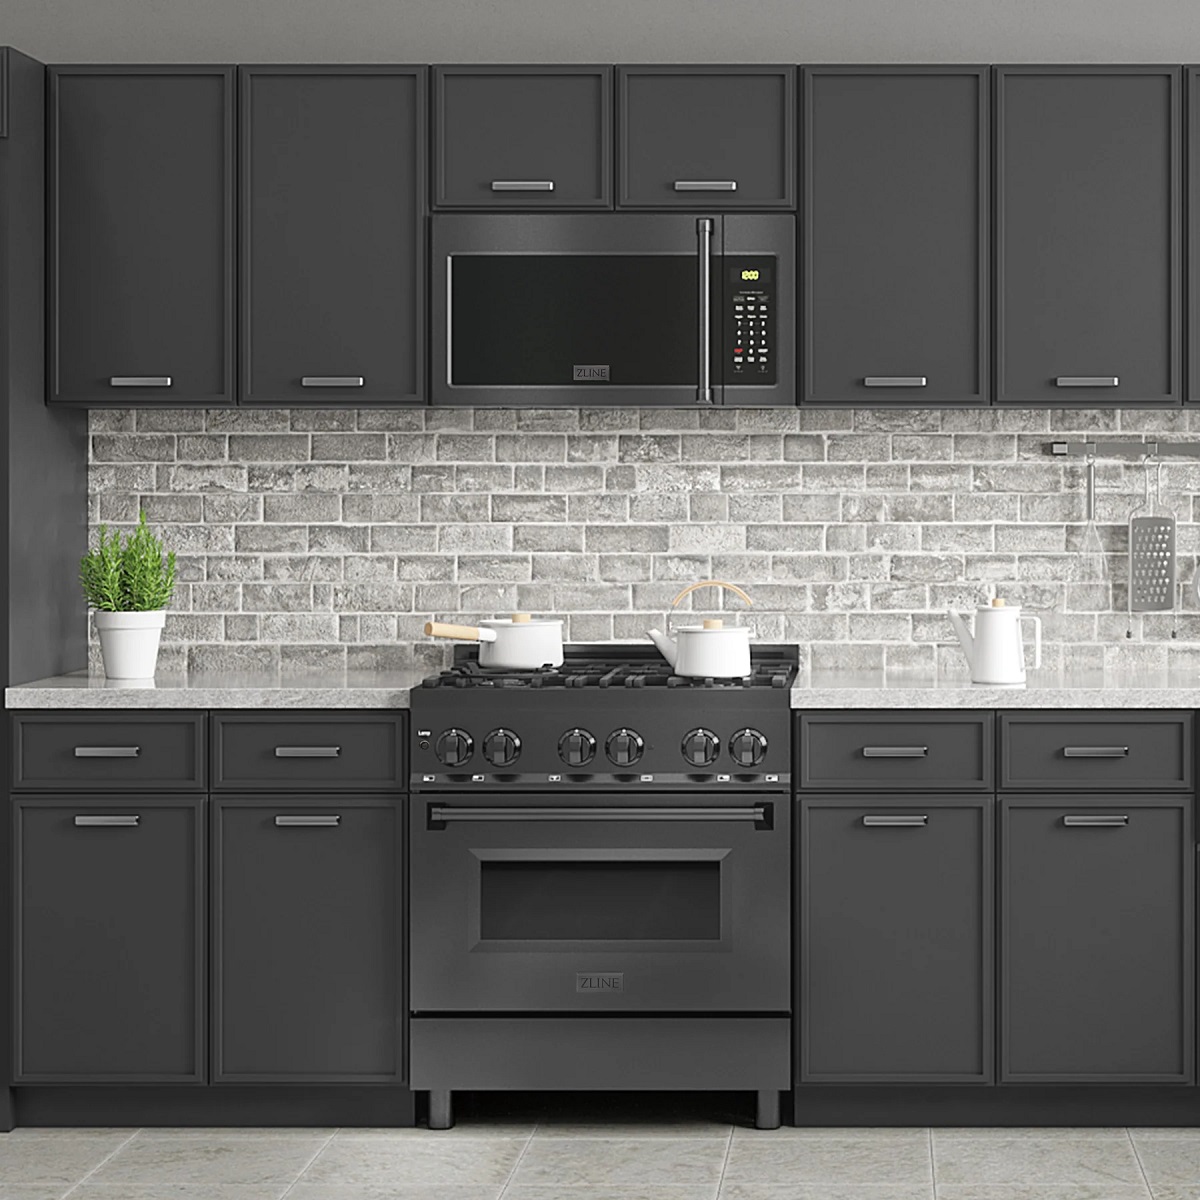
Are you tired of having your kitchen counter space cluttered with a bulky microwave? Hanging a microwave under a cabinet is a great solution to free up valuable counter space while still keeping your microwave within easy reach. Not only does it create a more organized and spacious kitchen, but it also adds a sleek and modern look to your cooking area.
In this step-by-step guide, we will show you how to hang a microwave under a cabinet. By following these instructions and using the right tools, you can successfully complete this project and enjoy the benefits of a well-organized kitchen.
Before we get started, it’s important to note that the specific instructions may vary depending on the make and model of your microwave and cabinet. Always refer to the manufacturer’s instructions for your specific microwave and follow all safety precautions.
Now, let’s gather the tools and materials needed for this project.
Key Takeaways:
- Hanging a microwave under a cabinet is a practical and space-saving solution that adds a modern touch to your kitchen. Follow the step-by-step guide for a successful installation and enjoy the convenience it brings to your cooking area.
- Remember to measure the space, prepare the cabinet, install the mounting plate, secure the microwave, connect the power source, and test and adjust the microwave. Always prioritize safety and seek professional assistance if needed.
Read more: How To Install Under Cabinet Microwave
Tools and Materials Needed
To hang a microwave under a cabinet, you will need the following tools and materials:
- Drill
- Screwdriver
- Tape measure
- Pencil
- Stud finder
- Mounting plate
- Microwave bracket
- Screws
- Toggle bolts
- Power drill
- Wire nuts
- Electrical tape
It’s important to have these tools and materials readily available before you start the installation process. This will ensure a smooth and efficient process without any unnecessary interruptions. Now that you have everything you need, let’s move on to the first step of the installation process: measuring the space and choosing a location.
Step 1: Measure the Space and Choose a Location
The first step in hanging a microwave under a cabinet is to accurately measure the available space and choose the right location for your microwave. This ensures a proper fit and optimal functionality.
Start by measuring the width, height, and depth of the cabinet where you plan to hang the microwave. Take note of these measurements as they will guide you in selecting a microwave that fits perfectly within the designated space.
Next, consider the location within your kitchen where you want to hang the microwave. Ideally, it should be positioned at a height that allows easy access for everyday use. Take into account factors such as the height of the individuals using the microwave and the distance from other appliances or fixtures.
Additionally, make sure the chosen location has access to an electrical outlet. This will ensure that you can easily connect the microwave to a power source without the need for complicated and potentially hazardous wiring.
Consider the overall aesthetics of your kitchen as well. You want to choose a location that complements the design and flow of your space. It’s also important to ensure that the cabinet you select can support the weight of the microwave.
Once you have measured the space and chosen the location, you’re one step closer to hanging your microwave under the cabinet. Next, we’ll move on to preparing the cabinet for installation.
Step 2: Prepare the Cabinet
Before you can install the mounting plate and hang the microwave, you need to prepare the cabinet to ensure it is sturdy and capable of supporting the weight of the microwave.
Start by removing any items or shelves inside the cabinet to create enough space for the microwave. This will give you a clear and unobstructed area for the installation.
Next, locate the studs in the wall behind the cabinet using a stud finder. Mark the positions of the studs with a pencil. Mounting the microwave to the studs will provide the necessary stability and prevent it from coming loose over time.
If there are no studs available in the desired location, you can use toggle bolts to anchor the mounting plate to the wall. Make sure the toggle bolts are suitable for the weight of the microwave and follow the manufacturer’s instructions for proper installation.
Once you have identified the studs or determined the appropriate location for the toggle bolts, use a power drill to create pilot holes in the cabinet for the mounting screws. These holes will allow you to attach the mounting plate securely to the cabinet.
After drilling the pilot holes, attach the mounting plate to the cabinet using the screws provided. Make sure the mounting plate is level and securely fastened.
Now that you have prepared the cabinet, it’s time to move on to the next step: installing the mounting plate.
Step 3: Install the Mounting Plate
With the cabinet prepared, it’s time to install the mounting plate. The mounting plate provides a stable surface to attach the microwave bracket, ensuring secure and safe installation.
Start by aligning the mounting plate with the pre-drilled holes in the cabinet. Use the provided screws to attach the mounting plate securely. Make sure the plate is level and tightly fastened to prevent any wobbling or movement.
Double-check that the mounting plate is aligned properly with the location you chose for the microwave. This will ensure that the microwave will hang straight and be positioned at the desired height.
Once the mounting plate is securely installed, take a moment to inspect it and ensure that there are no visible gaps or loose screws. This will help prevent any potential issues when attaching the microwave bracket.
Now that the mounting plate is in place, we can move on to the next step: attaching the microwave bracket. This bracket will hold the microwave and allow it to hang securely under the cabinet.
Before we proceed, make sure you have the microwave bracket and the necessary screws ready. Refer to the manufacturer’s instructions for your specific microwave bracket to ensure you have the correct hardware.
When hanging a microwave under a cabinet, make sure to use a sturdy mounting kit specifically designed for this purpose. Follow the manufacturer’s instructions carefully to ensure proper installation and safety.
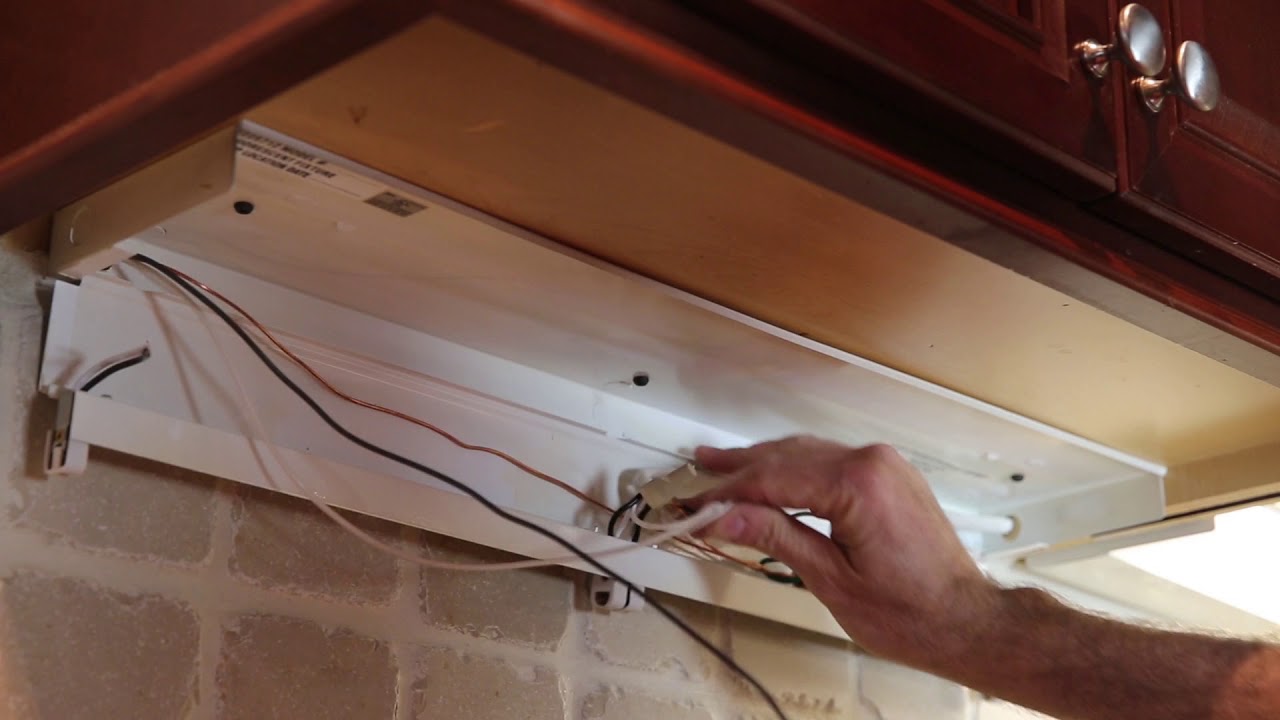
Read more: How To Wire Under Cabinet Lighting
Step 4: Attach the Microwave Bracket
With the mounting plate securely installed, it’s time to attach the microwave bracket. The bracket serves as the support system for the microwave, holding it in place and ensuring stability.
Begin by positioning the microwave bracket onto the mounting plate. Align the holes on the bracket with the corresponding holes on the mounting plate.
Once aligned, insert the screws provided with the bracket into the holes and tighten them using a screwdriver or drill. Make sure the screws are secure but be careful not to overtighten and damage the bracket or mounting plate.
During this step, it’s crucial to ensure that the bracket is level and properly aligned. Use a level tool to check for any tilting or misalignment. Adjust the bracket as necessary before tightening the screws completely.
Take a moment to double-check the stability of the bracket and make sure it is firmly attached to the mounting plate. A securely attached bracket will ensure the safe hanging of your microwave.
Now that the microwave bracket is securely in place, we are ready to move on to the next step: securing the microwave to the bracket. This is the exciting part where you will see your microwave taking its place under the cabinet.
Before we proceed, ensure that you have the necessary screws or hardware to attach the microwave to the bracket. Refer to the manufacturer’s instructions for your specific microwave model.
Step 5: Secure the Microwave to the Bracket
Now that the microwave bracket is securely attached to the mounting plate, it’s time to secure the microwave itself to the bracket. This step ensures that the microwave is safely held in place and will not come loose or fall.
Start by positioning the microwave onto the bracket, aligning the holes on the bottom of the microwave with the holes on the bracket.
Once aligned, insert the screws or bolts provided by the manufacturer into the holes, tightening them with a screwdriver or wrench. Be careful not to overtighten, as it can damage the microwave or bracket.
Ensure that the screws or bolts are secure, holding the microwave firmly in place. Give it a gentle tug to check for any wobbling or movement. If the microwave feels unstable, double-check the alignment and tightness of the screws or bolts.
It’s important to note that the specific installation method may vary depending on the make and model of your microwave. Always refer to the manufacturer’s instructions for your specific microwave and follow their guidelines for securing the microwave to the bracket.
With the microwave securely attached to the bracket, we can now move on to the next step: connecting the power source to the microwave. This step ensures that your microwave can be powered on and used conveniently.
Before we proceed, make sure you have access to an electrical outlet and the necessary electrical tools, such as wire nuts and electrical tape.
Step 6: Connect the Power Source
Now that the microwave is securely attached to the bracket, it’s time to connect the power source. This step is essential for ensuring that your microwave can be powered on and used effectively.
Start by locating the electrical outlet closest to the hanging location of the microwave. Ensure that the outlet is easily accessible and in good working condition.
Next, check the cord of the microwave for any damage or frayed wires. If you notice any issues, it’s important to address them before connecting the microwave to the power source.
If your microwave has a detachable power cord, plug it securely into the back of the microwave. Make sure it is inserted fully and properly aligned. If your microwave is hardwired, follow the manufacturer’s instructions for wiring it to an electrical junction box.
If necessary, use wire nuts and electrical tape to secure the connections between the microwave’s power cord and the electrical wires. This step ensures a safe and reliable electrical connection.
Before plugging the microwave into the electrical outlet, double-check the voltage requirements of your microwave. Ensure that the outlet can provide the necessary voltage to power your microwave. Using the wrong voltage can damage your microwave or even pose a safety hazard.
Once you have confirmed the compatibility, plug the microwave into the electrical outlet and ensure that it fits snugly. Avoid using extension cords or power strips if possible, as they can increase the risk of electrical issues.
Now that the microwave is connected to the power source, it’s time to move on to the next step: testing and adjusting the microwave. This is the final step before you can start using your newly installed under-cabinet microwave!
Before continuing, take a moment to ensure that all safety precautions are followed when working with electricity. If you are unsure or uncomfortable with electrical work, it is recommended to seek assistance from a qualified professional.
Step 7: Test and Adjust the Microwave
With the microwave securely attached and connected to the power source, it’s time to test and adjust the microwave to ensure it is functioning properly.
Start by turning on the microwave and checking that all the buttons and functions are working as expected. Test the different power levels, timer, and any additional features your microwave may have.
While the microwave is running, pay attention to any unusual noises, vibrations, or signs of malfunction. If you notice any issues, refer to the manufacturer’s instructions or contact their customer support for guidance.
Once you have confirmed that the microwave is operating correctly, take a step back and observe its position under the cabinet. Ensure that it is level and aligned with the surrounding area.
If adjustments are needed, carefully loosen the screws or bolts on the bracket and make the necessary adjustments. Once the microwave is in the desired position, retighten the screws or bolts to secure it in place.
Take a moment to step back and appreciate your newly installed under-cabinet microwave. It not only saves valuable countertop space but also adds a modern touch to your kitchen.
Remember to regularly clean and maintain your microwave to keep it in optimal condition. Follow the manufacturer’s instructions for cleaning and maintenance to ensure its longevity.
Congratulations! You have successfully hung your microwave under a cabinet. Enjoy the convenience and functionality it brings to your kitchen.
Before we conclude, ensure that you have followed all safety guidelines throughout the installation process. If you are unsure or uncomfortable with any steps, it’s always best to seek assistance from a professional.
Thank you for following this step-by-step guide. We hope this has been helpful in your journey to hang a microwave under a cabinet.
Read more: How To Hang Curtains Under Loft Bed
Conclusion
Hanging a microwave under a cabinet is a practical and space-saving solution for any kitchen. By following the steps outlined in this guide, you can successfully complete the installation process and have a fully functional and aesthetically pleasing under-cabinet microwave.
Throughout this guide, we have discussed the importance of measuring the space, preparing the cabinet, installing the mounting plate, attaching the microwave bracket, securing the microwave, connecting the power source, and testing and adjusting the microwave.
Remember to always refer to the manufacturer’s instructions for your specific microwave model and follow all safety precautions. If you are unsure or uncomfortable with any step, it’s best to seek assistance from a professional.
Hanging a microwave under a cabinet not only frees up valuable countertop space but also adds a modern and streamlined look to your kitchen. It allows for easy access to your microwave while keeping it out of the way when not in use.
Regularly clean and maintain your microwave to ensure its longevity and optimal performance. Follow the manufacturer’s instructions for cleaning and maintenance to keep your microwave in top shape.
Thank you for joining us on this journey to hang a microwave under a cabinet. Enjoy the convenience and functionality it brings to your kitchen. Happy cooking!
Frequently Asked Questions about How To Hang Microwave Under Cabinet
Was this page helpful?
At Storables.com, we guarantee accurate and reliable information. Our content, validated by Expert Board Contributors, is crafted following stringent Editorial Policies. We're committed to providing you with well-researched, expert-backed insights for all your informational needs.

0 thoughts on “How To Hang Microwave Under Cabinet”