Articles
How To Replace Under Sink Cabinet Floor
Modified: February 27, 2024
Learn the step-by-step process of replacing the under sink cabinet floor with our informative articles. Improve the functionality and appearance of your kitchen.
(Many of the links in this article redirect to a specific reviewed product. Your purchase of these products through affiliate links helps to generate commission for Storables.com, at no extra cost. Learn more)
Introduction
Having a sturdy and functional under sink cabinet floor is essential to prevent water damage and ensure the longevity of your kitchen cabinets. Over time, the floor of the under sink cabinet can become worn, warped, or damaged due to moisture and regular use. In such cases, it is necessary to replace the under sink cabinet floor to maintain the structural integrity of your cabinets.
In this article, we will provide you with a step-by-step guide on how to replace the under sink cabinet floor. Whether you are a DIY enthusiast or a homeowner looking to save on repair costs, this guide will equip you with the knowledge and skills needed to successfully complete the project.
Before we dive into the steps, let’s take a look at the tools and materials you will need for this project.
Key Takeaways:
- Maintaining a sturdy under sink cabinet floor is crucial for preventing water damage. Follow the step-by-step guide to replace the floor and ensure the longevity of your kitchen cabinets.
- Test the stability, weight-bearing capacity, and water resistance of the replaced floor to guarantee its effectiveness. Elevate the visual appeal by adding a personal touch through paint or stain.
Read more: How To Replace Water Valve Under Sink
Tools and Materials Needed
Before you begin replacing the under sink cabinet floor, gather the following tools and materials:
Tools:
- A screwdriver
- A utility knife
- A pry bar
- A measuring tape
- A circular saw or a jigsaw
- A pencil
- A drill
- Sanding block or sandpaper
- A paintbrush or roller
- A hammer
Materials:
- Plywood or a similar sheet material
- Wood glue
- Screws
- Wood stain or paint (if desired)
- Waterproofing sealant
- Plastic sheeting or drop cloth
Make sure to have all these tools and materials ready before starting the project. This will save you time and ensure that you are fully prepared to replace the under sink cabinet floor.
Step 1: Remove the Existing Under Sink Cabinet Floor
Before you can replace the under sink cabinet floor, you need to remove the existing one. Follow these steps:
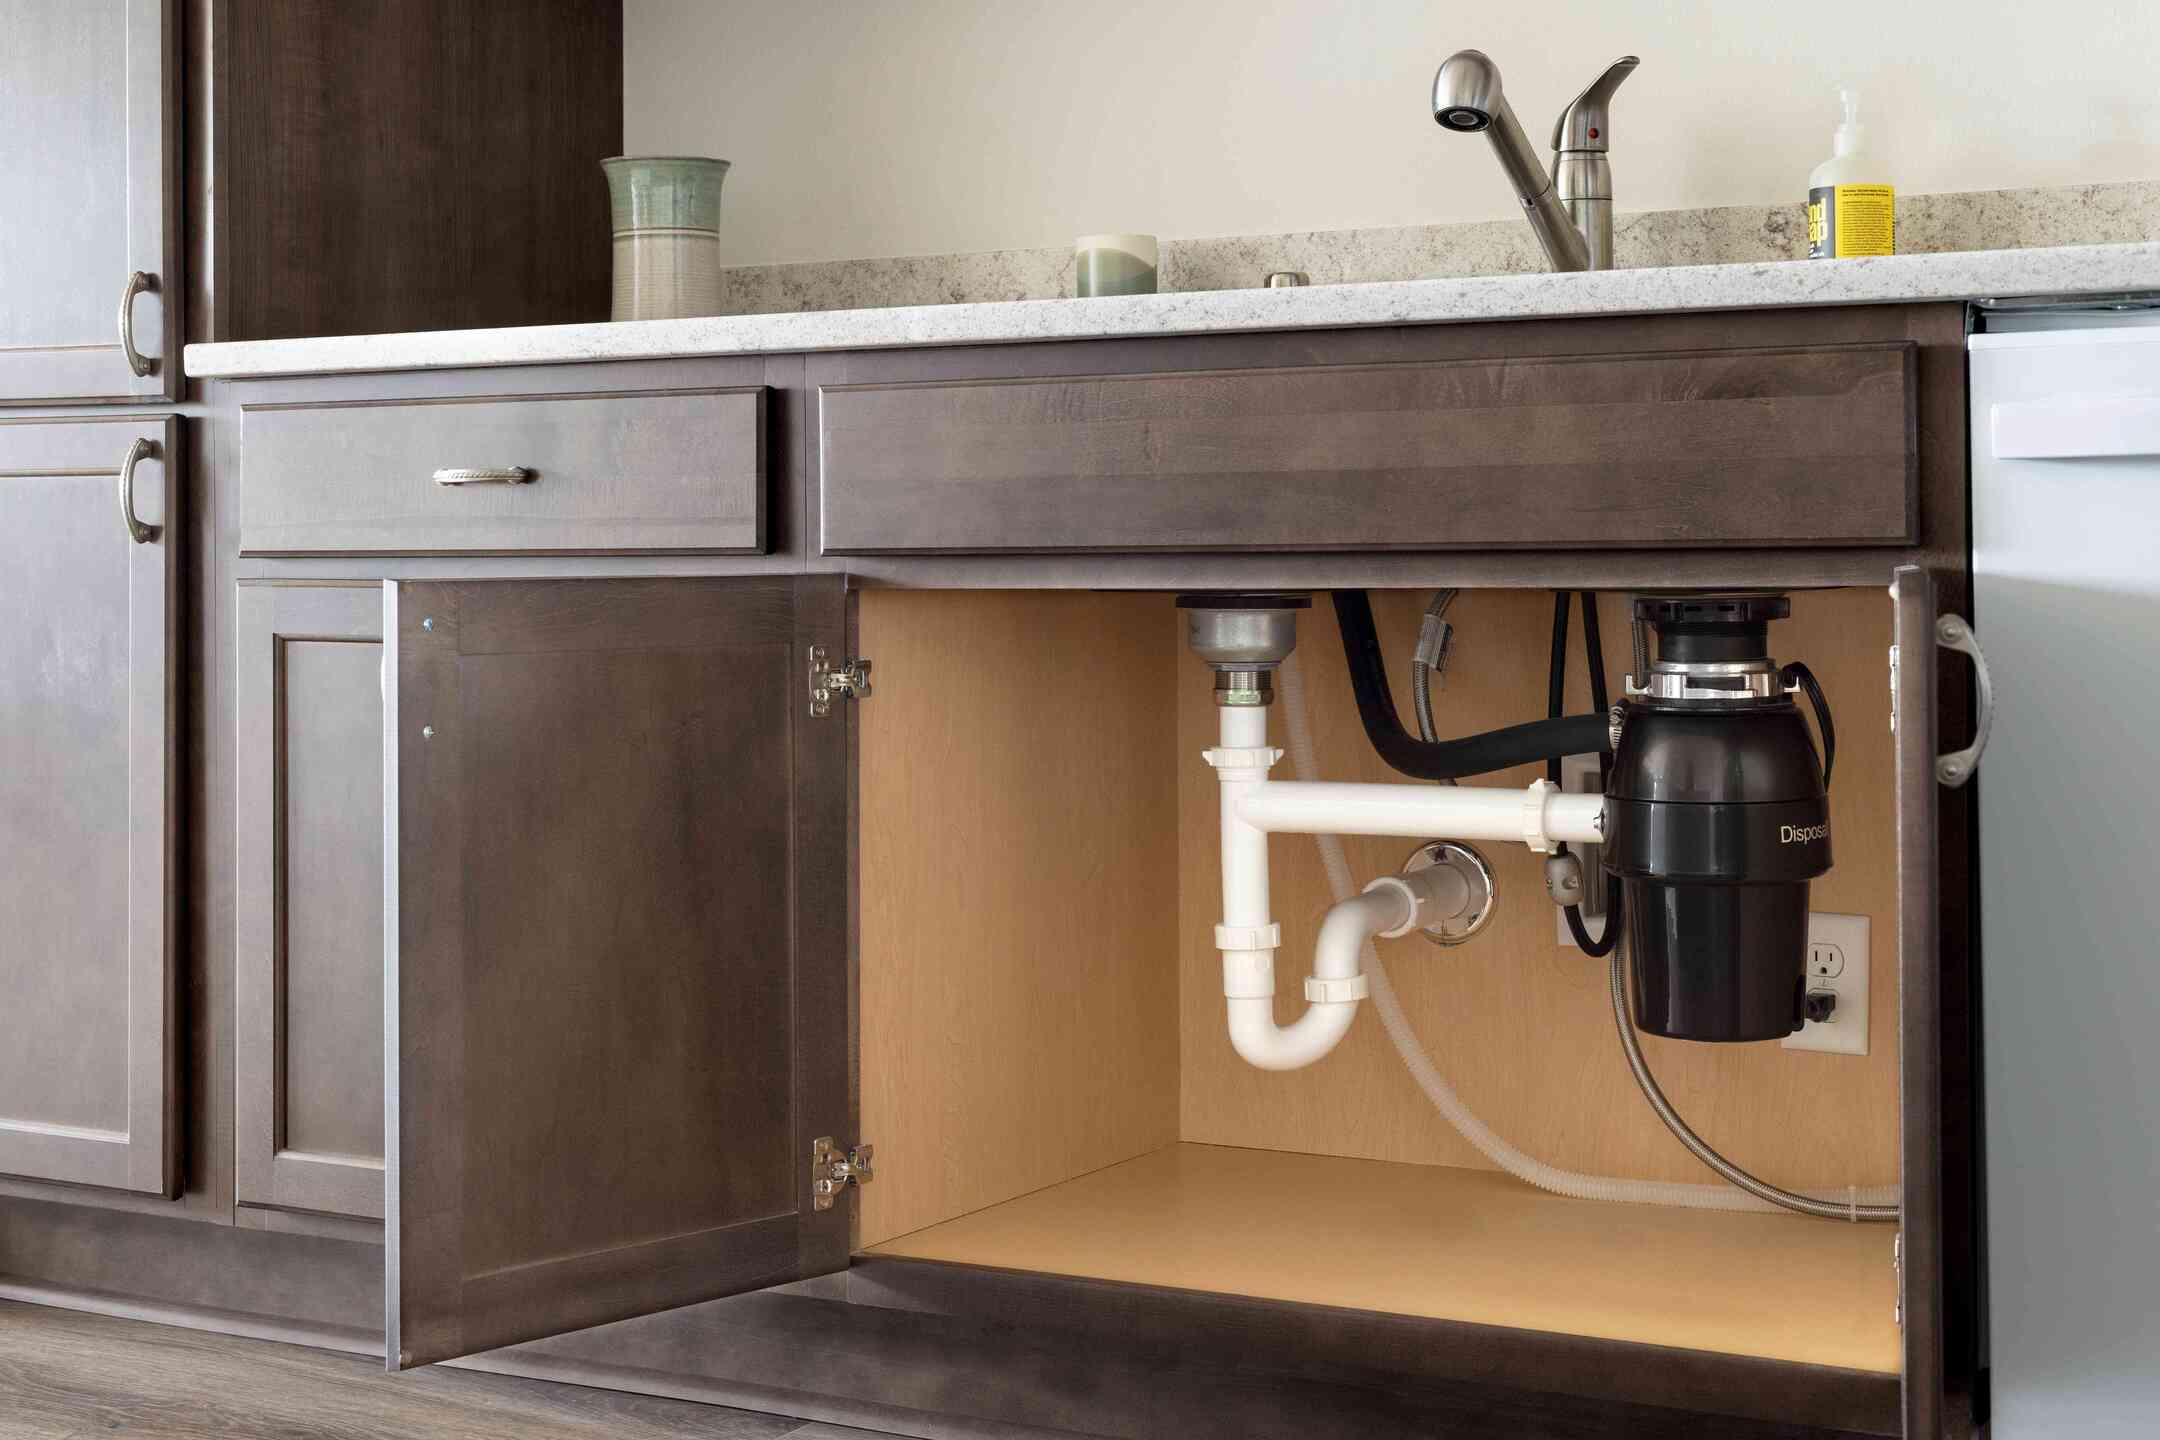
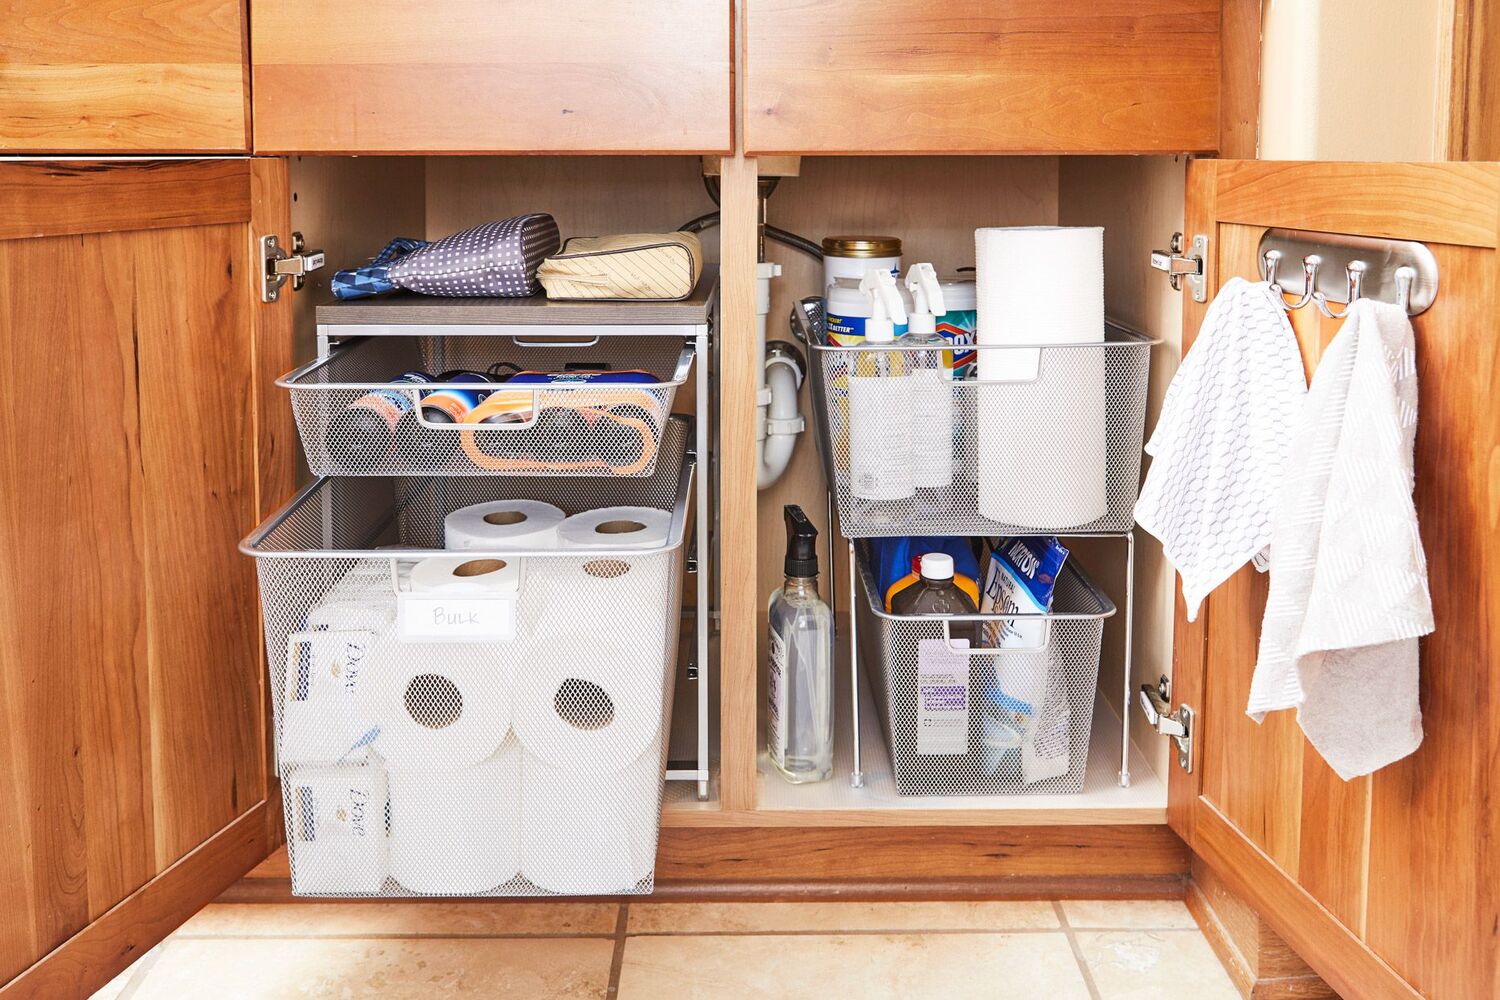
- Clear out the cabinet: Remove all items stored in the cabinet under the sink. This will give you clear access to the floor.
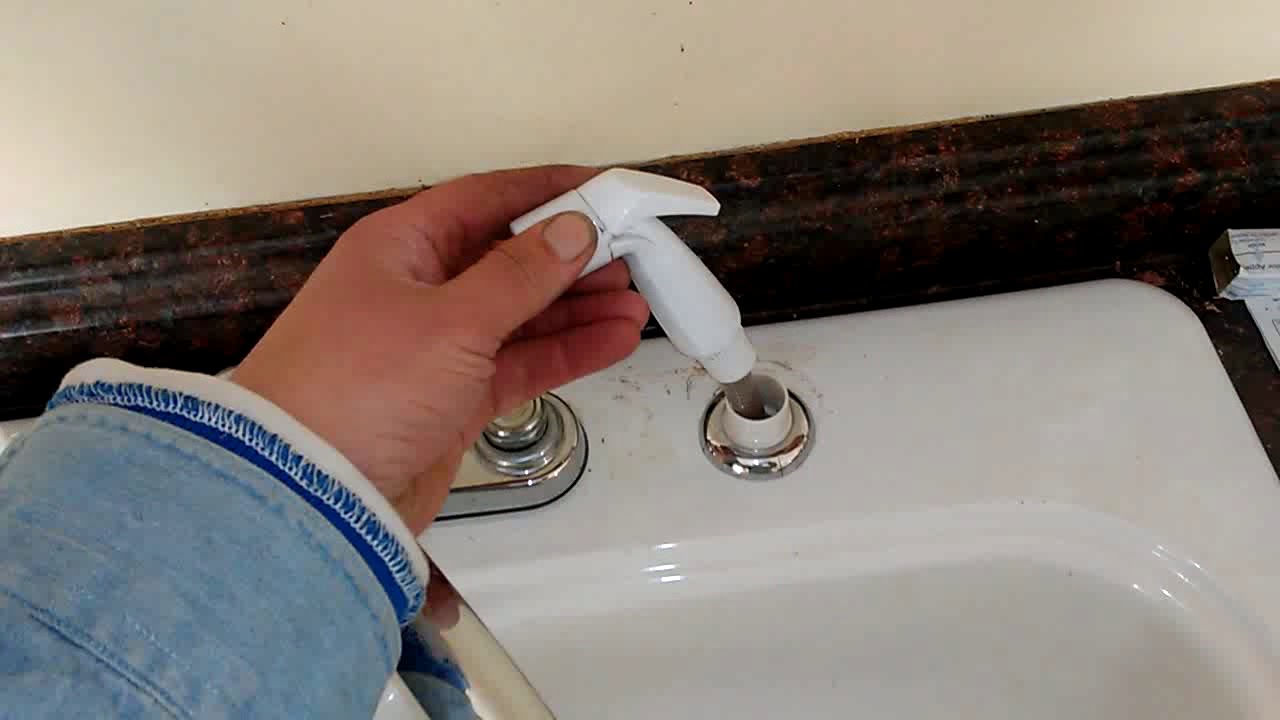
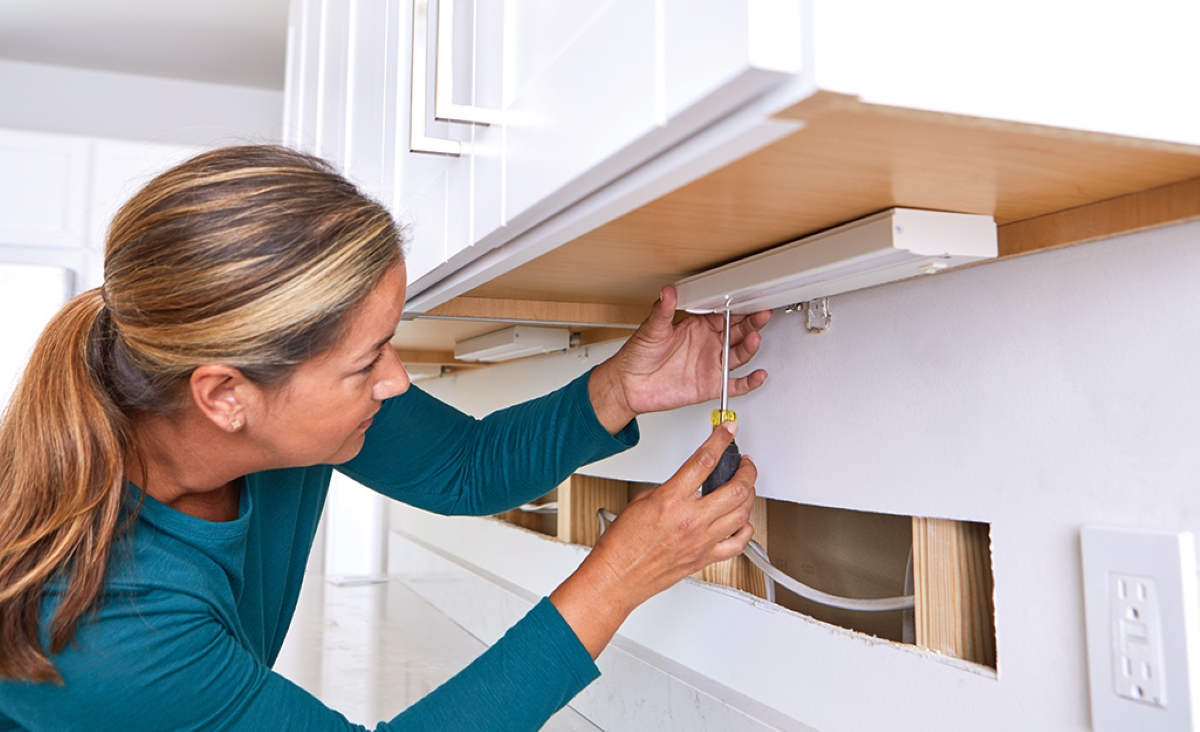
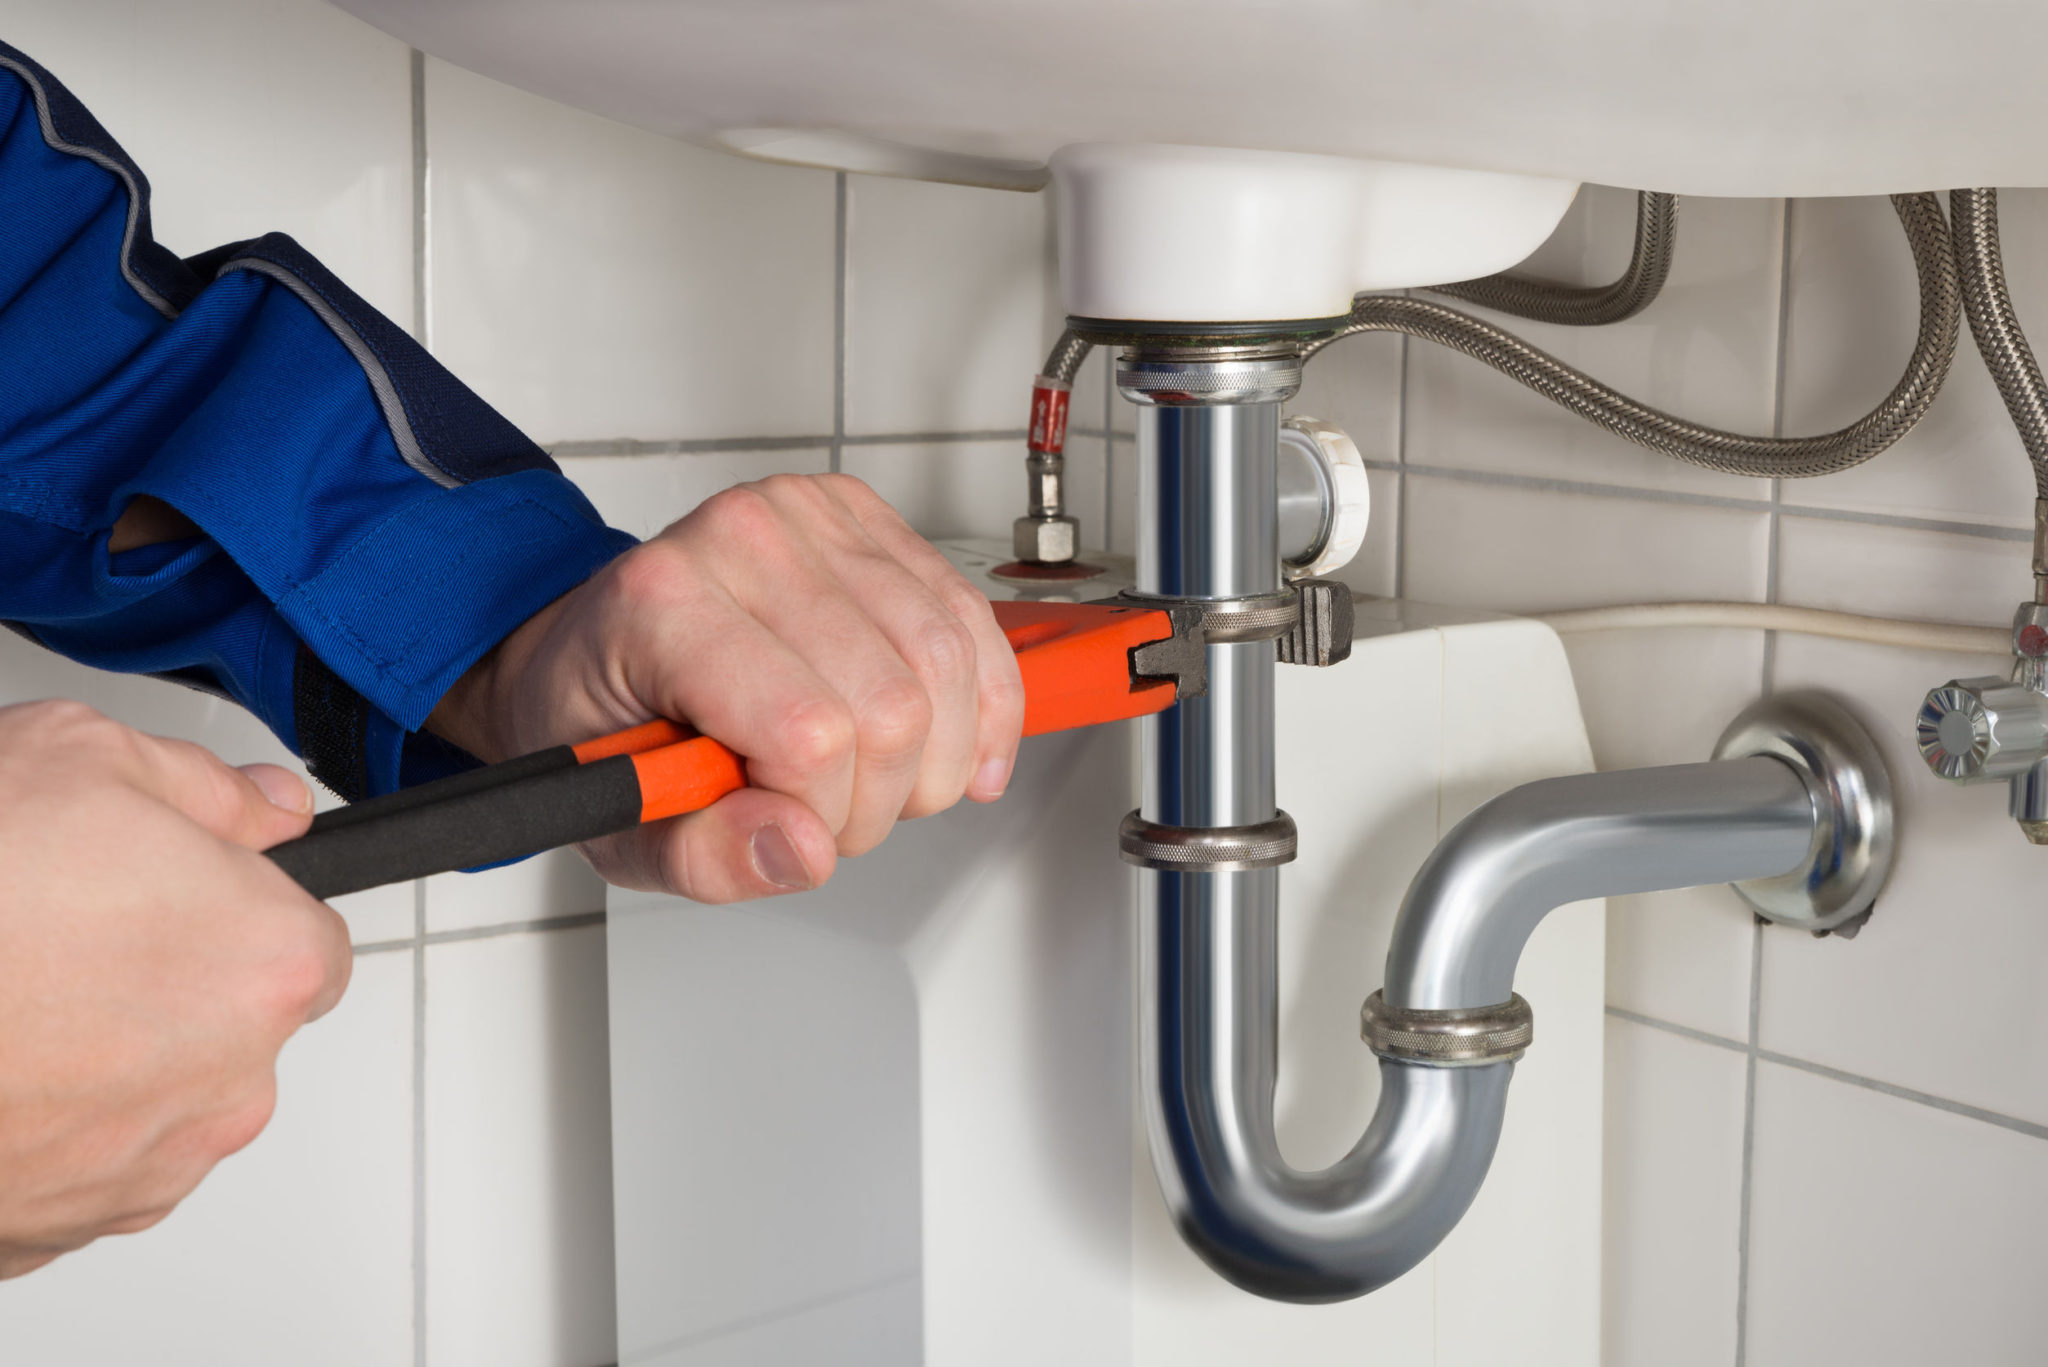
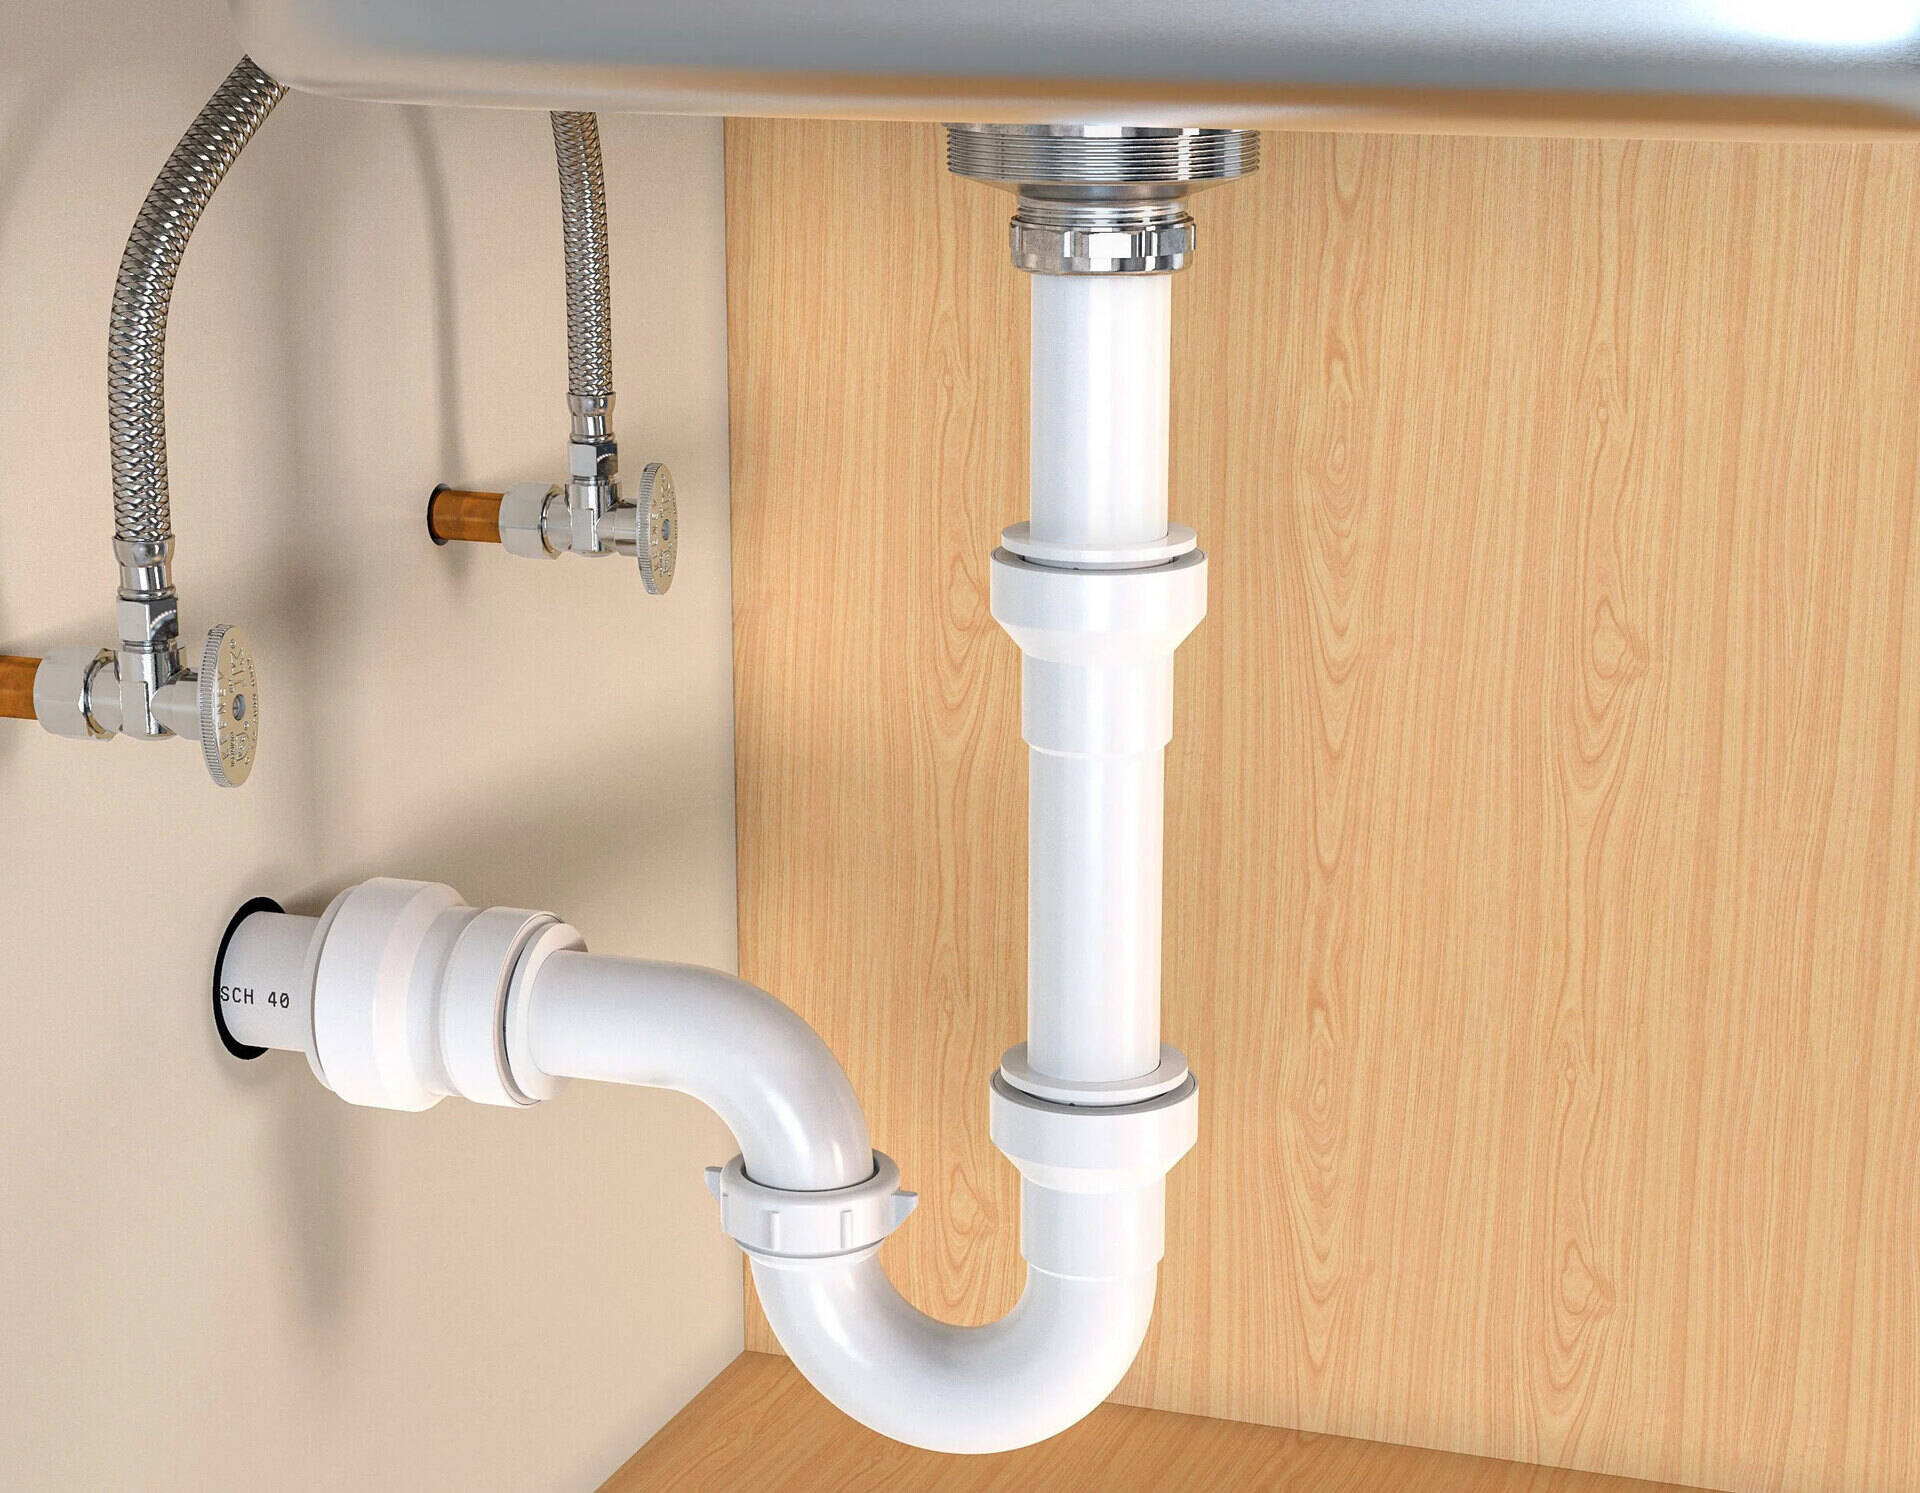
- Disconnect plumbing fixtures: Turn off the water supply to the sink and disconnect any plumbing fixtures underneath. This may involve loosening nuts or unscrewing connections.
- Remove the cabinet doors: Take off the cabinet doors to facilitate easy access to the floor.
- Detach the countertop: If your sink is installed on a countertop, detach it from the cabinet. Typically, this involves unscrewing brackets or clips that secure the countertop to the cabinet.
- Take out the drawers: If your under sink cabinet has drawers, remove them to make it easier to work in the space.
- Unscrew or pry off the floor: Depending on how the floor is installed, you will either need to unscrew it or carefully pry it off. Use a screwdriver or pry bar to remove any screws or nails holding the floor in place.
- Inspect the cabinet frame: With the old floor removed, inspect the cabinet frame for any signs of damage or water leakage. If you notice any issues, take the necessary steps to repair or replace the affected areas.
By following these steps, you will successfully remove the existing under sink cabinet floor and be ready to move on to the next phase of the project.
Step 2: Measure and Cut the New Under Sink Cabinet Floor
With the old under sink cabinet floor removed, it’s time to measure and cut the new one to ensure a proper fit. Follow these steps:
- Measure the dimensions: Use a measuring tape to measure the length and width of the cabinet opening where the new floor will be installed. Make sure to account for any curves or irregularities in the shape.
- Transfer the measurements: Transfer the measurements to a sheet of plywood or a similar sheet material that will serve as the new under sink cabinet floor. Use a pencil to mark the dimensions accurately.
- Cut the floor piece: Using a circular saw or a jigsaw, carefully cut along the marked lines to create the new under sink cabinet floor. Take your time to ensure straight and precise cuts.
- Test the fit: Place the newly cut floor piece into the cabinet opening to test the fit. It should fit snugly and rest securely on the cabinet frame.
- Make adjustments if necessary: If the floor does not fit properly, use a sanding block or sandpaper to make minor adjustments to the edges until it fits perfectly into the cabinet opening.
It’s important to remember that precision is key in this step. Taking accurate measurements and making precise cuts will ensure that the new under sink cabinet floor fits seamlessly into the cabinet.
Before replacing the under sink cabinet floor, make sure to turn off the water supply and disconnect any plumbing. Measure and cut the new floor to fit, then secure it in place with screws or adhesive.
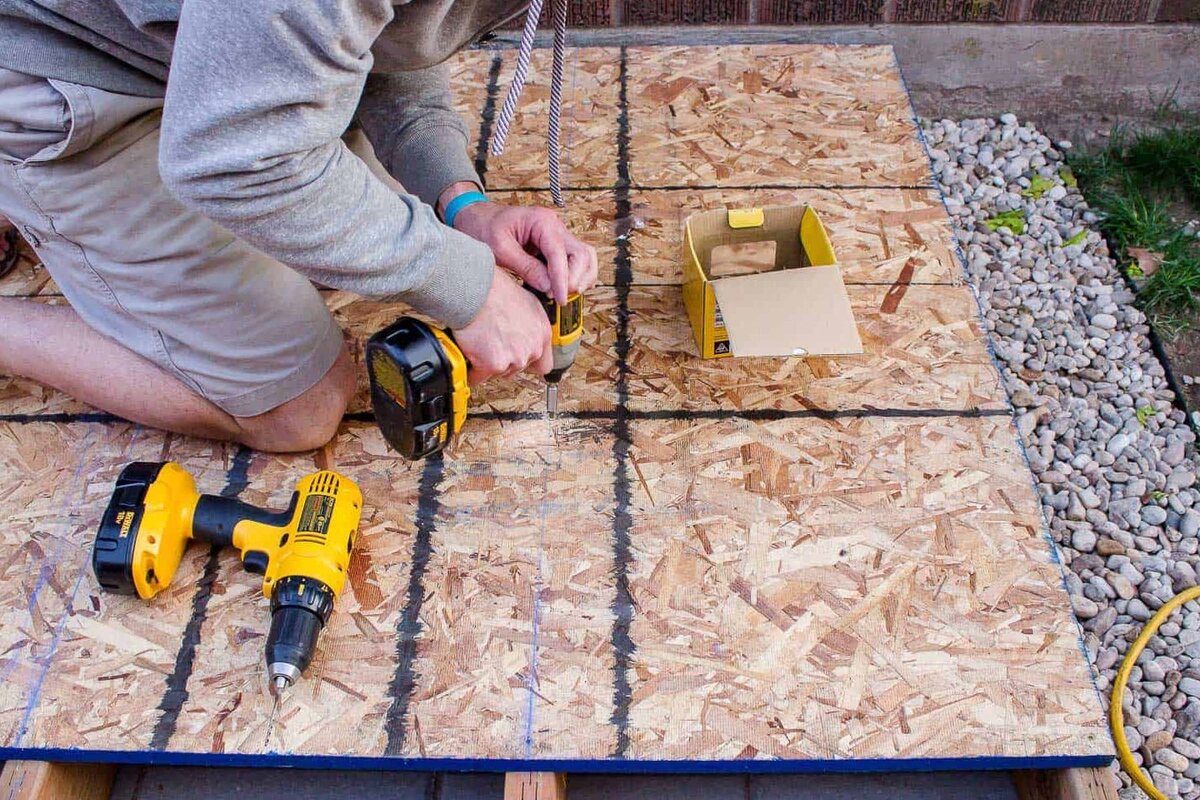
Step 3: Install the New Under Sink Cabinet Floor
Now that you have measured and cut the new under sink cabinet floor, it’s time to install it. Follow these steps:
- Apply wood glue: Apply a thin, even layer of wood glue to the top surface of the cabinet frame. This will help secure the new floor in place.
- Place the floor piece: Carefully place the new under sink cabinet floor onto the cabinet frame, ensuring that it aligns with the edges and corners of the opening. Press it down firmly to create a strong bond with the wood glue.
- Screw the floor down: Use a drill to screw the new floor piece into place. Place screws along the edges and corners to ensure a secure attachment. Be mindful not to over-tighten the screws, as this can cause damage to the new floor.
- Repeat the process for multiple pieces: If your under sink cabinet is larger and requires multiple floor pieces, repeat the previous steps for each section. Make sure to align the edges and corners of each piece properly.
Once the new floor is installed, give it some time to dry and set according to the instructions provided with the wood glue. This will ensure a strong and stable under sink cabinet floor.
Read more: How To Replace Pipe Under Kitchen Sink
Step 4: Test the Stability and Functionality of the Replaced Floor
After installing the new under sink cabinet floor, it’s important to test its stability and functionality. Follow these steps:
- Check for evenness: Ensure that the new floor is even and does not have any noticeable gaps or uneven areas. If you notice any issues, make any necessary adjustments by tightening screws or adding additional support.
- Test weight-bearing capacity: Place some weight on the new floor, such as kitchen items or cleaning supplies, to see how well it supports the load. Ensure that the floor feels sturdy and can handle the weight without sagging or buckling.
- Inspect for water resistance: Pour a small amount of water onto the new floor and observe if it repels the water or absorbs it. If the water absorbs quickly, you may need to apply a waterproofing sealant to protect the floor from future water damage.
- Check for proper alignment: Open and close the cabinet doors and drawers to make sure that they align properly with the new floor. Adjust the hinges or drawer slides if necessary to ensure a smooth operation.
- Paint or stain (optional): If desired, you can paint or stain the new under sink cabinet floor to match the aesthetic of your kitchen. Use a paintbrush or roller to apply the paint or stain evenly and let it dry according to the manufacturer’s instructions.
By conducting these tests, you can ensure that the replaced under sink cabinet floor is stable, functional, and well-suited for its intended purpose.
Conclusion
Replacing the under sink cabinet floor is a practical and necessary task to maintain the durability and functionality of your kitchen cabinets. By following the steps outlined in this guide, you can successfully replace the floor and ensure its stability for years to come.
Remember to gather all the necessary tools and materials before starting the project. Clear out the cabinet, disconnect plumbing fixtures, remove the cabinet doors and drawers, and safely remove the existing floor. Measure and cut the new floor piece accurately, and install it using wood glue and screws. Finally, test the stability, weight-bearing capacity, water resistance, and alignment of the replaced floor to ensure its effectiveness.
With a replaced under sink cabinet floor, you can rest easy knowing that your cabinets are protected from water damage and that the structural integrity of your kitchen is maintained. Additionally, by adding a personal touch through paint or stain, you can elevate the visual appeal of your cabinet space.
Remember, if you are unsure about any aspect of the project or encounter any unexpected challenges, it’s always a good idea to consult with a professional. They can provide guidance and ensure that the replacement process is done safely and effectively.
Now that you have the knowledge and steps to replace the under sink cabinet floor, it’s time to put it into action. Happy renovating!
Frequently Asked Questions about How To Replace Under Sink Cabinet Floor
Was this page helpful?
At Storables.com, we guarantee accurate and reliable information. Our content, validated by Expert Board Contributors, is crafted following stringent Editorial Policies. We're committed to providing you with well-researched, expert-backed insights for all your informational needs.


0 thoughts on “How To Replace Under Sink Cabinet Floor”