Articles
How To Install Under Cabinet Range Hood
Modified: October 20, 2024
Learn how to easily install an under cabinet range hood in your home with our step-by-step guide. Get efficient ventilation and enhance your home maintenance with this essential appliance.
(Many of the links in this article redirect to a specific reviewed product. Your purchase of these products through affiliate links helps to generate commission for Storables.com, at no extra cost. Learn more)
Introduction
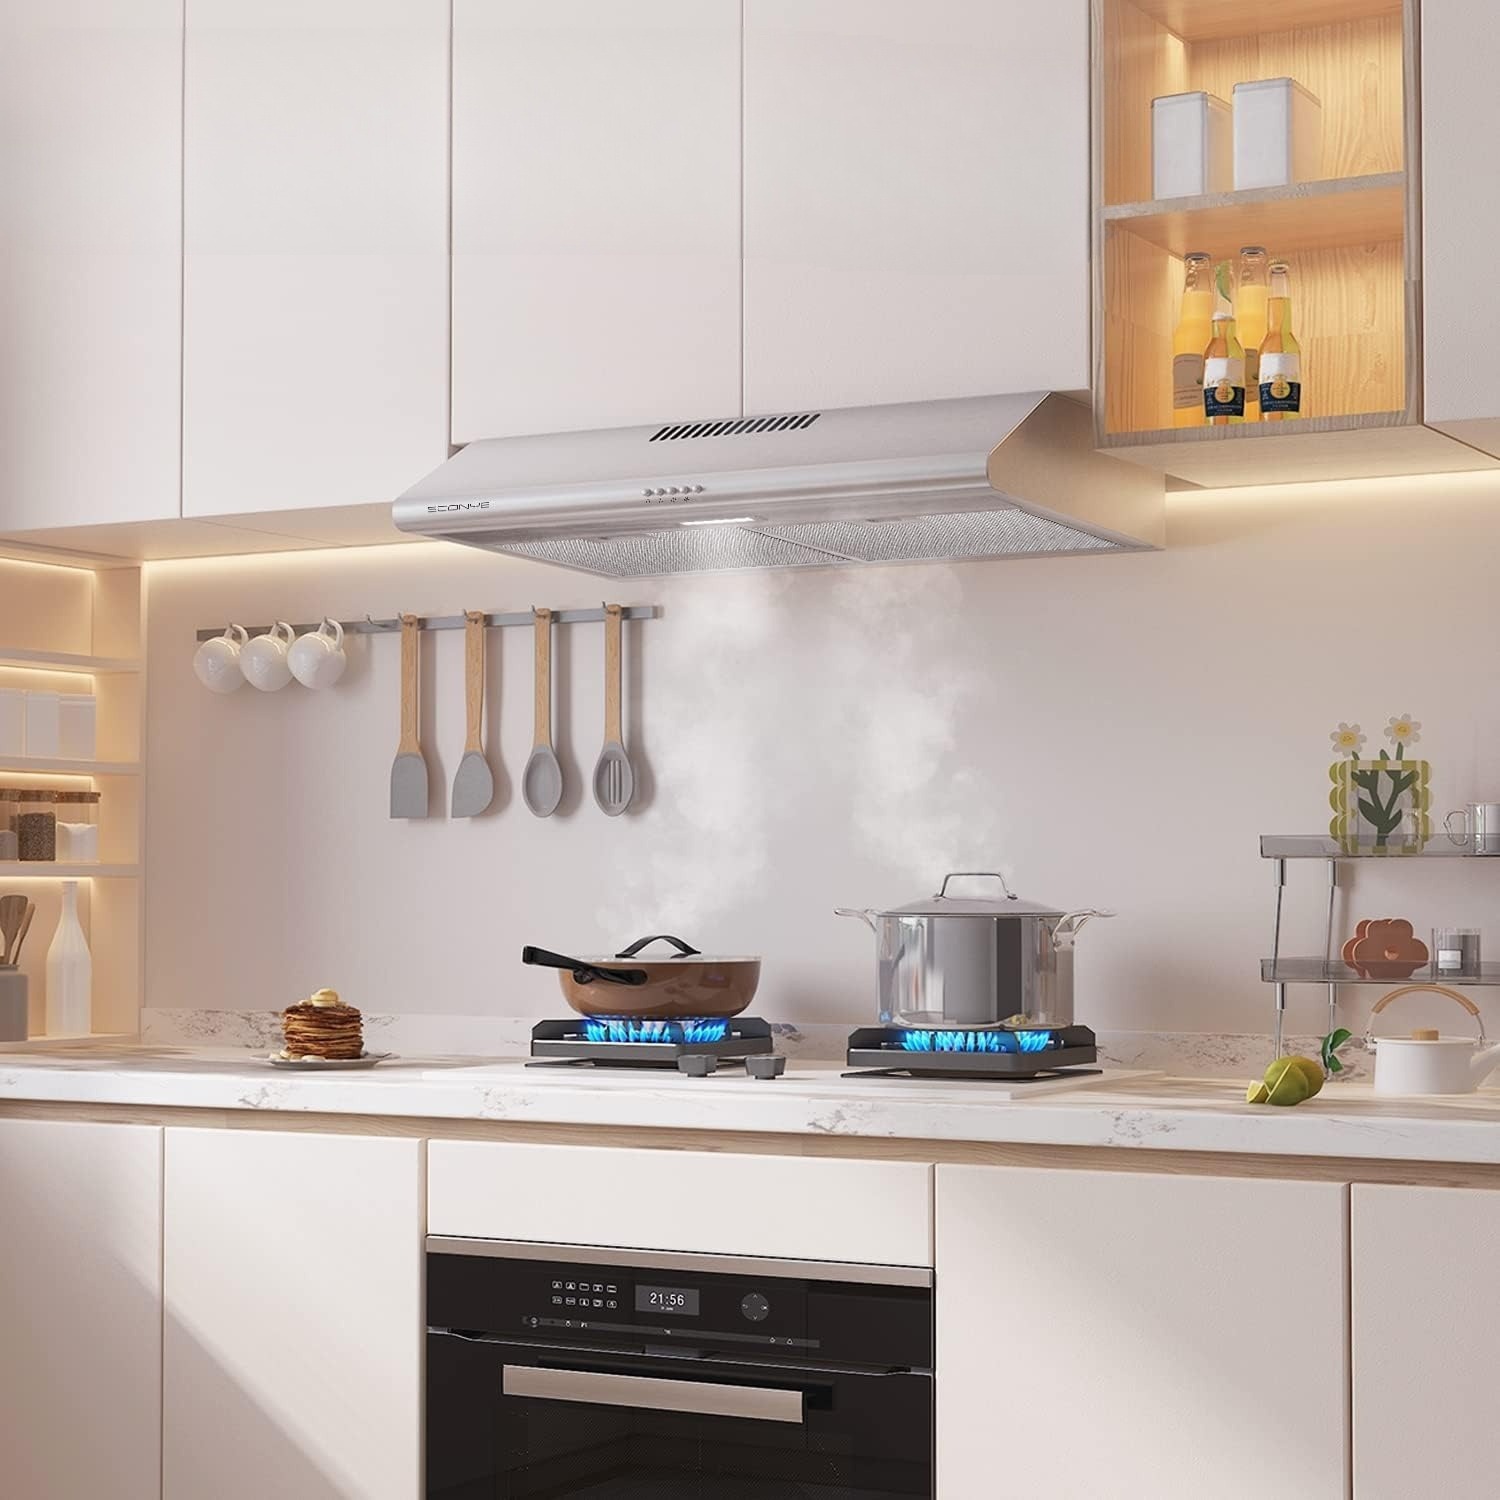
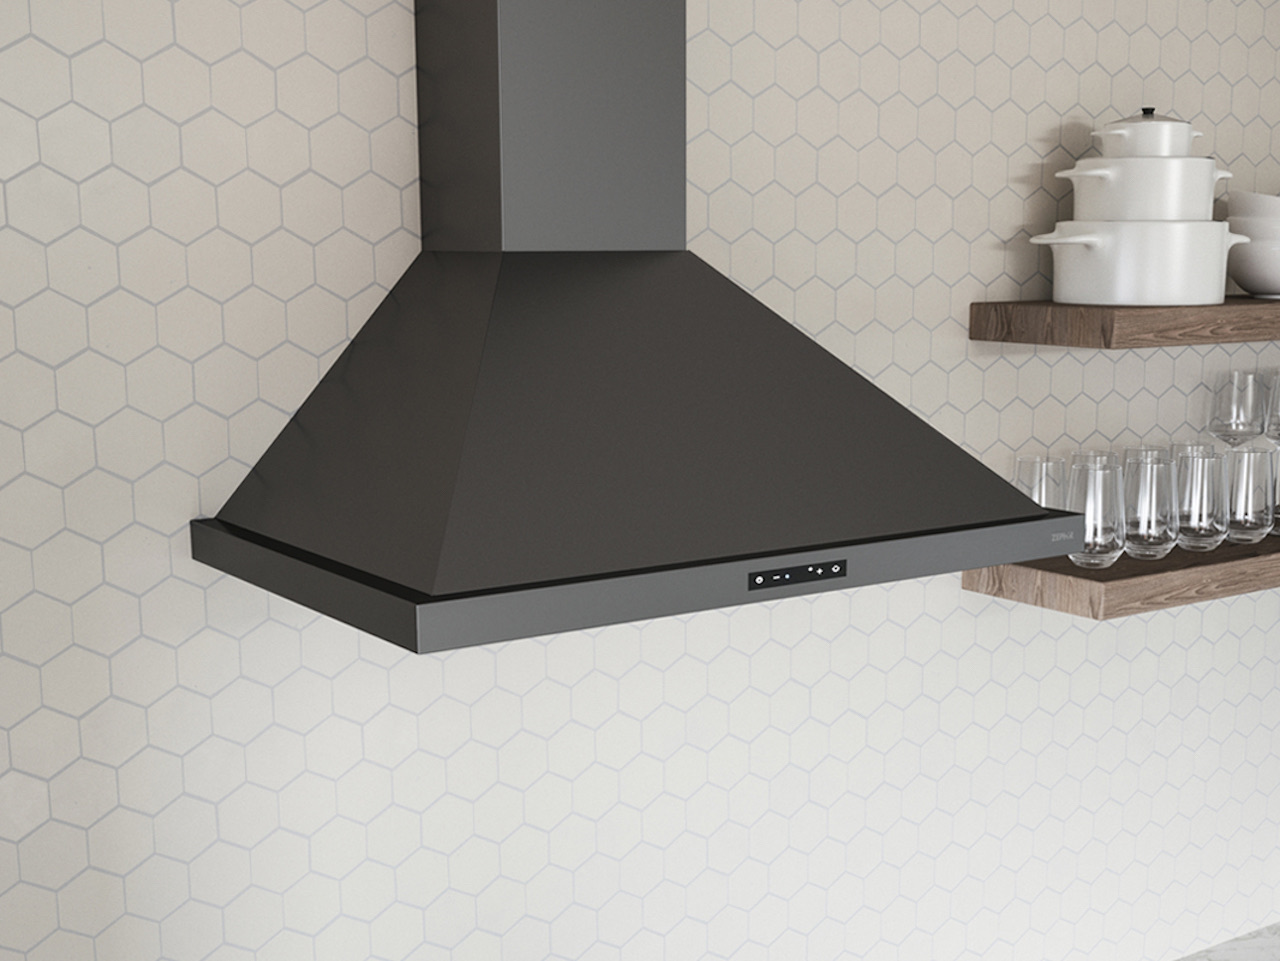
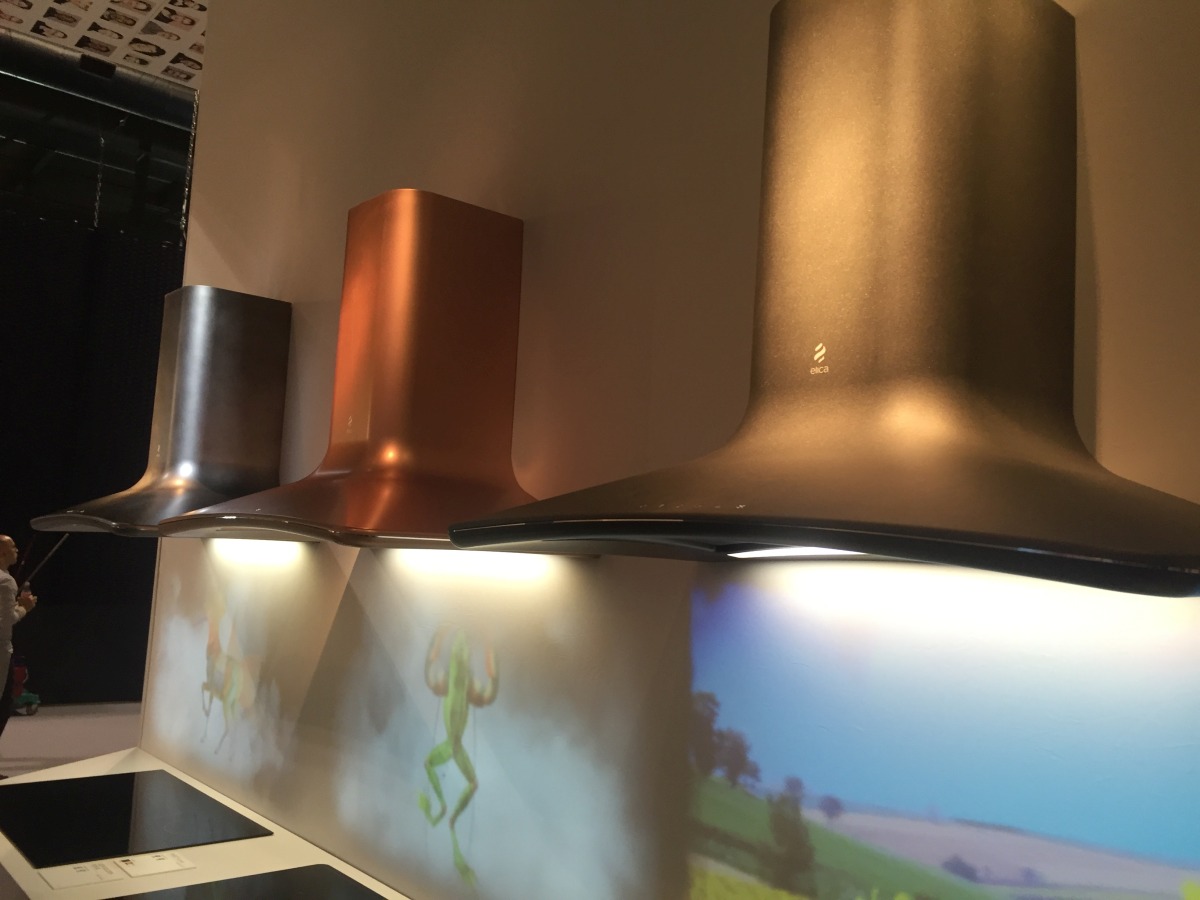
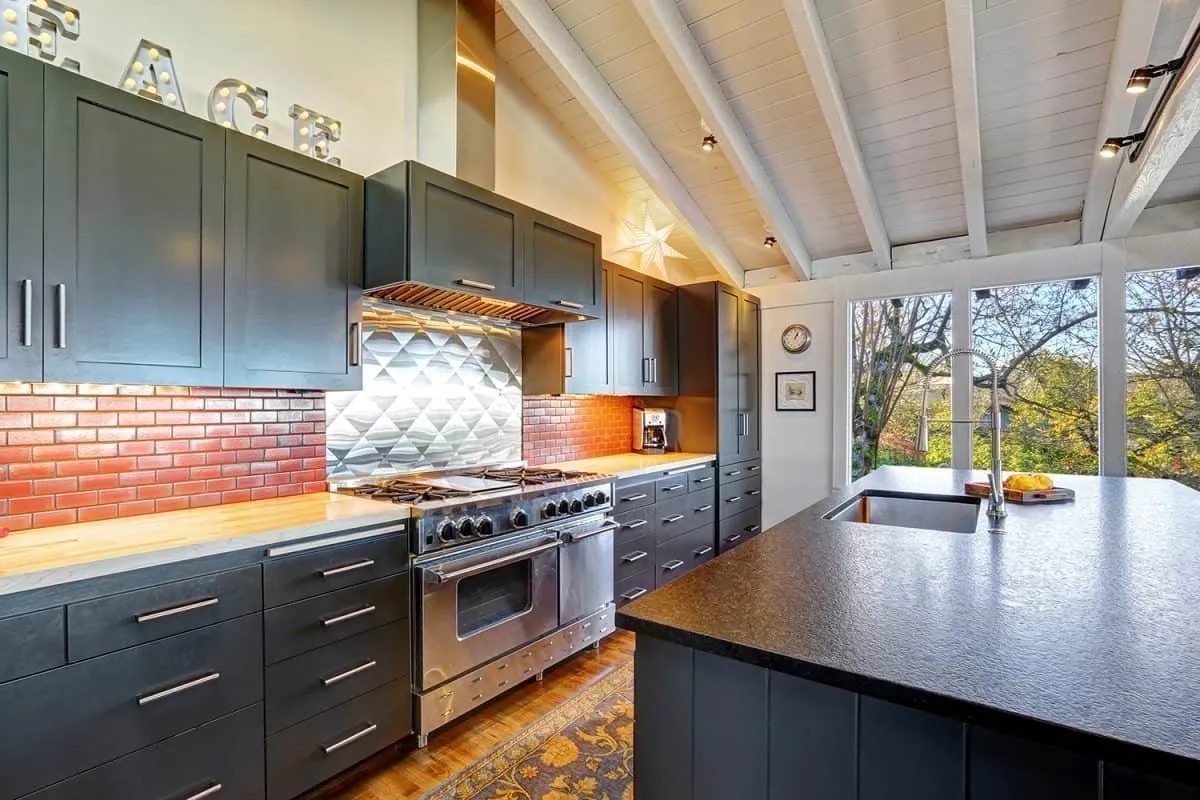
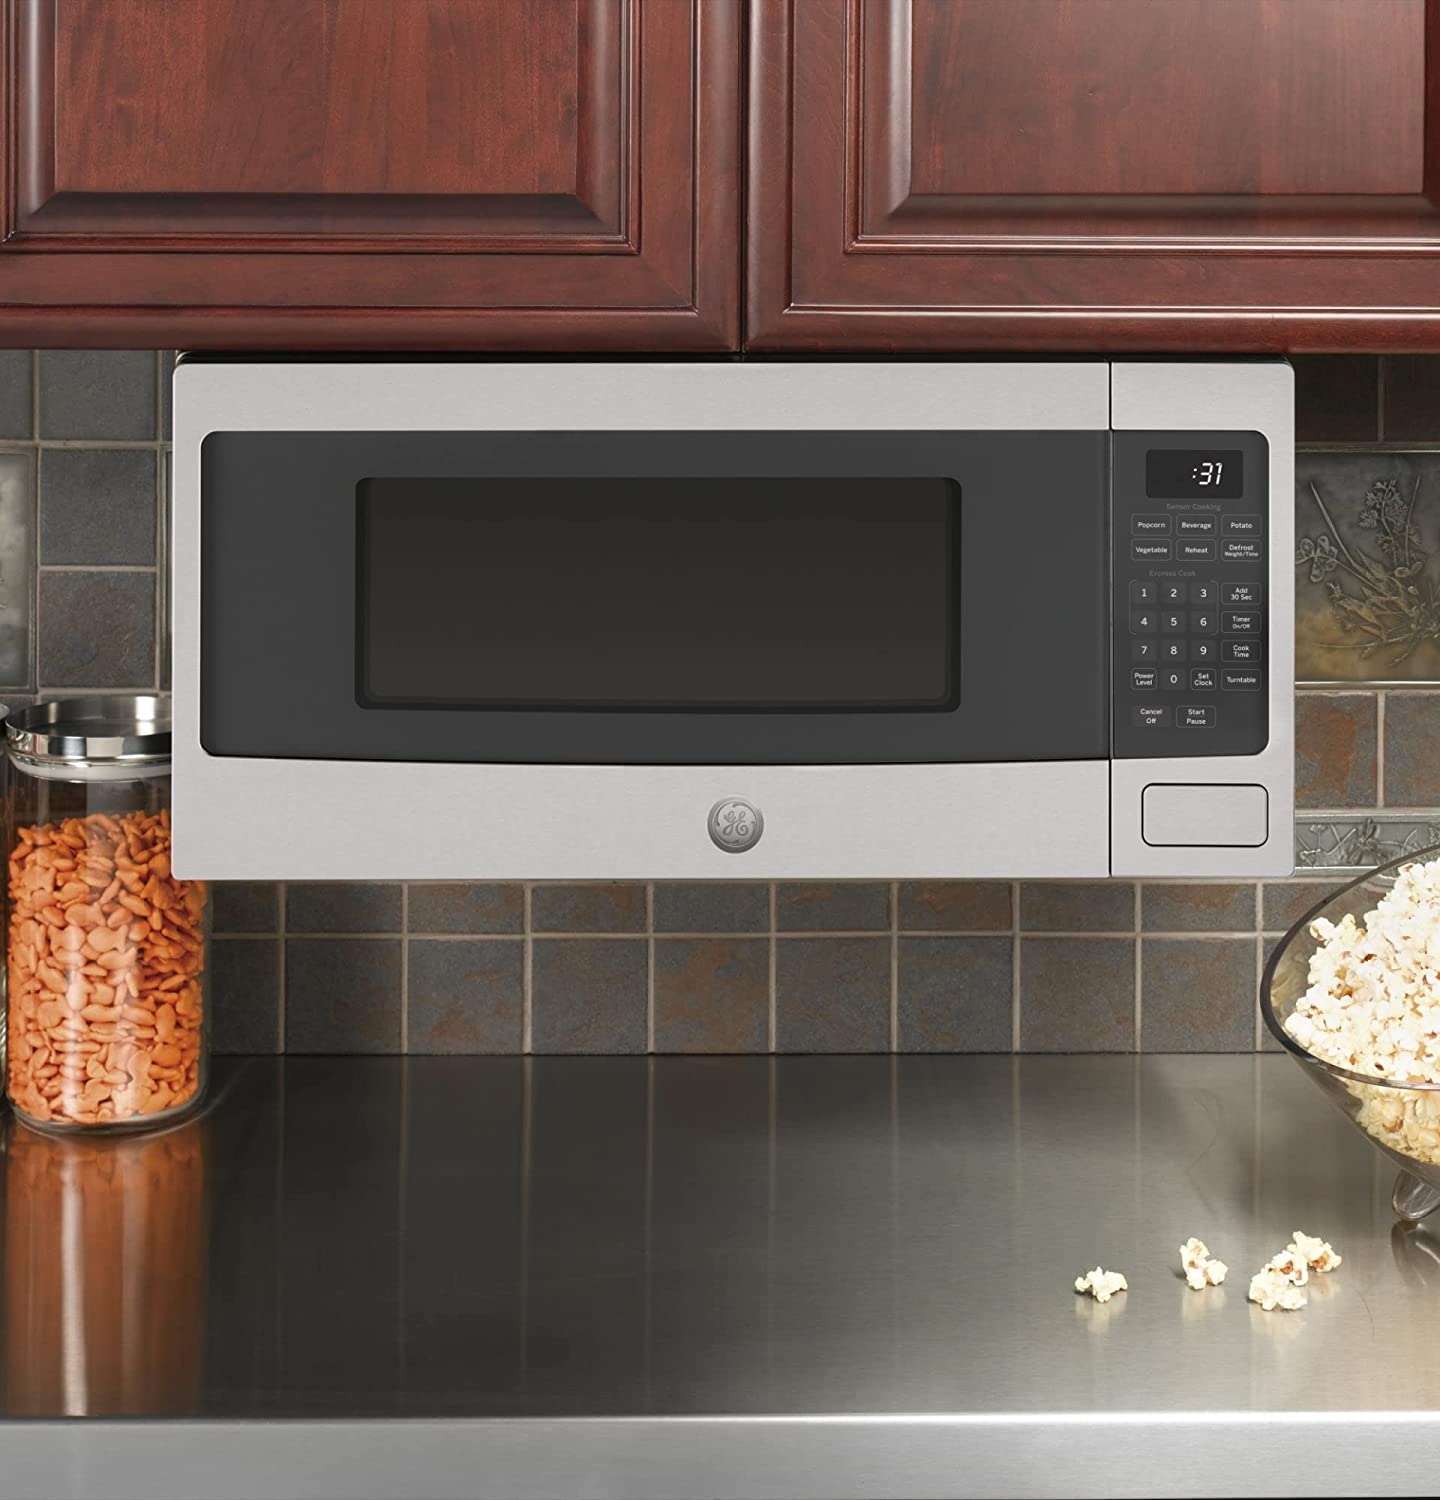
Installing an under cabinet range hood is a great way to improve ventilation and remove cooking odors from your kitchen. These hoods are designed to fit neatly underneath your kitchen cabinets, providing an efficient and stylish solution for removing smoke, grease, and odors while you cook.
In this article, we will take you through the step-by-step process of installing an under cabinet range hood. You will learn about the tools and materials you’ll need, how to measure and mark the installation area, preparing the cabinet for installation, mounting the range hood, installing the ductwork, electrical wiring, testing the range hood, and finishing touches.
By following this guide, you’ll be able to successfully install an under cabinet range hood and enjoy a cleaner, fresher kitchen.
Key Takeaways:
- Enjoy a cleaner, fresher kitchen by following the step-by-step guide to successfully install an under cabinet range hood. Improve ventilation and remove cooking odors with this rewarding DIY project.
- Prioritize safety and follow manufacturer’s instructions to install an under cabinet range hood. Enhance your kitchen’s air quality and aesthetic while reducing respiratory issues and airborne particles.
Read more: How To Install An Under Cabinet Range Hood?
Tools and Materials Needed
Before you begin the installation process, gather the following tools and materials to ensure a smooth and efficient installation:
- Tape measure
- Pencil or marker
- Drill
- Screwdriver
- Adjustable wrench
- Safety goggles
- Level
- Hacksaw
- Drywall saw
- Ductwork (if not included with the range hood)
- Electrical wire and wire connectors
- Gloves
- Masking tape
- Dust mask
- Caulk and caulking gun
- Cabinet screws
Having these tools and materials on hand will help you complete the installation efficiently and effectively. Ensure that you have all the necessary items before you proceed to the next steps.
Step 1: Measure and Mark the Installation Area
The first step in installing an under cabinet range hood is to accurately measure and mark the installation area. This will ensure that your range hood is properly positioned and aligned with the cabinets.
Follow these steps to measure and mark the installation area:
- Remove any items that may obstruct your view or access to the installation area, such as shelves or decorations.
- Using a tape measure, measure the width of the cabinet where you plan to install the range hood. Take note of this measurement.
- Position the range hood on the cabinet, aligning it with the edges. Mark the mounting holes on the cabinet with a pencil or marker.
- Measure the distance from the bottom of the range hood to the cooking surface. Refer to the manufacturer’s instructions for the recommended height. Mark this measurement on the wall.
- Using a level, ensure that the marks on the cabinet and wall are level and aligned.
Double-check your measurements and marks to ensure accuracy. This will help you position and mount the range hood correctly.
Once you have measured and marked the installation area, you are ready to proceed to the next step of preparing the cabinet for installation.
Step 2: Preparing the Cabinet for Installation
Before mounting the range hood, it’s essential to prepare the cabinet to ensure a secure and stable installation. This step involves making adjustments to the cabinet and creating an opening for the range hood vent.
Follow these steps to prepare the cabinet for installation:
- Remove any shelves or obstacles inside the cabinet that may obstruct the placement of the range hood.
- Using a drill and a suitable drill bit, create a starter hole at one of the marked mounting hole locations.
- Enlarge the hole to the appropriate size using a drill or a drywall saw, depending on the material of your cabinet. Follow the manufacturer’s instructions for the correct hole size.
- If necessary, create an additional opening in the back or top of the cabinet to accommodate the venting ductwork. Use a saw or a drill to make a hole of the appropriate size.
- Smooth the edges of the holes with sandpaper or a file to prevent any rough edges or splinters.
- Ensure that the cabinet is clean and free from any dust or debris that may interfere with the installation.
By preparing the cabinet, you are ensuring that it is ready to support the weight of the range hood and provide a proper venting pathway for the ventilation system.
With the cabinet prepared, you can now move on to the next step of mounting the range hood.
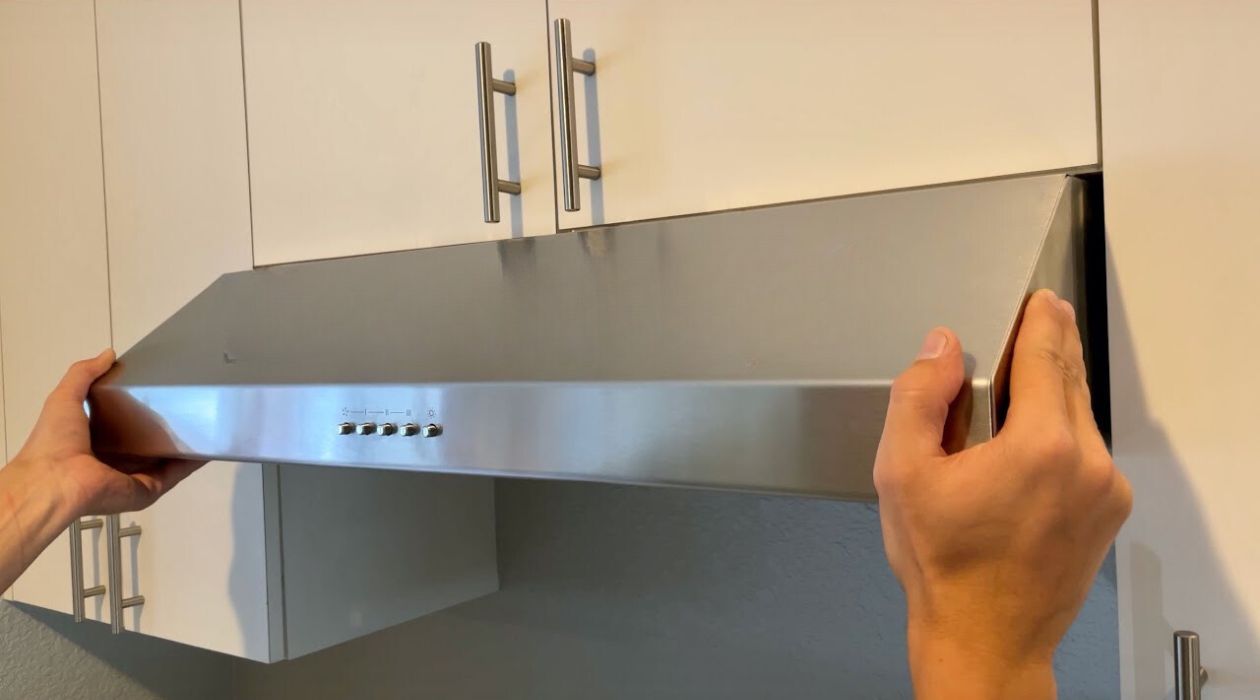
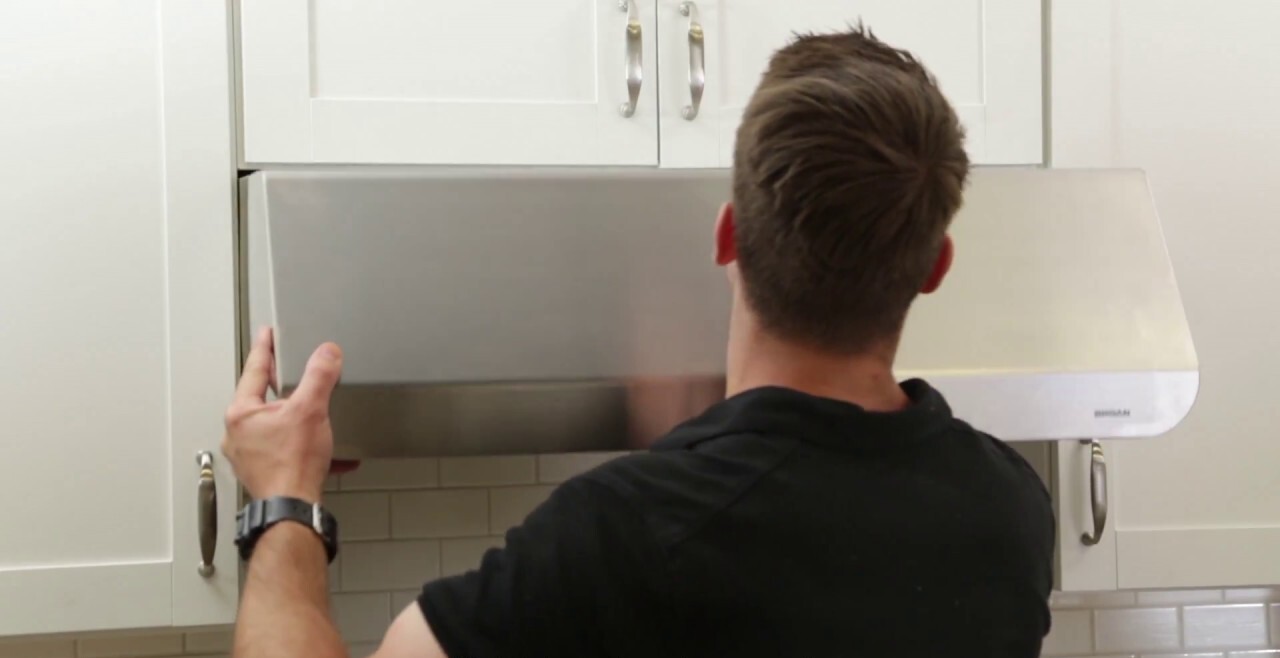
Step 3: Mounting the Range Hood
Once you have prepared the cabinet, it’s time to mount the under cabinet range hood. Properly mounting the range hood ensures that it is secure and stable during operation.
Follow these steps to mount the range hood:
- Position the range hood on the cabinet, aligning the mounting holes with the marks you made earlier.
- Insert screws through the mounting holes and into the cabinet. Use an adjustable wrench or screwdriver to tighten the screws until the range hood is securely attached to the cabinet.
- Ensure that the range hood is level and straight by using a level. Make any necessary adjustments to align it properly.
- Double-check that the range hood is securely mounted and that there is no movement or wobbling.
- If provided by the manufacturer, install any additional brackets or supports to further stabilize the range hood.
It’s important to follow the manufacturer’s instructions for mounting the range hood, as the specific steps may vary depending on the model. Make sure to refer to the provided documentation for any additional information or recommendations.
By properly mounting the range hood, you ensure that it will function effectively and safely in your kitchen.
With the range hood securely attached to the cabinet, you are now ready to move on to the next step of installing the ductwork.
When installing an under cabinet range hood, make sure to carefully measure and mark the location for the hood, properly secure it to the cabinet or wall, and connect the ductwork for proper ventilation. Always follow the manufacturer’s instructions for best results.
Read also: 12 Amazing Range Hood Under Cabinet for 2025
Step 4: Installing the Ductwork
Installing the ductwork is an important step in ensuring proper ventilation and airflow for your under cabinet range hood. The ductwork channels the smoke, odors, and grease away from your kitchen, providing a cleaner and healthier cooking environment.
Follow these steps to install the ductwork for your range hood:
- Measure and cut the ductwork to the appropriate length using a hacksaw. Ensure that the ductwork extends from the range hood to the outside of your home.
- Attach the ductwork to the range hood using the provided clamps or screws. Make sure it is securely fastened.
- If necessary, install any additional components, such as elbows or connectors, to redirect the ductwork around obstacles or corners.
- Carefully feed the ductwork through the hole in the cabinet and connect it to the vent opening in the wall or ceiling.
- Secure the ductwork in place using screws or metal tape, ensuring a tight and secure connection.
- Inspect the ductwork to ensure that there are no kinks or bends that might restrict airflow. Straighten or adjust as needed.
It’s recommended to follow the manufacturer’s instructions for installing the ductwork, as specific configurations and requirements may vary depending on the range hood model and your kitchen layout.
Proper installation of the ductwork is crucial for the efficient and effective operation of your under cabinet range hood. It helps to minimize smoke, odors, and grease build-up in your kitchen, ensuring a healthier and more comfortable cooking environment.
With the ductwork in place, you can now proceed to the next step of electrical wiring.
Step 5: Electrical Wiring
Proper electrical wiring is essential for the safe and efficient operation of your under cabinet range hood. It’s crucial to ensure that the range hood is correctly connected to the power source and that all electrical connections are secure.
Follow these steps to correctly wire your under cabinet range hood:
- Turn off the power supply to the kitchen area at the main circuit breaker or fuse box.
- Locate the electrical junction box at the back of the range hood. Remove the cover plate.
- If the range hood does not come with a pre-wired power cord, connect the electrical wiring from your home to the range hood following the manufacturer’s instructions.
- Strip the insulation from the ends of the electrical wires, ensuring that the strands are fully exposed and free from any damage.
- Connect the corresponding wires from the range hood to the electrical wires in your home. Typically, you will connect the black (hot) wire to the black wire, the white (neutral) wire to the white wire, and the green (ground) wire to the green or bare copper wire.
- Secure the connections by twisting the wires together and using wire connectors. Ensure that there is a tight and secure connection, and that no exposed wires are visible.
- Place the wiring back into the electrical junction box and secure it with the provided screws. Replace the cover plate.
- Turn on the power supply at the main circuit breaker or fuse box, and test the range hood to ensure it is functioning properly.
It’s important to follow local electrical codes and regulations when wiring your under cabinet range hood. If you are unsure or uncomfortable working with electrical connections, it’s recommended to consult a licensed electrician.
By carefully wiring your range hood, you ensure its safe and reliable operation, allowing you to enjoy a well-ventilated and odor-free kitchen.
With the electrical wiring complete, it’s time to move on to the next step: testing the range hood.
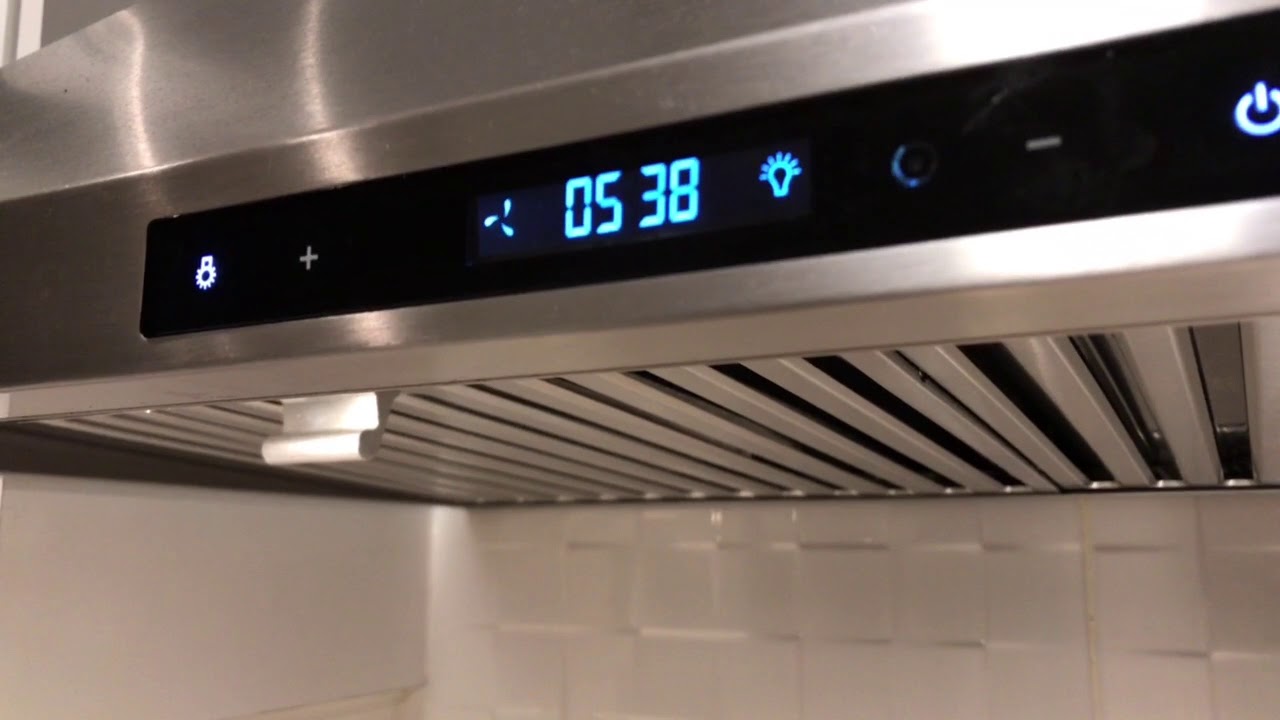
Step 6: Testing the Range Hood
After completing the installation and electrical wiring of your under cabinet range hood, it’s important to test its functionality to ensure that it is working correctly. This step ensures that the range hood effectively vents smoke, odors, and airborne particles from your kitchen.
Follow these steps to test the range hood:
- Ensure that the power supply is turned on.
- Turn on the range hood’s fan and set it to the highest speed.
- Observe the range hood’s venting system to ensure that it is effectively removing smoke, odors, and fumes from the cooking area.
- Check the airflow to make sure it is unobstructed. Ensure that nothing is blocking or restricting the vent, both inside the kitchen and outside the home.
- Listen for any unusual noises or vibrations that may indicate a problem with the range hood’s motor or fan.
- If the range hood has additional features such as lighting or adjustable fan speeds, test each function to verify proper operation.
- Run the range hood for a few minutes to ensure that it operates consistently and efficiently.
If you encounter any issues during the testing process, such as poor airflow, unusual noises, or malfunctions, refer to the manufacturer’s instructions or contact their customer support for troubleshooting advice or warranty support.
By thoroughly testing the range hood, you can ensure that it is functioning as intended, providing optimal ventilation and a clean cooking environment in your kitchen.
With the range hood successfully tested, you can now proceed to the final step: adding the finishing touches and cleaning up.
Step 7: Finishing Touches and Cleanup
With the installation and testing of your under cabinet range hood complete, there are a few final steps to take to add the finishing touches and ensure a clean and polished look in your kitchen.
Follow these steps for the finishing touches and cleanup:
- Double-check all screws, bolts, and connections to make sure they are tight and secure.
- Use a level to ensure that the range hood is still properly aligned and adjusted. Make any necessary adjustments if needed.
- If there are any gaps between the range hood and the cabinet, use caulk to seal them. Apply the caulk neatly and smoothly to create a seamless appearance.
- Clean the range hood thoroughly, both inside and outside, to remove any dust, fingerprints, or smudges that may have accumulated during the installation process.
- Wipe down the surrounding area, including the cabinet and countertop, to remove any debris or residue.
- Return any shelves or items that were removed from the cabinet to their original positions.
- Dispose of any packaging materials, such as cardboard boxes or plastic wrap, in an appropriate manner.
- Familiarize yourself with the care and maintenance instructions provided by the manufacturer to ensure that you can properly maintain and keep your range hood in good condition.
By completing these final steps, you will have a well-installed and visually appealing under cabinet range hood that functions effectively and enhances the overall aesthetic of your kitchen.
Congratulations! You have successfully completed the installation of your under cabinet range hood. Enjoy a cleaner and fresher kitchen as you cook!
If you have any questions or encounter any issues with your range hood in the future, consult the manufacturer’s documentation or contact their customer support for assistance.
Read also: 12 Best Under-Cabinet Range Hood for 2025
Conclusion
Installing an under cabinet range hood is a rewarding project that can greatly enhance the ventilation and air quality in your kitchen. By following the step-by-step guide outlined in this article, you have learned how to successfully install an under cabinet range hood, from measuring and marking the installation area, preparing the cabinet, mounting the range hood, installing the ductwork, electrical wiring, testing the range hood, to adding the finishing touches and cleanup.
A properly installed and functional range hood provides numerous benefits. It helps to remove smoke, grease, and cooking odors from your kitchen, ensuring a cleaner and fresher atmosphere. It also helps to reduce the risk of respiratory issues and minimize the build-up of harmful airborne particles. Additionally, a range hood can enhance the overall aesthetic of your kitchen by adding a sleek and modern touch.
Throughout the installation process, it’s important to prioritize safety and follow the manufacturer’s instructions. If you encounter any difficulties or have questions, don’t hesitate to seek assistance from a professional or contact the manufacturer’s customer support.
Remember to maintain and clean your range hood regularly to ensure its optimal performance. Refer to the manufacturer’s recommendations for specific care and maintenance instructions.
By successfully installing an under cabinet range hood, you have taken an important step towards creating a healthier and more pleasant cooking environment. Enjoy the benefits of improved ventilation and a cleaner kitchen as you cook!
Thank you for choosing the under cabinet range hood installation guide. Happy cooking!
Frequently Asked Questions about How To Install Under Cabinet Range Hood
Was this page helpful?
At Storables.com, we guarantee accurate and reliable information. Our content, validated by Expert Board Contributors, is crafted following stringent Editorial Policies. We're committed to providing you with well-researched, expert-backed insights for all your informational needs.


0 thoughts on “How To Install Under Cabinet Range Hood”