Articles
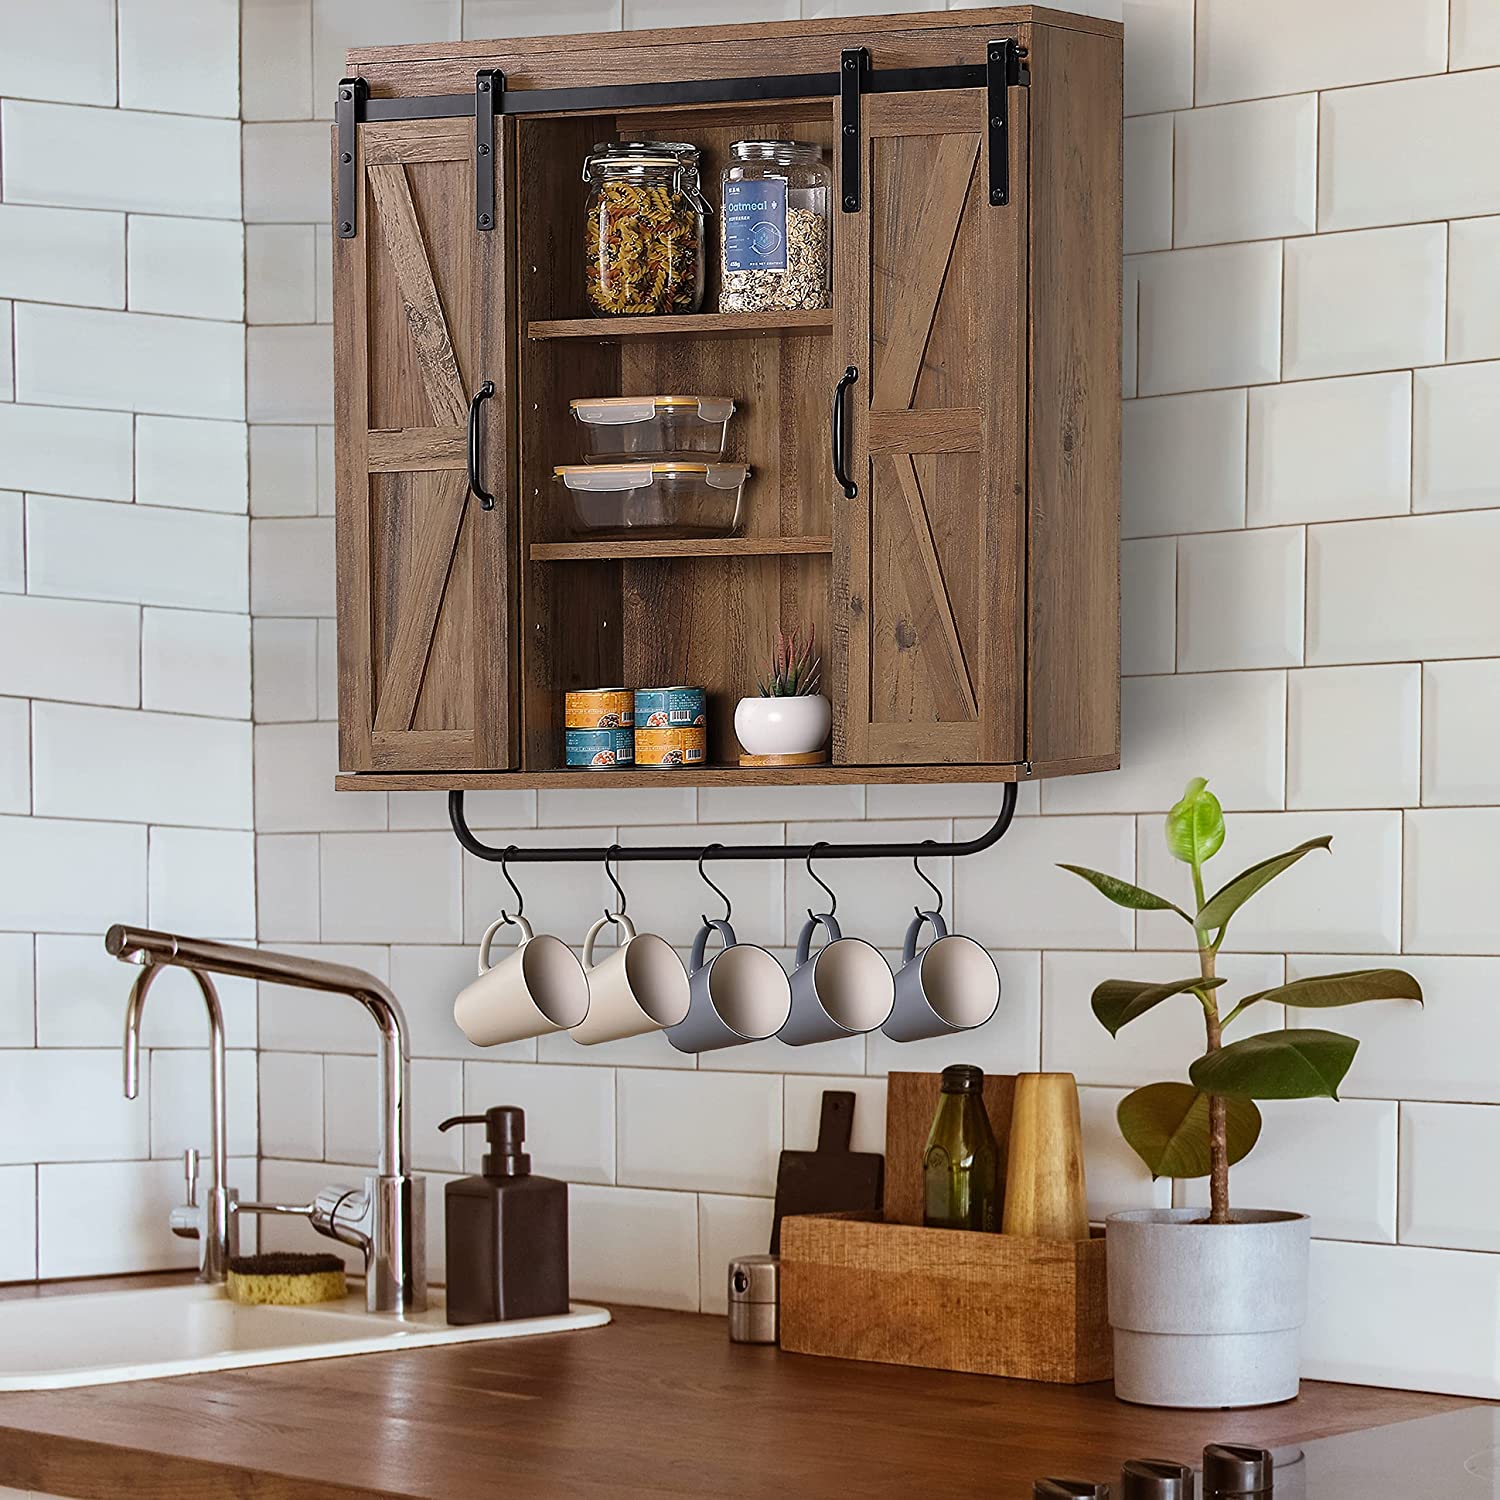
How To Mount A Cabinet To The Wall
Modified: August 28, 2024
Learn how to mount kitchen furniture cabinets to the wall with our step-by-step guide. Create more space and organize your kitchen efficiently.
(Many of the links in this article redirect to a specific reviewed product. Your purchase of these products through affiliate links helps to generate commission for Storables.com, at no extra cost. Learn more)
Introduction
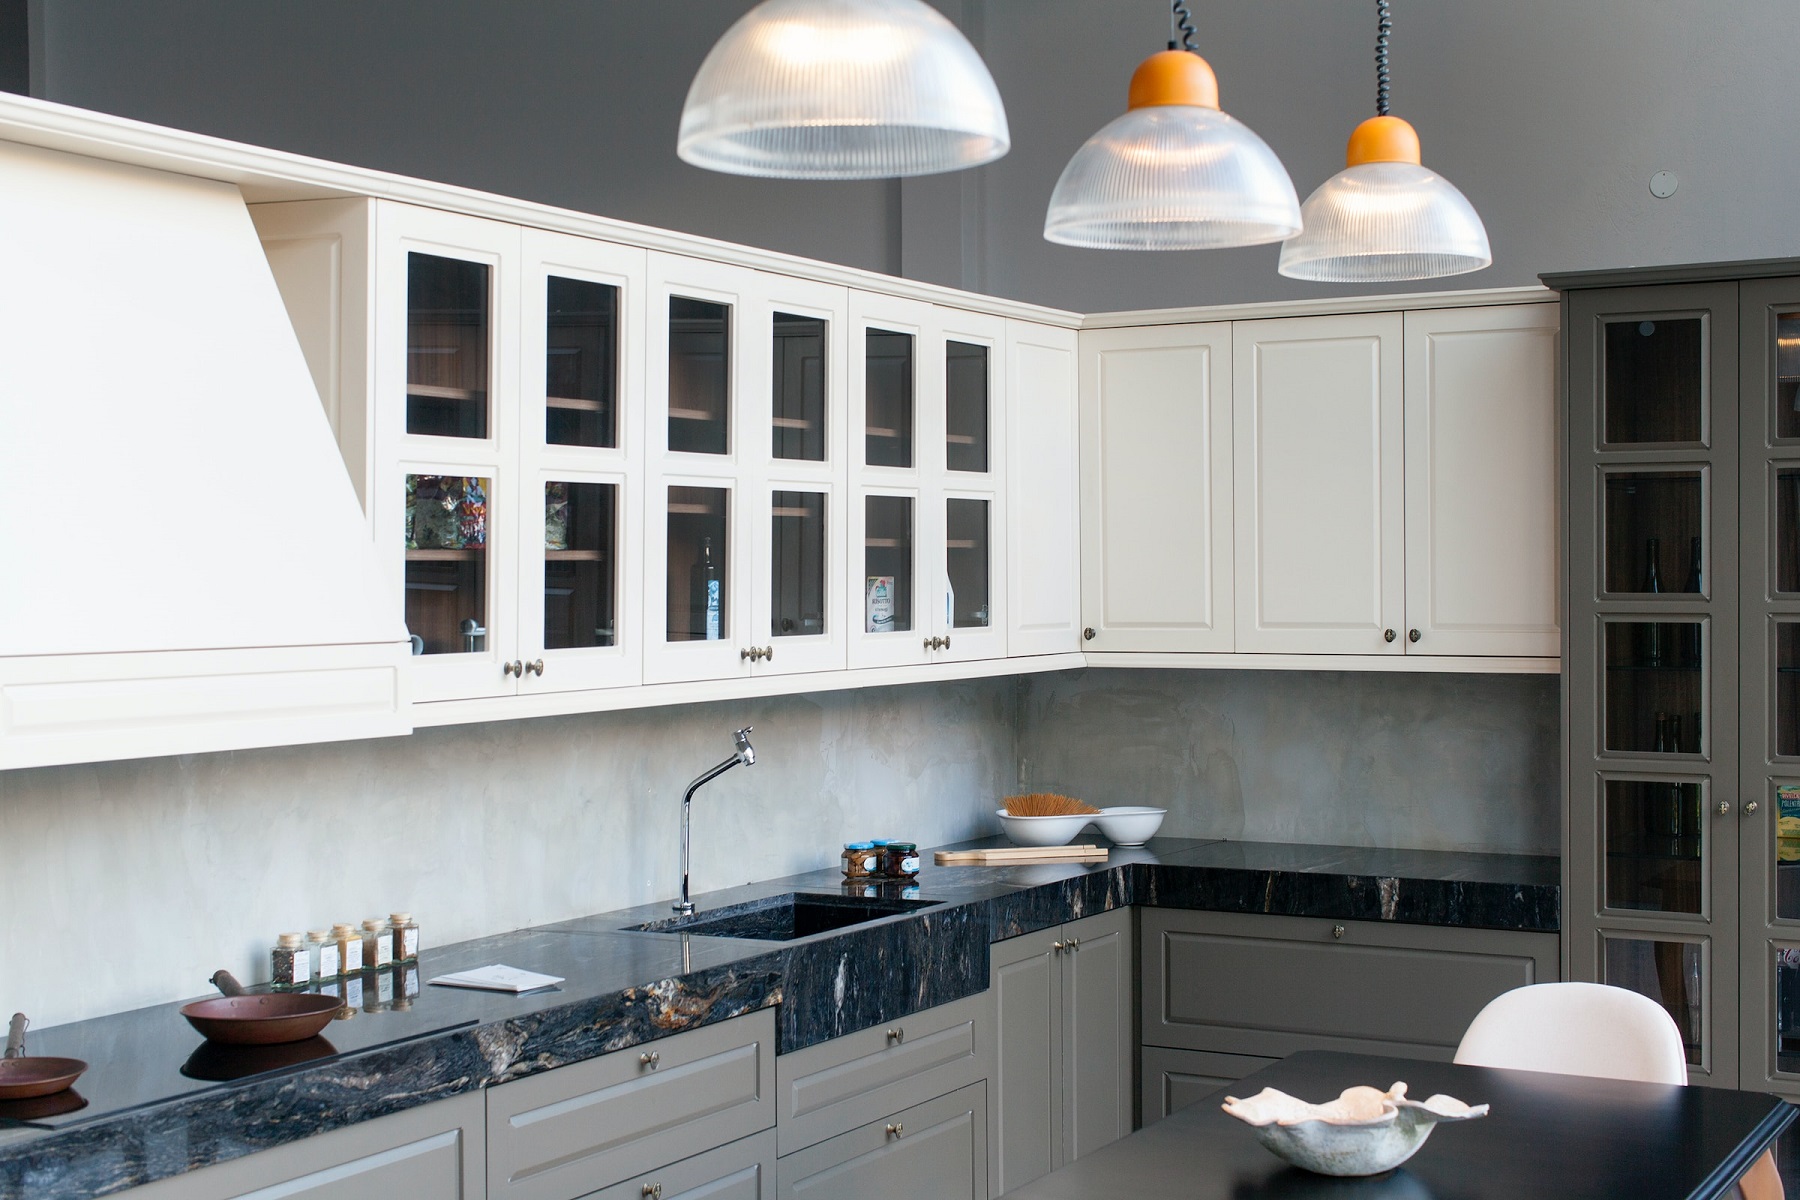
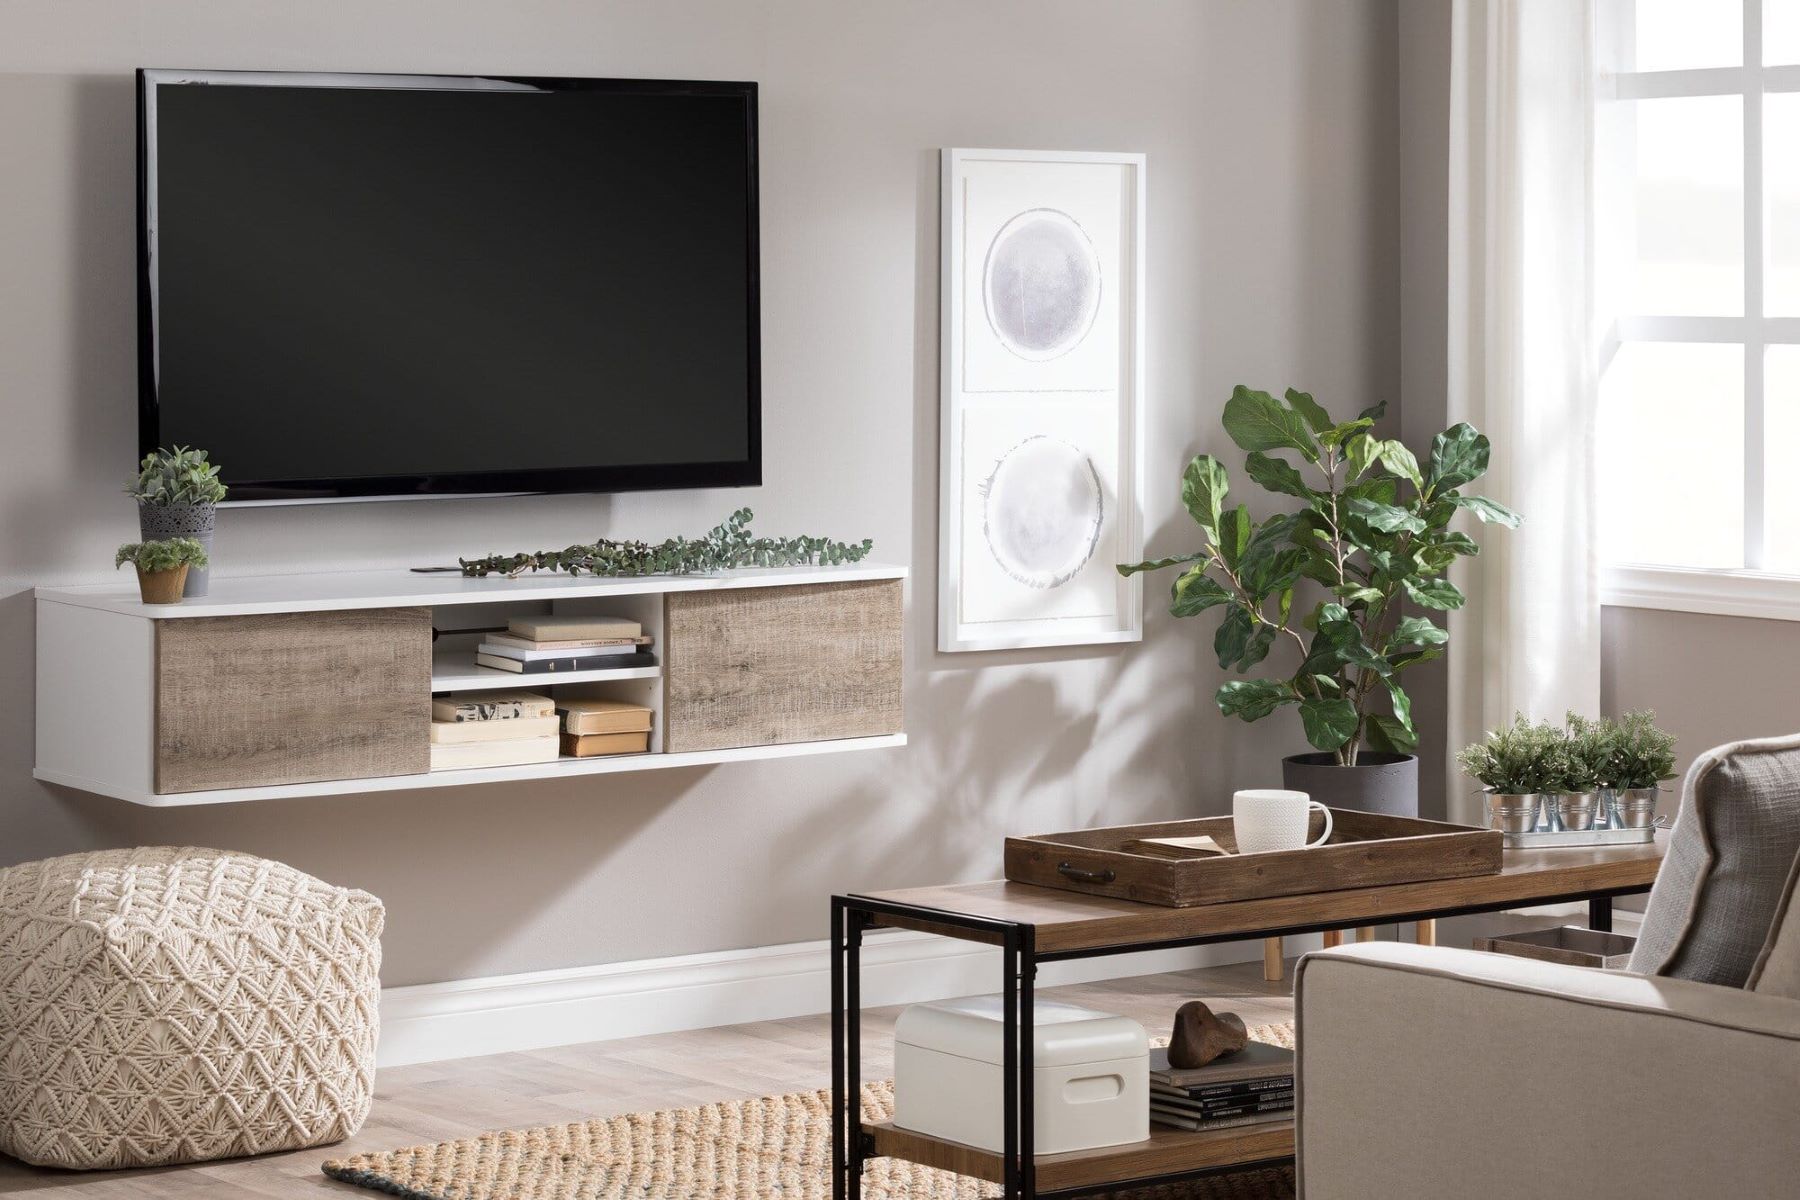
Welcome to our guide on how to mount a cabinet to the wall! Whether you’re looking to create more storage space in your kitchen, bathroom, or living room, or simply want to add a stylish and functional element to your home, mounting a cabinet is a great solution. By securing the cabinet to the wall, you not only maximize storage but also create a sleek and organized look.
Mounting a cabinet to the wall may seem like a daunting task, but with the right tools, materials, and step-by-step instructions, it can be a relatively straightforward process. In this guide, we will walk you through each step, providing detailed instructions and tips to ensure a smooth and successful installation.
In order to complete this project, you will need a few essential tools and materials. We’ll cover those in the next section. It’s always important to prioritize safety when working on DIY projects. Make sure to follow proper safety precautions, such as wearing protective eyewear and gloves, and using power tools with caution.
So, if you’re ready to transform your space and create a functional and stylish cabinet setup, let’s dive in and learn how to mount a cabinet to the wall!
Key Takeaways:
- Mounting a cabinet to the wall is a straightforward process with the right tools and materials. From measuring and marking to securing the cabinet, each step ensures a professional and durable installation.
- Attention to detail and safety precautions are crucial when mounting a cabinet to the wall. By following the step-by-step instructions and implementing final touches, you can confidently enjoy the added functionality and style it brings to your space.
Read more: How To Mount Bookshelves On Wall
Tools and Materials Needed
Before you begin mounting your cabinet to the wall, gather the necessary tools and materials to ensure a smooth and efficient installation. Here’s a list of what you’ll need:
- Electric or cordless drill
- Drill bits (appropriate for your wall type)
- Screwdriver (manual or powered)
- Measuring tape
- Cabinet mounting brackets
- Screws (appropriate for your cabinet and wall)
- Pencil or marker
- Safety goggles
- Gloves
- Level
Additionally, depending on the specific requirements of your cabinet and wall, you may need the following:
- Wall anchors
- Masonry drill bits (for concrete or brick walls)
- Toggle bolts
- Stud finder
- Assistant or helper
It’s important to check the instructions provided with your cabinet for any specific tools or materials that may be required. This will help ensure that you have everything you need before starting the installation process.
Once you have gathered all the necessary tools and materials, you’ll be ready to move on to the next step: measuring and marking the mounting location on the wall. This will ensure that your cabinet is properly positioned and securely attached.
Step 1: Measure and Mark
The first step in mounting a cabinet to the wall is to measure and mark the desired location. This step is crucial to ensure that the cabinet is positioned correctly and aligned with other elements in the room. Here’s how you can do it:
- Measure the height and width of your cabinet. Take note of these measurements as you’ll need them later during the installation process.
- Using a measuring tape, measure and mark the desired height on the wall where you want the bottom of the cabinet to be. Make sure to take into consideration any appliances or fixtures that might interfere with the cabinet’s placement.
- Next, measure and mark the width of the cabinet on the wall. Use a level to ensure that your marks are perfectly straight and align with any adjacent cabinets or countertops.
- Now, measure and mark the location of your cabinet’s mounting holes on the back panel. These holes will correspond to the mounting brackets that will hold the cabinet in place.
- Double-check your measurements and marks to ensure that they are accurate and aligned. This will help prevent any errors during the installation process.
Once you have measured and marked the desired location for your cabinet, you’re ready to move on to the next step: locating the wall studs.
Step 2: Locate Wall Studs
Locating wall studs is an essential step in mounting a cabinet securely to the wall. Wall studs provide the necessary support and strength to hold the weight of the cabinet. Here’s how you can locate wall studs:
- Start by using a stud finder. This handy tool can detect the presence of studs behind the wall surface.
- Turn on the stud finder and slowly move it along the wall in the area where you plan to install the cabinet. Follow the instructions provided by the manufacturer to ensure accurate readings.
- When the stud finder indicates the presence of a stud, mark the location with a pencil or marker. Repeat this process along the length of the marked width to locate multiple studs.
- If you don’t have a stud finder, an alternative method is to look for other signs of stud locations, such as electrical outlets or switches. Studs are typically located near these fixtures.
- Keep in mind that wall studs are usually spaced 16 or 24 inches apart, so once you locate one stud, you can measure and mark the rest accordingly.
- It’s crucial to mount your cabinet directly onto the wall studs for maximum stability. If your cabinet’s mounting holes do not align with the located studs, you may need to consider using wall anchors or alternative installation methods.
Locating wall studs is an important step to ensure the longevity and stability of your mounted cabinet. Once you have located the studs, you can proceed to the next step: drilling pilot holes.
Step 3: Drill Pilot Holes
Drilling pilot holes is an essential step in mounting a cabinet to the wall. These small guide holes help prevent the wood from splitting and make it easier to drive screws into the wall. Here’s how you can drill pilot holes:
- Select an appropriately sized drill bit for your pilot holes. The size of the bit should be slightly smaller than the diameter of the screws you will be using.
- Attach the drill bit to your electric or cordless drill.
- Position the drill bit on one of the marked mounting holes on the back panel of the cabinet.
- Hold the drill perpendicular to the cabinet and start drilling slowly, applying steady pressure. Be careful not to drill too deeply into the cabinet.
- Continue drilling until the pilot hole reaches the desired depth. This depth should be slightly shorter than the length of the screws you will be using.
- Repeat this process for each marked mounting hole on the back panel of the cabinet.
- Make sure to clean any wood dust or debris from the pilot holes before proceeding to the next step.
Drilling pilot holes helps ensure a secure and stable attachment of the cabinet to the wall. It reduces the risk of the wood splitting and makes the installation process smoother. Once you have drilled the pilot holes, you’re ready to move on to the next step: attaching the mounting brackets.
Read more: How To Mount A Projector To The Wall
Step 4: Attach Mounting Brackets
Attaching mounting brackets is a crucial step in securely mounting your cabinet to the wall. These brackets provide the necessary support and stability for the cabinet. Here’s how you can attach the mounting brackets:
- Position the mounting brackets on the back panel of the cabinet, aligning them with the pilot holes you drilled in the previous step.
- Using a screwdriver or drill, insert the screws provided with the mounting brackets into the pilot holes and secure the brackets to the cabinet. Make sure the brackets are firmly attached.
- If your cabinet requires multiple mounting brackets, repeat this process for each bracket.
- Position the cabinet against the wall, lining it up with the previous marks and ensuring that the mounting brackets align with the located wall studs.
- With the help of an assistant or by using a temporary support, hold the cabinet in place against the wall.
- Using your drill or screwdriver, drive screws through the mounting brackets and into the wall studs. Make sure to screw them in tightly to ensure a secure attachment.
- Repeat this process for each mounting bracket, ensuring that the cabinet is evenly supported and properly aligned with the marked measurements on the wall.
Attaching the mounting brackets is a critical step that provides the foundation for securely mounting the cabinet to the wall. Take your time to ensure that the brackets are properly aligned and firmly attached. Once the brackets are in place, you’re ready to move on to the next step: securing the cabinet to the wall.
Use a stud finder to locate wall studs for secure mounting. Mark the stud locations on the wall and align the cabinet’s mounting holes with the studs. Use heavy-duty screws to attach the cabinet to the wall for stability.
Step 5: Secure Cabinet to Wall
Once the mounting brackets are securely attached to the cabinet and the wall studs, it’s time to secure the cabinet to the wall. This step ensures that the cabinet is firmly anchored in place. Here’s how you can do it:
- Double-check that the cabinet is level and properly aligned with the marked measurements on the wall.
- Using your drill or screwdriver, drive screws through the remaining mounting holes in the back panel of the cabinet and into the wall studs. Make sure to tighten the screws securely.
- Ensure that the screws are placed evenly and that the cabinet is evenly supported by all the screws.
- Check for any gaps between the cabinet and the wall. If there are any, adjust the screws or mounting brackets to close the gaps.
- Verify that the cabinet is stable and securely attached to the wall by gently shaking or applying light pressure to the cabinet.
- If the cabinet feels loose or wobbly, remove the screws and examine the mounting brackets and pilot holes to identify any issues. Make any necessary adjustments and re-attach the cabinet.
- Once you are satisfied with the stability of the cabinet, tighten all screws securely.
By securely fastening the cabinet to the wall, you ensure that it can safely support its weight and any items placed inside. Taking the time to properly secure the cabinet will help prevent any accidents or damage. With the cabinet securely attached, you can proceed to the next step: leveling the cabinet.
Step 6: Level the Cabinet
Leveling the cabinet is an important step to ensure that it is straight and properly aligned. This not only enhances the visual appeal but also ensures that the cabinet doors and drawers function correctly. Here’s how you can level the cabinet:
- Place a level on top of the cabinet, horizontally or vertically, depending on the desired alignment. The level should rest across the top surface or vertically against the side of the cabinet.
- Adjust the position of the cabinet as needed to achieve a level reading. You can do this by inserting shims between the cabinet and the wall, as necessary.
- Continue to adjust and check the level reading until the cabinet is perfectly level in all directions.
- If you have multiple cabinets or they are adjacent to other fixtures, make sure they are also level with each other for a cohesive look.
- Once you’ve achieved a level position, double-check the stability of the cabinet by gently shaking or applying light pressure. The cabinet should remain sturdy and secure.
Leveling the cabinet ensures not only a visually appealing installation but also proper functionality. It is essential to address any leveling issues before proceeding to the final steps of the installation process.
With the cabinet now leveled, you can move on to the next step: checking the stability of the installation.
Step 7: Check Stability
Checking the stability of the cabinet installation is a crucial step to ensure that it is securely attached and will remain in place over time. Here’s how you can check the stability of the cabinet:
- Gently shake the cabinet or apply light pressure to different areas to test its stability. The cabinet should feel secure and not wobble or move.
- If you notice any movement or instability, carefully inspect the mounting brackets, screws, and wall studs to identify any issues.
- Tighten any loose screws that might be causing instability. Make sure all screws are securely tightened.
- If the cabinet still feels unstable, consider removing the cabinet and reevaluating the installation process. Ensure that the mounting brackets are securely attached to both the cabinet and the wall studs.
- Reinstall the cabinet, making any necessary adjustments to improve stability. Use shims between the cabinet and the wall if needed.
- Once you are satisfied with the stability of the cabinet, conduct a final check by gently shaking or applying light pressure to ensure that it remains secure.
Ensuring the stability of the cabinet is crucial to prevent accidents or damage over time. Taking the time to double-check and make any necessary adjustments will guarantee a well-mounted and safe cabinet installation.
With the stability of the cabinet confirmed, let’s move on to the final step: adding the finishing touches and implementing safety precautions to complete the wall cabinet installation.
Read more: How To Mount Ceramic Wall Art
Step 8: Final Touches and Safety Precautions
As you near the completion of mounting your cabinet to the wall, it’s important to focus on the final touches and implement safety precautions to ensure a professional and secure installation. Here are the final steps:
- Inspect the cabinet to make sure it is clean and free of any dust or debris.
- Wipe down the cabinet with a damp cloth to remove any fingerprints or smudges.
- Check that all cabinet doors and drawers open and close smoothly without any obstructions or issues.
- If necessary, adjust the hinges or sliders to ensure proper alignment and functionality.
- Secure any loose hardware, such as knobs or handles, ensuring they are fastened tightly.
- Finally, implement safety precautions by carefully examining the cabinet’s placement and ensuring that it does not obstruct any walkways or pose any potential hazards. Check that the cabinet is securely attached and cannot easily be pulled or tipped over.
- If you have small children or pets, consider installing safety locks or latches on the cabinet doors to prevent access to potentially harmful items.
- Once you have completed all the final touches and implemented the necessary safety precautions, stand back and admire your well-mounted cabinet!
Congratulations! You have successfully mounted your cabinet to the wall, creating a functional and stylish addition to your space. Remember to keep the installation instructions and any warranty information for future reference.
By following these steps and taking the extra care to complete the final touches and safety precautions, you can enjoy your newly mounted cabinet with peace of mind, knowing that it is securely attached and enhances the organization and aesthetics of your room.
Thank you for following this guide on how to mount a cabinet to the wall. We hope you found it informative and helpful in your DIY project.
Conclusion
Mounting a cabinet to the wall is a practical and stylish way to maximize storage space and enhance the organization of your room. With the right tools, materials, and step-by-step instructions, this process can be accomplished successfully and securely.
In this guide, we have walked you through the eight essential steps to mount a cabinet to the wall. From measuring and marking the location to securing the cabinet and implementing safety precautions, each step plays a crucial role in ensuring a professional and durable installation.
By following these steps and paying attention to detail, you can confidently mount your cabinet and enjoy the benefits it brings to your home. Keep in mind the importance of safety throughout the process, using protective gear and taking necessary precautions to prevent accidents or injuries.
Remember, if you encounter any difficulties or uncertainties during the installation process, it’s always a good idea to consult the instructions provided with your cabinet or seek assistance from a professional.
Now that you have completed the installation of your cabinet, take a moment to relish in the sense of achievement and enjoy the added functionality and style it brings to your space.
We hope that this guide has been helpful and that you have found the information provided valuable in mounting your cabinet to the wall. Happy organizing!
Frequently Asked Questions about How To Mount A Cabinet To The Wall
Was this page helpful?
At Storables.com, we guarantee accurate and reliable information. Our content, validated by Expert Board Contributors, is crafted following stringent Editorial Policies. We're committed to providing you with well-researched, expert-backed insights for all your informational needs.


0 thoughts on “How To Mount A Cabinet To The Wall”