Articles
How To Load A Whirlpool Dishwasher
Modified: April 30, 2024
Learn how to load a Whirlpool dishwasher efficiently with these helpful articles. Discover the best techniques and maximize dishwasher space for sparkling clean dishes.
(Many of the links in this article redirect to a specific reviewed product. Your purchase of these products through affiliate links helps to generate commission for Storables.com, at no extra cost. Learn more)
Introduction
Welcome to this comprehensive guide on how to load a Whirlpool dishwasher. Whether you are a new owner of a Whirlpool dishwasher or simply looking for tips on optimizing the loading process, this article will provide you with step-by-step instructions on how to load your dishwasher efficiently and effectively.
Properly loading your dishwasher not only ensures that your dishes come out sparkling clean, but it also maximizes the dishwasher’s capacity and energy efficiency. With Whirlpool’s innovative designs and features, loading your dishwasher is a breeze. By following the tips and techniques outlined in this article, you will be able to achieve optimal results with every load.
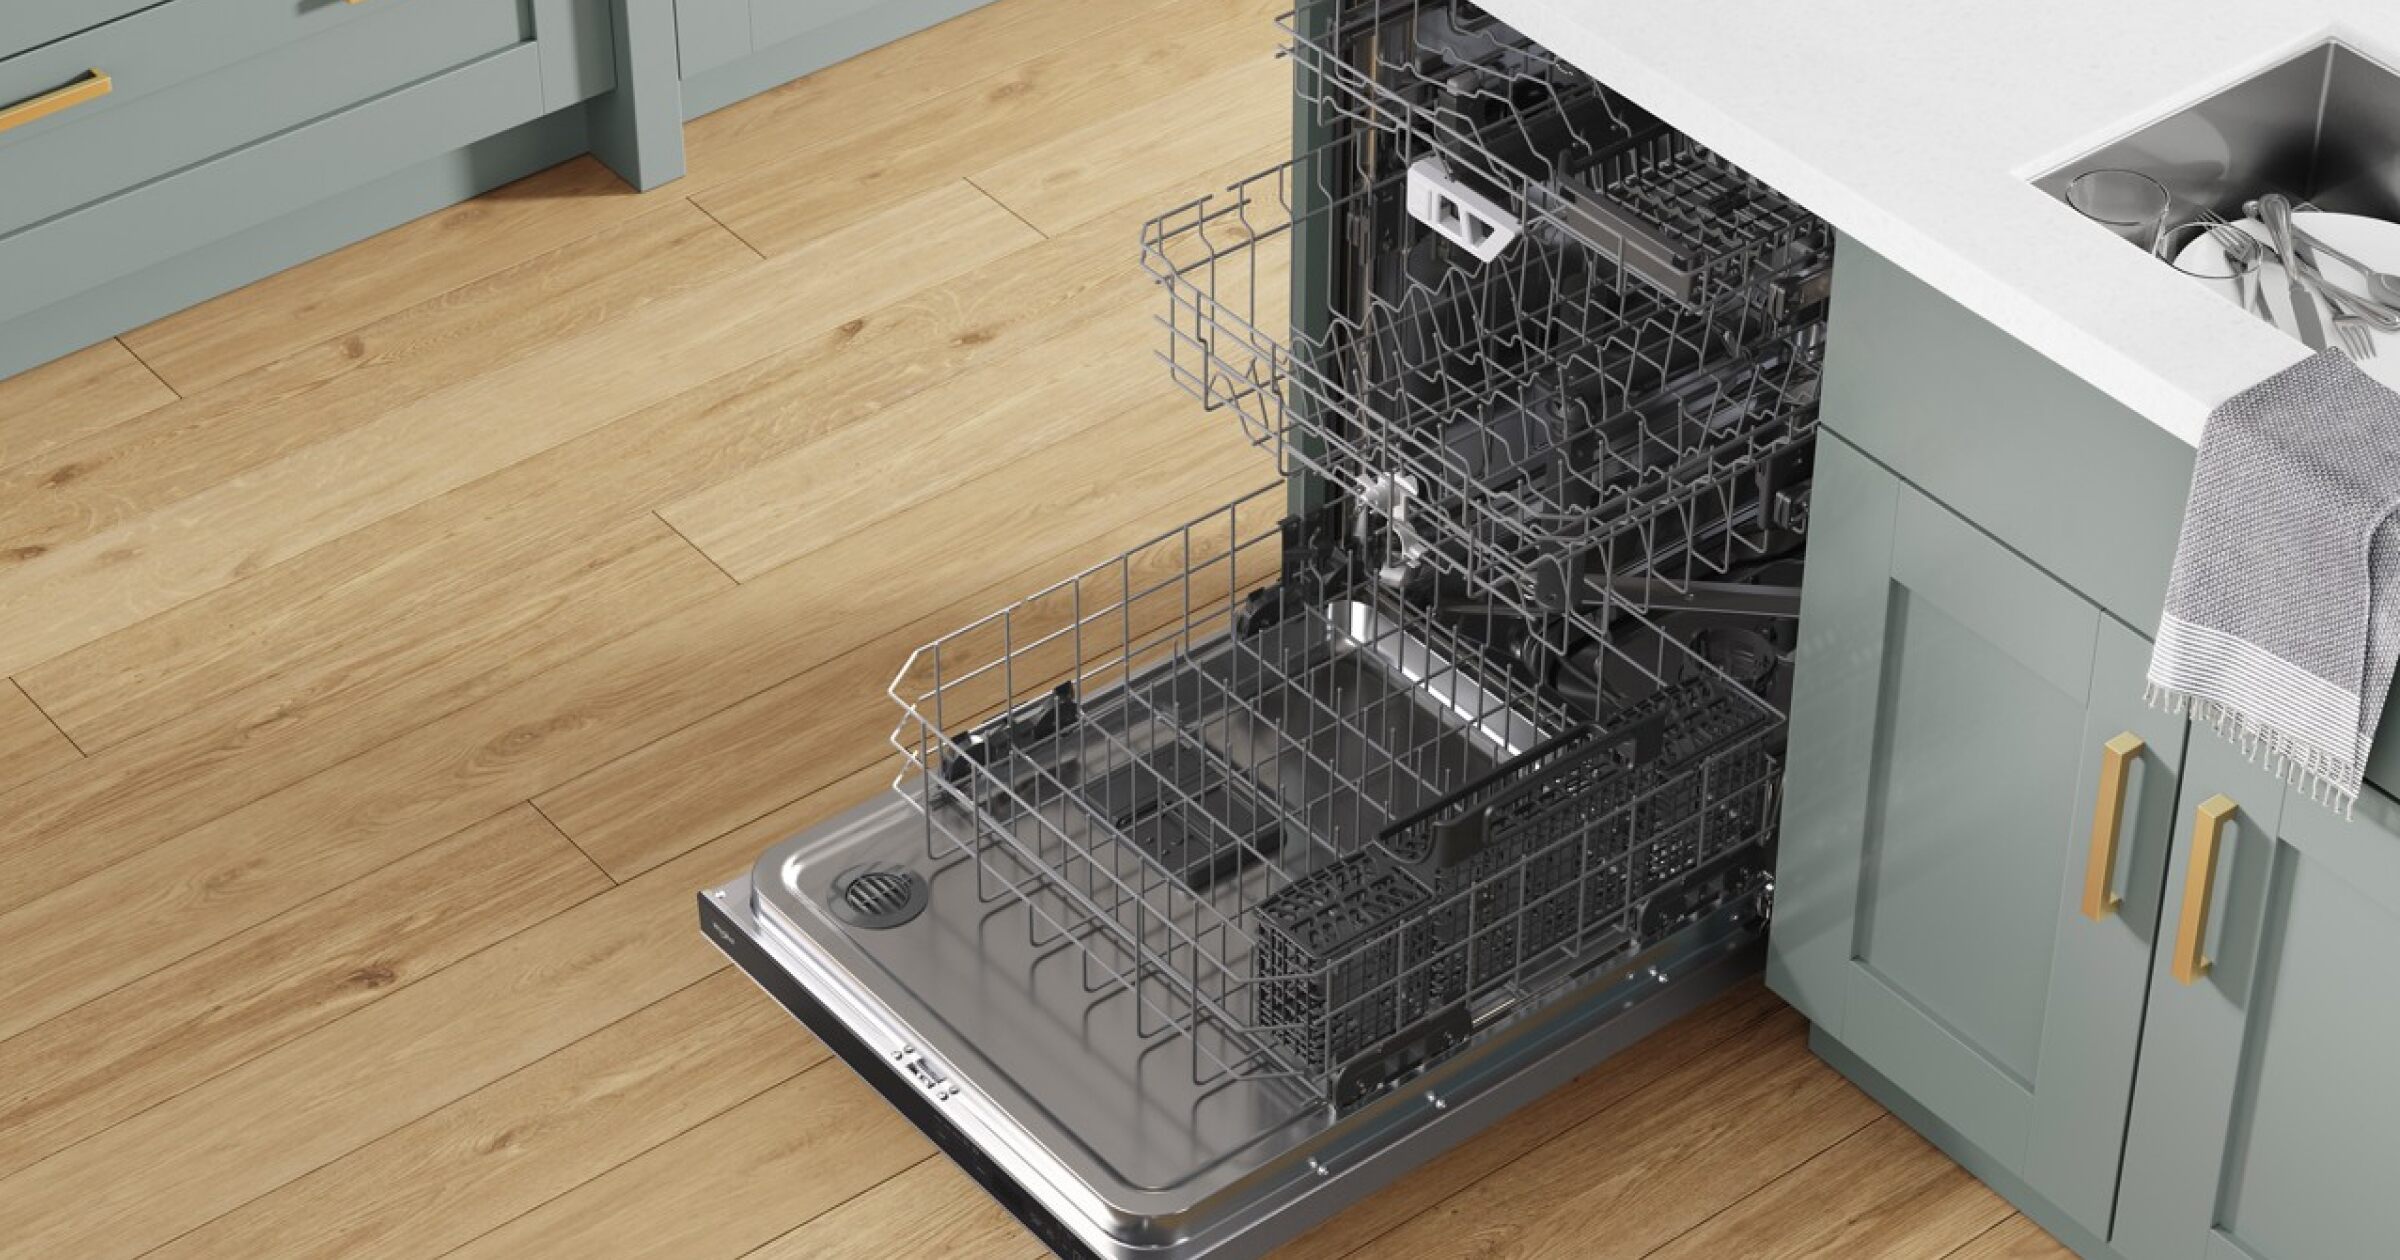
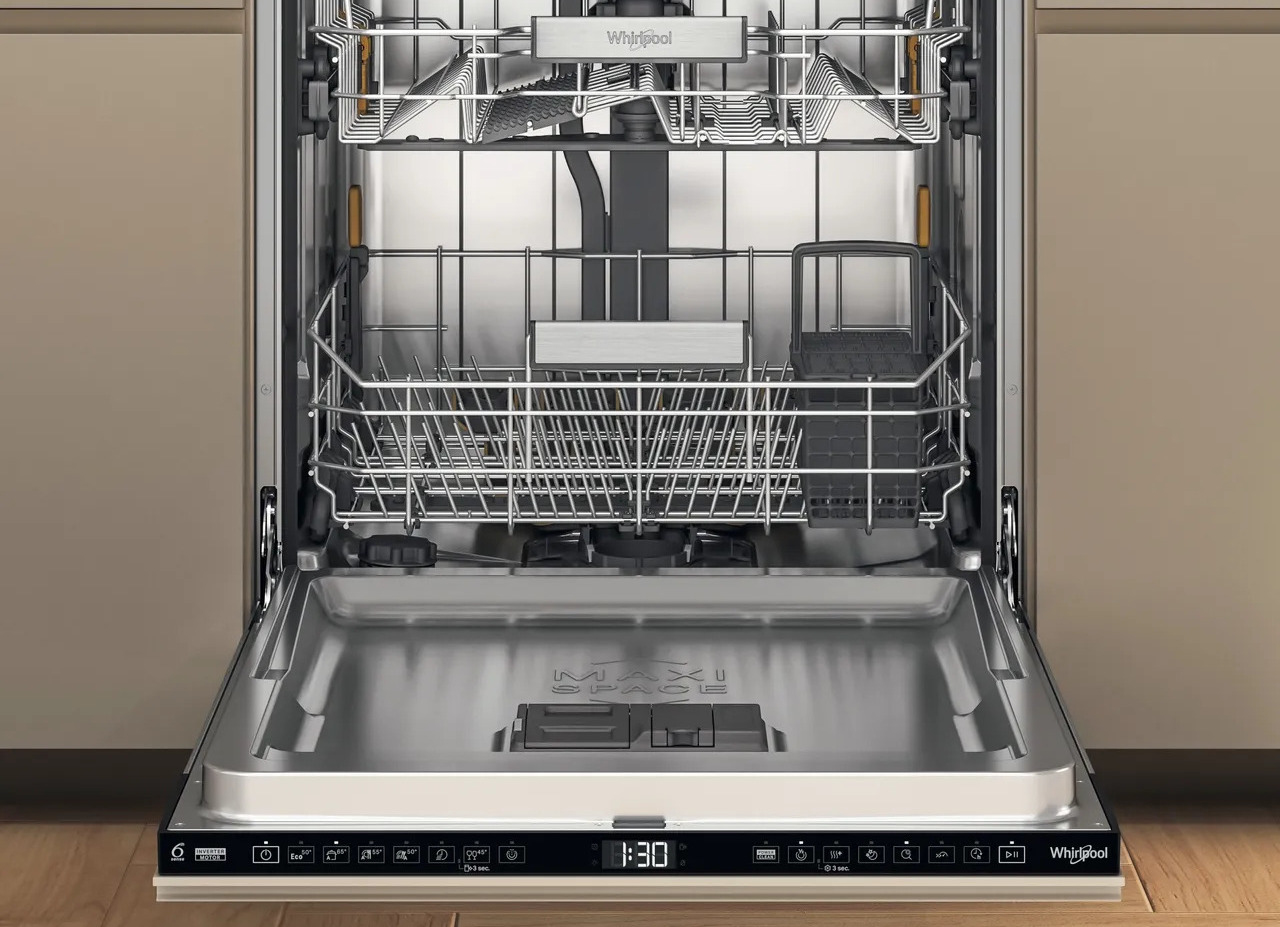
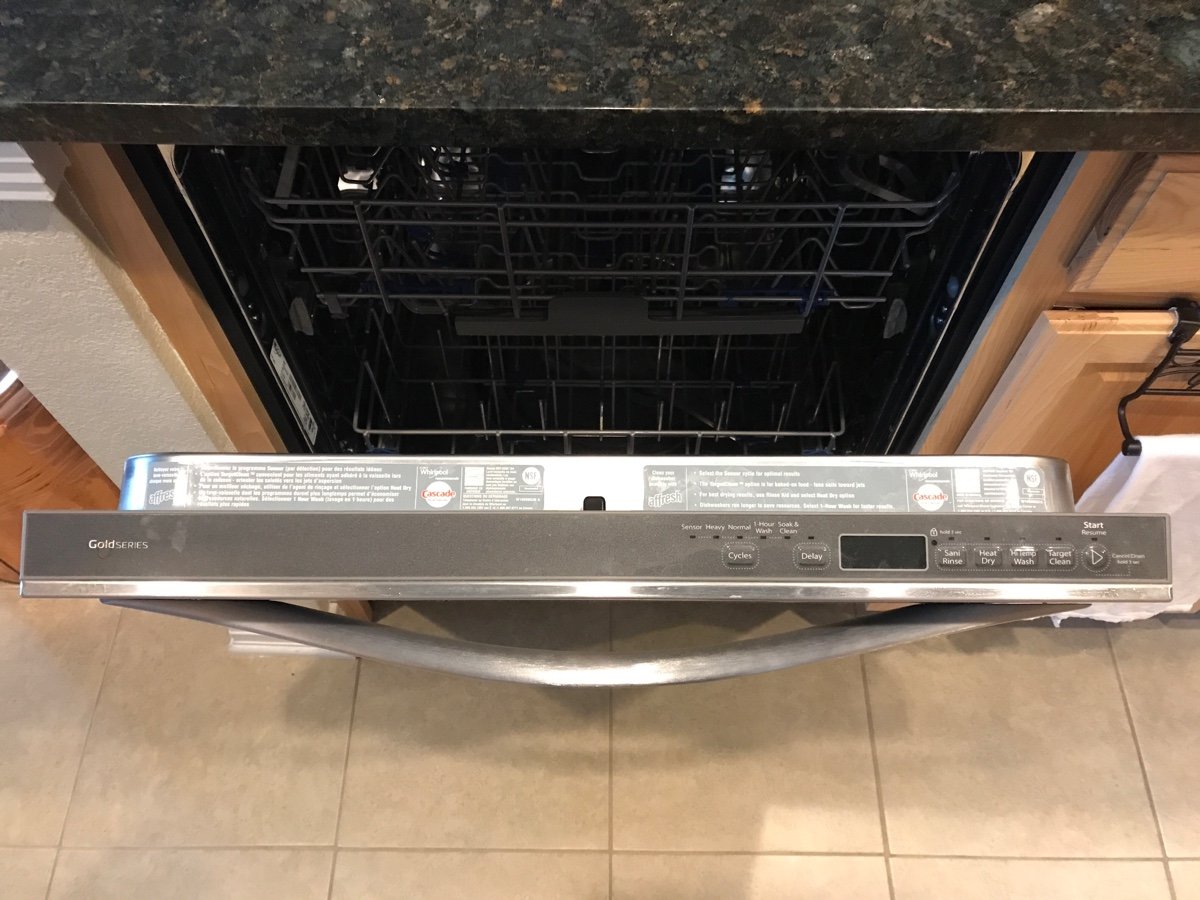
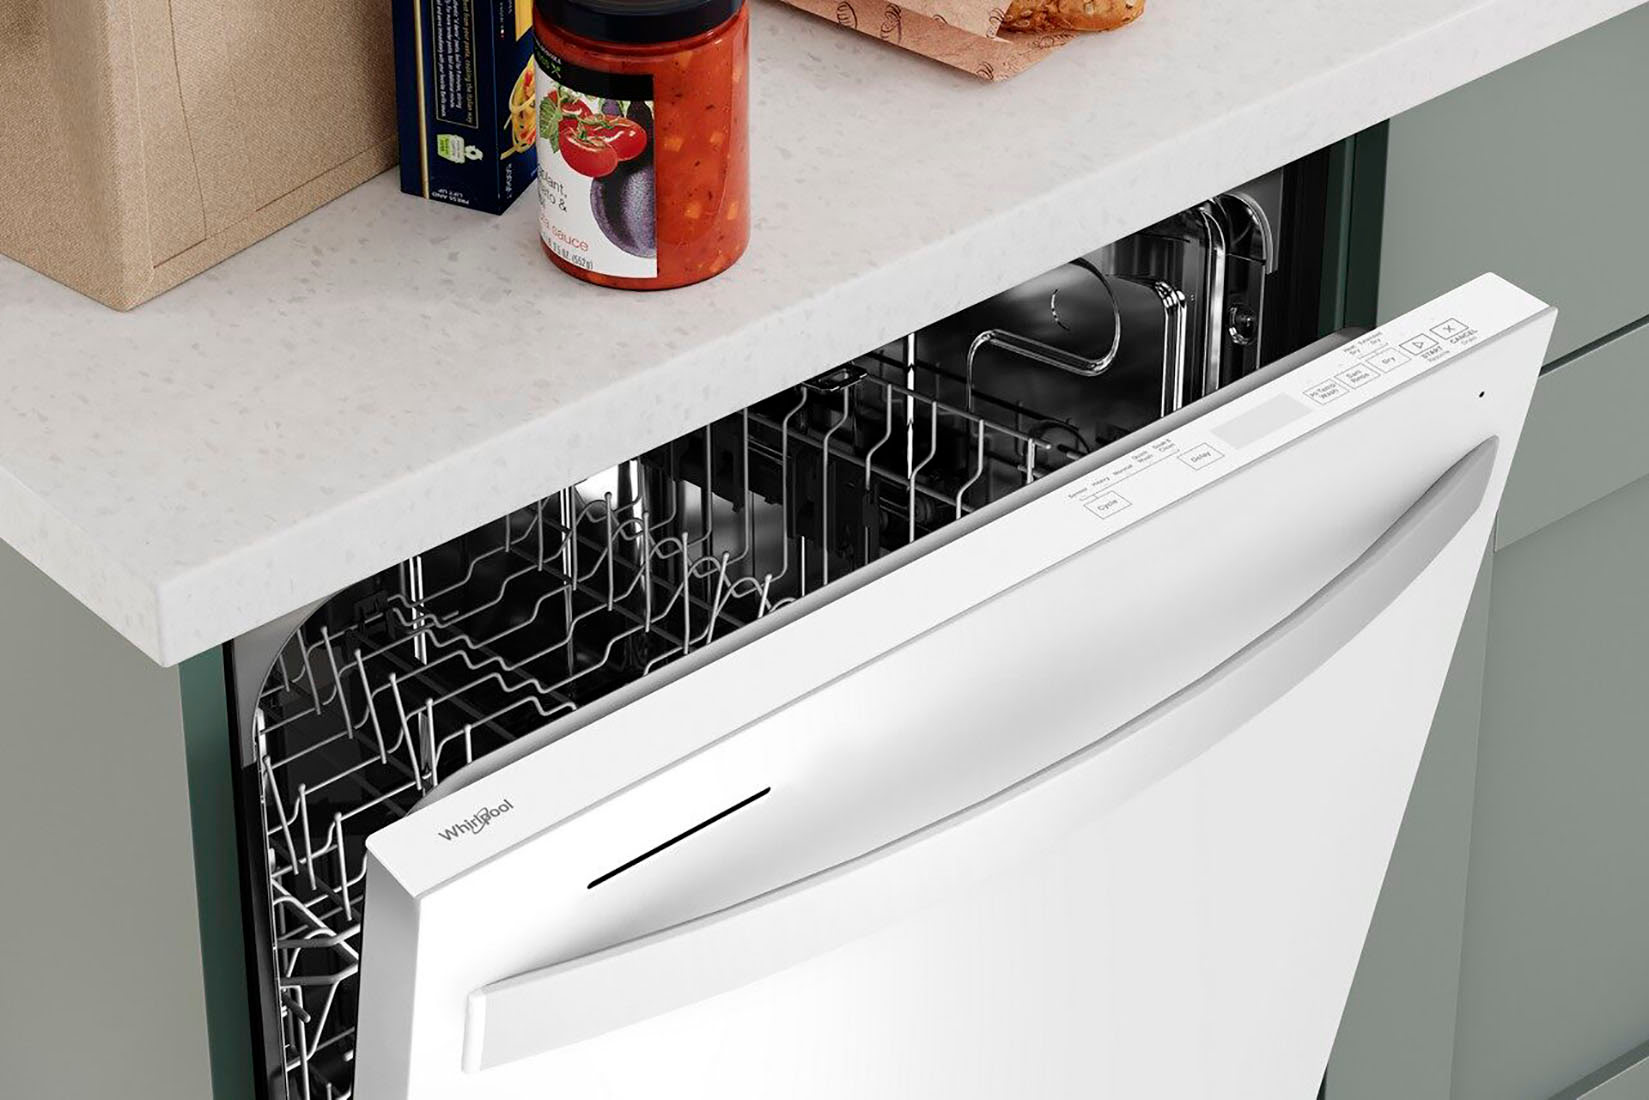
Before we dive into the specific steps, let’s take a moment to familiarize ourselves with the dishwasher’s interior. A typical Whirlpool dishwasher consists of two racks – the bottom rack and the top rack. The bottom rack is designed to hold larger, heavier items such as pots, pans, and plates, while the top rack is ideal for smaller items like glasses, cups, and utensils.
Now that we have an overview of what to expect, let’s move on to the step-by-step process of loading a Whirlpool dishwasher. By following these instructions, you’ll be able to load your dishwasher efficiently and ensure optimal cleaning performance.
Key Takeaways:
- Efficiently load your Whirlpool dishwasher by preparing, organizing, and spacing items properly. Follow step-by-step instructions to ensure optimal cleaning performance and maximize capacity.
- Unload your sparkling clean dishes with care, inspecting and organizing them for easy storage. Regular maintenance will prolong your Whirlpool dishwasher’s lifespan and cleaning efficiency.
Read more: How To Load The Dishwasher
Step 1: Preparing the dishwasher
Before you start loading your Whirlpool dishwasher, it is important to ensure that the dishwasher is clean and ready to use. Follow these steps to prepare your dishwasher for loading:
- Clean the interior: Check for any food particles or debris in the bottom of the dishwasher and remove them. Use a damp cloth or sponge to wipe down the interior walls and remove any stains or residue.
- Check the filter: Locate the dishwasher’s filter, usually located at the bottom of the dishwasher. Remove the filter and rinse it under running water to remove any accumulated debris. Make sure to reinstall the filter before loading your dishes.
- Inspect the spray arms: The spray arms are responsible for distributing water throughout the dishwasher. Ensure that the spray arms are free from any obstructions or clogs. If necessary, clean the spray arms using a small brush or toothpick to remove any debris.
Once you have prepared the dishwasher, it’s time to move on to the next step – loading the bottom rack of the dishwasher.
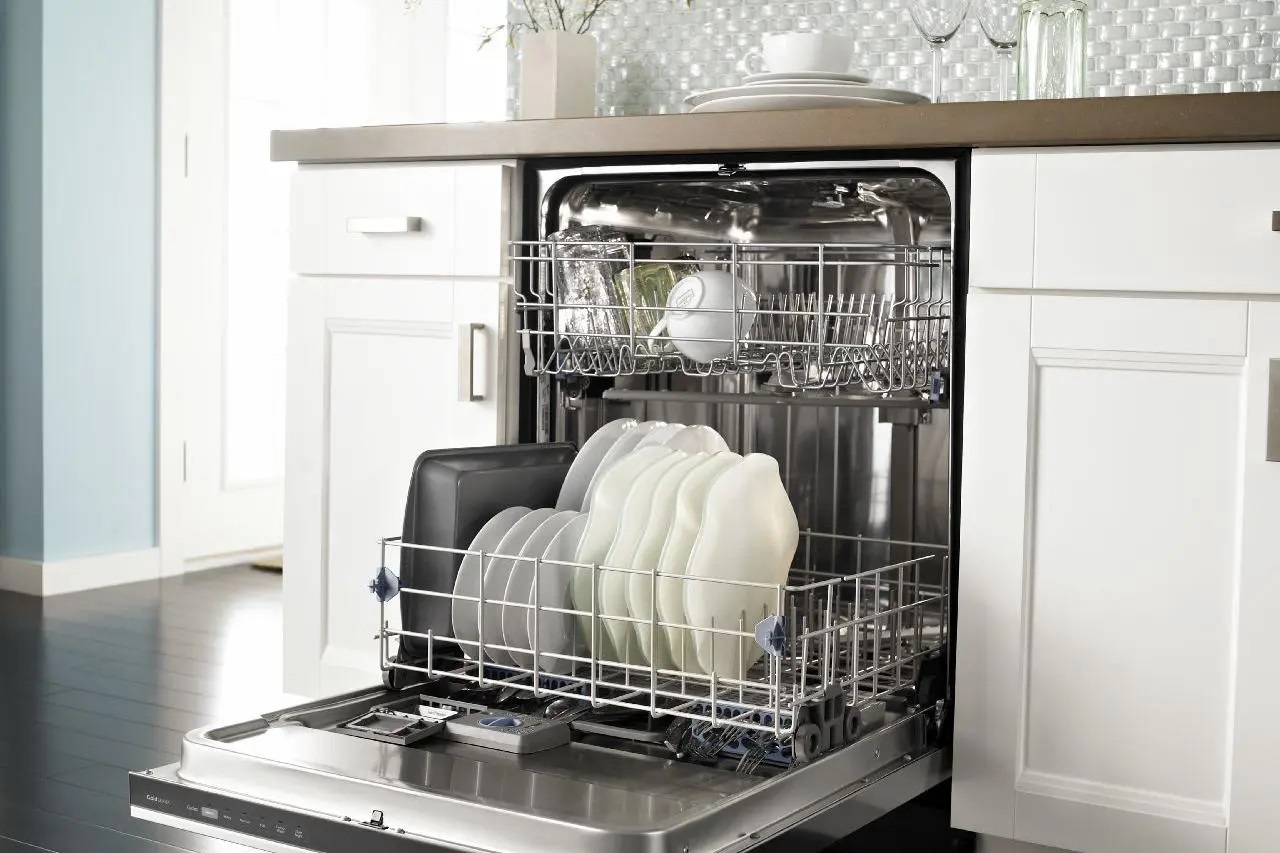
Step 2: Loading the bottom rack
The bottom rack of your Whirlpool dishwasher is designed to hold larger and heavier items such as pots, pans, and plates. Follow these steps to properly load the bottom rack:
- Ensure proper spacing: Allow enough space between items to ensure that water can flow freely and reach all surfaces. Avoid overcrowding the rack as it may prevent proper cleaning.
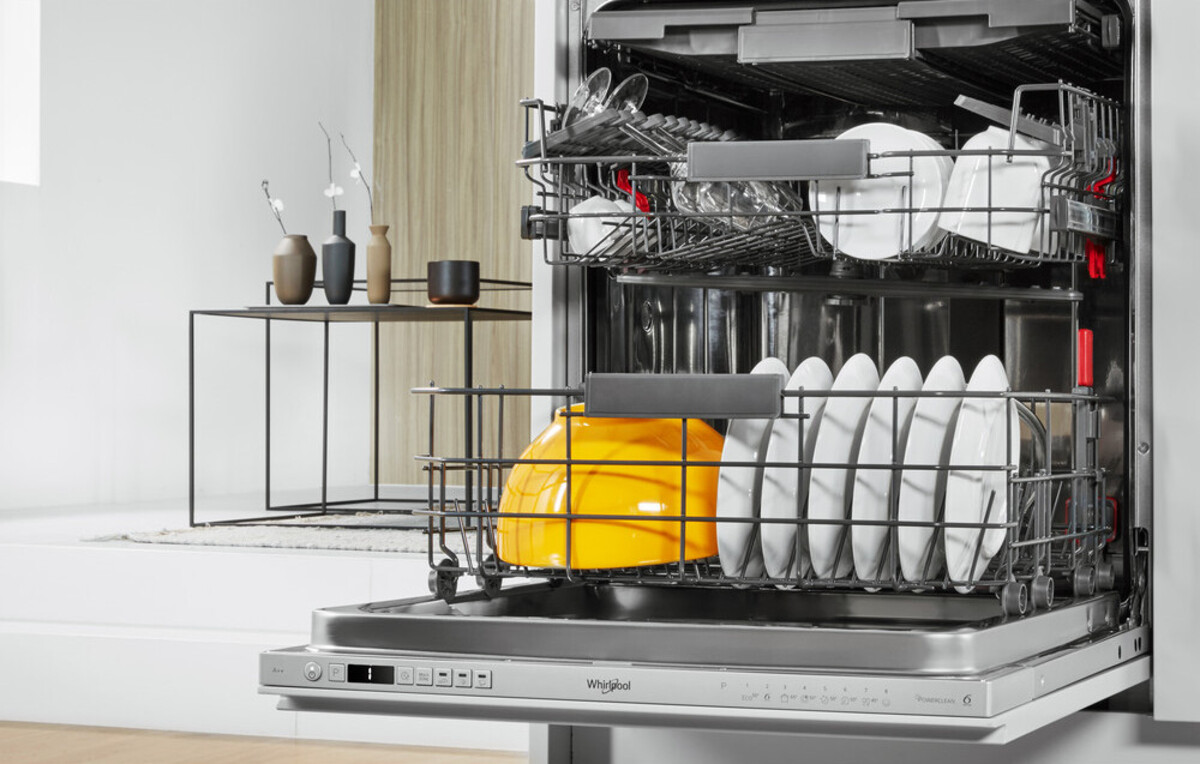
- Place larger items: Start by placing larger items such as pots, pans, and casserole dishes. Angle these items towards the center of the rack to allow for better water circulation.
- Position plates and bowls: Place plates and bowls in the remaining spaces, ensuring that they are facing downwards. This allows for effective rinsing and drainage.
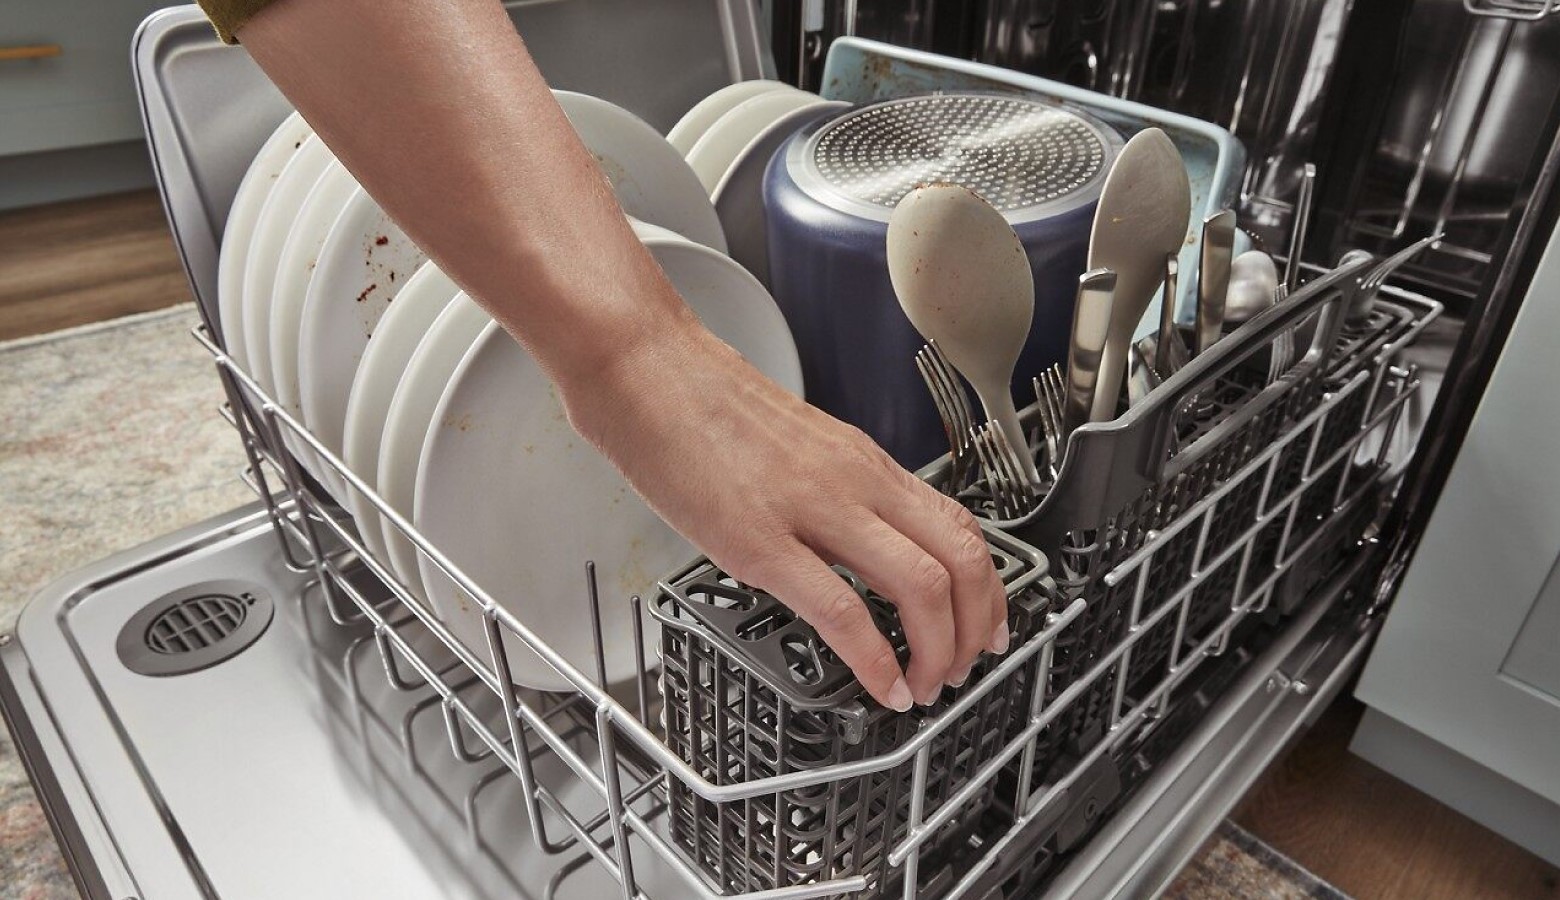
- Separate silverware: If your Whirlpool dishwasher has a silverware basket in the bottom rack, place utensils with handles facing downwards for optimal cleaning. Spread them out to avoid nesting and ensure thorough cleaning.
- Avoid blocking the spray arm: Make sure that no items are obstructing the movement of the spray arm located below the bottom rack. This allows for even water distribution and effective cleaning.
By following these steps, you will be able to efficiently load the bottom rack of your Whirlpool dishwasher, ensuring that every item is properly cleaned. Once the bottom rack is loaded, it’s time to move on to the next step – loading the top rack.
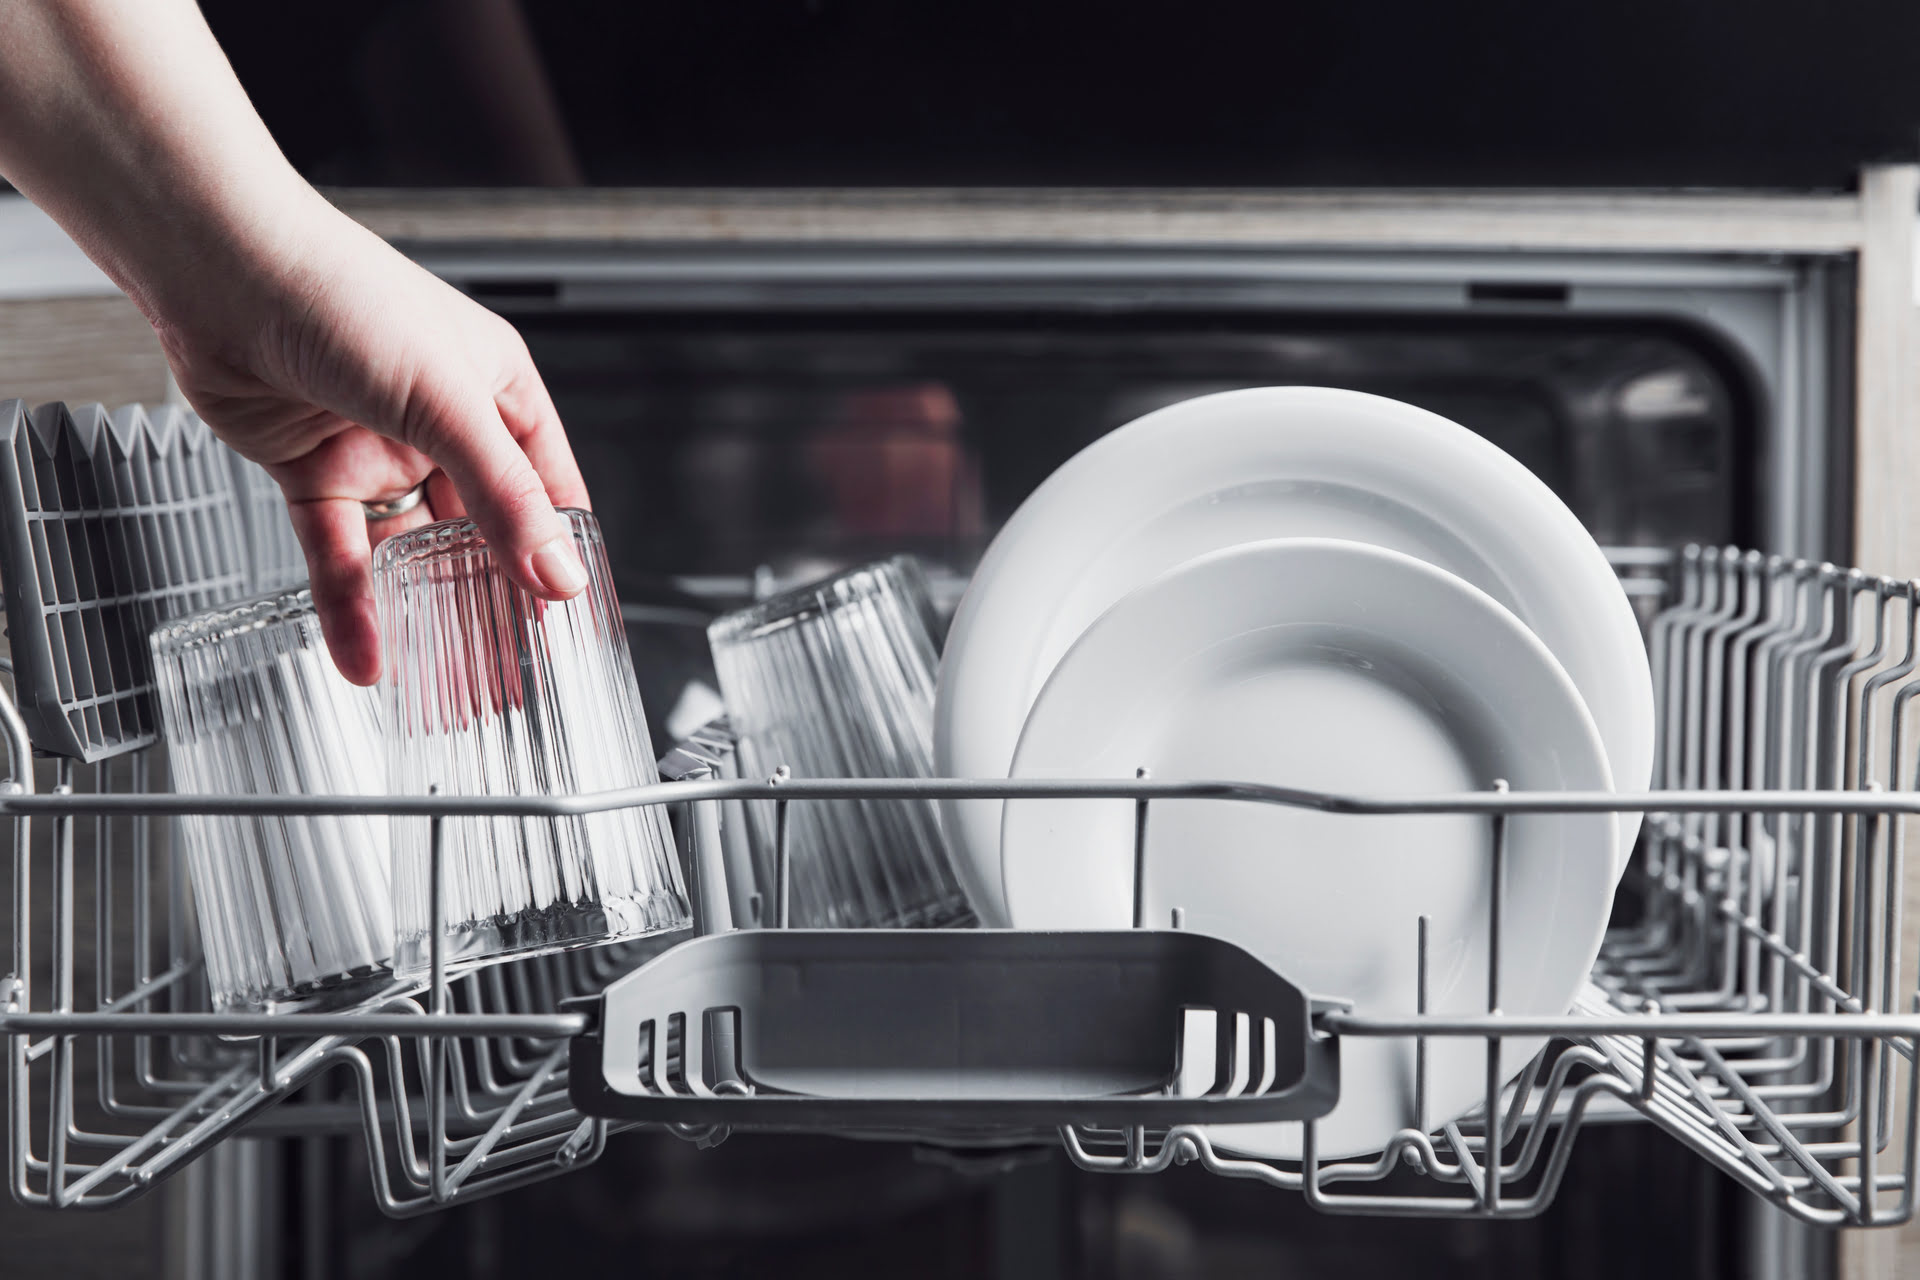
Step 3: Loading the top rack
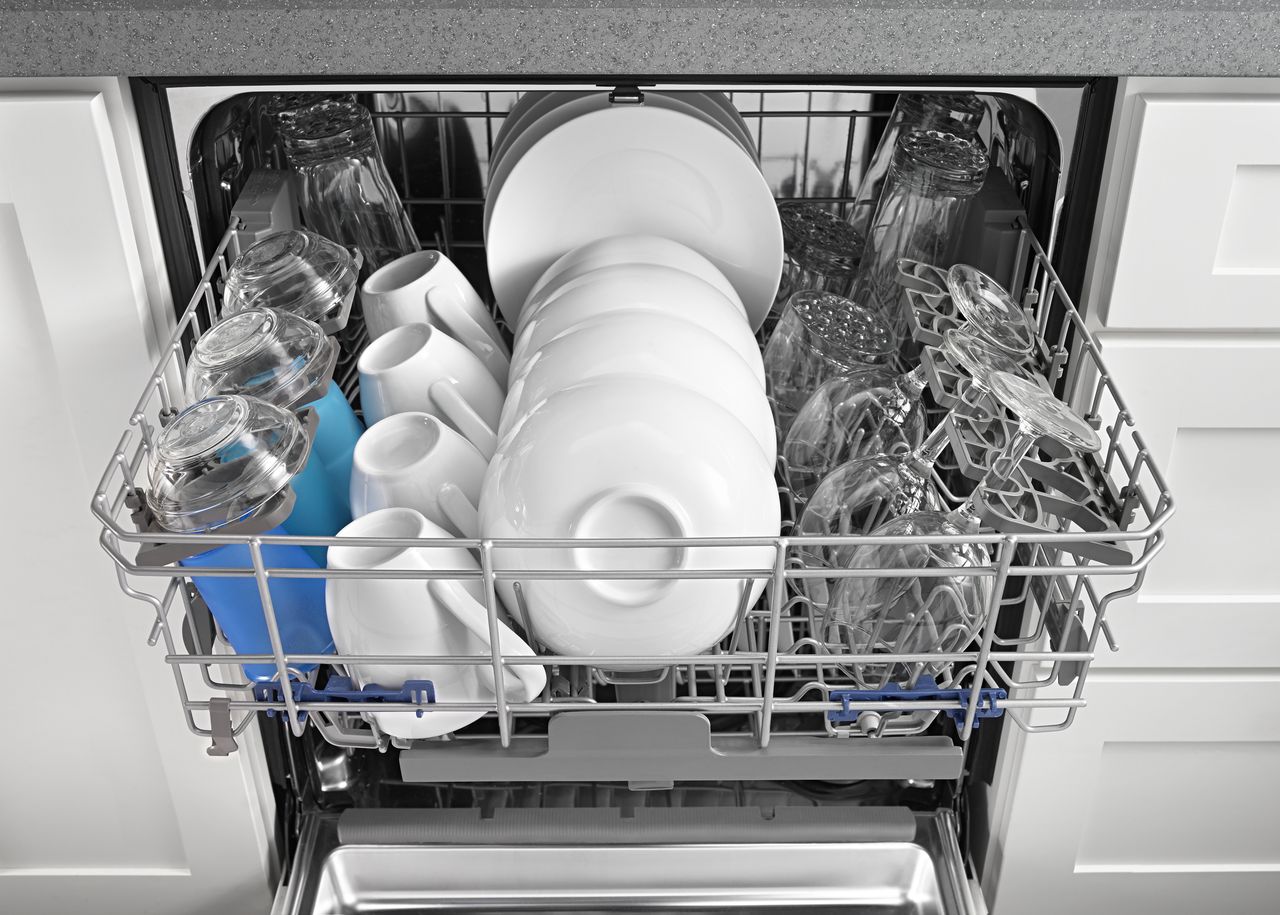
The top rack of your Whirlpool dishwasher is designed to hold smaller and more delicate items such as glasses, cups, and utensils. Properly loading the top rack will ensure that these items are thoroughly cleaned and remain in good condition. Follow these steps to effectively load the top rack:
- Organize glasses and cups: Place glasses and cups securely in the designated spaces on the top rack. Ensure that they are stable and do not touch each other, as this can lead to breakage.
- Secure small items: Use the designated compartments or fold-down shelves on the top rack to securely hold smaller items such as lids, baby bottle parts, and small utensils. This prevents them from moving around during the wash cycle.
- Arrange large utensils: If your Whirlpool dishwasher has a utensil tray or slots on the top rack, place larger utensils such as knives, spoons, and forks in these compartments. This ensures that they are thoroughly cleaned and reduces the risk of injury when unloading.
- Check for obstructions: Make sure that no items are obstructing the movement of the spray arm located above the top rack. This allows for even water distribution and effective cleaning of the top rack items.
By following these steps, you will be able to load the top rack of your Whirlpool dishwasher efficiently and ensure that every item is cleaned to perfection. Once the top rack is loaded, it’s time to move on to the next step – adding detergent and turning on the dishwasher.
Make sure to scrape off excess food from dishes before loading them into the dishwasher. This will help prevent clogs and ensure a more thorough clean.
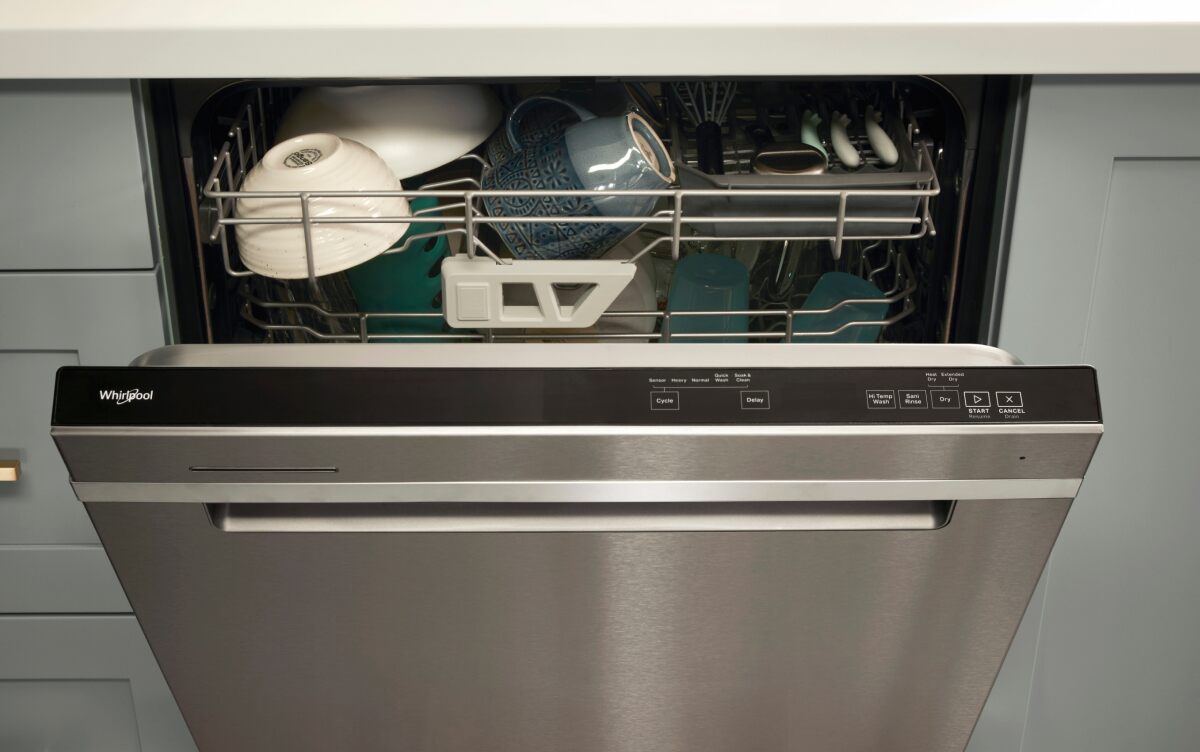
Step 4: Adding detergent and turning on the dishwasher
Now that you have successfully loaded your Whirlpool dishwasher, it’s time to add detergent and start the wash cycle. Follow these steps to ensure that your dishes are cleaned effectively:
- Select the appropriate detergent: Choose a dishwasher detergent that is suitable for your Whirlpool dishwasher. Check the manufacturer’s recommendations for the best results. It’s also important to use the right amount of detergent as using too much or too little can affect the cleaning performance.
- Add the detergent: Open the dishwasher detergent compartment, usually located on the inside of the dishwasher door, and add the recommended amount of detergent. Take care not to spill any detergent on the racks or dishes.
- Choose the desired wash cycle: Select the appropriate wash cycle on your Whirlpool dishwasher based on the level of dirt and the type of items being washed. Options may include normal, heavy, quick, or delicate cycles. Refer to your dishwasher’s user manual for specific instructions on cycle selection.
- Additional options: If your Whirlpool dishwasher offers additional features such as temperature settings or extra rinse cycles, you can customize these options based on your preference and the specific cleaning needs of your dishes.
- Start the dishwasher: Close the dishwasher door and press the start button to begin the wash cycle. The dishwasher will automatically fill with water, heat it to the desired temperature, and commence the cleaning process. Some models may have a delay start option, allowing you to set a later start time if desired.
Once the dishwasher is running, avoid opening the door during the wash cycle as this can affect the cleaning performance and potentially cause water splashes. Now, sit back, relax, and let your Whirlpool dishwasher do its magic!
Once the wash cycle is complete, move on to the final step – unloading the dishwasher.
Read more: How To Load A Bosch Dishwasher
Step 5: Unloading the dishwasher
Congratulations! Your Whirlpool dishwasher has finished its cleaning cycle, and now it’s time to unload your sparkling clean dishes. Follow these steps to ensure a smooth and efficient unloading process:
- Start with the bottom rack: Open the dishwasher door and begin by unloading the bottom rack. Take care when removing larger, heavier items to avoid any potential accidents or breakages.
- Stack plates and bowls: As you remove plates and bowls from the bottom rack, stack them carefully to make it easier to transport them to the dining or storage area. Ensure that they are dry before stacking to prevent unwanted moisture buildup.
- Retrieve silverware and utensils: If your Whirlpool dishwasher has a silverware basket, remove it and start unloading the utensils. Take care to avoid any sharp edges and handle knives and other sharp utensils with caution.
- Move on to the top rack: Once the bottom rack is empty, proceed to the top rack. Gently remove glasses, cups, and other fragile items, taking care to keep them upright to prevent breakage.
- Inspect and organize: Take a moment to inspect each item as you unload it from the dishwasher. Check for any residue or spots that may have been missed during the cleaning cycle. Arrange the items neatly on your countertop or in your cabinet for easy storage.
By following these steps, you will be able to safely and efficiently unload your dishwasher, ensuring that your clean dishes are ready for use or storage.
Remember, it is essential to maintain your Whirlpool dishwasher regularly to ensure its optimal performance. Clean the interior regularly, check and clean the filter, and inspect the spray arms for any clogs or obstructions. Following these maintenance practices will help prolong the lifespan of your dishwasher and maintain its cleaning efficiency.
With this comprehensive guide, you now have all the information you need to load and unload your Whirlpool dishwasher effectively. Enjoy the convenience and ease of a clean and organized kitchen with your Whirlpool dishwasher!
Thank you for reading this article, and we hope you found it helpful. Happy dishwashing!
Conclusion
Loading and unloading a Whirlpool dishwasher may seem like a simple task, but by following the proper steps and techniques, you can optimize the cleaning efficiency and maximize the capacity of your dishwasher. Throughout this article, we have provided you with a comprehensive guide on how to load a Whirlpool dishwasher effectively, from preparing the dishwasher to adding detergent and turning it on, and finally unloading the clean dishes.
By properly preparing your dishwasher, cleaning the interior, checking the filter, and inspecting the spray arms, you set the foundation for a successful wash cycle. When loading the bottom rack, ensure proper spacing, place larger items first, and separate silverware to avoid nesting. Similarly, when loading the top rack, organize glasses and cups, secure small items, and arrange large utensils. This allows for optimized cleaning and prevents damage to fragile items.
After loading your dishes, adding the appropriate detergent and choosing the right wash cycle is crucial. This ensures that your dishes are thoroughly cleaned without any residue. Lastly, the unloading process should be done with care, starting with the bottom rack and moving to the top rack, inspecting and organizing the dishes as you go.
Remember to maintain your Whirlpool dishwasher regularly by cleaning the interior, checking the filter, and inspecting the spray arms. This will contribute to the longevity of your appliance and its cleaning efficiency over time.
We hope this guide has provided you with valuable insights and practical tips on how to load a Whirlpool dishwasher. By following these steps, you can enjoy the convenience of a clean and organized kitchen while optimizing your dishwasher’s performance.
Thank you for reading, and happy dishwashing!
Frequently Asked Questions about How To Load A Whirlpool Dishwasher
Was this page helpful?
At Storables.com, we guarantee accurate and reliable information. Our content, validated by Expert Board Contributors, is crafted following stringent Editorial Policies. We're committed to providing you with well-researched, expert-backed insights for all your informational needs.


0 thoughts on “How To Load A Whirlpool Dishwasher”