Articles
How To Install A Samsung Dishwasher
Modified: October 20, 2024
Learn how to install a Samsung dishwasher with our informative articles. Get step-by-step instructions and expert tips for a hassle-free installation process.
(Many of the links in this article redirect to a specific reviewed product. Your purchase of these products through affiliate links helps to generate commission for Storables.com, at no extra cost. Learn more)
Introduction
Installing a new Samsung dishwasher can be a great addition to your kitchen. Not only will it make your life easier by taking care of the dishes, but it will also add a touch of modernity and convenience to your home. If you’re ready to upgrade your kitchen with a Samsung dishwasher, we’re here to guide you through the installation process.
Before you begin, it’s important to gather all the necessary tools and materials. This will ensure a smooth installation and save you from any last-minute trips to the hardware store.
In this article, we’ll walk you through step-by-step instructions on how to install a Samsung dishwasher. Whether you’re a DIY enthusiast or a first-time installer, follow along and you’ll have your new dishwasher up and running in no time.
Key Takeaways:
- Proper preparation is essential for installing a Samsung dishwasher. From gathering the right tools to ensuring the installation area is suitable, attention to detail at the outset sets the stage for a successful installation process.
- Testing the dishwasher after installation is crucial to identify any issues early on. By following the step-by-step testing process, you can ensure that your Samsung dishwasher is functioning optimally and ready to make your life easier.
Read more: How To Use Samsung Dishwasher
Required Tools and Materials
Before you start the installation process, make sure you have the following tools and materials on hand:
- Adjustable wrench
- Screwdriver (both Phillips and flathead)
- Pliers
- Tape measure
- Level
- Drill and drill bits
- Hose clamp
- Water supply line
- Drain hose
- Electrical cord
- Mounting brackets
- Mounting screws
- Wire nuts
It’s also important to read through the manufacturer’s installation instructions that come with your Samsung dishwasher. These instructions may specify additional tools or materials that are required for your specific model.
Once you have gathered all the necessary tools and materials, you can proceed to the installation process.
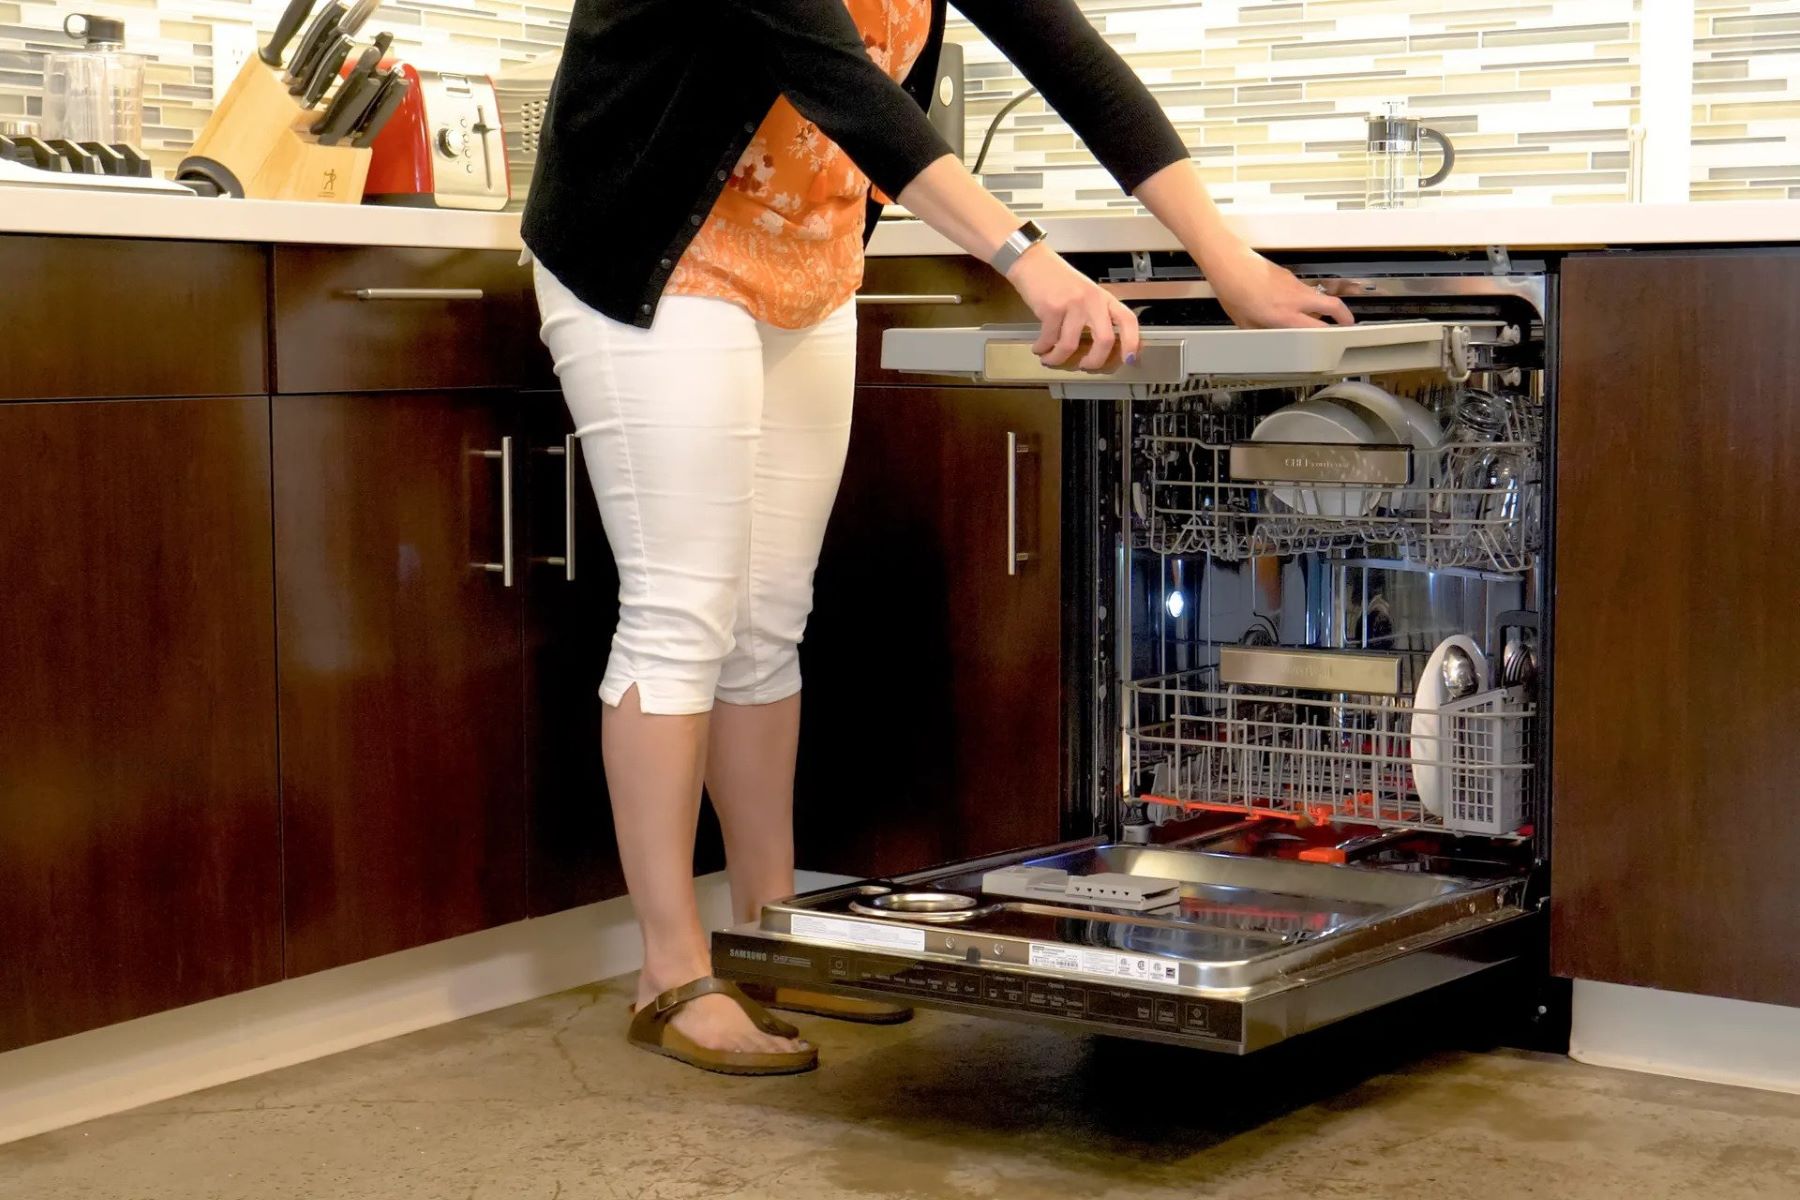
Step 1: Preparing the Installation Area
Before installing your Samsung dishwasher, it’s essential to prepare the installation area properly. Follow these steps:
- Start by turning off the power to the dishwasher at the breaker box. Safety should always be your top priority.
- Next, remove the lower front panel of the dishwasher by unscrewing the screws or releasing the clips, depending on the model.
- Measure the height, width, and depth of the dishwasher and ensure that the space under the countertop is sufficient to accommodate the dishwasher.
- Clear out any objects or debris from the area where the dishwasher will be installed.
- Check the floor and ensure it is level. If not, use shims to level it out. A properly leveled floor will prevent any future issues and maintain the stability of the dishwasher.
- If your dishwasher is being installed in a corner, make sure there is ample space for the door to open without any obstructions.
- In some cases, you may need to remove the countertop to install the dishwasher properly. Follow the manufacturer’s instructions or consult a professional for assistance if needed.
- Take note of the location of the electrical outlet and water supply valve, as you’ll need to connect the dishwasher to these later on.
By properly preparing the installation area, you’ll ensure a seamless installation process and avoid any unnecessary hiccups along the way.
Step 2: Removing the Old Dishwasher (If Applicable)
If you’re replacing an existing dishwasher, you’ll need to remove it before installing your new Samsung dishwasher. Here’s how:
- Start by turning off the power to the old dishwasher at the breaker box.
- Disconnect the water supply line by turning off the water valve, and then unscrewing the connection.
- Take note of how the drain hose is connected to the plumbing system, as you’ll need to disconnect it later.
- Carefully pull the dishwasher away from the cabinet, taking care not to damage any surrounding furniture or fixtures.
- Once the dishwasher is accessible, use a screwdriver or wrench to remove the mounting screws or brackets that are securing it to the countertop or cabinet.
- Gently tilt the dishwasher forward and backward to loosen it from the cabinet or countertop.
- With a partner’s assistance, slowly pull the dishwasher out from its position, ensuring that the power cord and drain hose do not get snagged or tangled.
- Once the old dishwasher is removed, carefully inspect the area for any water leakage or damage. It’s crucial to address these issues before proceeding with the installation of the new dishwasher.
Removing the old dishwasher may require some physical strength and caution. If you’re unsure about any step or encounter any difficulties, it’s always best to consult a professional or refer to the manufacturer’s instructions.
Step 3: Connecting the Water Supply
Now that you have prepared the installation area and removed the old dishwasher (if applicable), it’s time to connect the water supply for your new Samsung dishwasher. Follow these steps:
- Locate the water supply valve under your sink and turn it off.
- Attach a hose clamp to the end of the water supply line to secure it in place.
- Connect one end of the water supply line to the water valve, tightening the connection with an adjustable wrench.
- Measure the distance from the water valve to the dishwasher and cut the water supply line accordingly.
- Attach the other end of the water supply line to the water inlet valve on your Samsung dishwasher, ensuring it is securely fastened.
- Tighten both connections with an adjustable wrench, but be careful not to overtighten and damage the fittings.
- Double-check that both ends of the water supply line are tightly connected and secure.
- Slowly turn on the water supply valve and check for any leaks. If you notice any leaks, tighten the connections further or consider replacing the fittings if necessary.
Connecting the water supply is a crucial step in the dishwasher installation process. Properly securing the water supply line and ensuring there are no leaks will prevent any water damage and maintain the efficient functioning of your dishwasher.
Before installing a Samsung dishwasher, make sure to measure the space to ensure it fits properly. Also, check the water supply and electrical connections before starting the installation process.
Read more: How To Start A Samsung Dishwasher
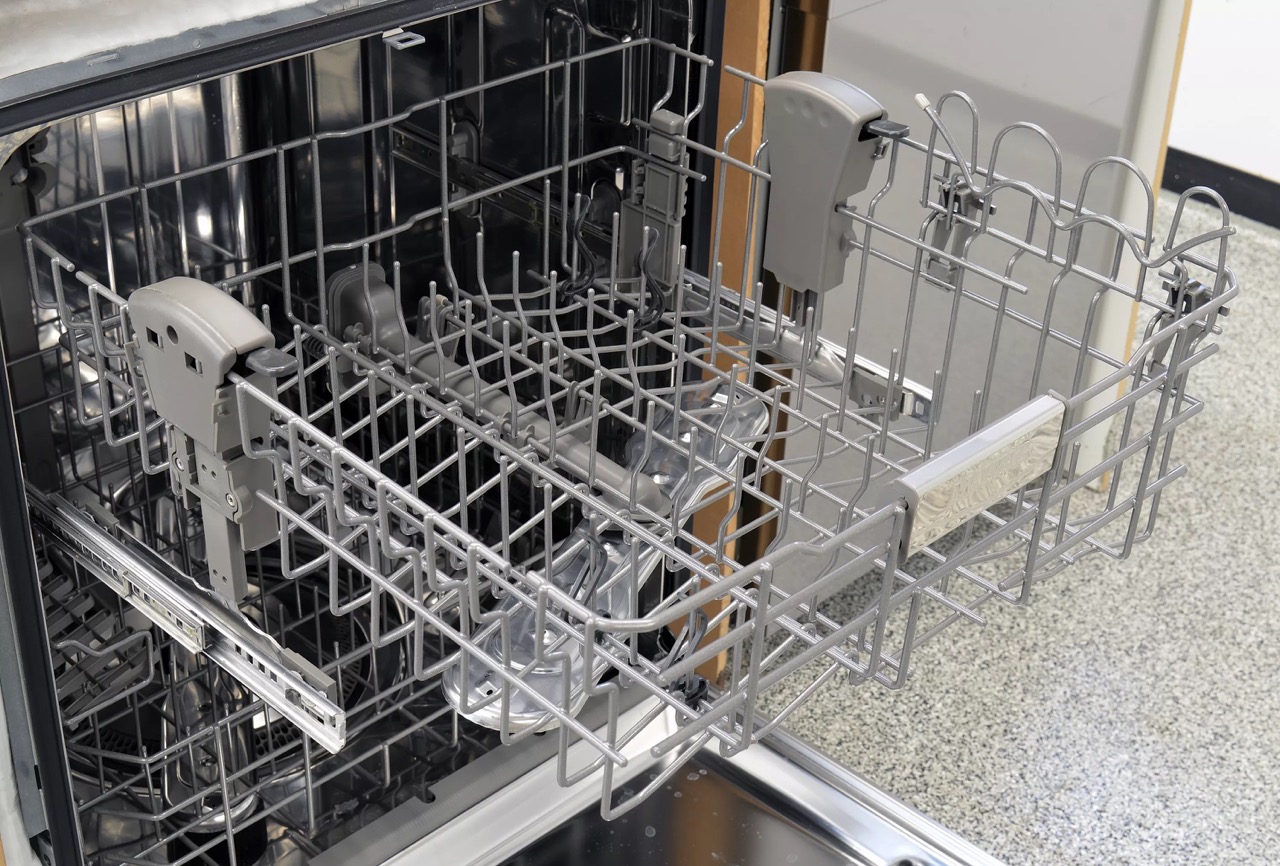
Step 4: Installing the Drain Hose
After connecting the water supply, the next step in installing your Samsung dishwasher is to install the drain hose. Follow these steps:
- Locate the drain hose connection on the back of your dishwasher.
- Measure the distance from the dishwasher to the drainpipe, and cut the drain hose to the appropriate length.
- Attach the drain hose to the dishwasher’s drain outlet, ensuring it is securely connected.
- If your dishwasher requires an air gap, install it by mounting it on the countertop or sink cabinet.
- Connect the other end of the drain hose to the drainpipe or garbage disposal, making sure it forms a secure and tight connection.
- Use hose clamps or zip ties to secure the drain hose in place and prevent any leaks or disconnections.
- Double-check all the connections and make sure the drain hose is properly aligned without any kinks or bends.
Proper installation of the drain hose is essential to ensure the smooth drainage of water from your Samsung dishwasher. It’s important to secure the hose firmly and ensure that it is not obstructed in any way to prevent any potential issues during operation.
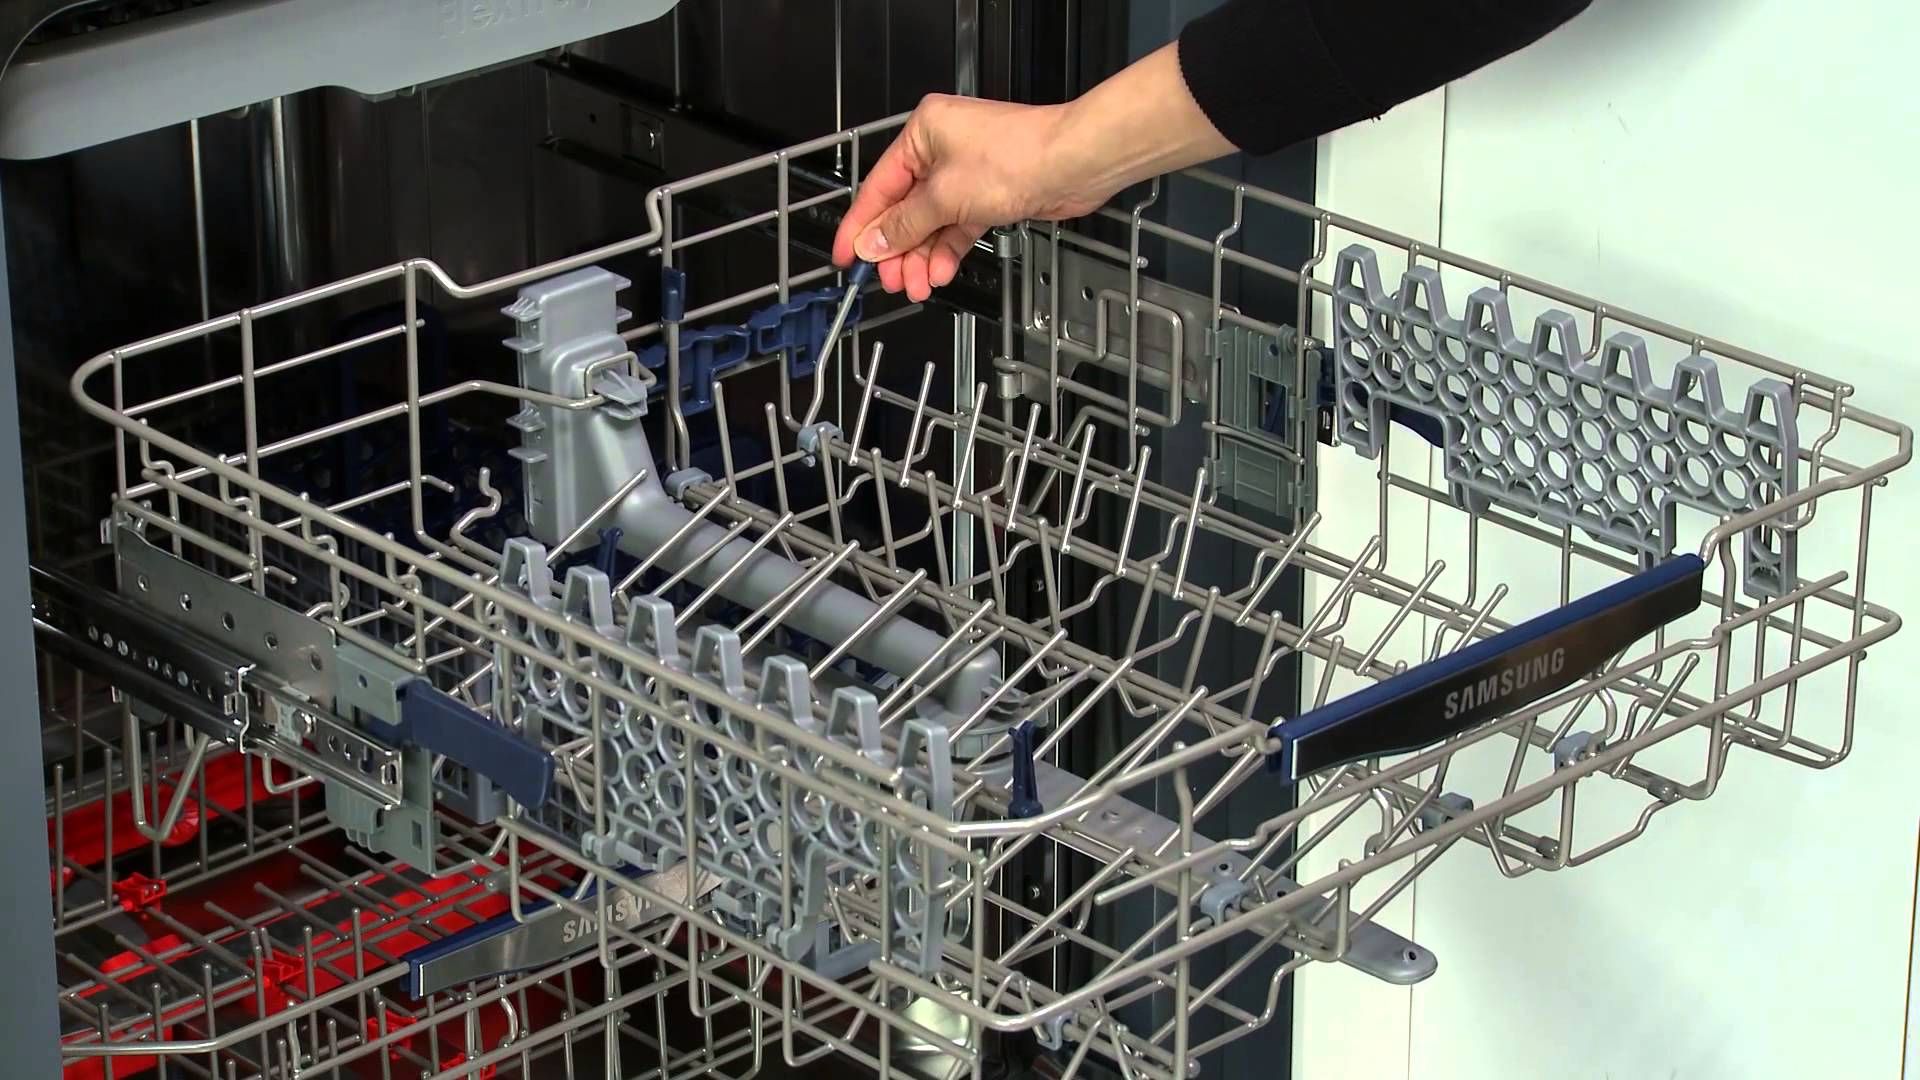
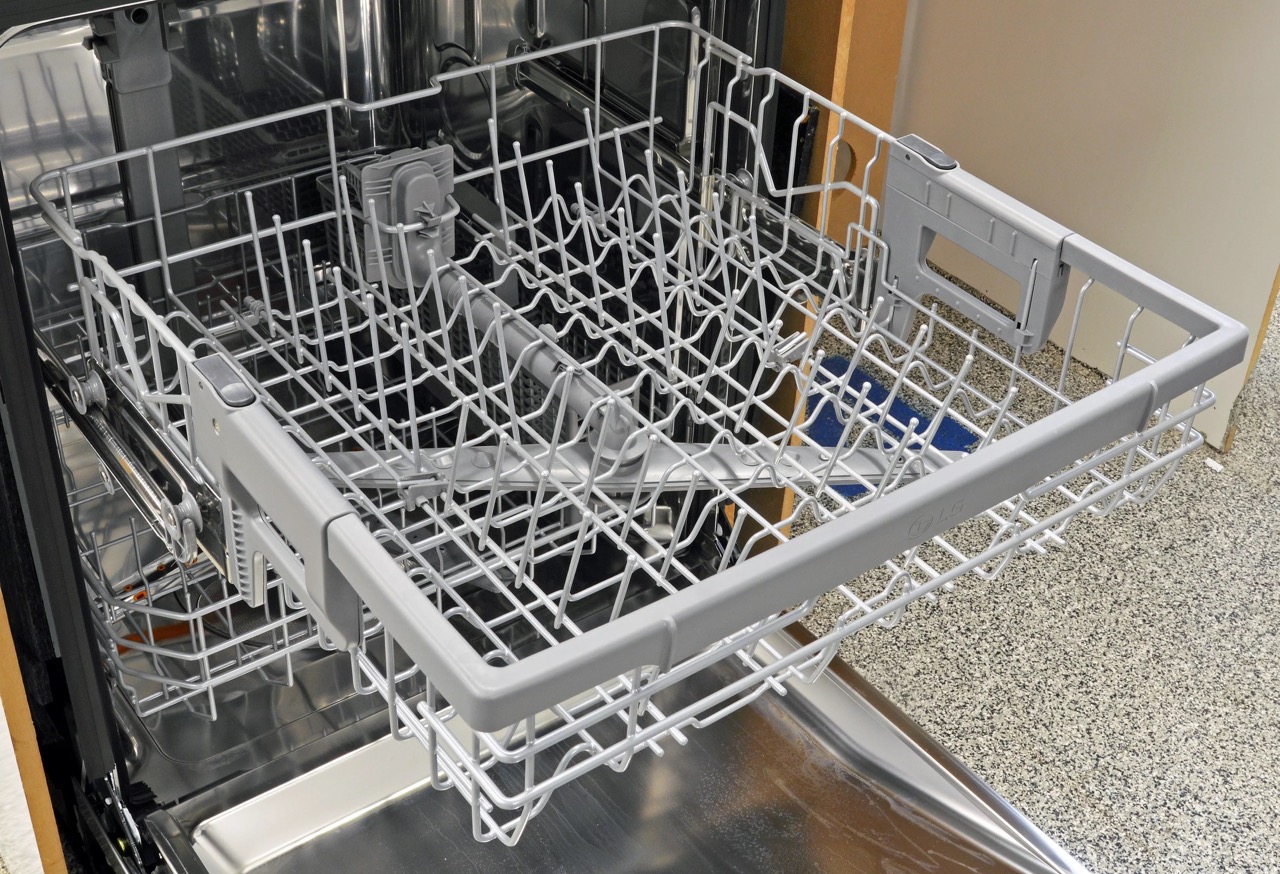
Step 5: Securing the Dishwasher in Place
Now that you have connected the water supply and installed the drain hose, it’s time to secure your Samsung dishwasher in its designated spot. Follow these steps:
- Position the dishwasher in the designated space, ensuring it is flush with the surrounding cabinets.
- Adjust the dishwasher’s level using a level tool. This will ensure that the dishwasher is properly balanced and prevent any unnecessary vibrations during operation.
- Once the dishwasher is level, use mounting brackets to secure it to the countertop or adjacent cabinets. Follow the manufacturer’s instructions for proper placement and installation of the brackets.
- Using a screwdriver or drill, secure the mounting brackets in place with mounting screws.
- Double-check that the dishwasher is securely fastened and does not wobble or move when pressure is applied.
Securing your dishwasher in place is crucial to ensure its stability and prevent any accidents or damage. Make sure to follow the manufacturer’s instructions and use the recommended mounting brackets and screws for your specific dishwasher model.
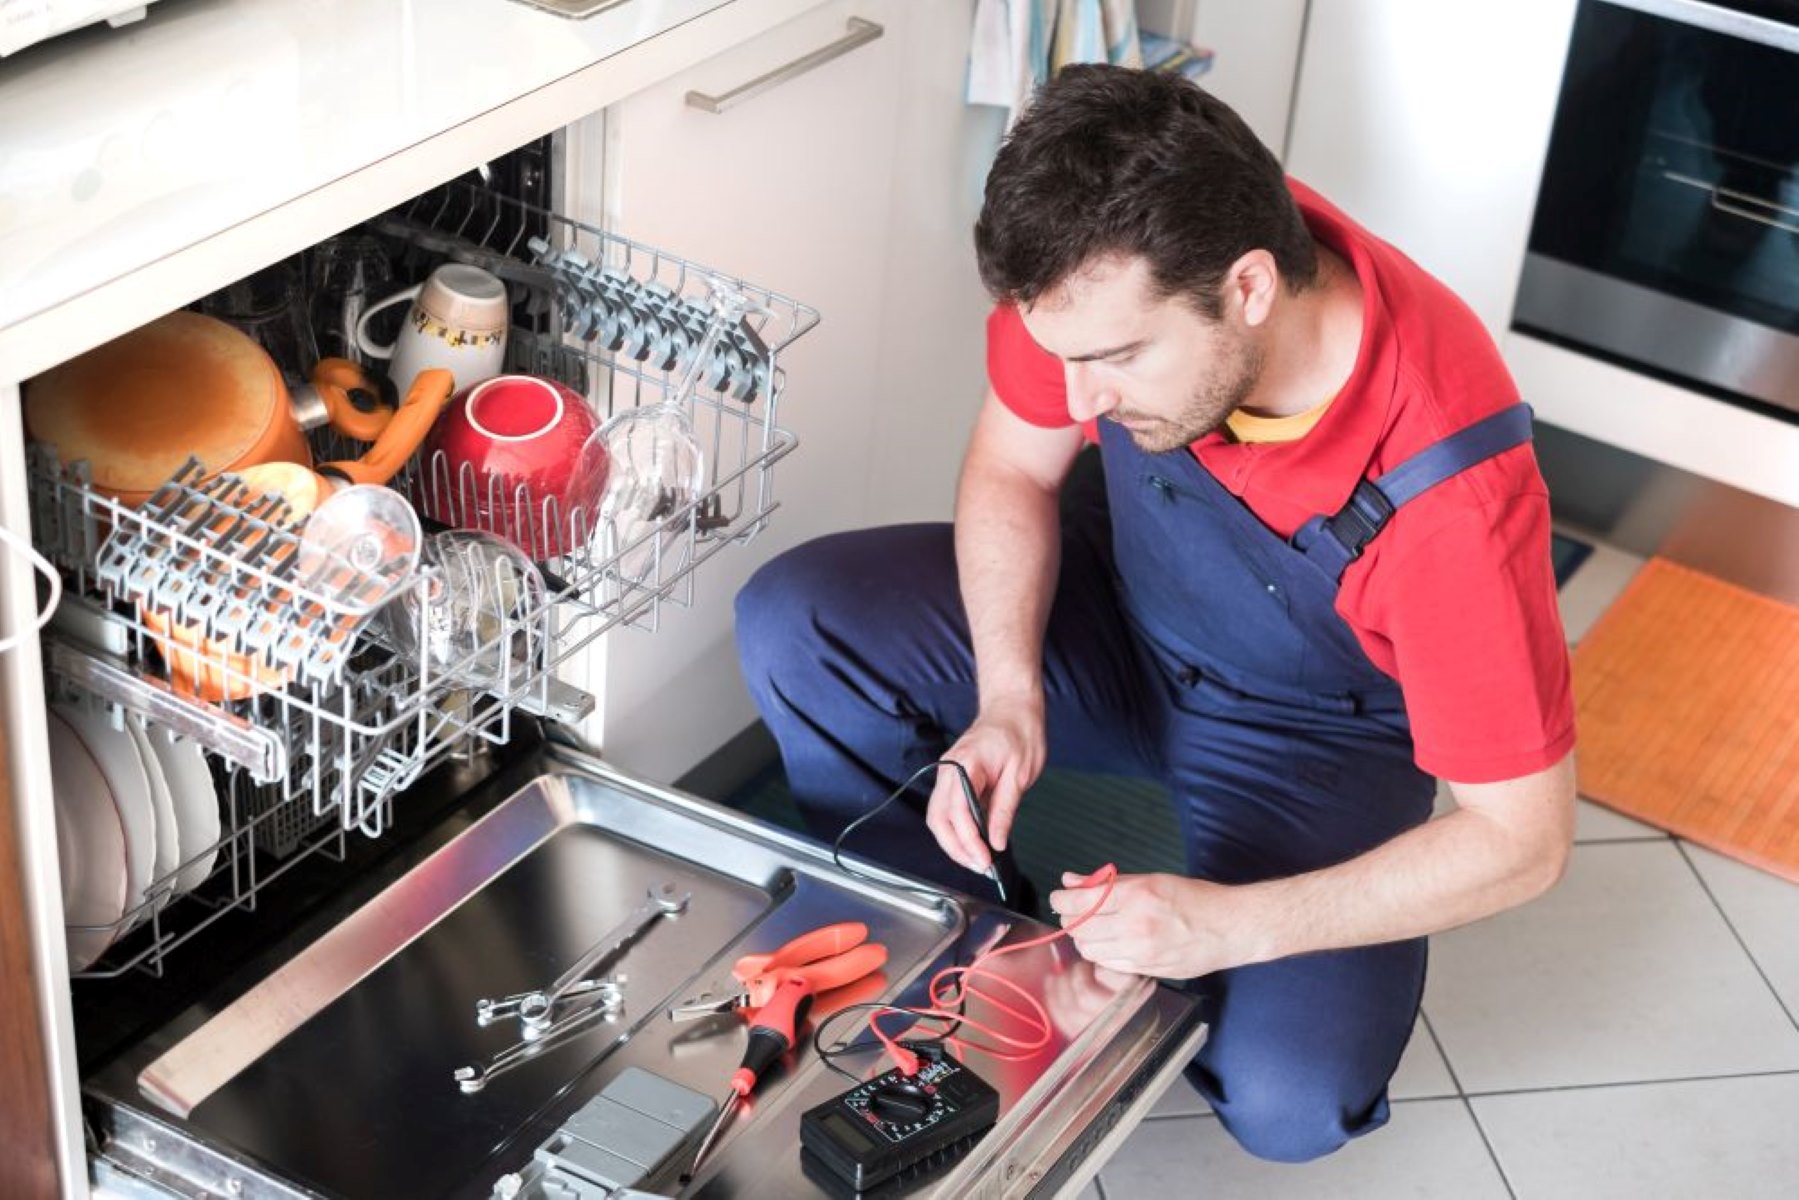
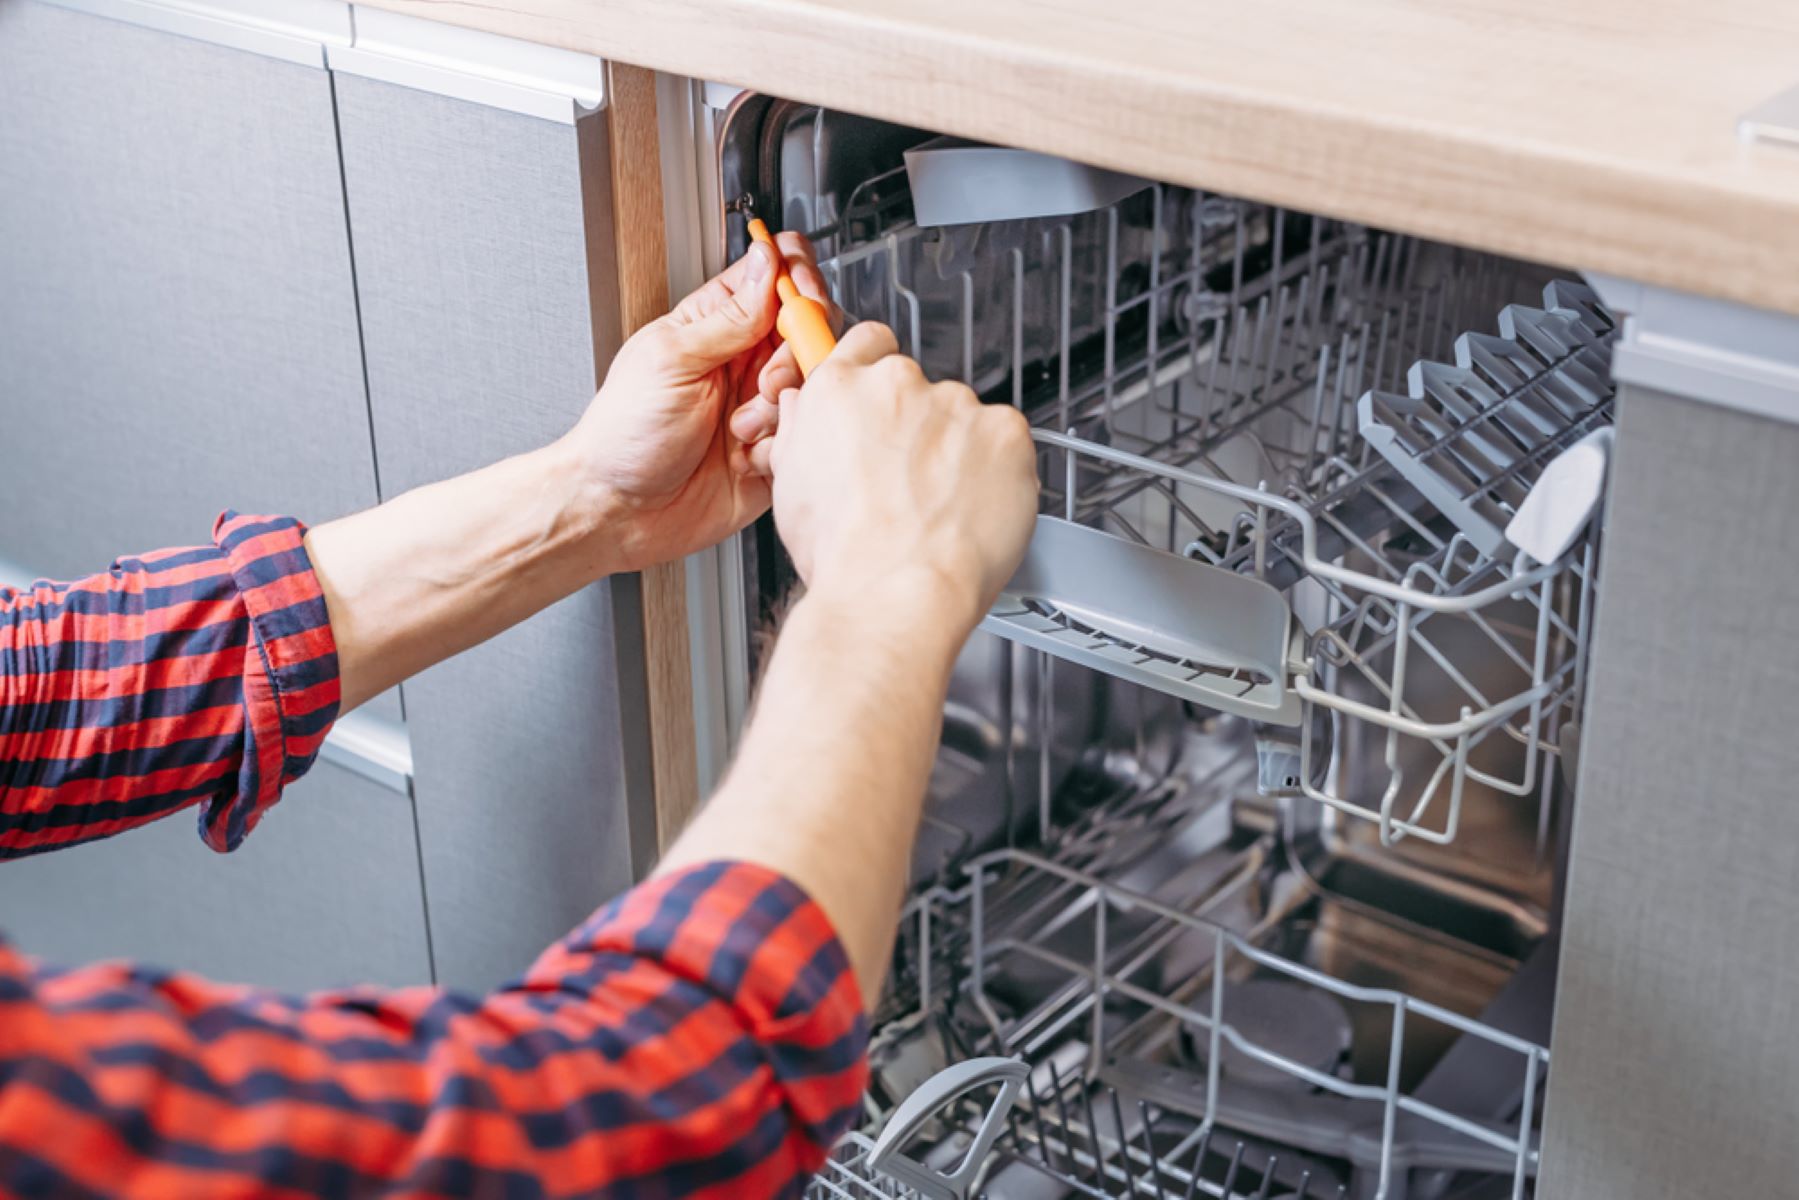
Step 6: Connecting the Electrical Supply
Now that the water supply is connected and the dishwasher is securely in place, it’s time to connect the electrical supply. Follow these steps:
- Make sure the power to the dishwasher is turned off at the breaker box.
- Locate the electrical junction box on the bottom of the dishwasher.
- Remove the electrical box cover by unscrewing the screws.
- If there is an existing electrical cord, carefully disconnect it by removing the wire nuts that secure the wires. If there is no electrical cord, proceed to the next step.
- Strip the outer insulation off the electrical cord to expose the wires.
- Using wire nuts, connect the corresponding wires—black to black, white to white, and green or copper to the green or copper ground wire.
- Tightly secure the wire nuts and make sure there are no exposed wires.
- Replace the electrical box cover and secure it with the screws.
- Turn on the power at the breaker box.
It’s crucial to follow electrical safety guidelines and ensure the proper connection of the dishwasher’s electrical supply. If you are not comfortable working with electrical wiring, it’s best to hire a professional electrician to handle this step.
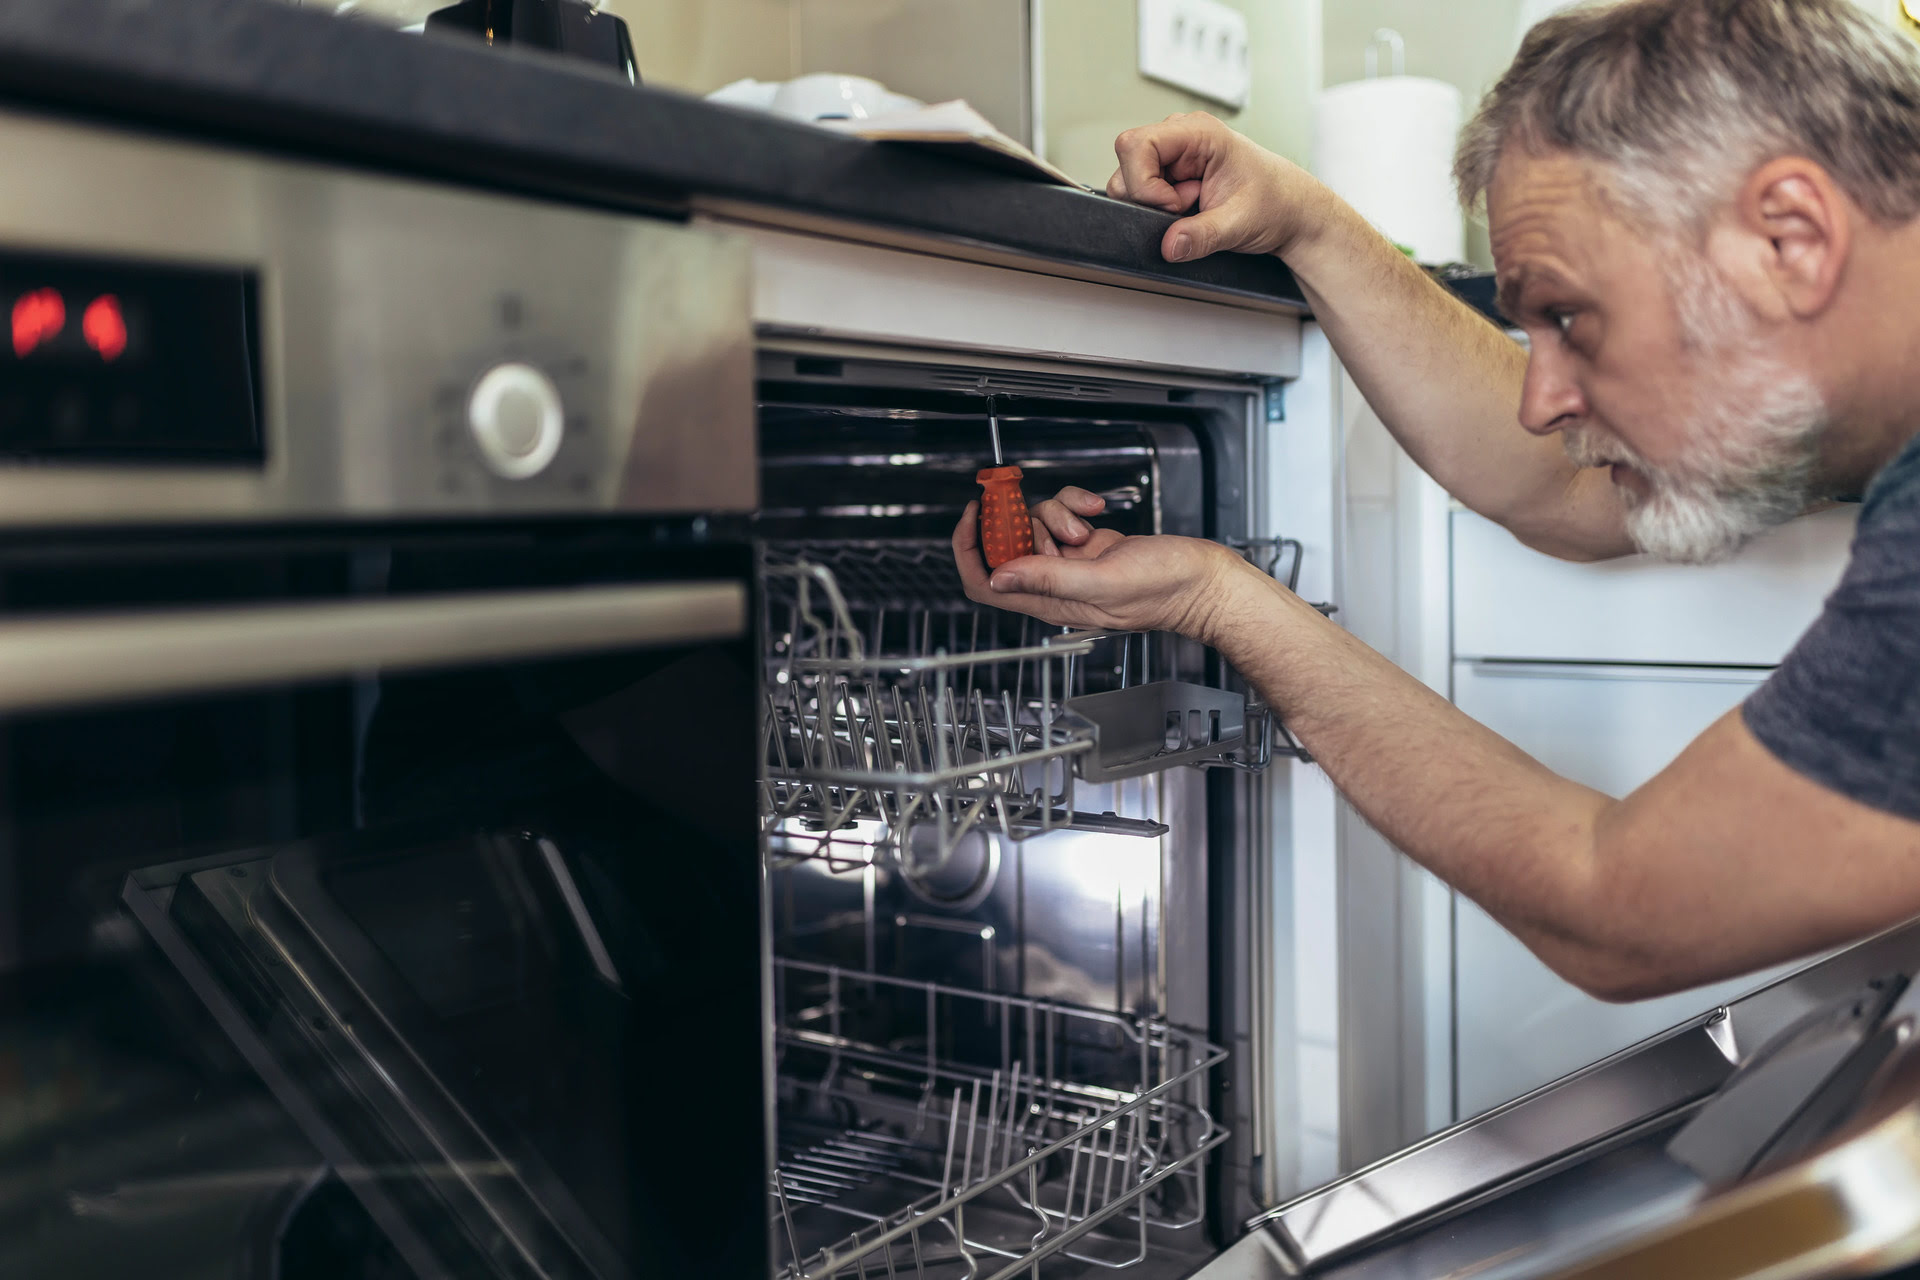
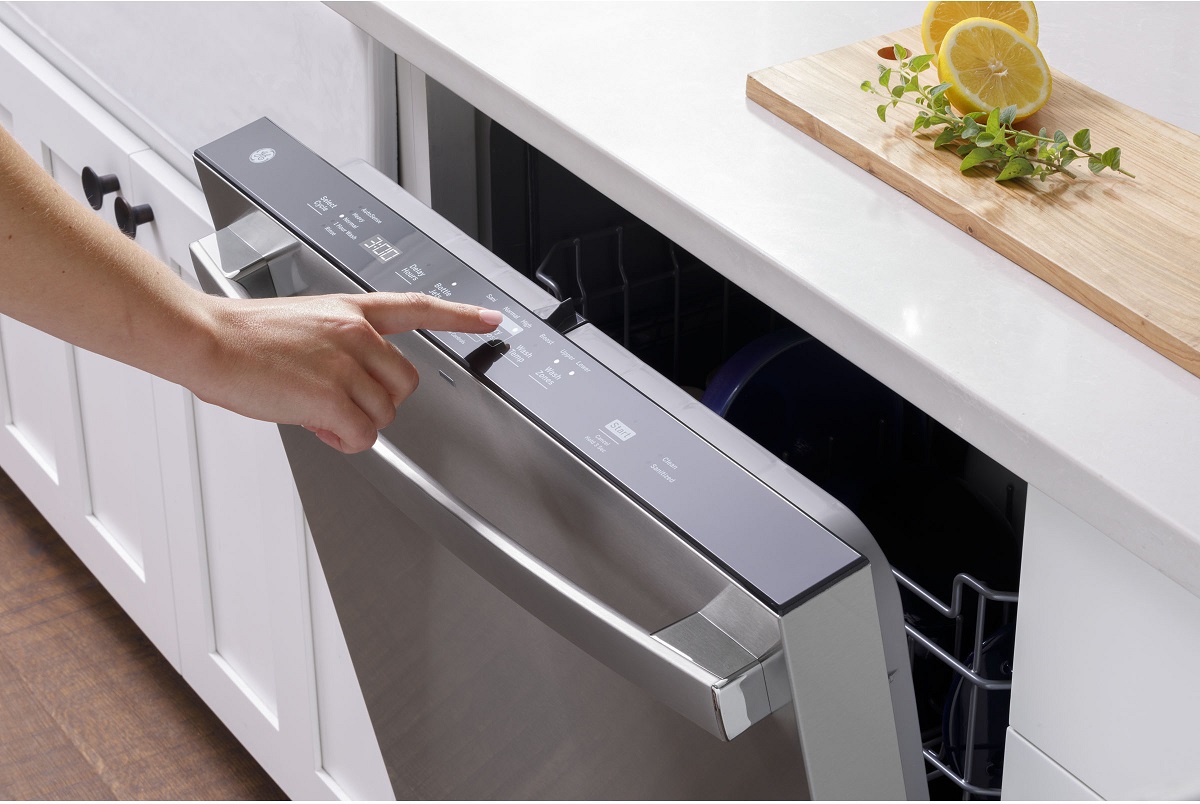
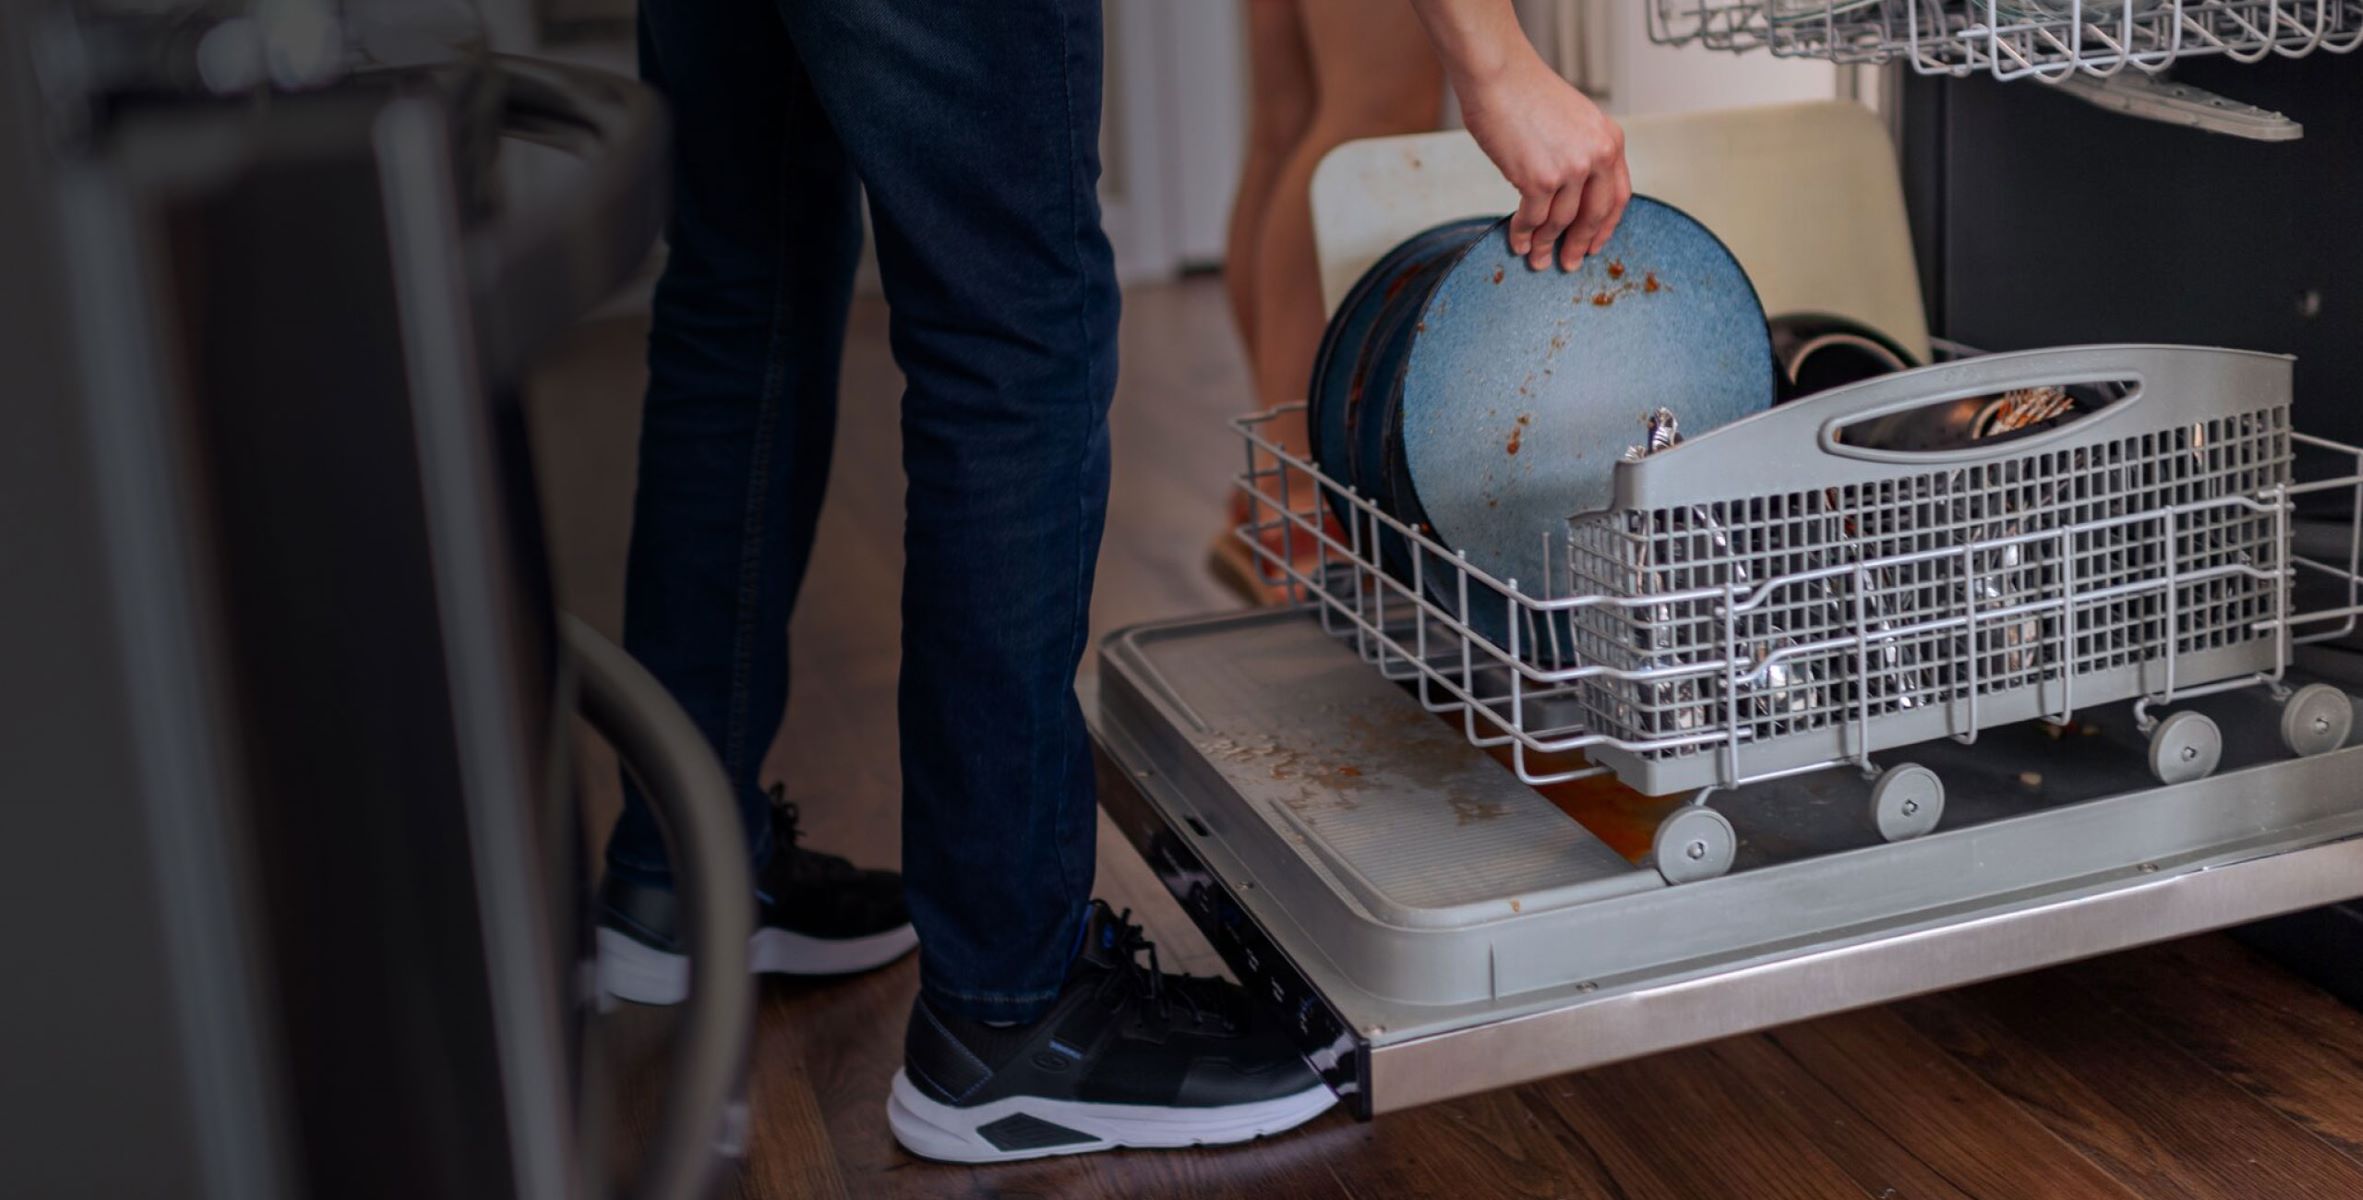
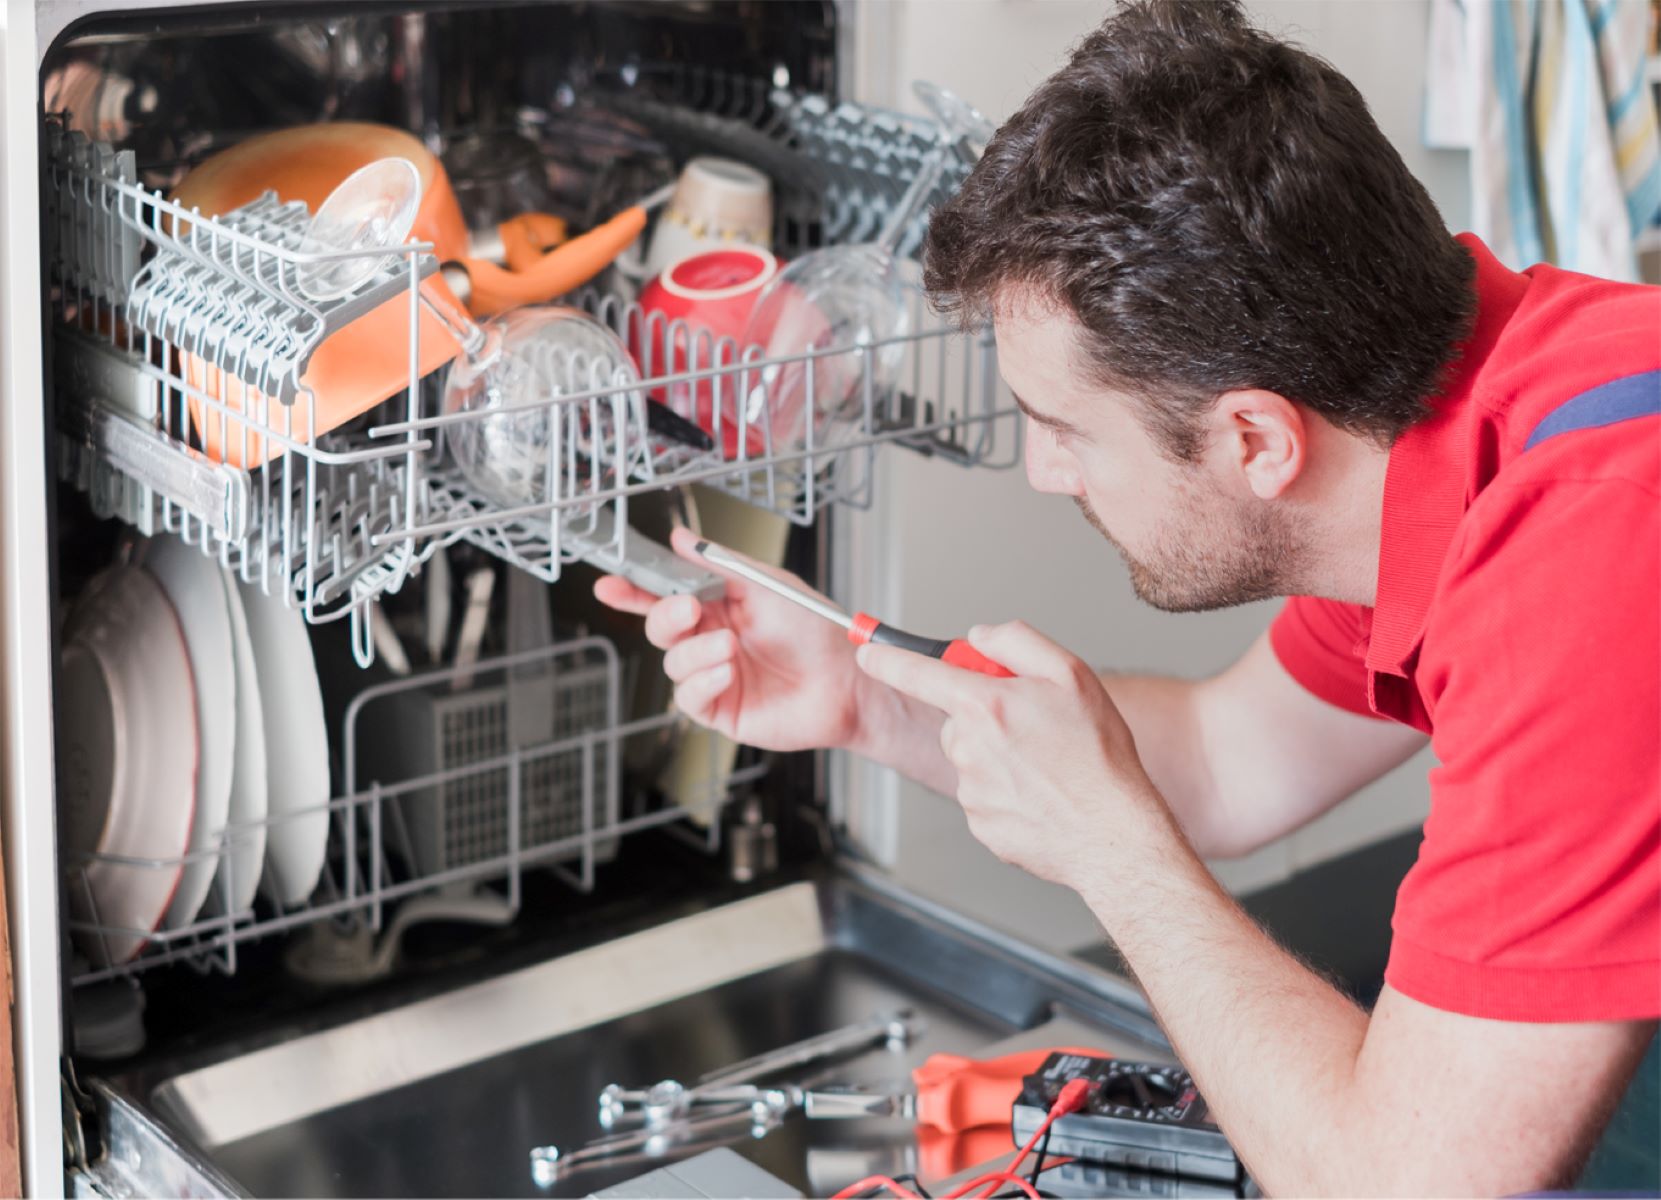
Step 7: Testing the Dishwasher
After completing the installation process, it’s important to test your Samsung dishwasher to ensure it is functioning correctly. Follow these steps:
- Turn on the water supply valve to allow water to flow into the dishwasher.
- Close the dishwasher door and make sure it latches securely.
- Turn on the power to the dishwasher at the breaker box.
- Select a wash cycle on the dishwasher’s control panel.
- Allow the dishwasher to run through a full cycle, monitoring for any leaks or unusual noises.
- Check the spray arms to ensure they are rotating properly and not blocked.
- Open the dishwasher door during the cycle to inspect if the dishes are being properly cleaned and dried.
- Once the cycle is complete, open the dishwasher and check for any excess water or moisture.
If you notice any issues during the testing process, such as leaks, improper cleaning, or error codes, consult the manufacturer’s troubleshooting guide or contact customer support for assistance.
By thoroughly testing your dishwasher after installation, you can address any potential issues early on and ensure that it is functioning optimally.
Read more: How To Drain A Samsung Dishwasher
Conclusion
Congratulations! You have successfully installed your Samsung dishwasher. By following the step-by-step instructions provided in this article, you have transformed your kitchen into a more convenient and efficient space.
Remember to always prioritize safety during the installation process and consult the manufacturer’s instructions for your specific dishwasher model. If you encounter any difficulties or are unsure about any steps, don’t hesitate to seek professional assistance.
Installing a Samsung dishwasher not only simplifies your daily tasks but also adds a modern touch to your kitchen décor. With proper installation and regular maintenance, your dishwasher will provide efficient cleaning performance for years to come.
Don’t forget to read the user manual that comes with your dishwasher to familiarize yourself with its various features and to ensure you utilize it properly.
Enjoy the convenience of your new Samsung dishwasher and say goodbye to the hassle of hand-washing dishes. Sit back, relax, and let your dishwasher take care of that chore for you!
Frequently Asked Questions about How To Install A Samsung Dishwasher
Was this page helpful?
At Storables.com, we guarantee accurate and reliable information. Our content, validated by Expert Board Contributors, is crafted following stringent Editorial Policies. We're committed to providing you with well-researched, expert-backed insights for all your informational needs.
0 thoughts on “How To Install A Samsung Dishwasher”