Articles
How To Install A Kitchenaid Dishwasher
Modified: October 20, 2024
Learn how to install a Kitchenaid dishwasher with step-by-step instructions and expert tips. Check out our articles for easy installation guides and troubleshooting advice.
(Many of the links in this article redirect to a specific reviewed product. Your purchase of these products through affiliate links helps to generate commission for Storables.com, at no extra cost. Learn more)
Introduction
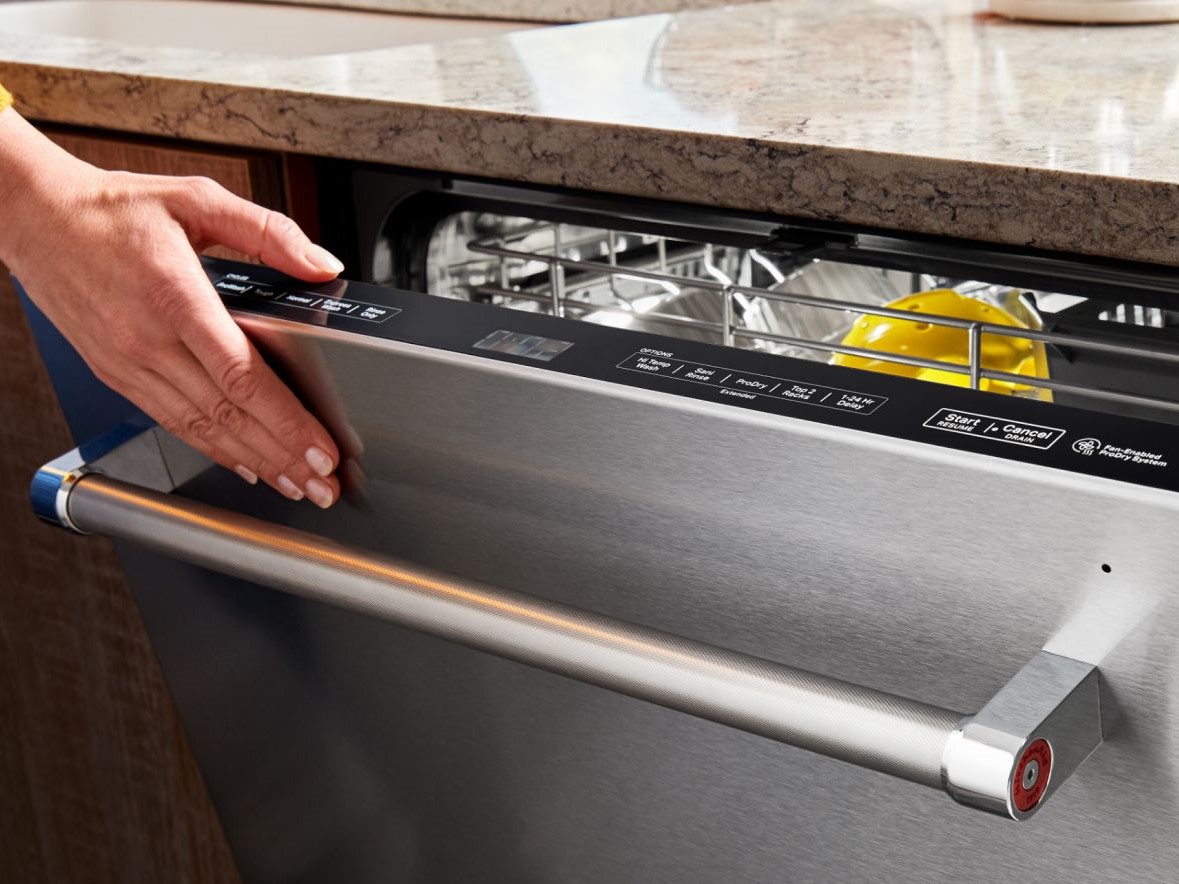
Welcome to our comprehensive guide on how to install a Kitchenaid dishwasher! Installing a dishwasher can be a valuable addition to any kitchen, making your daily routine more efficient and freeing up valuable time. Kitchenaid dishwashers are known for their durability, efficiency, and sleek design, making them a popular choice among homeowners.
While the idea of installing a dishwasher may seem intimidating, with the right tools and instructions, it can be a straightforward process. In this article, we will walk you through the step-by-step process of installing a Kitchenaid dishwasher, ensuring a successful and seamless installation.
Before we dive into the installation process, it’s important to note that it’s always recommended to follow the manufacturer’s specific instructions provided with your dishwasher. These instructions may vary slightly from model to model, so it’s essential to consult the manual for any specific guidelines or requirements.
Now, without further ado, let’s get started with the installation process!
Key Takeaways:
- Installing a Kitchenaid dishwasher is a manageable process with the right tools and guidance. Following the step-by-step instructions ensures a successful and efficient installation, bringing convenience and modernity to your kitchen.
- Testing the dishwasher after installation is crucial to identify any issues early on. By conducting a thorough test and completing the final steps, you can enjoy the reliability and efficiency of your new Kitchenaid dishwasher for years to come.
Read more: How To Clean Filter On Kitchenaid Dishwasher
Step 1: Gather the Necessary Tools and Materials
Before beginning the installation process, it’s essential to gather all the necessary tools and materials. Having everything prepared beforehand will ensure a smooth and efficient installation. Here’s a list of the tools and materials you will need:
- Flathead screwdriver
- Adjustable wrench
- Phillips screwdriver
- Tape measure
- Level
- Pliers
- Drill
- Wire cutter/stripper
- Electrical tape
- Dishwasher installation kit (includes fittings, hoses, and clamps)
Ensure that you have all the necessary tools and materials available before proceeding to the next steps. This will save you time and prevent delays during the installation process.
It’s also crucial to turn off the power supply to the dishwasher before beginning the installation. Locate the circuit breaker that controls the dishwasher and switch it off to avoid any electrical hazards.
With all the tools and safety precautions in place, you’re now ready to move on to the next step of the installation process. Stay tuned!
Step 2: Prepare the Area for Installation
Preparing the area for dishwasher installation is essential to ensure a smooth and successful process. Follow these steps to prepare the space:
- Clear the space: Remove any items from the area where the dishwasher will be installed, including cabinets, drawers, or other appliances. Clearing the space will provide you with easy access and maneuverability during the installation process.
- Measure the opening: Use a tape measure to measure the height, width, and depth of the opening where the dishwasher will fit. It is important to ensure that the opening meets the minimum requirements for the Kitchenaid dishwasher you plan to install. Refer to the dishwasher’s specifications for the precise measurements.
- Check for levelness: Place a level on the floor where the dishwasher will be installed. Ensure that the area is level by adjusting the height of the dishwasher legs if necessary. A level installation will prevent any issues with the appliance’s performance or door alignment.
- Prepare the water and drain lines: Locate the water supply valve and shut it off. Disconnect any existing water and drain lines from the area. It is crucial to ensure that the area is clear and ready for the new installation.
- Ensure proper ventilation: Check if there is sufficient space behind the dishwasher for proper ventilation. The dishwasher needs enough airflow to prevent overheating and optimize its performance. If the space is inadequate, consider adjusting the surrounding cabinets or consult a professional for guidance.
Once you have completed these steps, you are now ready to move on to the next phase of installation. Stay tuned for our next step!
Step 3: Connect the Water Supply Line
Now that you have prepared the area, it’s time to connect the water supply line for your Kitchenaid dishwasher. Follow these steps:
- Locate the water supply valve: Look for the hot water supply valve under your sink. This is usually located on the wall or the side of the cabinet.
- Shut off the water supply: Close the water supply valve by turning it clockwise until it is fully closed. This will prevent any water flow while you connect the dishwasher.
- Connect the supply line: Take the water supply line from the dishwasher installation kit and attach it to the hot water supply valve. Make sure it is tightly secured using an adjustable wrench.
- Attach the other end to the dishwasher: Connect the other end of the supply line to the water inlet on the back of the dishwasher. Ensure it is securely attached and tightened with pliers if necessary.
- Open the water supply valve: Slowly turn the water supply valve counterclockwise to gradually allow water to flow into the dishwasher. Keep an eye out for any leaks and tighten any connections if needed.
It’s important to check for any water leaks after turning on the water supply. Examine all connections carefully, including the supply line and the dishwasher’s water inlet. If you notice any leaks, tighten the connections or replace any faulty parts.
With the water supply line properly connected, you are one step closer to completing the installation process. Stay tuned for the next step!
Step 4: Install the Drain Hose
Installing the drain hose is a crucial step in connecting your Kitchenaid dishwasher. Follow these steps to ensure a proper installation:
- Locate the drain outlet: Check under your sink for the drain outlet. It is usually located near the sink’s plumbing.
- Connect the drain hose: Take the drain hose from the dishwasher installation kit and attach it to the drain outlet. Ensure it is securely connected, using a hose clamp if necessary.
- Create a high loop: In order to prevent backflow of water from the sink into the dishwasher, it is important to create a high loop in the drain hose. This can be done by attaching the hose to the underside of the countertop or the inside of the sink cabinet.
- Secure the high loop: Use a zip tie or a piece of string to secure the high loop in place. This will ensure that the hose doesn’t sag or come loose during operation.
- Test the drain hose: Once the drain hose is installed, run a test cycle on the dishwasher to check for proper drainage. Ensure that water is flowing freely through the hose and that there are no leaks or clogs.
It is important to ensure that the drain hose is installed correctly and securely to prevent any water damage or improper drainage. Take your time to double-check all connections and test the functionality of the drain hose before moving on to the next step.
With the drain hose successfully connected, you are making progress towards completing the installation. Stay tuned for the next step!
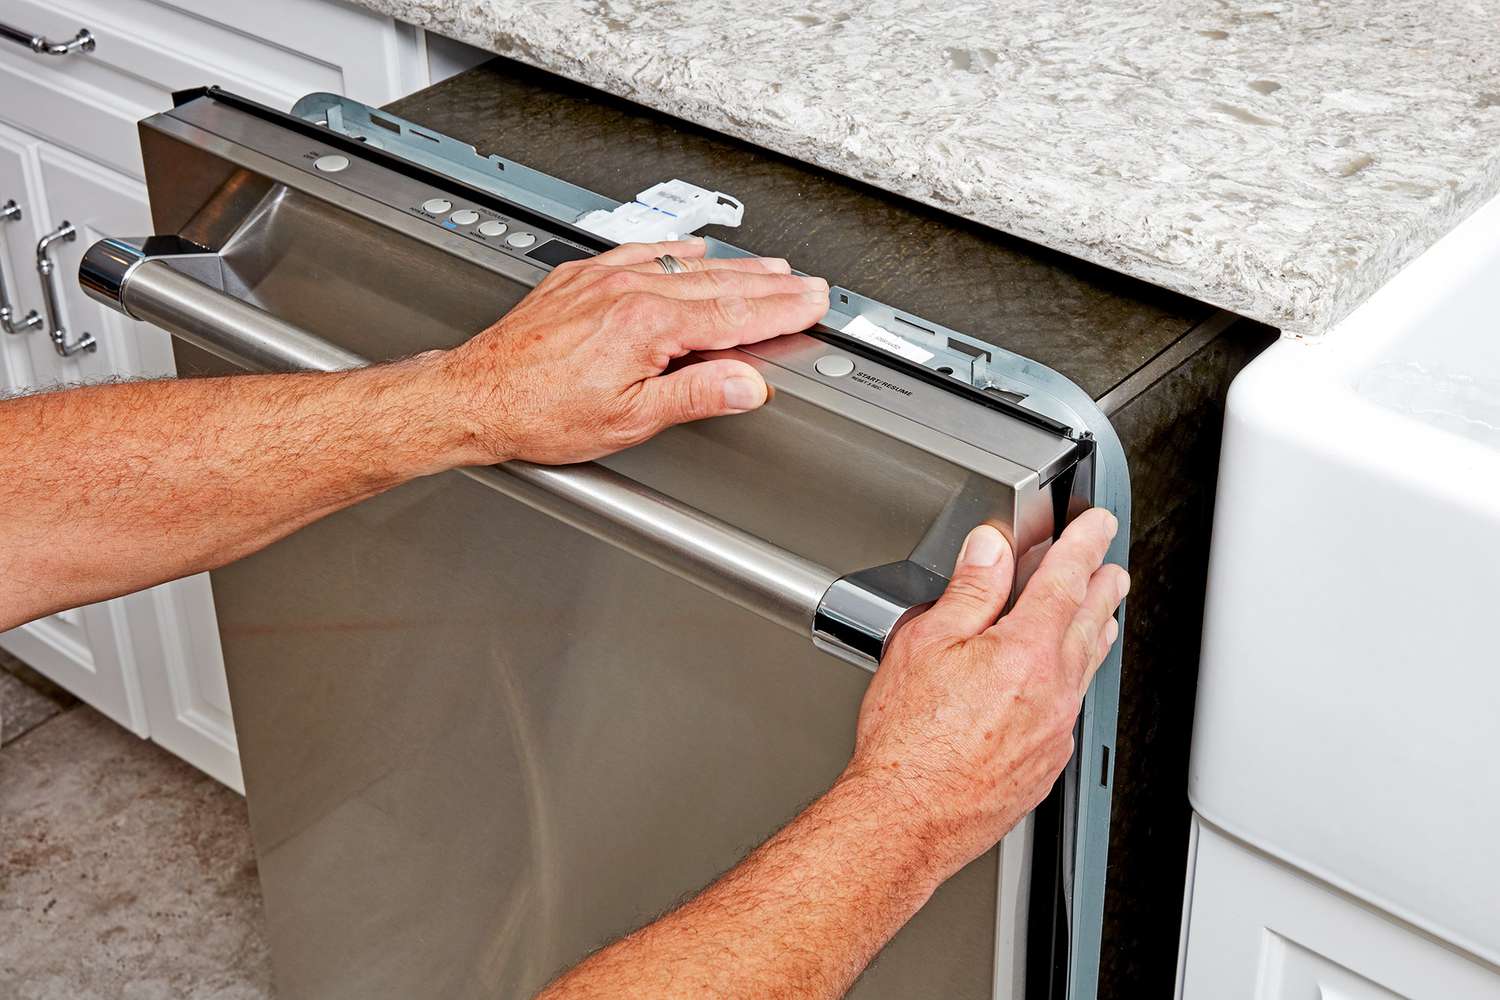
Before installing a Kitchenaid dishwasher, make sure to measure the space to ensure a proper fit. Also, check the electrical and plumbing connections to ensure they are compatible with the new dishwasher.
Read more: How To Unlock Kitchenaid Dishwasher
Step 5: Secure the Dishwasher in Place
Now it’s time to secure the Kitchenaid dishwasher in its designated spot. Follow these steps to ensure a stable and secure installation:
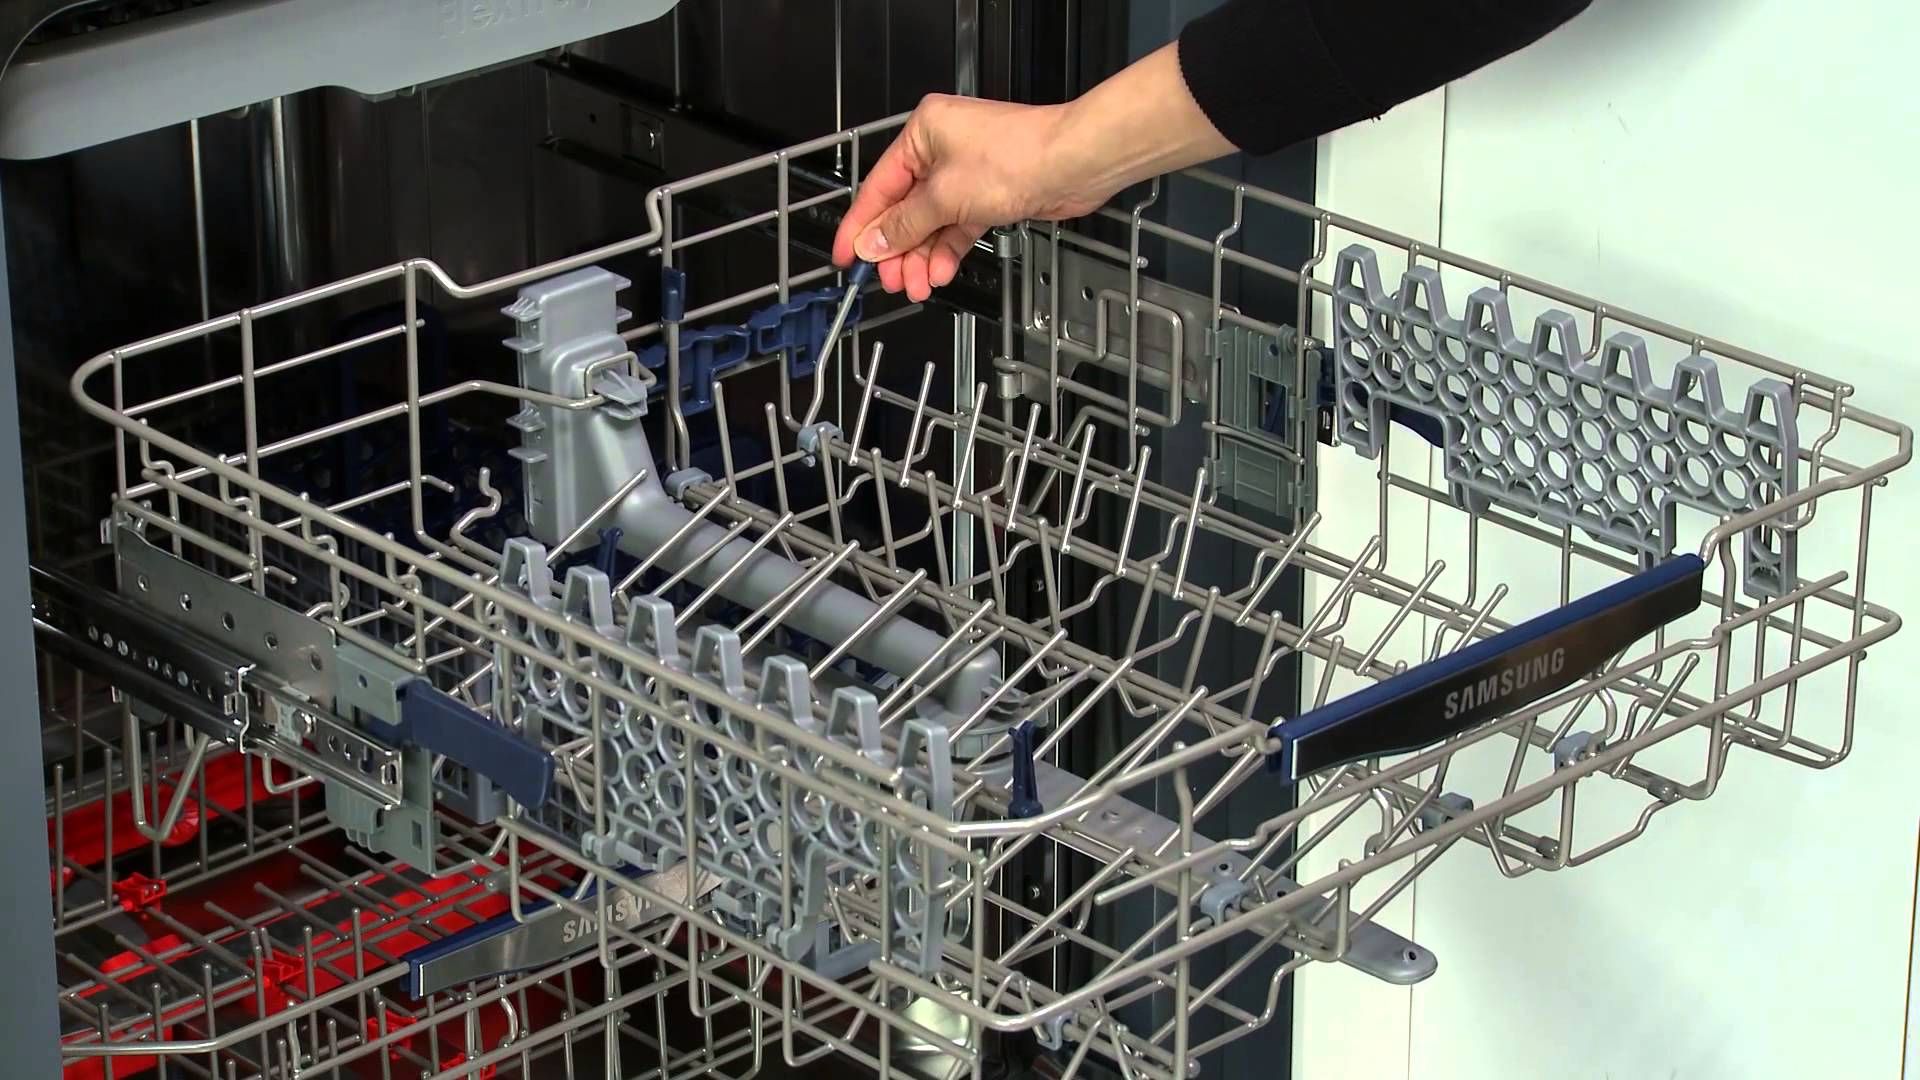
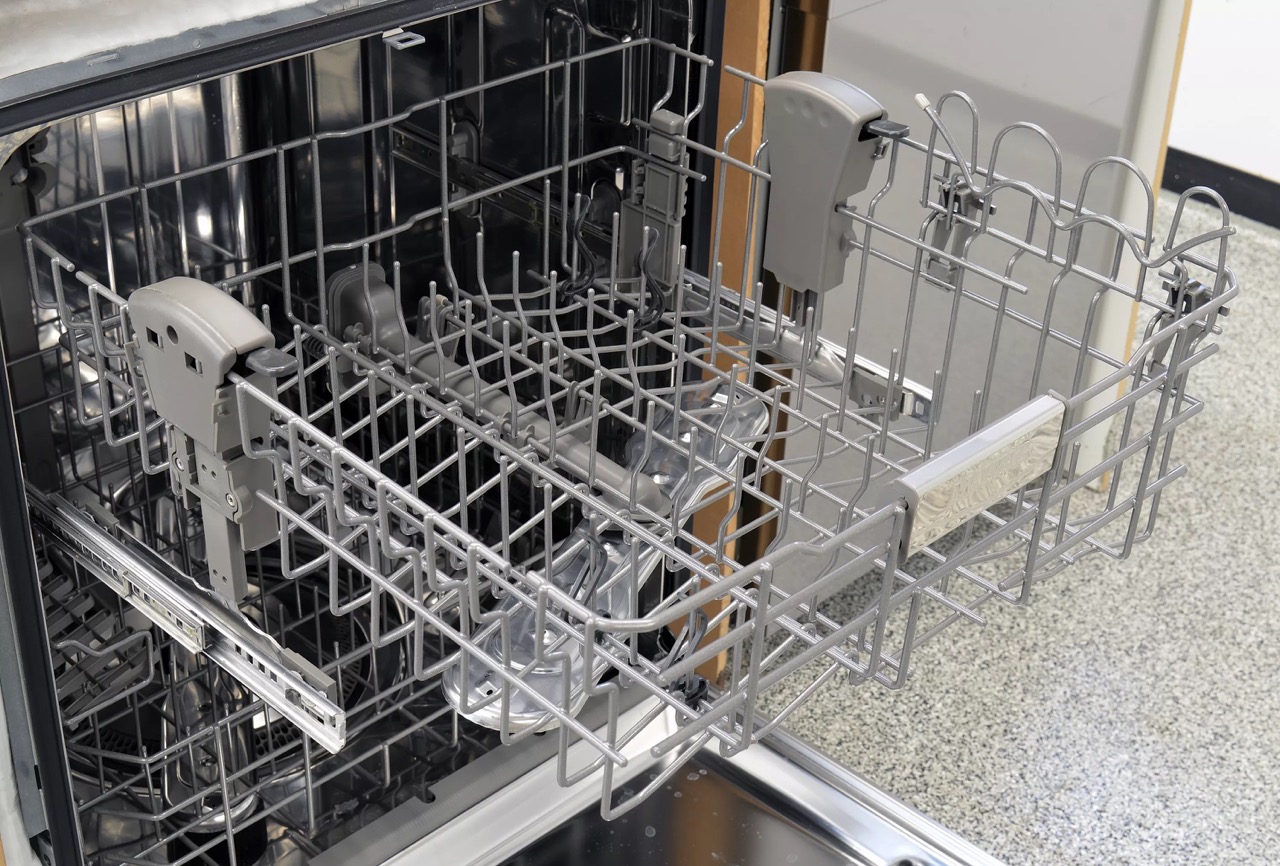
- Slide the dishwasher into place: Carefully slide the dishwasher into the opening, making sure it is aligned properly with the surrounding cabinets.
- Adjust the dishwasher’s level: Use a level to check the front-to-back and side-to-side alignment of the dishwasher. Adjust the dishwasher’s feet as needed to achieve a level position.
- Secure the dishwasher to the countertop: Use the screws provided in the dishwasher installation kit to secure the dishwasher to the underside of the countertop. This will prevent any movement or tipping during use.
- Attach the side brackets: Install the side brackets on both sides of the dishwasher, securing them to the adjacent cabinets. Follow the manufacturer’s instructions to ensure proper installation.
- Test the stability: Give the dishwasher a gentle shake to ensure it is securely in place. If there is any excessive movement or instability, adjust the leveling feet or tighten the brackets and screws until the dishwasher feels firmly anchored.
Securing the dishwasher in place is essential to prevent any accidents or damage during use. Take your time to ensure that the dishwasher is properly aligned, leveled, and securely fastened to the countertop and cabinets.
With the dishwasher securely in place, you are nearing the end of the installation process. Stay tuned for the next step!
Step 6: Connect the Power Supply
Connecting the power supply to your Kitchenaid dishwasher is a critical step in the installation process. Follow these steps to ensure a safe and proper connection:
- Locate the electrical outlet: Identify the nearest electrical outlet to the dishwasher. Ensure it is a dedicated outlet specifically for the dishwasher, separate from other appliances.
- Turn off the power: Before proceeding, make sure to turn off the power to the electrical outlet by flipping the corresponding circuit breaker in your electrical panel.
- Prepare the power cord: Check if your dishwasher comes with a power cord. If not, you will need to purchase one separately. Ensure that the power cord is compatible with your dishwasher model and meets the necessary electrical requirements.
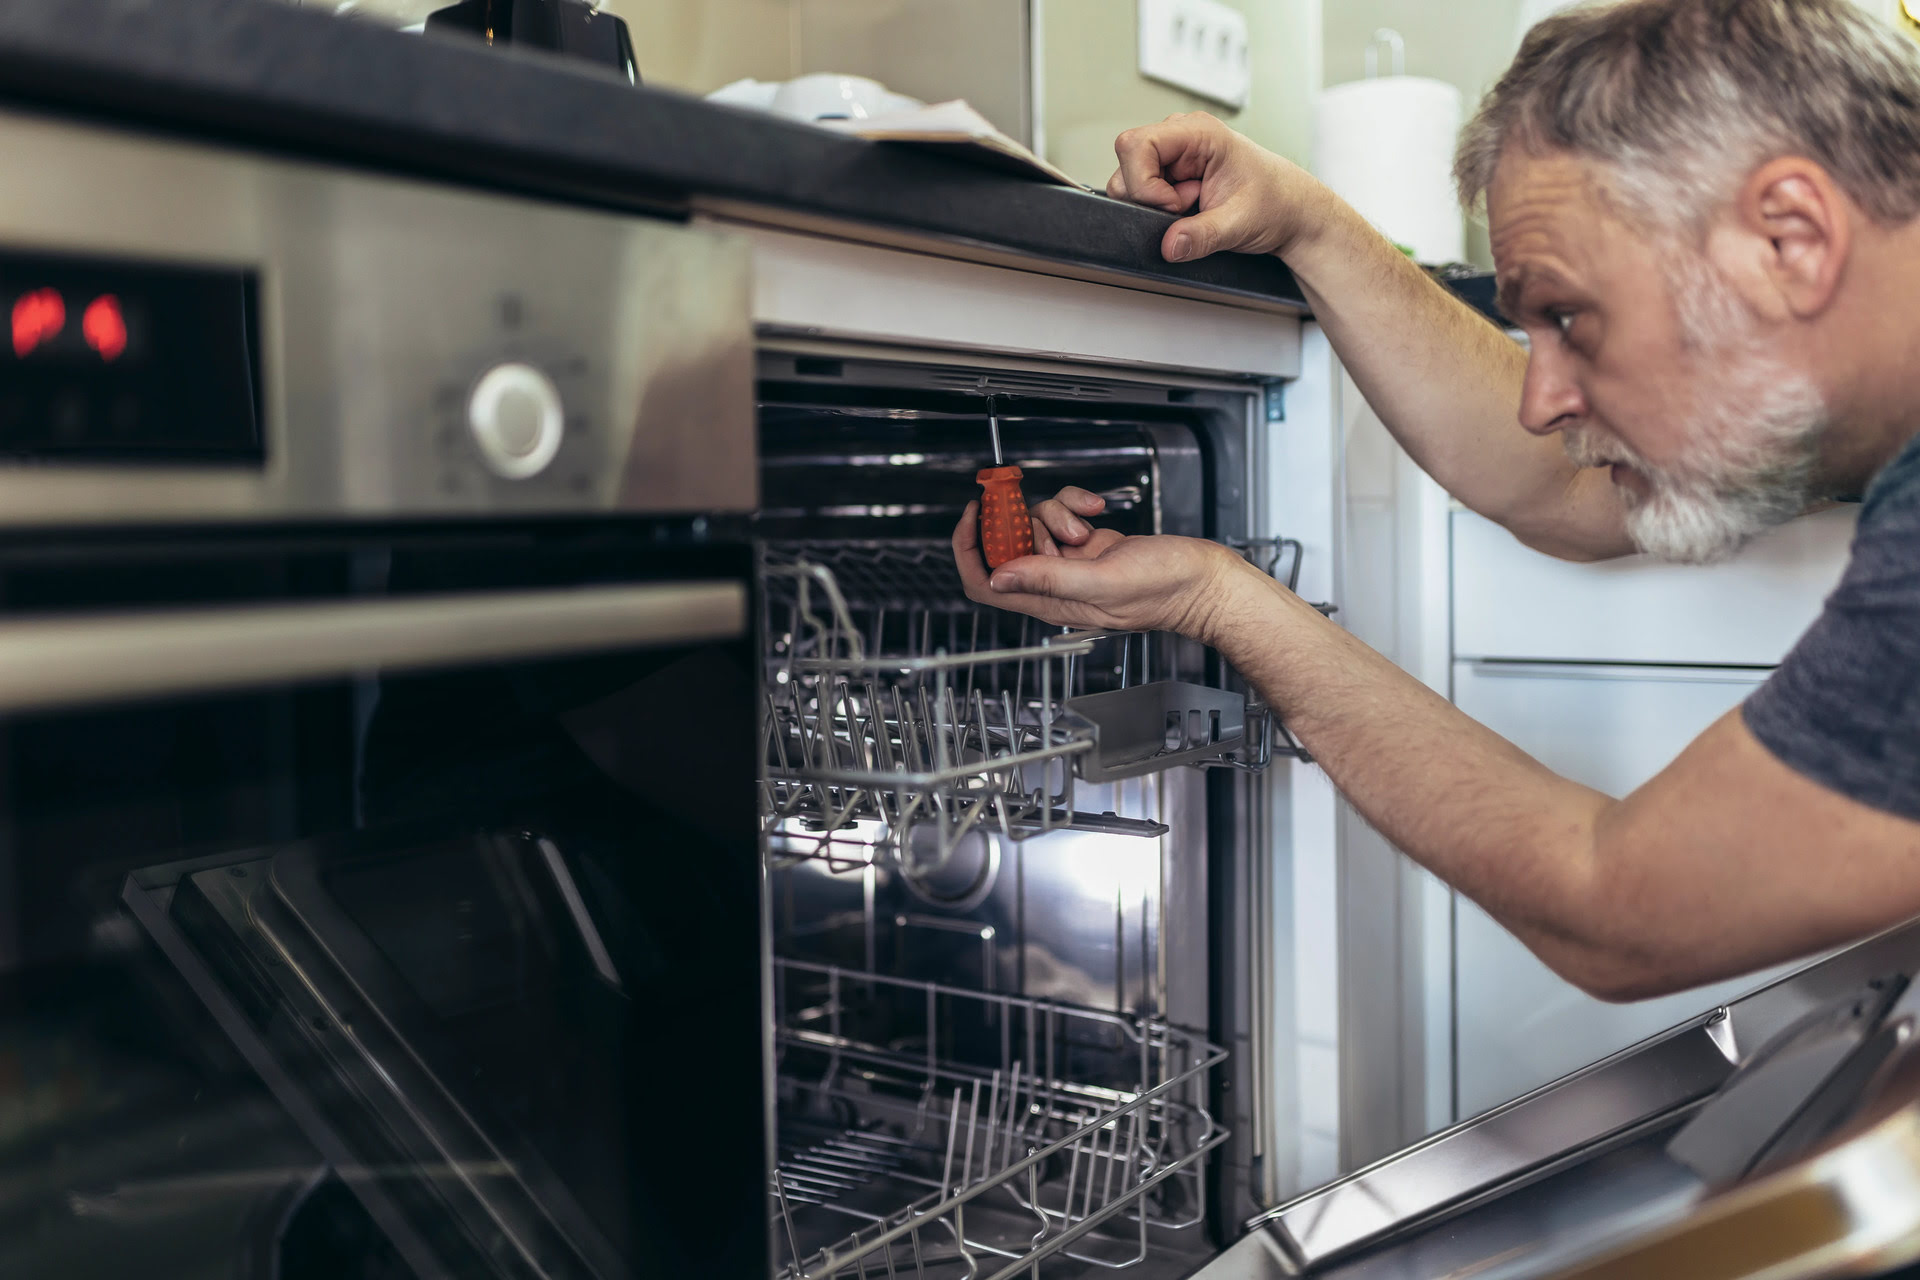
- Remove the electrical access panel: Locate the electrical access panel on the dishwasher, usually located on the bottom front of the unit. Use a screwdriver to remove the panel and gain access to the electrical connections.
- Connect the power cord: Attach the power cord wires to the corresponding color-coded wires inside the dishwasher. Typically, the black wire is the hot wire, the white wire is the neutral wire, and the green or copper wire is the ground wire. Secure the connections using wire nuts or electrical tape.
- Reinstall the electrical access panel: Once the power cord is connected, reattach the electrical access panel to the dishwasher using the screws.
- Turn on the power: Return to your electrical panel and flip the circuit breaker back on to restore power to the dishwasher.
Connecting the power supply requires caution and precision to ensure the safety of the electrical connection. If you are not comfortable working with electrical connections, it is advisable to seek the assistance of a qualified electrician.
With the power supply successfully connected, you are almost ready to start using your Kitchenaid dishwasher. Stay tuned for the final steps to complete the installation process!
Step 7: Test the Dishwasher
After completing the installation process, it’s crucial to test your Kitchenaid dishwasher to ensure that it is functioning properly. Follow these steps to conduct a thorough test:
- Turn on the water supply: Before turning on the dishwasher, ensure that the water supply valve is fully open to allow water to flow into the appliance.
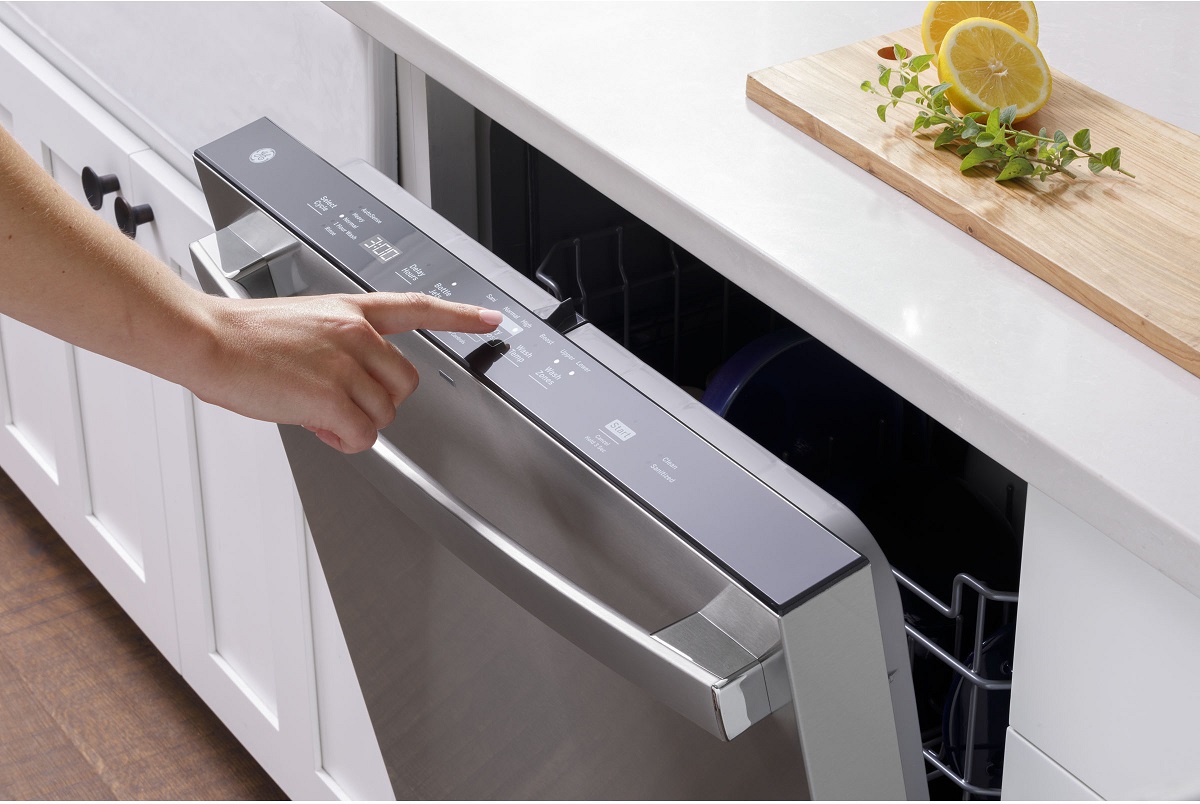
- Select a test cycle: Depending on your dishwasher model, select a test cycle such as a “Quick Wash” or “Normal Wash” cycle. Refer to the owner’s manual for precise instructions on how to select the appropriate cycle.
- Add detergent: Place the recommended amount of dishwasher detergent in the detergent dispenser. Close the dispenser lid securely.
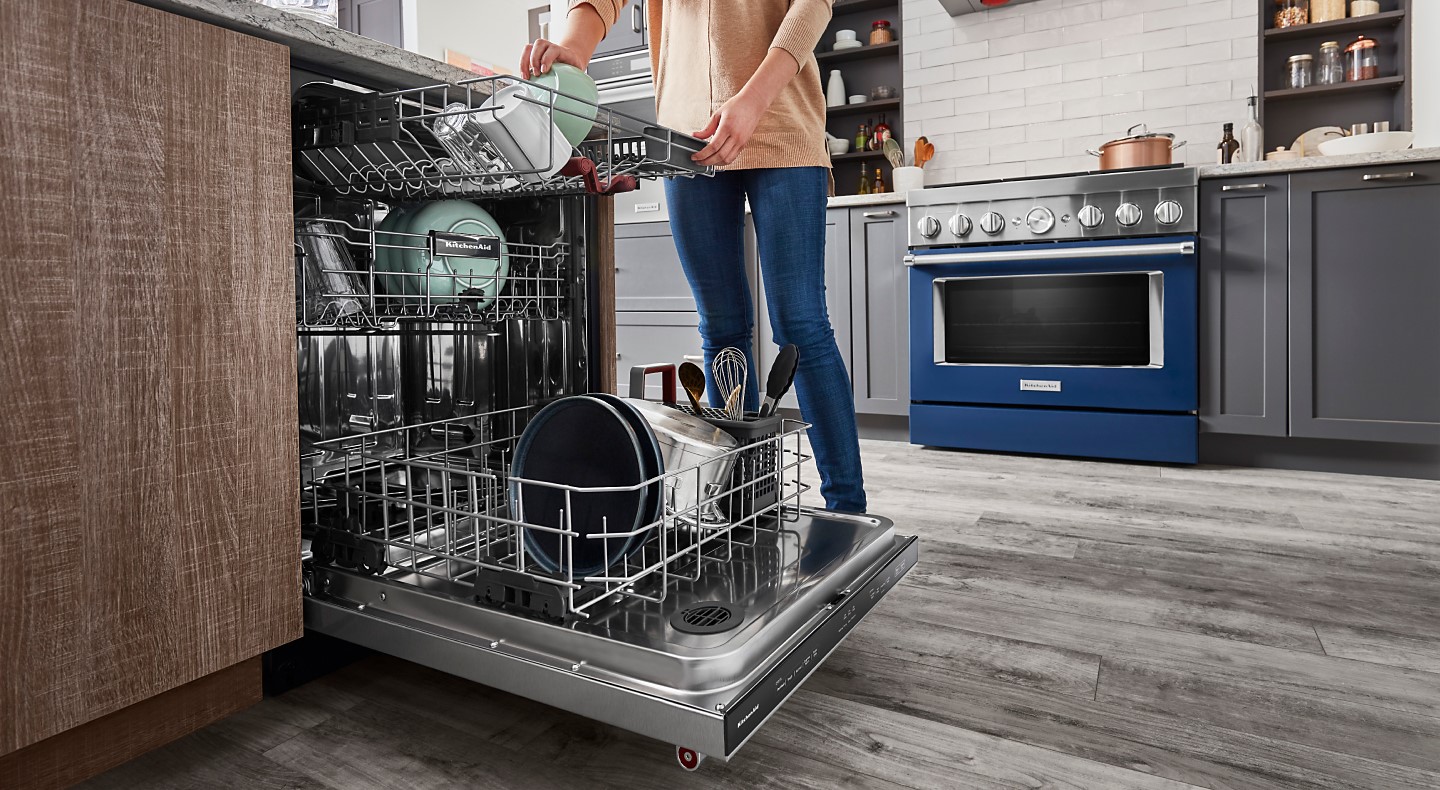
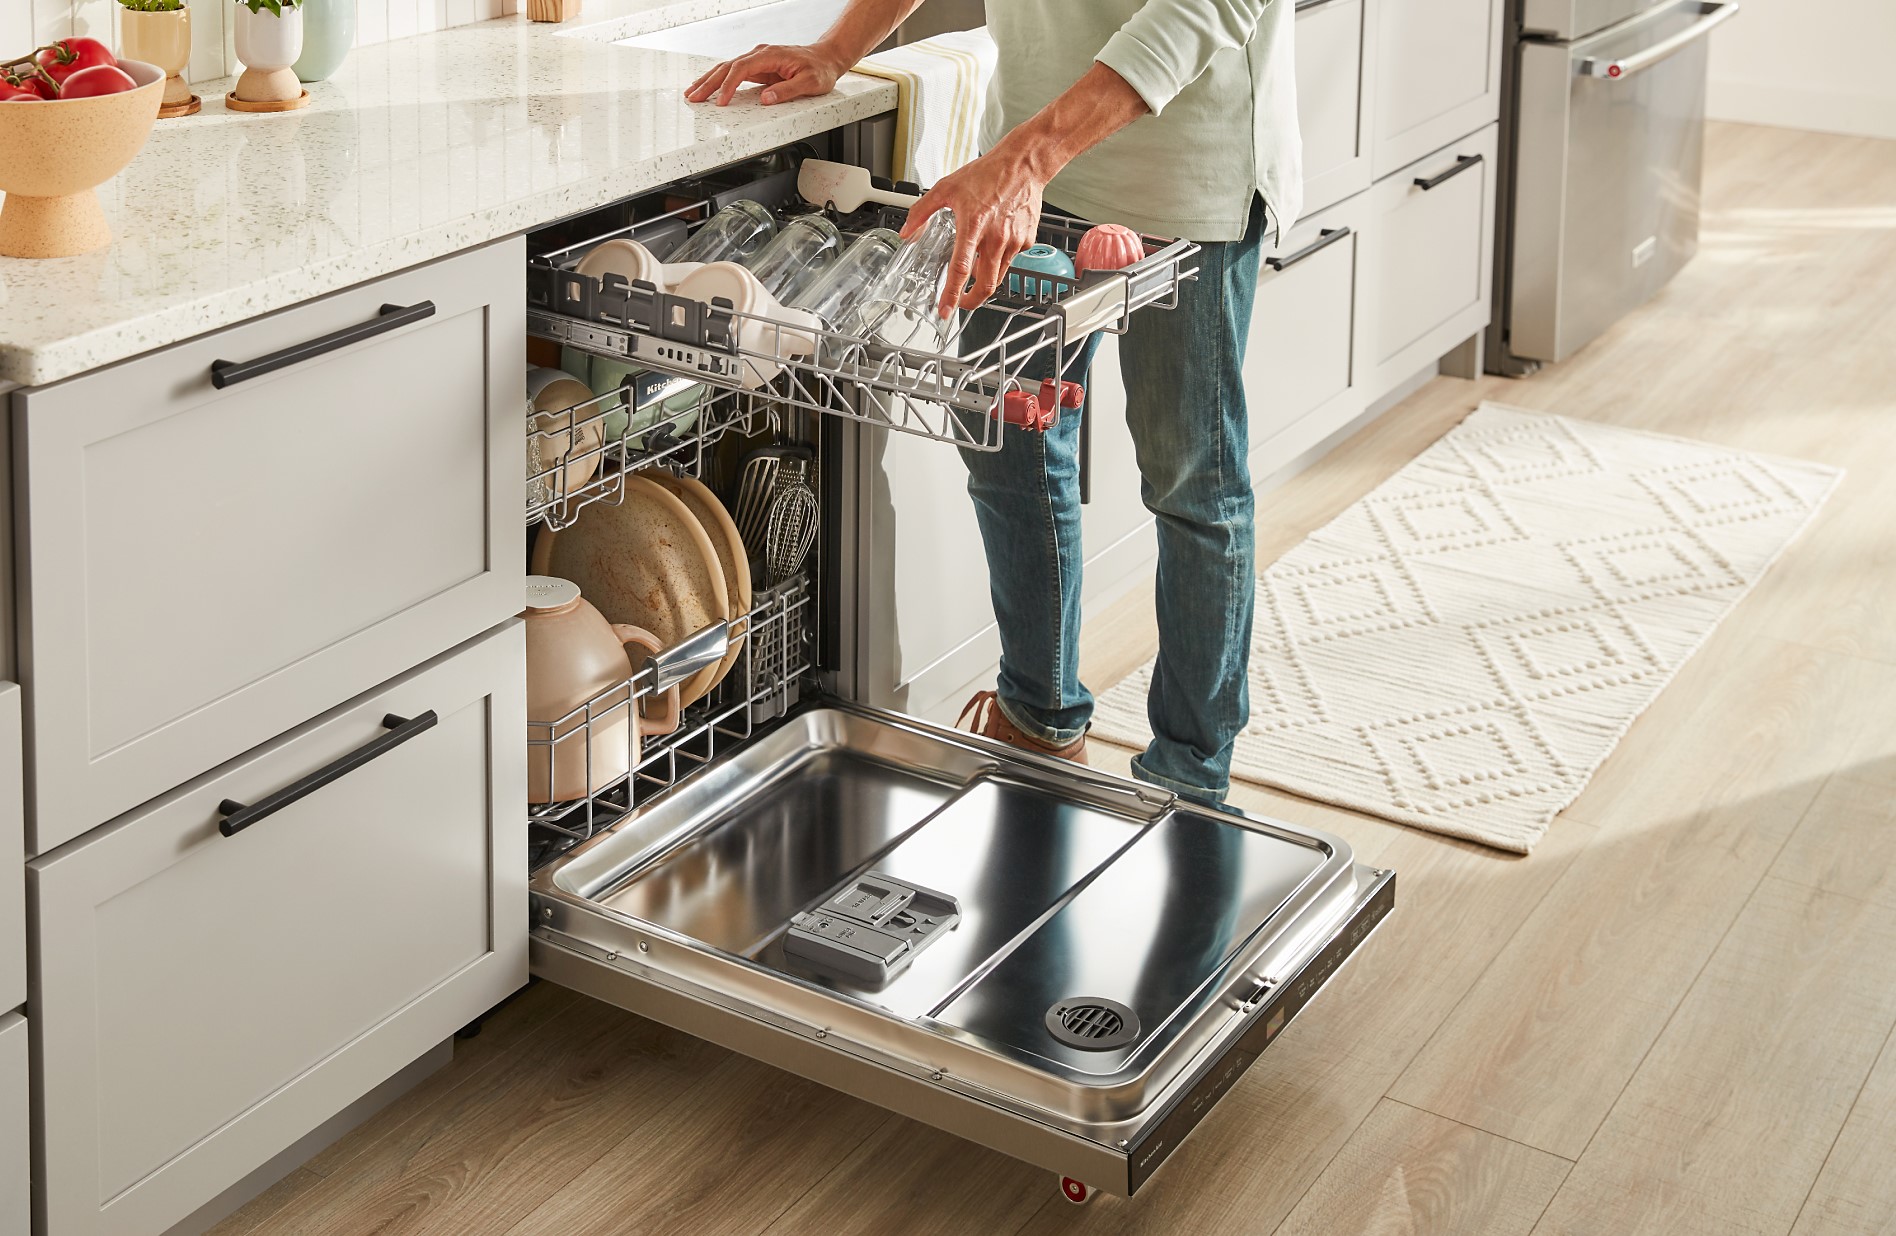
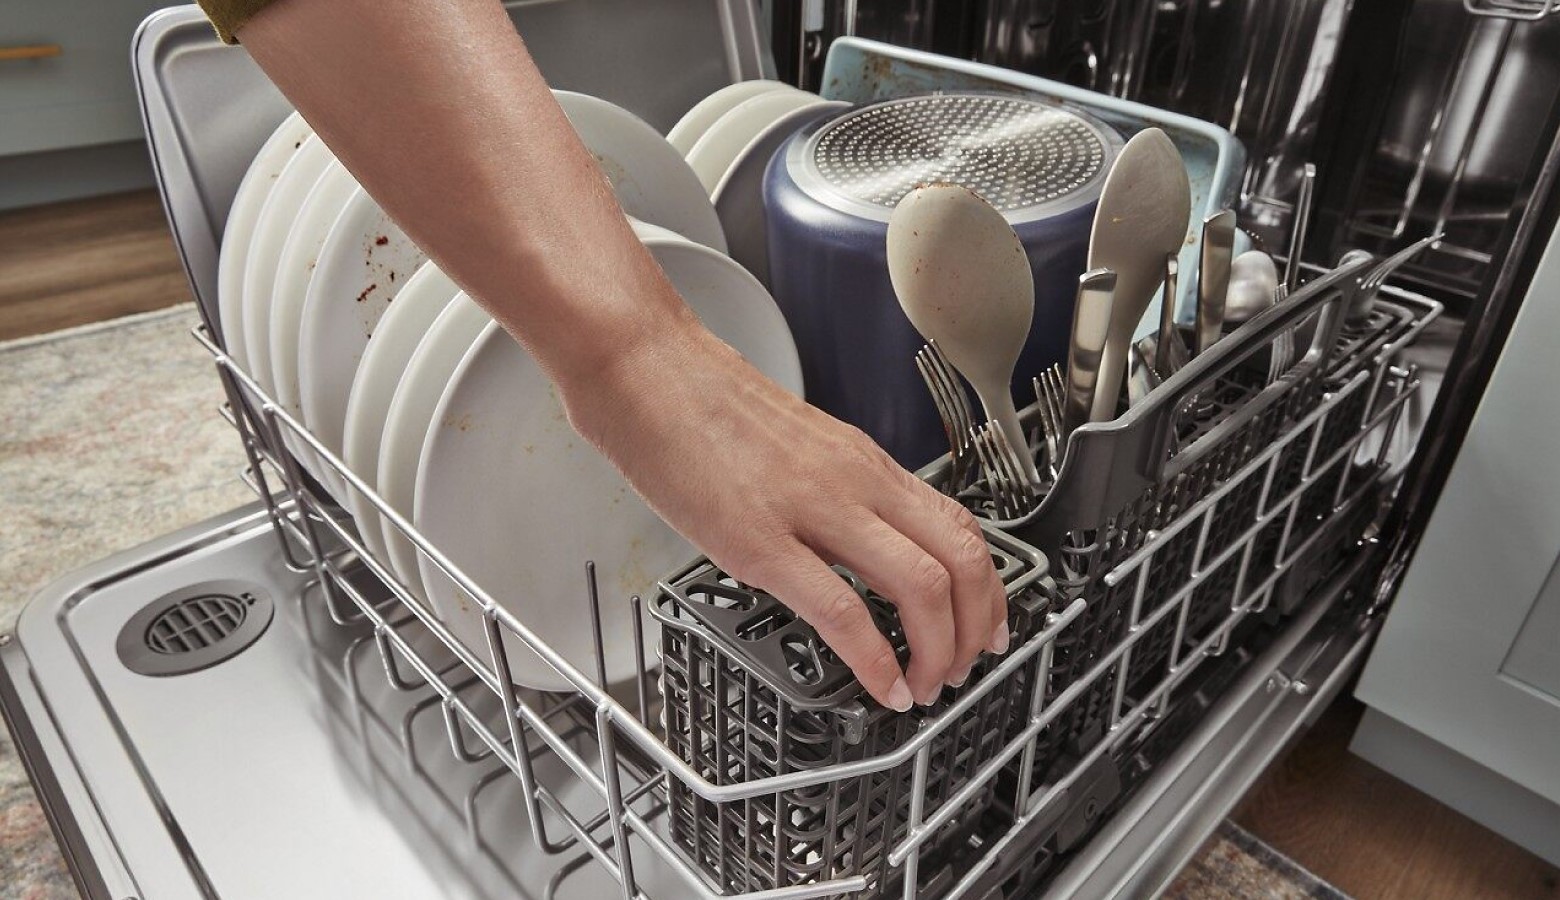
- Load the dishwasher: Load the dishwasher with dirty dishes, making sure not to overload it. Ensure that the dishes are properly arranged to allow for efficient cleaning.
- Close and latch the door: Close the dishwasher door firmly and ensure that it latches securely. This will prevent any leaks during the cycle.
- Start the dishwasher: Press the appropriate buttons or turn the dial to start the dishwasher. Observe the display panel to confirm that the cycle has begun.
- Monitor the cycle: During the wash cycle, pay attention to any unusual noises, leaks, or error messages on the dishwasher’s control panel. If you notice anything abnormal, immediately stop the dishwasher and investigate the issue.
- Check the cleanliness of dishes: Once the cycle is complete, open the dishwasher and inspect the cleanliness of the dishes. Ensure that they are properly cleaned and rinsed.
By conducting a thorough test of your dishwasher, you can identify any potential issues early on and address them accordingly. If you encounter any problems or have concerns about the dishwasher’s performance, refer to the owner’s manual or contact Kitchenaid customer support for assistance.
Testing the dishwasher is a crucial step to confirm that the installation was successful and that the appliance is functioning as expected. Congratulations on reaching this milestone in the installation process!
Step 8: Complete the Final Steps
Now that you have tested the dishwasher and confirmed its proper functionality, it’s time to complete the final steps of the installation process. Follow these steps to wrap up the installation:
- Double-check all connections: Take a moment to go through all the connections, including the water supply line, drain hose, power cord, and any other components. Ensure that everything is securely fastened and free from leaks.
- Replace any panels or covers: If you removed any panels or covers during the installation process, securely attach them back in place to give your dishwasher a neat and finished appearance.
- Run a maintenance cycle: It’s a good idea to run a maintenance cycle on your dishwasher to remove any residual dirt or debris. Follow the manufacturer’s instructions on how to run a maintenance cycle for your specific model.
- Review the owner’s manual: Familiarize yourself with the operation, maintenance, and troubleshooting information provided in the owner’s manual. This will help you optimize the performance of your Kitchenaid dishwasher and address any issues that may arise.
- Celebrate your successful installation: Take a moment to appreciate your accomplishment! You have successfully installed a Kitchenaid dishwasher and are now ready to enjoy the convenience and efficiency it brings to your kitchen.
Completing the final steps ensures that your dishwasher is fully installed and ready for regular use. By following these steps, you can have confidence in the reliability and longevity of your Kitchenaid dishwasher.
Thank you for following our comprehensive guide on how to install a Kitchenaid dishwasher. We hope this information has been helpful and that you enjoy your new appliance for years to come!
Read more: How To Start A Kitchenaid Dishwasher
Conclusion
Congratulations on successfully installing your Kitchenaid dishwasher! By following the step-by-step guide outlined in this article, you have transformed your kitchen into a more efficient and convenient space. The installation process may have required some effort and attention to detail, but the end result is well worth it.
A properly installed dishwasher brings numerous benefits, such as saving time and energy on manual dishwashing, ensuring cleaner and more sanitized dishes, and adding a touch of modernity to your kitchen. With its sleek design and reliable performance, your Kitchenaid dishwasher is sure to enhance your daily routines and make your life easier.
Remember to consult the specific instructions provided with your dishwasher model to ensure compliance with any unique installation requirements. It’s always a good idea to refer to the owner’s manual for additional information on operating, maintaining, and troubleshooting your dishwasher.
If you encounter any issues during the installation process or have questions about your dishwasher’s performance, don’t hesitate to reach out to Kitchenaid’s customer support. They are there to assist you and provide guidance as needed.
Thank you for choosing Kitchenaid and for trusting us with your dishwasher installation needs. We hope this comprehensive guide has been informative and has made the installation process more manageable for you. Enjoy the convenience and efficiency of your new dishwasher!
Frequently Asked Questions about How To Install A Kitchenaid Dishwasher
Was this page helpful?
At Storables.com, we guarantee accurate and reliable information. Our content, validated by Expert Board Contributors, is crafted following stringent Editorial Policies. We're committed to providing you with well-researched, expert-backed insights for all your informational needs.

0 thoughts on “How To Install A Kitchenaid Dishwasher”