Articles
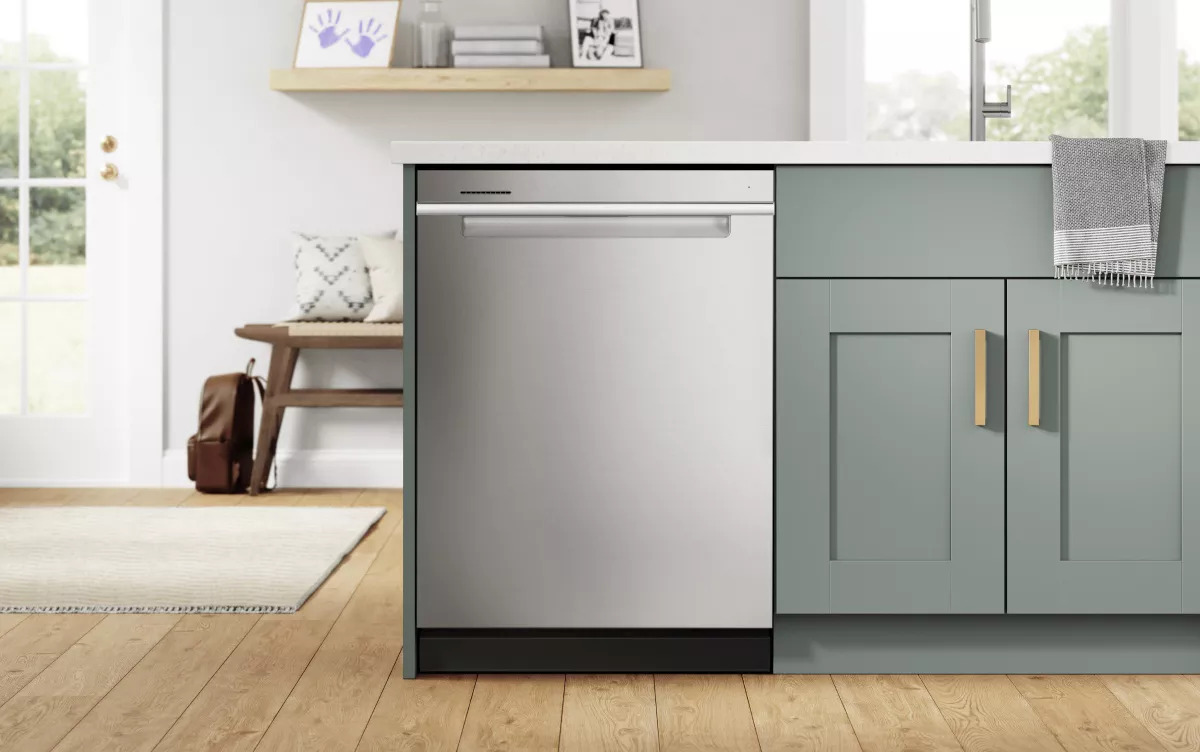
How To Start Whirlpool Dishwasher
Modified: October 20, 2024
Learn how to start your Whirlpool dishwasher with this step-by-step guide. Read articles featuring tips and tricks for a hassle-free dishwasher experience.
(Many of the links in this article redirect to a specific reviewed product. Your purchase of these products through affiliate links helps to generate commission for Storables.com, at no extra cost. Learn more)
Introduction
Welcome to the whirlpool dishwasher club! Owning a dishwasher can make your life so much easier by taking care of the tedious task of washing dishes. Whirlpool dishwashers are known for their efficiency, reliability, and advanced features, making them a popular choice for many households. If you’re new to using a whirlpool dishwasher or if you’re looking for some tips to improve your dishwasher routine, you’ve come to the right place.
In this article, we will guide you through the step-by-step process of starting your whirlpool dishwasher. From gathering the necessary supplies to troubleshooting common issues, we’ll cover everything you need to know to ensure your dishes come out sparkling clean every time.
So, grab your coffee mug or your favorite glass and let’s dive in to discover how easy it is to start your whirlpool dishwasher.
Step 1: Gathering the Supplies
Before you start using your whirlpool dishwasher, it’s important to gather all the necessary supplies to ensure a smooth and efficient dishwashing experience. Here are the essential items you’ll need:
- Dishwasher detergent: Choose a high-quality dishwasher detergent that is recommended for use with your specific whirlpool dishwasher model. Look for a detergent that is effective in removing grease, food particles, and stains.
- Rinse aid: Whirlpool dishwashers usually have a rinse aid dispenser, which helps to prevent water spots and improve drying performance. Make sure you have a suitable rinse aid on hand.
- Dish racks: Check that your dishwasher is equipped with the necessary dish racks for loading your dishes. If any racks are missing or damaged, you may need to purchase replacements.
- Silverware basket: Most whirlpool dishwashers come with a dedicated silverware basket. If yours doesn’t, you can purchase one separately to keep your cutlery organized and contained during the wash cycle.
- Large items rack (if applicable): If you have larger items such as pots, pans, or baking sheets that won’t fit in the regular dish racks, check if your whirlpool dishwasher has a designated large items rack.
- Cleaning supplies: It’s a good practice to keep your dishwasher clean and free from residue buildup. Make sure you have some cleaning supplies like a dishwasher cleaner or vinegar to periodically clean the interior of your dishwasher.
- Safety precautions: Don’t forget to have a pair of rubber gloves to protect your hands from hot water and any potential cleaning agents. Also, ensure that the area around your dishwasher is well-ventilated to prevent excess moisture.
By gathering all these supplies beforehand, you’ll have everything you need to properly maintain and operate your whirlpool dishwasher. Now that you’re ready, let’s move on to preparing the dishwasher for use in the next step.
Key Takeaways:
- Properly prepare and load your Whirlpool dishwasher by gathering supplies, cleaning the interior, and strategically arranging dishes. This ensures optimal cleaning performance and efficient use of space for sparkling clean dishes.
- Troubleshoot common issues such as poor cleaning results, water leakage, and foul odors to maintain your Whirlpool dishwasher’s optimal performance. Follow the provided tips for consistent cleanliness and functionality.
Read more: How To Start Whirlpool Washer
Step 2: Preparing the Dishwasher
Now that you have all your supplies in place, it’s time to prepare your whirlpool dishwasher for use. This step will ensure that your dishwasher is clean, free from any residual odors, and ready to tackle the dirty dishes. Here’s what you need to do:
- Check for any food or debris: Before loading your dirty dishes, inspect the interior of the dishwasher for any leftover food or debris. Remove any visible particles and rinse off stubborn residues.
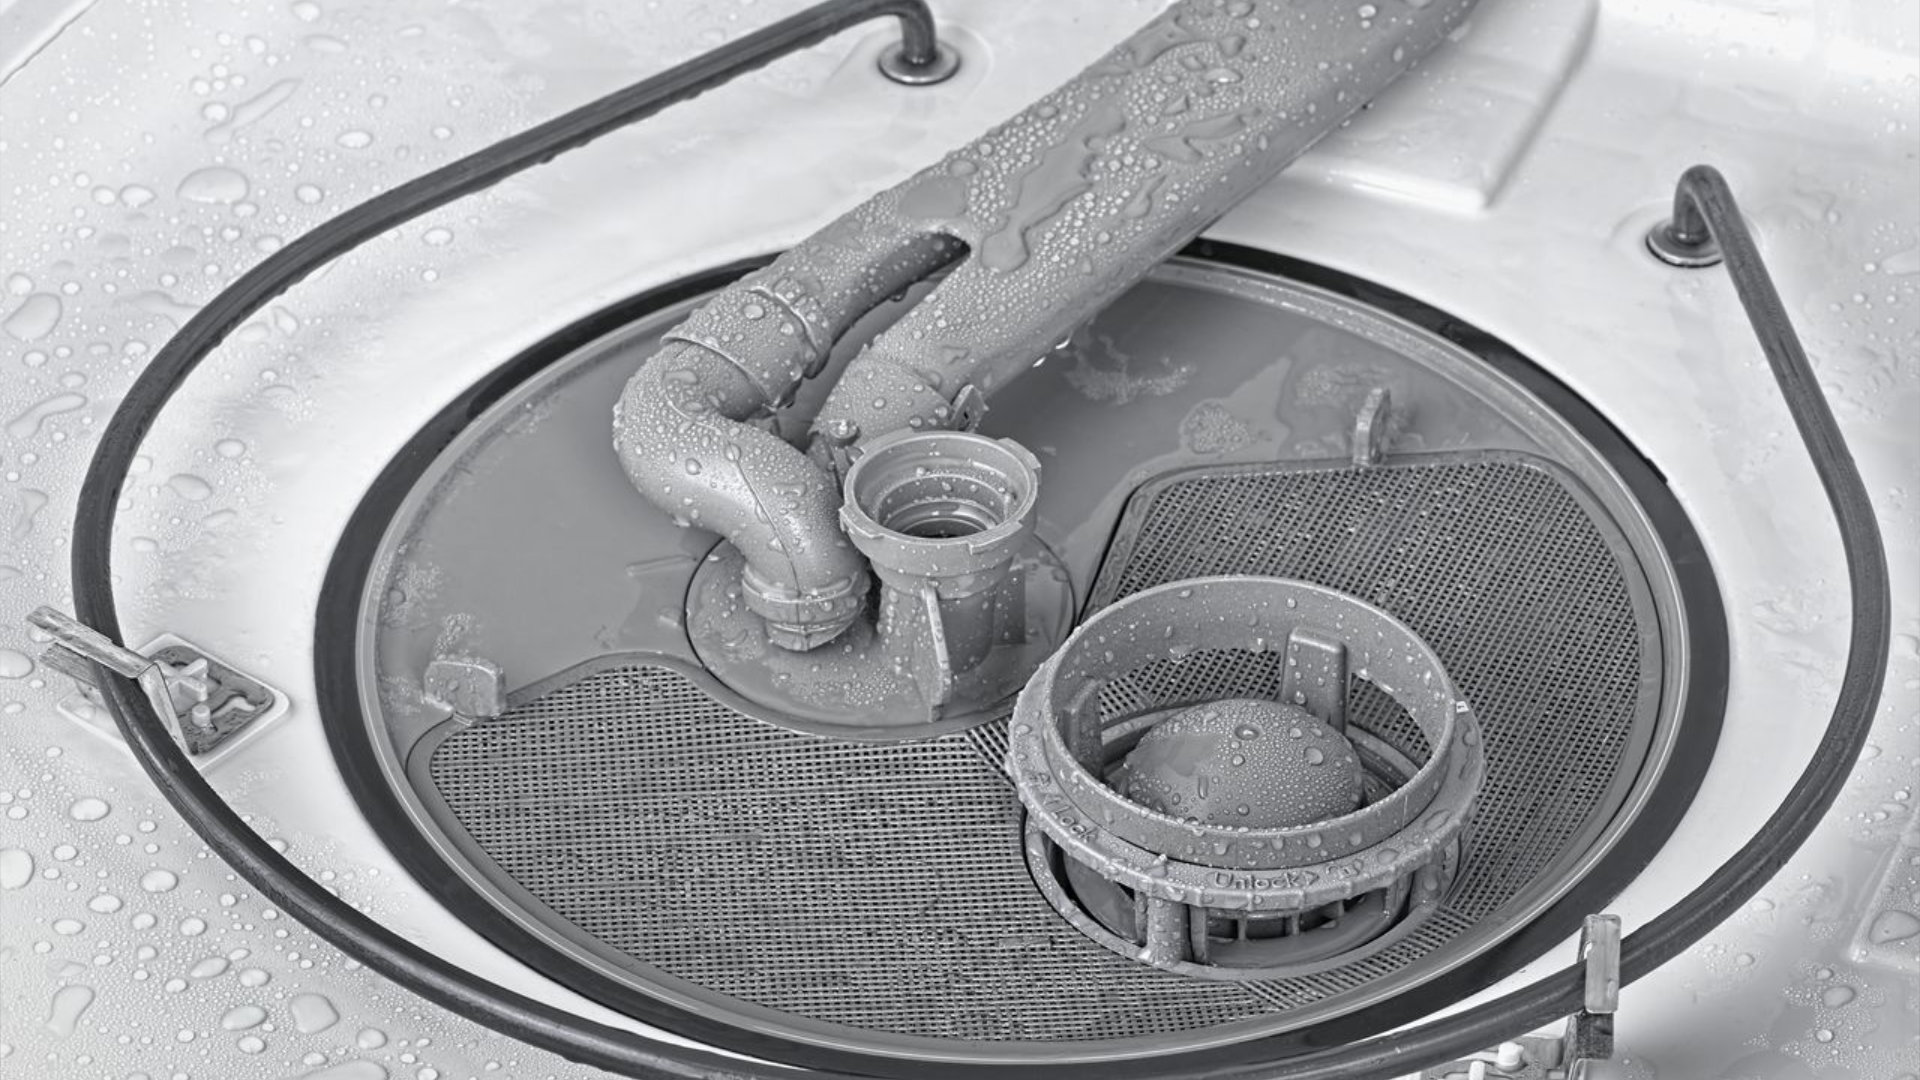
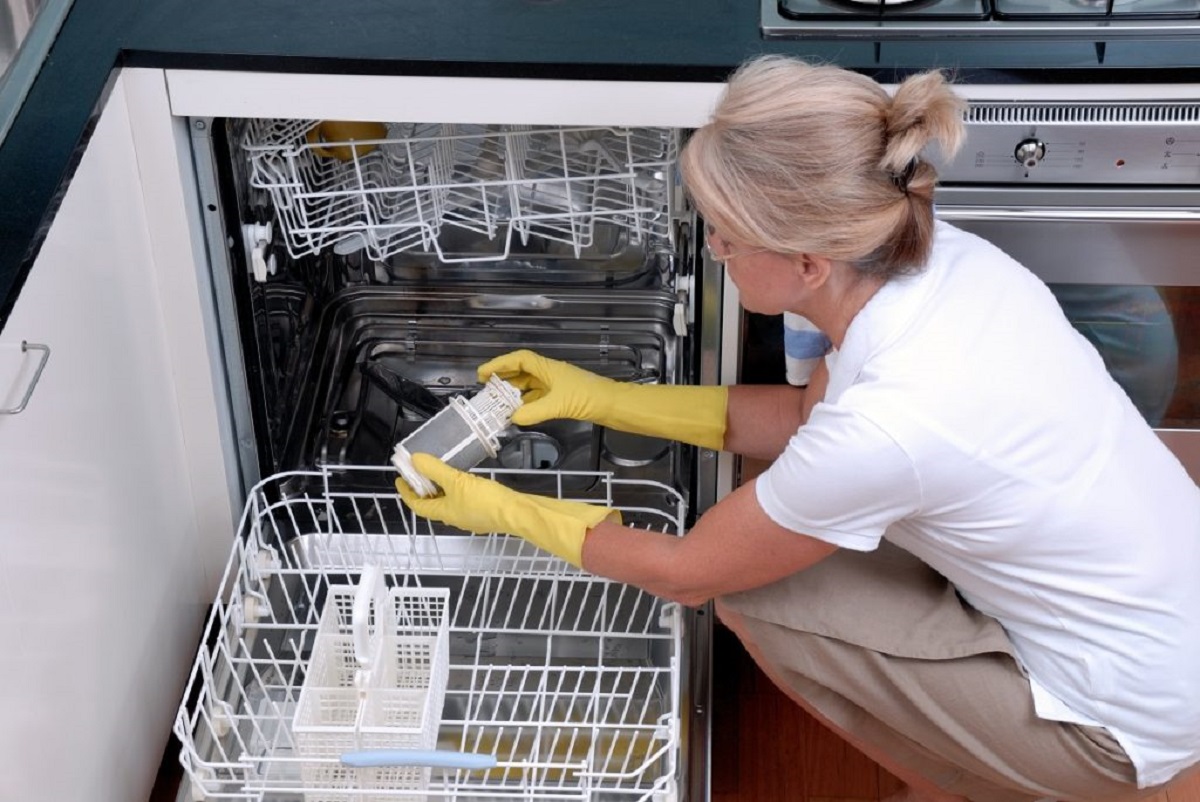
- Clean the filters: Whirlpool dishwashers usually have filters that prevent larger food particles from clogging the drain. Take out the filters and clean them under running water to remove any accumulated debris. Make sure to follow the manufacturer’s instructions for proper filter maintenance.
- Wipe the interior: Using a damp cloth or sponge, wipe down the interior walls, door, and racks of the dishwasher. Pay close attention to any areas that may have accumulated grease or grime.
- Check the sprayer arms: Examine the sprayer arms located at the bottom and top of the dishwasher. Ensure that the spray nozzles are free from any blockages or buildup. If needed, use a toothpick or small brush to dislodge any debris.
- Inspect the gasket: The gasket is the rubber seal that keeps the dishwasher door tightly closed during operation. Check it for any signs of wear or damage. If you notice any cracks or tears, it’s best to have it replaced to maintain an airtight seal.
- Run a cleaning cycle (optional): If your dishwasher has a self-cleaning cycle, you may want to consider running it periodically to remove any buildup or odors. Refer to your user manual for instructions on how to initiate the cleaning cycle.
By following these preparation steps, you’ll ensure that your whirlpool dishwasher is in optimal condition to deliver excellent cleaning results. With your dishwasher clean and ready, it’s time to move on to the next step: loading the dishwasher.
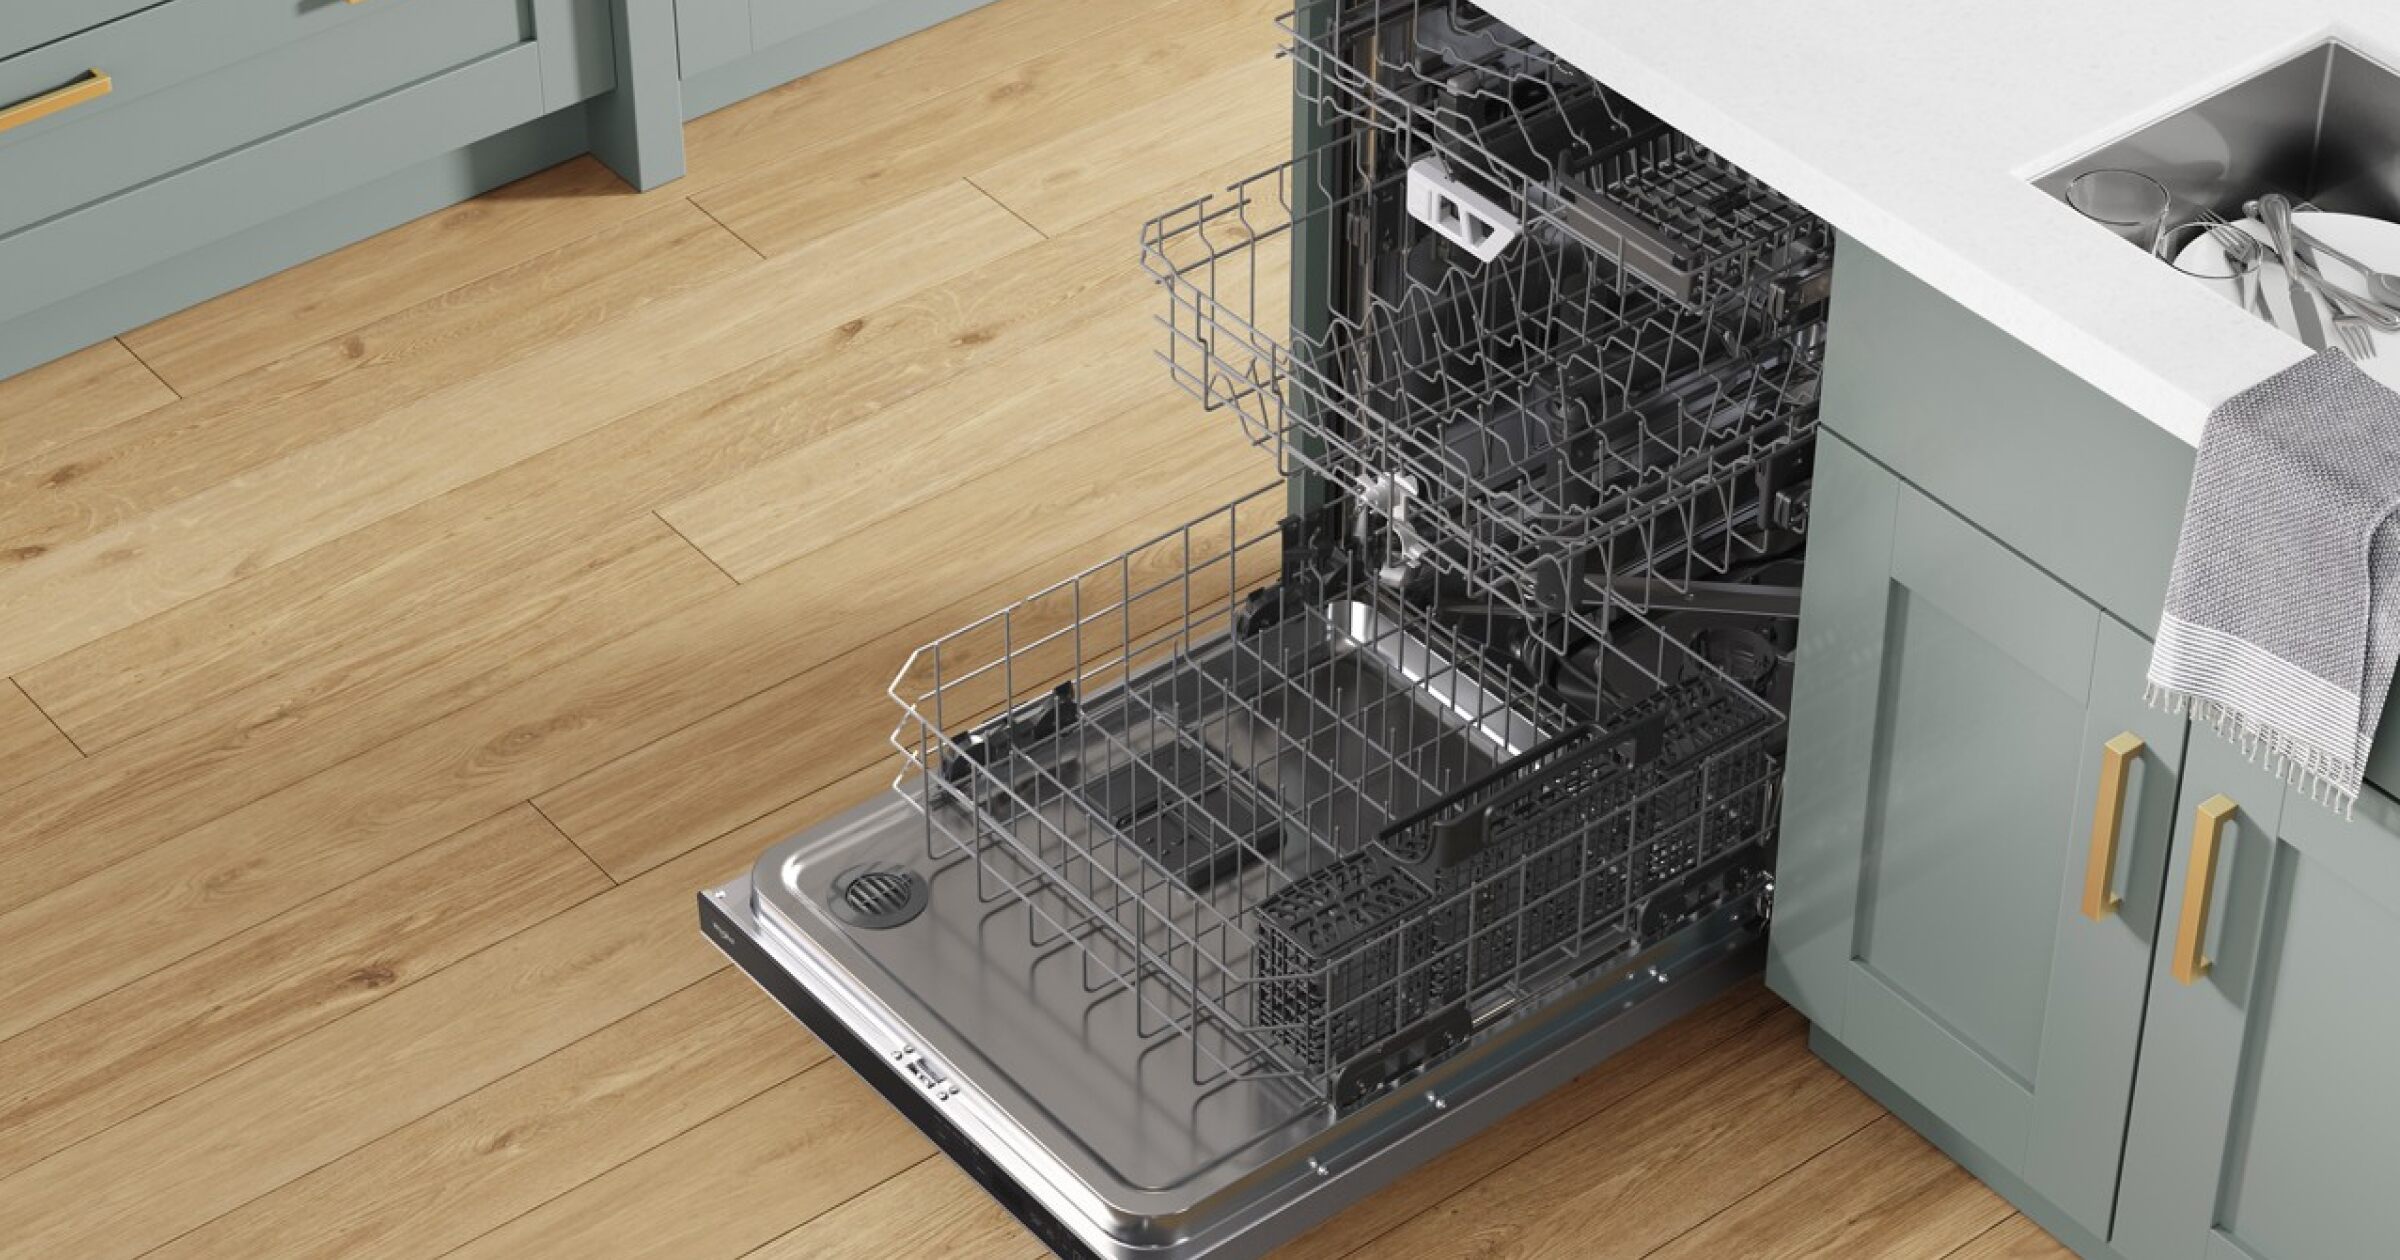
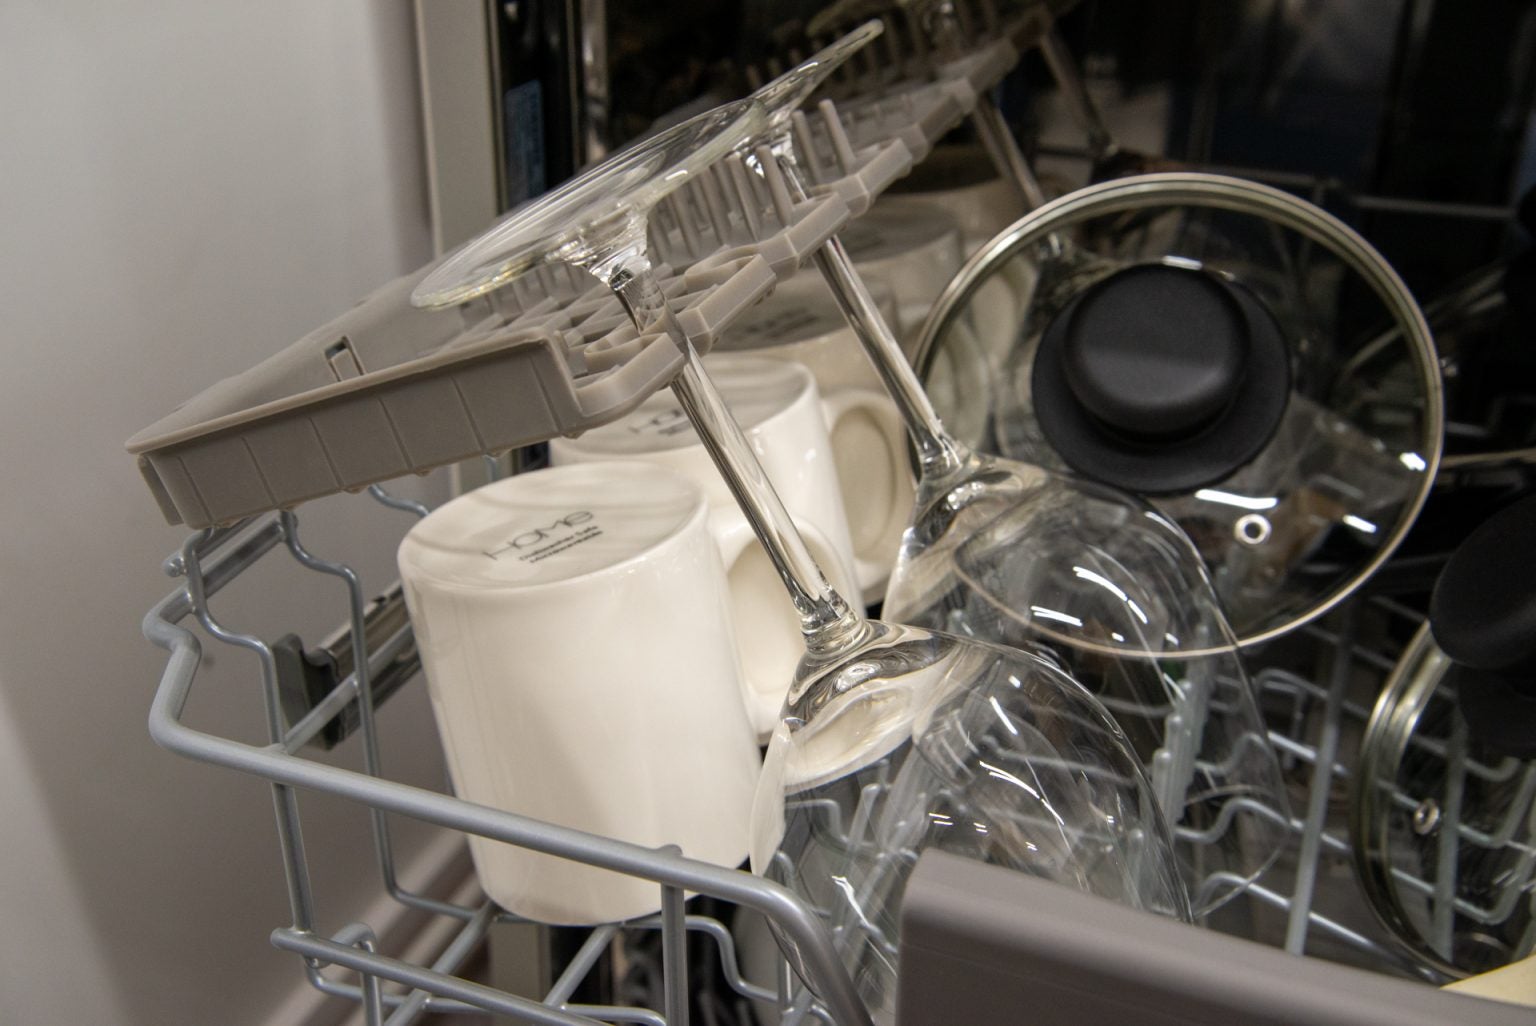
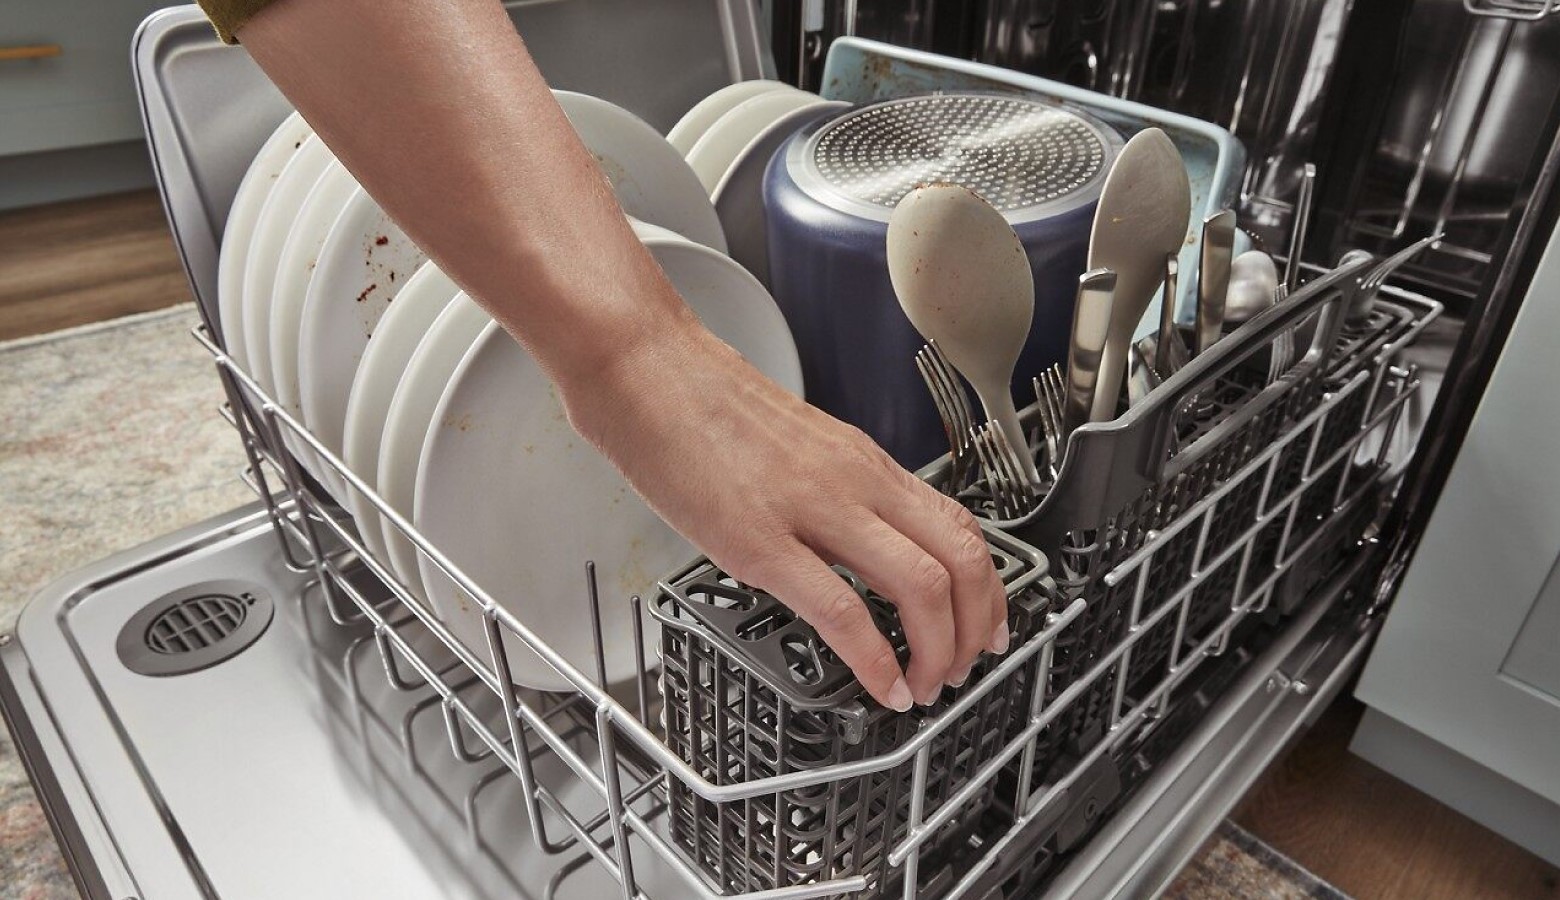
Step 3: Loading the Dishwasher
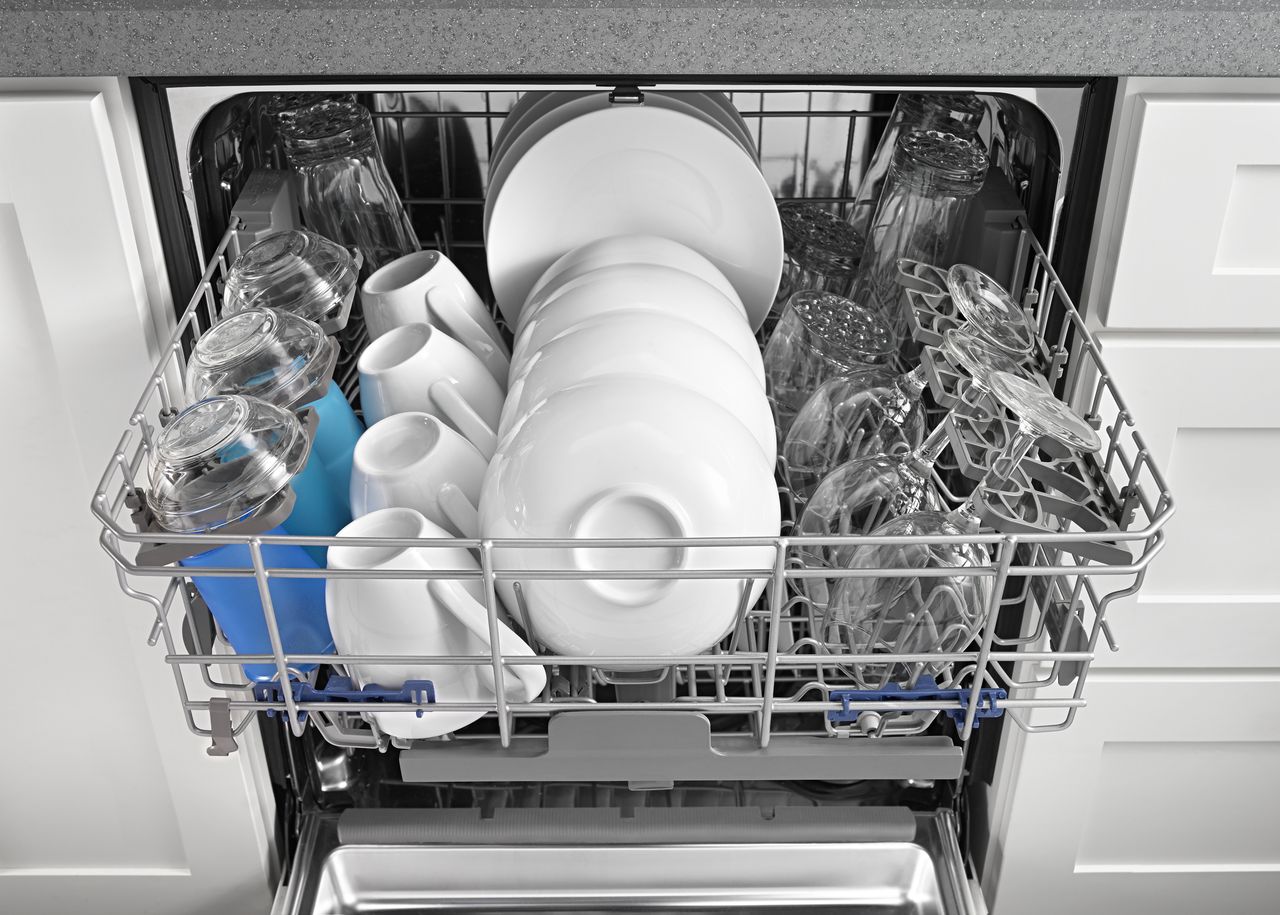
Properly loading your whirlpool dishwasher is essential to ensure efficient cleaning and optimal use of space. This step will guide you through the process of loading your dishes in a way that maximizes cleanliness and capacity. Here’s what you need to do:
- Scrape off excess food: Before placing your dishes in the dishwasher, scrape off any large food particles into the trash or compost. This helps prevent clogging and ensures the dishwasher can effectively clean your dishes.
- Separate items by type: Group similar items together to make unloading and organizing easier. Place plates with plates, bowls with bowls, and so on. This also helps ensure water and detergent can reach all surfaces for thorough cleaning.
- Load larger items at the bottom: Place larger items such as pots, pans, and baking sheets on the lower rack, ensuring they are spaced out to allow water and detergent to reach all surfaces.
- Arrange dishes strategically: In the upper rack, load glasses, cups, and smaller items. Angle them slightly downwards to prevent water from pooling. Avoid overcrowding to ensure proper water circulation.
- Position silverware properly: If your whirlpool dishwasher has a dedicated silverware basket, place the flatware handles down to allow for effective cleaning. If there are slots for individual utensils, separate them for optimal cleaning.
- Don’t obstruct the sprayer arms: Make sure that no dishes or utensils are blocking the rotating sprayer arms. This ensures that water can be distributed evenly throughout the dishwasher for thorough cleaning.
- Avoid nesting and overlapping: Nesting dishes or overlapping can prevent proper cleaning and drying. Give each item enough space and avoid placing them too close or touching one another.
- Be mindful of plastic items: Plastic items are more prone to warping or melting, especially if they come in contact with the heating element. Place them on the top rack or use dishwasher-safe plastic items to avoid any issues.
Following these loading guidelines will help ensure that your dishes come out clean and spot-free from your whirlpool dishwasher. Once you’ve successfully loaded your dishwasher, it’s time to move on to the next step: adding detergent and rinse aid.
Step 4: Adding Detergent and Rinse Aid
Now that your dishes are loaded, it’s time to add detergent and rinse aid to your whirlpool dishwasher. Using the right products in the correct amounts will help achieve optimal cleaning results. Here’s what you need to do:
- Refer to the detergent guidelines: Read the instructions on your dishwasher detergent’s packaging to determine the recommended amount for your specific dishwasher model. Using too much or too little detergent can affect the cleaning performance.
- Load the detergent dispenser: Locate the detergent dispenser in your whirlpool dishwasher. Typically, it’s located on the dishwasher door or in the center of the bottom rack. Fill the dispenser with the appropriate amount of detergent according to the instructions.
- Add rinse aid if necessary: Whirlpool dishwashers often have a rinse aid dispenser that helps improve drying performance and prevents water spots. Check if your dishwasher has a built-in rinse aid dispenser and fill it according to the recommended levels.
- Close the dishwasher door: Once the detergent and rinse aid are added, securely close the dishwasher door. Ensure it is latched properly to prevent any leaks during the wash cycle.
Adding the right amount of detergent and rinse aid is crucial for achieving clean, spot-free dishes. Follow these steps to ensure that your whirlpool dishwasher has the necessary cleaning agents for a successful wash. With the detergent and rinse aid in place, it’s time to move on to the next step: selecting a wash cycle.
Step 5: Selecting a Wash Cycle
Whirlpool dishwashers offer a variety of wash cycle options to accommodate different types of dishes and cleaning needs. Choosing the right wash cycle ensures that your dishes are cleaned thoroughly while conserving energy and water. Here’s how you can select the appropriate wash cycle:
- Refer to the dishwasher’s user manual: Review the user manual that came with your whirlpool dishwasher to understand the available wash cycle options and their specific functions.
- Consider the level of soiling on your dishes: Assess the level of dirt, grease, and food particles on your dishes. If they are heavily soiled, opt for a more intensive cycle. For lightly soiled dishes, a shorter cycle may be sufficient.
- Choose eco-friendly options: If you want to conserve energy and water, look for eco-friendly or energy-saving wash cycle options. These cycles are designed to deliver efficient cleaning while minimizing resource usage.
- Utilize specialty cycles: Whirlpool dishwashers often come with specialized cycles for specific types of dishes, such as delicate items, heavy-duty pans, or glassware. Take advantage of these cycles when appropriate.
- Customize as needed: Some whirlpool dishwashers allow you to customize certain aspects of the wash cycle, such as temperature settings, soil level, or additional rinse options. Adjust these settings according to your personal preference and the specific dishwashing needs.
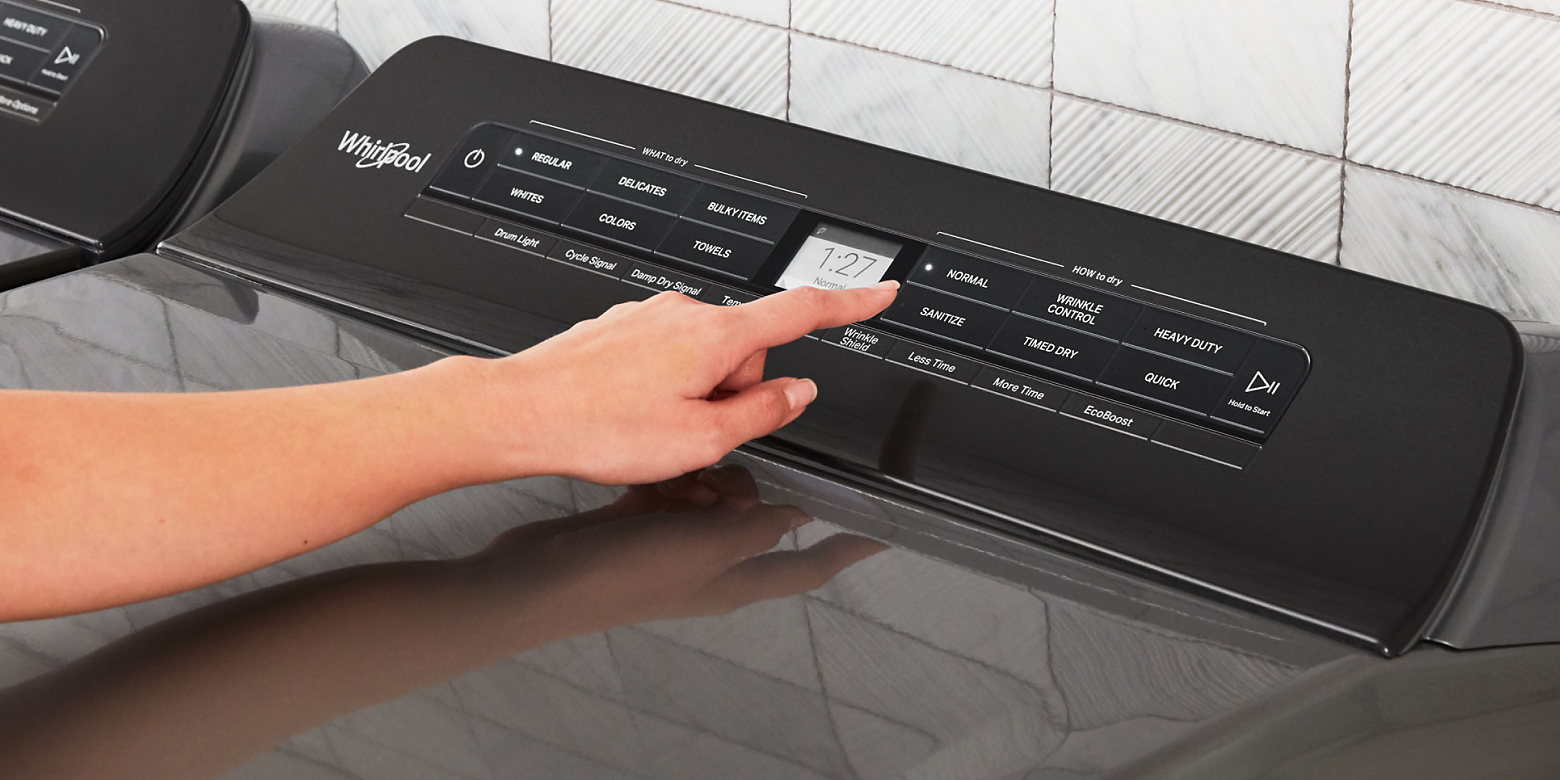
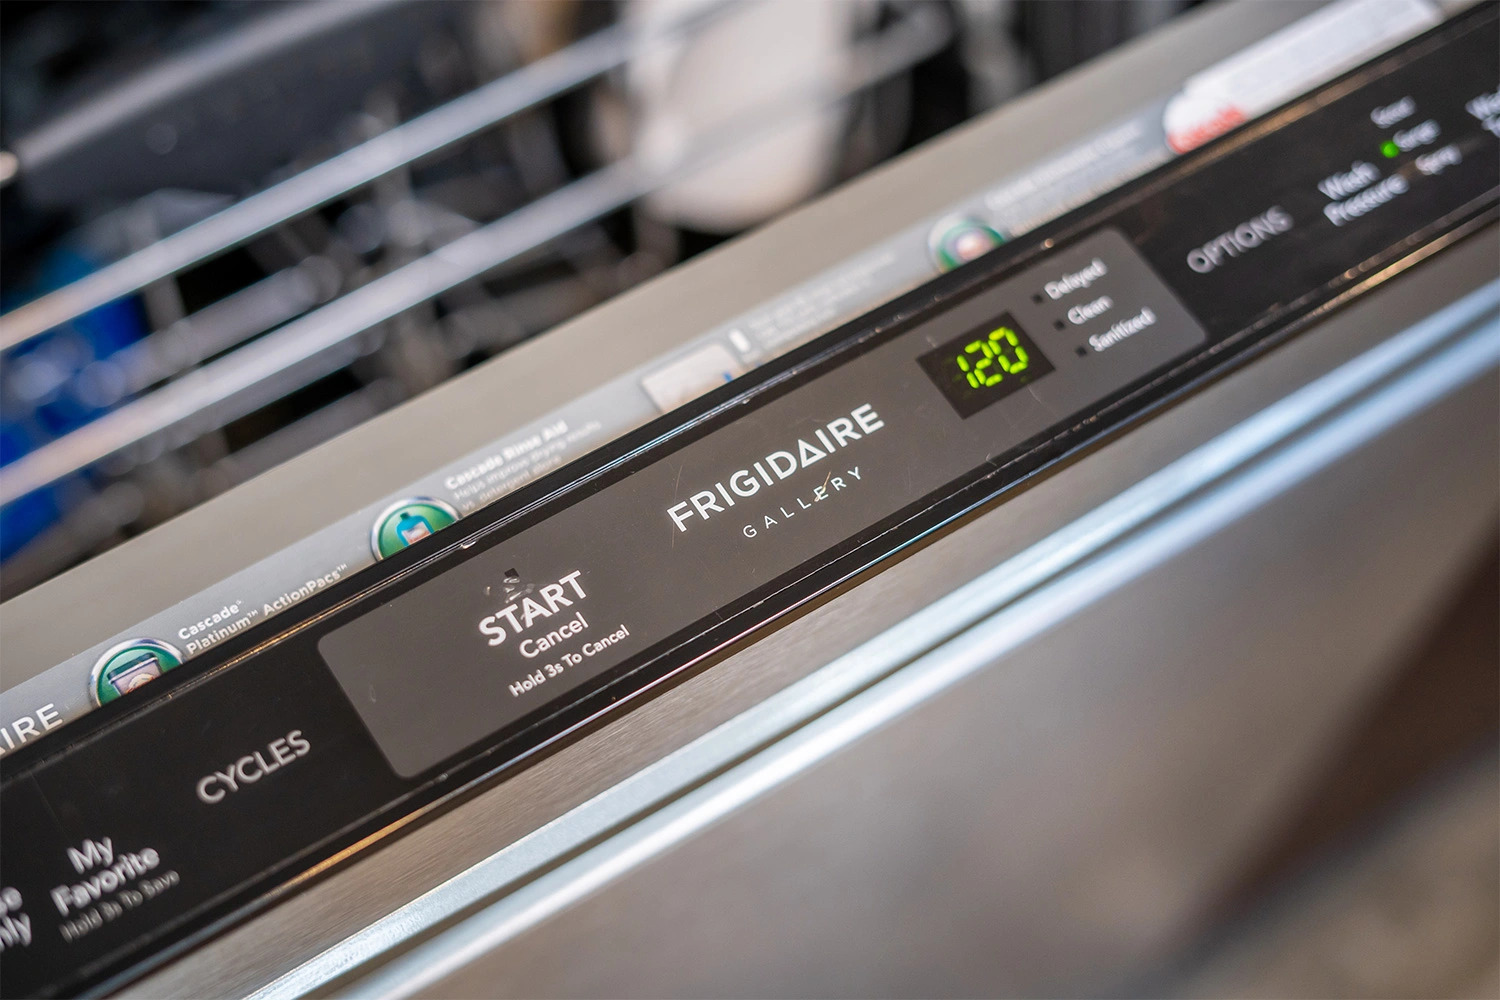
- Press the corresponding buttons or select the cycle on the control panel: Use the control panel on your whirlpool dishwasher to navigate and select the desired wash cycle. Many dishwashers have intuitive buttons or electronic displays for easy operation.
By selecting the appropriate wash cycle for your specific needs, you can ensure that your dishes receive the ideal combination of cleaning power and efficiency. Now that you’ve chosen your wash cycle, it’s time to move on to the next step: starting the dishwasher.
Make sure the dishwasher door is securely closed and the water supply is turned on. Select the desired cycle and press start. Check the detergent dispenser and rinse aid levels before starting.
Read more: How To Start A Bosch Dishwasher
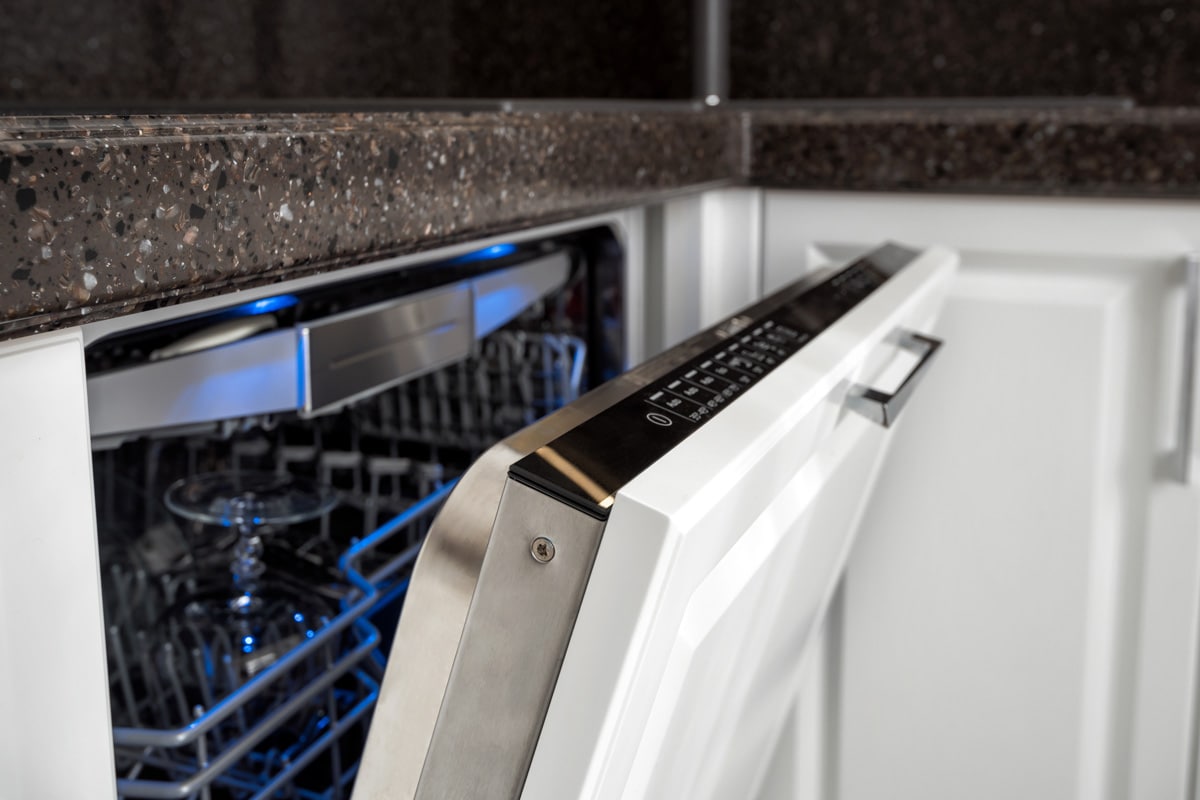
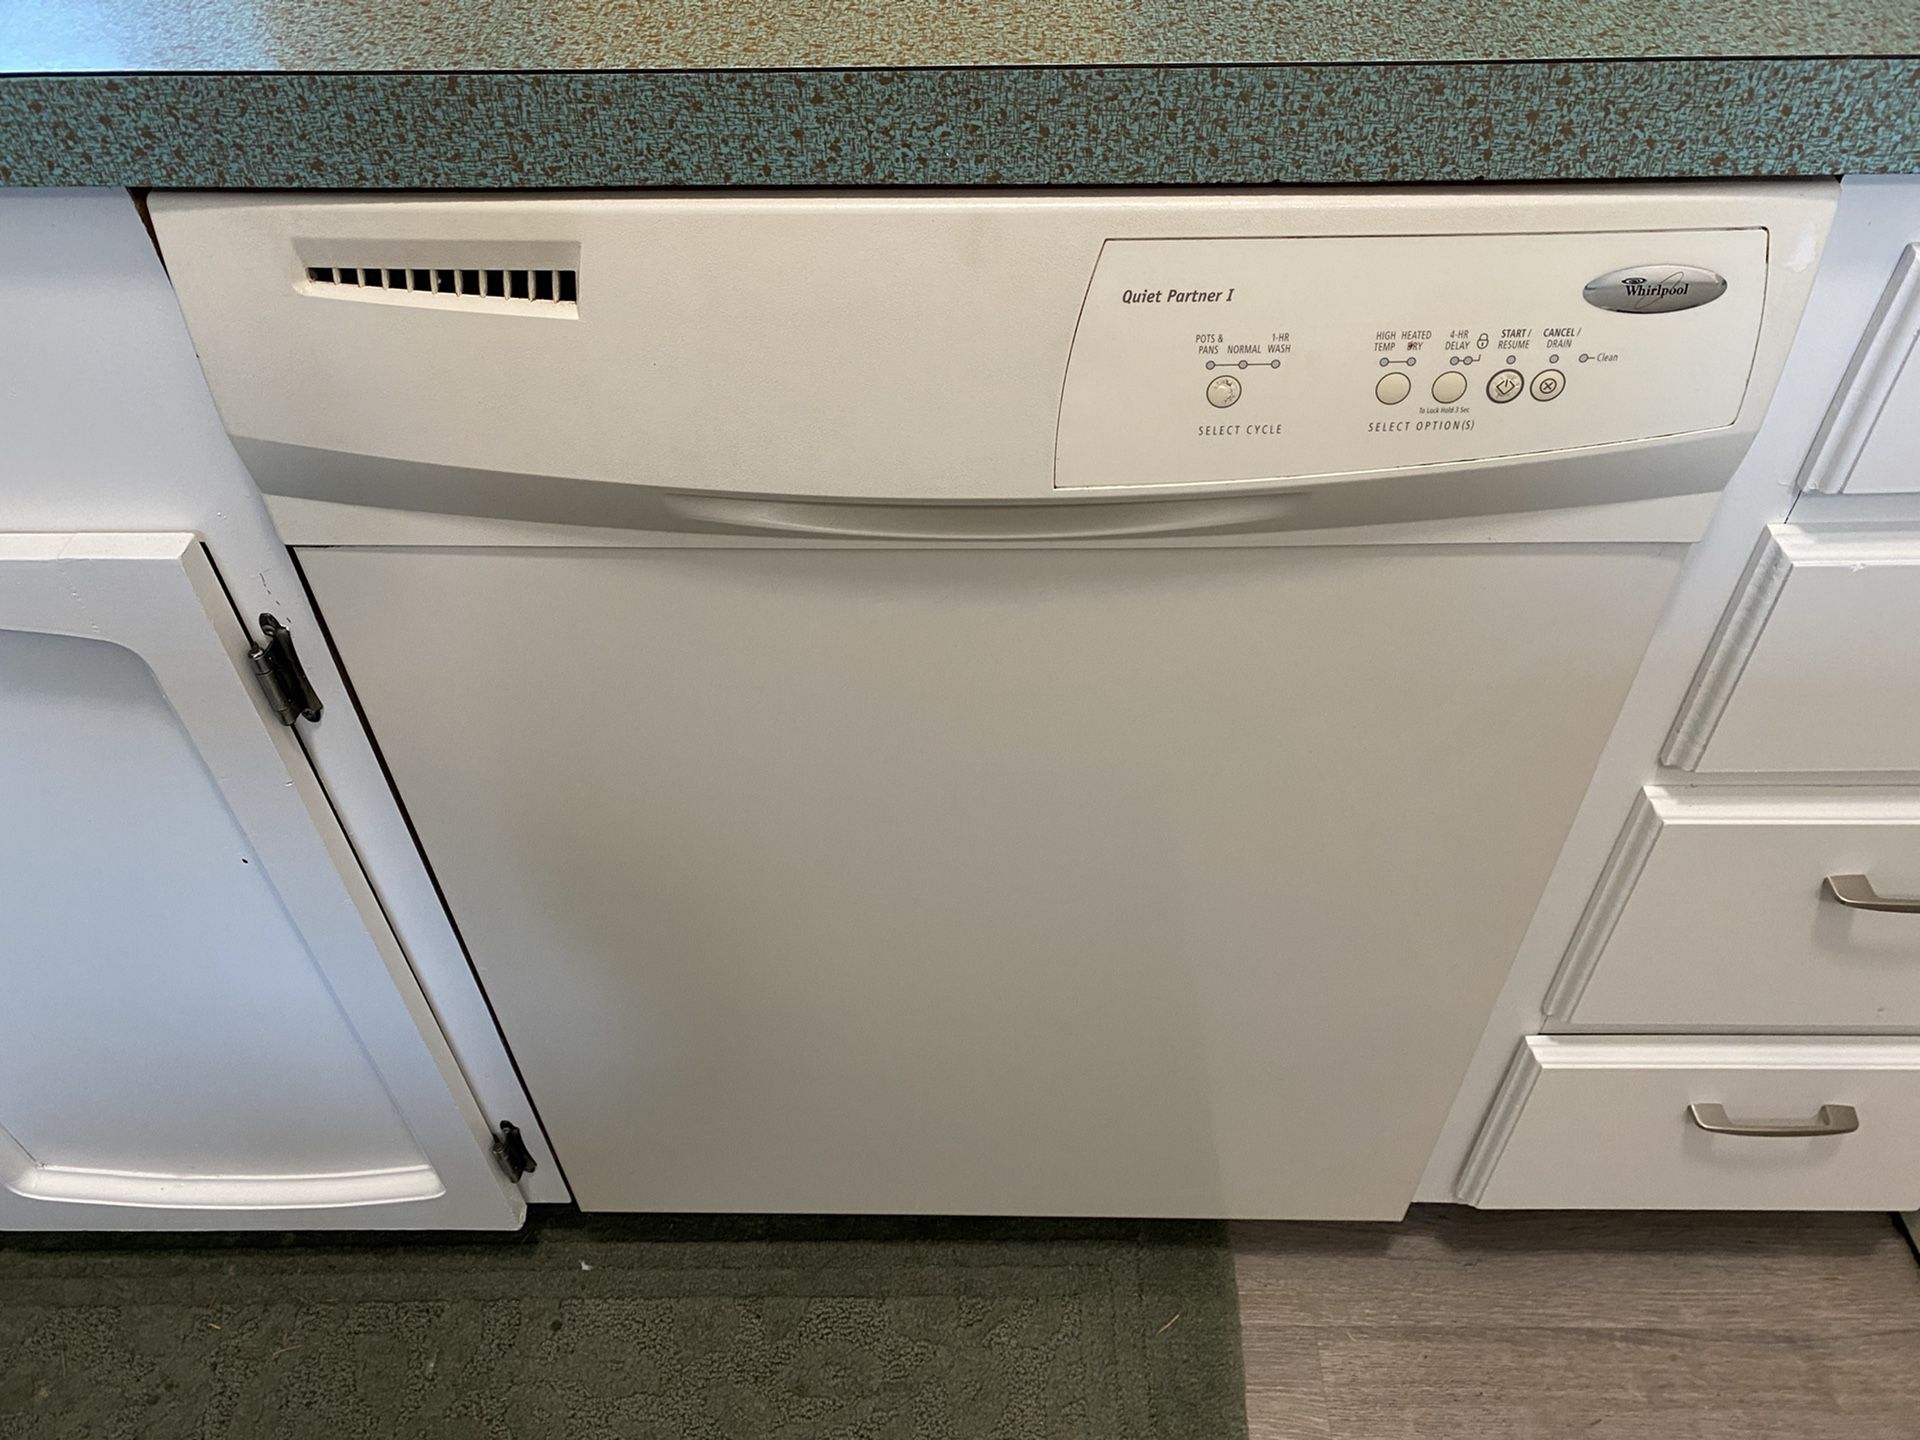
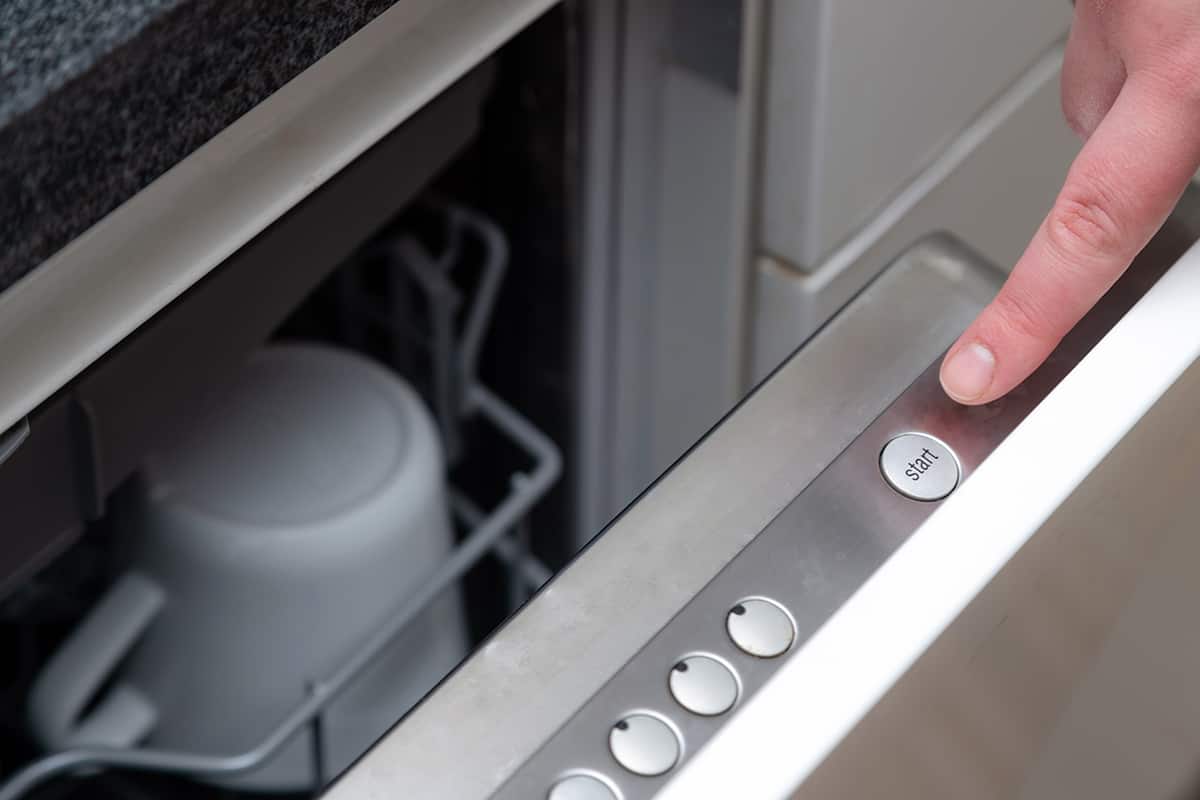
Step 6: Starting the Dishwasher
Once you’ve loaded the dishwasher, added detergent and rinse aid, and selected the desired wash cycle, it’s time to start your whirlpool dishwasher. Here’s how you can begin the wash cycle:
- Ensure everything is properly set: Before starting the dishwasher, double-check that the dishwasher door is securely latched and all the necessary settings are in place, such as the wash cycle, temperature, and any additional options you’ve chosen.
- Press the start button: Locate the start button on your whirlpool dishwasher. It is usually labeled with a symbol or the word “Start.” Press the button to initiate the wash cycle.
- Monitor the progress: Once the dishwasher is running, you can keep an eye on the cycle’s progress through the control panel or the LED display, if your dishwasher has one. This will give you an idea of how much time is remaining.
- Avoid opening the dishwasher during the cycle: It’s best to refrain from opening the dishwasher door while it’s operating. Opening the door can disrupt the cleaning process and hinder the efficiency of the wash cycle.
- Listen for completion signals: Some whirlpool dishwashers have audible signals or indicators that the wash cycle is complete. This may include beeps, a specific sound, or an LED light. Listen for these signals to know when the cycle is finished.
- Wait for the drying process: After the wash cycle is complete, your dishwasher will typically proceed to the drying phase. It may use a combination of heat, air circulation, and the rinse aid you added earlier to dry your dishes. Allow the dishwasher to complete this process before unloading.
Starting your whirlpool dishwasher is as simple as pressing a button and letting it do the work. Just be patient while the cycle runs its course and the dishes are thoroughly cleaned and dried. In the next step, we’ll explore how to properly unload your dishwasher and check for cleanliness.
Step 7: Unloading and Checking for Cleanliness
After the wash and dry cycles have completed, it’s time to unload your sparkling clean dishes from your whirlpool dishwasher. Follow these steps to ensure a successful unloading process and to verify the cleanliness of your dishes:
- Start with caution: Open the dishwasher door slowly and carefully to avoid any potential spills or accidental breakage. The dishes may still be hot, so be mindful of that as well.
- Unload the bottom rack first: Begin by unloading the lower rack, taking out any larger items such as pots, pans, and bowls. Inspect each item for cleanliness and make sure there are no food particles or residue remaining.
- Move to the upper rack: Next, proceed to the upper rack and unload glasses, cups, and smaller items. Check that each piece is clean and free from any spots or stains.
- Examine the silverware: Take out the silverware basket and carefully remove each utensil. Inspect the silverware for any leftover food or stains, and give them a quick rinse if needed.
- Check for any missed spots: Look closely at each dish, glass, and utensil to ensure that everything has been thoroughly cleaned. Pay attention to areas that are prone to food buildup, such as the inside of cups or the crevices of utensils.
- Re-wash if necessary: If you come across any dishes that are not completely clean, you can either hand wash them or place them back in the dishwasher for another cycle.
By following these steps, you can efficiently unload your dishes from your whirlpool dishwasher and have the peace of mind that they are spotlessly clean. If you consistently find issues with cleanliness, it may be worth exploring troubleshooting tips, which we will cover in the next step.
Step 8: Troubleshooting Common Issues
While whirlpool dishwashers are known for their reliability, occasionally you may encounter some common issues that can affect the performance and cleanliness of your dishes. Here are some troubleshooting tips to help you resolve these problems:
- Poor cleaning results: If your dishes are not coming out as clean as expected, ensure that the dishwasher is properly loaded without overcrowding. Check that the spray arms are spinning freely and not blocked by any dishes. Also, make sure you are using the correct amount and type of detergent for your dishwasher model.
- Water leakage: If you notice water leaking from your whirlpool dishwasher, ensure that the dishwasher door is properly latched and the gasket is clean and intact. Check for any cracks or damage in the door or tub, and consider having it repaired by a professional if necessary.
- Foul odors: If your dishwasher has developed a lingering odor, it may be due to food debris or residue trapped in the filter or other components. Clean the dishwasher thoroughly, including the filter, sprayer arms, and door gasket. You can also run a cleaning cycle with a dishwasher cleaner to eliminate any odors.
- Loud noise during operation: Excessive noise during the wash cycle can be caused by items in the dishwasher hitting each other or the sprayer arms brushing against dishes or utensils. Ensure that dishes are properly loaded and spaced out to avoid any contact or obstruction.
- Inadequate drying: If your dishes are not drying properly, first ensure that your rinse aid dispenser is filled to the recommended level. Additionally, consider using a higher drying or heat setting if available. Increase ventilation in the kitchen to allow moisture to dissipate more easily.
If you encounter persistent issues with your whirlpool dishwasher or if you experience other problems not mentioned here, it is recommended to consult the dishwasher’s user manual or contact whirlpool customer support for further assistance.
By troubleshooting common issues, you can ensure that your whirlpool dishwasher performs optimally, delivering clean and spotless dishes every time. With these troubleshooting insights, you’re now equipped to resolve any potential hiccups you may encounter.
Conclusion
Congratulations! You’ve reached the end of this comprehensive guide on how to start your whirlpool dishwasher. By following the step-by-step process outlined in this article, you can ensure that your dishes are cleaned efficiently and effectively. Let’s recap what we’ve covered:
We began by gathering the necessary supplies, including dishwasher detergent, rinse aid, dish racks, and cleaning supplies. Then, we moved on to preparing the dishwasher by checking for any food or debris, cleaning the filters, wiping the interior, and inspecting the sprayer arms and gasket.
Next, we learned how to load the dishwasher properly, separating items by type, loading larger items at the bottom, arranging dishes strategically, and taking care not to obstruct the sprayer arms. We also highlighted the importance of being mindful of plastic items to avoid warping or melting.
After loading the dishwasher, we discussed how to add the right amount of detergent and rinse aid, ensuring that they are properly dispensed to optimize cleaning performance and drying results.
Then, we moved on to selecting the appropriate wash cycle for your dishes and considering specialty cycles and eco-friendly options. We also learned how to customize certain settings to meet our specific dishwashing needs.
With everything set, we discovered how to start the dishwasher, monitor its progress, and patiently wait for the drying process to complete. We emphasized the importance of not opening the dishwasher door during the cycle to maintain optimal cleaning efficiency.
After the cycle finished, we learned how to unload the dishwasher, checking each item for cleanliness, and re-washing any dishes that require further attention.
Lastly, we covered troubleshooting common issues that may arise, such as poor cleaning results, water leakage, foul odors, loud noise, and inadequate drying. By following the provided troubleshooting tips, you can resolve these issues and enjoy consistent performance from your whirlpool dishwasher.
Remember, it’s always a good idea to consult your dishwasher’s user manual or contact whirlpool customer support for any specific concerns or persistent issues.
Now that you have the knowledge and insights on how to start your whirlpool dishwasher, you can confidently tackle the dirty dishes with ease. Sit back, relax, and let your whirlpool dishwasher do the work, while you enjoy the convenience and cleanliness it brings to your kitchen.
Now that you've mastered starting your Whirlpool dishwasher, why not check out the latest models? Our detailed review showcases 14 standout Whirlpool dishwashers that promise efficiency and style for 2024. Each model has unique features designed to meet diverse needs, ensuring you find the perfect fit for your kitchen. Don’t miss out on upgrading your dishwashing game with a top-notch Whirlpool model!
Frequently Asked Questions about How To Start Whirlpool Dishwasher
Was this page helpful?
At Storables.com, we guarantee accurate and reliable information. Our content, validated by Expert Board Contributors, is crafted following stringent Editorial Policies. We're committed to providing you with well-researched, expert-backed insights for all your informational needs.

0 thoughts on “How To Start Whirlpool Dishwasher”