Articles
How To Install Bathroom Towel Ring
Modified: March 1, 2024
Learn how to properly install a bathroom towel ring with step-by-step articles. Create a stylish and functional space in your bathroom.
(Many of the links in this article redirect to a specific reviewed product. Your purchase of these products through affiliate links helps to generate commission for Storables.com, at no extra cost. Learn more)
Introduction
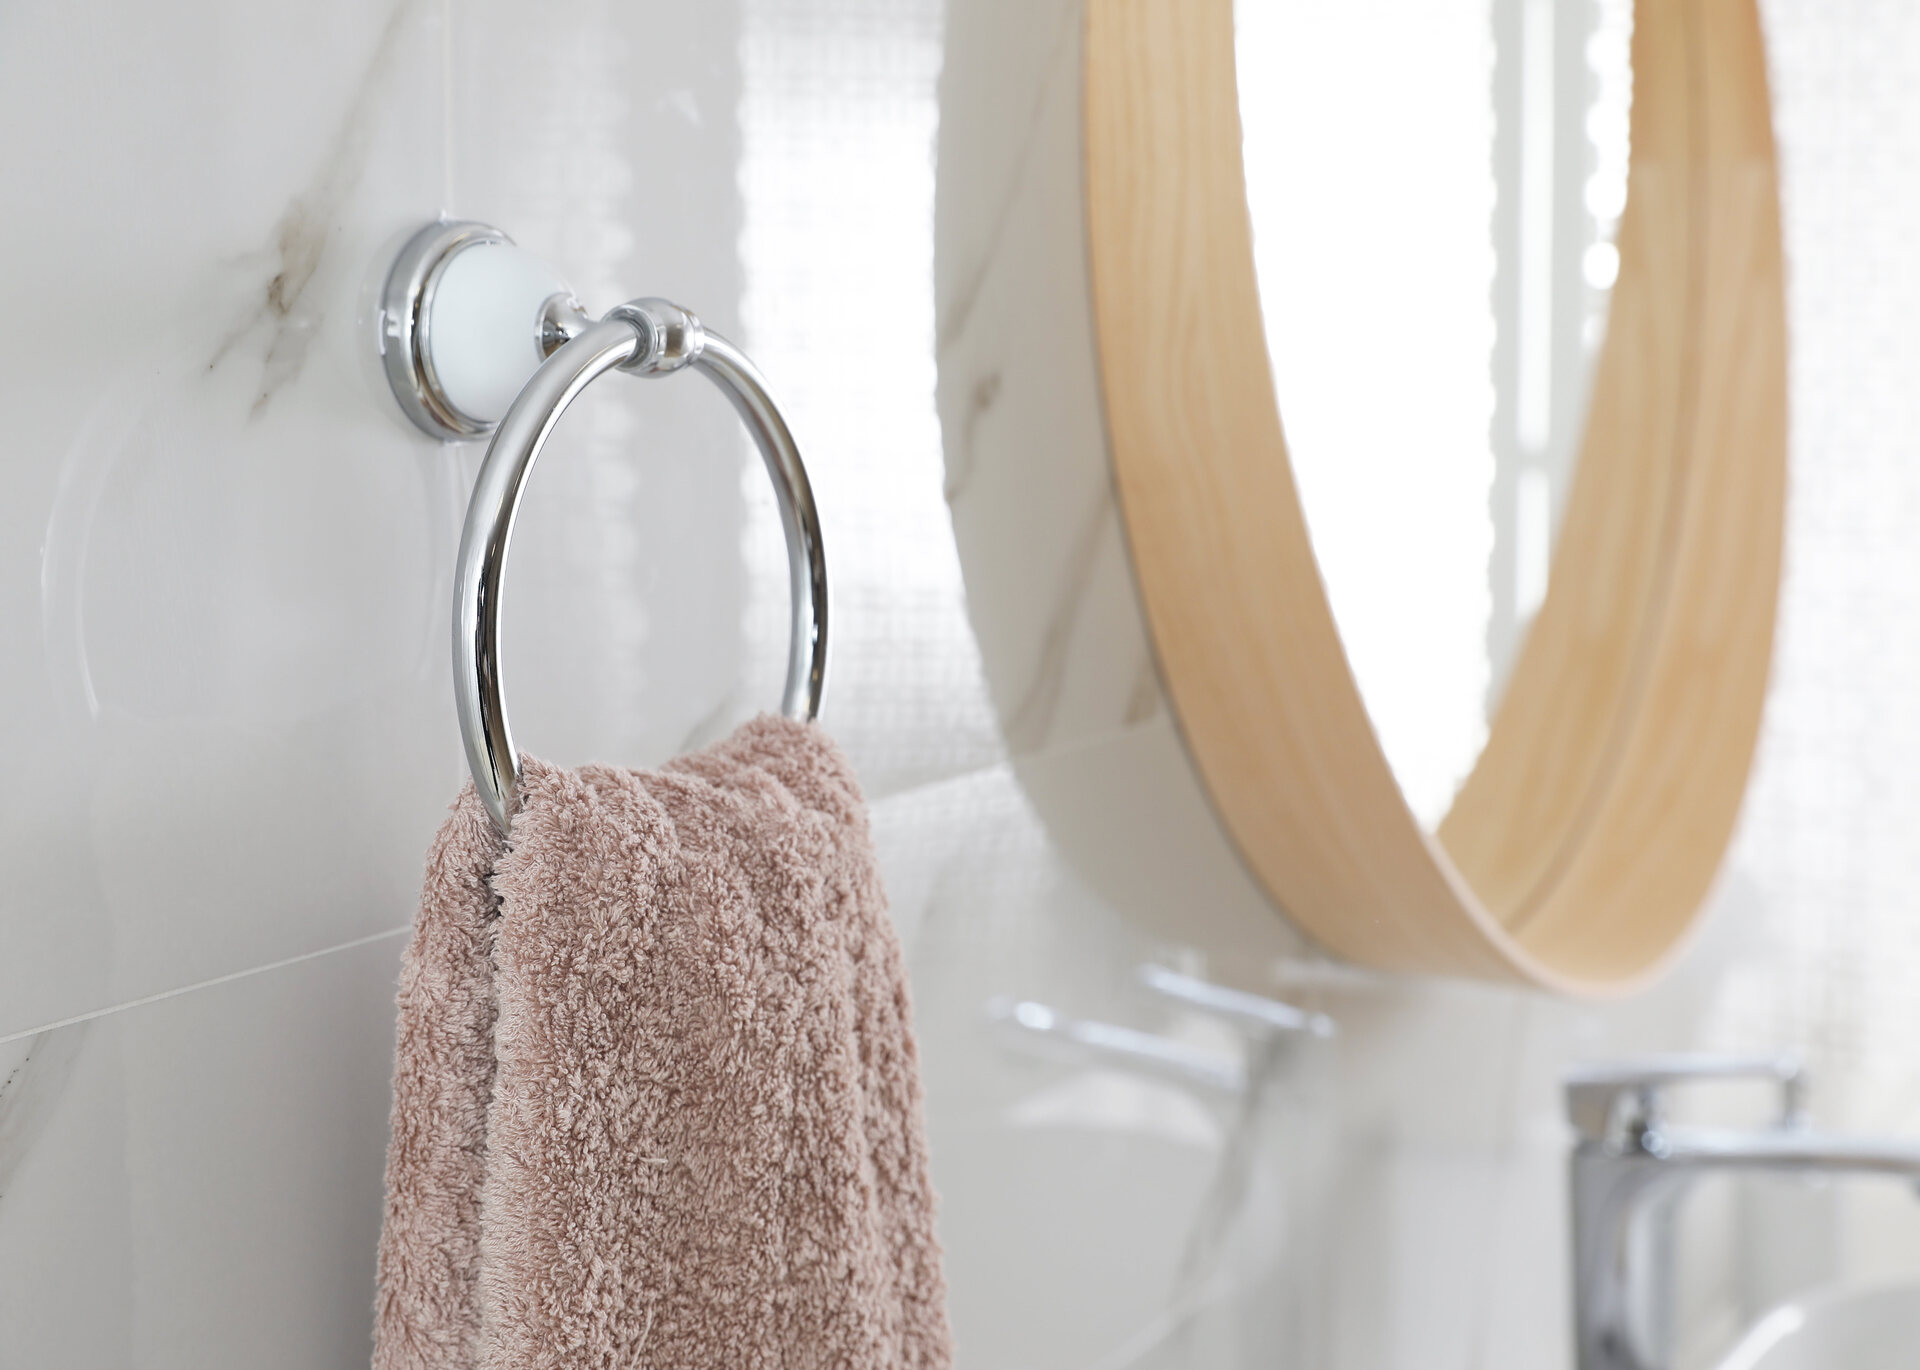
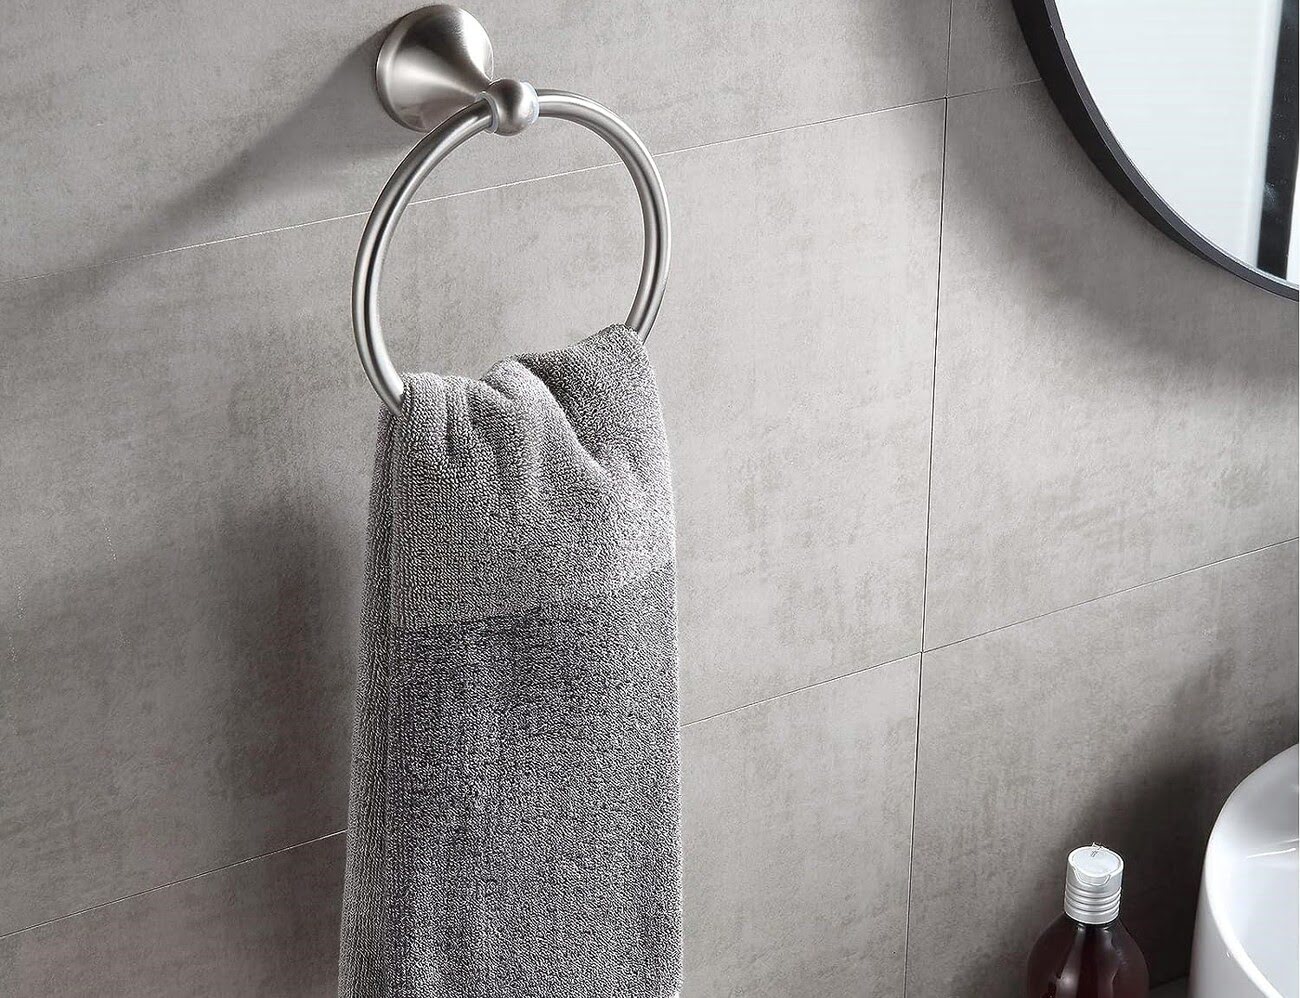
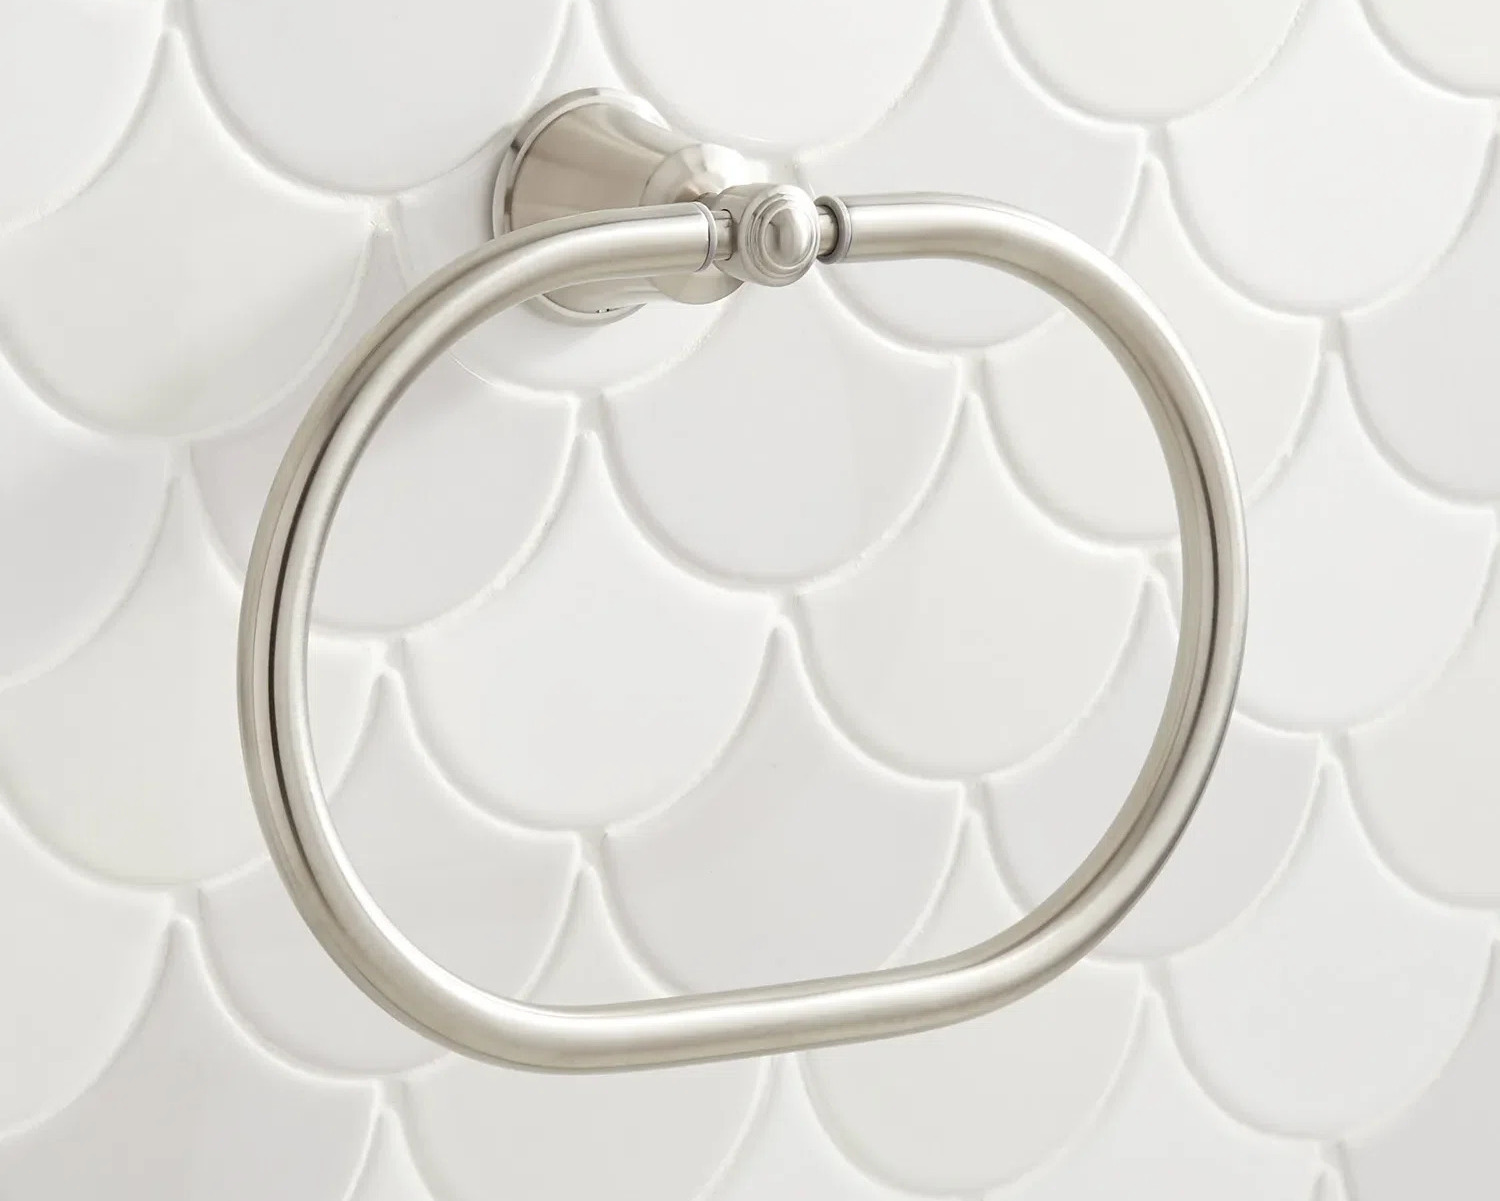
Welcome to our step-by-step guide on how to install a bathroom towel ring. Having a towel ring in your bathroom can not only add convenience, but it also adds a touch of style and elegance to the space. Whether you’re updating your bathroom’s decor or simply need a functional towel holder, installing a towel ring is a simple yet rewarding DIY project. In this guide, we’ll walk you through the process of installing a bathroom towel ring, from gathering the necessary tools and materials to securing the towel ring to the wall.
The installation process may vary slightly depending on the type of towel ring you choose, so be sure to consult the manufacturer’s instructions before you begin. However, the basic steps we’ll outline here can be applied to most towel ring installations. So, let’s get started!
Key Takeaways:
- Installing a bathroom towel ring is a simple DIY project that adds both convenience and style to your space. By following the step-by-step guide and ensuring stability, you can enjoy a functional and elegant towel-hanging solution in your bathroom.
- Choosing the right location, gathering the necessary tools, and testing the stability are crucial steps in the installation process. With proper maintenance, your towel ring will continue to serve its purpose for years to come, enhancing the functionality and aesthetics of your bathroom.
Read more: How To Install Franklin Brass Towel Ring
Step 1: Gather necessary tools and materials
Before you begin the installation process, make sure you have all the necessary tools and materials on hand. Here’s a list of what you’ll need:
- Tape measure
- Pencil
- Drill
- Drill bits
- Screwdriver
- Level
- Molly bolts or wall anchors (if needed)
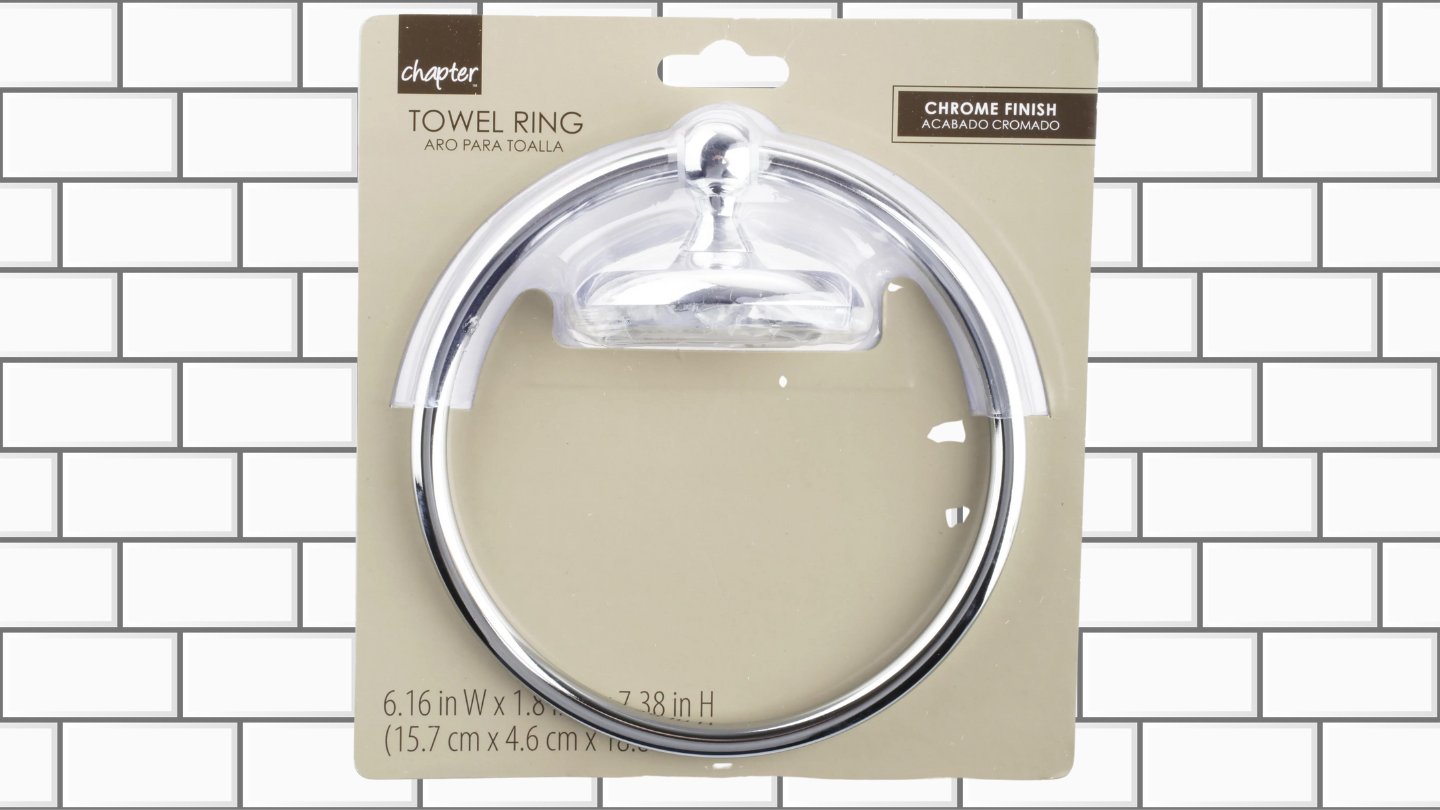
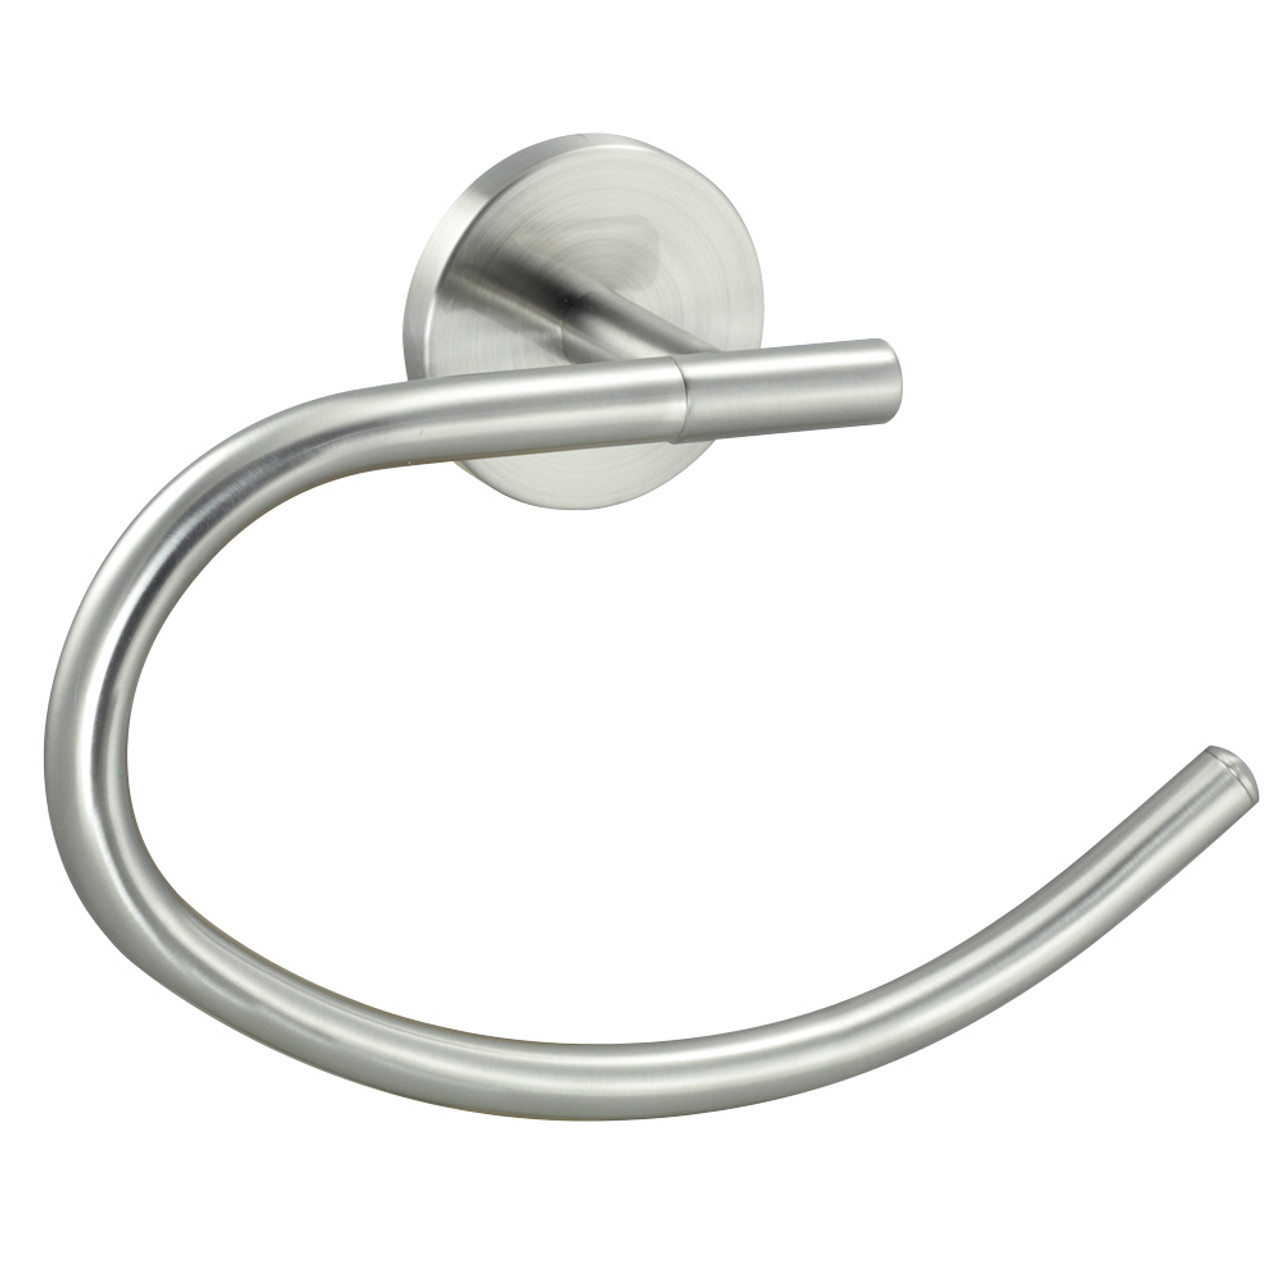
- Towel ring and mounting hardware
Having these tools ready will ensure a smooth and efficient installation process.
Step 2: Choose the right location for your towel ring
The next step is to determine the ideal location for your towel ring. Consider the height and proximity to other fixtures in your bathroom, ensuring it is easily accessible and convenient to reach. Generally, towel rings are installed near the sink or vanity, close enough to reach comfortably without being in the way of any other bathroom fixtures.
Key Takeaways:
- Installing a bathroom towel ring is a simple DIY project that adds both convenience and style to your space. By following the step-by-step guide and ensuring stability, you can enjoy a functional and elegant towel-hanging solution in your bathroom.
- Choosing the right location, gathering the necessary tools, and testing the stability are crucial steps in the installation process. With proper maintenance, your towel ring will continue to serve its purpose for years to come, enhancing the functionality and aesthetics of your bathroom.
Read more: How To Install Franklin Brass Towel Ring
Step 1: Gather necessary tools and materials
To ensure a successful installation, it’s essential to gather all the necessary tools and materials beforehand. Here’s a list of what you’ll need:
- Tape Measure: Before you begin the installation process, it’s important to measure the space where you intend to install the towel ring. This will help you determine the appropriate location and ensure that the towel ring fits perfectly.
- Pencil: A pencil will come in handy for marking the mounting holes on the wall. This step ensures accurate placement of the towel ring.
- Drill: A drill is necessary for creating pilot holes in the wall to securely attach the mounting bracket and towel ring.
- Drill Bits: Make sure to have the appropriate drill bits for your specific mounting hardware. Different materials may require different drill bit sizes.
- Screwdriver: You’ll need a screwdriver to tighten the screws and bolts during the installation process.
- Level: To ensure that your towel ring is installed straight, a level is essential. This tool helps you achieve a professional and cohesive look.
- Molly Bolts or Wall Anchors: Depending on your wall’s surface and the weight of the towel ring, you may need to use molly bolts or wall anchors to provide additional support and stability.
- Towel Ring and Mounting Hardware: Of course, you’ll need the towel ring itself and the necessary mounting hardware that usually comes with it. Double-check to ensure that all the required parts are included.
Having all the necessary tools and materials ready before beginning the installation process will save you time and frustration. It’s always better to be prepared and have everything you need within arm’s reach.
Now that you have everything you need, you’re ready to move on to the next step: choosing the right location for your towel ring.
Step 2: Choose the right location for your towel ring
Choosing the right location for your towel ring is crucial to ensure convenience and functionality. Here are some key factors to consider when determining the placement:
- Height: The height at which you install your towel ring is important. It should be easily accessible for both adults and children. A good rule of thumb is to place it at a height where you can comfortably reach the towel without straining.
- Proximity to fixtures: Consider the placement of other fixtures in your bathroom, such as the sink, shower, or bathtub. Install the towel ring within a reasonable distance from these fixtures so that you can conveniently grab a towel after using them.
- Aesthetics: Think about the overall design and aesthetics of your bathroom. The towel ring should complement the style and decor of the space. Take into account the material, color, and finish of the towel ring to ensure it harmonizes with the existing elements in the room.
- Wall space: Assess the available wall space and choose a location that provides enough room for the towel ring. Avoid placing it too close to other objects, such as light switches or outlets, to ensure easy access and prevent any obstructions.
Once you’ve taken these factors into consideration, use a tape measure and pencil to mark the desired location on the wall. Double-check the positioning to ensure it aligns with your preferences and meets the criteria mentioned above.
Remember, the location you choose will play a significant role in the functionality and overall appearance of your towel ring, so take your time and make an informed decision.
Now that you’ve chosen the right location, it’s time to move on to the next step: marking the mounting holes on the wall.
Read more: What Is A Towel Ring
Step 3: Mark the mounting holes on the wall
Now that you have chosen the ideal location for your towel ring, it’s time to mark the mounting holes on the wall. Follow these steps:
- Hold the mounting bracket: Take the mounting bracket that came with your towel ring and position it against the wall at the chosen location. Ensure that it is level and aligned with your markings.
- Mark the hole positions: With the bracket held securely against the wall, use a pencil to mark the centers of the mounting holes on the wall. These marks will serve as your drilling guide.
- Double-check the alignment: Before proceeding, double-check the alignment of the bracket and the accuracy of your markings. Use a level to ensure the bracket is straight and properly aligned.
Take your time during this step to ensure accuracy. Well-marked holes will make the drilling process easier and more precise. It’s important to have the bracket level and properly aligned to ensure the towel ring sits straight once it is installed.
Pro tip: If your towel ring requires multiple mounting holes, you may want to use a template provided by the manufacturer. These templates make it easier to mark the hole positions accurately.
Once you have successfully marked the mounting hole positions, you’re ready to move on to the next step: drilling pilot holes for the mounting screws.
When installing a bathroom towel ring, make sure to use a level to ensure it is straight. Use a stud finder to locate a stud for secure mounting, or use wall anchors for drywall. Always follow the manufacturer’s instructions for the specific towel ring you are installing.
Step 4: Drill pilot holes for the mounting screws
Now that you have marked the mounting hole positions on the wall, it’s time to drill pilot holes. Pilot holes are essential for providing a guide for the screws and ensuring a secure and stable installation. Follow these steps:
- Choose the appropriate drill bit: Select a drill bit that matches the size of the screws provided with your towel ring. It should be slightly smaller in diameter to create a snug fit for the screws.
- Attach the drill bit to your drill: Insert the drill bit into your drill and securely tighten it in place. Make sure it is straight and aligned with the drill’s chuck.
- Drill the pilot holes: Position the drill bit over each marked hole on the wall. Apply gentle pressure and start drilling slowly. Keep the drill perpendicular to the wall for accurate pilot hole creation. Continue drilling until the depth is suitable for your screws.
- Remove any debris: After drilling the pilot holes, use a brush or cloth to remove any debris or dust from the holes. This will ensure a clean and secure fit for the mounting screws.
Remember to take caution and use protective eyewear when drilling. Take your time and proceed slowly to avoid damaging the wall or creating larger holes than necessary.
Once you have drilled the pilot holes, you’re ready to move on to the next step: installing wall anchors (if needed).
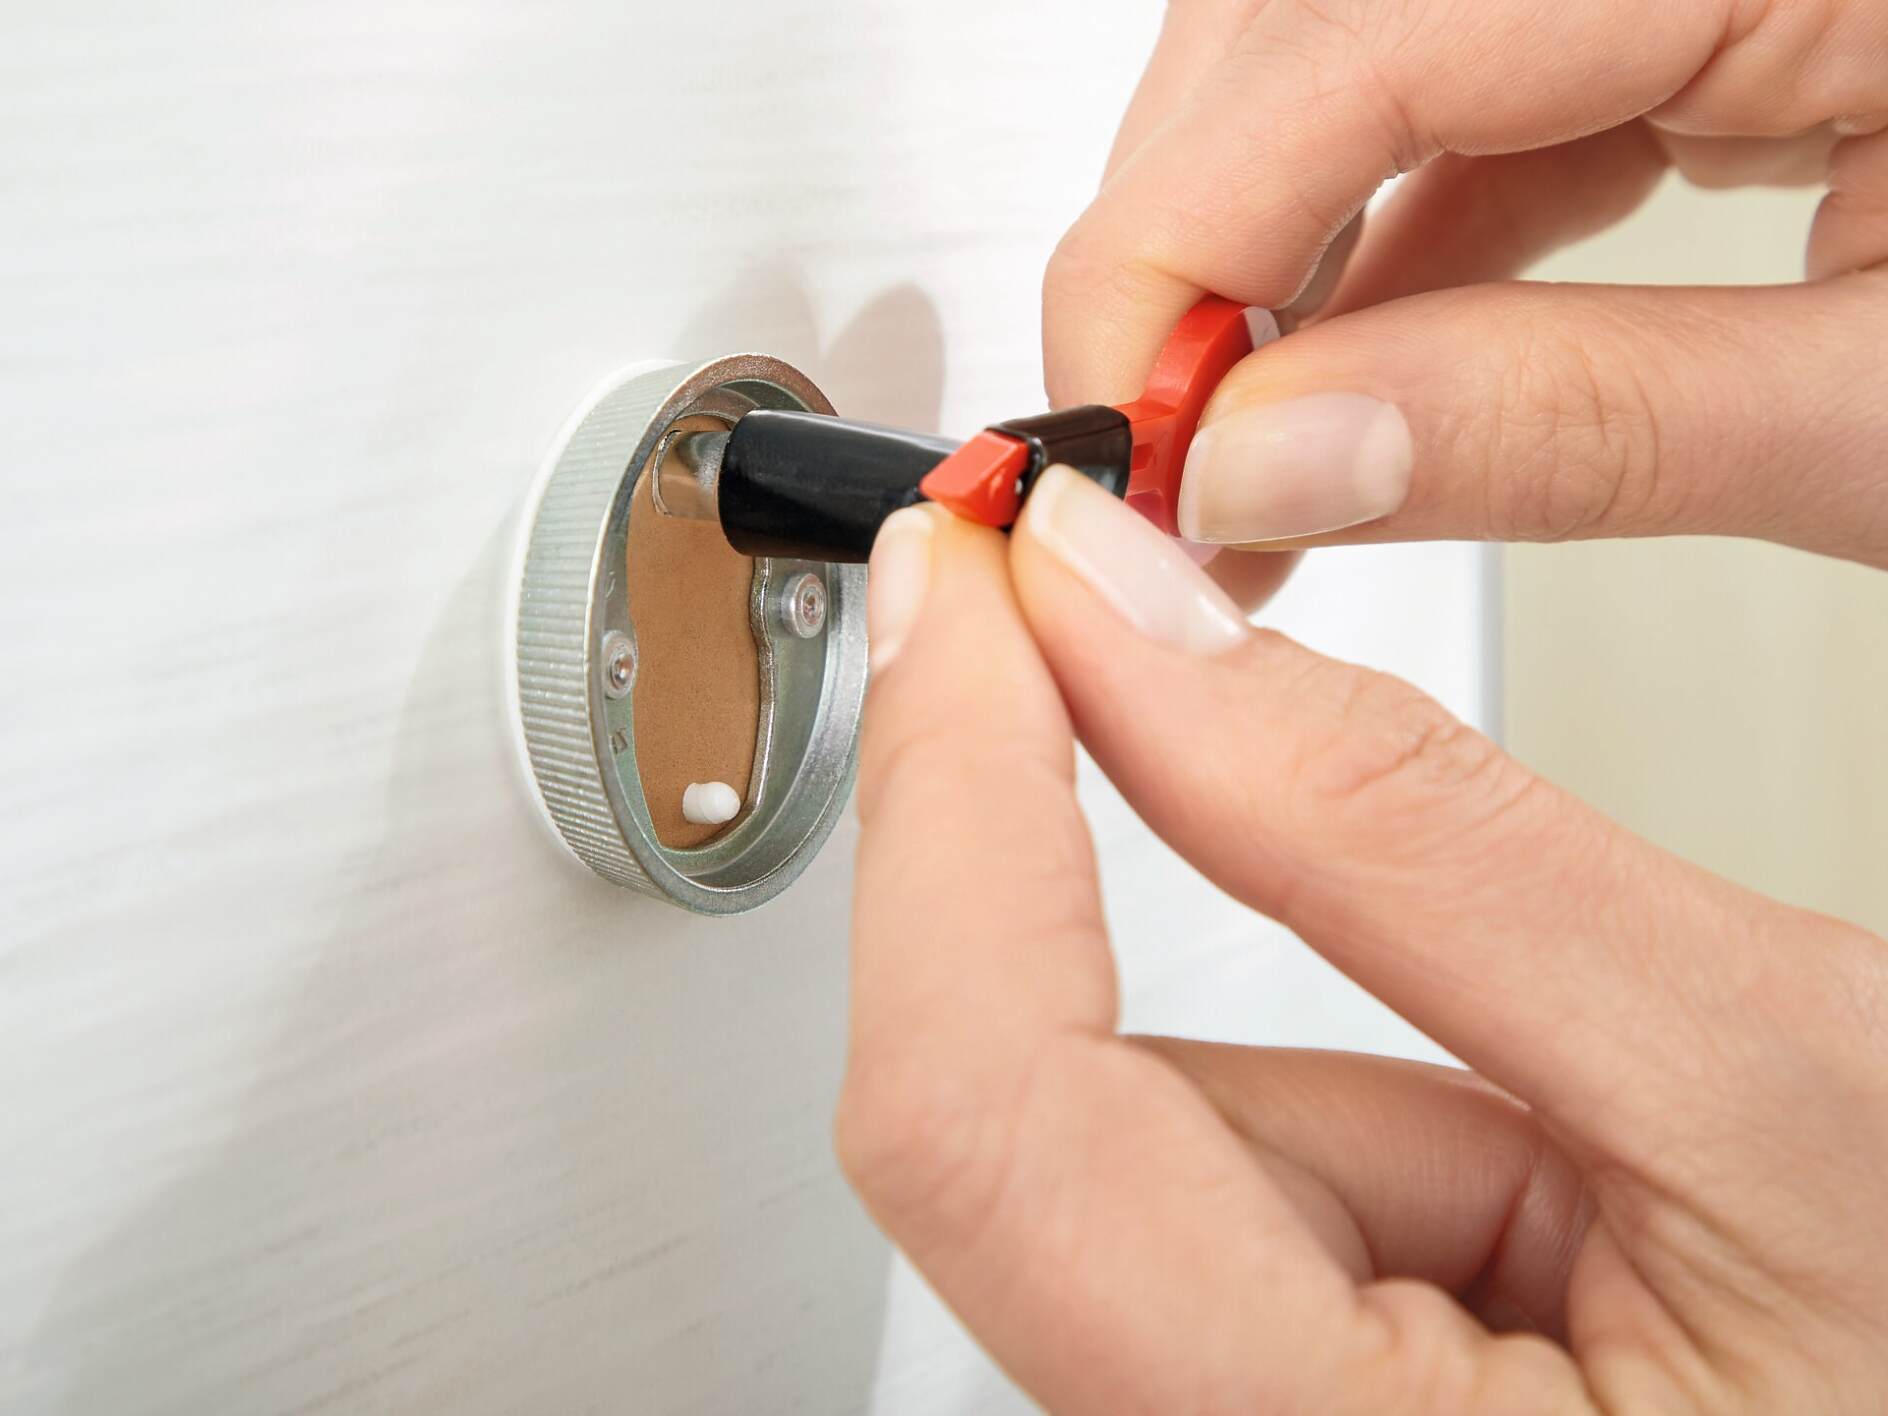
Step 5: Install the wall anchors (if needed)
Depending on the type of wall you have and the weight of your towel ring, you may need to install wall anchors to provide additional support and stability. Wall anchors are especially useful if you have drywall or plaster walls that may not be able to support the weight of the towel ring on their own. Follow these steps to install wall anchors:
- Choose the appropriate wall anchors: Select wall anchors that are suitable for your wall and the weight of the towel ring. Plastic anchors are commonly used for lighter objects, while metal or toggle anchors are more suitable for heavier towel rings.
- Match the anchor size to the drill hole: Ensure that the size of the wall anchor matches the size of the pilot hole you drilled in the previous step. The anchor should fit securely into the hole without being too loose or too tight.
- Insert the wall anchors: Gently tap the wall anchor into the pilot hole using a hammer until it is flush with the wall surface. Be careful not to damage the anchor while installing it.
- Check the stability: Give the wall anchor a gentle tug to ensure it is secure and stable. If it feels loose, you may need to remove it and try a larger-sized anchor or use a different type of anchor for better support.
Installing wall anchors provides added support and prevents the towel ring from coming loose or falling off the wall. They distribute the weight of the towel ring evenly, reducing the risk of damage to the wall and ensuring a long-lasting installation.
Note: If you have solid walls made of materials such as wood or concrete, you may not need wall anchors. In such cases, you can proceed to the next step: attaching the mounting bracket to the wall.
Step 6: Attach the mounting bracket to the wall
Now that you have drilled the pilot holes and installed the wall anchors (if needed), it’s time to attach the mounting bracket to the wall. The mounting bracket serves as the anchor point for your towel ring. Follow these steps:
- Align the bracket: Place the mounting bracket over the drilled holes, ensuring that it lines up perfectly with the holes and the marks you made on the wall.
- Insert the screws: Take the screws provided with your towel ring and insert them through the holes in the mounting bracket. Begin by inserting them partially to hold the bracket in place.
- Tighten the screws: Using a screwdriver, tighten the screws into the wall anchors or directly into the pilot holes. Make sure to tighten them securely, but be cautious not to over-tighten and damage the screws or the bracket.
- Check for stability: Once the screws are tightened, give the bracket a gentle wiggle to ensure it is firmly attached and stable on the wall. If there is any wobbling or instability, recheck the alignment and tighten the screws further.
Attaching the mounting bracket properly is crucial for the stability and functionality of your towel ring. Make sure the bracket is level and straight before tightening the screws. Taking the time to ensure a secure attachment will prevent any issues with the towel ring coming loose or falling off the wall.
With the mounting bracket securely attached, you’re ready to move on to the next step: securing the towel ring to the mounting bracket.
Read more: How To Install Towel Ring On A Cabinet
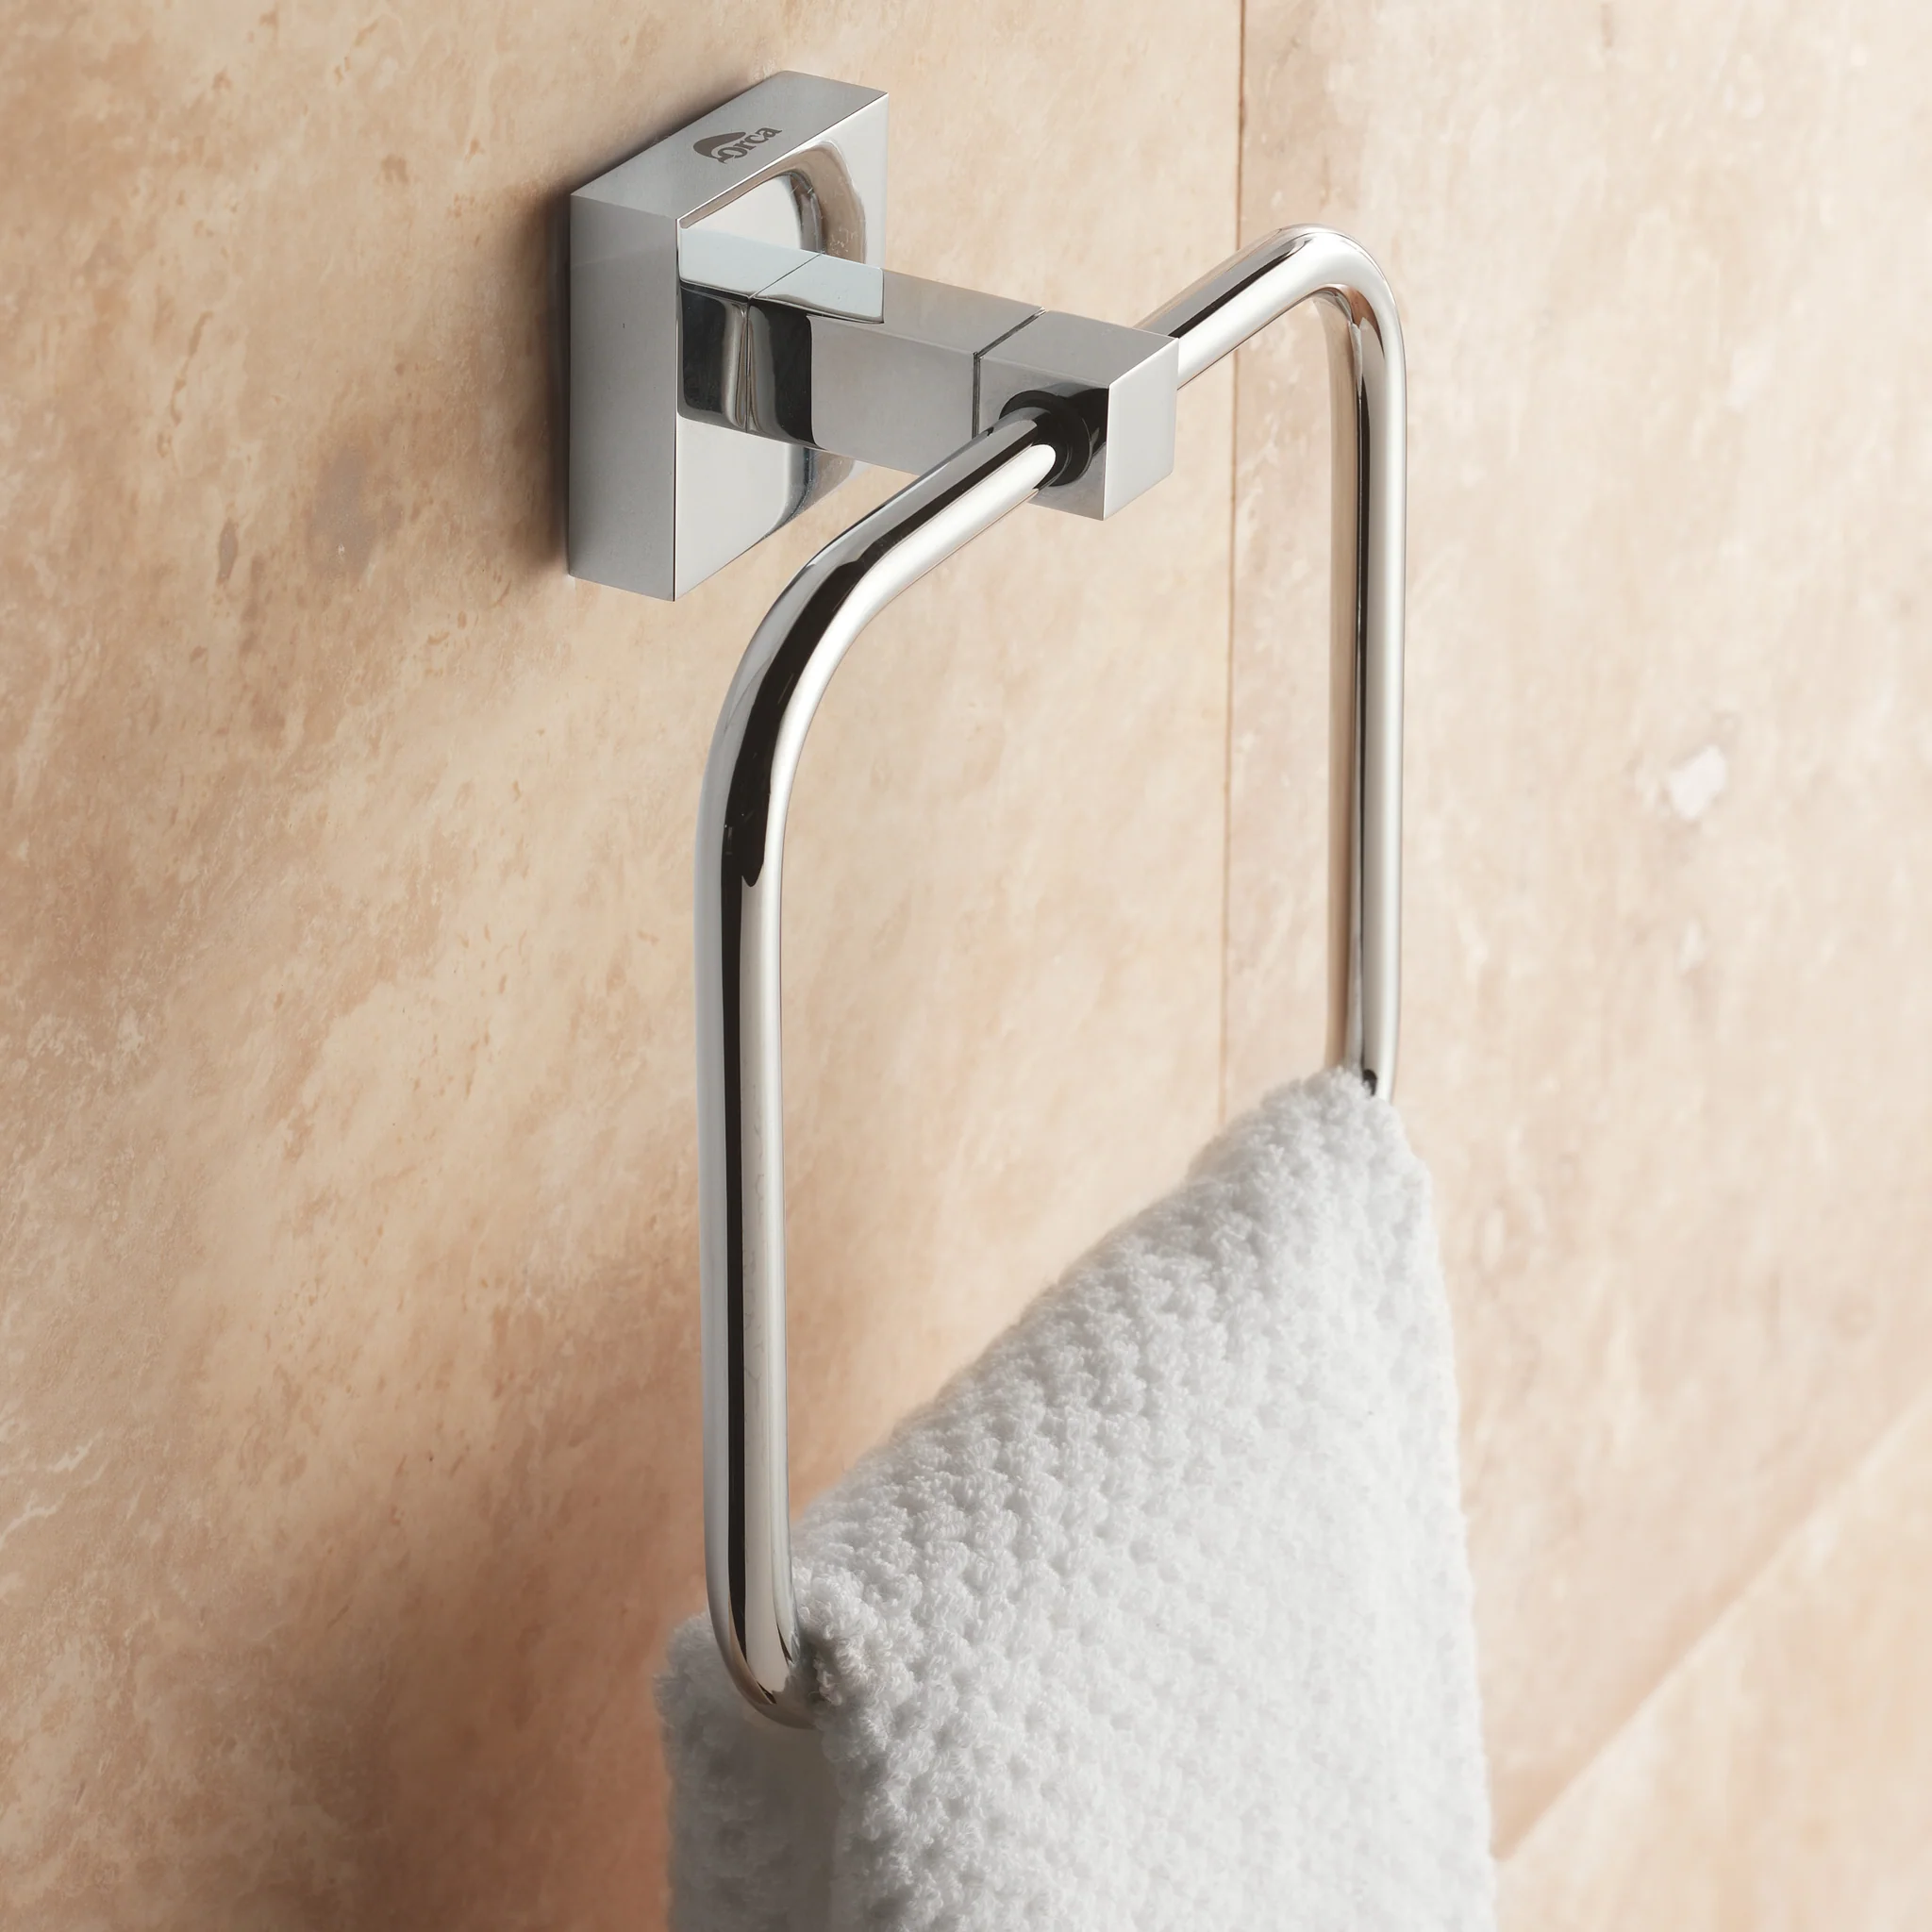
Step 7: Secure the towel ring to the mounting bracket
Now that you have successfully attached the mounting bracket to the wall, it’s time to secure the towel ring to the bracket. Follow these steps to complete the installation:
- Prepare the towel ring: Take your towel ring and ensure that all necessary hardware, such as screws or clips, are ready and accessible.
- Align the towel ring: Position the towel ring over the mounting bracket, aligning the holes on the ring with the screws or clips on the bracket.
- Attach the towel ring: Insert the screws or engage the clips to secure the towel ring to the mounting bracket. Use a screwdriver or the appropriate tool to tighten the screws or secure the clips in place. Take care not to overtighten, as it can damage the towel ring or the bracket.
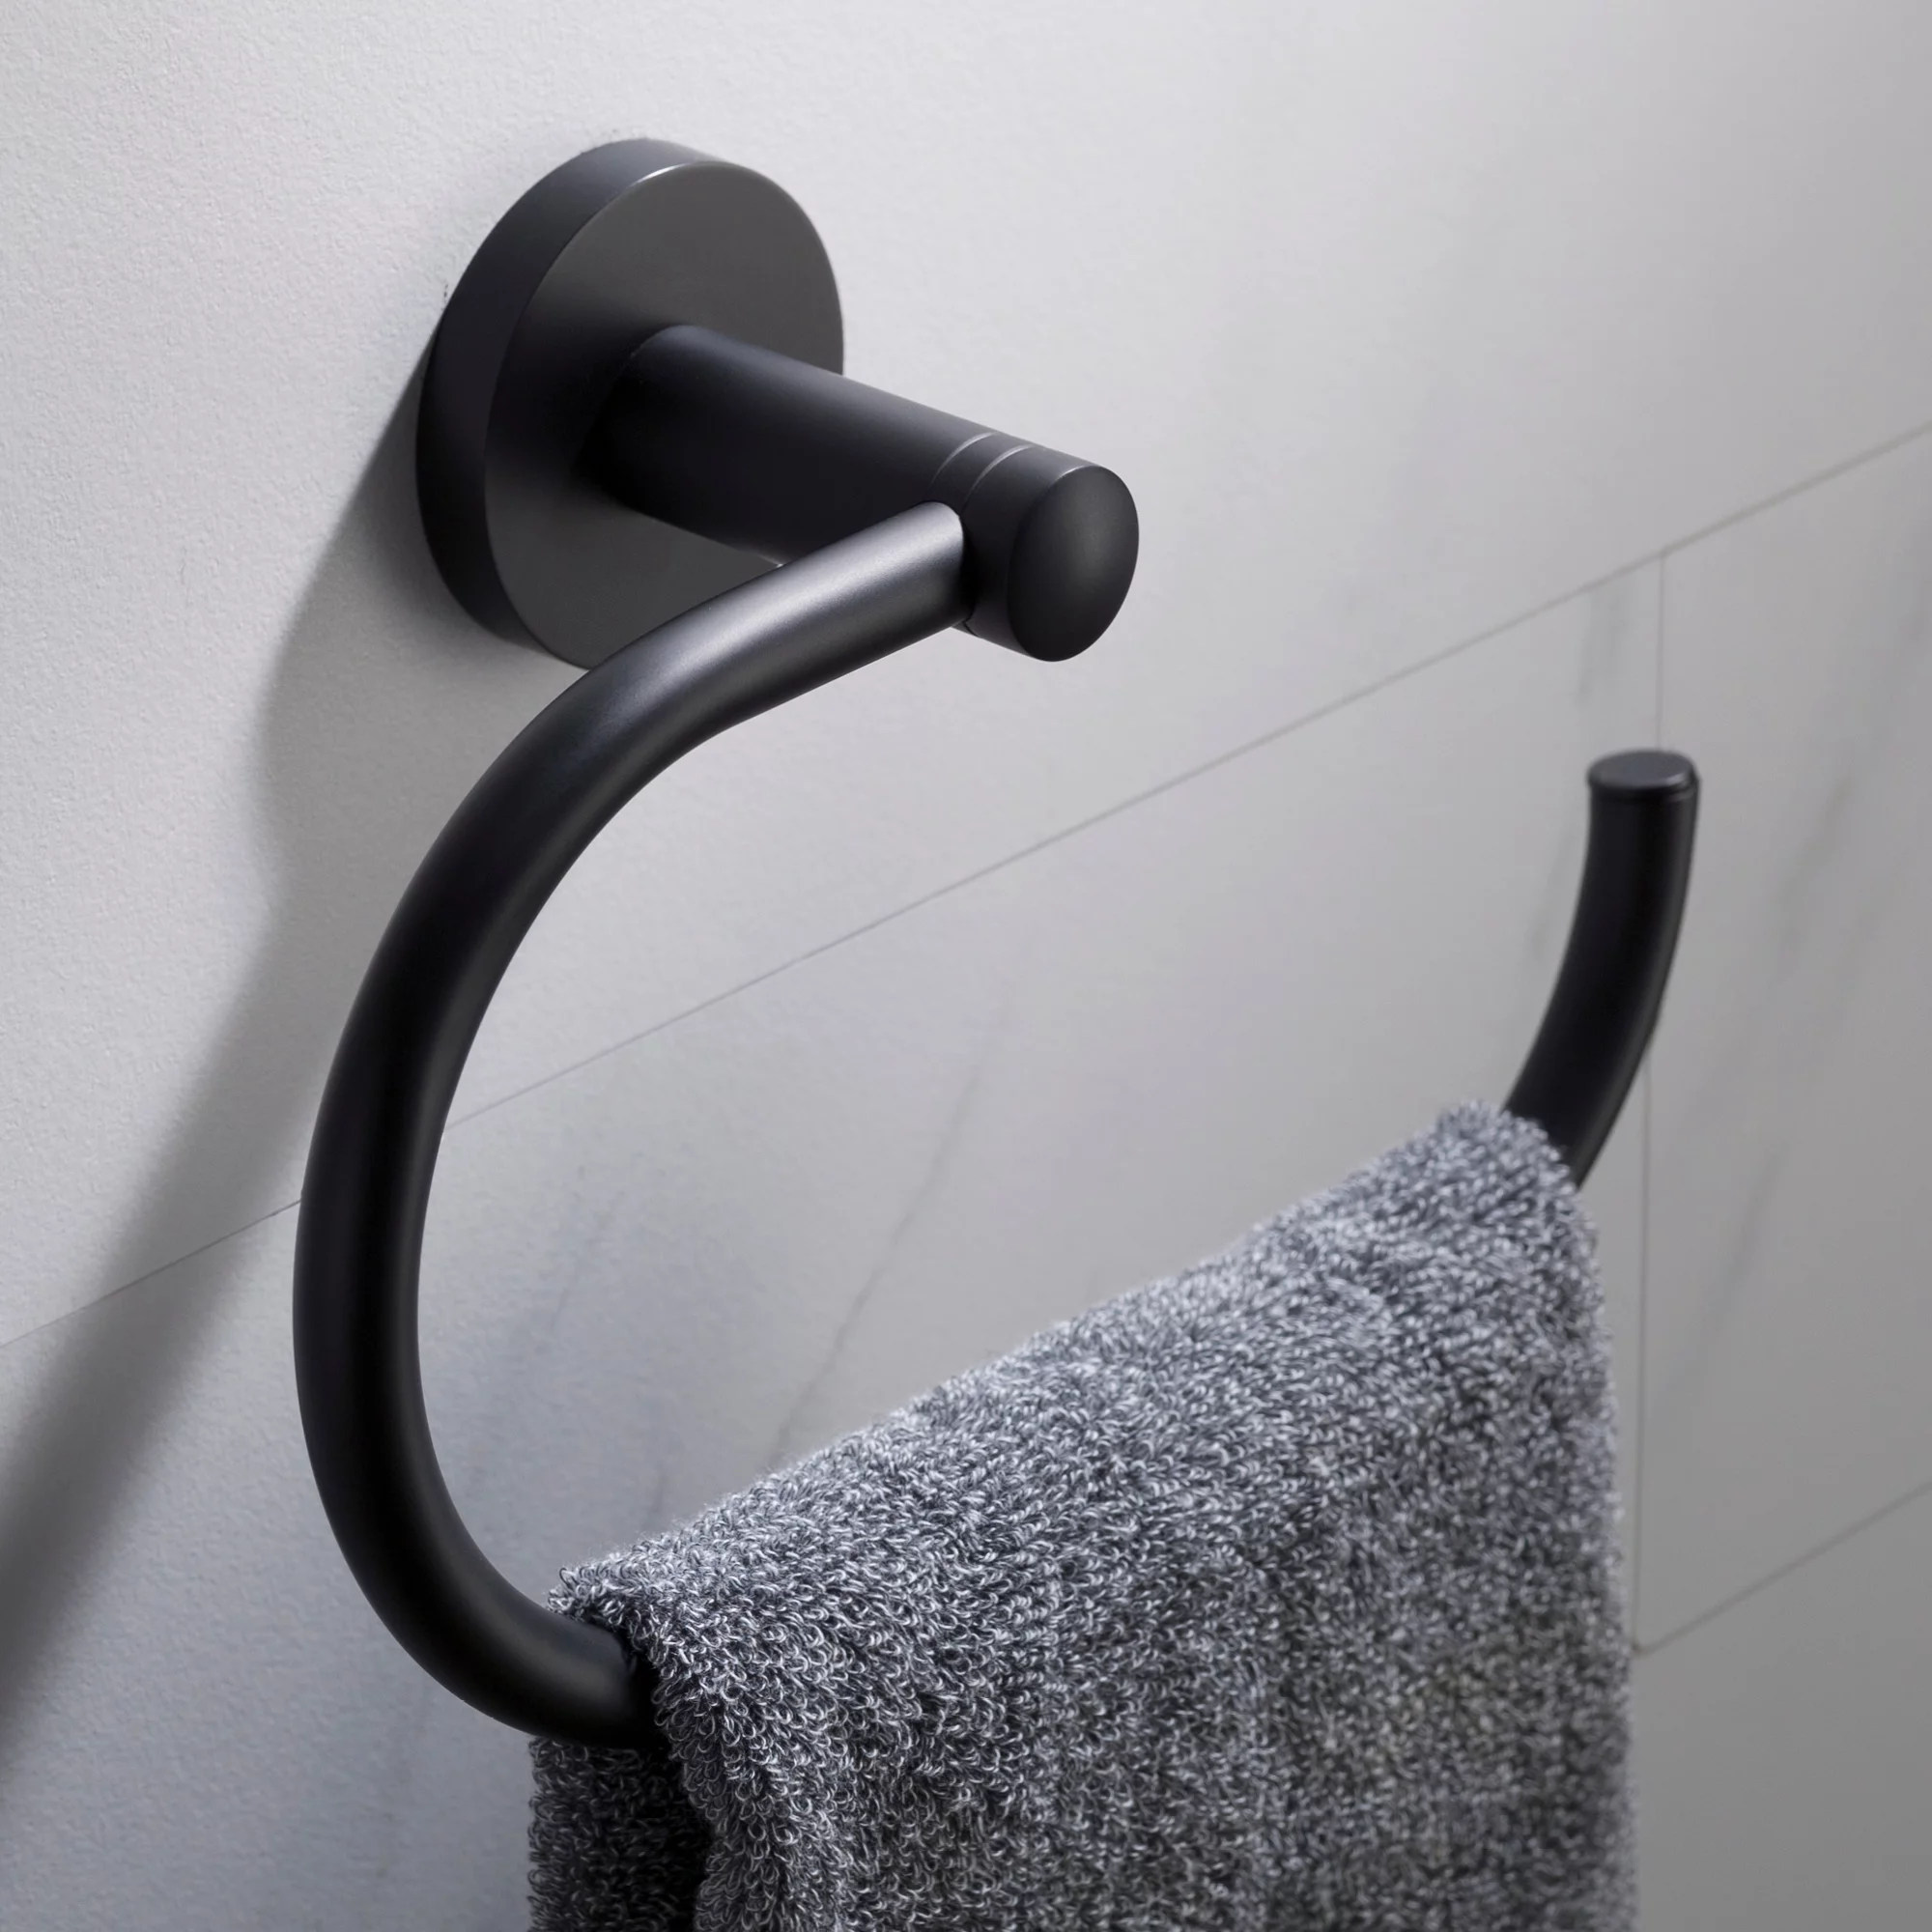
- Test the stability: Once the towel ring is attached, give it a gentle tug or shake to ensure that it is securely fastened to the mounting bracket. It should not wobble or feel loose. If there is any instability, recheck the attachment and tighten the screws or clips as needed.
Securing the towel ring to the mounting bracket is the final step in the installation process. Take your time to ensure a secure attachment, as a loose towel ring can be inconvenient and potentially lead to damage. By following these steps, you can confidently enjoy your newly installed towel ring.
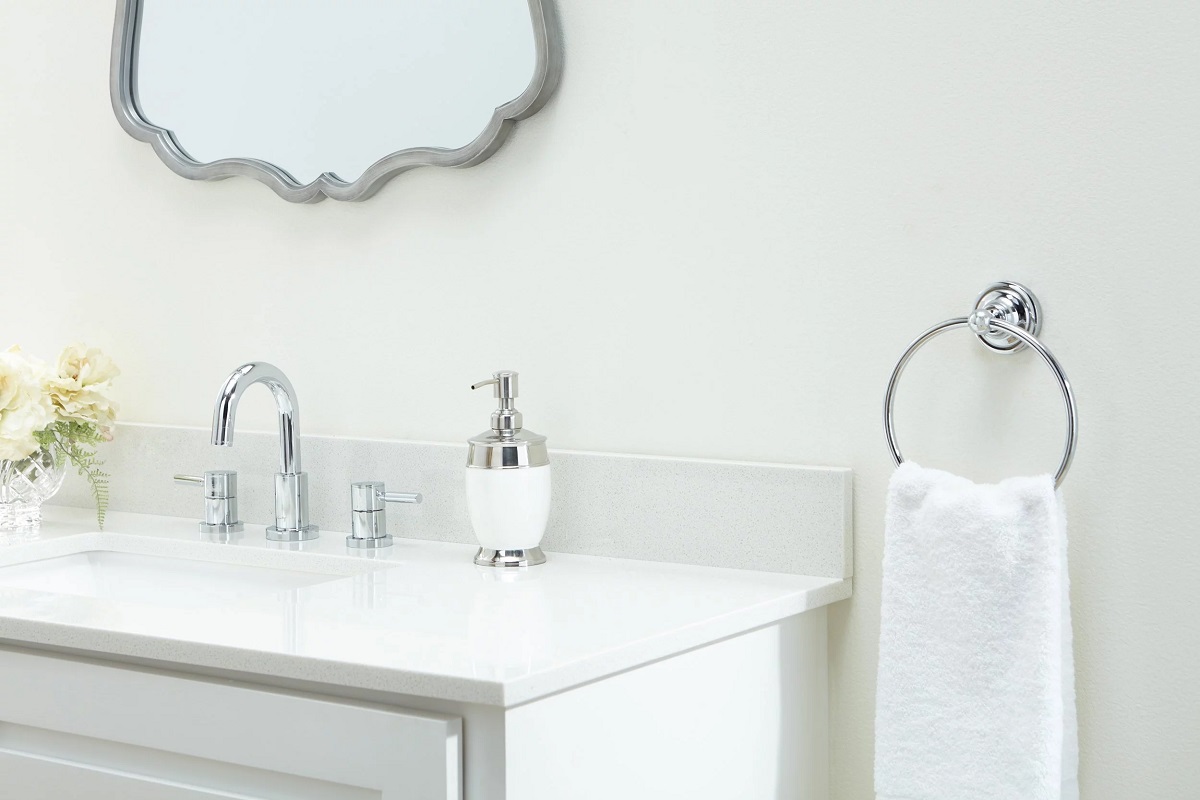
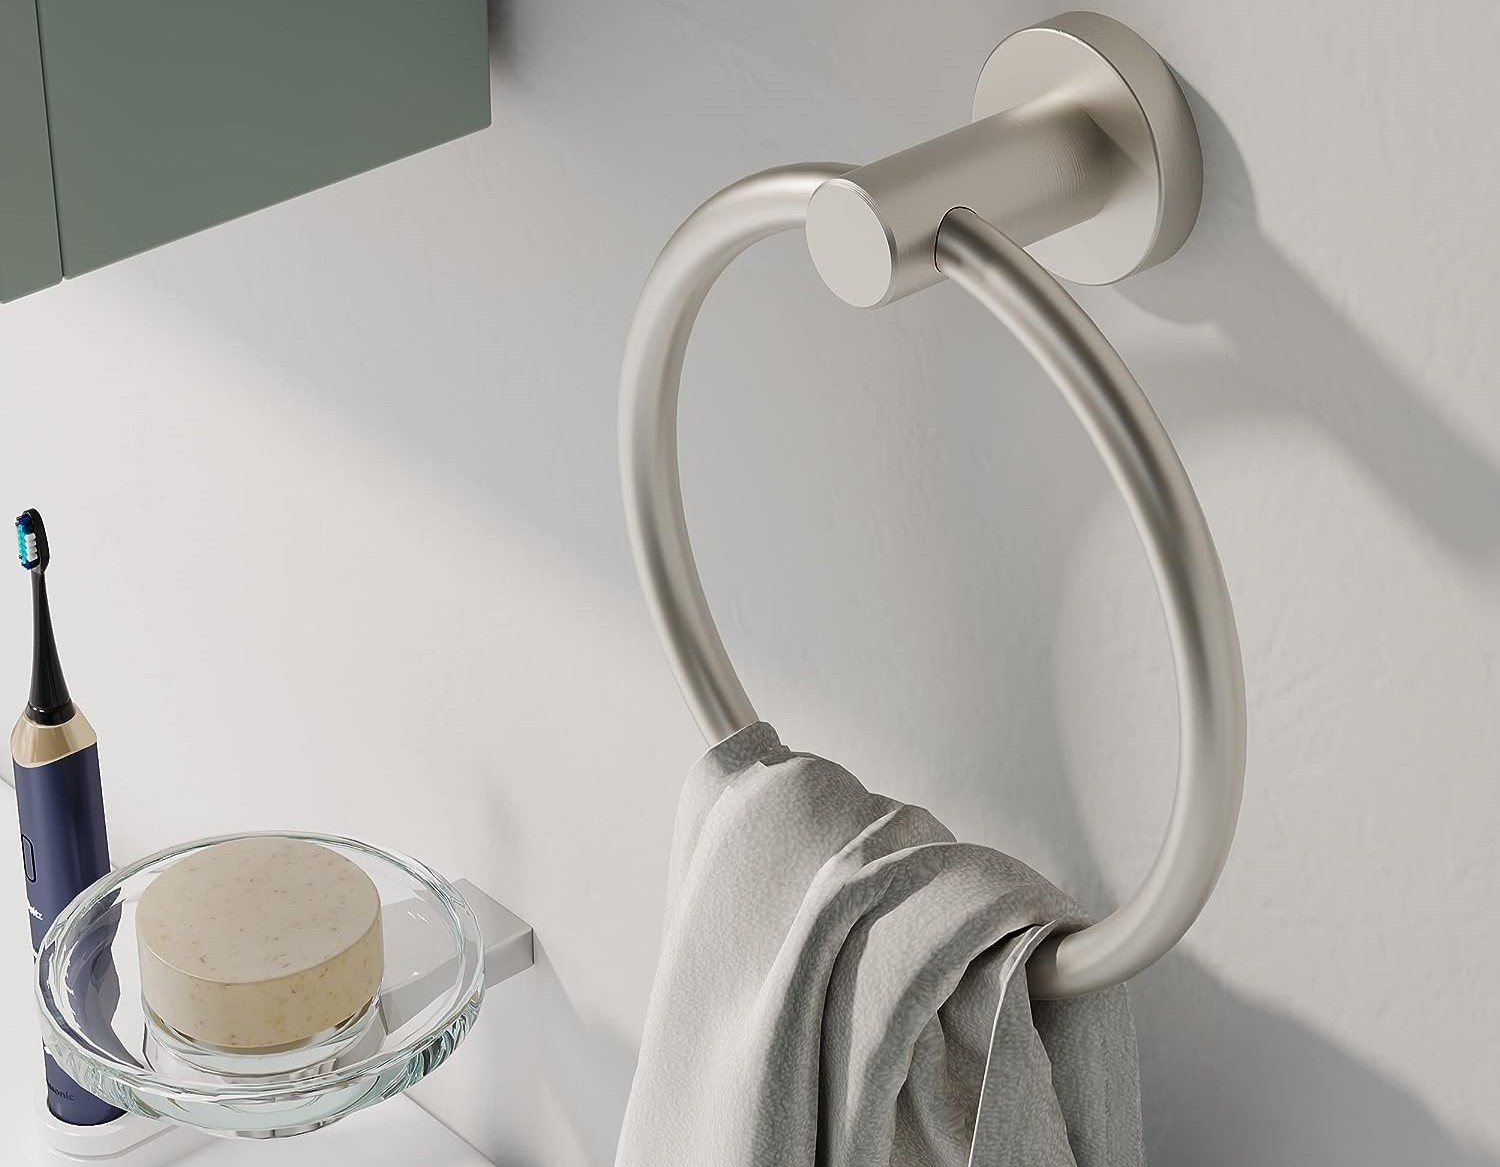
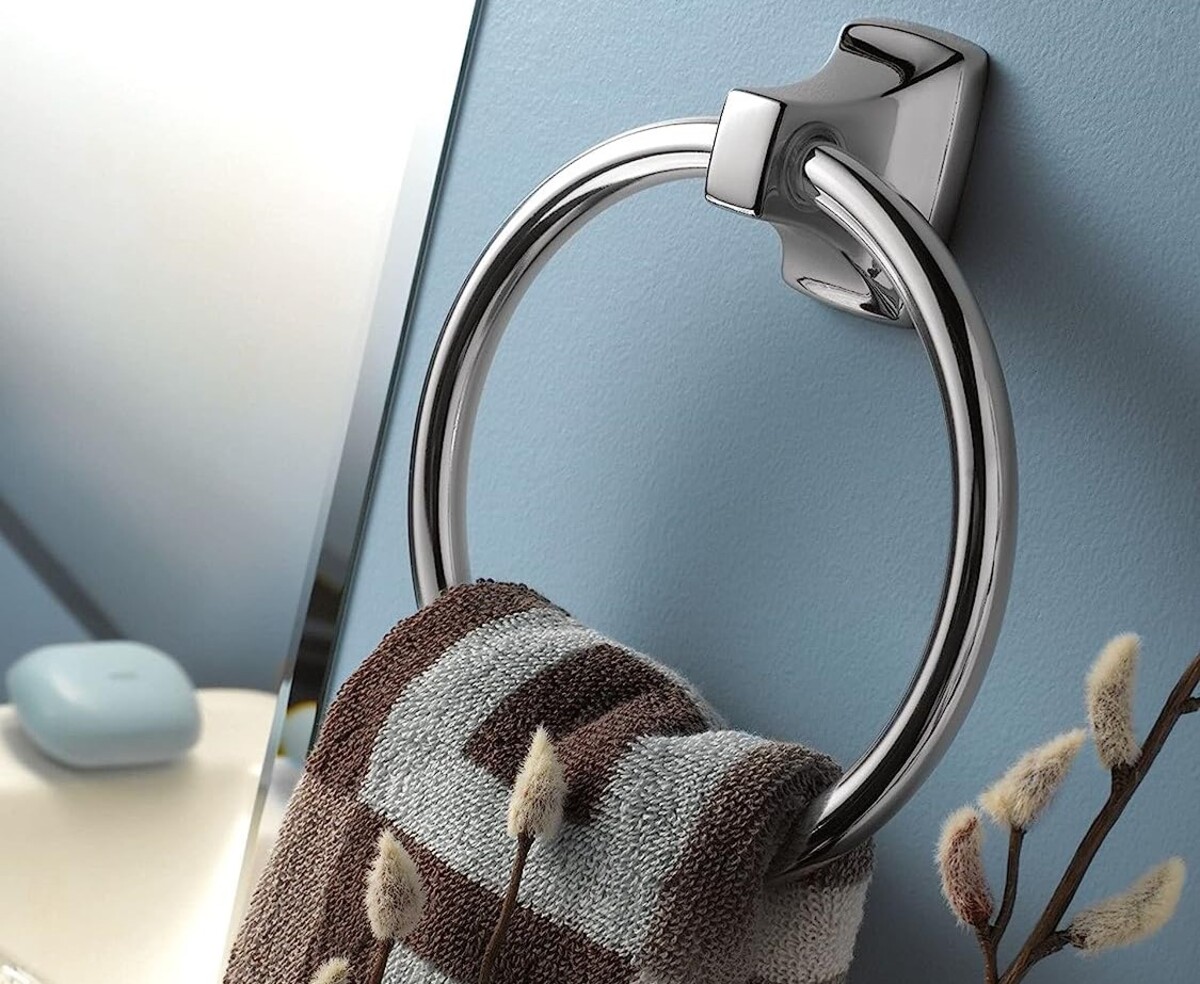
Congratulations! You have successfully installed your bathroom towel ring. Now you can hang your towels with convenience and add a stylish touch to your bathroom. Enjoy the functionality and aesthetics that a towel ring brings to your space!
In the final step, we will discuss how to test the stability of the towel ring and wrap up the installation process. Let’s move on to Step 8.
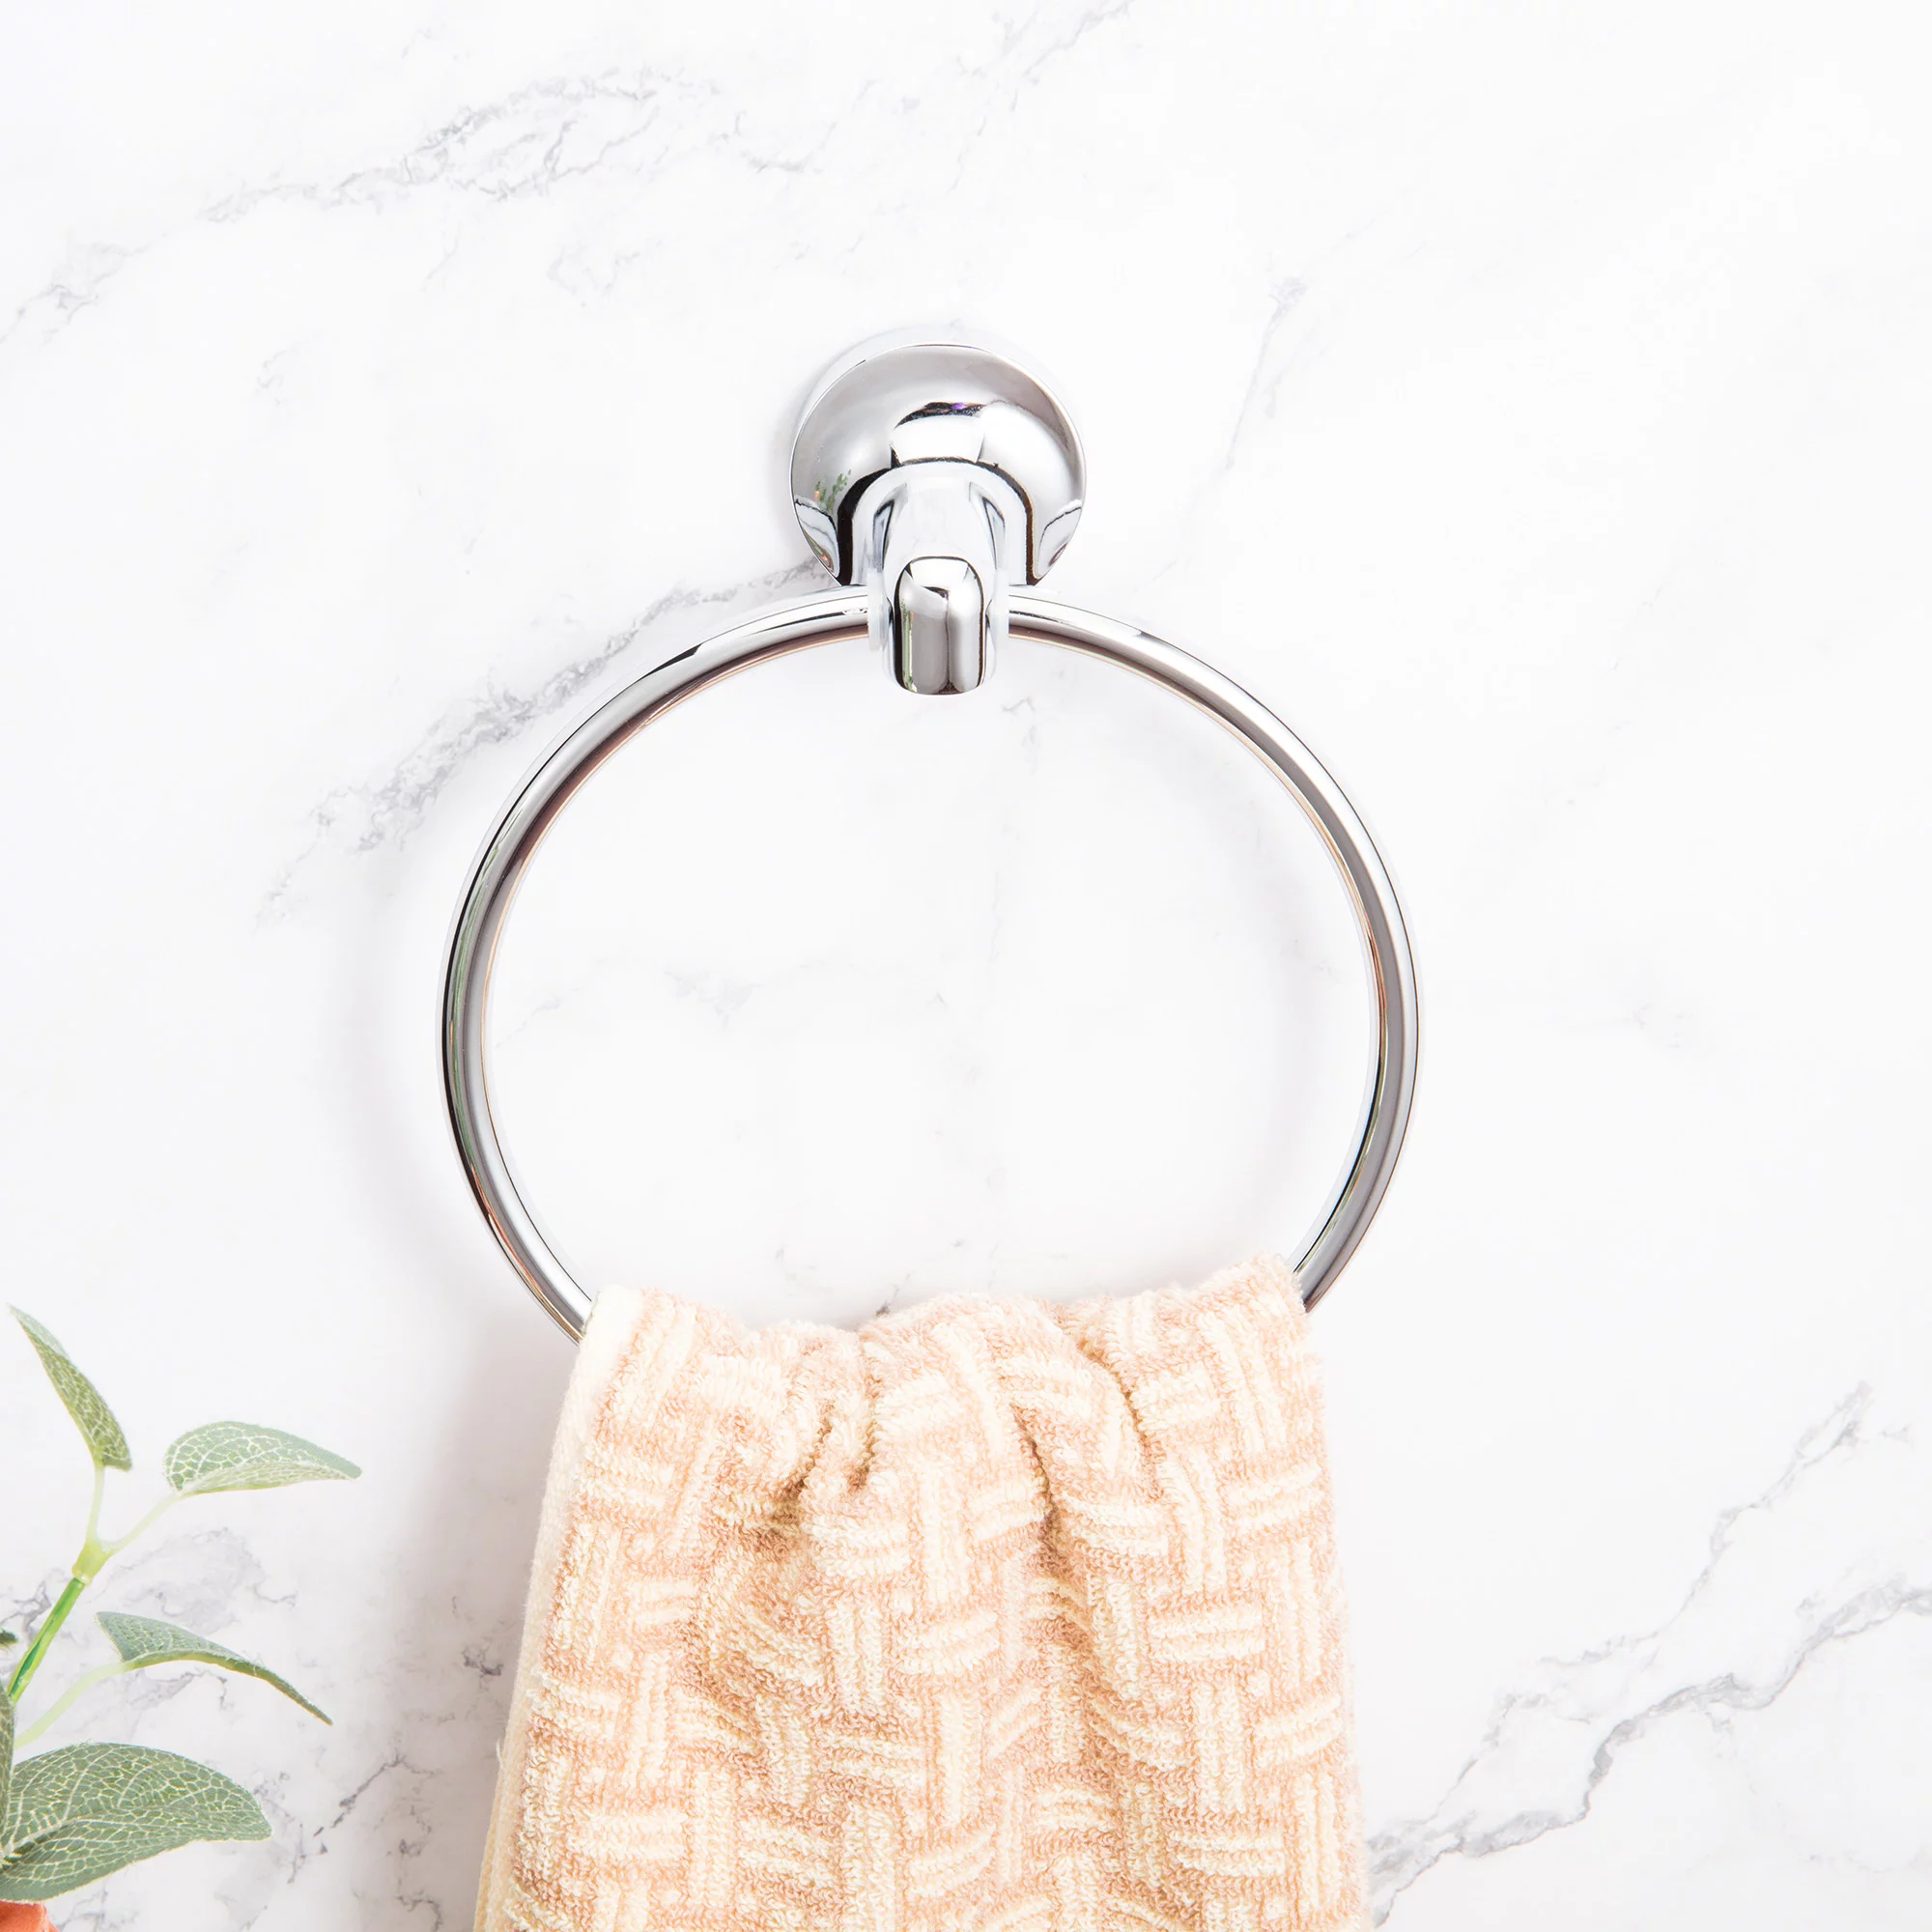
Step 8: Test the stability of the towel ring
After installing the towel ring, it’s important to test its stability to ensure it is securely attached to the wall. By following these steps, you can ensure the durability and long-lasting functionality of your towel ring:
- Give it a gentle tug: Apply a small amount of pressure and gently tug on the towel ring to test its stability. It should feel solid and not move or wobble excessively.
- Hang a towel: Hang a towel on the ring to assess its weight-bearing capacity. The towel ring should be able to support the weight of a towel without sagging or coming loose from the wall.
- Check for any signs of instability: While the towel is hanging, observe the towel ring closely for any signs of instability or loosening. If you notice any issues, it may indicate that the mounting bracket or the screws need to be tightened further.
- Periodic checks: Over time, it’s recommended to periodically check the stability of the towel ring. Pay attention to any signs of loosening, such as wobbling or movement. If you notice any issues, re-tighten the screws as necessary to maintain a secure installation.
By performing these stability tests, you can ensure the towel ring is securely installed and will withstand regular use without any issues. A stable towel ring not only enhances the functionality of your bathroom but also adds a touch of elegance to the space.
Congratulations! You have successfully installed and tested the stability of your bathroom towel ring. You can now enjoy the convenience of having towels easily accessible in your bathroom. Regularly check and maintain the towel ring to ensure its longevity and proper functioning.
If you have any further questions or concerns regarding the installation of your towel ring or any other home improvement projects, don’t hesitate to consult a professional or reach out to the manufacturer for assistance.
Happy towel hanging!
With Step 8 completed, you have successfully completed the installation process. You can now sit back and enjoy the benefits of having a stylish and functional towel ring in your bathroom.
Conclusion
Congratulations on successfully installing your bathroom towel ring! By following the step-by-step guide outlined in this article, you have added both convenience and style to your bathroom. Having a towel ring in your bathroom not only provides a designated spot for hanging towels but also adds a touch of elegance to the space.
Throughout the installation process, you learned how to gather the necessary tools and materials, choose the right location for your towel ring, mark the mounting holes on the wall, drill pilot holes, install wall anchors if necessary, attach the mounting bracket, secure the towel ring, and test its stability. Each step was designed to ensure a secure and long-lasting installation.
Remember to periodically check the stability of your towel ring and address any signs of loosening promptly. With proper maintenance, your towel ring will continue to serve its purpose for years to come.
We hope that this guide has been helpful in guiding you through the installation process. But always refer to the manufacturer’s instructions for any specific details related to your towel ring model.
Enjoy the convenience and functionality of your new towel ring, and let it add a stylish touch to your bathroom decor. Now you can easily hang and access your towels, creating a more organized and inviting bathroom space.
Should you have any further questions or need assistance, don’t hesitate to consult a professional or reach out to the manufacturer’s customer support. Happy towel hanging!
Frequently Asked Questions about How To Install Bathroom Towel Ring
Was this page helpful?
At Storables.com, we guarantee accurate and reliable information. Our content, validated by Expert Board Contributors, is crafted following stringent Editorial Policies. We're committed to providing you with well-researched, expert-backed insights for all your informational needs.

0 thoughts on “How To Install Bathroom Towel Ring”