Home>Articles>How To Install A Moen Contemporary Towel Ring In Chrome
Articles
How To Install A Moen Contemporary Towel Ring In Chrome
Modified: March 1, 2024
Learn how to easily install a Moen Contemporary Towel Ring in chrome with this step-by-step guide. Perfect for all your bathroom article needs!
(Many of the links in this article redirect to a specific reviewed product. Your purchase of these products through affiliate links helps to generate commission for Storables.com, at no extra cost. Learn more)
Introduction
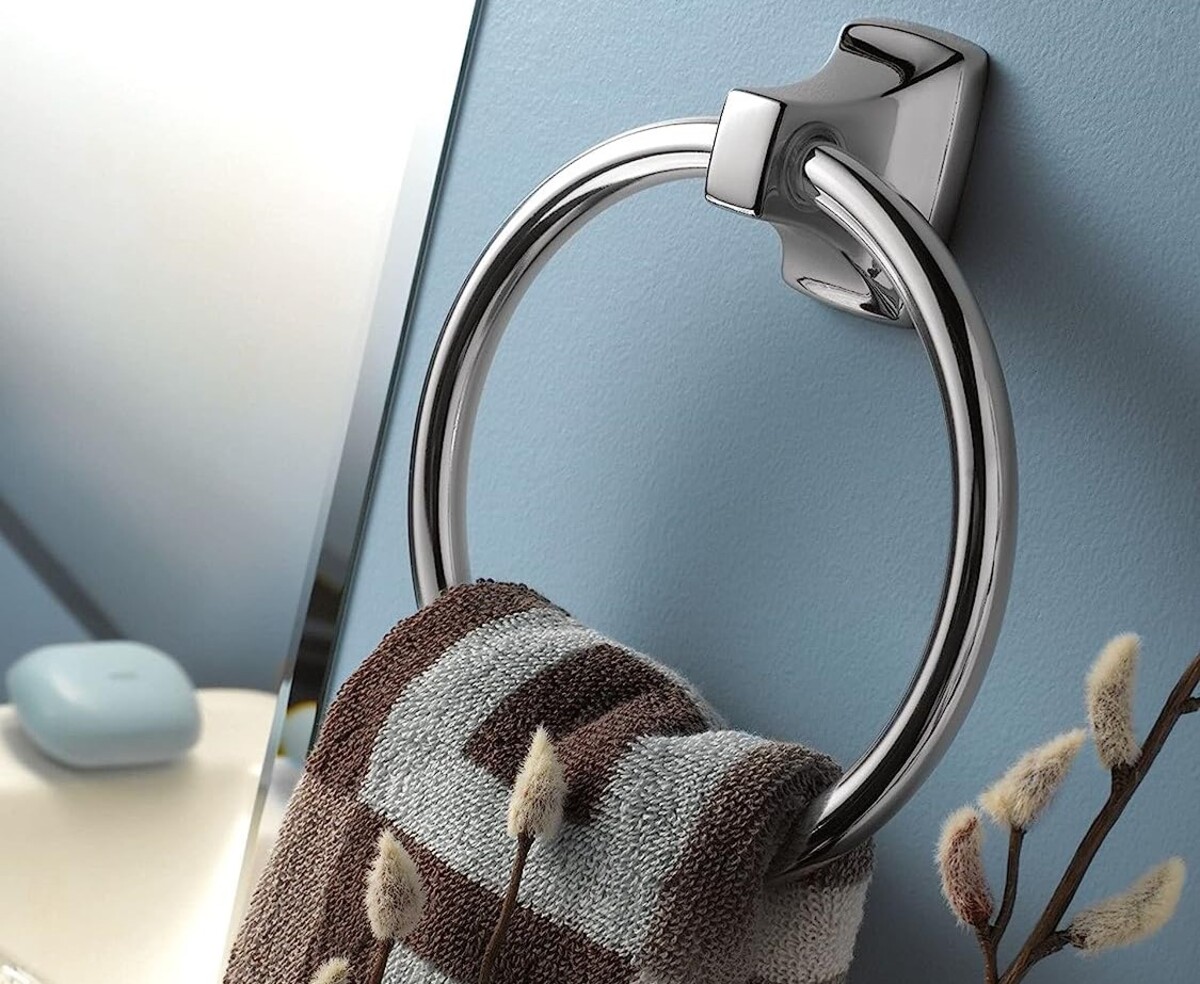
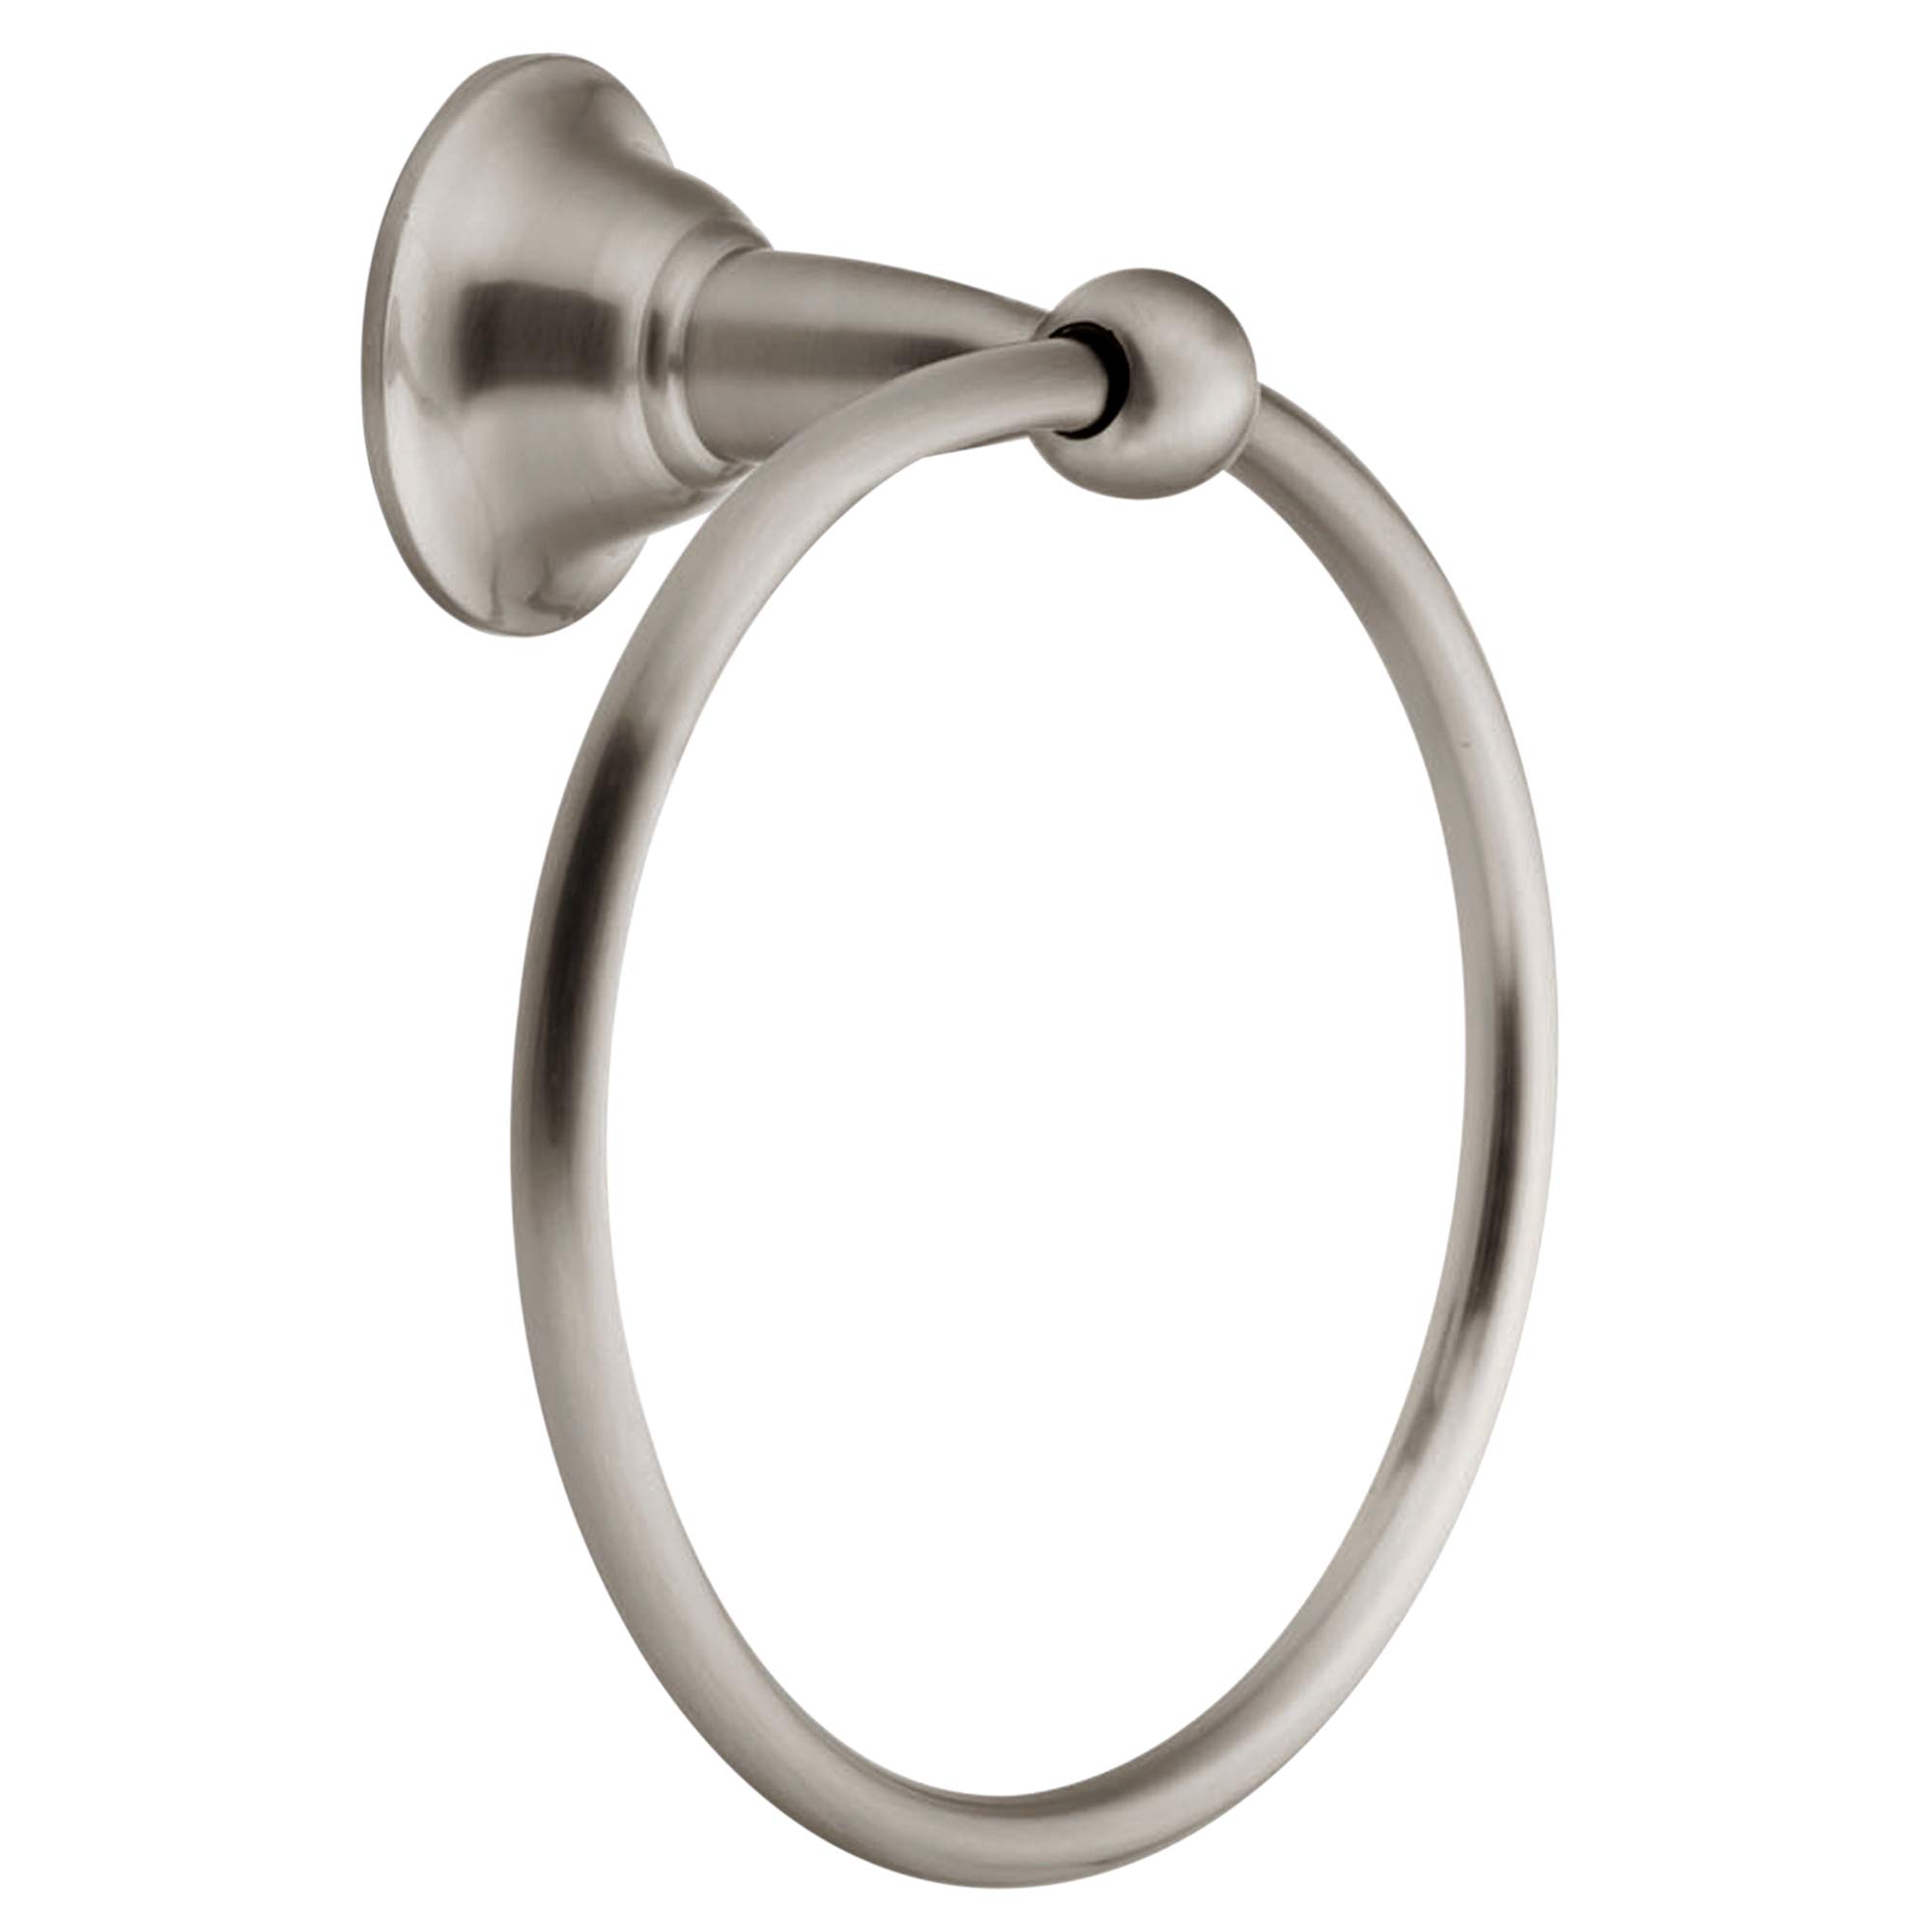
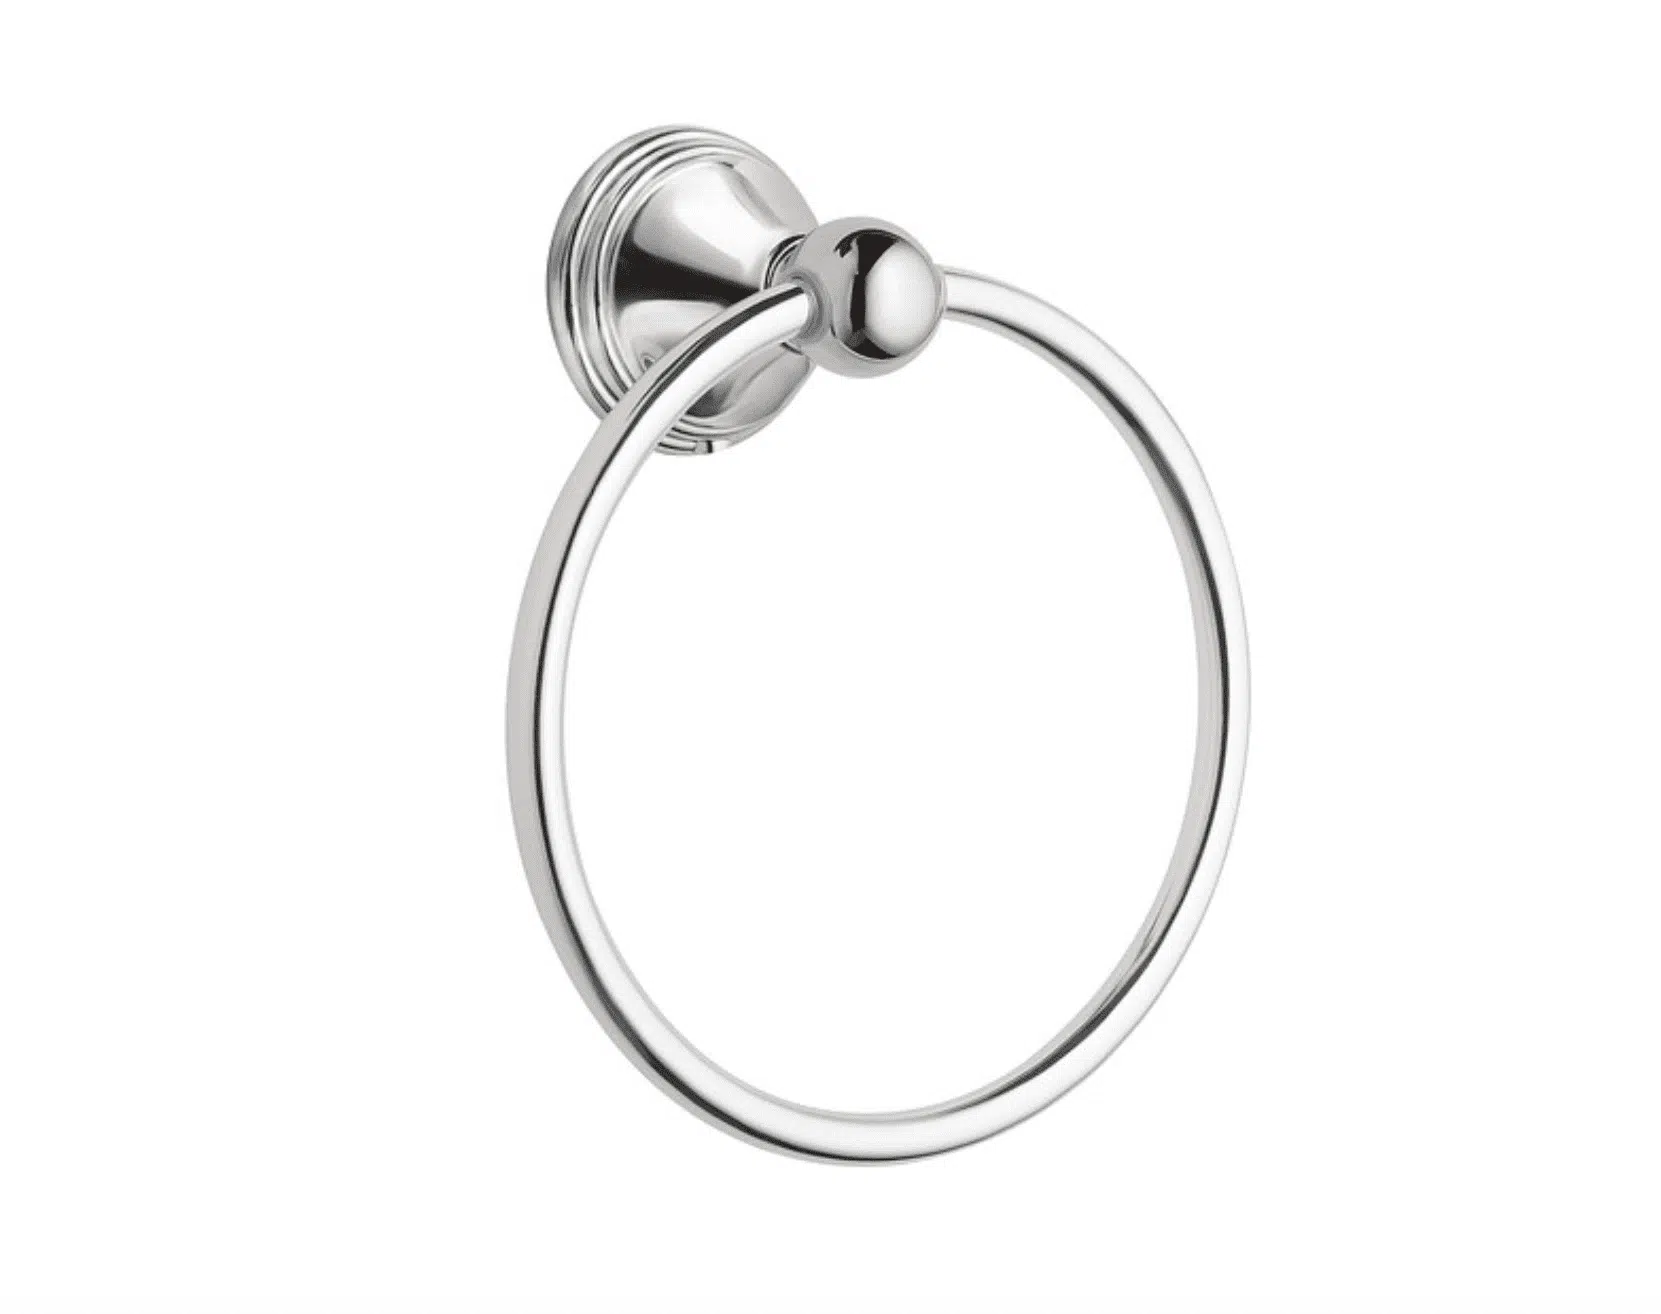
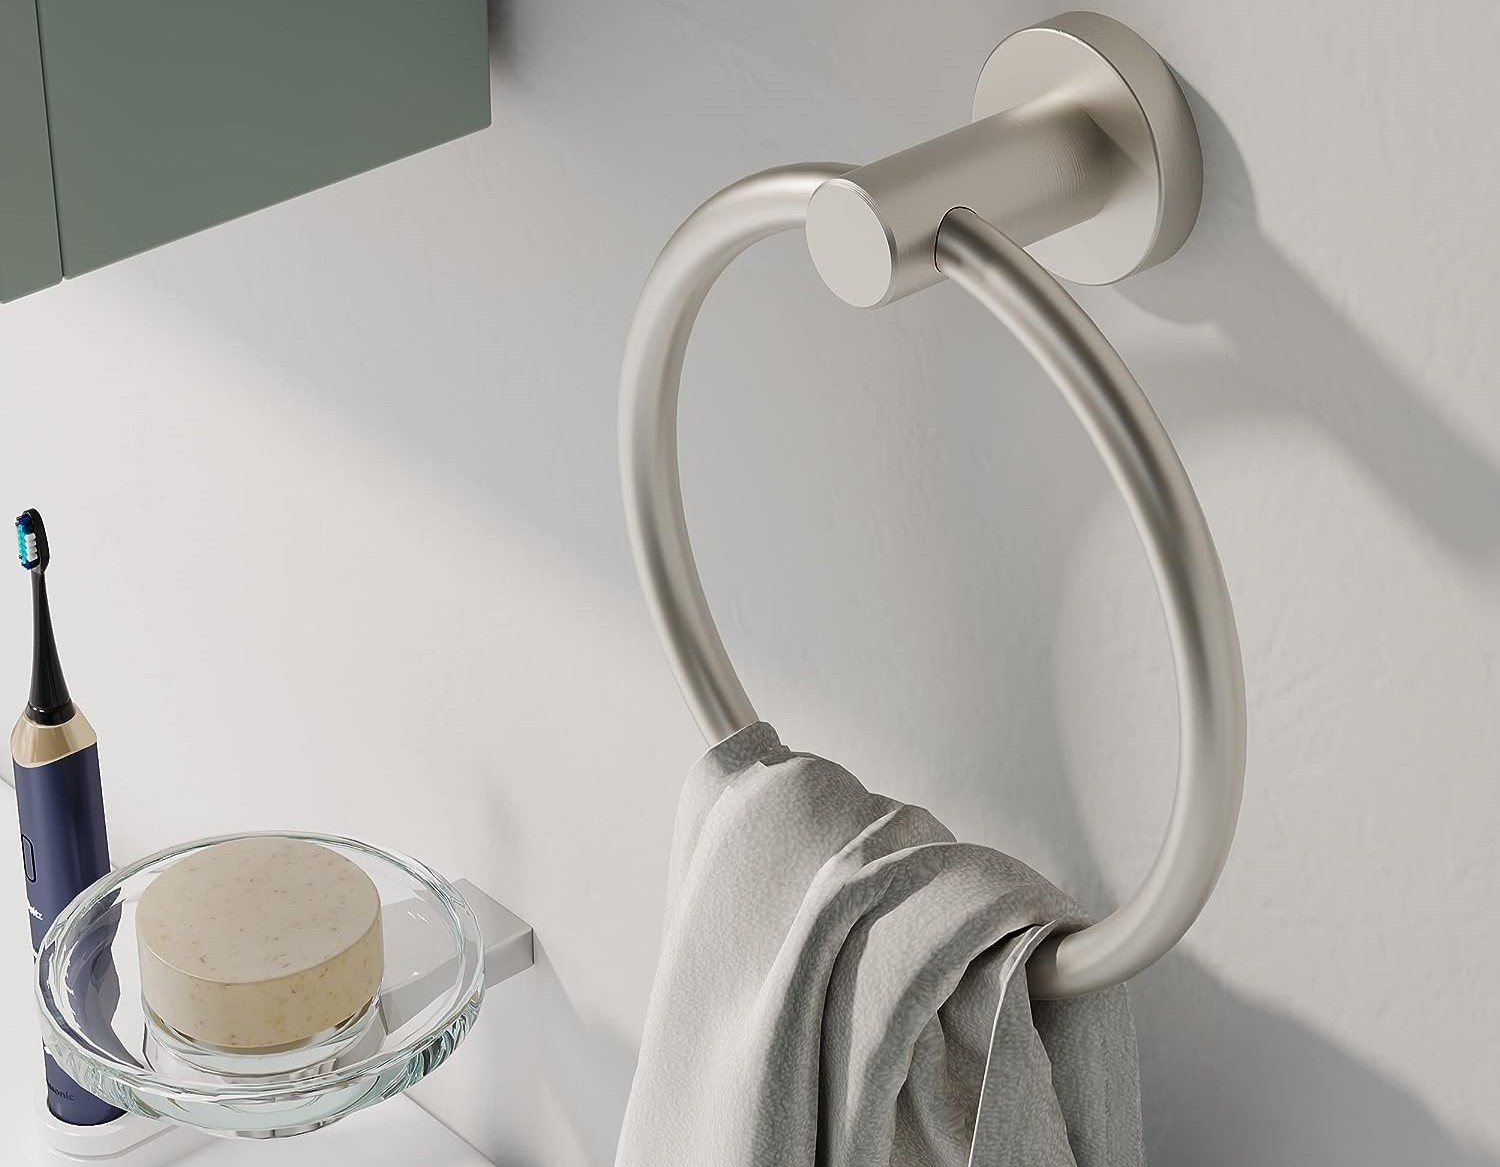
Welcome to this step-by-step guide on how to install a Moen Contemporary Towel Ring in Chrome. The Moen Contemporary Towel Ring is a stylish and functional addition to any bathroom, providing a convenient place to hang your towels. In this article, we will walk you through the installation process, from gathering the necessary tools and materials to securing the towel ring in place.
Installing a towel ring may seem like a daunting task, but with the right tools and instructions, it can be a straightforward and satisfying DIY project. By following these steps, you will be able to add a touch of elegance to your bathroom while ensuring that your towels are always within reach.
Before we dive into the installation process, let’s quickly go over the tools and materials you’ll need:
- Moen Contemporary Towel Ring
- Mounting bracket
- Wall anchors
- Screws
- Drill
- Measuring tape
- Pencil
- Level
Make sure you have all of these items on hand before you begin the installation. Now that you’re familiar with the tools and materials, let’s move on to preparing the installation area.
Key Takeaways:
- Installing a Moen Contemporary Towel Ring in Chrome is a straightforward DIY project that enhances bathroom functionality and style. By following the step-by-step guide, you can ensure a secure and elegant addition to your bathroom decor.
- Proper preparation, careful attachment of the mounting bracket, and thorough testing for stability are essential for a successful towel ring installation. Enjoy the convenience and elegance of your newly installed Moen Contemporary Towel Ring in Chrome.
Read more: How To Mount A Moen Towel Ring
Step 1: Gather the Necessary Tools and Materials
Before you begin the installation process, it’s important to gather all the necessary tools and materials. By having everything prepared, you can work efficiently and avoid any interruptions during the installation. Here’s a list of what you’ll need:
- Moen Contemporary Towel Ring: This is the main component of the installation, and it comes in a sleek chrome finish that adds a modern touch to your bathroom decor.
- Mounting Bracket: The mounting bracket is used to attach the towel ring to the wall securely. Make sure you have the appropriate mounting bracket that is compatible with the Moen Contemporary Towel Ring.
- Wall Anchors: These are essential if you’re installing the towel ring on drywall. The wall anchors provide extra support and prevent the screws from loosening over time.
- Screws: You’ll need screws to attach the mounting bracket to the wall. Ensure that the screws are strong enough to hold the towel ring in place.
- Drill: A drill is necessary for creating holes in the wall for the wall anchors and screws. Make sure you have the appropriate drill bit for the job.
- Measuring Tape: Accurate measurements are crucial for proper installation. Use a measuring tape to determine the optimal height and location for mounting the towel ring.
- Pencil: Use a pencil to mark the spots where the holes need to be drilled for the wall anchors and screws.
- Level: A level will help you ensure that the towel ring is perfectly horizontal or vertical, depending on your preference.
Once you have gathered all the necessary tools and materials, you’re ready to move on to the next step: preparing the installation area.
Step 2: Prepare the Installation Area
Before you can install the Moen Contemporary Towel Ring, it’s important to prepare the installation area properly. This step will ensure that the towel ring is mounted securely and level on the wall. Here’s a detailed guide on how to prepare the installation area:
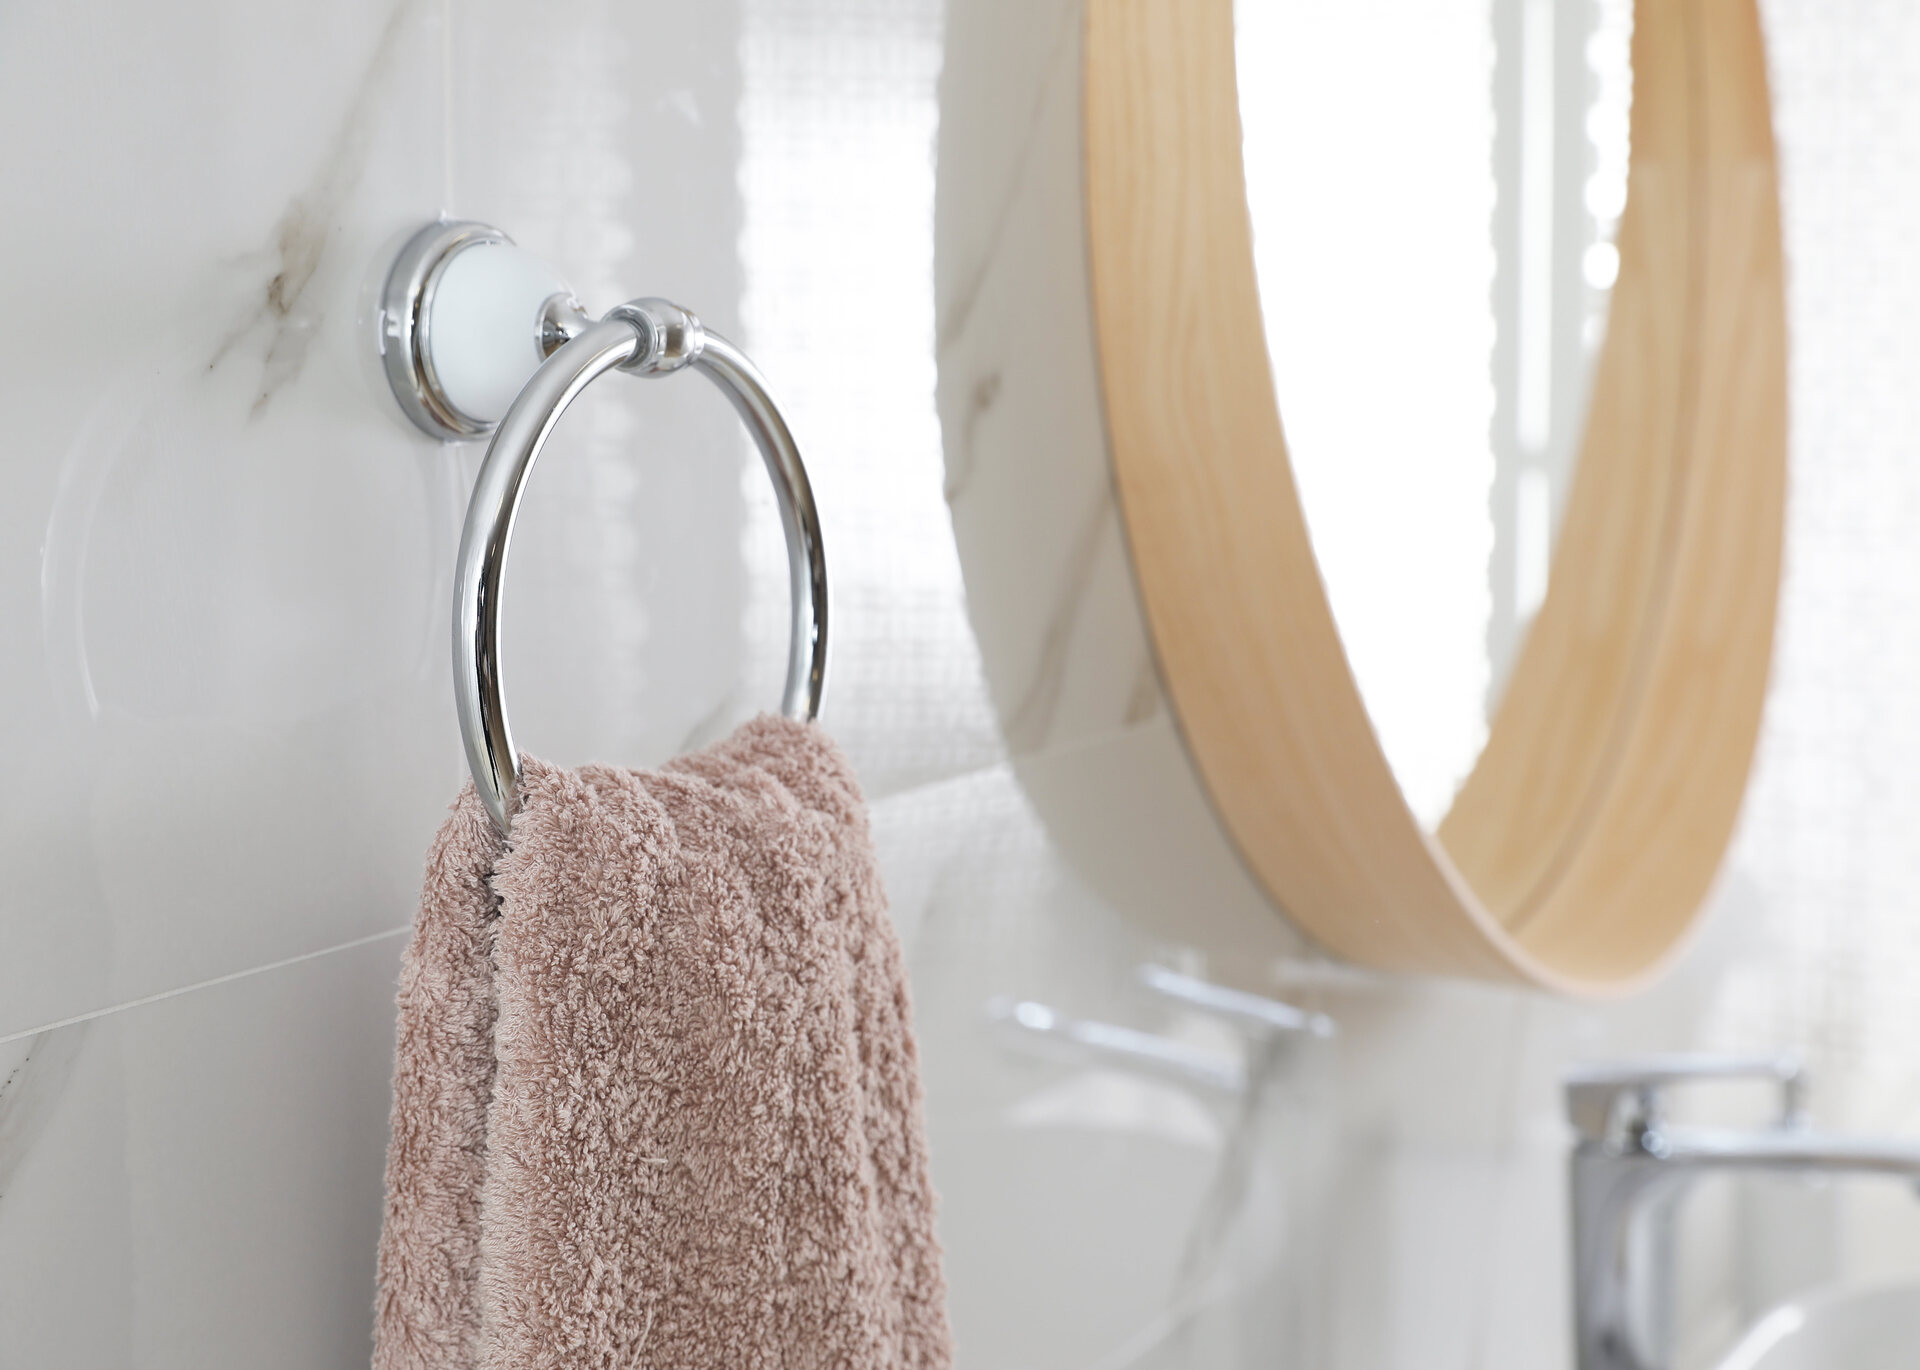
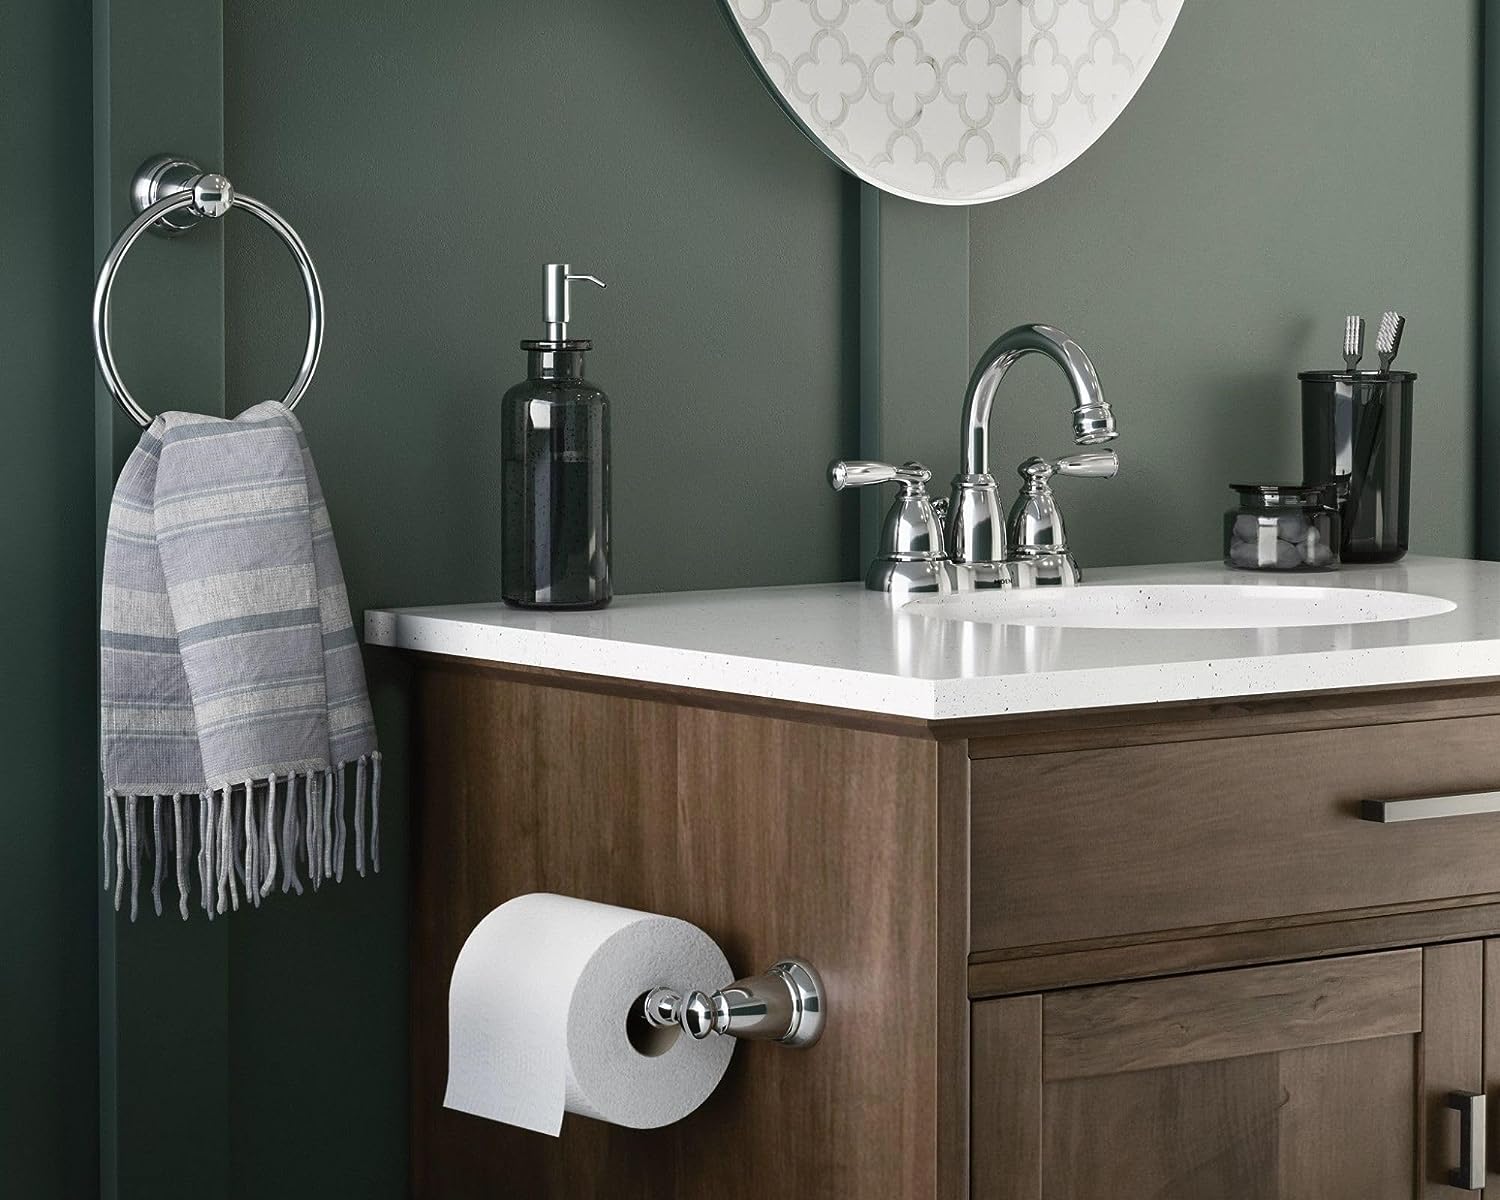
- Choose a Suitable Location: Start by selecting the ideal location for your towel ring. Consider factors such as height, convenience, and aesthetics. Generally, towel rings are installed near the sink or shower area for easy access.
- Measure and Mark: Use a measuring tape to determine the desired height and position of the towel ring. Mark the spot with a pencil to serve as a guide during the installation process.
- Check for Studs: Before drilling any holes, use a stud finder to check for wall studs. Mounting the towel ring to a stud will provide extra stability and ensure a secure attachment. If no studs are present, proceed to the next step.
- Attach Mounting Bracket: Take the mounting bracket provided with the towel ring and position it against the wall, aligning it with the marked spot. Make sure it is level using a level tool. Use a pencil to mark the locations where the holes for the wall anchors will be drilled.
- Drill Pilot Holes: With the marked spots as a guide, use a drill with an appropriate bit to create pilot holes for the wall anchors. Remember to drill carefully and not to go too deep, especially if you’re drilling into drywall.
- Insert Wall Anchors: Insert the wall anchors into the pilot holes you drilled. Ensure that they are flush with the wall surface. Wall anchors provide additional support and prevent the screws from becoming loose over time.
Preparing the installation area by following these steps will ensure a stable and secure mounting for your Moen Contemporary Towel Ring. Once the area is prepared, you’re ready to move on to the next step: attaching the mounting bracket to the wall.
Step 3: Attach the Mounting Bracket to the Wall
Now that you have prepared the installation area for your Moen Contemporary Towel Ring, it’s time to attach the mounting bracket to the wall. The mounting bracket is crucial for providing a secure base for the towel ring. Follow these steps to ensure a proper attachment:
- Position the Mounting Bracket: Take the mounting bracket and align it with the wall anchors. Make sure it is level and centered according to your markings.
- Insert Screws: Once the mounting bracket is in the correct position, insert the screws through the holes in the bracket and into the wall anchors. Begin by loosely screwing them in, ensuring they are aligned with the holes.
- Tighten the Screws: Using a screwdriver or drill, tighten the screws until the mounting bracket is securely attached to the wall. Take care not to overtighten, as it may damage the wall anchors or strip the screws.
- Check for stability: Gently test the stability of the mounting bracket by applying light pressure. It should be securely fastened to the wall and not wobble or shift. If it feels unstable, double-check that the screws are tightened properly.
Attaching the mounting bracket is a crucial step in the installation process, as it sets the foundation for the towel ring. Take your time to ensure that the bracket is level and tightly secured to the wall. With this step completed, you’re ready to move on to the next step: installing the towel ring onto the mounting bracket.
When installing a Moen Contemporary Towel Ring in Chrome, make sure to use the provided template to accurately mark the placement of the mounting hardware. This will ensure a secure and level installation.
Step 4: Install the Towel Ring onto the Mounting Bracket
With the mounting bracket securely attached to the wall, it’s time to install the Moen Contemporary Towel Ring onto the bracket. This step will involve attaching the towel ring to the bracket, ensuring that it sits securely in place. Follow these steps to successfully install the towel ring:
- Align the towel ring: Take the Moen Contemporary Towel Ring and align it with the mounting bracket. Ensure that the screw holes on the towel ring are lined up with the corresponding holes on the bracket.
- Thread the screws: Insert the screws provided with the towel ring into the screw holes. Begin threading them by hand to ensure they are aligned properly.
- Tighten the screws: Using a screwdriver, tighten the screws until the towel ring is firmly attached to the mounting bracket. Be careful not to overtighten, as it may cause damage to the towel ring or the bracket.
Make sure to check that the towel ring is level and properly aligned. Adjust if necessary before fully tightening the screws. Once the towel ring is securely attached to the mounting bracket, you’re ready to move on to the next step: securing the towel ring in place.
Read more: Moen Preston Towel Ring – How Wide Is Ring?
Step 5: Secure the Towel Ring in Place
Once you have installed the Moen Contemporary Towel Ring onto the mounting bracket, the next step is to secure it in place. This will ensure that the towel ring stays stable and withstands everyday use. Follow these steps to properly secure the towel ring:
- Tighten the screws: Using a screwdriver, carefully tighten the screws on the towel ring. Ensure that they are snug but not overtightened, as this may damage the towel ring or the mounting bracket.
- Test the stability: Gently hold and shake the towel ring to check for any wobbling or movement. If it feels loose, tighten the screws further until the towel ring is securely held in place.
- Double-check alignment: Take a step back and visually inspect the towel ring to ensure it is level and properly aligned. Adjust if needed by loosening the screws, making the necessary adjustments, and retightening the screws.
By properly securing the towel ring, you can enjoy its functionality without any concerns about it coming loose or shifting over time. Once you are satisfied with the stability and alignment of the towel ring, you’re ready to move on to the final step: testing its stability.
Step 6: Test the Towel Ring for Stability
After securing the Moen Contemporary Towel Ring in place, it’s important to test its stability to ensure that it can withstand the weight of towels and everyday use. Follow these steps to properly test the towel ring:
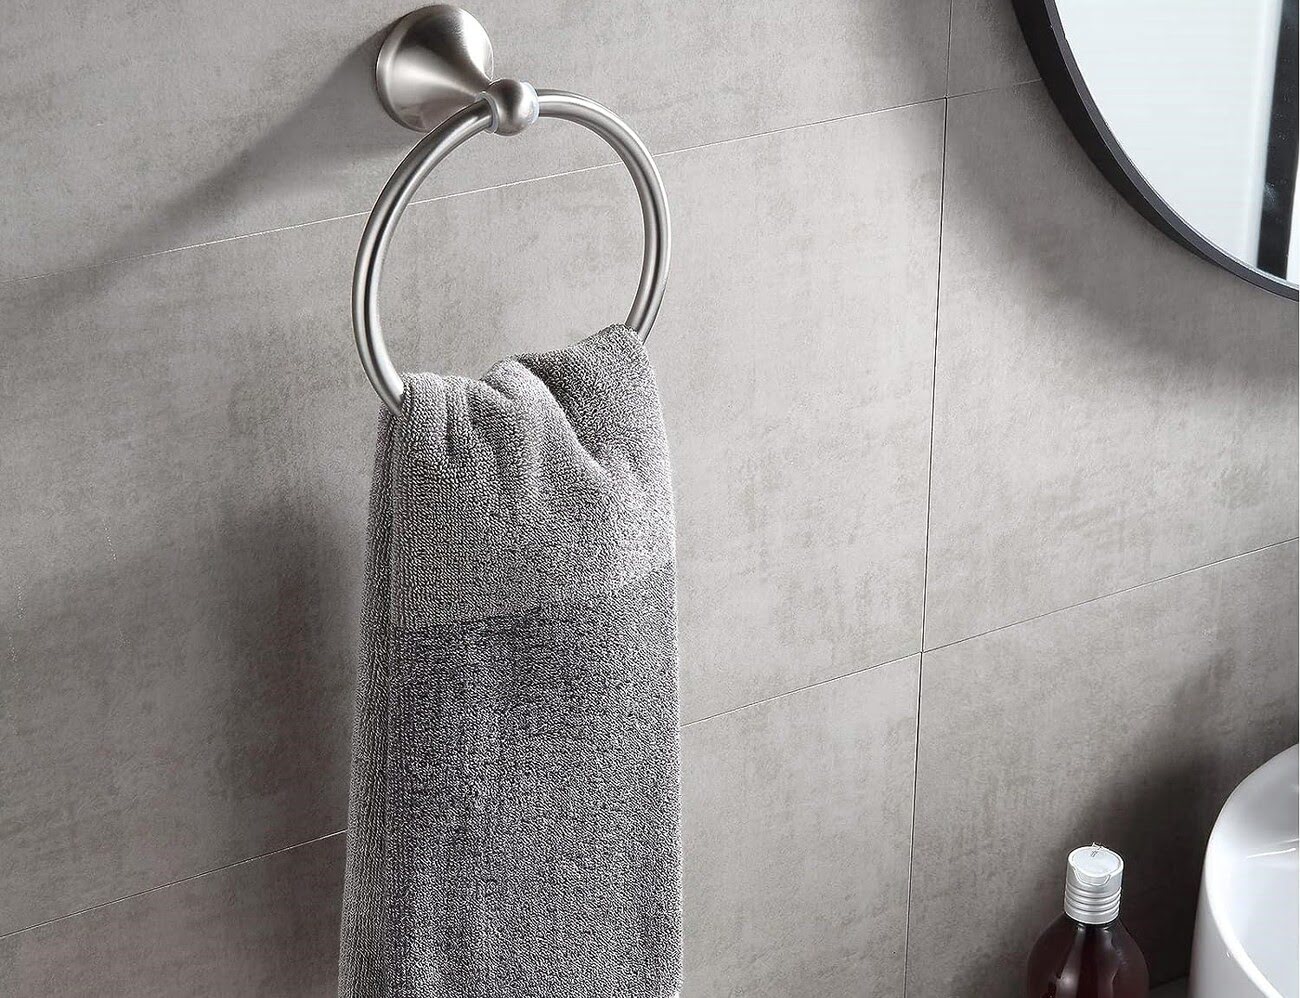
- Hang a towel: Take a towel and hang it on the towel ring. Apply gentle pressure to the towel to simulate the weight that will be placed on the ring.
- Observe for movement: Watch closely to see if the towel ring remains stable or if it shifts or wobbles. If there is any movement, it may indicate that the installation needs to be adjusted.
- Tighten screws if necessary: If you notice any movement or instability, carefully tighten the screws on the towel ring to secure it further. Check for stability again by repeating step 1.
By testing the towel ring for stability, you can ensure that it will withstand the weight of towels and remain securely in place. This step is crucial to avoid any accidents or damage in the future. Once you are satisfied with the stability of the towel ring, you have successfully completed the installation process.
Congratulations! You have now successfully installed a Moen Contemporary Towel Ring in Chrome. Enjoy the convenience and elegance it brings to your bathroom, knowing that it is securely mounted and ready to hold your towels with style.
Thank you for following this step-by-step guide. We hope it has been helpful and that you have a positive experience with your new towel ring.
Conclusion
Installing a Moen Contemporary Towel Ring in Chrome can be a rewarding DIY project that enhances the functionality and aesthetics of your bathroom. By following the steps outlined in this guide, you can successfully install the towel ring and enjoy the convenience of having your towels within easy reach. Here’s a quick recap of the installation process:
- Gather the necessary tools and materials
- Prepare the installation area
- Attach the mounting bracket to the wall
- Install the towel ring onto the mounting bracket
- Secure the towel ring in place
- Test the towel ring for stability
Throughout the installation process, it’s important to take your time, follow the instructions carefully, and ensure proper alignment and stability. By doing so, you can enjoy a well-installed towel ring that adds both functionality and style to your bathroom.
Remember, this guide is specific to installing the Moen Contemporary Towel Ring in Chrome. Different towel rings may have slightly different installation requirements, so always refer to the manufacturer’s instructions for the specific product you are installing.
We hope that this guide has been helpful in guiding you through the installation process of your Moen Contemporary Towel Ring. Enjoy the convenience and elegance it brings to your bathroom, and have a great time using your newly installed towel ring!
Frequently Asked Questions about How To Install A Moen Contemporary Towel Ring In Chrome
Was this page helpful?
At Storables.com, we guarantee accurate and reliable information. Our content, validated by Expert Board Contributors, is crafted following stringent Editorial Policies. We're committed to providing you with well-researched, expert-backed insights for all your informational needs.


0 thoughts on “How To Install A Moen Contemporary Towel Ring In Chrome”