
Articles
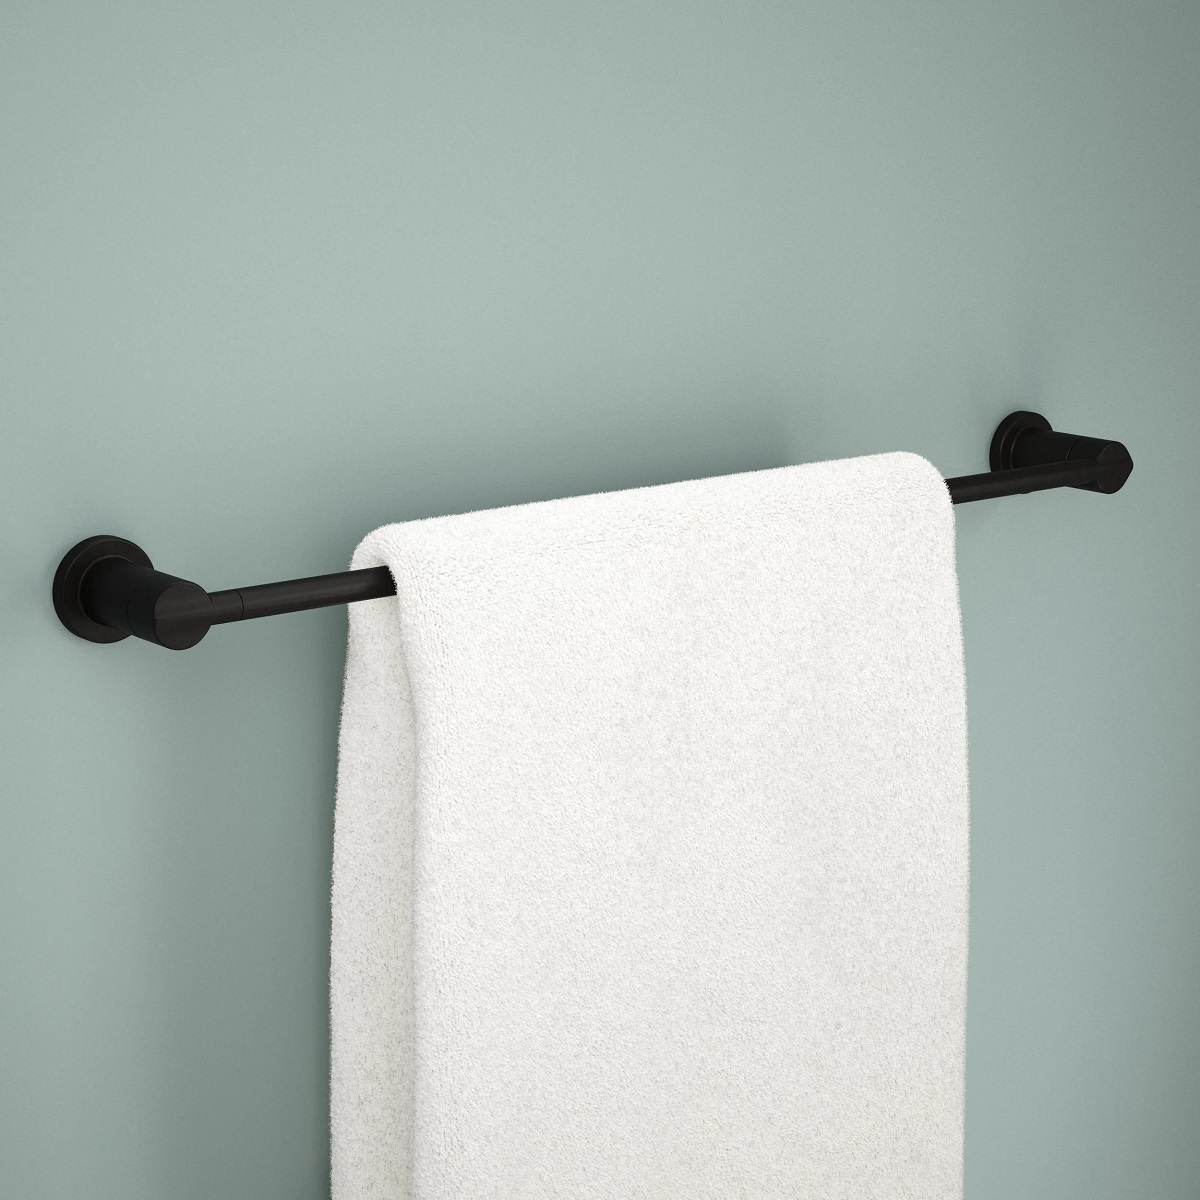
How To Install A Delta Towel Ring
Modified: February 22, 2024
Learn step-by-step how to install a Delta towel ring with this helpful article. Find expert advice and tips for a successful installation.
(Many of the links in this article redirect to a specific reviewed product. Your purchase of these products through affiliate links helps to generate commission for Storables.com, at no extra cost. Learn more)
Introduction
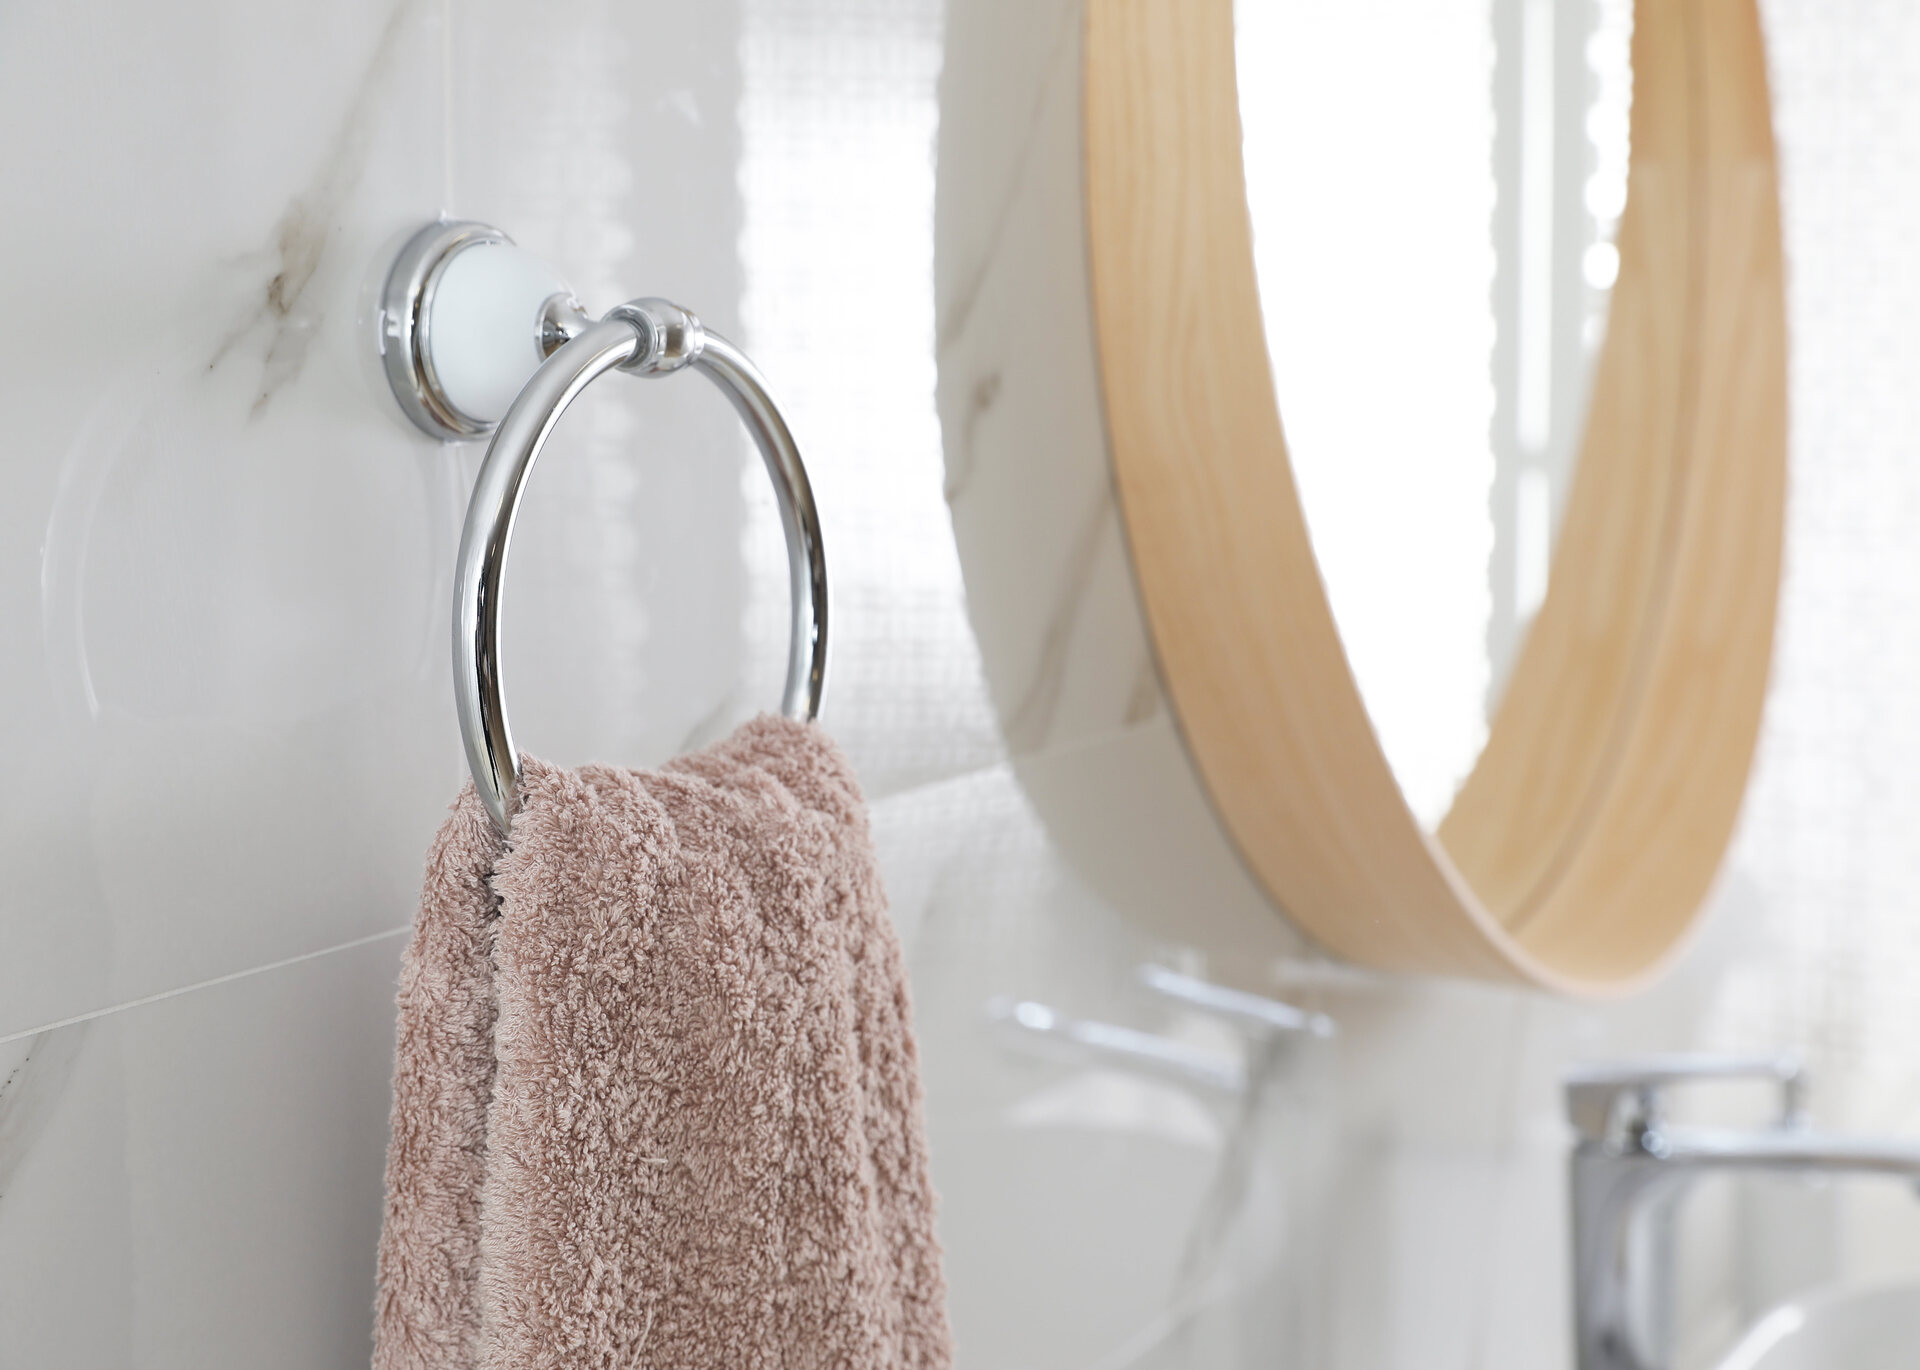
Welcome to our comprehensive guide on how to install a Delta towel ring. Whether you’re remodeling your bathroom or simply wanting to update your towel storage, installing a towel ring is a great way to add functionality and style to your space. Delta, a renowned brand in the plumbing industry, offers a wide range of towel rings that are not only durable but also aesthetically pleasing. In this article, we will walk you through the step-by-step process of installing a Delta towel ring, ensuring a secure and professional-looking installation.
Before we get started, it’s important to note that this installation guide is specific to Delta towel rings and may not be applicable to other brands. Make sure to read through the instructions provided by the manufacturer before beginning the installation process. With that said, let’s dive into the requirements and steps needed to successfully install a Delta towel ring.
Key Takeaways:
- Transform your bathroom with a stylish and functional Delta towel ring installation, ensuring convenience and elegance in your daily routine.
- Securely install your Delta towel ring by following our step-by-step guide, providing a hassle-free and professional-looking addition to your bathroom.
Read also: 10 Best Delta Towel Ring for 2024
Requirements
Before you begin installing your Delta towel ring, it’s important to gather all the necessary tools and materials. This will ensure a smooth and efficient installation process. Here are the requirements:
- Delta towel ring (specific model according to your preference)
- Mounting bracket and screws (usually included with the towel ring)
- Pencil
- Tape measure
- Level
- Electric drill
- Drill bit (appropriate for your wall material)
- Anchors (if necessary for your wall material)
- Screwdriver
- Protective eyewear
- Cloth or towel
It’s important to have all these items ready before you begin the installation process. This will save you time and effort, allowing for a hassle-free installation of your Delta towel ring.
Step 1: Gather Tools and Materials
The first step in installing a Delta towel ring is to gather all the necessary tools and materials. Having everything prepared before you start will make the installation process smoother and more efficient. Here’s a list of the tools and materials you’ll need:
- Delta towel ring (specific model according to your preference)
- Mounting bracket and screws (usually included with the towel ring)
- Pencil
- Tape measure
- Level
- Electric drill
- Drill bit (appropriate for your wall material)
- Anchors (if necessary for your wall material)
- Screwdriver
- Protective eyewear
- Cloth or towel
Ensure that you have all these items readily available. Double-check that you have the correct model of Delta towel ring and that the mounting bracket and screws are included. It’s also important to have the appropriate tools for your wall material, as this will ensure a secure and long-lasting installation.
Step 2: Locate the Installation Spot
Once you have gathered all the necessary tools and materials, the next step is to select the perfect spot for installing your Delta towel ring. Keep the following factors in mind when choosing the location:
- Accessibility: The towel ring should be easily reachable from the shower, bathtub, or sink area.
- Height: Ideally, the towel ring should be mounted at a height that is convenient for all members of your household. A standard height is around 48-52 inches from the floor.
- Wall Studs: It’s crucial to install the towel ring on a wall stud for maximum stability. Locate the nearest wall stud using a stud finder or by tapping the wall to find a solid, non-hollow sound.
- Clearance: Ensure that there is enough clearance around the towel ring for easy towel placement and removal.
- Aesthetics: Consider the overall aesthetic of your bathroom and select a spot that complements the design and layout.
Once you have chosen the ideal location, use a pencil to mark the position where the mounting bracket will be installed. Use a tape measure and level to ensure that the marks are straight and aligned.
Do keep in mind any other fixtures or obstacles that might interfere with the installation of the towel ring. Take note of electrical wires, plumbing pipes, or other obstructions that may need to be avoided during the installation process.
With the location determined and marked, you’re ready to move on to the next step: preparing the mounting surface.
Step 3: Prepare the Mounting Surface
Once you have selected the installation spot for your Delta towel ring and marked the position for the mounting bracket, it’s time to prepare the mounting surface. Follow these steps to ensure a secure and stable installation:
- Check the Wall Material: Determine the type of wall material you have, such as drywall, tile, or wood. This will help you select the appropriate drill bit and anchors (if necessary).
- Find the Studs: Use a stud finder to locate the wall studs near the marked position. If you are unable to find a stud or if it is not in an ideal location, you may need to use anchors to provide additional support.
- Mark the Drill Points: Align the mounting bracket with the marked position and use a pencil to mark the drill points through the mounting holes. Make sure the bracket is level, and adjust if needed.
- Protect the Surface: To prevent any damage to the wall, place a cloth or towel beneath the marked drill points. This will catch any debris or dust produced during the drilling process.
- Pre-drill Holes: Using an appropriate drill bit for your wall material, carefully drill pilot holes on the marked drill points. Make sure to drill to the depth recommended for the anchors (if using).
- Insert Anchors (if necessary): If you are installing the towel ring on a wall without studs, insert the appropriate anchors into the pre-drilled holes. Gently tap them in with a hammer until they are flush with the wall surface.
Once the mounting surface is prepared, you’re ready to move on to the next step: installing the mounting bracket for your Delta towel ring.
When installing a Delta towel ring, make sure to use the provided template to mark the location for drilling. Use a level to ensure the ring is installed straight and secure it tightly to the wall.
Read more: How To Install Towel Ring On A Cabinet
Step 4: Install the Mounting Bracket
With the mounting surface prepared, it’s time to install the mounting bracket for your Delta towel ring. Follow these steps to ensure a secure and stable installation:
- Align the Bracket: Place the mounting bracket over the pre-drilled holes or anchors, ensuring that the screw holes align with the holes or anchors.
- Secure the Bracket: Use a screwdriver or electric drill to insert the screws provided with the towel ring into the screw holes of the bracket. Tighten the screws until the bracket is securely attached to the wall.
- Check for Level: Use a level to ensure that the bracket is straight and level. Adjust if necessary by loosening the screws and repositioning the bracket.
- Tighten the Screws: Once the bracket is level, fully tighten the screws to ensure a tight and secure fit.
- Test Stability: Give the mounting bracket a gentle shake to check for stability. It should feel solid and firmly attached to the wall.
It’s important to ensure that the mounting bracket is installed securely, as it will be supporting the weight of the towel ring and towels. Take your time during this step to ensure a proper and stable installation.
With the mounting bracket installed, you’re now ready to move on to the next step: attaching the towel ring to the bracket.
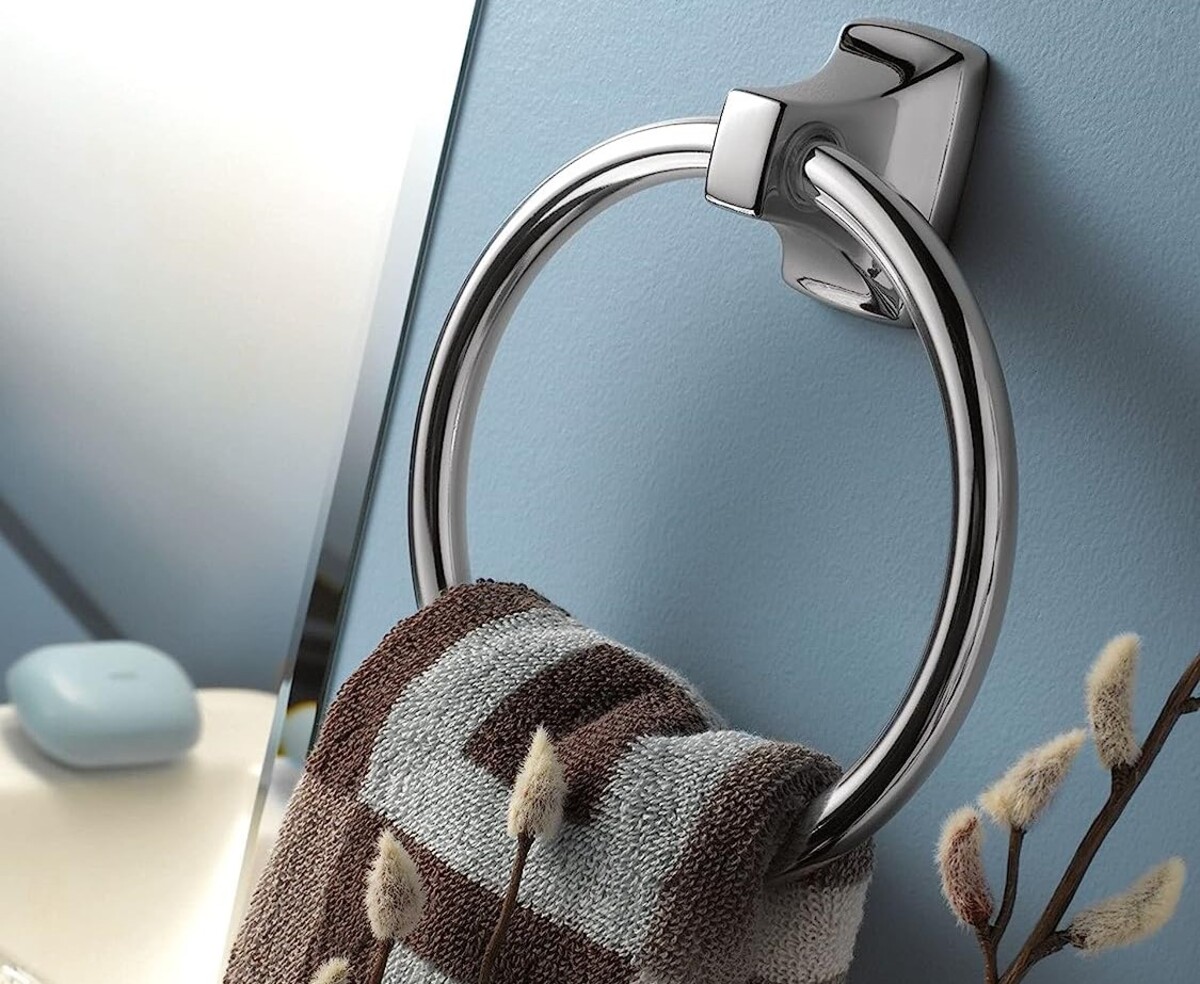
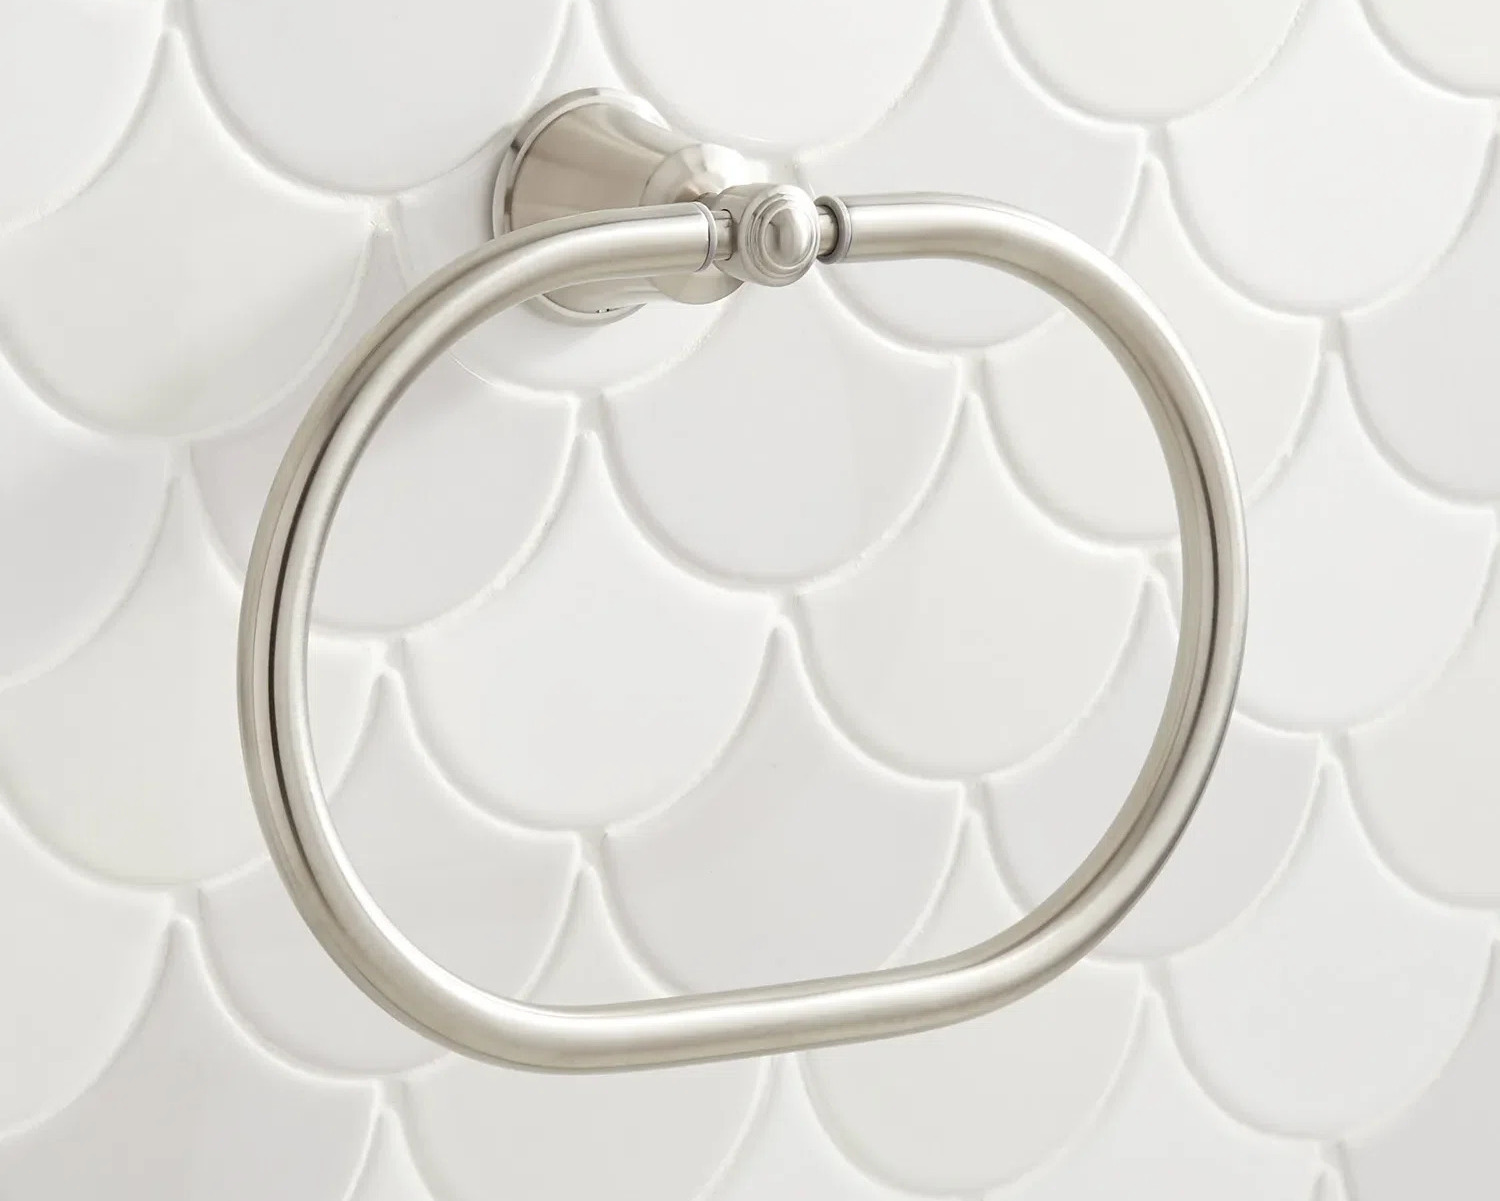
Step 5: Attach the Towel Ring
Now that the mounting bracket is securely installed, it’s time to attach the Delta towel ring to the bracket. Follow these steps to complete this part of the installation:
- Retrieve the Delta Towel Ring: Take the towel ring out of its packaging and ensure that all necessary components and hardware are present.
- Line up the Towel Ring: Align the towel ring with the mounting bracket, ensuring that the screw holes on the back of the towel ring align with the screw holes on the bracket.
- Insert the Screws: Insert the screws provided with the towel ring into the screw holes on the towel ring. Use a screwdriver or electric drill to tighten the screws, securing the towel ring to the bracket.
- Check for Stability: Gently tug on the towel ring to test its stability. It should feel secure and firmly attached to the mounting bracket.
Take the time to ensure that the towel ring is properly aligned with the bracket and securely attached. This will prevent any wobbling or instability when hanging towels, providing a reliable and functional towel storage solution.
Congratulations! You have successfully attached the Delta towel ring to the mounting bracket. Now, let’s move on to the next step: securing the towel ring in place.
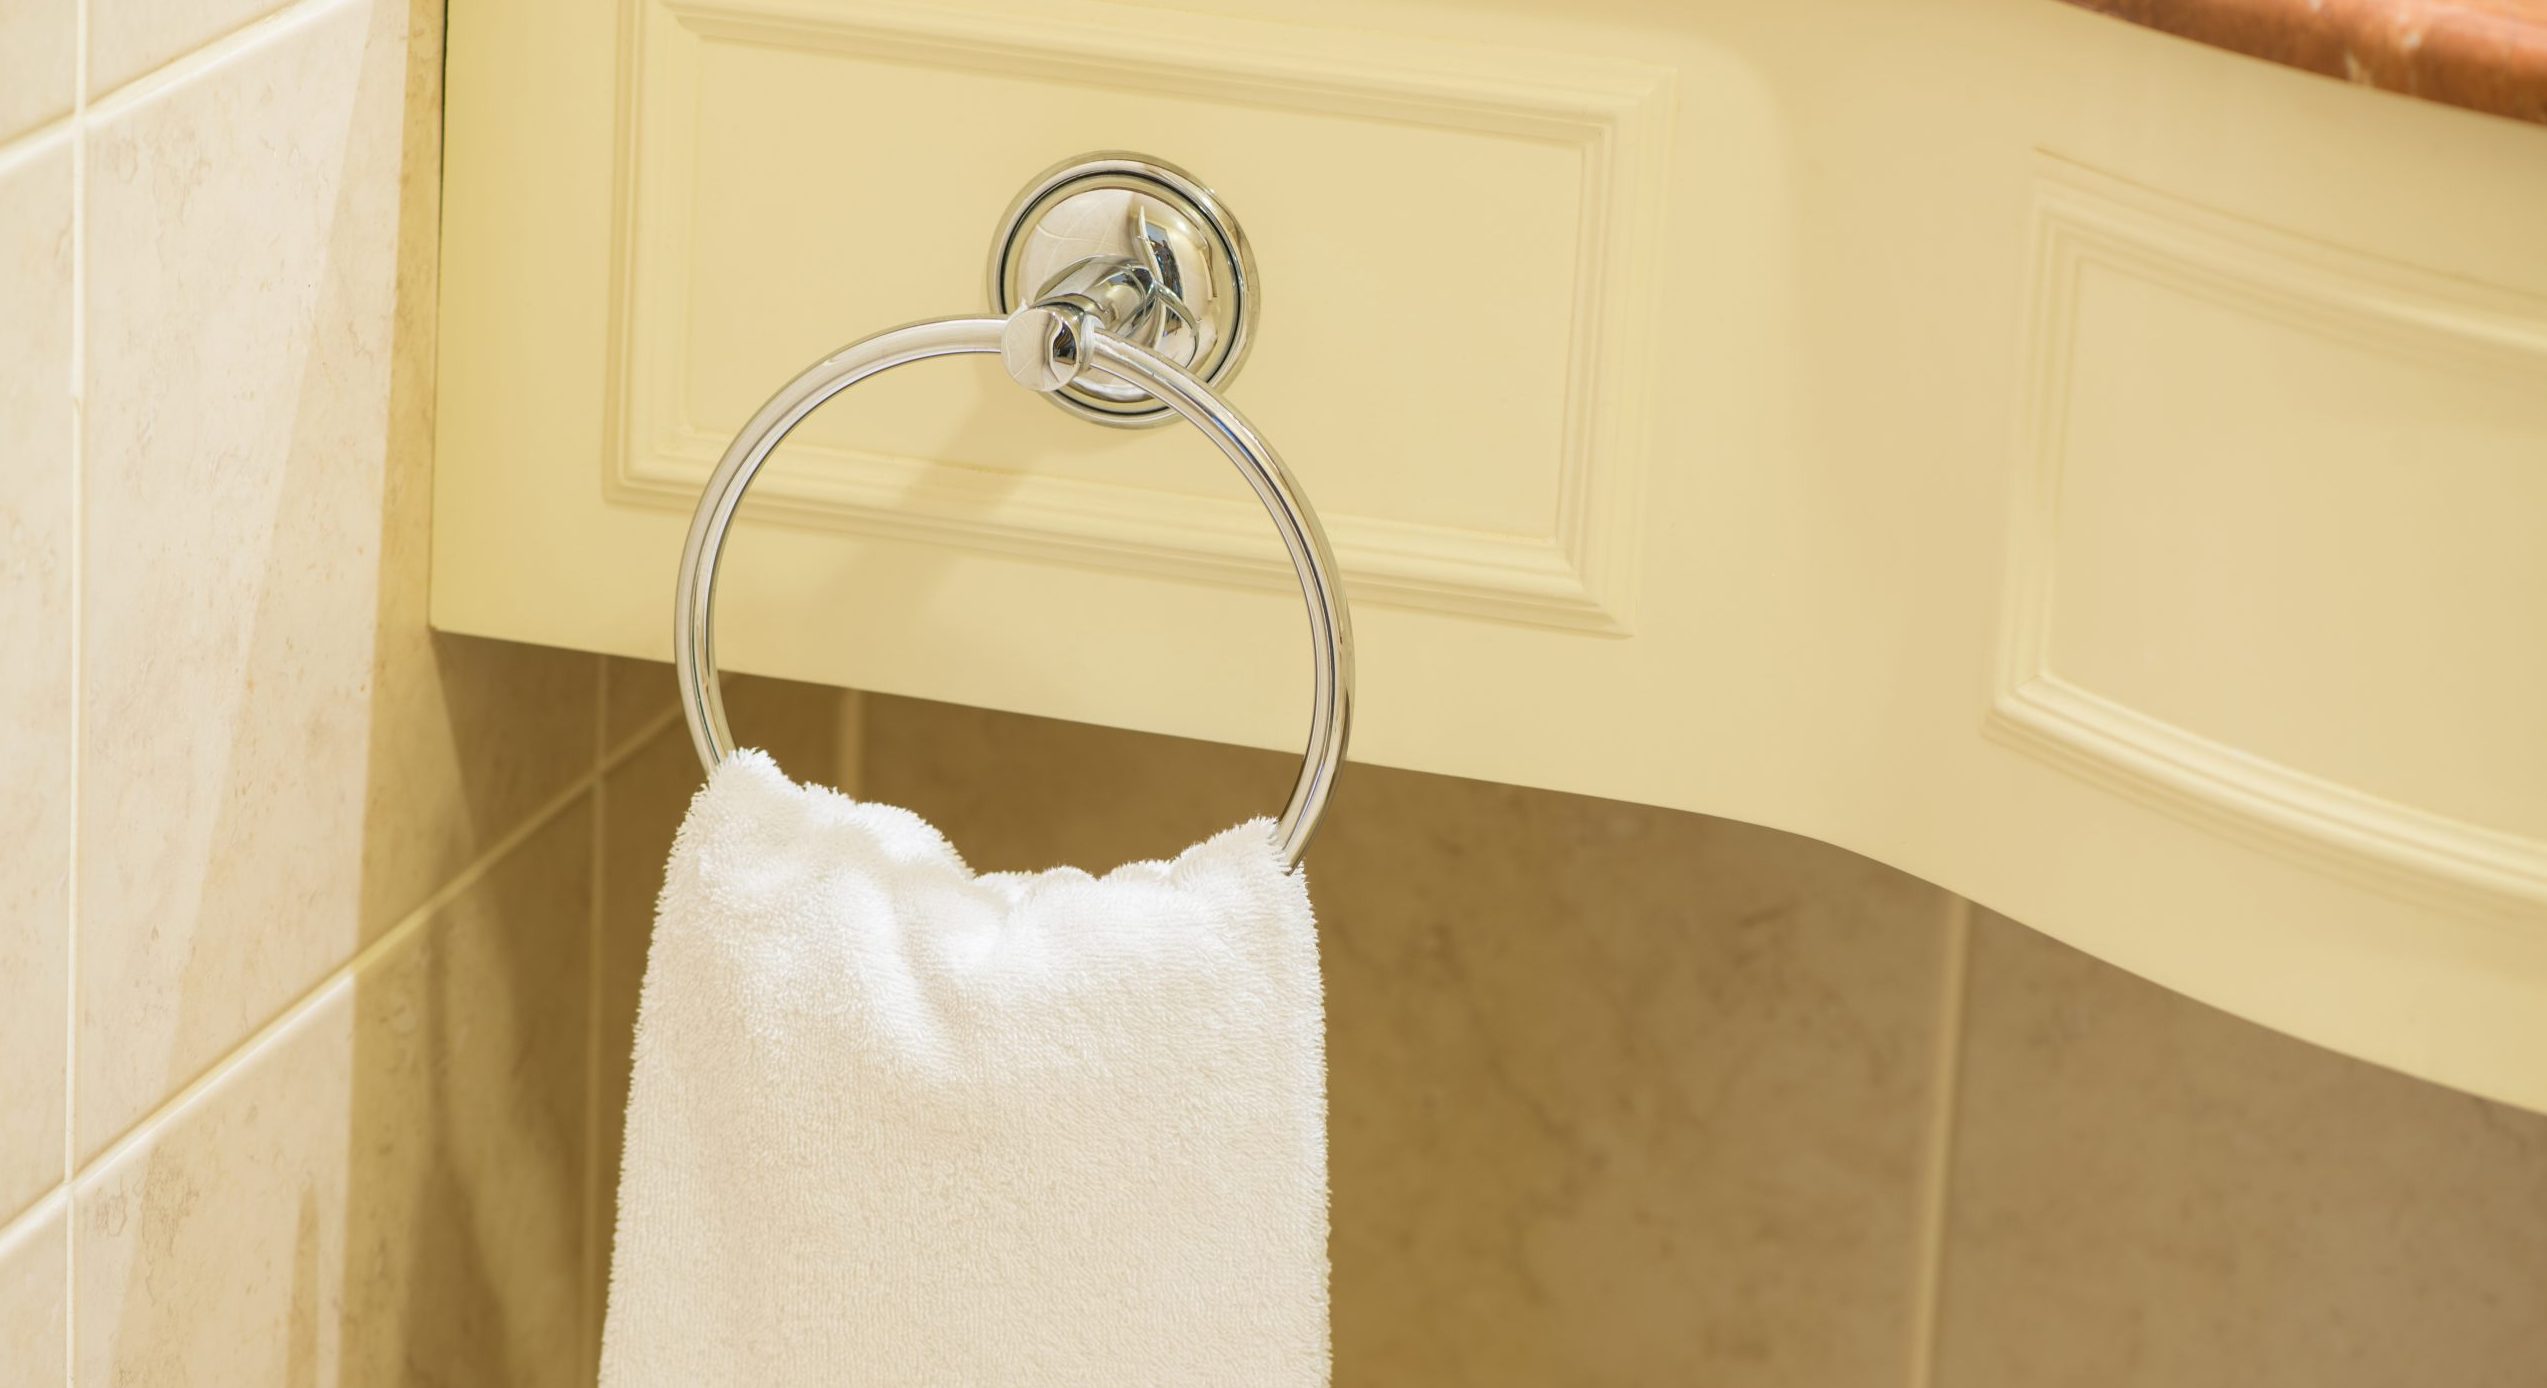
Step 6: Secure the Towel Ring
After attaching the Delta towel ring to the mounting bracket, the next step is to secure the towel ring in place. This will ensure that it remains stable and does not move when towels are hung or removed. Follow these steps to complete this part of the installation:
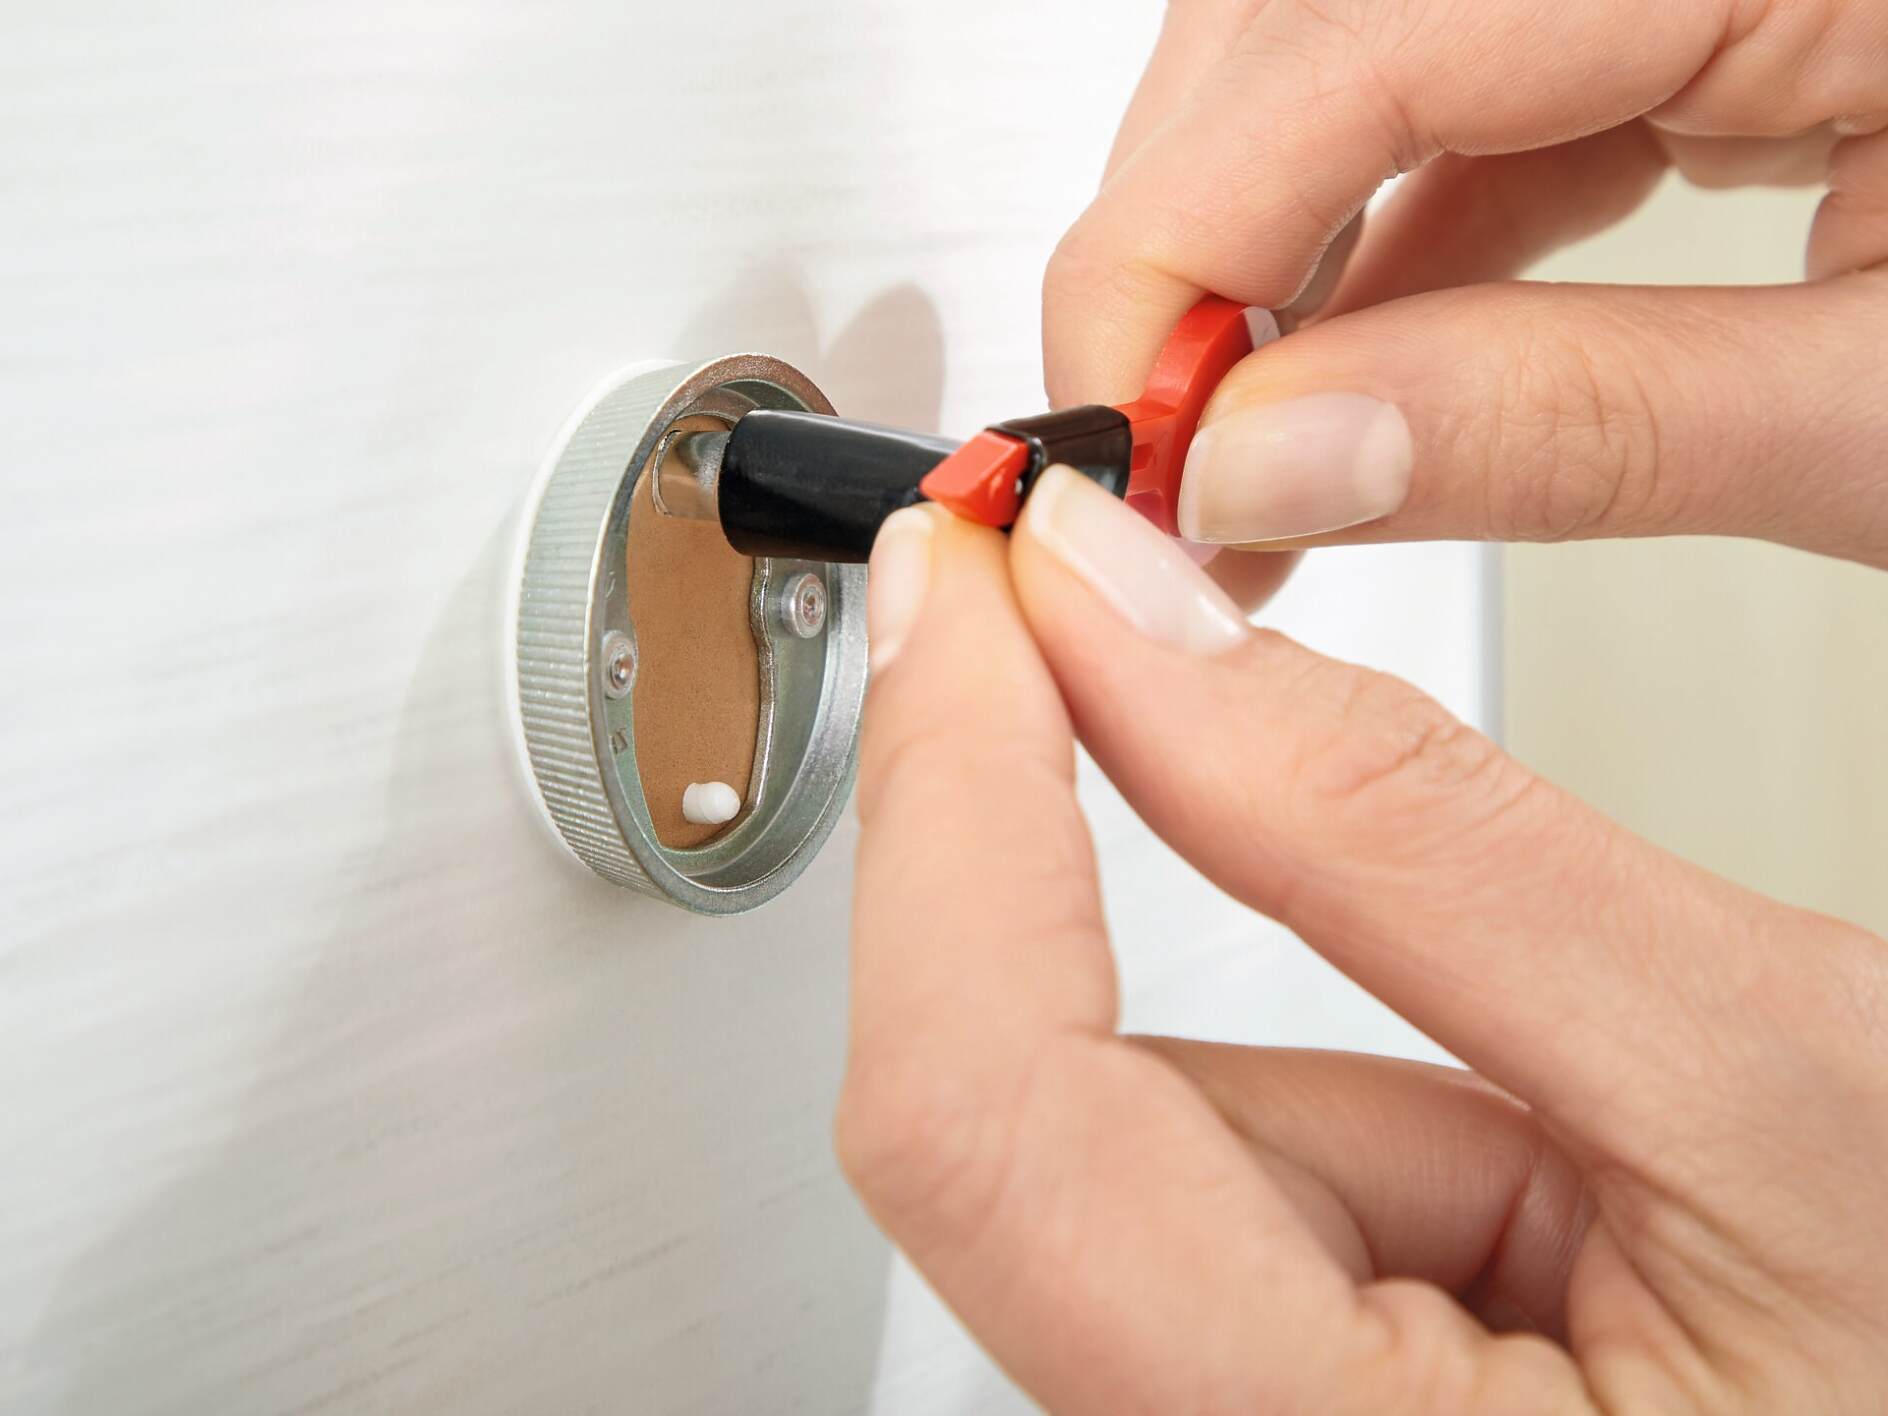
- Tighten the Set Screw: Locate the set screw on the bottom or side of the towel ring. Using a screwdriver or Allen wrench (depending on the type of set screw), tighten it to securely fasten the towel ring to the mounting bracket.
- Check for Level: Use a level to ensure that the towel ring is straight and level. Adjust as needed by loosening the set screw, repositioning the towel ring, and retightening the set screw.
- Test Stability: Give the towel ring a gentle tug to test its stability. It should feel secure and firmly attached to the mounting bracket without any wobbling or movement.
By tightening the set screw, you prevent the towel ring from rotating or sliding on the mounting bracket, ensuring a secure and sturdy attachment. Taking the time to adjust the towel ring for proper alignment and levelness will result in an aesthetically pleasing and functional installation.
With the towel ring securely in place, you’re nearly done! The next step is to test the installation before completing the process. Keep reading to learn more.
Step 7: Test the Installation
Once you’ve securely attached and positioned the Delta towel ring, it’s important to test the installation to ensure it can withstand regular use. Follow these steps to complete this final stage of the installation:
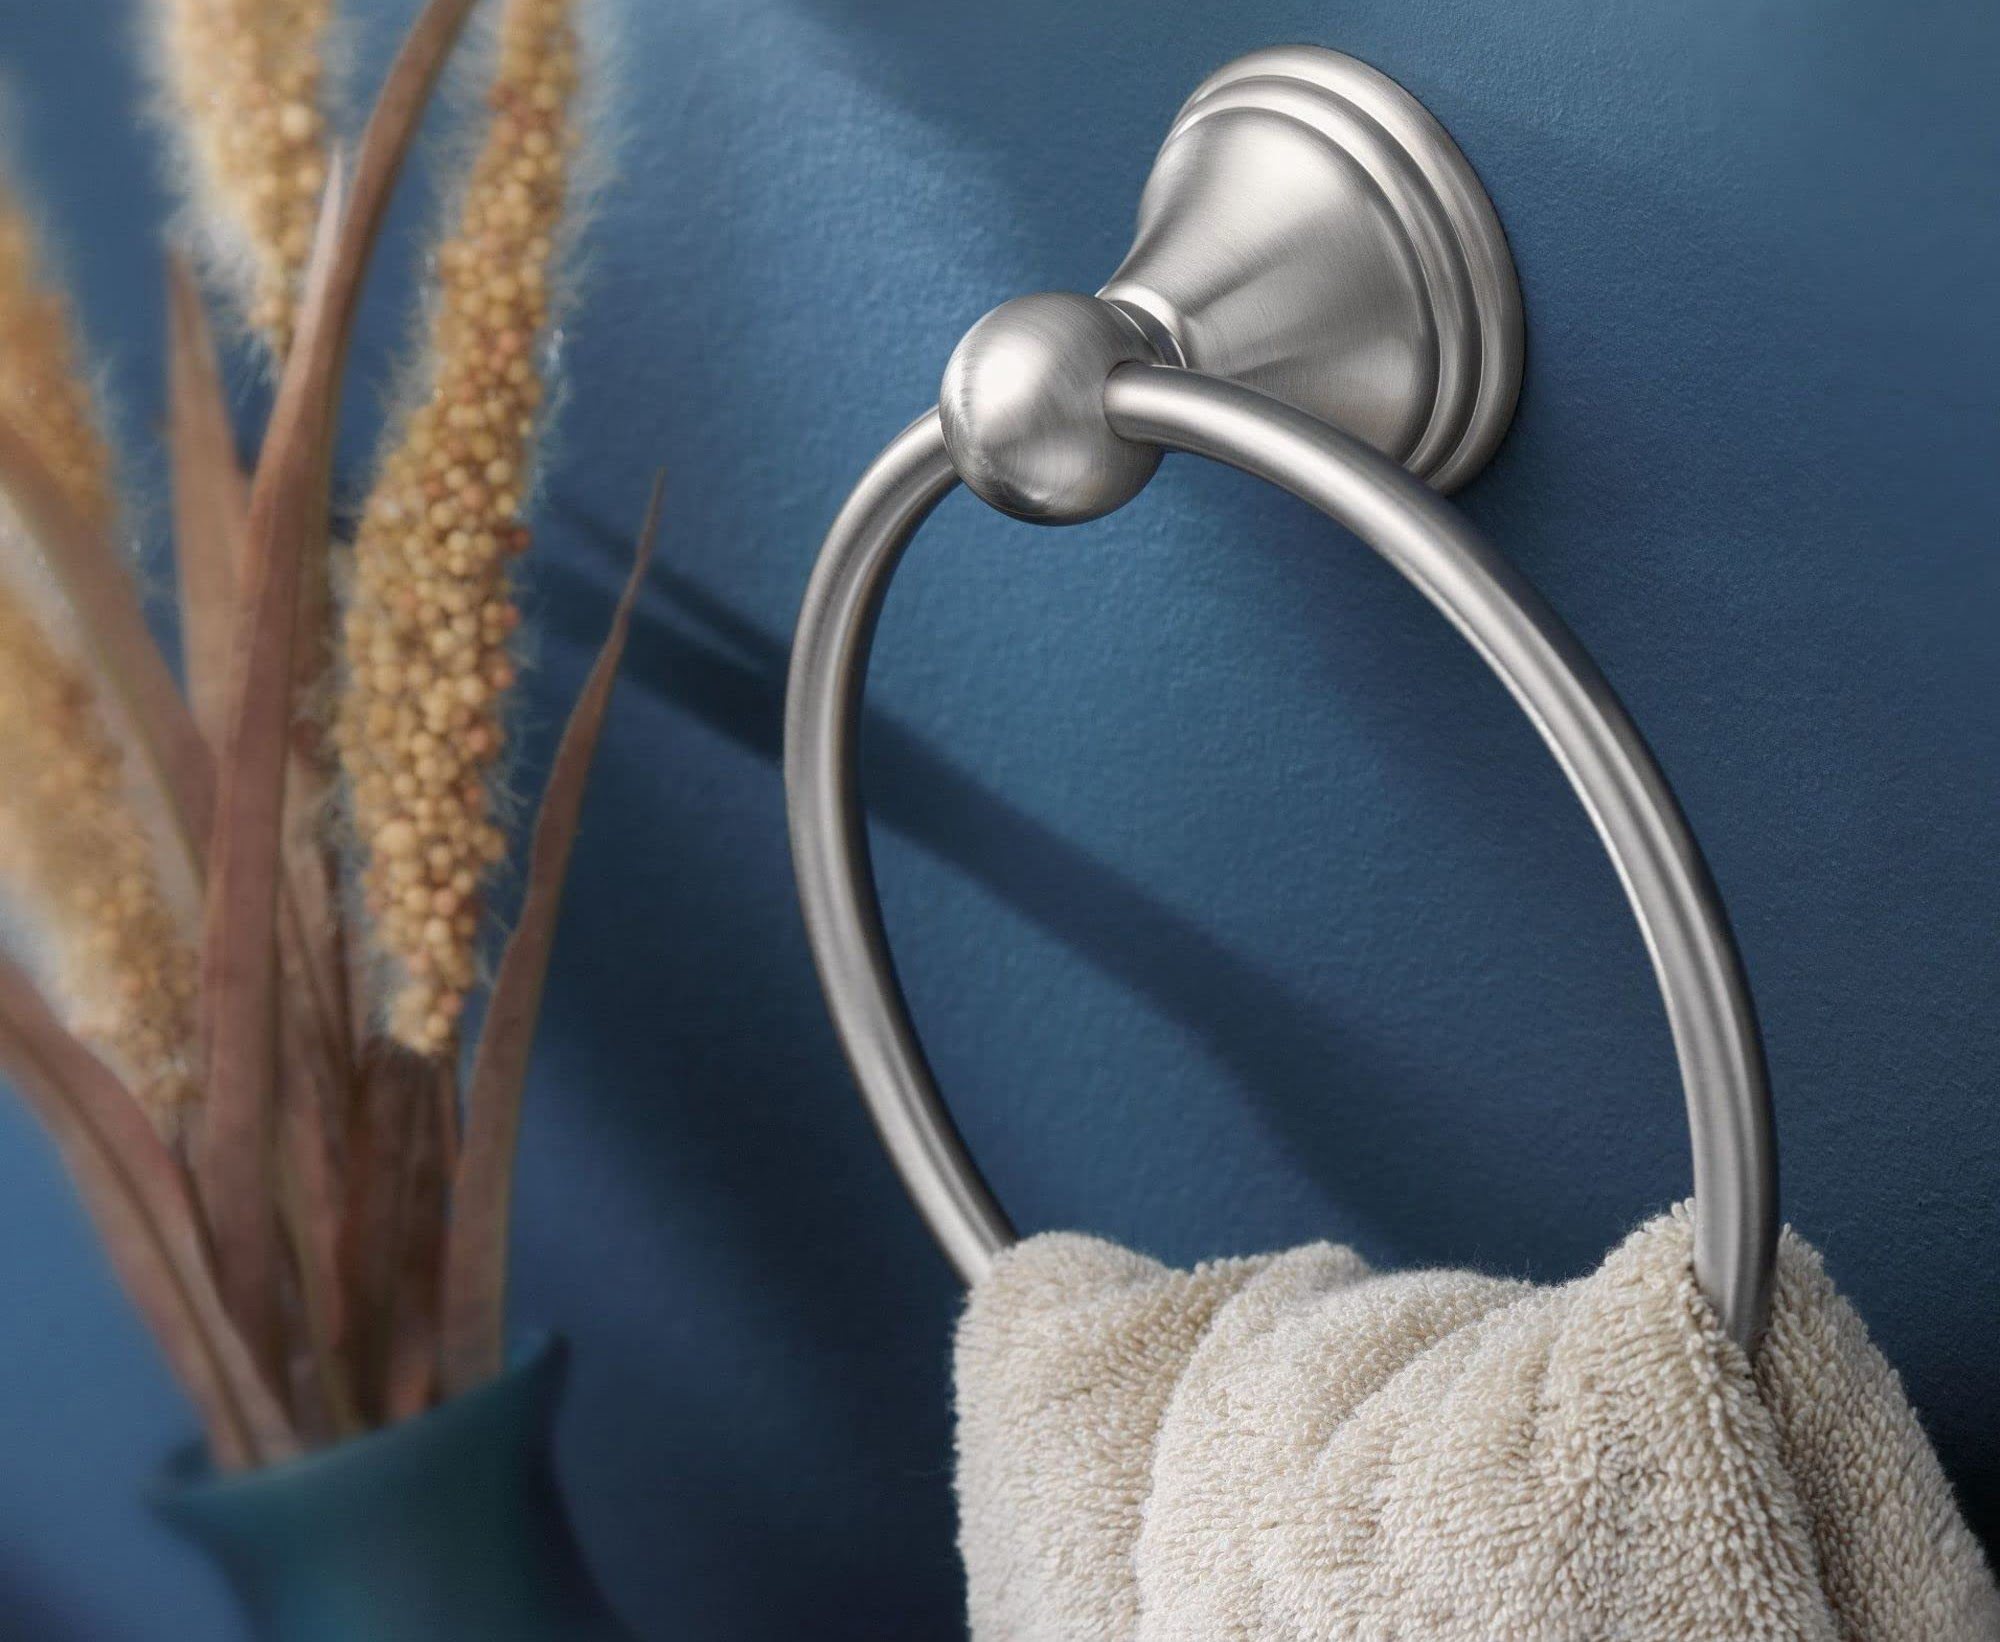
- Hang a Towel: Take a towel and hang it on the towel ring. Make sure to place it in a way that provides a comfortable reach and allows the towel to hang freely without touching the wall or any nearby fixtures.
- Apply Pressure: Apply gentle pressure to the towel, mimicking the action of pulling or tugging on it. This will test the stability and durability of the towel ring and the mounting bracket.
- Check for Stability: Observe the towel ring and mounting bracket for any signs of movement, wobbling, or loosening. It should remain stable and securely attached, even when pressure is applied to the towel.
If the towel ring and mounting bracket pass the test without any issues, congrats! You’ve successfully installed your Delta towel ring. The towel ring is ready for use, providing a convenient and stylish space to hang your towels in your bathroom.
However, if you notice any instability or loosening during the test, carefully inspect the installation to identify the problem. It may be necessary to go back to the previous steps and ensure that the mounting bracket is securely attached to the wall and that all screws and set screws are tightened properly.
By testing the installation, you can address any potential issues before they become a problem. It ensures that your towel ring will remain functional and reliable, making your daily routine more convenient.
With the installation tested and confirmed, you can now enjoy your new Delta towel ring with confidence. Congratulations on a successful install!
Read more: How To Install Chapter Towel Ring
Conclusion
Installing a Delta towel ring adds both functionality and style to your bathroom. With the step-by-step guide we’ve provided, you now have the knowledge and confidence to install your Delta towel ring with ease. Let’s recap the installation process:
- Gather all the necessary tools and materials.
- Select the ideal spot for installation, considering accessibility, height, and aesthetics.
- Prepare the mounting surface by checking the wall material, locating studs, and marking drill points.
- Install the mounting bracket securely and ensure it is level.
- Attach the Delta towel ring to the bracket, aligning the screw holes and tightening the screws.
- Secure the towel ring in place by tightening the set screw and ensuring it is level.
- Test the installation by hanging a towel and applying gentle pressure to ensure stability.
By following these steps, your Delta towel ring will be securely installed, providing a convenient place to hang your towels. Remember to consult the specific instructions provided by the manufacturer, as they may contain additional details or steps specific to your model of towel ring.
With your new towel ring installed, enjoy the functionality and aesthetic appeal it brings to your bathroom. Take pride in the accomplishment of a successful installation and take pleasure in the added convenience and organization it provides.
Thank you for choosing Delta and trusting our comprehensive guide to install your towel ring. We hope your installation process was smooth and hassle-free. Now, enjoy the convenience and elegance of your newly installed Delta towel ring!
Frequently Asked Questions about How To Install A Delta Towel Ring
Was this page helpful?
At Storables.com, we guarantee accurate and reliable information. Our content, validated by Expert Board Contributors, is crafted following stringent Editorial Policies. We're committed to providing you with well-researched, expert-backed insights for all your informational needs.

0 thoughts on “How To Install A Delta Towel Ring”