Articles
How To Install A Laundry Sink
Modified: October 28, 2024
Learn how to install a laundry sink with our comprehensive articles. Easy step-by-step guides for a hassle-free installation.
(Many of the links in this article redirect to a specific reviewed product. Your purchase of these products through affiliate links helps to generate commission for Storables.com, at no extra cost. Learn more)
Introduction
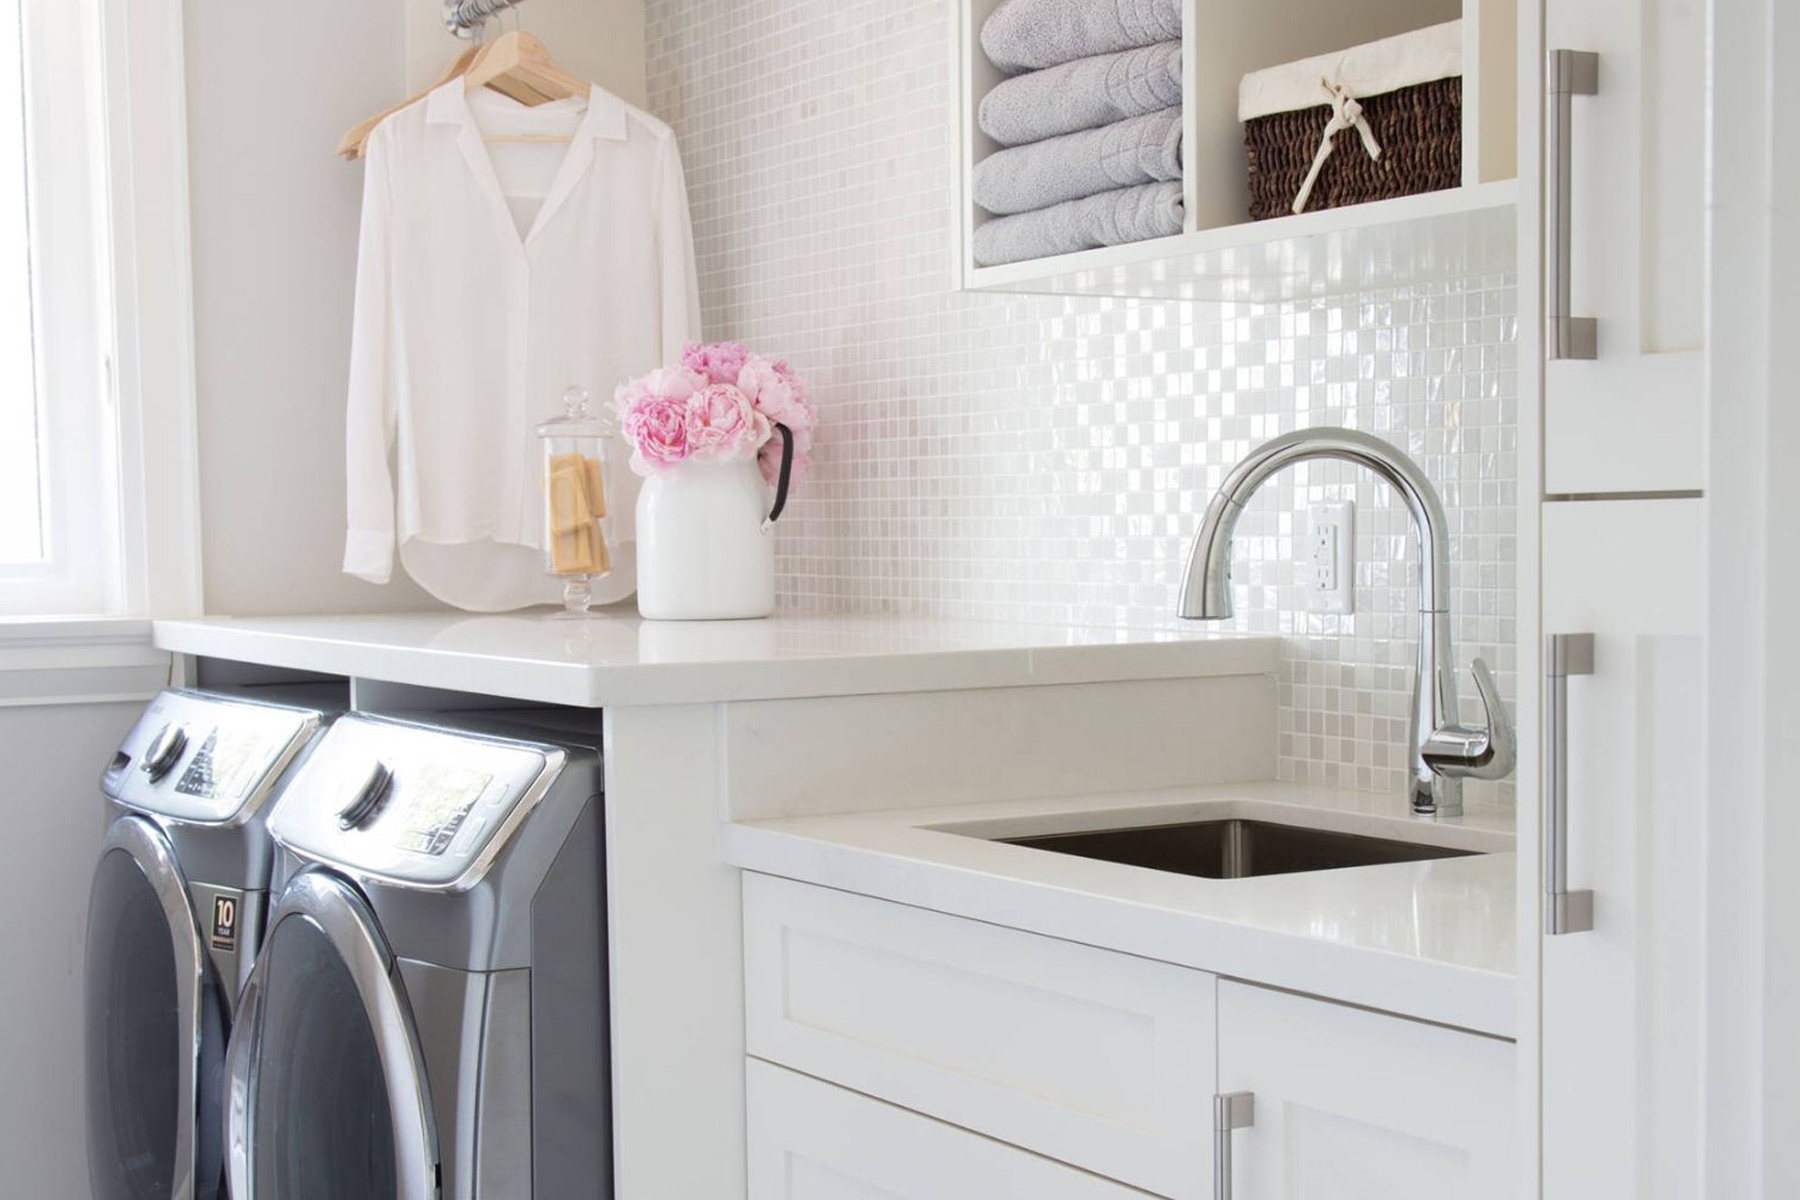
Welcome to this comprehensive guide on how to install a laundry sink! Having a laundry sink in your laundry room can be incredibly convenient and functional. It provides a designated area for handling dirty clothes, soaking stained garments, and washing items that require special care. Whether you’re a DIY enthusiast or simply looking to save some money by tackling the project yourself, this step-by-step guide will walk you through the process of installing a laundry sink.
Before we dive into the steps, it’s important to note that plumbing work can be complex and may require specific skills and tools. If you’re uncomfortable with any part of the process, it’s always best to consult a professional plumber. However, if you’re ready to take on the challenge, let’s get started!
In this guide, we’ll cover everything from gathering the necessary tools and materials to connecting the water supply lines and installing the drain pipe. We’ll also provide tips for securing the sink in place and testing for leaks to ensure a successful installation. By following these step-by-step instructions, you’ll have a fully functional laundry sink in no time!
So, whether you’re upgrading your laundry room or starting from scratch, let’s roll up our sleeves and learn how to install a laundry sink!
Key Takeaways:
- Installing a laundry sink can greatly enhance the functionality of your laundry room, providing a dedicated space for various tasks such as hand-washing delicate items, pre-soaking stained garments, and rinsing out cleaning supplies.
- Attention to detail is crucial when installing a laundry sink, from properly aligning the sink and ensuring secure connections to testing for leaks. This ensures smooth operation without any issues.
Read also: 8 Best Laundry Sink for 2025
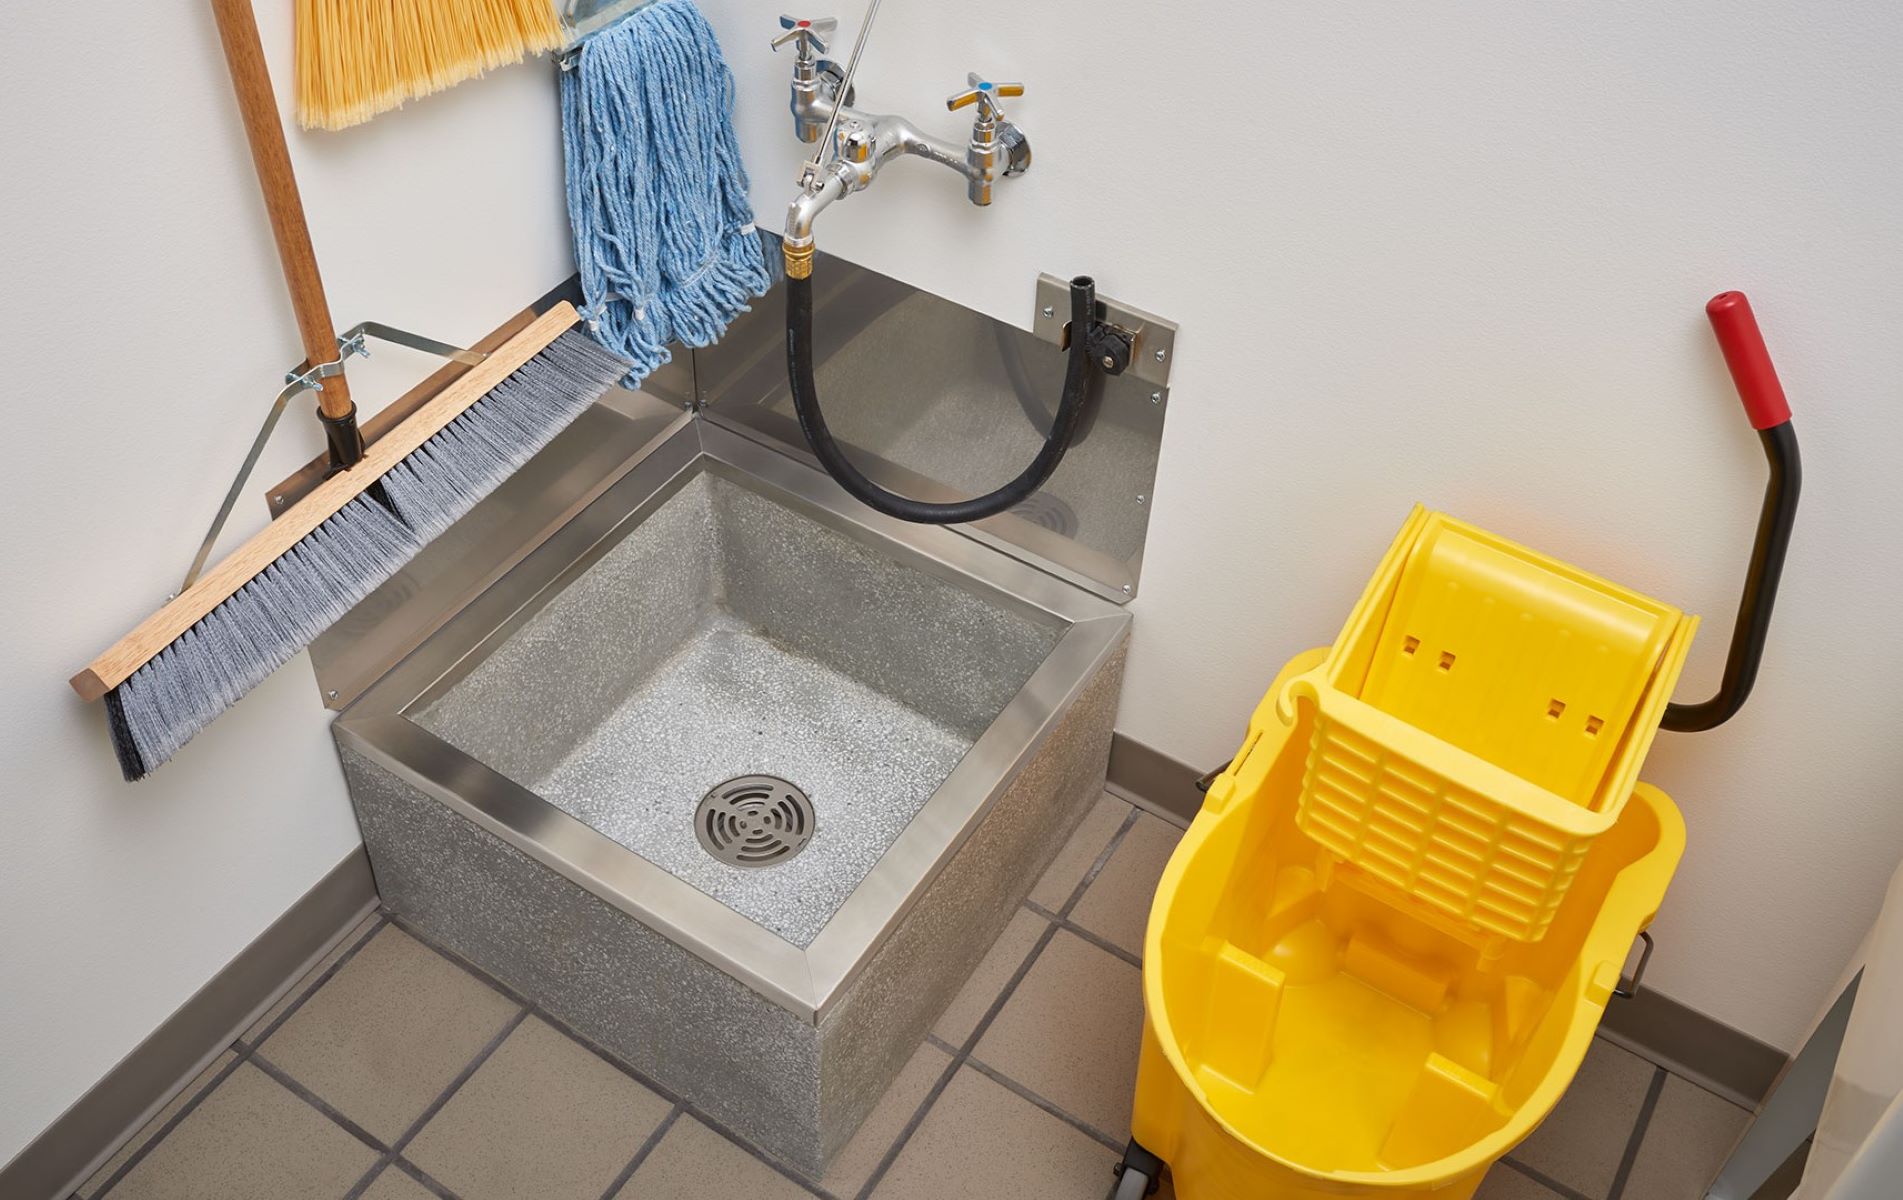
Step 1: Gather the Required Tools and Materials
Before you begin the installation process, it’s important to gather all the necessary tools and materials. Having everything on hand will ensure a smooth and efficient installation. Here’s a list of what you’ll need:
- Laundry sink and cabinet: Choose a sink and cabinet that suits your needs and fits in your laundry room space. Consider factors such as size, functionality, and style.
- Adjustable wrench: This tool will come in handy for tightening and loosening nuts and bolts.
- Pipe wrench: A pipe wrench is essential for working with plumbing pipes.
- Hacksaw: You’ll need a hacksaw to cut pipes to the required length.
- Teflon tape: Teflon tape will help create a watertight seal when connecting pipes.
- Screwdriver: Have a screwdriver on hand for securing the sink cabinet and other fixtures.
- Plumber’s putty: Plumber’s putty is necessary for creating a watertight seal around the sink drain.
- PVC primer and cement: If you’re using PVC pipes for the drain, you’ll need primer and cement to create secure connections.
- PVC trap assembly: The trap assembly will be used to connect the sink drain to the main sewer line.
- Water supply lines: Depending on your setup, you may need flexible or hard copper supply lines to connect the sink to the water supply.
- Hole saw: If your sink cabinet does not have a pre-cut hole for the sink, a hole saw will be necessary to create one.
- Caulk or silicone: Caulk or silicone will be used to seal any gaps or joints to prevent water leaks.
By gathering all of these tools and materials prior to starting the installation, you’ll have everything within reach and be prepared for each step of the process. It’s always better to be over-prepared than to find yourself missing a crucial item in the middle of the installation.
Step 2: Prepare the Plumbing
Before installing the sink, it’s essential to prepare the plumbing to ensure proper functionality. This step involves assessing the existing plumbing setup and making any necessary adjustments or modifications. Here’s what you need to do:
- Locate the hot and cold water supply lines: Identify the hot and cold water supply lines in your laundry room. These are typically located behind the washing machine or nearby plumbing fixtures.
- Shut off the water supply: Before working on the plumbing, it’s crucial to turn off the water supply. Locate the shut-off valves for the hot and cold water lines, usually located on the pipes beneath the sink or somewhere along the main water line.
- Drain any remaining water: To prevent water spillage during the installation, drain any water remaining in the pipes by turning on a faucet at a lower point in the house.
- Measure and mark the location of the sink drain: Position the sink cabinet against the wall and mark the location for the drain pipe. For new installations, this may require creating a hole in the cabinet floor to accommodate the drain pipe.
- Measure and cut the drain pipe: Using a hacksaw, carefully measure and cut the drain pipe to the appropriate length. This will depend on the distance between the sink drain and the main sewer line.
- Connect the drain pipe: Attach the drain pipe to the sink drain using a PVC trap assembly. Make sure to apply PVC primer and cement to the pipe ends for a secure and watertight connection.
- Check for proper alignment: Ensure that the drain pipe is properly aligned and level. Use a level tool to verify that the pipe has a slight downward slope towards the main sewer line. This will facilitate proper drainage.
- Inspect for leaks: Once the drain pipe is connected and aligned, turn on the water supply briefly to check for any water leaks. If there are any leaks, tighten the connections or apply additional Teflon tape as needed.
By preparing the plumbing before installing the sink, you’ll avoid any complications or issues down the line. Take the time to assess the existing plumbing and make any necessary adjustments to ensure a smooth installation process.
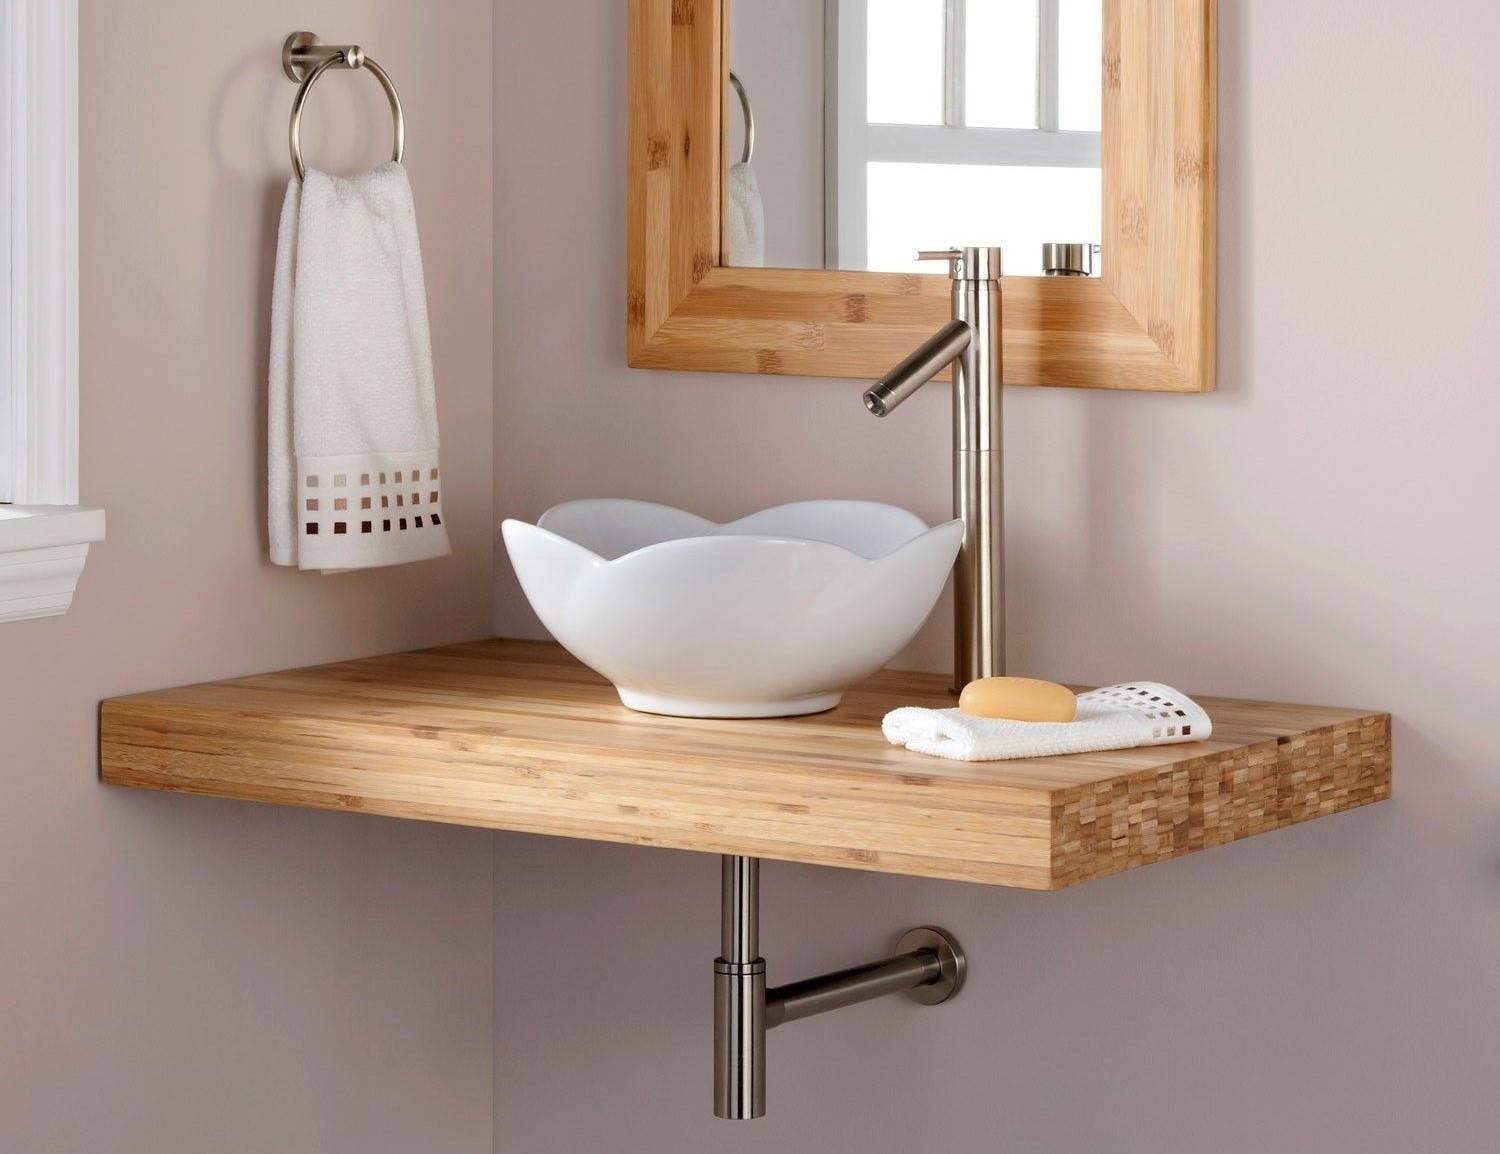
Step 3: Install the Sink Cabinet
With the plumbing prepared, it’s time to install the sink cabinet. This step involves securing the cabinet to the wall and ensuring it is level and stable. Follow these steps to install the sink cabinet:
- Position the sink cabinet: Determine the ideal location for the sink cabinet in your laundry room. Take into account any existing plumbing connections and the proximity to other fixtures or appliances.
- Mark the position on the wall: Use a pencil or marker to mark the top and bottom edges of the sink cabinet on the wall. This will guide you when attaching the cabinet securely.
- Locate wall studs: Use a stud finder to locate the wall studs behind the marked area. This step is crucial for ensuring a stable and secure installation of the sink cabinet.
- Drill pilot holes: Once the studs are located, drill pilot holes through the back of the sink cabinet using an appropriate sized drill bit. These holes will be used to attach the cabinet to the wall.
- Attach the cabinet to the wall: Position the cabinet against the wall, aligning the pilot holes with the wall studs. Securely attach the cabinet to the wall using screws or mounting brackets.
- Check for levelness: Use a level tool to verify that the sink cabinet is level. Adjust as needed by adding shims or making slight adjustments to the cabinet position.
- Secure the cabinet to the floor: If necessary, use screws or brackets to secure the base of the sink cabinet to the floor. This will provide additional stability and prevent any wobbling or movement.
Installing the sink cabinet is an important step in the process, as it sets the foundation for the rest of the installation. Take the time to ensure the cabinet is securely attached to the wall and level for a professional and functional finished result.
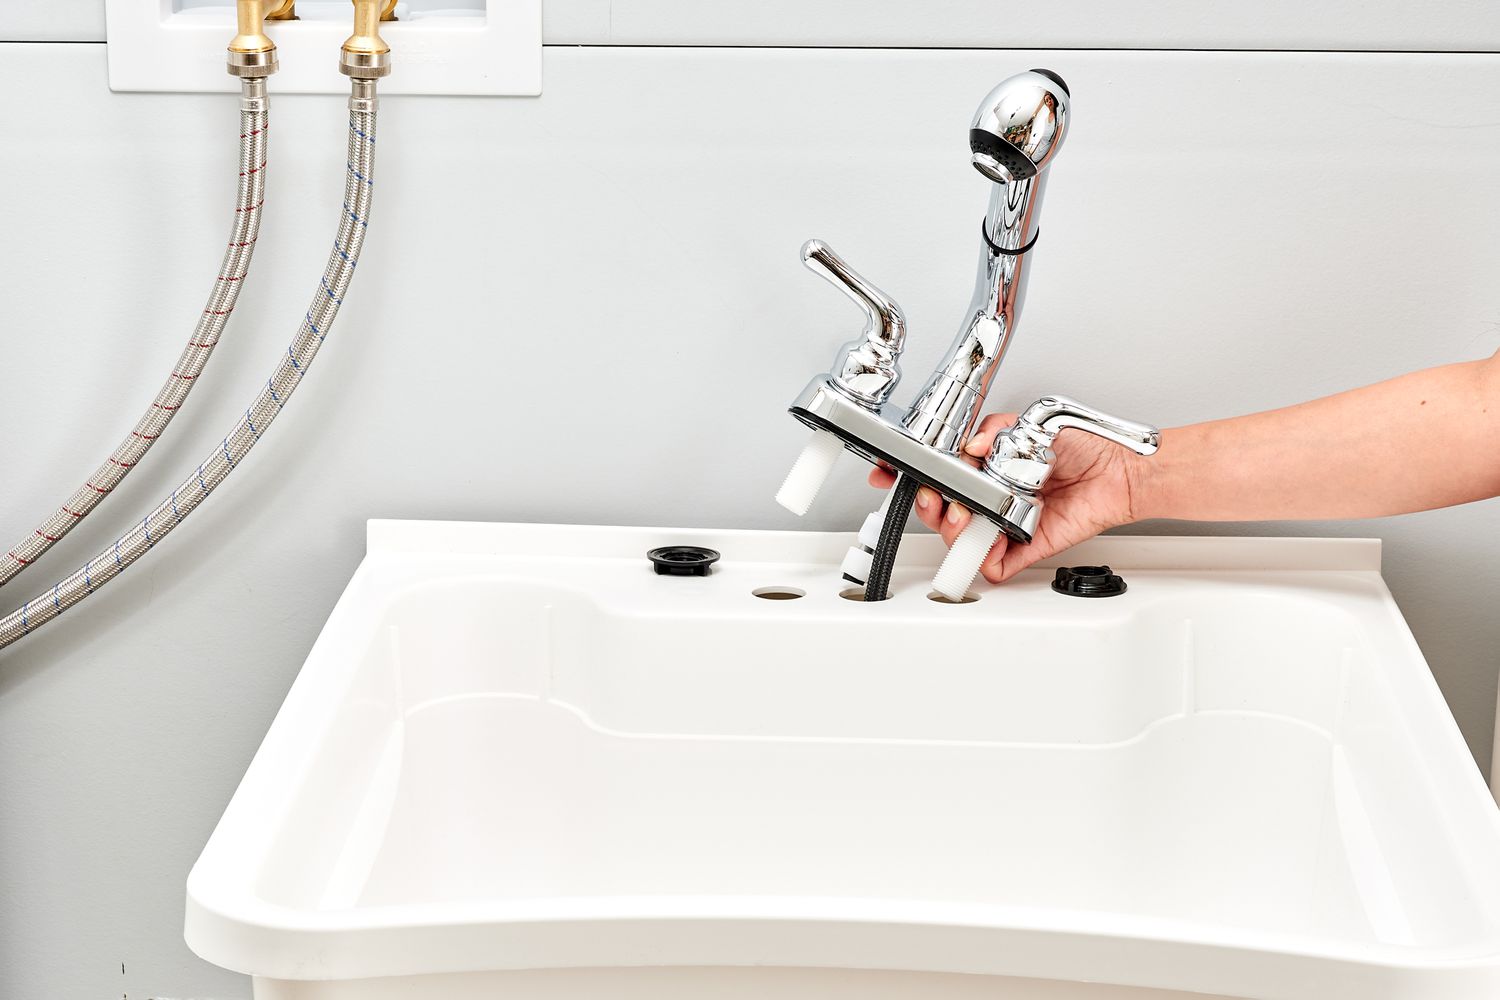
Step 4: Connect the Water Supply Lines
Once the sink cabinet is installed, it’s time to connect the water supply lines. This step involves bringing in hot and cold water to the sink for both faucet usage and potential attachments such as a washing machine. Here’s how to connect the water supply lines:
- Locate the shut-off valves: Determine the location of the shut-off valves for the hot and cold water lines. These valves are typically located near or behind the sink cabinet.
- Prepare the supply lines: Measure and cut the water supply lines to the appropriate length. It’s best to use flexible supply lines that can be easily adjusted to connect to the sink faucet.
- Apply Teflon tape: Wrap Teflon tape around the threaded ends of the supply lines. This will create a tight seal and prevent any leaks.
- Attach the supply lines: Connect one end of each supply line to the shut-off valves. Use an adjustable wrench to tighten the connections. Be careful not to overtighten and damage the threads.
- Connect the other end: Attach the other end of each supply line to the corresponding inlet on the underside of the sink faucet. Again, use an adjustable wrench to tighten the connections securely.
- Test for leaks: Once the connections are made, slowly turn on the water supply at the shut-off valves. Check for any signs of leaks around the supply line connections. If there are any leaks, tighten the connections or apply additional Teflon tape as needed.
Connecting the water supply lines is a crucial step in the installation process, as it ensures that water can be easily accessed for various tasks in your laundry room. Take the time to properly connect the supply lines to prevent any future leaks or issues.
When installing a laundry sink, make sure to properly secure the sink to the wall and floor to prevent any movement or instability. This will ensure the sink remains in place and functions properly for the long term.
Read more: How To Install A Sink Faucet
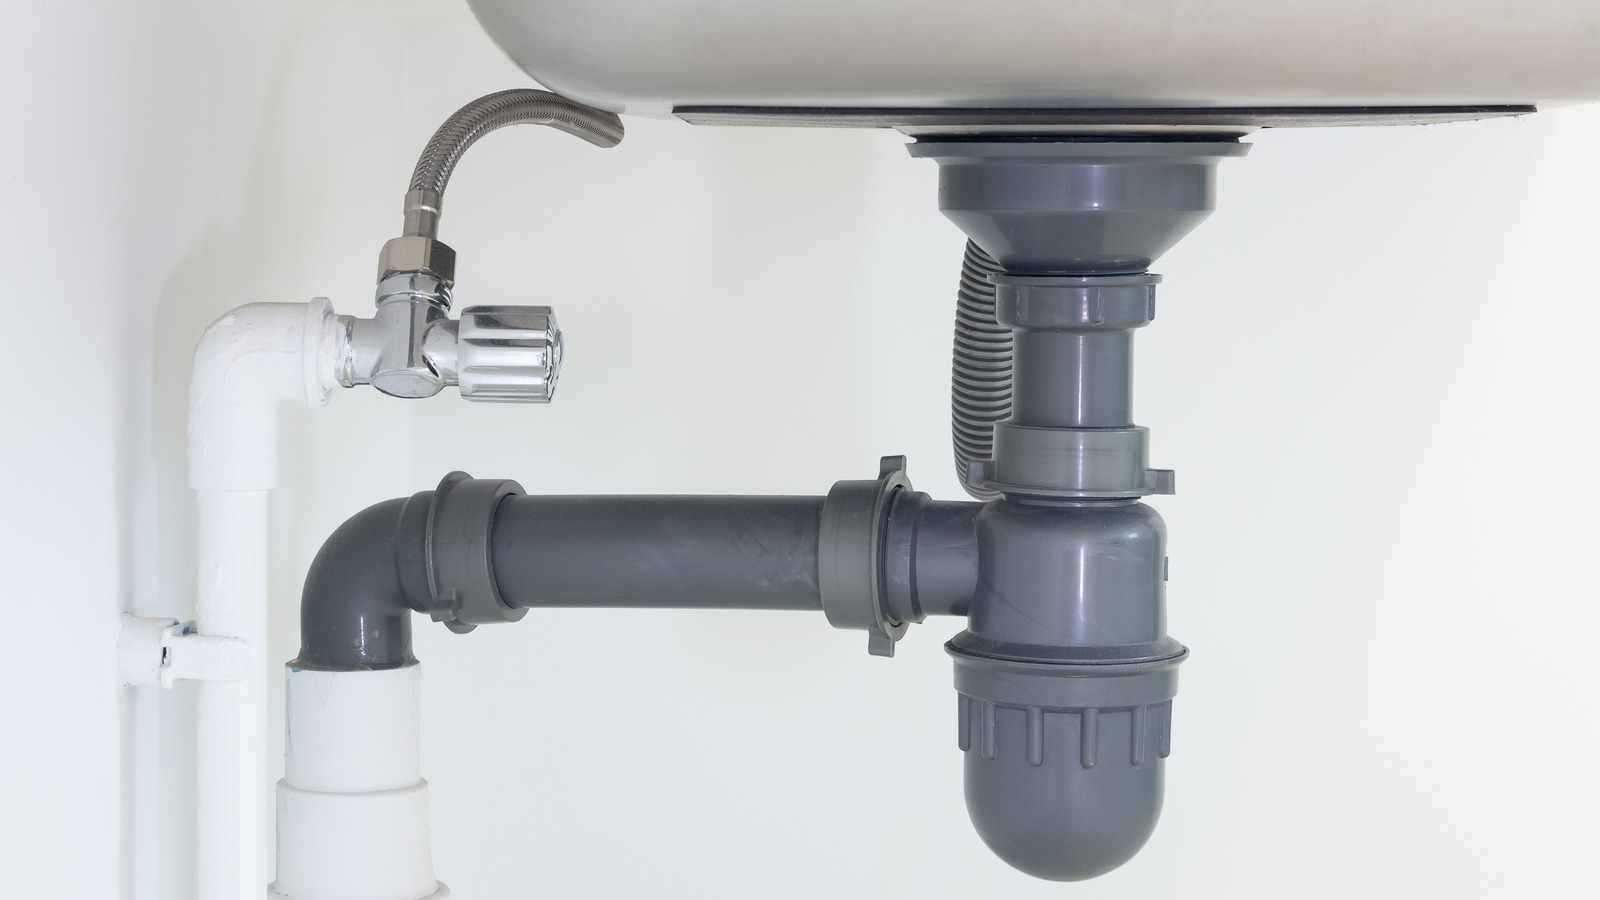
Step 5: Install the Drain Pipe
With the water supply lines connected, it’s time to install the drain pipe. The drain pipe is responsible for carrying wastewater from the sink to the main sewer line. Follow these steps to install the drain pipe:
- Measure and cut the drain pipe: Measure the distance between the sink drain and the main sewer line. Using a hacksaw, carefully cut the drain pipe to the appropriate length.
- Apply plumber’s putty: Roll plumber’s putty into a thin, snake-like shape and apply it around the sink drain opening. This will create a watertight seal between the sink drain and the drain pipe.
- Attach the drain pipe to the sink drain: Insert the end of the drain pipe into the sink drain opening. Apply gentle pressure to ensure a snug fit. Wipe away any excess putty that may squeeze out.
- Connect the drain pipe to the main sewer line: Depending on your plumbing setup, you may need to connect the drain pipe to a P-trap or directly to the main sewer line. Follow the appropriate steps for your specific configuration.
- Secure the connections: Use a pipe wrench to tighten the connections between the drain pipe and the P-trap or main sewer line. Ensure that the connections are securely tightened, but avoid overtightening to prevent damage.
- Double-check for leaks: Turn on the water and let it run through the sink for a few minutes. Inspect the connections for any signs of leaks. Tighten or adjust as necessary.
Installing the drain pipe is crucial for proper drainage and the prevention of clogs. Take the time to ensure that the connections are secure and tight, double-checking for any leaks. This will ensure that wastewater is effectively carried away from the sink.
Step 6: Secure the Sink in Place
Now that the plumbing is complete, it’s time to secure the sink in place. This step ensures that the sink is stable and properly aligned with the countertop. Follow these steps to securely install the sink:
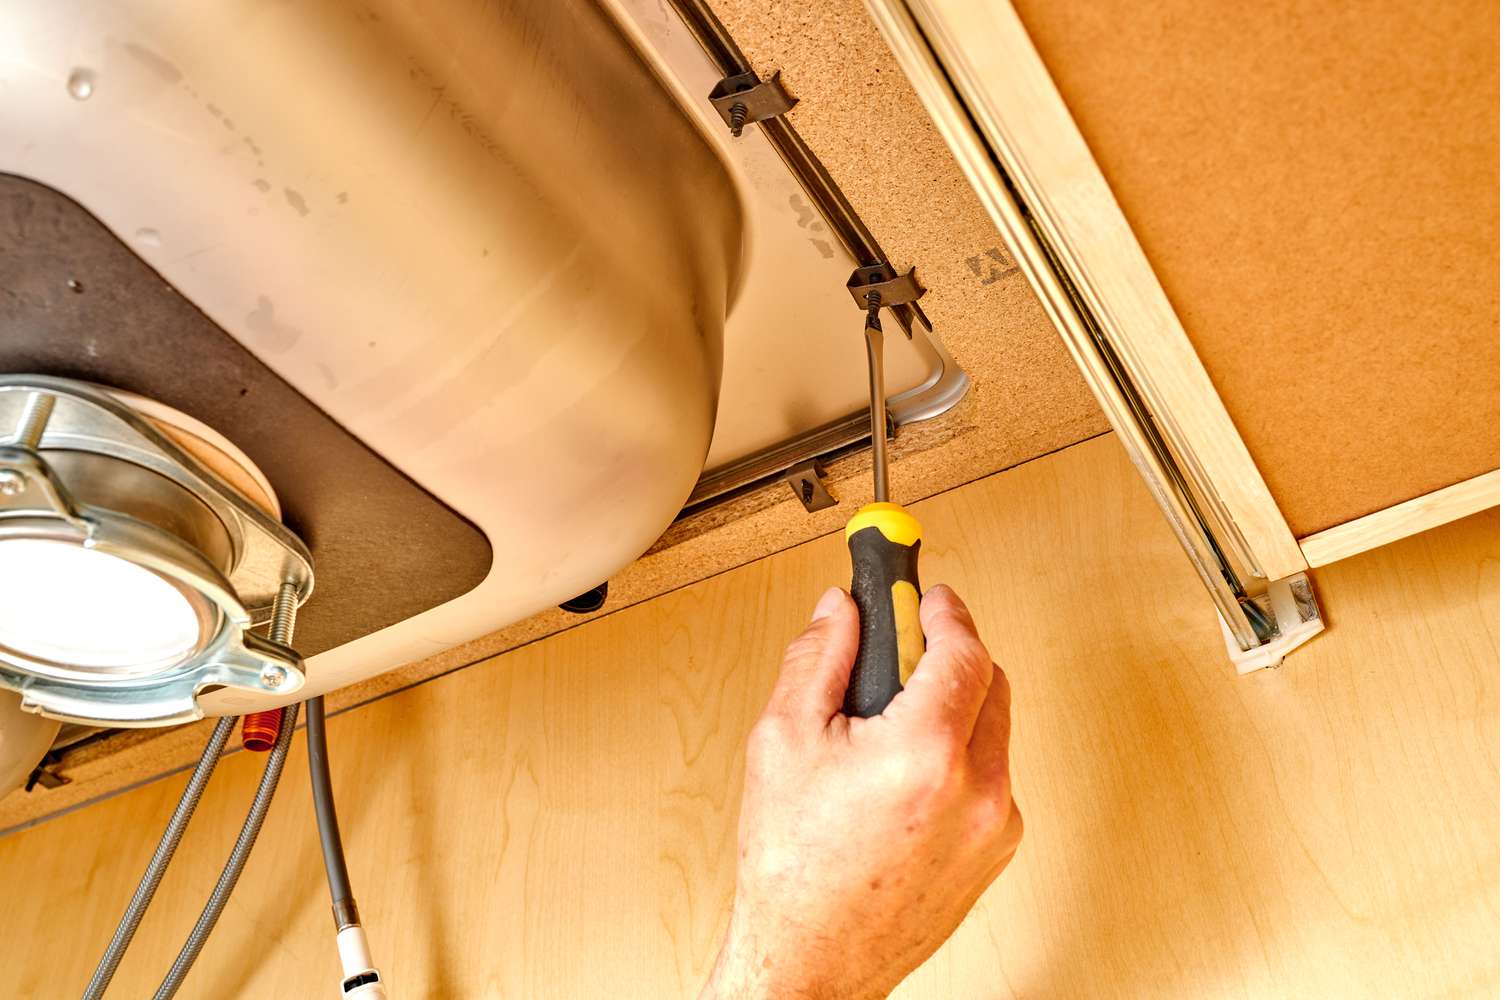
- Position the sink: Carefully place the sink onto the sink cabinet, aligning it with the pre-cut hole or marking made earlier.
- Apply a bead of caulk: Run a thin bead of caulk around the edge of the sink where it meets the countertop. This creates a watertight seal and helps prevent water from seeping underneath the sink.
- Press the sink firmly: Press down firmly on the sink to set it in place and create a strong bond between the caulk and the countertop. Ensure that the sink is level and centered within the cabinet.
- Clean up any excess caulk: Use a damp cloth or sponge to wipe away any excess caulk that may have squeezed out during the installation.
- Let the caulk fully cure: Allow the caulk to cure completely, following the manufacturer’s instructions. This will typically take several hours or overnight.
Securing the sink in place is important for its stability and longevity. The caulk provides an additional layer of protection and prevents water damage to the countertop and cabinet. Take the time to properly position and secure the sink for a professional and secure installation.
Step 7: Test for Leaks
After installing the sink and completing all the necessary connections, it’s crucial to test for any potential leaks. Water leaks can cause damage to your laundry room and may require additional repairs down the line. Follow these steps to test for leaks:
- Turn on the water supply: Slowly turn on the water supply at the shut-off valves. Allow the water to run through the faucets and drain for a few minutes.
- Check connections: Inspect all the connections, including the water supply lines, drain pipe, and faucet connections. Look for any signs of water leakage or dripping.
- Inspect the sink cabinet: Carefully examine the inside of the sink cabinet for any water accumulation or moisture. This could indicate a leak or improper sealing around the sink.
- Test the drain: Fill the sink with water and let it drain completely. Observe the drain pipe for any leaks, ensuring that the water flows smoothly without any backups.
- Check for any additional leaks: Look for any visible water leaks around the base of the sink, faucet handles, or any other areas that may indicate a problem.
If you notice any leaks during the testing process, take immediate action to address them. Tighten any loose connections, apply additional Teflon tape or plumber’s putty, or consult a professional plumber if needed. It’s important to ensure that all connections are tight and secure to prevent any water damage.
By thoroughly testing for leaks, you can identify and address any issues before they become major problems. This step gives you peace of mind that your newly installed laundry sink is functioning correctly and won’t cause any water-related issues in the future.
Step 8: Final Touches and Clean-up
With the installation process nearly complete, it’s time to add the final touches and perform a thorough clean-up. This step ensures that your laundry room is neat, organized, and ready to use. Follow these steps to finish the installation:
- Trim any excess caulk: Use a utility knife or caulk remover tool to carefully trim any excess caulk around the edges of the sink and countertop. This will give the installation a clean and professional appearance.
- Wipe down the sink and countertop: Use a damp cloth or sponge to wipe down the sink and countertop, removing any dirt, dust, or debris that may have accumulated during the installation process.
- Clean up the work area: Collect and dispose of any packaging materials, tools, or debris from the installation. Sweep or vacuum the floor to remove any loose dirt or dust.
- Organize the space: Take the opportunity to rearrange and organize your laundry room essentials, such as detergent, fabric softener, and laundry baskets. This will make the space more functional and efficient.
- Test the functionality: Turn on the faucet and ensure that both hot and cold water are flowing properly. Check the drain to ensure it is functioning correctly and doesn’t create any backups.
- Enjoy your new laundry sink: With the installation complete and everything cleaned up, it’s time to enjoy the convenience and functionality of your newly installed laundry sink! Use it to tackle all your laundry needs with ease.
Completing the final touches and clean-up is an important step in the installation process. It ensures that your laundry room is organized and ready for use, allowing you to make the most of your new laundry sink.
Congratulations! You’ve successfully installed a laundry sink. By following these step-by-step instructions, you’ve created a functional and convenient space for all your laundry needs. Enjoy the benefits of having a dedicated sink for your laundry room!
Read more: How To Install A Sink Disposal
Conclusion
Installing a laundry sink is a rewarding and practical project that can greatly enhance the functionality of your laundry room. By following this comprehensive guide, you’ve learned how to install a laundry sink step-by-step. From gathering the necessary tools and materials to securing the sink in place, connecting the plumbing, testing for leaks, and adding the final touches, you’ve gained the knowledge and confidence to complete this project successfully.
Remember that plumbing work can be complex, and if you’re ever uncertain or uncomfortable, it’s recommended to consult a professional plumber. Safety should always be a top priority when working with water and plumbing systems.
Having a laundry sink is incredibly beneficial. It provides a dedicated space for various laundry-related tasks, such as hand-washing delicate items, pre-soaking stained garments, or even rinsing out cleaning supplies. Additionally, a laundry sink can serve as a convenient utility sink for cleaning tools or gardening equipment.
Throughout the installation process, it’s important to pay attention to details, such as properly aligning the sink, ensuring secure connections, and testing for leaks. This attention to detail will ensure that your sink operates smoothly without any issues.
Now that you have successfully installed a laundry sink, take the time to enjoy your new space and its added functionality. Organize your laundry room, create a space where you can efficiently tackle your laundry tasks, and enjoy the convenience of having a dedicated sink for all your cleaning needs.
Thank you for following this guide on how to install a laundry sink. With your newly acquired knowledge, you can confidently tackle future DIY projects and continue to improve your home. Happy washing!
Frequently Asked Questions about How To Install A Laundry Sink
Was this page helpful?
At Storables.com, we guarantee accurate and reliable information. Our content, validated by Expert Board Contributors, is crafted following stringent Editorial Policies. We're committed to providing you with well-researched, expert-backed insights for all your informational needs.


0 thoughts on “How To Install A Laundry Sink”