
Articles
How To Install Driver For Network Adapter
Modified: December 7, 2023
Learn how to install drivers for your network adapter with our comprehensive articles. Enhance your networking skills and troubleshoot connectivity issues with ease.
(Many of the links in this article redirect to a specific reviewed product. Your purchase of these products through affiliate links helps to generate commission for Storables.com, at no extra cost. Learn more)
Introduction
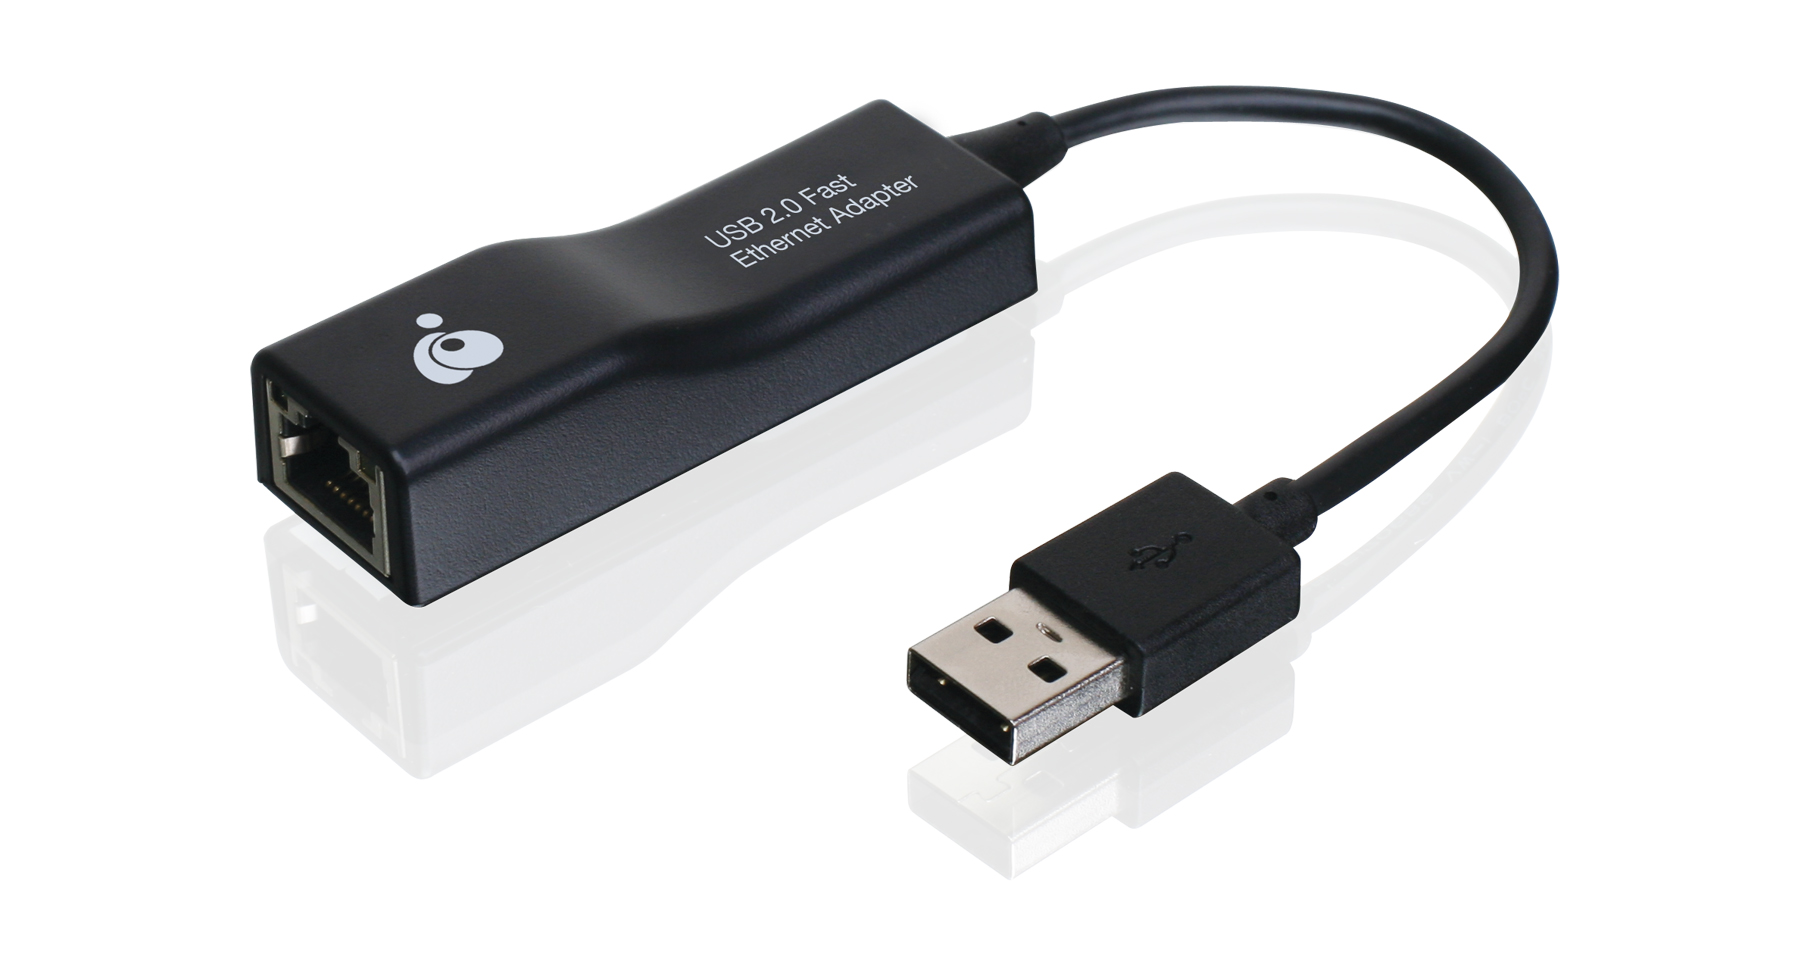
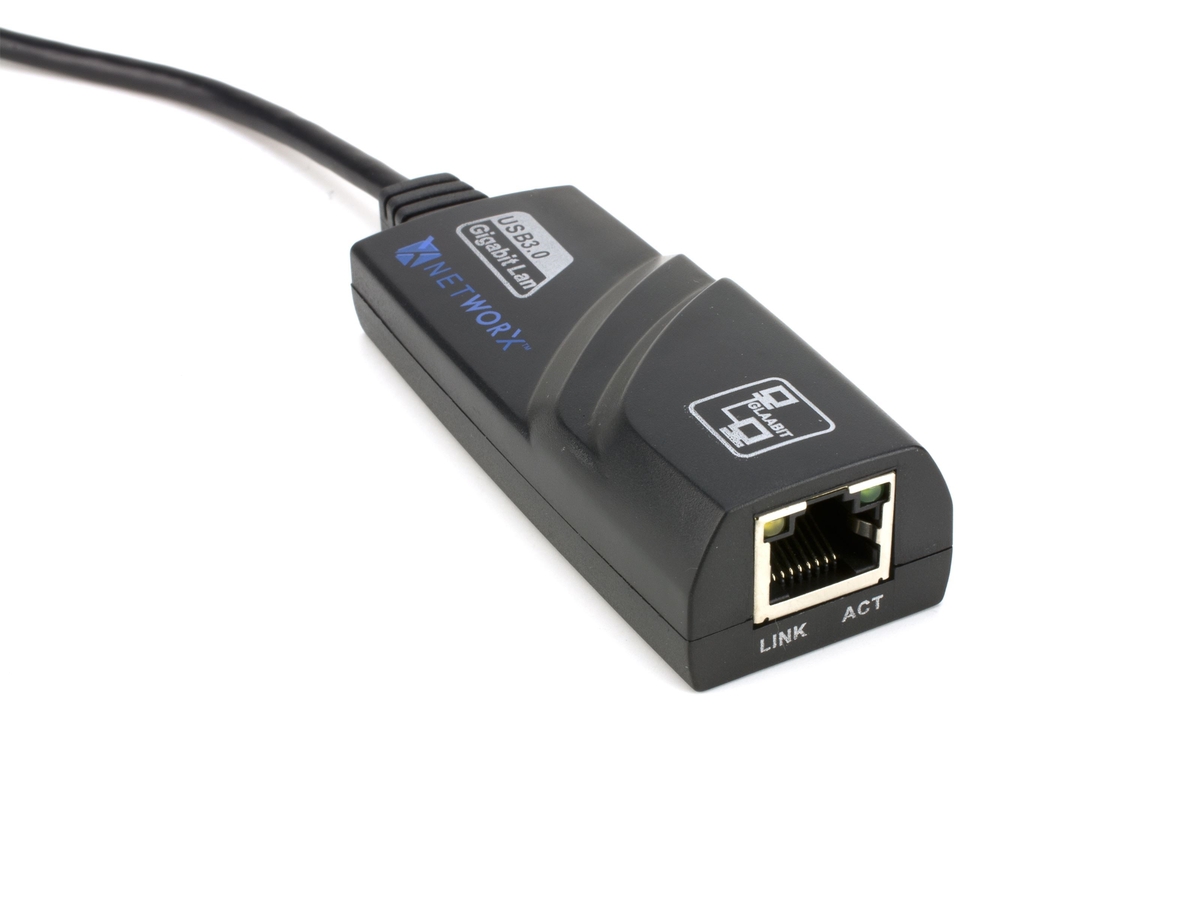
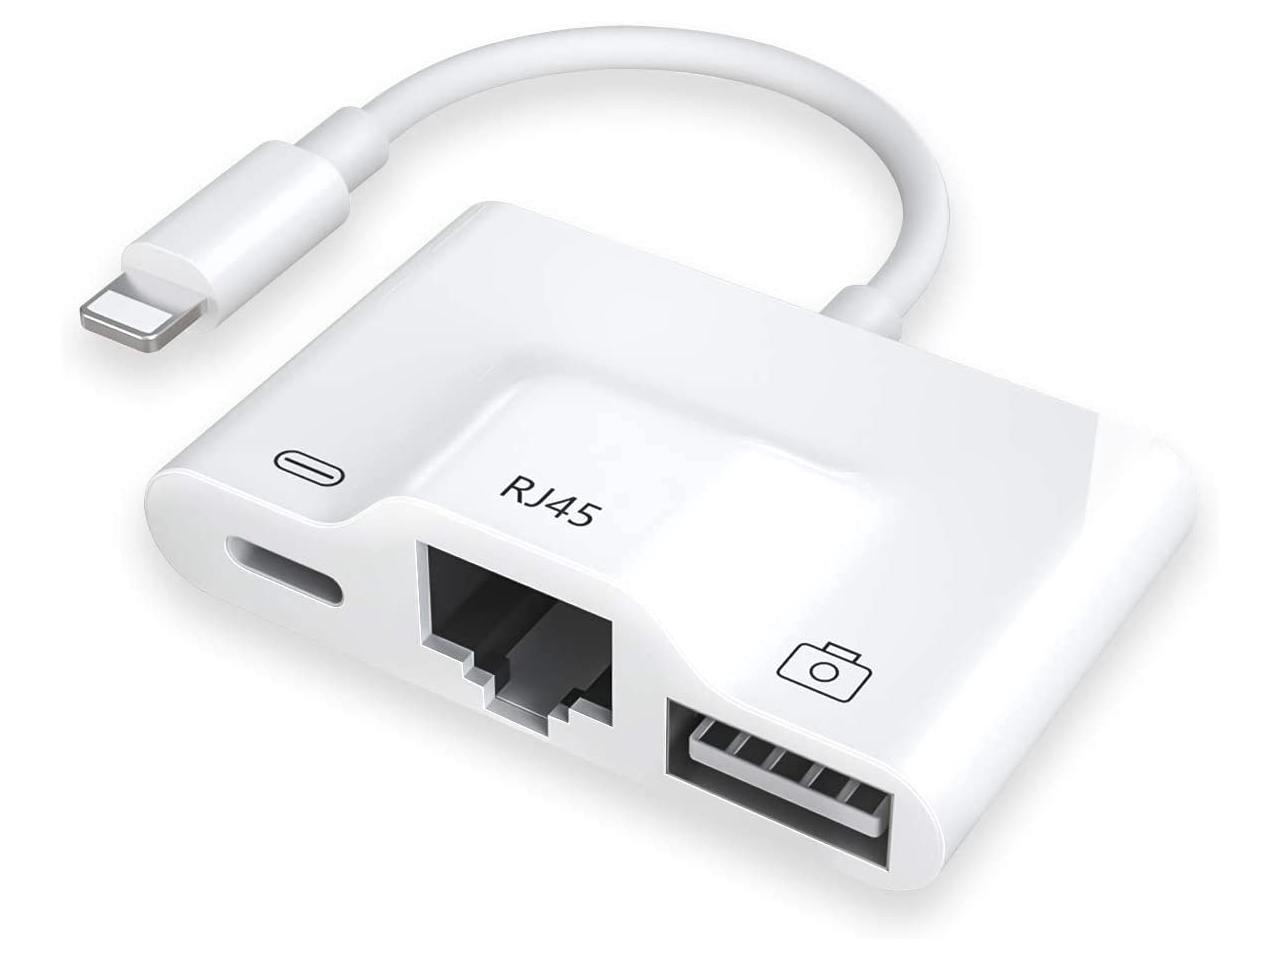
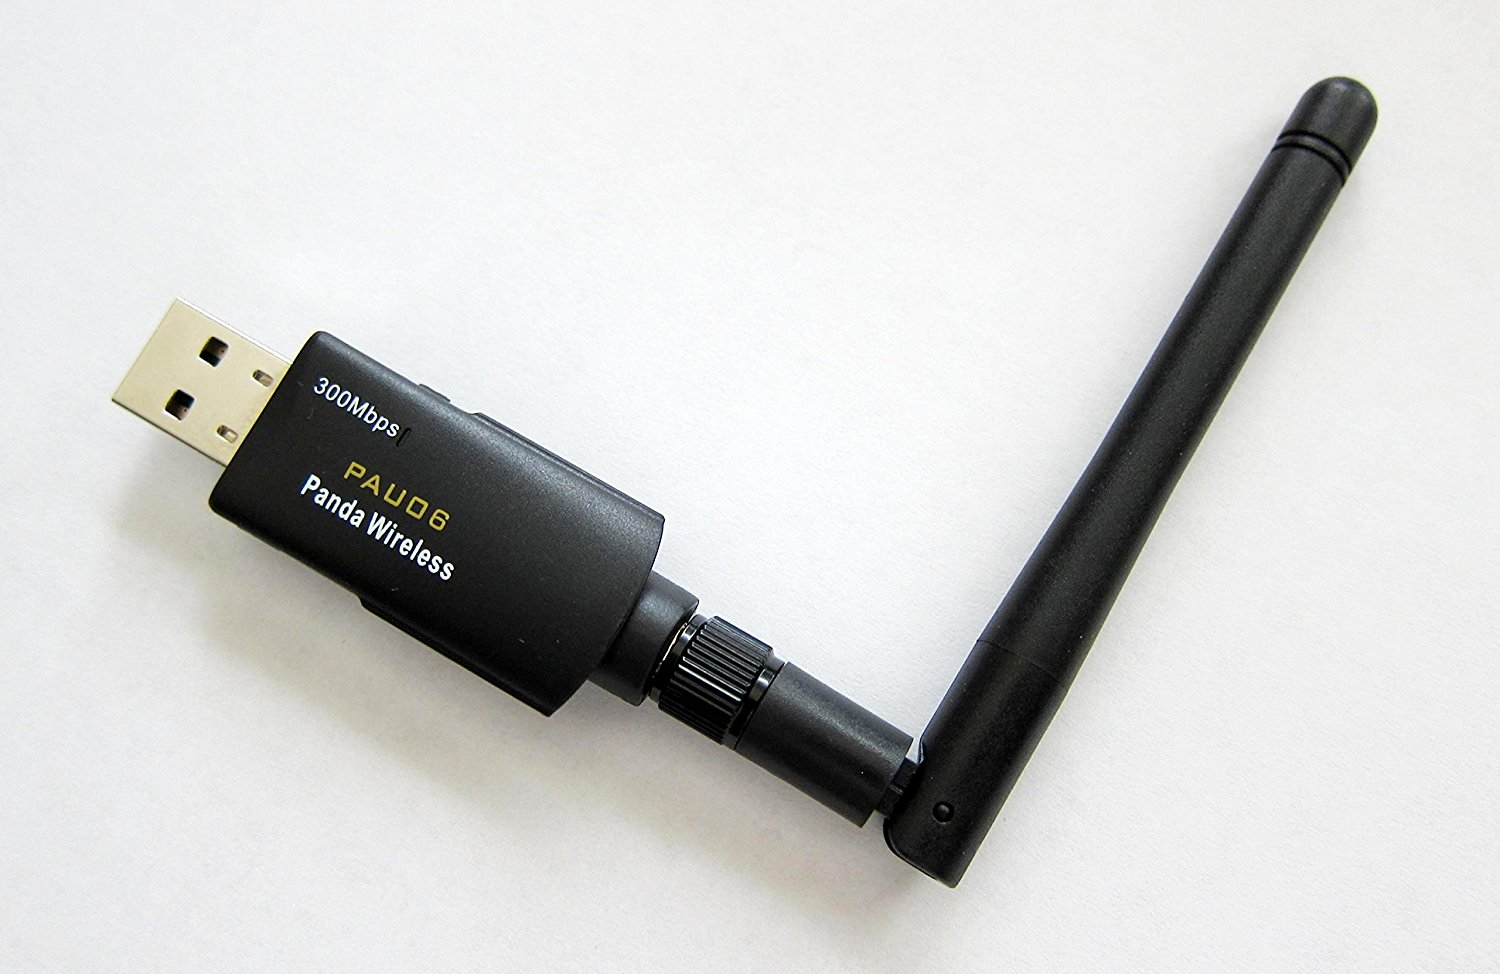
Installing a driver for a network adapter is a crucial step in ensuring the proper functioning of your computer’s network connectivity. A network adapter, also known as a network interface card (NIC), is responsible for connecting your computer to a local area network (LAN) or the internet.
When you connect a new network adapter to your computer or if the existing driver becomes outdated or corrupted, you may experience various network-related issues, such as slow internet speed, connectivity problems, or even the inability to connect to a network altogether.
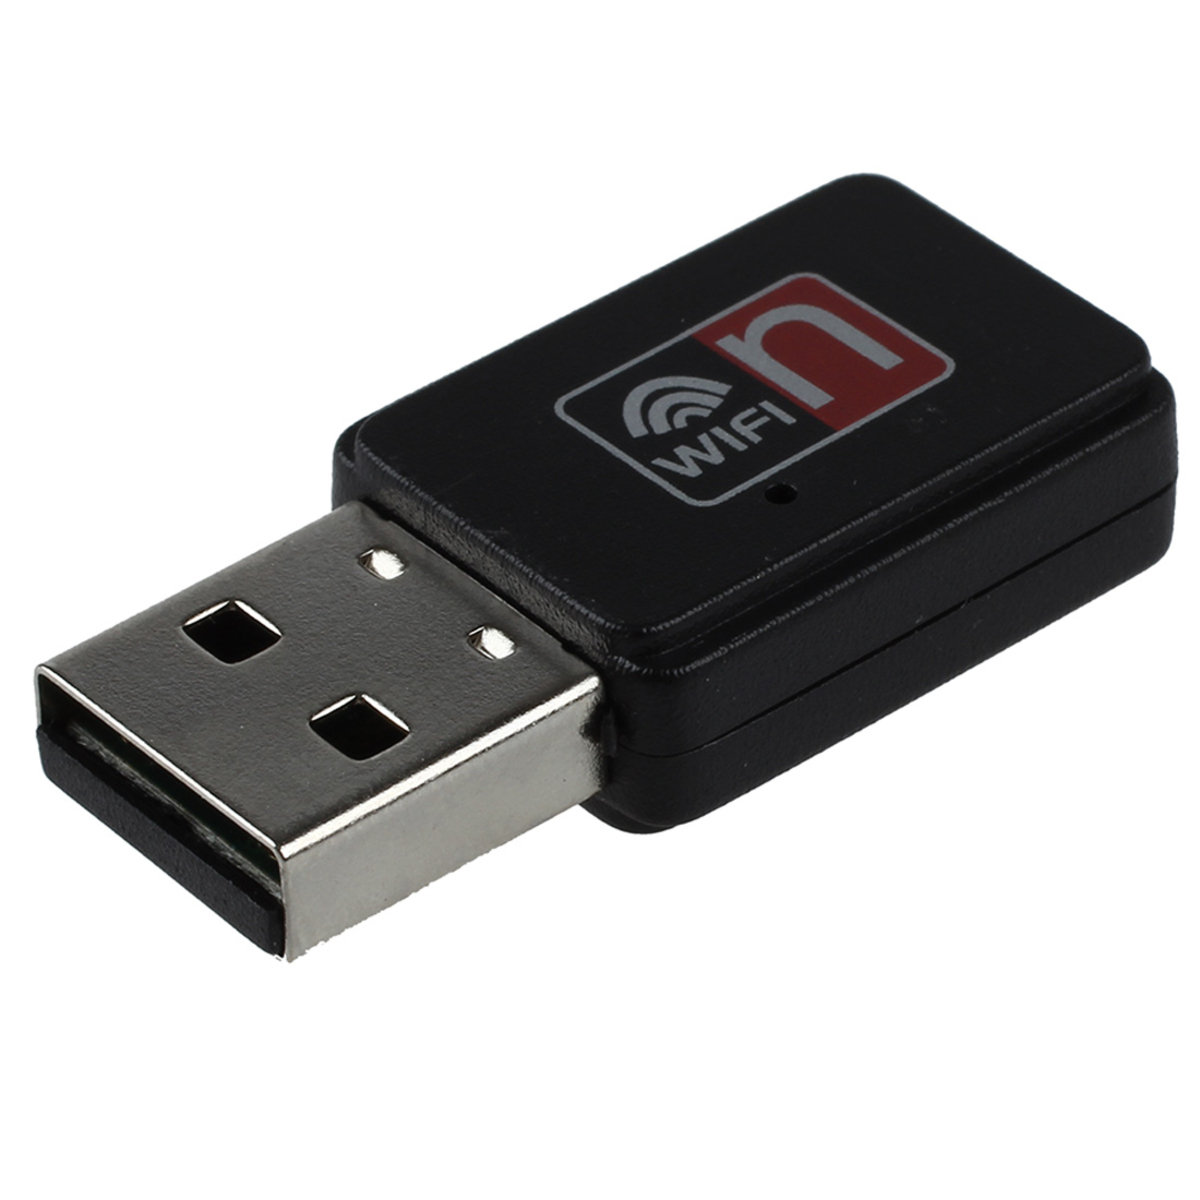
In this article, we will guide you through the process of installing a driver for a network adapter. Whether you are using a wired or wireless adapter, the steps provided will help you ensure that your computer is equipped with the necessary software for smooth and reliable network connectivity.
Before we dive into the installation process, it’s important to note that the steps outlined here are applicable for Windows operating systems. The process may vary slightly for other operating systems, such as macOS or Linux.
Now, let’s get started with step 1: downloading the appropriate driver software for your network adapter.
Key Takeaways:
- Smooth and reliable network connectivity is ensured by following the step-by-step process of downloading, extracting, and installing the appropriate driver software for your network adapter. This ensures faster internet speeds and seamless connection.
- Verifying the installation and testing network connectivity post-installation are crucial steps to confirm the driver’s proper functioning. If issues arise, consult trusted sources or seek assistance for a seamless installation process.
Read more: What Is A Network Adapter Driver
Step 1: Downloading the appropriate driver software
The first step in installing a driver for your network adapter is to download the appropriate driver software from the manufacturer’s website or another trusted source. To ensure compatibility and reliability, it is crucial to obtain the driver software specifically designed for your network adapter model and the version of your operating system.
Here’s how you can download the driver software:
- Identify the model of your network adapter: Before you proceed with the download, you need to know the exact model of your network adapter. This information can usually be found on a label attached to the adapter itself or in the documentation that came with it. If you can’t find the model, you can check the manufacturer’s website to find a list of supported adapters compatible with your computer.
- Visit the manufacturer’s website: Once you know the model of your network adapter, visit the manufacturer’s website in your web browser. Look for a support or downloads section where you can search for driver software.
- Search for your network adapter model: On the manufacturer’s website, search for your network adapter model using the provided search bar or navigation options. Make sure to select the correct operating system version to find compatible drivers.
- Download the driver software: Once you have located the driver software for your network adapter, click on the download link. The driver software is usually provided as a compressed file, such as a .zip or .rar archive. Save the file to a location on your computer where you can easily access it later.
By following these steps, you will have successfully downloaded the appropriate driver software for your network adapter. Now, let’s move on to step 2: extracting the driver files from the downloaded package.
Step 2: Extracting the driver files from the downloaded package
After successfully downloading the driver software for your network adapter, the next step is to extract the driver files from the downloaded package. Depending on the file format, you may need to use a file extraction tool.
Follow these steps to extract the driver files:
- Locate the downloaded driver software package: Navigate to the location on your computer where you saved the downloaded driver software package. It is often saved in the Downloads folder or another location you specified.
- Extract the driver files: Right-click on the downloaded package and select the “Extract” or “Extract Here” option. If the package is in a compressed format like .zip or .rar, you might need to use a file extraction tool like 7-Zip, WinRAR, or WinZip. Using the extraction tool, choose the location where you want to extract the files.
- Wait for the extraction to complete: The extraction process may take a few seconds or minutes, depending on the size of the package and the speed of your computer. Once the extraction is complete, a new folder containing the driver files will be created at the specified location.
Now that you have successfully extracted the driver files from the downloaded package, we can move on to step 3: opening the Device Manager to install the driver.
Step 3: Opening the Device Manager
Once you have extracted the driver files from the downloaded package, the next step is to open the Device Manager on your computer. The Device Manager is a built-in Windows tool that allows you to manage and troubleshoot hardware devices, including network adapters.
Follow these steps to open the Device Manager:
- Open the Start menu: Click on the Start button located in the bottom-left corner of your screen. Alternatively, you can press the Windows key on your keyboard.
- Search for Device Manager: In the search bar of the Start menu, type “Device Manager” and select the Device Manager option from the search results. Alternatively, you can press the Windows key + X and choose Device Manager from the menu that appears.
- Expand the Network Adapters category: In the Device Manager window, locate and click on the arrow next to the “Network Adapters” category. This will expand the category to display a list of network adapters installed on your computer.
By following these steps, you will have successfully opened the Device Manager on your computer. In the next step, we will locate and select the network adapter for which we want to install the driver.
When installing a driver for a network adapter, always make sure to download the latest driver from the manufacturer’s website to ensure compatibility and optimal performance.
Step 4: Locating and selecting the network adapter
After opening the Device Manager, the next step is to locate and select the network adapter for which you want to install the driver. The Device Manager provides a list of all the hardware devices installed on your computer, including network adapters.
Follow these steps to locate and select the network adapter:
- Look for the network adapter: In the Device Manager window, browse through the list of devices under the “Network Adapters” category. Look for the network adapter that matches the model or name of the adapter you have installed or want to update.
- Right-click on the network adapter: Once you have located the network adapter, right-click on its name or icon. This will open a context menu with various options.
- Select “Update driver”: From the context menu, select the “Update driver” option. This will initiate the driver installation process for the selected network adapter.
Keep in mind that the names of network adapters may vary depending on the manufacturer or model of your computer. Look for names that include familiar terms such as “Ethernet,” “Wireless,” or the specific brand name of the adapter.
Now that you have located and selected the network adapter, we can move on to step 5: installing the driver software.
Step 5: Installing the driver software
After selecting the network adapter in the Device Manager, the next step is to install the driver software. By installing the correct driver, you will ensure that your network adapter can communicate effectively with your computer’s operating system and function properly.
Follow these steps to install the driver software:
- Choose the installation method: In the “Update Driver Software” window, you will be prompted to choose how you want to install the driver. Select the option that allows you to install the driver manually.
- Browse for the driver files: In the next window, click on the “Browse my computer for driver software” option. This will allow you to manually locate the driver files that you extracted earlier.
- Navigate to the extracted driver files: Click on the “Browse” button and navigate to the location where you extracted the driver files. Select the folder that contains the driver files and click “OK” to confirm your selection.
- Begin the installation process: Once you have selected the folder containing the driver files, click on the “Next” button to start the installation process. Windows will now install the driver software for the selected network adapter.
- Follow any on-screen instructions: During the installation process, you may be presented with additional on-screen instructions or prompts. Follow these instructions carefully and click “Next” or “Install” to proceed.
- Wait for the installation to complete: Windows will now install the driver software for the selected network adapter. The installation process may take a few moments. Once the installation is complete, you will see a confirmation message.
By following these steps, you will have successfully installed the driver software for your network adapter. In the next step, we will verify the installation to ensure that everything is working correctly.
Step 6: Verifying the installation
After successfully installing the driver software for your network adapter, it is important to verify the installation to ensure that the driver is functioning correctly. This step will help you confirm that the driver has been installed properly and that your network adapter is working as expected.
Follow these steps to verify the installation:
- Restart your computer: Restarting your computer after installing a driver can help ensure that any changes take effect properly. It is recommended to restart your computer before proceeding with the verification process.
- Check the Device Manager: After restarting your computer, open the Device Manager once again by following the steps mentioned in Step 3.
- Confirm driver installation: In the Device Manager window, locate and expand the “Network Adapters” category. Look for the network adapter that you installed the driver for. If the installation was successful, the network adapter should be listed without any warnings or errors.
- Test network connectivity: To further verify the driver installation, test your network connectivity. Connect your computer to a network, either via an Ethernet cable or a wireless connection, and try accessing the internet or any other network resources. If you can connect successfully and access the network without any issues, it indicates that the driver is working correctly.
If you encounter any problems during the verification process, such as the network adapter not being listed or experiencing connectivity issues, it may indicate a problem with the driver installation. In such cases, you may need to repeat the installation process or seek further assistance from the network adapter manufacturer or a technical support professional.
Congratulations! You have successfully installed and verified the driver software for your network adapter. With the updated driver, you can enjoy faster and more reliable network connectivity on your computer.
This concludes our step-by-step guide on how to install a driver for a network adapter. We hope this article has been helpful in assisting you with the installation process. If you have any further questions or need additional support, feel free to reach out to us.
Happy networking!
Conclusion
Installing a driver for your network adapter is essential for ensuring smooth and reliable network connectivity on your computer. In this comprehensive guide, we have walked you through the step-by-step process of installing a driver for your network adapter. By following these steps, you can easily update or install the appropriate driver software for your specific network adapter model.
Starting with downloading the appropriate driver software from the manufacturer’s website, extracting the driver files, opening the Device Manager, locating and selecting the network adapter, installing the driver software, and finally verifying the installation, we have covered all the necessary steps to ensure a successful installation.
Remember to always download the driver software from trusted sources and to select the correct driver that is compatible with your network adapter model and the version of your operating system. It is also essential to follow any on-screen instructions during the installation process and to test your network connectivity post-installation to confirm that the driver is functioning correctly.
In the event that you encounter any issues or difficulties during the installation process, it is recommended to consult the manufacturer’s support documentation or seek assistance from technical support professionals who can provide further guidance.
Now that you have successfully installed the driver for your network adapter, you can enjoy improved network performance, faster internet speeds, and a more reliable connection. Whether you’re using a wired or wireless adapter, a network adapter driver plays a crucial role in maintaining seamless network connectivity.
We hope this guide has provided you with valuable insights and assistance in installing a driver for your network adapter. If you have any further questions or need additional support, feel free to reach out to us or consult the manufacturer’s support resources.
Thank you for taking the time to read this article, and we wish you the best of luck with your network adapter installation!
Frequently Asked Questions about How To Install Driver For Network Adapter
Was this page helpful?
At Storables.com, we guarantee accurate and reliable information. Our content, validated by Expert Board Contributors, is crafted following stringent Editorial Policies. We're committed to providing you with well-researched, expert-backed insights for all your informational needs.


0 thoughts on “How To Install Driver For Network Adapter”