Home>Technology>Smart Home Devices>How To Install Ricoh Printer Driver
Smart Home Devices
How To Install Ricoh Printer Driver
Modified: October 19, 2024
Learn how to easily install the Ricoh printer driver for your smart home devices. Follow our step-by-step guide for seamless setup and printing.
(Many of the links in this article redirect to a specific reviewed product. Your purchase of these products through affiliate links helps to generate commission for Storables.com, at no extra cost. Learn more)
Introduction
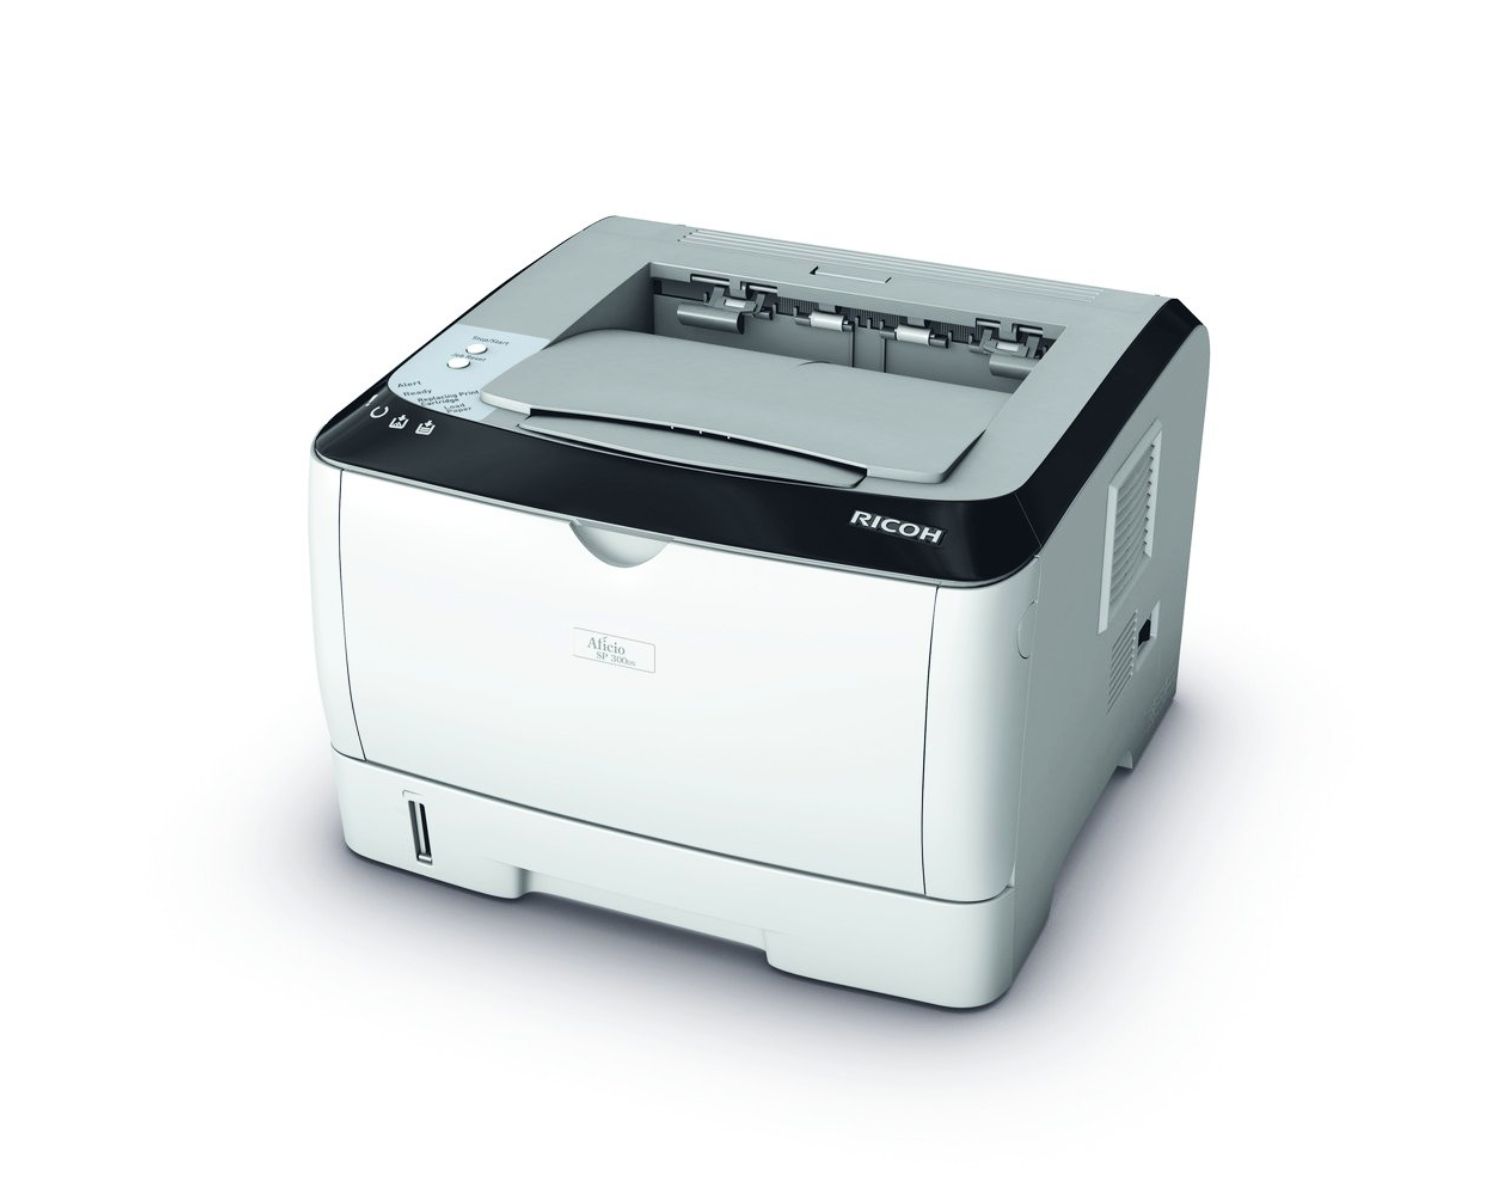
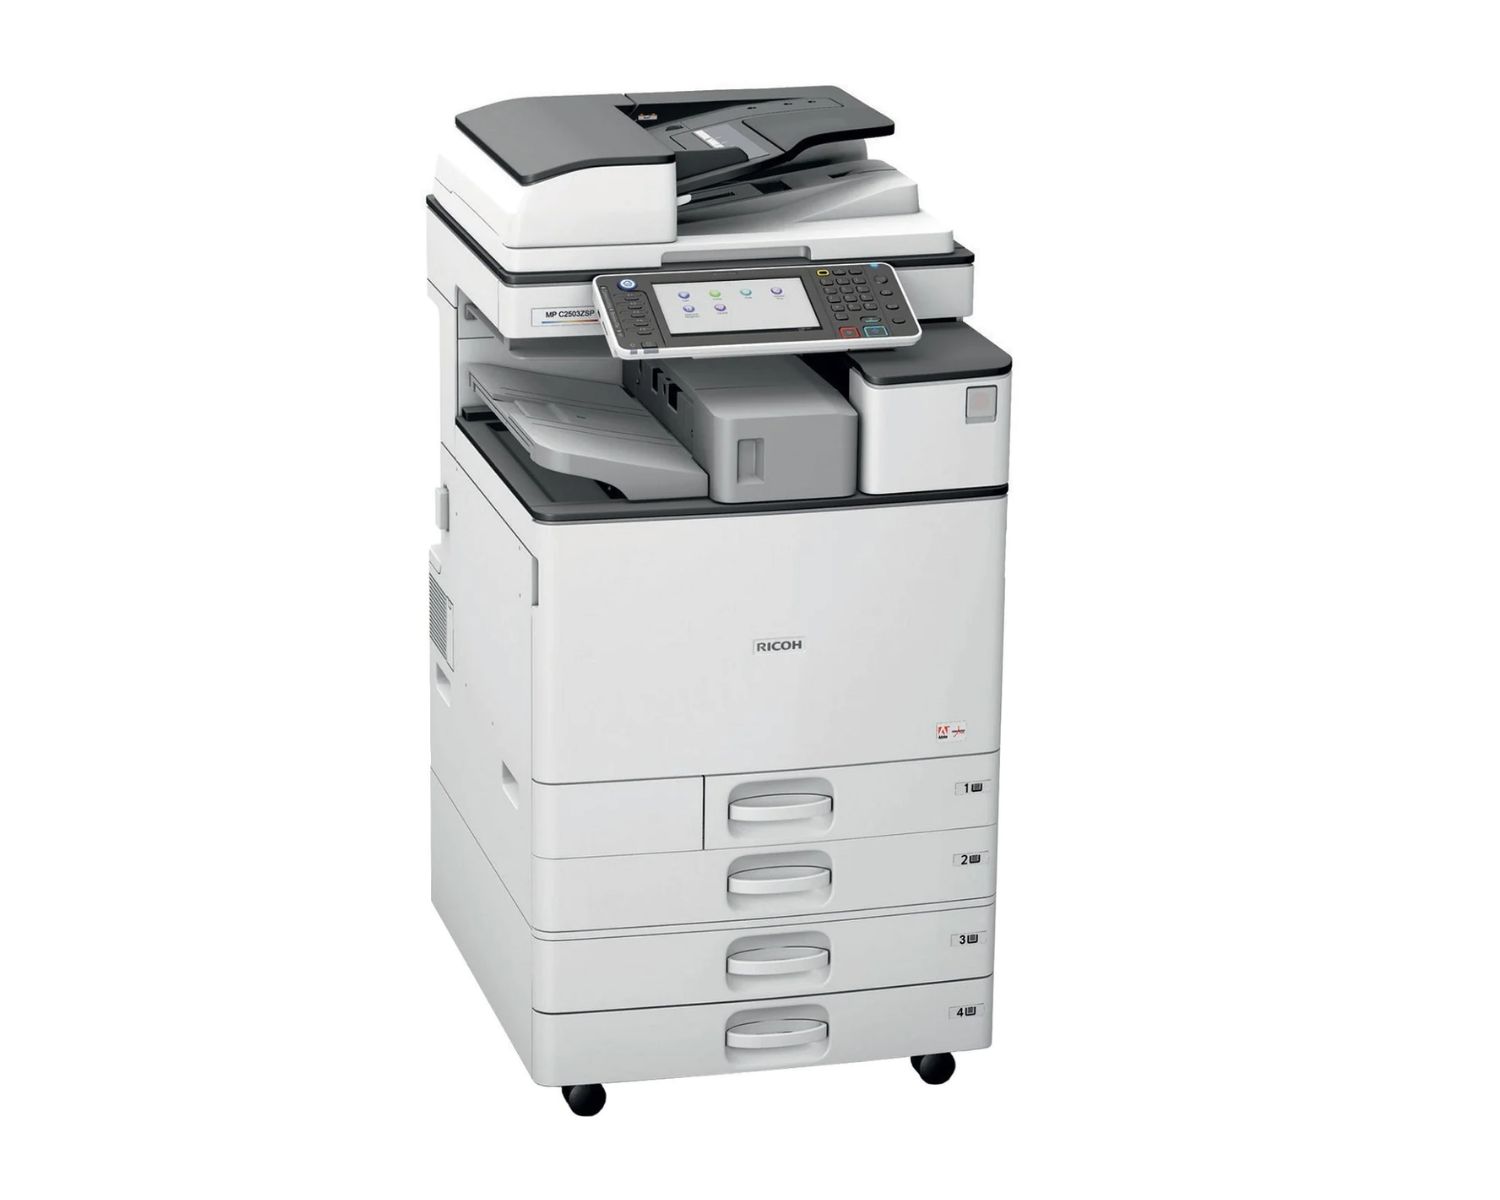
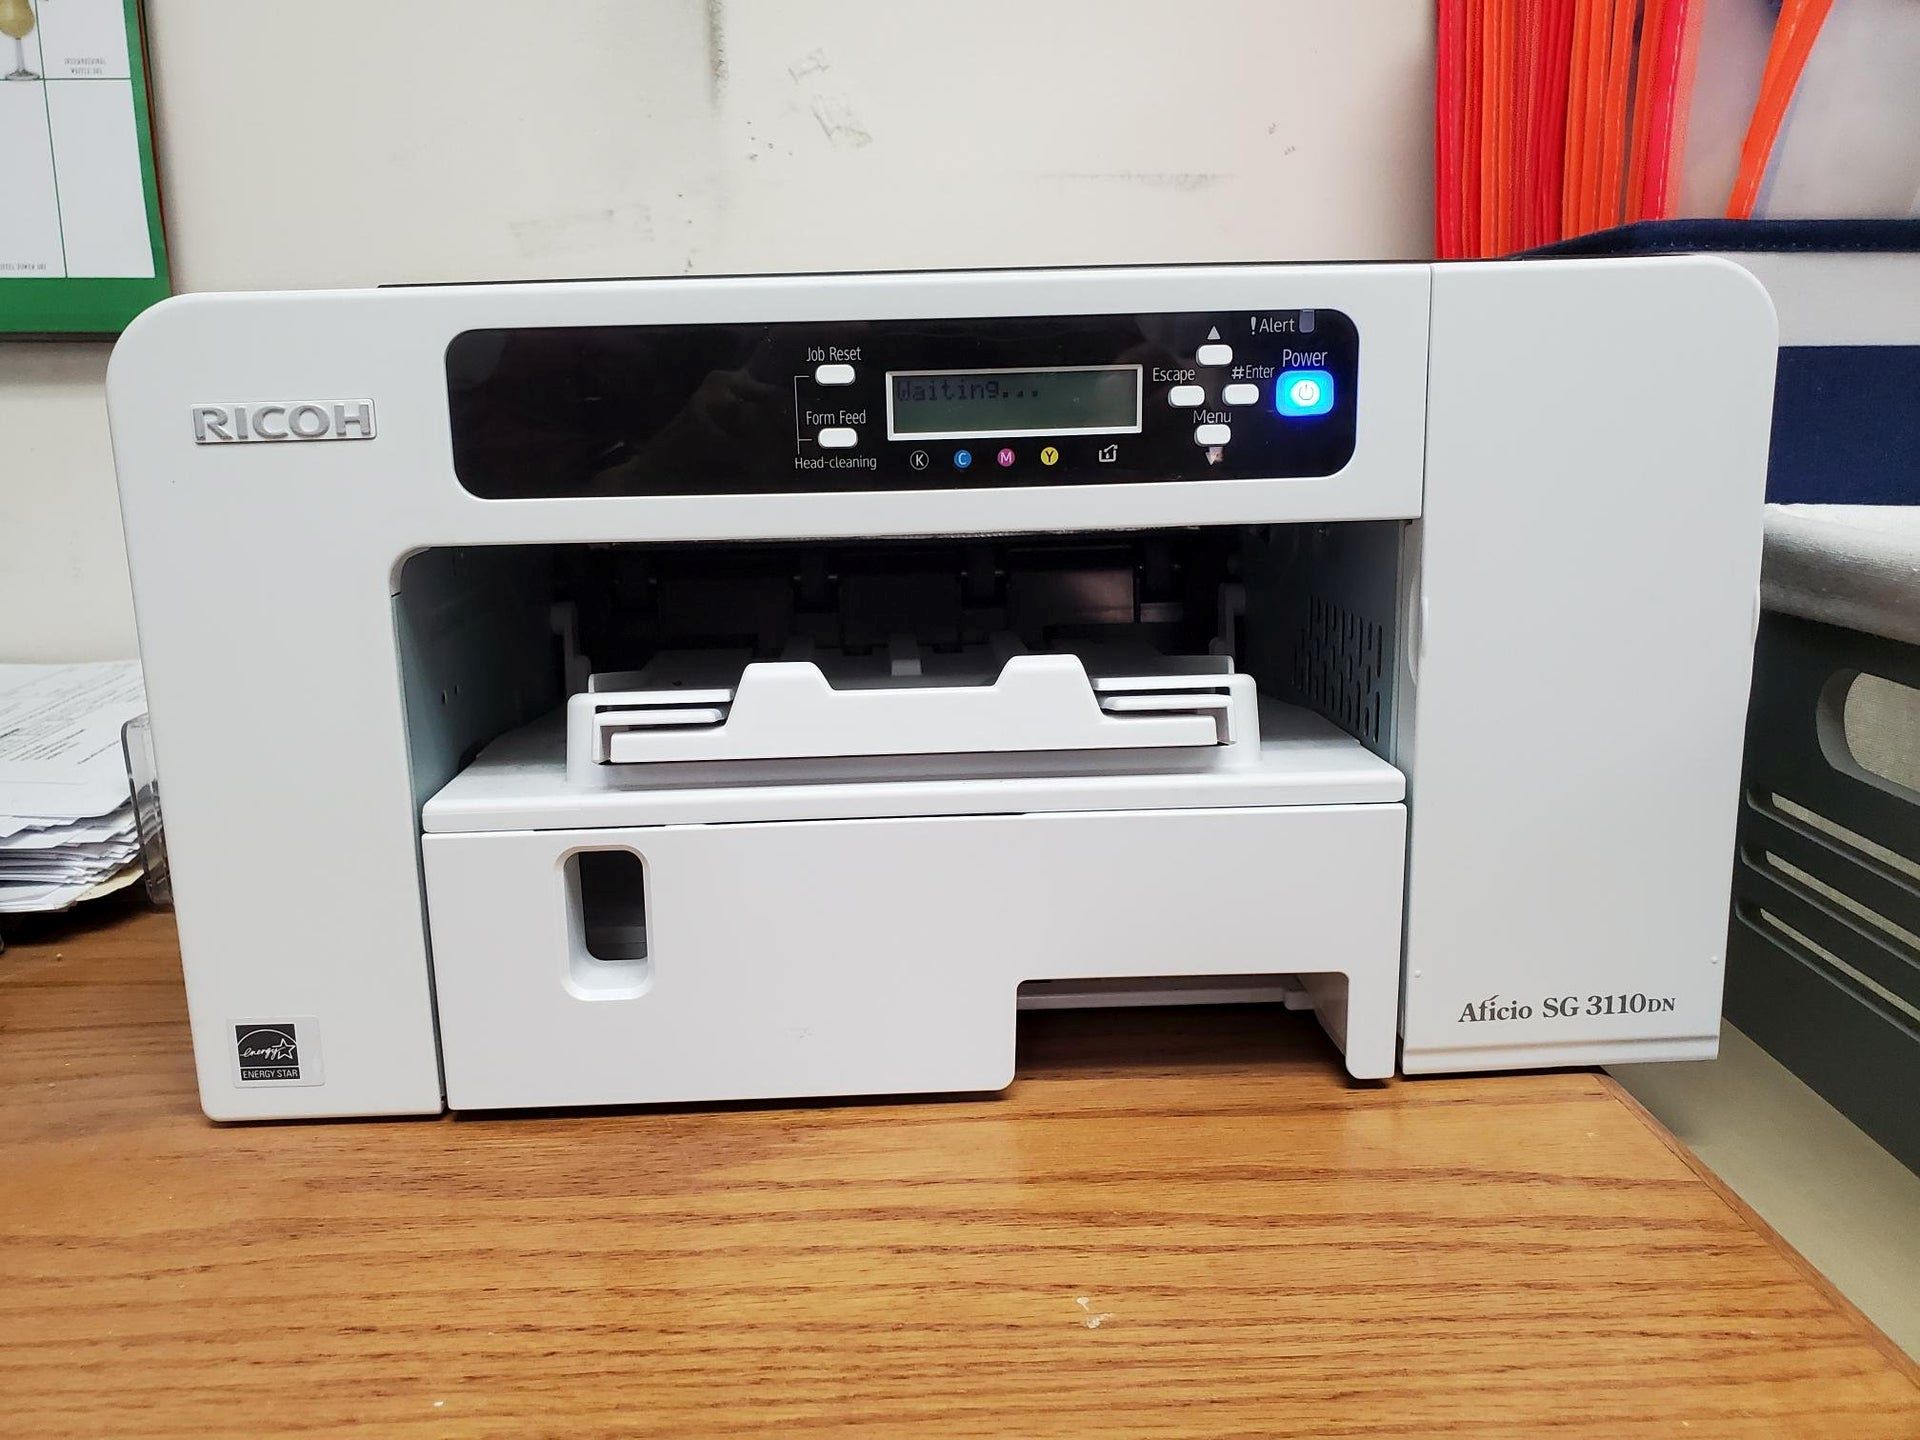
Welcome to the world of Ricoh printers, where seamless functionality meets cutting-edge technology. Whether you're setting up a new printer or upgrading your existing device, installing the Ricoh printer driver is a crucial step to unlock its full potential. This comprehensive guide will walk you through the installation process, ensuring that you can harness the power of your Ricoh printer with ease.
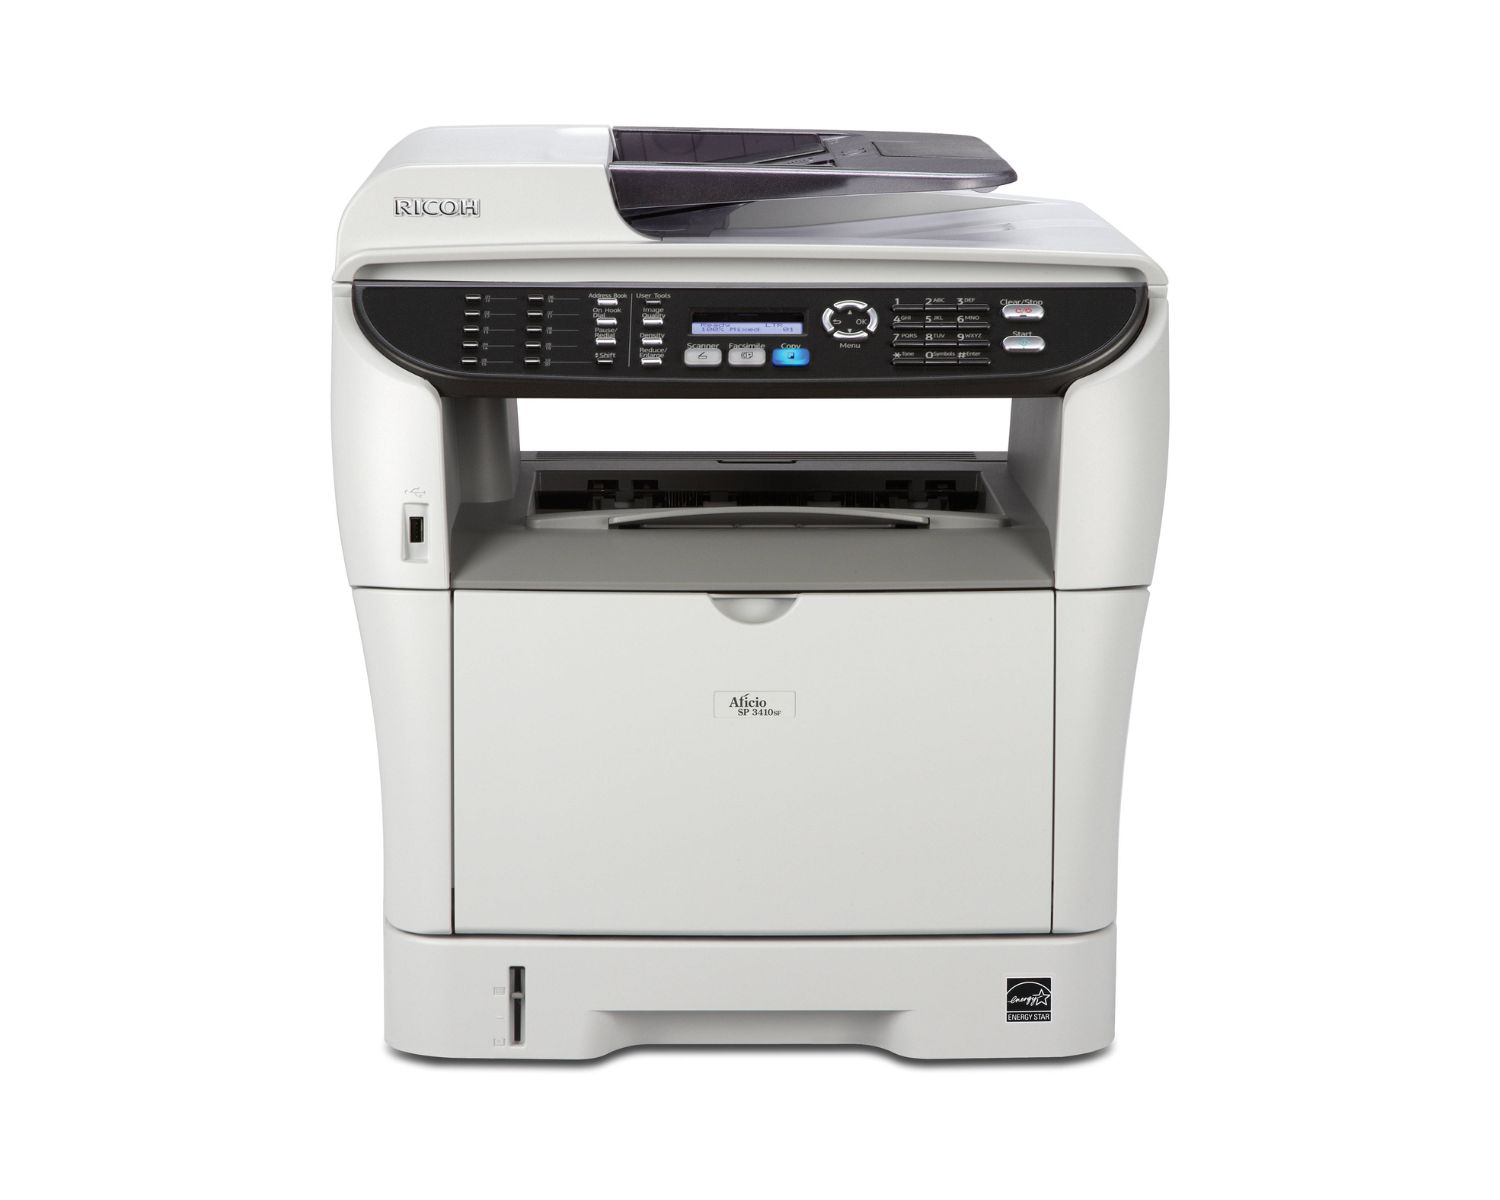
Ricoh printers are renowned for their reliability, speed, and exceptional print quality. Whether you're a home user, a small business owner, or a large corporation, Ricoh offers a diverse range of printers to suit your specific needs. From compact desktop models to high-speed multifunction devices, Ricoh printers are designed to streamline your printing tasks and elevate your productivity.
In this guide, we'll delve into the step-by-step process of installing the Ricoh printer driver on your computer. Whether you're using a Windows PC or a Mac, the installation process is designed to be user-friendly and intuitive. By the end of this guide, you'll be ready to unleash the full potential of your Ricoh printer, bringing your printing projects to life with unparalleled efficiency.
So, let's embark on this installation journey together, as we demystify the process and empower you to seamlessly integrate your Ricoh printer into your digital ecosystem. Get ready to experience the seamless synergy between your computer and your Ricoh printer, as we dive into the intricacies of driver installation, connection setup, and the final touches that will culminate in a harmonious printing experience.
Key Takeaways:
- Installing the Ricoh printer driver is a crucial step to unlock its full potential. Follow the user-friendly guide to seamlessly integrate your Ricoh printer with your computer for efficient printing.
- By completing the installation process, you’re ready to embark on a seamless printing journey, unleashing your creativity, productivity, and efficiency through the power of your Ricoh printer.
Read more: How To Install Driver For Canon Printer
Step 1: Downloading the Ricoh Printer Driver
Before you can begin using your Ricoh printer, you’ll need to download the appropriate driver for your operating system. The driver serves as the essential communication link between your computer and the printer, enabling seamless interaction and precise print commands. Follow these steps to download the Ricoh printer driver:
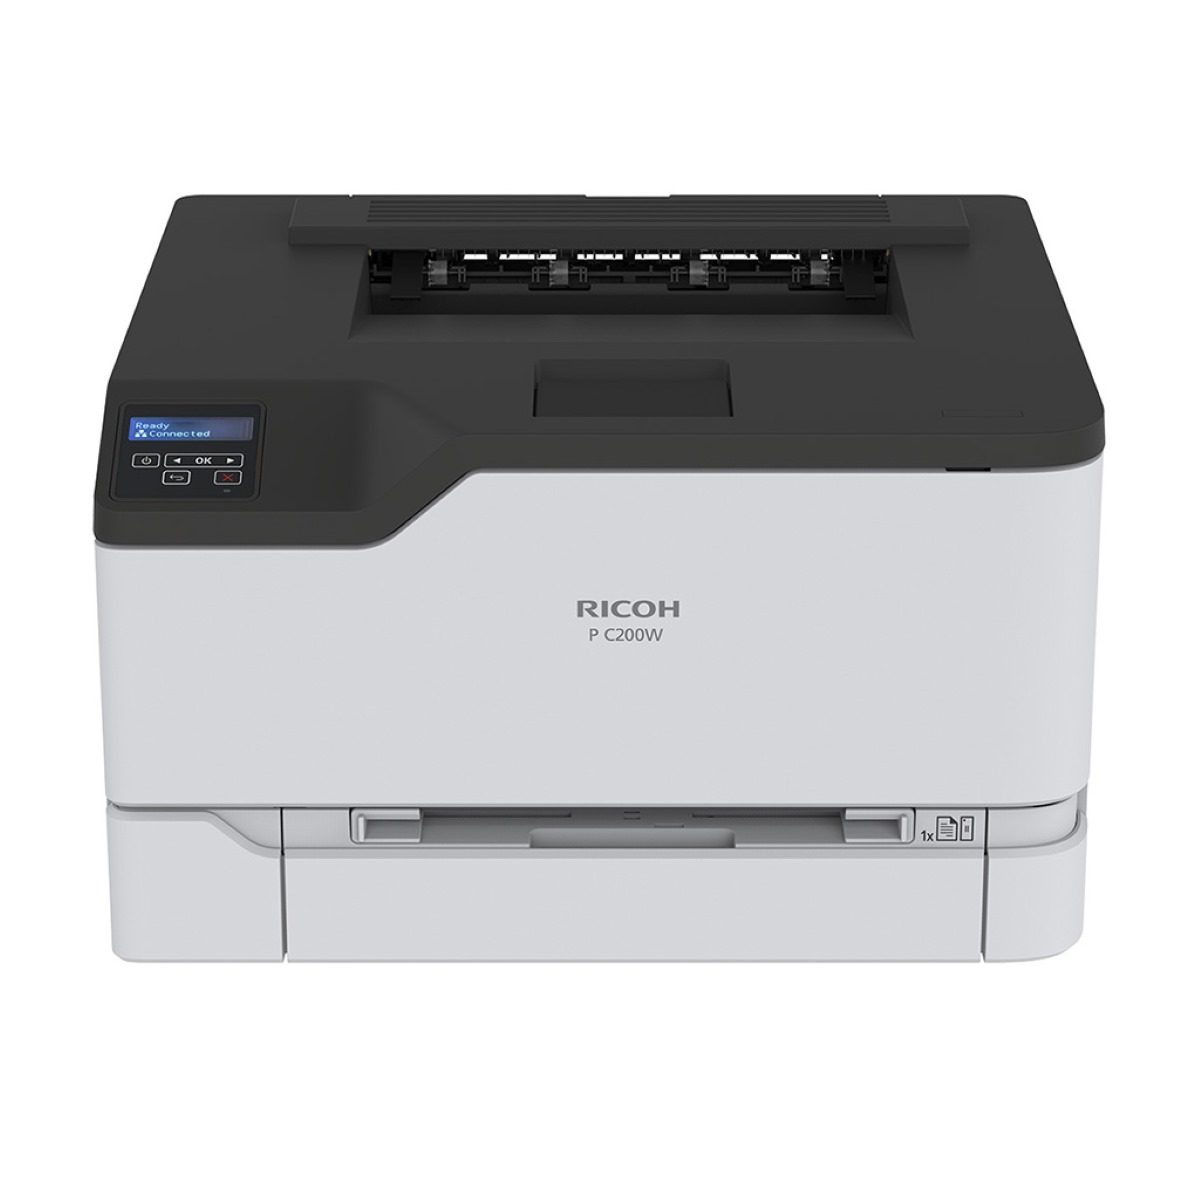
- Identify Your Printer Model: Visit the official Ricoh website and navigate to the support or downloads section. Here, you can search for your specific printer model by entering its name or serial number. Alternatively, you can browse through the product categories to locate your printer model.
- Choose Your Operating System: Once you’ve found your printer model, select your operating system from the list of available options. Whether you’re using Windows, macOS, or a Linux distribution, Ricoh provides drivers for a wide range of platforms to ensure compatibility and smooth operation.
- Download the Driver: After selecting your operating system, you’ll be presented with the download options for the printer driver. Click on the download link to initiate the process. Depending on your browser settings, you may be prompted to choose a location to save the driver file. Select a familiar location, such as your desktop or downloads folder, for easy access.
Once the download is complete, you’re ready to proceed to the next step of the installation process. By obtaining the correct driver for your printer model and operating system, you’ve set the stage for a seamless integration of your Ricoh printer with your computer. Now, let’s move on to the next crucial step: running the driver installation wizard.
Step 2: Running the Driver Installation Wizard
With the Ricoh printer driver downloaded to your computer, it’s time to initiate the installation process by running the driver installation wizard. This user-friendly tool will guide you through the necessary steps to set up the driver and prepare your computer for seamless communication with your Ricoh printer. Follow these instructions to run the driver installation wizard:
- Locate the Driver File: Navigate to the location where the Ricoh printer driver was downloaded. This is typically the “Downloads” folder or the location you specified during the download process. Locate the driver file, which is often in a compressed format such as a ZIP or EXE file.
- Extract the Driver (if necessary): If the driver file is in a compressed format, such as a ZIP file, you’ll need to extract its contents before proceeding with the installation. Right-click on the file and select “Extract” or “Extract All” to decompress the files into a new folder.
- Run the Installation Wizard: Once the driver files are accessible, double-click the setup or installation file to launch the driver installation wizard. This will initiate the installation process and present you with a series of prompts and options to configure the driver settings.
- Follow the On-Screen Instructions: The installation wizard will guide you through the necessary steps to install the Ricoh printer driver on your computer. Pay attention to the on-screen instructions, as you may be prompted to select the installation language, agree to the terms and conditions, and choose the installation location for the driver files.
By running the driver installation wizard, you’re taking a significant stride toward integrating your Ricoh printer with your computer. The wizard streamlines the installation process, ensuring that you can configure the driver settings with ease and precision. Once the installation is complete, you’ll be ready to connect your Ricoh printer to your computer and finalize the setup process. Now, let’s move on to the next step: connecting the printer to the computer.
When installing a Ricoh printer driver, make sure to download the correct driver from the official Ricoh website. Follow the installation instructions carefully and restart your computer after the installation is complete.
Step 3: Connecting the Printer to the Computer
With the Ricoh printer driver successfully installed on your computer, the next crucial step is to establish a physical or wireless connection between the printer and your computer. This connection enables seamless communication, allowing you to send print jobs to the Ricoh printer from your computer. Follow these steps to connect the printer to your computer:
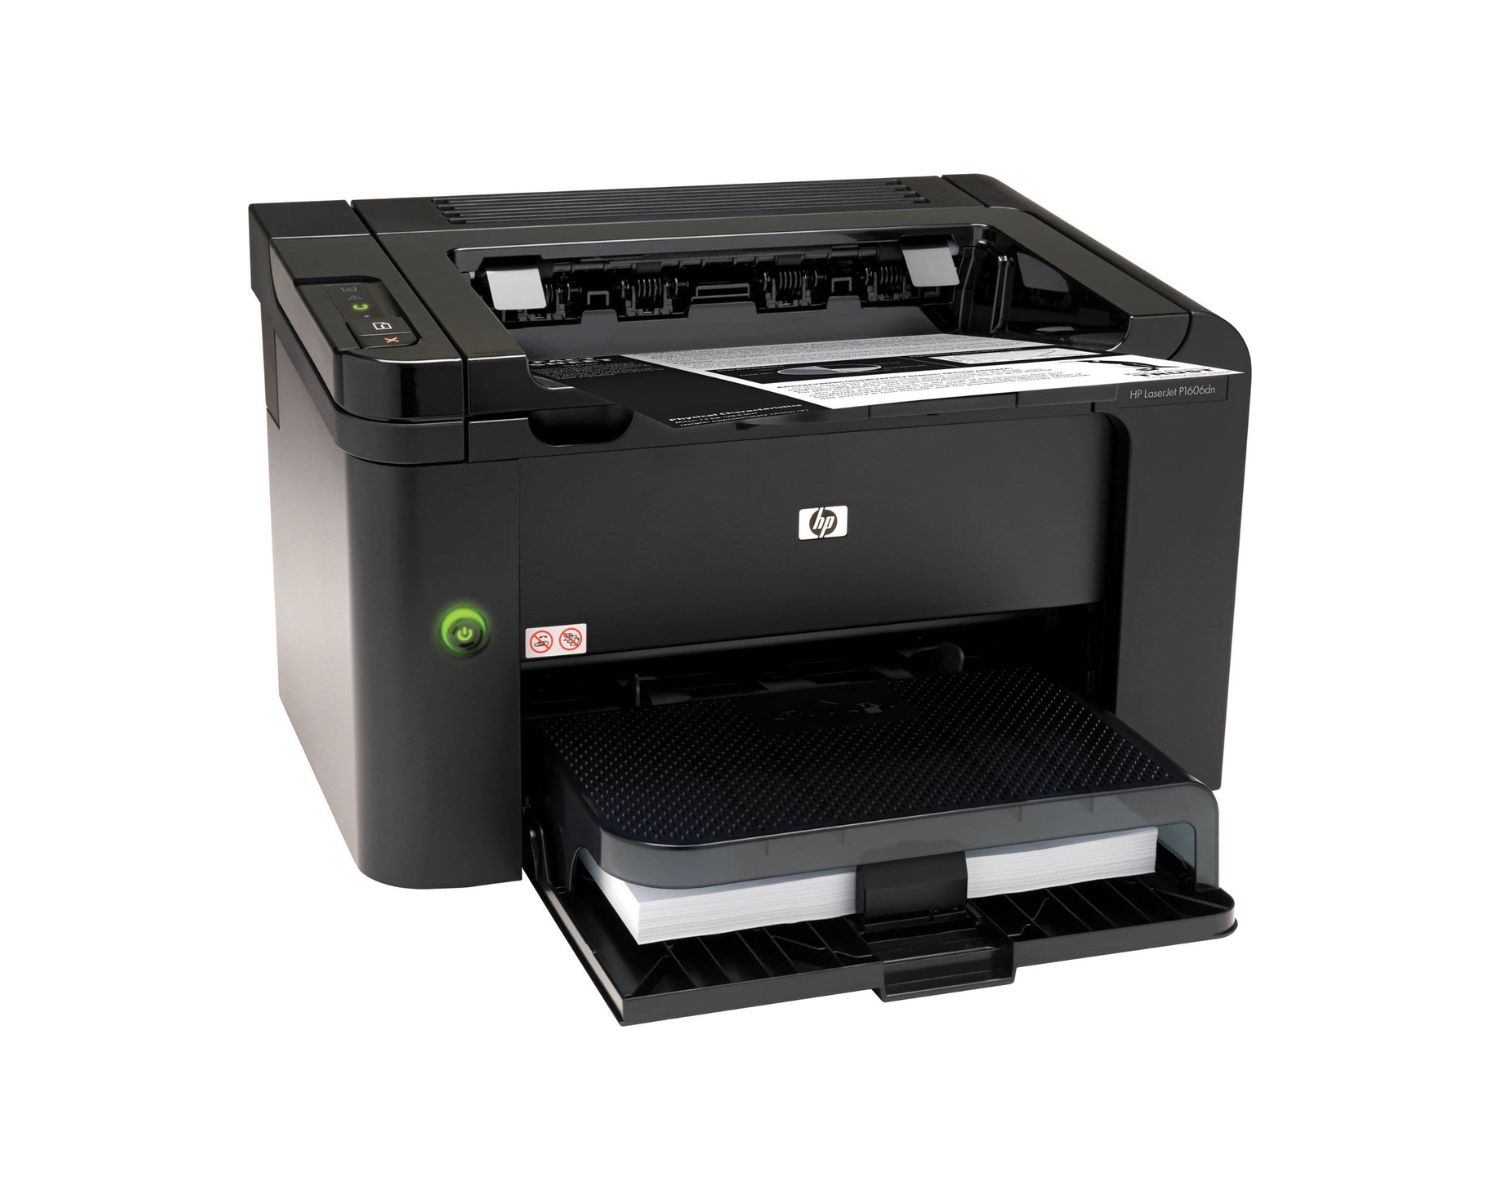
- Power On the Printer: If your Ricoh printer is not already powered on, plug it into a power source and press the power button to turn it on. Allow the printer to complete its startup process, ensuring that it is ready to receive print commands.
- Connect via USB (if applicable): If you’re using a USB connection, locate the USB cable that came with your Ricoh printer. Connect one end of the cable to the USB port on the printer and the other end to an available USB port on your computer. Your computer should automatically detect the printer and configure the necessary settings.
- Set Up a Wireless Connection (if applicable): For wireless connectivity, consult your Ricoh printer’s user manual or on-screen display to initiate the wireless setup process. This typically involves accessing the printer’s settings menu, selecting the wireless network, and entering the network credentials to establish a connection. Once connected, your computer will recognize the printer on the network.
- Install Additional Software (if necessary): Depending on your printer model and connectivity options, you may need to install additional software or drivers to enable wireless printing capabilities. Follow any on-screen prompts to install the required software, ensuring that your computer can seamlessly communicate with the Ricoh printer.
By connecting your Ricoh printer to your computer, you’re bridging the gap between digital content and physical output, empowering you to transform your digital projects into tangible printouts. Whether you opt for a traditional USB connection or embrace the convenience of wireless printing, establishing the connection is a pivotal step in integrating your Ricoh printer into your workflow. With the printer connected, you’re ready to finalize the installation process and embark on a seamless printing journey. Now, let’s proceed to the final step: completing the installation process.
Step 4: Completing the Installation Process
As you approach the final stage of installing your Ricoh printer, it’s time to ensure that all components are seamlessly integrated, and the setup is optimized for efficient printing. This step involves verifying the installation, configuring additional settings, and conducting a test print to confirm that your Ricoh printer is ready to fulfill your printing needs. Follow these essential steps to complete the installation process:
- Verify Printer Status: Check the display panel or status lights on your Ricoh printer to confirm that it is online and ready to receive print jobs. Ensure that the printer displays no error messages and that it is in a ready state.
- Configure Printer Preferences: Access the printer settings on your computer to configure preferences such as paper size, print quality, and default settings. This ensures that your print jobs align with your specific requirements and that the printer operates according to your preferences.
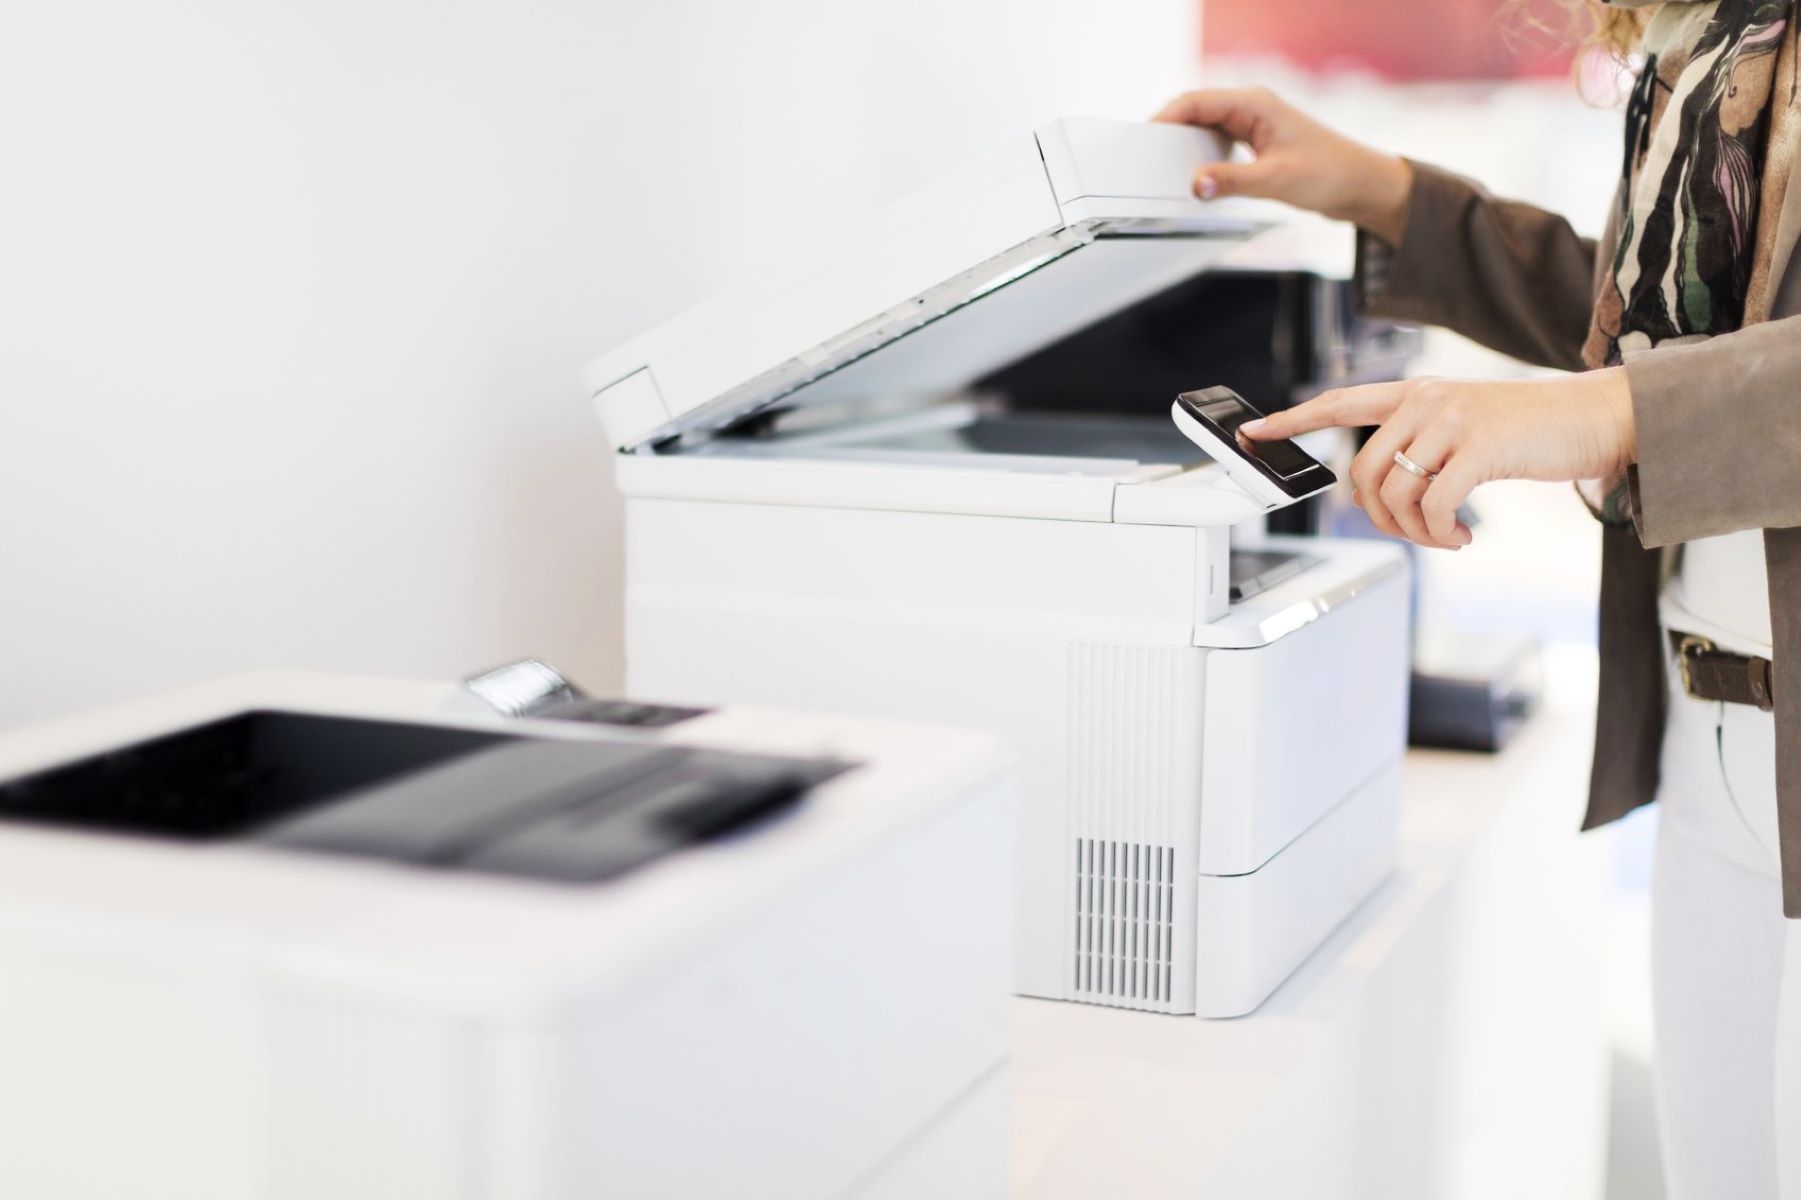
- Conduct a Test Print: Send a test print from your computer to the Ricoh printer to verify that the installation is successful. Choose a document or image and initiate the print command to observe the printer’s response. This test print serves as a practical confirmation of the seamless integration between your computer and the Ricoh printer.
- Update Firmware (if necessary): Check for firmware updates for your Ricoh printer to ensure that it benefits from the latest enhancements and optimizations. Updating the printer’s firmware can enhance performance, address potential issues, and unlock new features that enrich your printing experience.
By completing the installation process, you’re ensuring that your Ricoh printer is fully optimized and ready to deliver exceptional print results. Whether you’re producing documents, photographs, or creative projects, the completion of the installation process marks the beginning of a seamless printing journey. With the printer successfully integrated into your digital ecosystem, you’re poised to harness its capabilities and unlock a world of printing possibilities. Now, with the installation process concluded, you’re ready to embark on your printing endeavors with confidence and efficiency.
Read more: How To Turn On Ricoh Printer
Conclusion
Congratulations on successfully installing your Ricoh printer driver and integrating your printer into your digital workspace! By following the step-by-step process outlined in this guide, you’ve empowered yourself to leverage the full potential of your Ricoh printer, whether for personal, professional, or creative printing needs.
Throughout this installation journey, you’ve embarked on a seamless integration process that bridges the gap between digital content and tangible printouts. From downloading the driver to connecting the printer and completing the installation, each step has culminated in a harmonious synergy between your computer and your Ricoh printer.
As you embark on your printing endeavors, whether producing documents, graphics, or photographs, you can do so with the confidence that your Ricoh printer is primed for exceptional performance. The reliability, speed, and print quality for which Ricoh printers are renowned are now at your fingertips, ready to elevate your printing experience.
Remember to periodically check for driver updates and firmware enhancements to ensure that your Ricoh printer continues to deliver optimal results. By staying abreast of the latest improvements, you can maximize the capabilities of your printer and embrace new features that enrich your printing projects.
With the installation process concluded, you’re now equipped to embark on a seamless printing journey, unleashing your creativity, productivity, and efficiency through the power of your Ricoh printer. Whether you’re printing essential documents for your business, capturing cherished memories in vivid detail, or bringing your digital creations to life, your Ricoh printer stands ready to fulfill your printing needs with precision and reliability.
Thank you for entrusting us with the installation of your Ricoh printer driver. We’re thrilled to be part of your printing journey and are confident that your Ricoh printer will exceed your expectations, delivering exceptional results with every print job. Here’s to a future filled with seamless printing experiences, powered by the remarkable capabilities of your Ricoh printer.
Frequently Asked Questions about How To Install Ricoh Printer Driver
Was this page helpful?
At Storables.com, we guarantee accurate and reliable information. Our content, validated by Expert Board Contributors, is crafted following stringent Editorial Policies. We're committed to providing you with well-researched, expert-backed insights for all your informational needs.


0 thoughts on “How To Install Ricoh Printer Driver”