Home>Technology>Smart Home Devices>How To Install Driver For Canon Printer
Smart Home Devices
How To Install Driver For Canon Printer
Modified: October 20, 2024
Learn how to install the driver for your Canon printer and connect it to your smart home devices for seamless printing and scanning. Follow our step-by-step guide for easy setup.
(Many of the links in this article redirect to a specific reviewed product. Your purchase of these products through affiliate links helps to generate commission for Storables.com, at no extra cost. Learn more)
Introduction
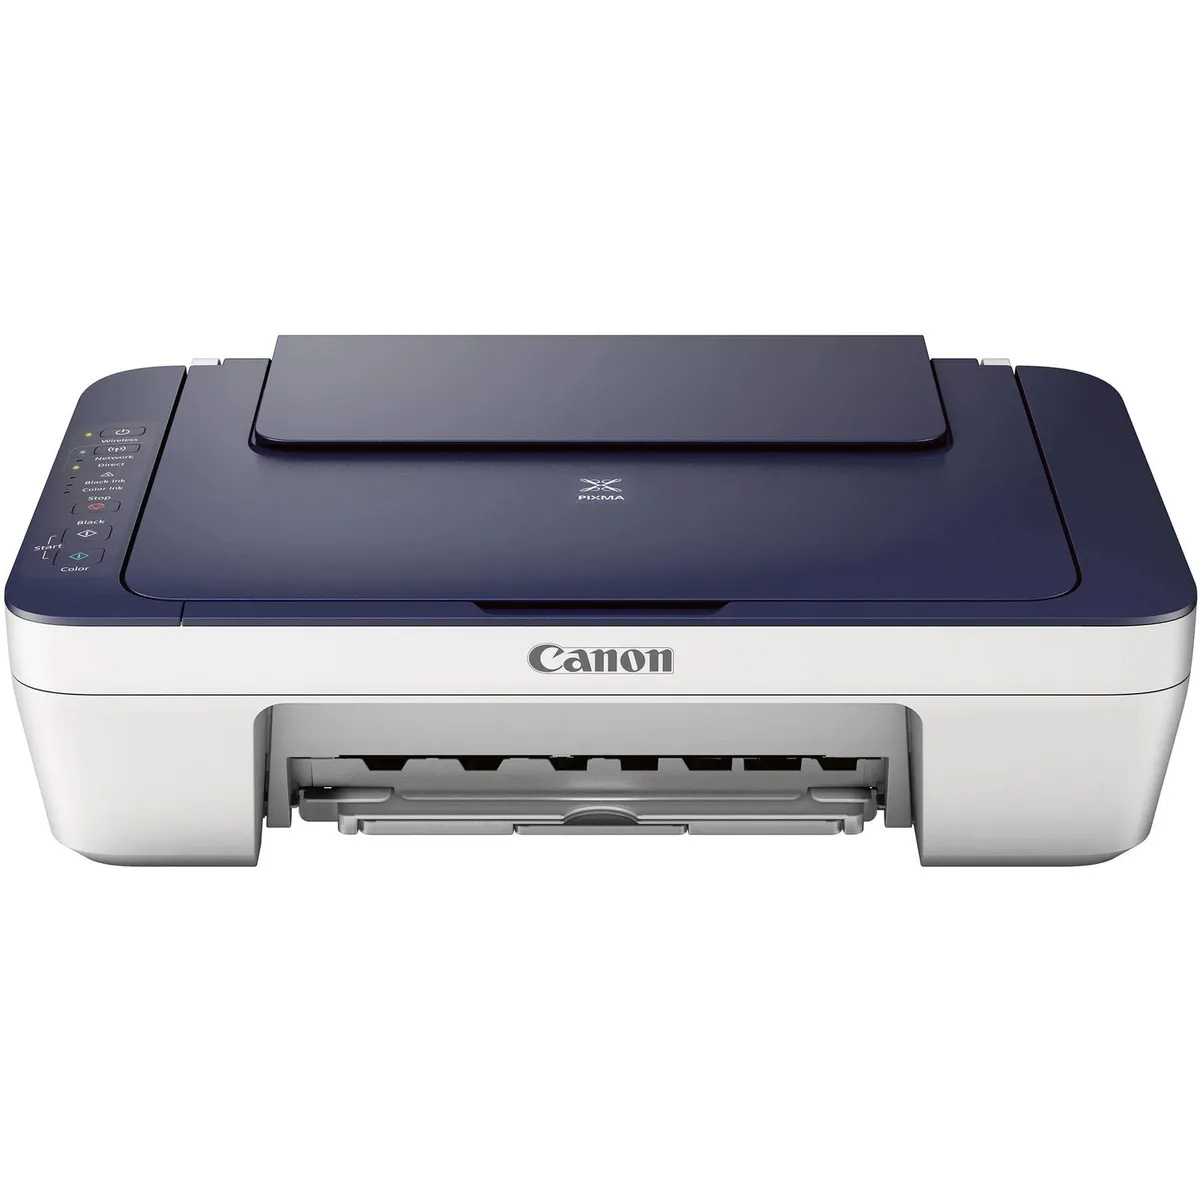
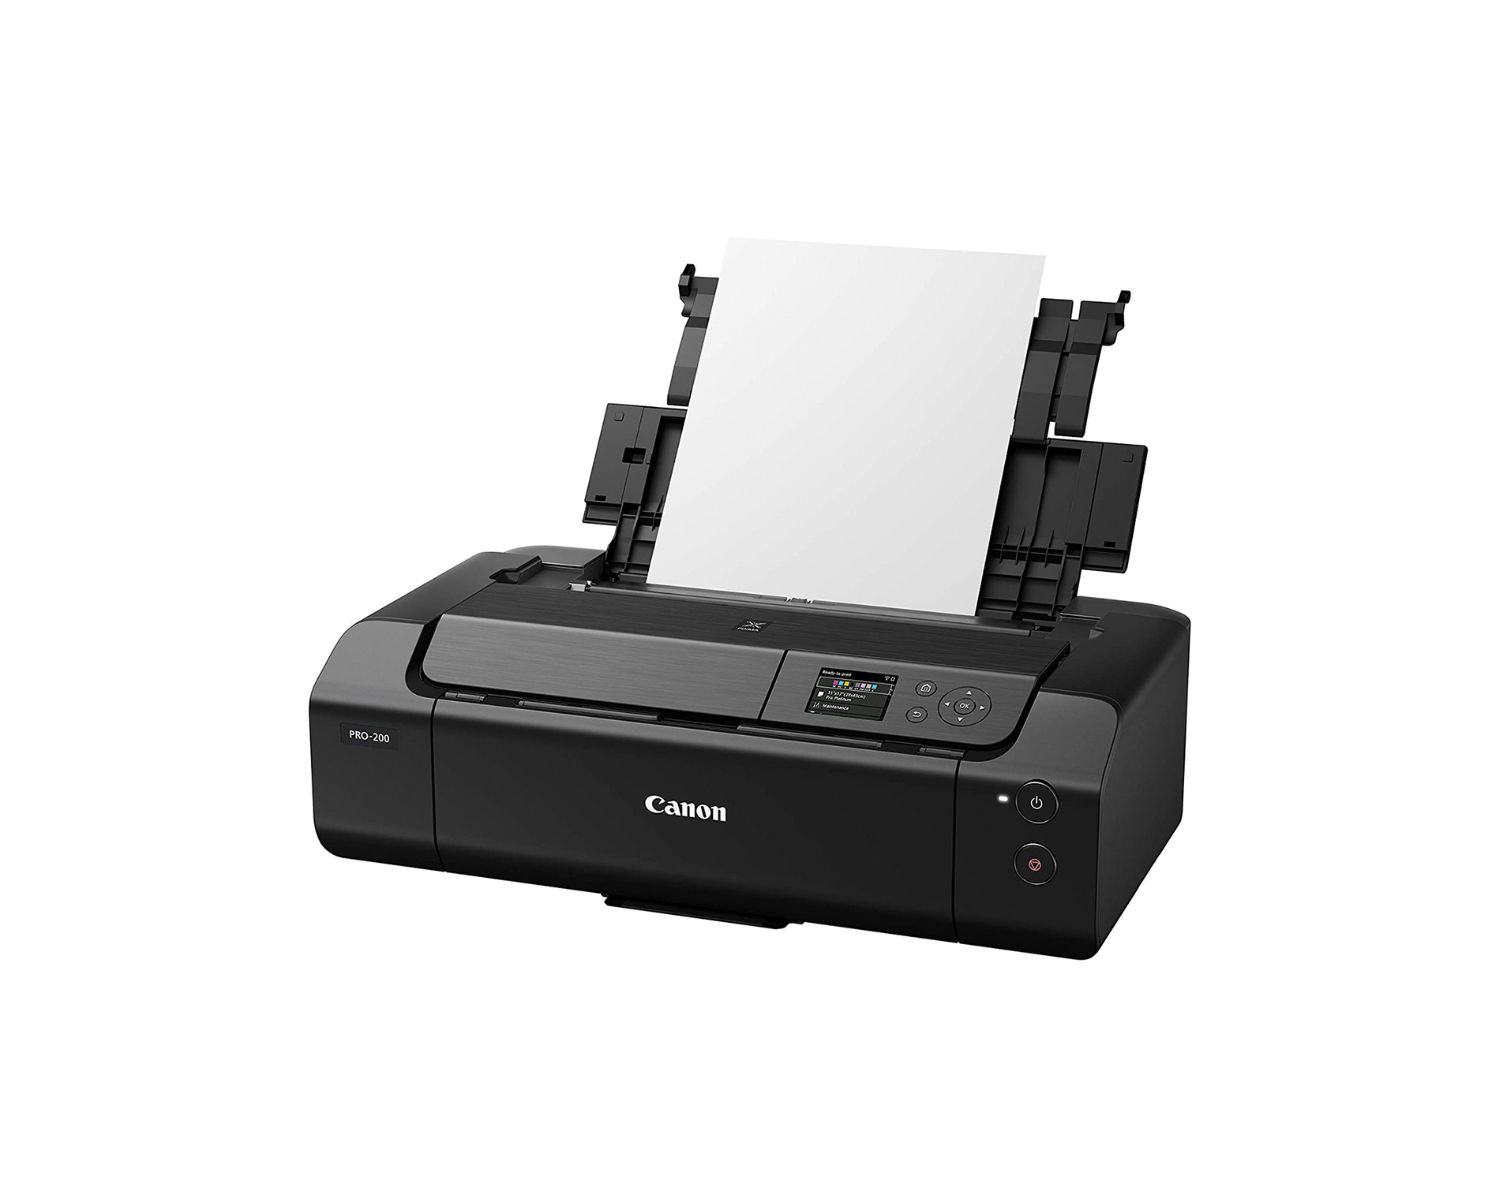
Welcome to the world of Canon printers, where the marriage of cutting-edge technology and user-friendly design results in seamless printing experiences. Whether you're a seasoned professional or a casual user, installing the driver for your Canon printer is a fundamental step toward harnessing its full potential. In this comprehensive guide, we'll walk you through the process of installing a Canon printer driver with ease and confidence.
The driver serves as the bridge between your computer and the printer, ensuring that they can communicate effectively. By following the steps outlined in this guide, you'll be able to set up your Canon printer and start producing high-quality prints in no time. So, let's embark on this journey together and unlock the power of your Canon printer.
In the next steps, we'll cover everything from downloading the driver to testing the printer, ensuring that you have all the information you need to make the installation process smooth and straightforward. Let's dive in and get your Canon printer up and running!
Key Takeaways:
- Downloading the right driver for your Canon printer is the first step to unlocking its full potential. Visit the Canon website, identify your printer model, and select the correct operating system for a smooth installation process.
- After installing the driver, test your Canon printer by printing a test page and exploring its features. This ensures that the installation was successful and that your printer is ready for high-quality printing.
Read more: How To Install Ricoh Printer Driver
Step 1: Download the Driver
The first step in setting up your Canon printer is to download the appropriate driver for your specific model. Canon provides a user-friendly platform for accessing and downloading drivers, making the process efficient and straightforward.
1. Identify Your Printer Model: Before downloading the driver, it’s essential to know the exact model of your Canon printer. You can usually find this information on the front or top of the printer, as well as in the user manual or product documentation.
2. Visit the Canon Website: Once you have the model number, navigate to the Canon official website. From the homepage, locate the “Support” or “Drivers” section. Here, you’ll be able to search for your printer model using the provided search bar or by selecting it from a list of available products.
3. Select the Operating System: After identifying your printer model, you’ll need to specify the operating system of the computer or device to which the printer will be connected. Canon’s website typically offers a dropdown menu or options to choose from, such as Windows, macOS, or Linux.
4. Download the Driver: Once you’ve selected the operating system, you’ll be presented with a list of available drivers and software for your printer model. Locate the driver that is compatible with your operating system and click on the download link. The file will usually be in a compressed format, such as a .zip file.
5. Extract the Driver: After the download is complete, navigate to the downloaded file and extract its contents. This will typically involve right-clicking on the file and selecting “Extract” or “Unzip.” Once extracted, you’ll have access to the driver installation files.
By following these steps, you’ll have successfully downloaded the driver for your Canon printer, setting the stage for the subsequent installation process. With the driver in hand, you’re one step closer to unleashing the full potential of your Canon printer.
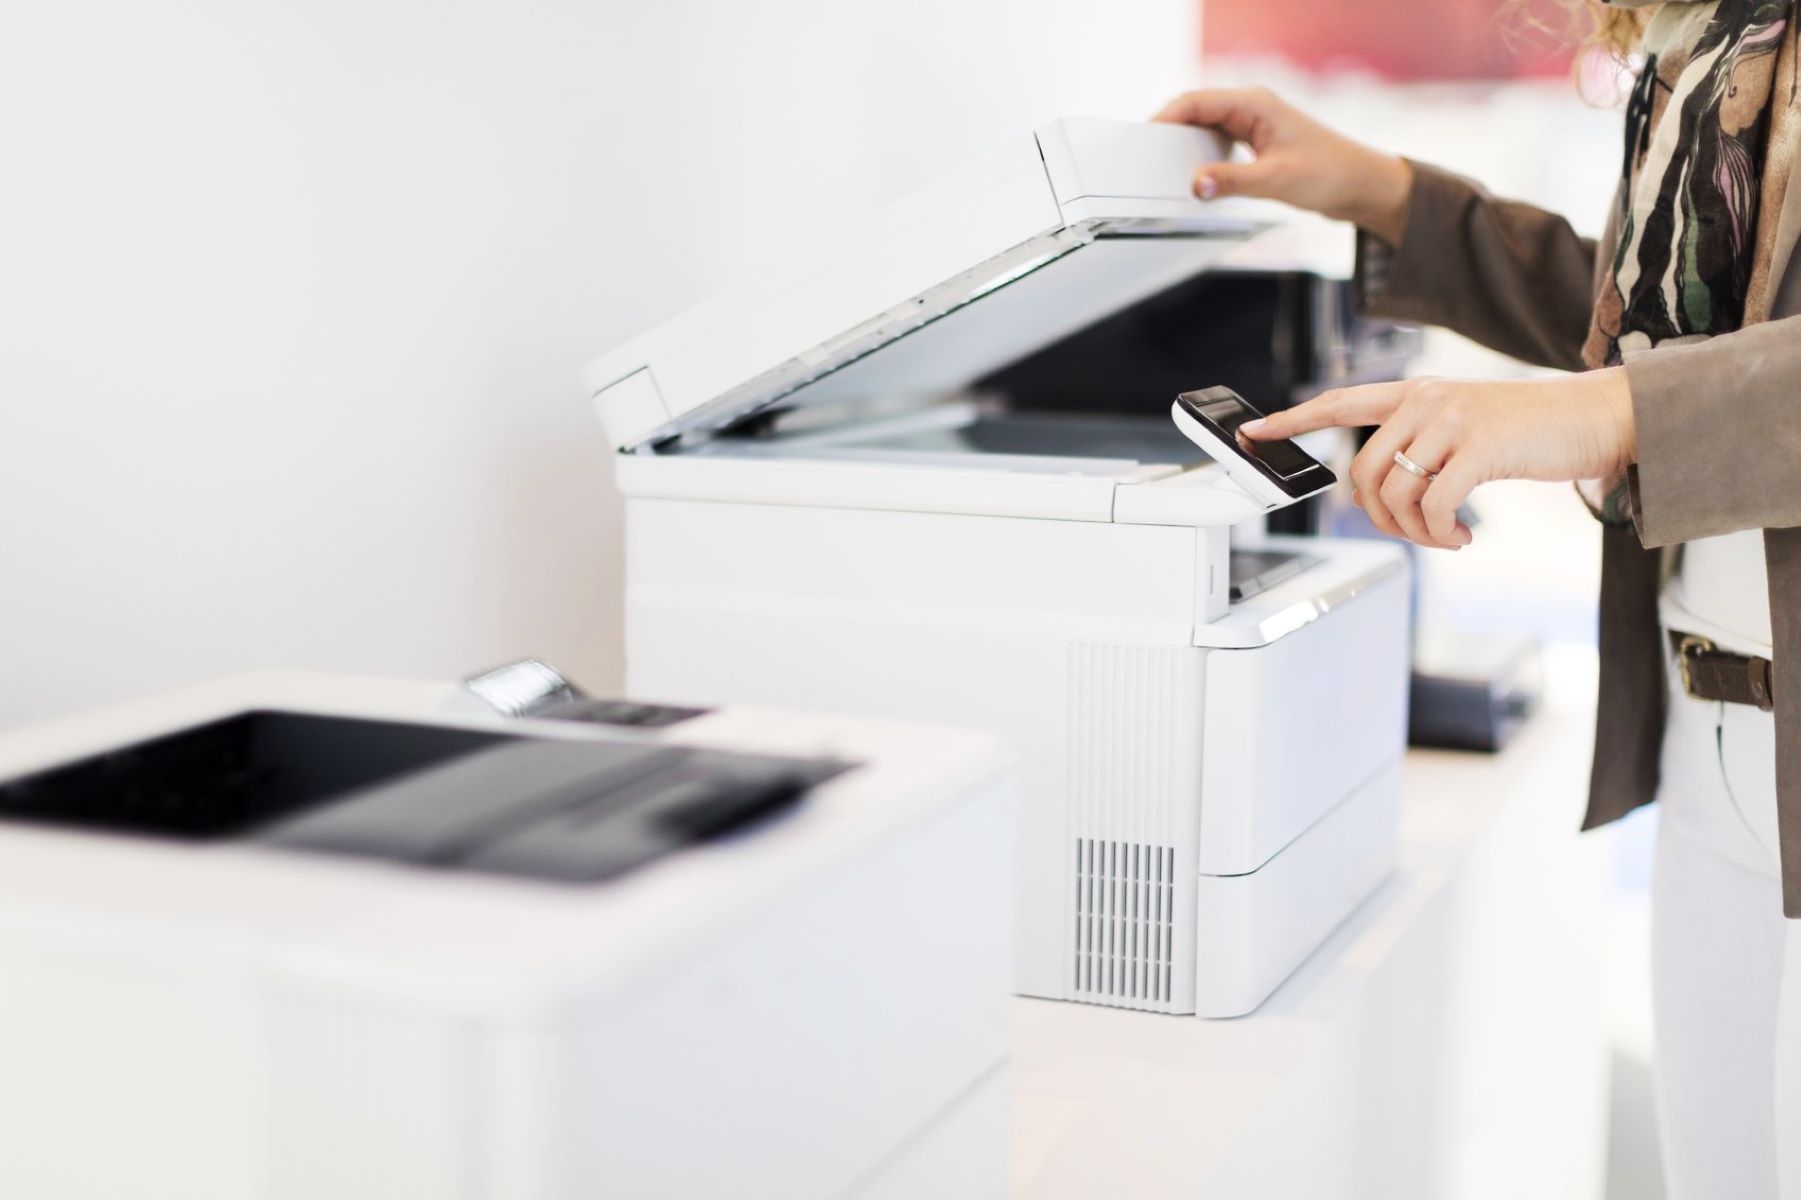
Step 2: Connect the Printer
Now that you have the driver downloaded, the next crucial step is to connect your Canon printer to your computer or network. Establishing a stable and reliable connection is essential for seamless communication between the printer and your devices.
1. Power On the Printer: Before connecting the printer, ensure that it is powered on and in a ready state. This may involve plugging in the power cable and pressing the power button, depending on your printer model.
2. Connect the Printer to Your Computer: If you are using a USB connection, locate the appropriate USB cable for your printer and connect it to an available USB port on your computer. The operating system should automatically detect the new device and prepare it for installation.
3. Network Connection (Optional): If your Canon printer supports wireless or network connectivity, you can choose to connect it to your Wi-Fi network. This typically involves accessing the printer’s control panel to select your network and enter the Wi-Fi password. Once connected, your computer should be able to detect the printer on the network.
4. Install the Printer Software (If Required): In some cases, connecting the printer may prompt the operating system to install the necessary software and drivers automatically. If not, you may need to run the driver installation file that you downloaded in the previous step. Follow the on-screen instructions to complete the installation process.
By following these steps, you’ll have successfully connected your Canon printer to your computer or network, laying the groundwork for the final stage of the installation process. With the printer connected, you’re now ready to proceed to the next step and install the driver, bringing your Canon printer to life.
To install a driver for a Canon printer, visit the Canon website and download the correct driver for your printer model. Follow the on-screen instructions to complete the installation process.
Step 3: Install the Driver
With your Canon printer connected and ready, it’s time to install the driver that you downloaded in the first step. The driver is essential for enabling seamless communication between your computer and the printer, allowing you to harness the full range of printing capabilities.
1. Run the Driver Installation File: Locate the driver installation file that you downloaded from the Canon website. Double-click on the file to initiate the installation process. This will typically launch a setup wizard that guides you through the installation steps.
2. Follow the On-Screen Instructions: The setup wizard will present you with a series of on-screen instructions to guide you through the installation process. Pay close attention to any prompts or options presented, such as agreeing to the license agreement and selecting the installation location.
3. Complete the Installation: Once you’ve followed the on-screen instructions and configured any additional settings, proceed with the installation. The setup wizard will begin installing the necessary drivers and software for your Canon printer. This process may take a few minutes to complete.
4. Verify the Installation: After the installation is complete, you can verify that the driver has been installed successfully. You can do this by checking the list of installed printers on your computer to ensure that your Canon printer is listed and set as the default printer.
5. Reboot Your Computer (If Required): In some cases, it may be necessary to reboot your computer to finalize the driver installation process. If prompted to do so, save any open work and restart your computer to ensure that the driver is fully integrated into the system.
By following these steps, you’ll have successfully installed the driver for your Canon printer, paving the way for seamless printing experiences. With the driver in place, your Canon printer is now fully integrated with your computer, ready to bring your digital creations to life with stunning precision and clarity.
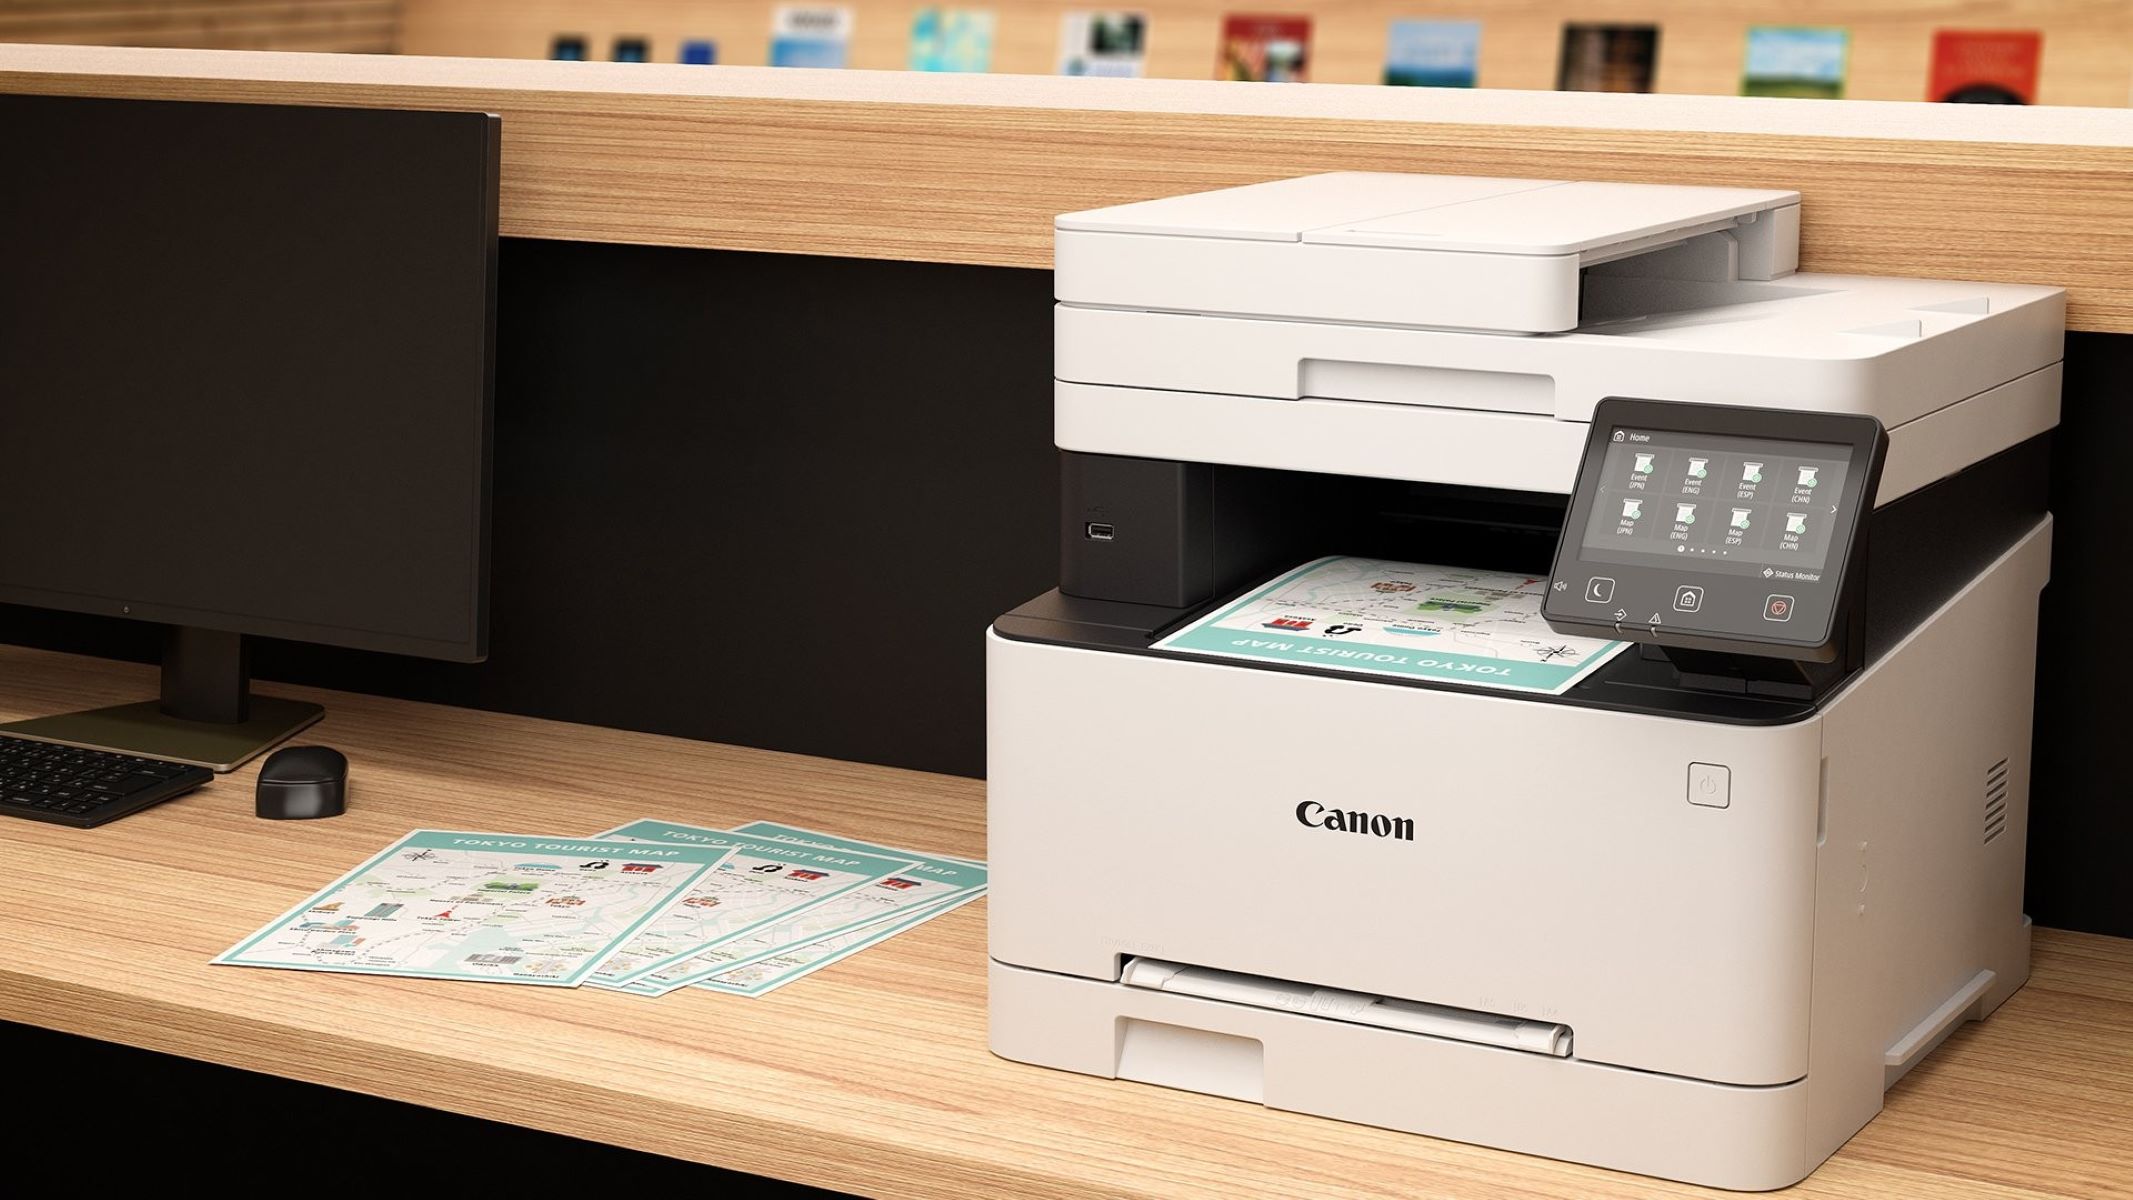
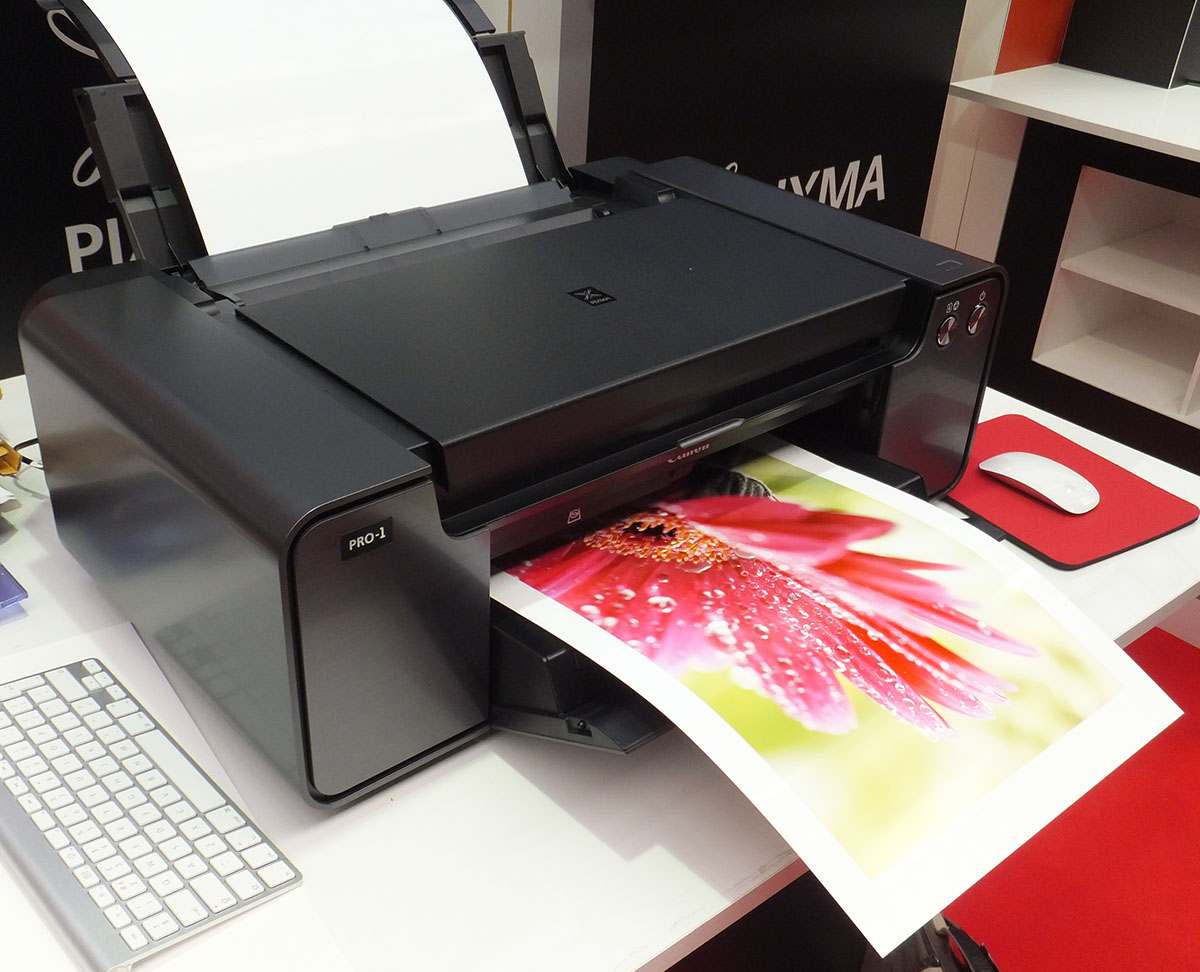
Step 4: Test the Printer
After completing the driver installation, it’s time to put your Canon printer to the test and ensure that it’s ready to deliver exceptional print results. Testing the printer allows you to verify that the installation was successful and that your printer is fully operational.
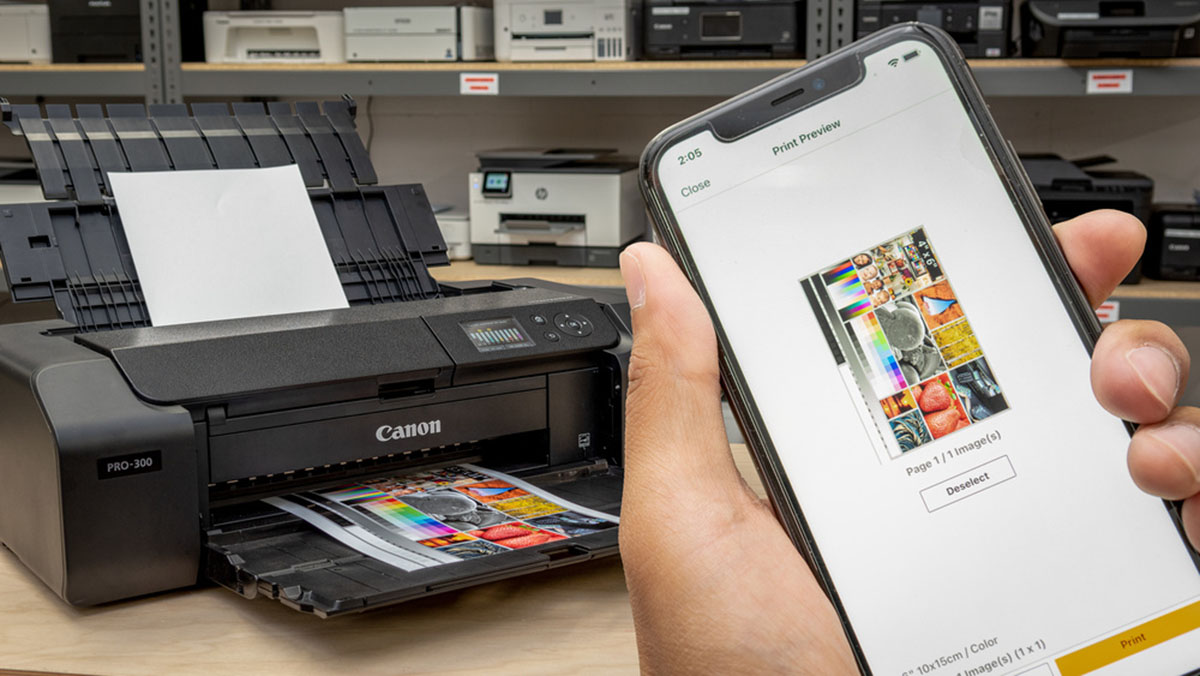
1. Print a Test Page: The simplest way to test your Canon printer is by printing a test page. To do this, open a document or image on your computer and select the “Print” option. Choose your Canon printer from the list of available printers and initiate the printing process. The printer should respond by producing a test page with text and graphics.
2. Check for Quality and Clarity: Examine the test page closely to evaluate the quality and clarity of the printed content. Look for crisp text, vibrant colors, and accurate reproduction of images. If the test page meets your expectations, it’s a clear indication that your Canon printer is functioning optimally.
3. Troubleshooting (If Necessary): If the test page doesn’t meet your expectations or if there are any issues with the print results, you may need to troubleshoot the printer. This can involve checking ink or toner levels, adjusting print settings, or ensuring that the paper is loaded correctly in the printer.
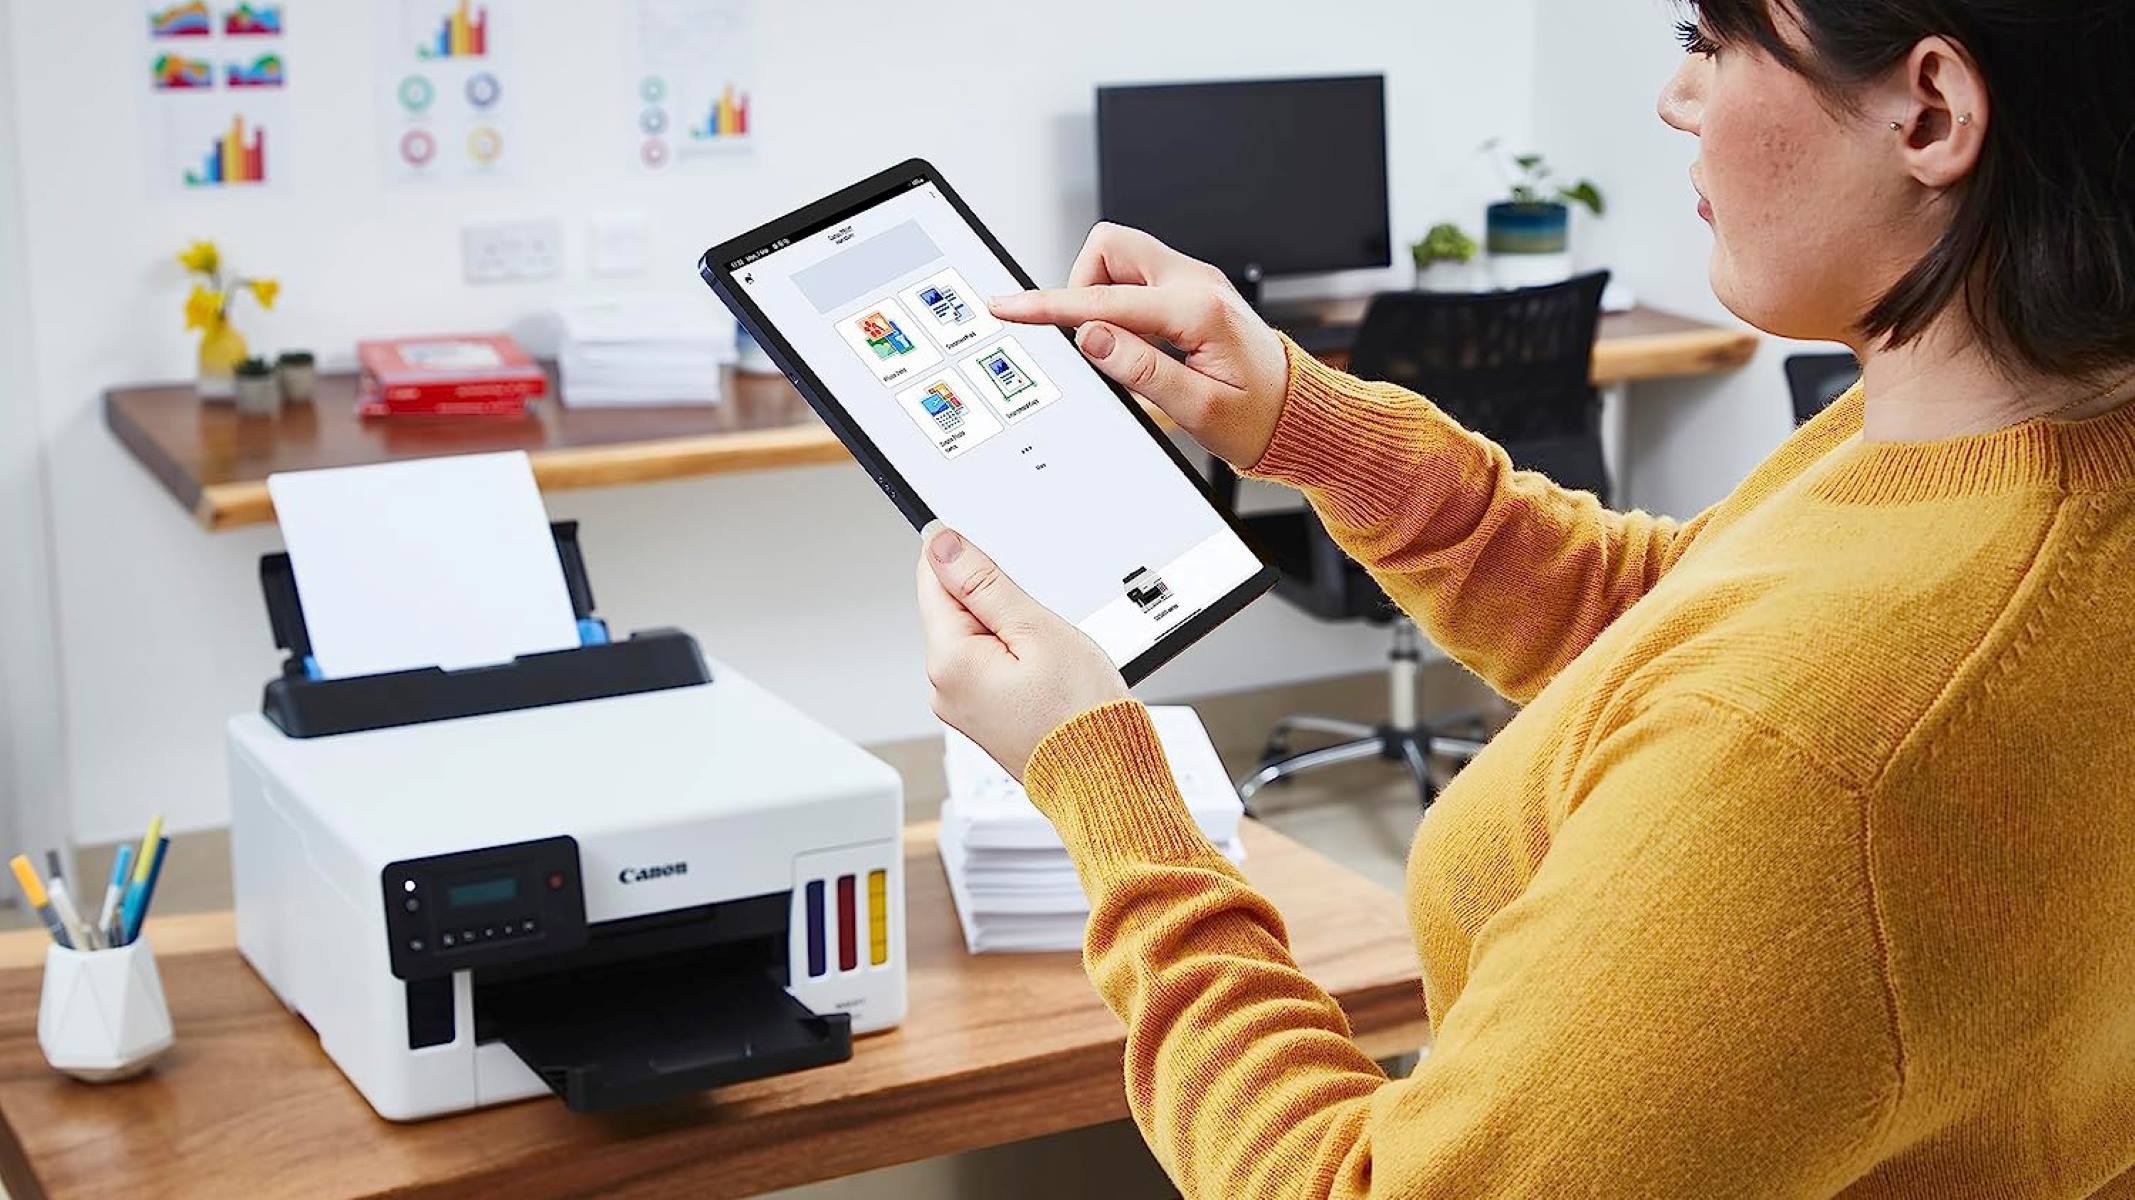
4. Explore Additional Features: Once you’ve verified that the basic printing functionality is working as expected, take the opportunity to explore any additional features offered by your Canon printer. This could include scanning, copying, or accessing advanced print settings through the printer’s control panel or accompanying software.
5. Print a Sample Document: To further validate the printer’s performance, consider printing a sample document or image that represents the type of content you typically work with. This will allow you to assess how well the printer handles specific materials and whether it meets your professional or personal printing needs.
By following these steps, you’ll have thoroughly tested your Canon printer, confirming that the driver installation was successful and that the printer is ready to meet your printing demands. With the printer tested and validated, you can confidently embark on a seamless printing journey, knowing that your Canon printer is primed for exceptional performance.
Now that you've mastered installing your Canon printer driver, why stop there? Step up your printer game with our comprehensive guide on setting up a Canon printer from scratch. You'll learn all about connecting your device, configuring settings, and ensuring everything runs smoothly for optimal performance. Don't miss out on making your printing experience as seamless as possible!
Frequently Asked Questions about How To Install Driver For Canon Printer
Was this page helpful?
At Storables.com, we guarantee accurate and reliable information. Our content, validated by Expert Board Contributors, is crafted following stringent Editorial Policies. We're committed to providing you with well-researched, expert-backed insights for all your informational needs.

0 thoughts on “How To Install Driver For Canon Printer”