Home>Construction & Tools>Building Materials>How To Install Stone Veneer Fireplace

Building Materials
How To Install Stone Veneer Fireplace
Modified: October 20, 2024
Learn how to enhance your fireplace with stone veneer. Find the best building materials and step-by-step instructions for a stunning fireplace makeover.
(Many of the links in this article redirect to a specific reviewed product. Your purchase of these products through affiliate links helps to generate commission for Storables.com, at no extra cost. Learn more)
Introduction
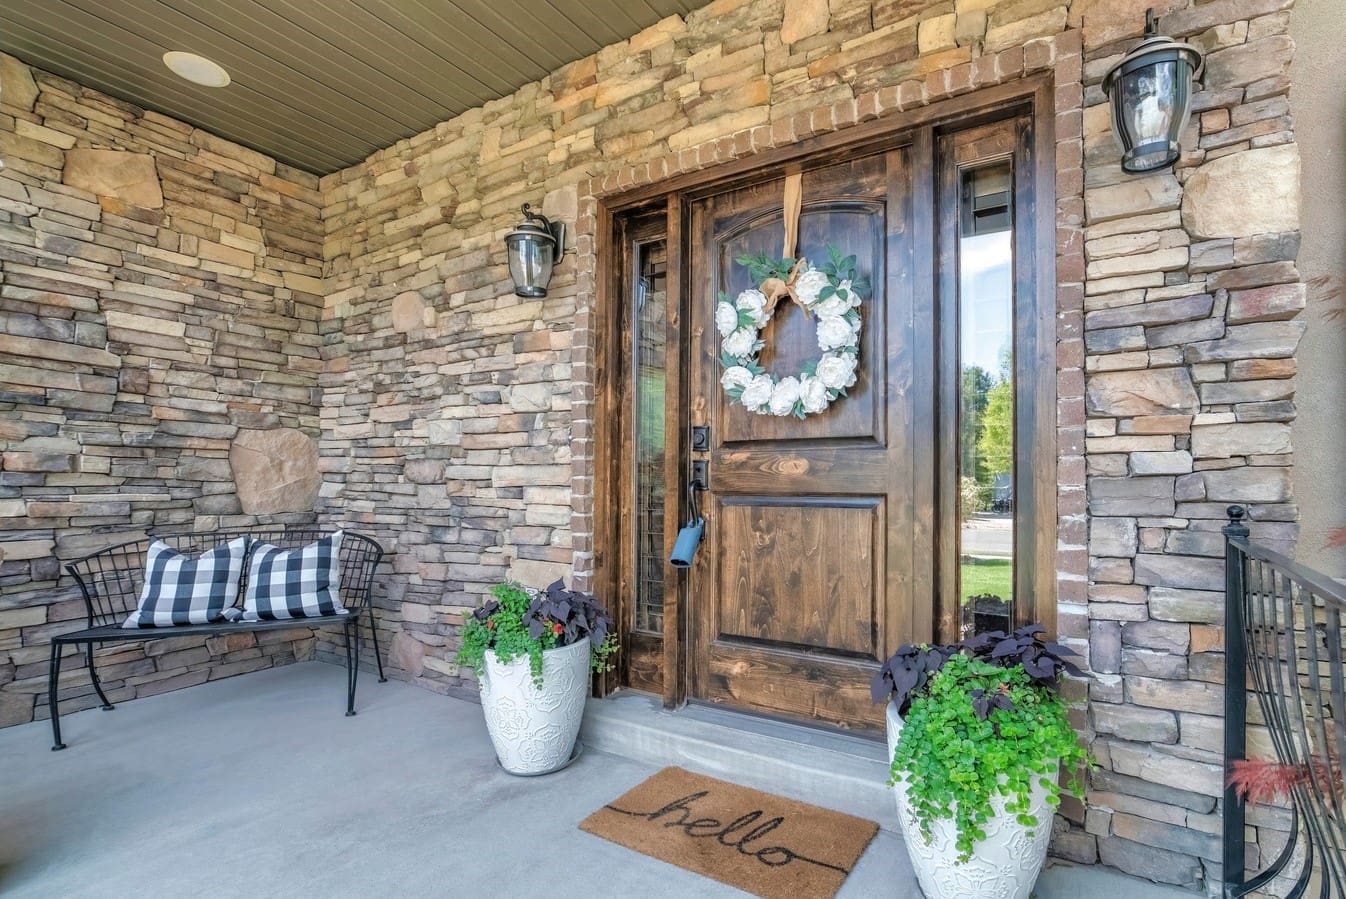
Welcome to the world of stone veneer fireplaces! If you’re looking to add a touch of elegance and warmth to your living space, installing a stone veneer fireplace can be a fantastic way to achieve that. Not only does it create a cozy and inviting atmosphere, but it also adds a timeless charm to your home.
Whether you’re a seasoned DIY enthusiast or just starting to explore the world of home improvement projects, this guide will walk you through the step-by-step process of installing a stone veneer fireplace. By following these instructions and using the right materials and tools, you can transform your fireplace into a stunning focal point that exudes natural beauty and sophistication.
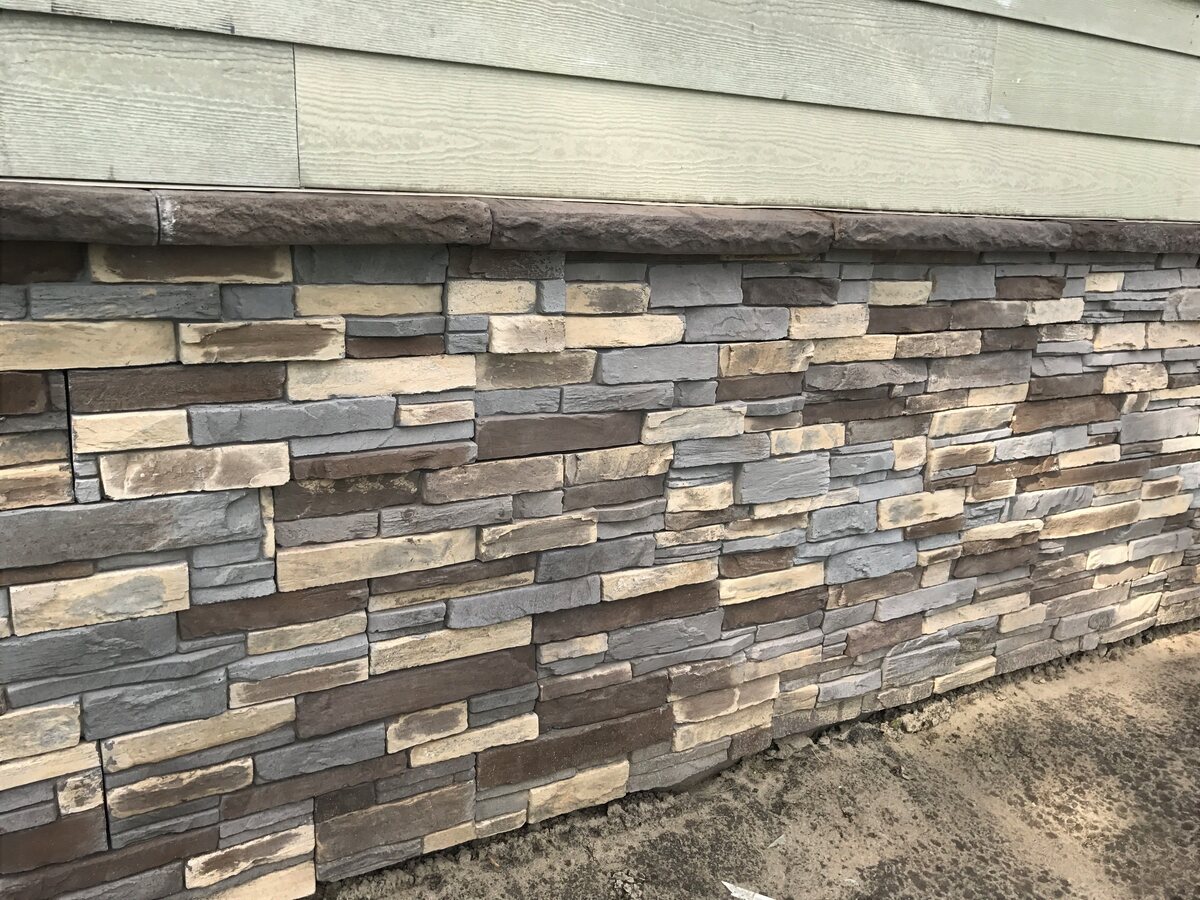
Before we dive into the nitty-gritty details of the installation process, it’s essential to understand the basics of stone veneer and the benefits it offers. Stone veneer, also known as faux stone or manufactured stone, is a lightweight and cost-effective alternative to natural stone. It is crafted to mimic the appearance and texture of natural stone, making it an attractive option for enhancing the aesthetic appeal of your fireplace without the need for heavy lifting and extensive masonry work.
Not only does stone veneer come in a variety of colors, shapes, and sizes, but it also provides excellent durability and resistance to the elements. This means that once installed, your stone veneer fireplace will continue to exude its captivating allure for years to come, requiring minimal maintenance.
So, if you’re ready to embark on this exciting home improvement journey, let’s gather our materials and tools and get started on transforming your fireplace into a stunning masterpiece!
Key Takeaways:
- Transform your fireplace into a stunning focal point by following the step-by-step guide to installing a stone veneer fireplace. With the right materials and tools, you can create a cozy and inviting atmosphere with timeless charm.
- Enhance the aesthetic appeal of your living space and add warmth and elegance with a durable and low-maintenance stone veneer fireplace. Enjoy the captivating allure of natural beauty and craftsmanship for years to come.
Read more: How To Install Stacked Stone Veneer
Materials and Tools Needed
Before diving into the installation process, it’s crucial to gather all the necessary materials and tools to ensure a smooth and efficient workflow. Here’s a comprehensive list of what you’ll need:
Materials:
- Stone veneer: Choose the style and color that best complements your home's aesthetic.
- Metal lath: Provides a sturdy base for the mortar and stone veneer.
- Mortar: Select a high-quality mortar specifically designed for stone veneer installation.
- Grout: Used to fill the gaps between the stone veneer pieces.
- Waterproofing sealer: Protects the stone veneer from moisture and enhances its longevity.
- Concrete bonding adhesive: Ensures a strong bond between the existing fireplace surface and the stone veneer.
- Backer board: Provides additional support for the stone veneer installation.
- Painter's tape: Helps protect surrounding areas from excess mortar or grout.
- Plastic sheeting: Used to cover and protect the floor and surrounding areas during the installation process.
- Protective gloves and eyewear: Essential for safety during mixing and application of mortar and grout.
Tools:
- Trowel: For applying mortar and grout.
- Wire snips: Used to cut the metal lath to the required size.
- Bucket: For mixing mortar and grout.
- Masonry brush: Helps clean the stone veneer and remove excess mortar.
- Level: Ensures the stone veneer is installed evenly and straight.
- Measuring tape: Essential for accurate measurements during the installation process.
- Safety goggles and dust mask: Provide protection from dust and debris during cutting and installation.
- Paintbrush: Used for applying the waterproofing sealer.
- Joint raker: Assists in shaping and cleaning the grout lines.
- Hammer: For securing the metal lath and backer board.
By ensuring you have all the required materials and tools on hand, you’ll be well-prepared to tackle the installation of your stone veneer fireplace with confidence and precision.
Preparing the Fireplace
Before you begin the installation of the stone veneer, it’s crucial to properly prepare the surface of the fireplace to ensure a solid foundation for the veneer and guarantee long-lasting results. Here’s a step-by-step guide to preparing the fireplace:
1. Clean the Surface:
Start by thoroughly cleaning the surface of the fireplace to remove any dirt, dust, or debris. Use a stiff brush or vacuum to ensure the surface is free of any loose particles that could affect the adhesion of the stone veneer.
2. Inspect for Damage:
Check the fireplace for any signs of damage or deterioration. Repair any cracks or uneven areas using a suitable masonry repair compound. It’s essential to address any structural issues before proceeding with the installation.
3. Apply Concrete Bonding Adhesive:
Once the surface is clean and free of damage, apply a layer of concrete bonding adhesive to ensure a strong bond between the existing fireplace surface and the stone veneer. Follow the manufacturer’s instructions for application and drying times.
4. Install Backer Board (if necessary):
In some cases, it may be necessary to install a backer board to provide additional support for the stone veneer. Cut the backer board to fit the dimensions of the fireplace and secure it in place using appropriate fasteners.
5. Mark Guidelines:
Use a level and measuring tape to mark guidelines on the surface, ensuring the stone veneer will be installed evenly and straight. This step is crucial for achieving a professional and polished look once the installation is complete.
By following these preparatory steps, you’ll create a suitable and stable surface for the stone veneer installation, setting the stage for a successful transformation of your fireplace.
Installing the Metal Lath
Before applying the mortar and stone veneer, it’s essential to install a metal lath to provide a secure and stable base for the veneer. The metal lath serves as a key component in ensuring the proper adhesion and support for the stone veneer. Here’s a detailed guide on how to install the metal lath:
1. Measure and Cut:
Begin by measuring the dimensions of the fireplace surface where the stone veneer will be installed. Use wire snips to cut the metal lath to fit the measured area, ensuring it covers the entire surface evenly.
2. Secure the Lath:
Using appropriate fasteners such as nails or screws, secure the metal lath to the prepared surface of the fireplace. Ensure the lath is firmly attached and free of any loose or protruding sections that could interfere with the mortar application.
3. Overlapping Joints:
When installing multiple pieces of metal lath, be sure to overlap the joints to create a seamless and continuous surface. This overlapping technique helps to reinforce the structure and prevents gaps in the lath that could compromise the integrity of the installation.
4. Inspect for Stability:
After the metal lath is installed, carefully inspect the entire surface to ensure it is stable and securely attached. Press lightly on various areas of the lath to check for any movement or give. Any areas that feel unstable should be reinforced before proceeding with the next steps.
5. Address Any Protrusions:
If there are any sharp or protruding sections of the metal lath, use wire snips to trim and smooth out these areas. This step is essential for creating a smooth and even surface for the mortar and stone veneer application.
By following these steps, you’ll establish a solid foundation for the stone veneer installation, setting the stage for the next phase of the transformation process.
Mixing and Applying Mortar
Once the metal lath is securely in place, the next crucial step in the stone veneer fireplace installation process is mixing and applying the mortar. The mortar serves as the bonding agent that adheres the stone veneer to the surface, creating a durable and visually appealing finish. Here’s a detailed guide on how to mix and apply mortar for your stone veneer fireplace:
Read more: How To Install Stone Veneer Over Stucco
1. Mix the Mortar:
Follow the manufacturer’s instructions to mix the mortar to the desired consistency. Use a clean bucket and a drill with a mixing paddle attachment for efficient and thorough mixing. The mortar should have a smooth, workable texture that allows for easy application.
2. Apply the Mortar:
Using a trowel, apply a layer of mortar to the prepared surface, covering an area that is suitable for placing the stone veneer. The thickness of the mortar layer should be sufficient to support the weight of the veneer while allowing for a secure bond.
3. Create Grooves:
Before the mortar sets, use the notched edge of the trowel to create grooves in the mortar. These grooves help enhance the bond between the mortar and the stone veneer, ensuring a strong and lasting connection.
4. Work in Sections:
It’s best to work in small sections, applying mortar and placing the stone veneer before moving on to the next area. This approach ensures that the mortar remains workable and provides ample time for the proper placement of the veneer.
Read more: How To Install Stone Veneer On Cement Board
5. Clean Excess Mortar:
As you work, periodically clean off any excess mortar from the surface of the stone veneer using a masonry brush. This step helps maintain the natural appearance of the stone and prevents dried mortar from marring the finished look.
By following these steps, you’ll effectively apply the mortar, creating a sturdy and reliable base for the stone veneer installation. With the mortar in place, you’re ready to embark on the exciting phase of placing the stone veneer to bring your fireplace to life.
Placing the Stone Veneer
Now that the surface is prepared and the mortar is applied, it’s time to bring the stone veneer to life by placing it onto the prepared surface. This step is where the transformation truly begins, as the natural beauty of the stone veneer comes to the forefront, adding texture and character to your fireplace. Here’s a detailed guide on how to place the stone veneer:
1. Select and Arrange the Veneer:
Start by selecting the stone veneer pieces and arranging them in a pattern that complements the design and style you envision for your fireplace. This step allows you to plan the placement of the veneer before adhering it to the surface, ensuring a cohesive and visually appealing result.
2. Apply Adhesive (if necessary):
If the stone veneer pieces are not pre-mounted on a mesh backing, apply an appropriate adhesive to the back of each piece. This adhesive helps secure the veneer to the mortar and ensures a strong bond for long-lasting durability.
Read more: How Thick Is Stone Veneer
3. Place the Veneer:
Carefully place each piece of stone veneer onto the prepared surface, pressing firmly to ensure it adheres to the mortar. Take care to maintain the planned pattern and alignment as you work, creating a seamless and polished look as the veneer comes together.
4. Fill in Gaps:
As you place the veneer, be mindful of any gaps or spaces between the pieces. Use smaller, irregularly shaped stones to fill in these areas, ensuring a natural and organic appearance that mimics the beauty of natural stone formations.
5. Check for Alignment:
Periodically step back and assess the alignment and overall appearance of the stone veneer as you progress. Making adjustments as needed during the installation process helps achieve a balanced and harmonious look across the entire surface.
By following these steps, you’ll skillfully place the stone veneer, bringing your vision to life as the fireplace undergoes a stunning metamorphosis. With the veneer in place, the next step is to grout the joints, further enhancing the beauty and integrity of the installation.
Grouting the Joints
With the stone veneer securely in place, the next crucial step in the installation process is grouting the joints. Grout not only enhances the visual appeal of the stone veneer fireplace but also provides structural support and stability to the installation. Here’s a detailed guide on how to grout the joints:
1. Select Grout Color:
Choose a grout color that complements the stone veneer and enhances the overall aesthetic of the fireplace. Whether you opt for a natural gray tone or a contrasting color to make the joints stand out, the choice of grout color can significantly impact the final look of the installation.
2. Mix the Grout:
Follow the manufacturer’s instructions to mix the grout to the desired consistency. Use a clean bucket and a grout mixing paddle to achieve a smooth and uniform texture that is suitable for application.
3. Apply the Grout:
Using a grout float, apply the mixed grout to the joints between the stone veneer pieces. Work the grout into the joints, ensuring they are completely filled and the surface is level with the face of the stone. Take care to avoid smearing grout on the face of the stone veneer.
4. Clean Excess Grout:
After applying the grout, use a damp sponge to carefully clean off any excess grout from the surface of the stone veneer. Rinse the sponge frequently to ensure a thorough cleaning process while avoiding any damage to the freshly applied grout.
5. Shape and Finish:
Once the grout begins to set, use a joint raker or a pointed tool to shape and smooth the grout lines, ensuring a clean and uniform appearance. This step adds a professional touch to the installation and contributes to the overall polished look of the fireplace.
By following these steps, you’ll expertly grout the joints, adding the finishing touch to the stone veneer fireplace installation. With the grouting complete, the final step is to seal the stone veneer, preserving its beauty and protecting it from the elements for years to come.
Sealing the Stone Veneer
As the stone veneer fireplace installation nears completion, the crucial final step is to seal the stone veneer. Sealing not only enhances the natural beauty of the stone but also provides protection against moisture, stains, and other environmental factors, ensuring the longevity and durability of the installation. Here’s a detailed guide on how to seal the stone veneer:
1. Select a Quality Sealer:
Choose a high-quality waterproofing sealer specifically formulated for stone veneer. Consider factors such as UV resistance, breathability, and ease of application when selecting the sealer to ensure optimal protection and performance.
2. Prepare the Surface:
Before applying the sealer, ensure that the surface of the stone veneer is clean and free of any dust, debris, or grout residue. Use a soft brush or cloth to gently remove any loose particles and prepare the surface for the sealing process.
3. Apply the Sealer:
Using a paintbrush or sprayer, apply an even coat of the sealer to the entire surface of the stone veneer. Take care to cover all the joints and crevices, ensuring thorough and comprehensive coverage for maximum protection.
4. Allow for Absorption:
Allow the sealer to penetrate and absorb into the stone veneer as per the manufacturer’s instructions. Depending on the sealer type, this may involve a specific curing or drying period to ensure effective sealing and protection.
5. Apply Additional Coats (if necessary):
If recommended by the sealer manufacturer, apply additional coats of the sealer to achieve the desired level of protection and enhancement. Multiple coats can further fortify the stone veneer against potential damage and ensure long-term preservation.
6. Clean and Polish:
After the sealing process is complete, use a clean, dry cloth to gently polish the surface of the stone veneer, removing any excess sealer and achieving a lustrous finish that highlights the natural beauty of the stone.
By following these steps, you’ll effectively seal the stone veneer, safeguarding its integrity and enhancing its visual appeal. With the stone veneer sealed, your fireplace installation is complete, leaving you with a stunning and enduring centerpiece that adds warmth and character to your living space.
Read more: How To Attach Stone Veneer
Conclusion
Congratulations on completing the installation of your stone veneer fireplace! By following the step-by-step process outlined in this guide and utilizing the right materials and tools, you’ve transformed your fireplace into a captivating focal point that exudes natural beauty and timeless charm. As you sit back and admire your handiwork, it’s important to reflect on the journey and the remarkable results you’ve achieved.
Throughout the installation process, you’ve not only enhanced the aesthetic appeal of your living space but also added a touch of warmth and elegance that will be enjoyed for years to come. The natural beauty of the stone veneer, combined with the craftsmanship and attention to detail you’ve applied, has created a stunning centerpiece that brings joy and comfort to your home.
Furthermore, the durability and resistance of the stone veneer, coupled with the protective sealing, ensure that your fireplace will maintain its allure with minimal maintenance. This enduring beauty is a testament to the quality of the materials and the care you’ve invested in the installation process.
As you gather around the fireplace with family and friends, its inviting ambiance and striking appearance will undoubtedly become a cherished feature of your home. Whether it’s a cozy evening by the fire or a gathering to celebrate special moments, your stone veneer fireplace will serve as a captivating backdrop, enriching the experiences shared within your home.
With the completion of this installation, you’ve not only enhanced the aesthetic appeal of your living space but also added value and character to your home. Your stone veneer fireplace stands as a testament to your creativity, craftsmanship, and dedication to creating a welcoming and inviting environment for all who enter.
As you bask in the warmth and beauty of your newly installed stone veneer fireplace, take pride in the transformation you’ve accomplished. Your dedication and skill have brought this project to life, leaving you with a stunning centerpiece that enriches the heart of your home.
Frequently Asked Questions about How To Install Stone Veneer Fireplace
Was this page helpful?
At Storables.com, we guarantee accurate and reliable information. Our content, validated by Expert Board Contributors, is crafted following stringent Editorial Policies. We're committed to providing you with well-researched, expert-backed insights for all your informational needs.
0 thoughts on “How To Install Stone Veneer Fireplace”