Articles
How To Install A Ventless Fireplace
Modified: October 20, 2024
Learn step-by-step articles on how to install a ventless fireplace for a convenient and stylish heating solution.
(Many of the links in this article redirect to a specific reviewed product. Your purchase of these products through affiliate links helps to generate commission for Storables.com, at no extra cost. Learn more)
Introduction
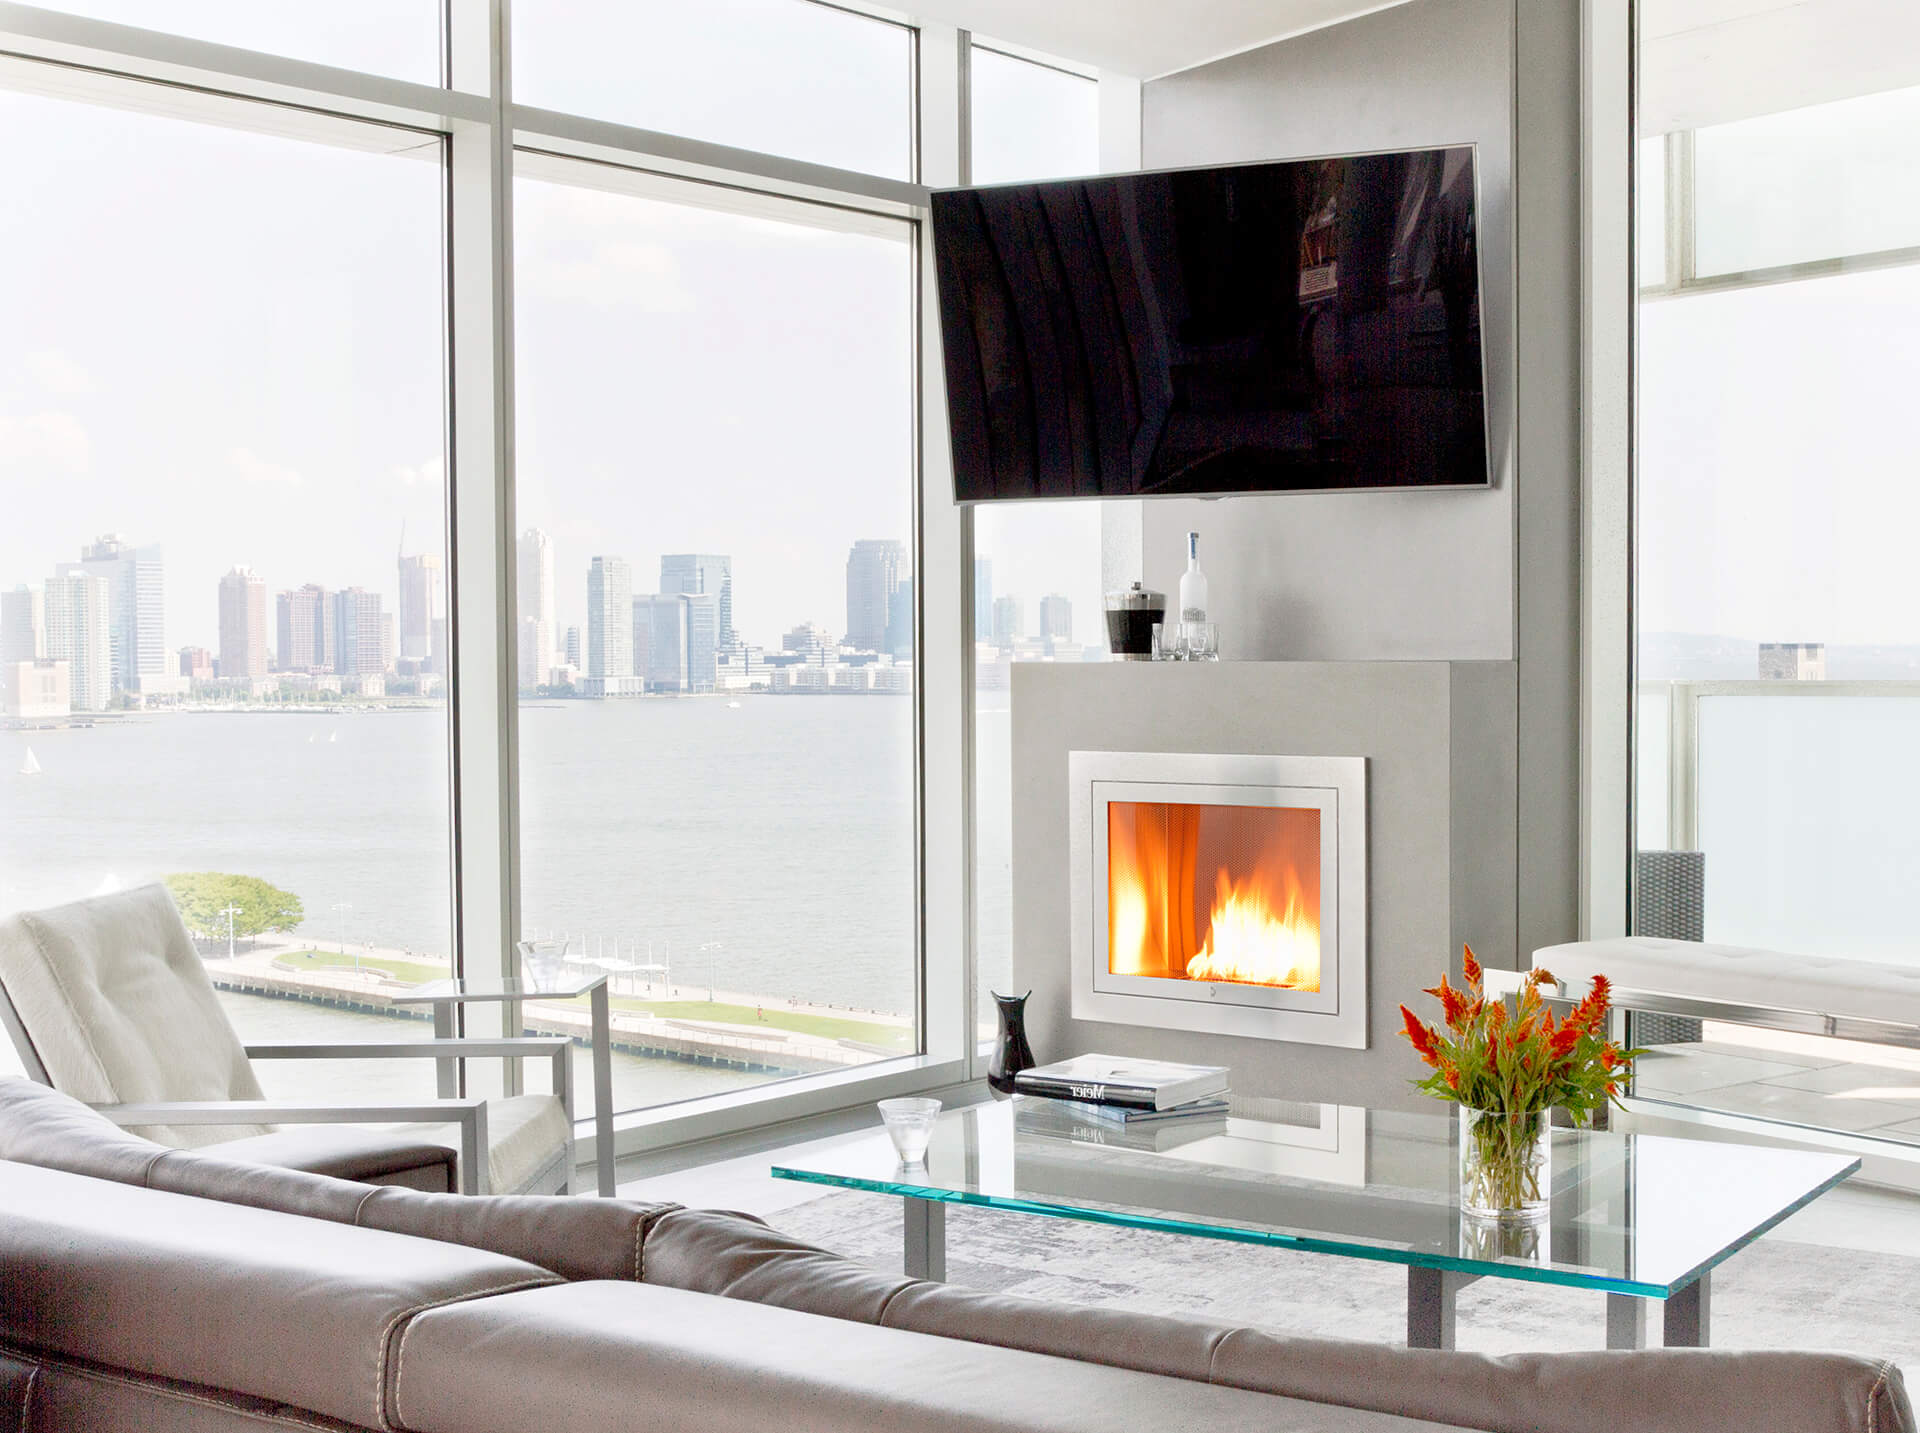
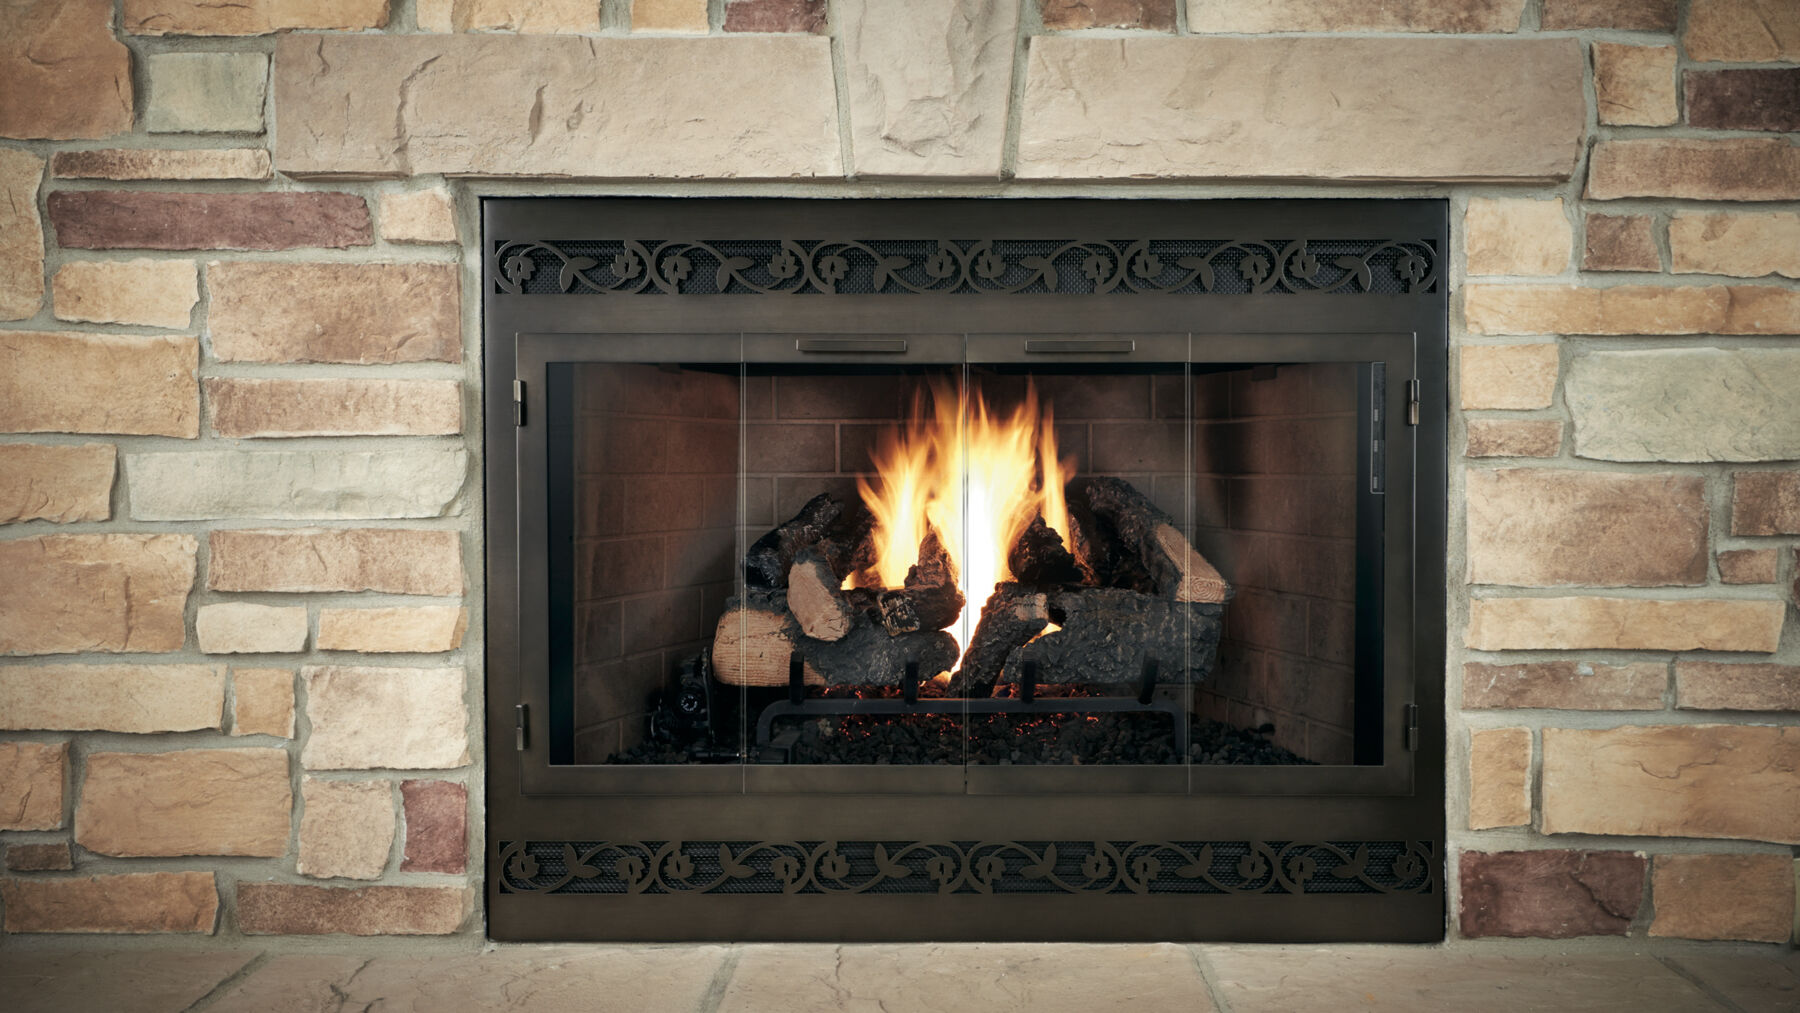
Welcome to our step-by-step guide on how to install a ventless fireplace. If you’re looking to add warmth and ambiance to your home without the need for a chimney or outdoor vent, a ventless fireplace is a great option. These fireplaces are designed to burn natural gas or propane fuel, producing real flames and heat, while emitting minimal emissions. Not only are ventless fireplaces efficient and convenient, but they also provide a cozy and inviting atmosphere to any room in your house.
Before we dive into the installation process, it’s important to note that ventless fireplaces are not suitable for every home. Local building codes and regulations vary, so it’s essential to check with your local authorities to ensure that a ventless fireplace is permitted in your area. Additionally, it’s crucial to follow manufacturer’s guidelines and recommendations when installing your ventless fireplace, as safety is a top priority.
In this guide, we’ll walk you through the step-by-step process of installing a ventless fireplace. From choosing the perfect location to testing for safety, we’ll cover all the necessary steps to ensure a successful installation. So, let’s get started and create a cozy and inviting space in your home with a beautiful ventless fireplace.
Key Takeaways:
- Carefully choosing the location, gathering the necessary tools, and preparing the area are crucial steps in ensuring a successful ventless fireplace installation. Following safety protocols and manufacturer’s guidelines is essential for a cozy and inviting home addition.
- After installing and testing the ventless fireplace, prioritize safety, maintenance, and responsible use. Embrace the warmth and ambiance it brings while creating lasting memories and enjoying the comfort it provides.
Step 1: Choose the Location
The first step in installing a ventless fireplace is to carefully select the location where you want it to be installed. Consider the following factors when choosing the perfect spot:
- Accessibility: Ensure that the chosen location allows for easy access to the fireplace for maintenance and cleaning purposes.
- Clearance Requirements: Check the manufacturer’s guidelines for clearance requirements. The fireplace should be installed a safe distance away from combustible materials such as furniture, curtains, and walls.
- Adequate Ventilation: While ventless fireplaces do not require a traditional chimney, it is still important to ensure proper ventilation in the room. Make sure the room has sufficient airflow to prevent the accumulation of fumes and moisture.
- Aesthetic Appeal: Consider the overall aesthetics of the room and how the fireplace will fit into the existing decor. Choose a location that enhances the visual appeal of the space.
- Fuel Source: Take into account the proximity of the gas or propane supply line to the chosen location. It should be easy to connect the fireplace to the fuel source without the need for extensive modifications.
Once you have considered these factors, mark the location on the wall or floor where the fireplace will be installed. Take precise measurements and ensure that the area is free from any obstructions. It’s also a good idea to consult with a professional if you have any concerns about the suitability of the location or if you’re unsure about any technical aspects of the installation.
Choosing the right location for your ventless fireplace is an important step in ensuring not only the functionality but also the visual appeal of the fireplace in your home. Now that you have chosen the perfect spot, it’s time to move on to the next step: gathering the necessary tools and materials for the installation.
Step 2: Gather the Necessary Tools and Materials
Before you begin the installation process, it’s important to gather all the required tools and materials. Having everything you need on hand will make the installation process much smoother. Here’s a list of the essential tools and materials you’ll need:
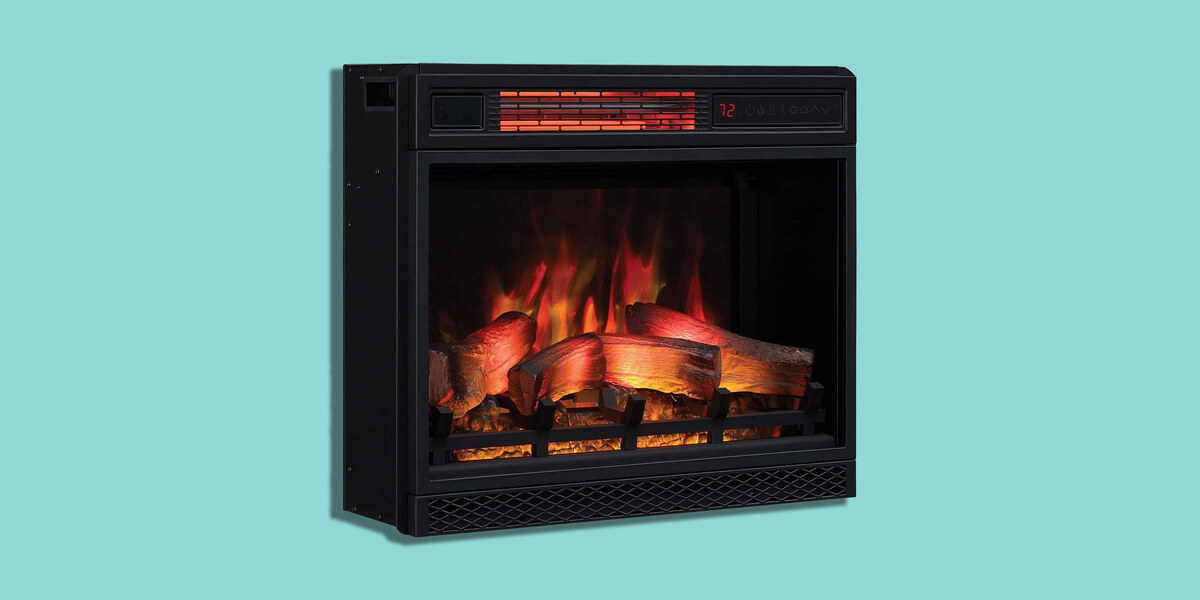
- Ventless Fireplace Unit: Purchase a ventless fireplace unit that suits your style and heating needs. Choose a high-quality unit from a reputable manufacturer.
- Gas or Propane Supply Line: Determine whether you’ll be using natural gas or propane fuel for your fireplace and ensure you have the appropriate supply line. Consult a professional if you’re unsure about the type of fuel to use or if you need assistance with the gas line installation.
- Fireplace Surround or Mantel: If you want to enhance the aesthetics of your ventless fireplace, consider purchasing a fireplace surround or mantel. This will provide a finishing touch and can complement your existing decor.
- Fireplace Tools: Invest in a set of fireplace tools including a poker, brush, tongs, and shovel. These tools will come in handy for maintenance and cleaning purposes.
- Fireplace Accessories: Depending on your preferences, you may want to consider additional fireplace accessories such as a log set, decorative rocks or crystals, or a decorative screen.
- Power Tools: You may need power tools such as a drill, screwdriver, or saw for certain aspects of the installation process. Ensure you have the appropriate tools and safety equipment when using power tools.
- Level: A level will help ensure that your fireplace is properly aligned and installed straight.
- Measuring Tape: Accurate measurements are crucial during installation. A measuring tape will come in handy for this purpose.
- Safety Equipment: It’s important to prioritize safety during the installation process. Wear protective gloves, safety glasses, and a face mask when handling materials or working with power tools.
By gathering all the necessary tools and materials in advance, you’ll save time and have everything you need within reach during the installation. Now that you’re fully prepared, let’s move on to Step 3: preparing the area for the ventless fireplace.
Step 3: Prepare the Area
Before installing the ventless fireplace, it’s crucial to properly prepare the area where it will be placed. Follow these steps to ensure a smooth and successful installation:
- Clear the Space: Remove any furniture, decorations, or items that may obstruct the installation area. Clearing the space will allow you to work efficiently and ensure safety during the installation process.
- Protect the Surrounding Area: Use drop cloths or plastic sheets to protect the surrounding floor and furniture from dust, debris, or any potential damage during installation. This precaution will make the cleanup process much easier.
- Check for Levelness: Use a level to ensure that the installation area is level. Uneven surfaces can affect the stability and appearance of the fireplace. Adjust as necessary to achieve a level surface.
- Inspect the Walls and Flooring: Examine the walls and flooring in the installation area for any cracks, damages, or moisture issues. It’s essential to address any necessary repairs or improvements before proceeding with the installation.
- Locate the Studs: The ventless fireplace needs to be securely anchored to the wall. Use a stud finder to locate the studs in the wall behind the installation area. Mark the stud positions for reference during the installation process.
- Plan for Electrical Connection (if applicable): If your ventless fireplace includes an electric component, ensure that there is an available electrical outlet nearby. If not, consider hiring a professional to install an outlet before proceeding with the installation.
Preparing the area before installing a ventless fireplace will help ensure a safe and seamless process. By clearing the space, protecting the surroundings, and checking for any necessary repairs, you’ll be well-prepared for the next step: assembling the ventless fireplace unit.
Step 4: Assemble the Ventless Fireplace Unit
Once you have prepared the area, it’s time to assemble the ventless fireplace unit. Follow these steps to complete this part of the installation:
- Read the manufacturer’s instructions: Before assembling the ventless fireplace unit, carefully read and familiarize yourself with the manufacturer’s instructions. Pay close attention to any specific guidelines or precautions.
- Unpack the components: Open the packaging and carefully remove all the components of the ventless fireplace unit. Ensure that no parts are damaged or missing.
- Attach the legs or mounting brackets: If your ventless fireplace unit requires legs or mounting brackets, follow the manufacturer’s instructions to securely attach them to the unit.
- Install the burner and log set: Place the burner inside the fireplace unit according to the manufacturer’s specifications. Then, carefully arrange the log set to achieve a realistic and appealing appearance.
- Connect any included accessories: If your ventless fireplace unit includes additional accessories such as decorative rocks or crystals, carefully place them as per the manufacturer’s instructions.
- Securely attach any included trims or surrounds: If your fireplace unit comes with trims or surrounds, follow the manufacturer’s instructions to securely attach them for a finished look.
- Double-check the assembly: Before proceeding, double-check that all components, including the burner, log set, accessories, and trims, are properly and securely installed. Ensure that there are no loose or missing parts.
Assembling the ventless fireplace unit accurately and following the manufacturer’s instructions will ensure its proper functionality and enhance its aesthetic appeal. Once the unit is fully assembled, you’re ready to move on to the next step: connecting the gas line.
When installing a ventless fireplace, make sure to carefully follow the manufacturer’s instructions and local building codes to ensure proper installation and safety.
Read more: How To Install A Fireplace
Step 5: Connect the Gas Line
Connecting the gas line is a crucial step in the installation of a ventless fireplace. It’s important to follow proper safety procedures and guidelines when working with gas. Here’s how you can connect the gas line:
- Turn off the gas supply: Before connecting the gas line, locate the main gas supply valve in your home and turn it off. This will ensure a safe working environment and prevent any gas leaks.
- Prepare the gas line: Determine if you’re using natural gas or propane and ensure that you have the correct gas line for your fireplace. Carefully measure and cut the gas line to the appropriate length, if necessary.
- Attach the gas line: Use a wrench to securely attach the gas line to the designated gas inlet on the ventless fireplace. Follow the manufacturer’s instructions for this step to ensure a proper and tight connection.
- Apply sealant: Apply an approved gas sealant to the connections between the gas line and the fireplace. This will help prevent any gas leaks. Make sure to use a sealant specifically designed for gas connections.
- Test for leaks: Once the gas line is connected, turn on the main gas supply valve and perform a leak test. Apply a mixture of soapy water to the gas connections and look for any bubbles. If there are no bubbles, it indicates a secure connection. If you notice bubbles or smell gas, turn off the gas supply immediately and consult a professional.
- Ensure proper ventilation: As ventless fireplaces do not require a chimney, it’s important to make sure the room has adequate ventilation. Ensure there is sufficient airflow to prevent the buildup of fumes.
Connecting the gas line requires careful attention to detail and should be done by someone with experience or under the supervision of a qualified professional. Safety is paramount when working with gas, so it’s essential to take the necessary precautions and follow local regulations.
Once the gas line is securely connected and leakage is tested, you’re ready to move on to the next step: installing the ventless fireplace unit.
Step 6: Install the Fireplace Unit
With the gas line connected, it’s time to install the ventless fireplace unit itself. Follow these steps to ensure a proper installation:
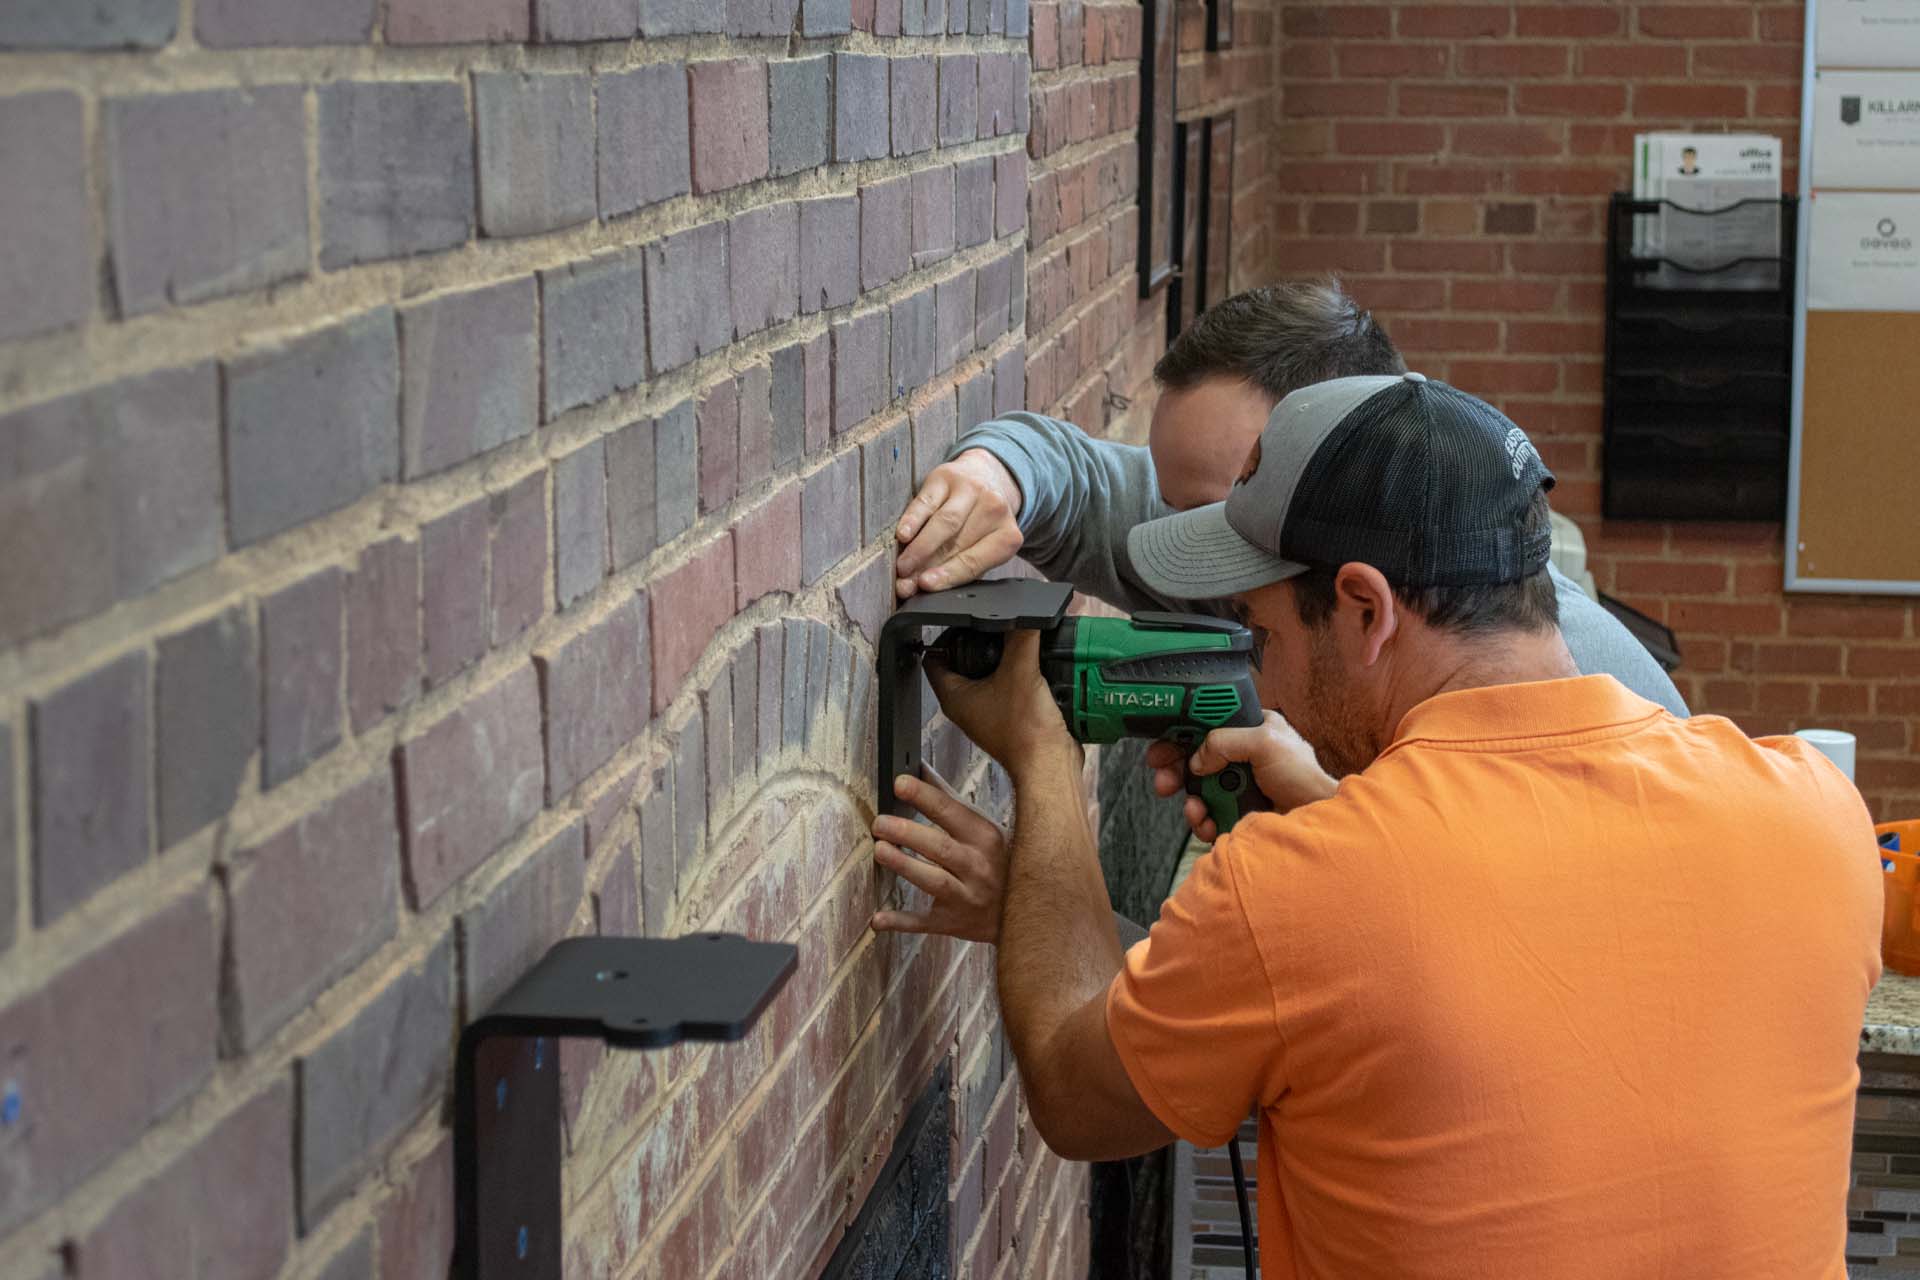
- Position the fireplace unit: Carefully position the fireplace unit in the designated area, ensuring that it aligns with your markings from earlier. Make sure it is centered and level.
- Secure the unit to the wall: Use the provided screws and brackets to securely attach the fireplace unit to the wall. If necessary, use a drill or screwdriver to make pilot holes for the screws.
- Ensure proper clearances: Refer to the manufacturer’s instructions to determine the required clearances around the fireplace unit. Make sure to leave enough space around the fireplace to adhere to these guidelines.
- Connect the gas line to the fireplace unit: Attach the gas line to the designated gas inlet on the ventless fireplace unit. Use a wrench to ensure a tight connection, being careful not to overtighten.
- Connect the electrical component (if applicable): If your ventless fireplace unit includes an electrical component, follow the manufacturer’s instructions to connect it to the appropriate power source. This may involve plugging in a power cord or hardwiring the unit.
- Inspect the connections: Double-check that all gas and electrical connections are secure and free from any leaks or exposed wires. If you notice any issues, turn off the gas and power and consult a professional.
- Test the fireplace: Turn on the gas valve and test the fireplace to ensure it is working properly. Follow the manufacturer’s instructions for lighting the pilot light or igniting the flames. Pay attention to the flame pattern, color, and intensity to ensure proper functionality.
Properly installing the ventless fireplace unit is crucial for both safety and performance. Ensure that the unit is securely attached to the wall, all connections are tight and leak-free, and all clearances are met. Once the unit is installed and functioning correctly, you’re ready for the next step: testing for leakage and safety.
Step 7: Test for Leakage and Safety
After installing the ventless fireplace unit, it’s vital to thoroughly test for any potential gas leaks and ensure the safety of your installation. Follow these steps to complete the testing process:
- Close all connections: Make sure all gas valves and connections are tightly closed.
- Inspect the connections: Visually inspect all the gas connections, including the main supply, the gas line, and the connections to the fireplace unit. Look for any signs of damage or loose fittings.
- Sniff for gas odor: Take a moment to sniff around the area for any strong gas odor. If you detect the smell of gas, turn off the main gas supply and contact your gas provider or a professional immediately.
- Apply a leak detection solution: Apply a leak detection solution, such as a mixture of soap and water, to all gas connections. Use a brush or cloth to coat the connections thoroughly.
- Observe for bubbles: Observe the connections closely for the formation of bubbles. If you notice any bubbles, it signifies a gas leak. In this case, turn off the main gas supply and seek the assistance of a professional to address the issue.
- Test the fireplace operation: With the gas supply restored and the connections confirmed to be leak-free, test the operation of the ventless fireplace. Ensure that the flames are consistent, the pilot light remains lit, and the burners function smoothly.
- Check for proper ventilation: While the fireplace is in operation, assess the ventilation in the room. Make sure there is adequate airflow to prevent the buildup of harmful fumes.
- Install carbon monoxide detectors: As an added safety measure, install carbon monoxide detectors in the immediate area of the ventless fireplace. This will help monitor the air quality and provide an early warning in case of carbon monoxide presence.
Testing for gas leakage and safety is a crucial step to ensure the well-being of your household. By following these steps and addressing any potential issues, you can enjoy your ventless fireplace safely and confidently.
Once you have completed the leakage and safety testing, it’s time to move on to the final step: enjoying the warmth and ambiance of your new ventless fireplace.
Step 8: Enjoy Your New Ventless Fireplace
Congratulations! Now that your ventless fireplace is installed, tested, and deemed safe, it’s time to sit back, relax, and enjoy the warmth and ambiance it brings to your home. Here are some tips for making the most of your new ventless fireplace:
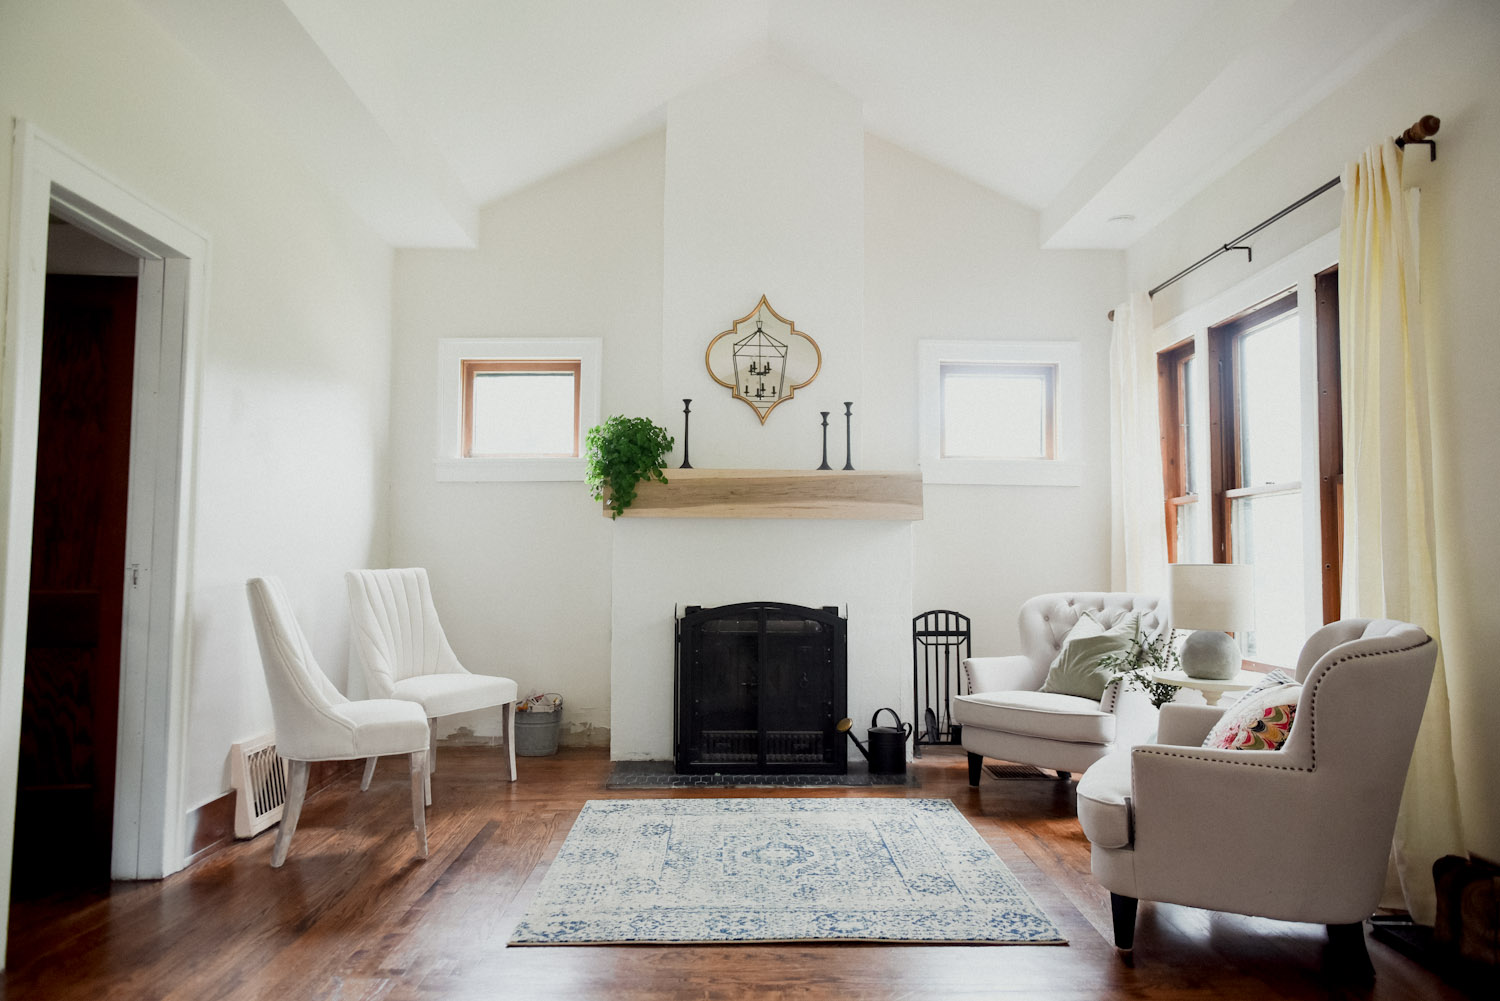
- Arrange seating for comfort: Position your furniture strategically around the fireplace to create a cozy and inviting atmosphere. Arrange seating in a way that allows everyone to enjoy the warmth and view of the flames.
- Decorate the mantel or surround: Personalize the area around the fireplace by adding decorations or artwork to the mantel or surround. This will enhance the visual appeal of the fireplace and make it a focal point in your space.
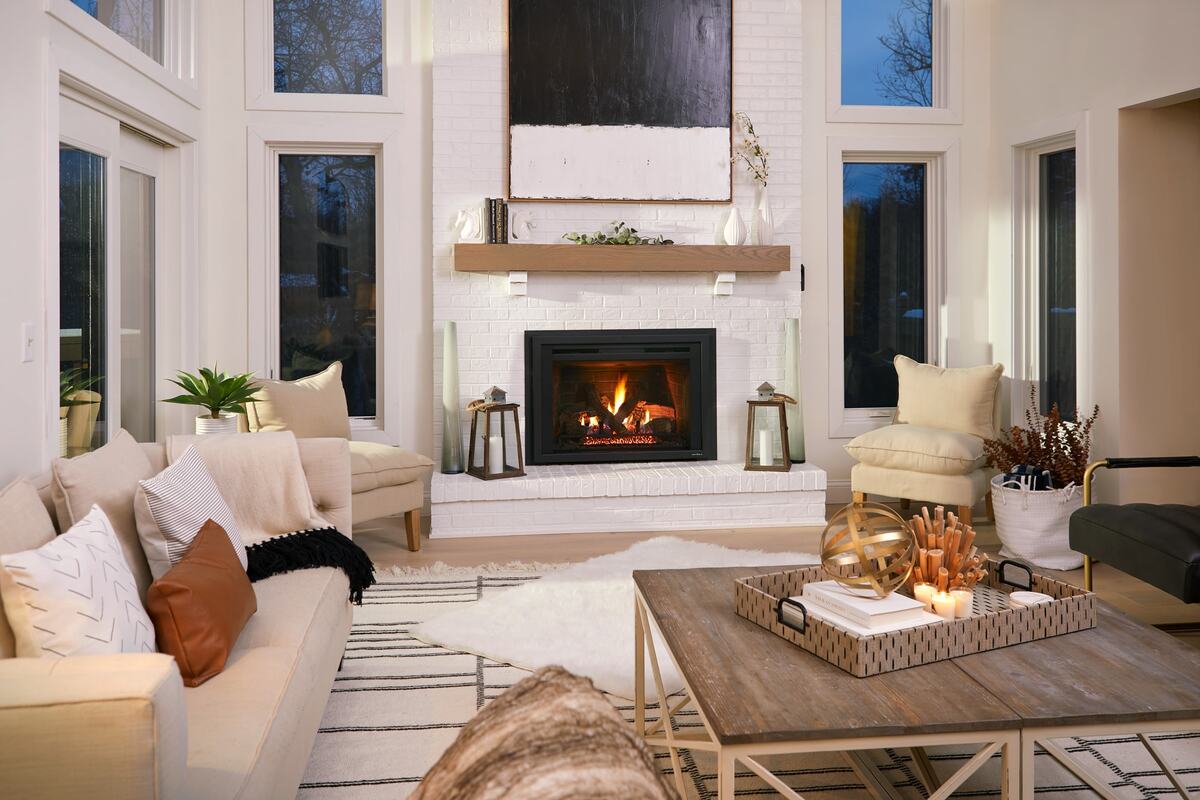
- Create a relaxing ambiance: Consider adding soft lighting, comfortable blankets, and pillows to create a serene and relaxing environment. Dim the lights in the room to further highlight the soothing glow of the fireplace.
- Use the fireplace responsibly: Follow the manufacturer’s instructions for operating and maintaining the ventless fireplace. Be mindful of safety precautions and ensure proper ventilation in the room at all times.
- Maintain and clean the fireplace regularly: Keep your fireplace in good condition by regularly dusting the exterior, cleaning the glass, and removing any ashes or debris. Follow the manufacturer’s guidelines for maintenance and cleaning to prolong the lifespan of your fireplace.
- Enjoy the benefits: Take advantage of the energy efficiency and convenience of your ventless fireplace. Enjoy the warmth on chilly evenings, use it as a centerpiece for gatherings, or simply relax and unwind in its comforting ambiance.
- Share the joy: Invite friends and family over to enjoy the coziness of your ventless fireplace. Host a movie night, game night, or simply gather around for conversations and laughter.
Your new ventless fireplace is not only a source of warmth but also a focal point that adds beauty and charm to your home. Take the time to fully embrace and appreciate the comfort and relaxation it provides.
Remember, safety should always be a priority when using a ventless fireplace. Follow the guidelines, monitor the room’s ventilation, and keep an eye out for any signs of malfunction or gas leakage. Regularly maintain and clean your fireplace to ensure its optimal performance.
With these steps completed, you can now fully enjoy the ambience and benefits of your new ventless fireplace. Stay cozy, relax, and create lasting memories around the warm glow of your fireplace.
Read more: How To Install Fireplace Blower
Conclusion
Installing a ventless fireplace can instantly transform the ambiance and comfort of your home. It provides the warmth and beauty of a traditional fireplace without the need for a chimney or outdoor vent. With careful planning, proper preparation, and adherence to safety protocols, you can enjoy the benefits of a ventless fireplace in your living space.
Throughout this guide, we have covered the step-by-step process of installing a ventless fireplace. From choosing the perfect location to connecting the gas line and conducting safety tests, each step is crucial in ensuring a successful installation.
Remember to consult local regulations and obtain necessary permits before proceeding with the installation. Additionally, always follow the manufacturer’s instructions and guidelines for your specific ventless fireplace model.
By carefully choosing the location, gathering the necessary tools and materials, and preparing the installation area, you set the foundation for a smooth installation process. Assembling and connecting the ventless fireplace unit, testing for gas leaks and ensuring proper ventilation, are critical in ensuring safety and functionality.
With your ventless fireplace installed, tested, and safe to use, you can now enjoy the warm and inviting atmosphere it creates. Arrange your furniture for comfort, decorate the area to reflect your style, and take the time to relax and unwind in front of the soothing flames.
Throughout your journey with your ventless fireplace, remember to maintain and clean it regularly, and prioritize safety in its use. With proper care and attention, your ventless fireplace will continue to provide you with cozy warmth and a delightful ambiance for years to come.
So, go ahead and embrace the comfort and beauty of a ventless fireplace in your home. Create lasting memories, share joyful moments, and make your living space a haven of relaxation and warmth.
Frequently Asked Questions about How To Install A Ventless Fireplace
Was this page helpful?
At Storables.com, we guarantee accurate and reliable information. Our content, validated by Expert Board Contributors, is crafted following stringent Editorial Policies. We're committed to providing you with well-researched, expert-backed insights for all your informational needs.


0 thoughts on “How To Install A Ventless Fireplace”