Articles
How To Install Ge Dishwasher
Modified: October 20, 2024
Learn how to install a GE dishwasher with this step-by-step article. Gain expert tips and insights to ensure a successful installation at home.
(Many of the links in this article redirect to a specific reviewed product. Your purchase of these products through affiliate links helps to generate commission for Storables.com, at no extra cost. Learn more)
Introduction
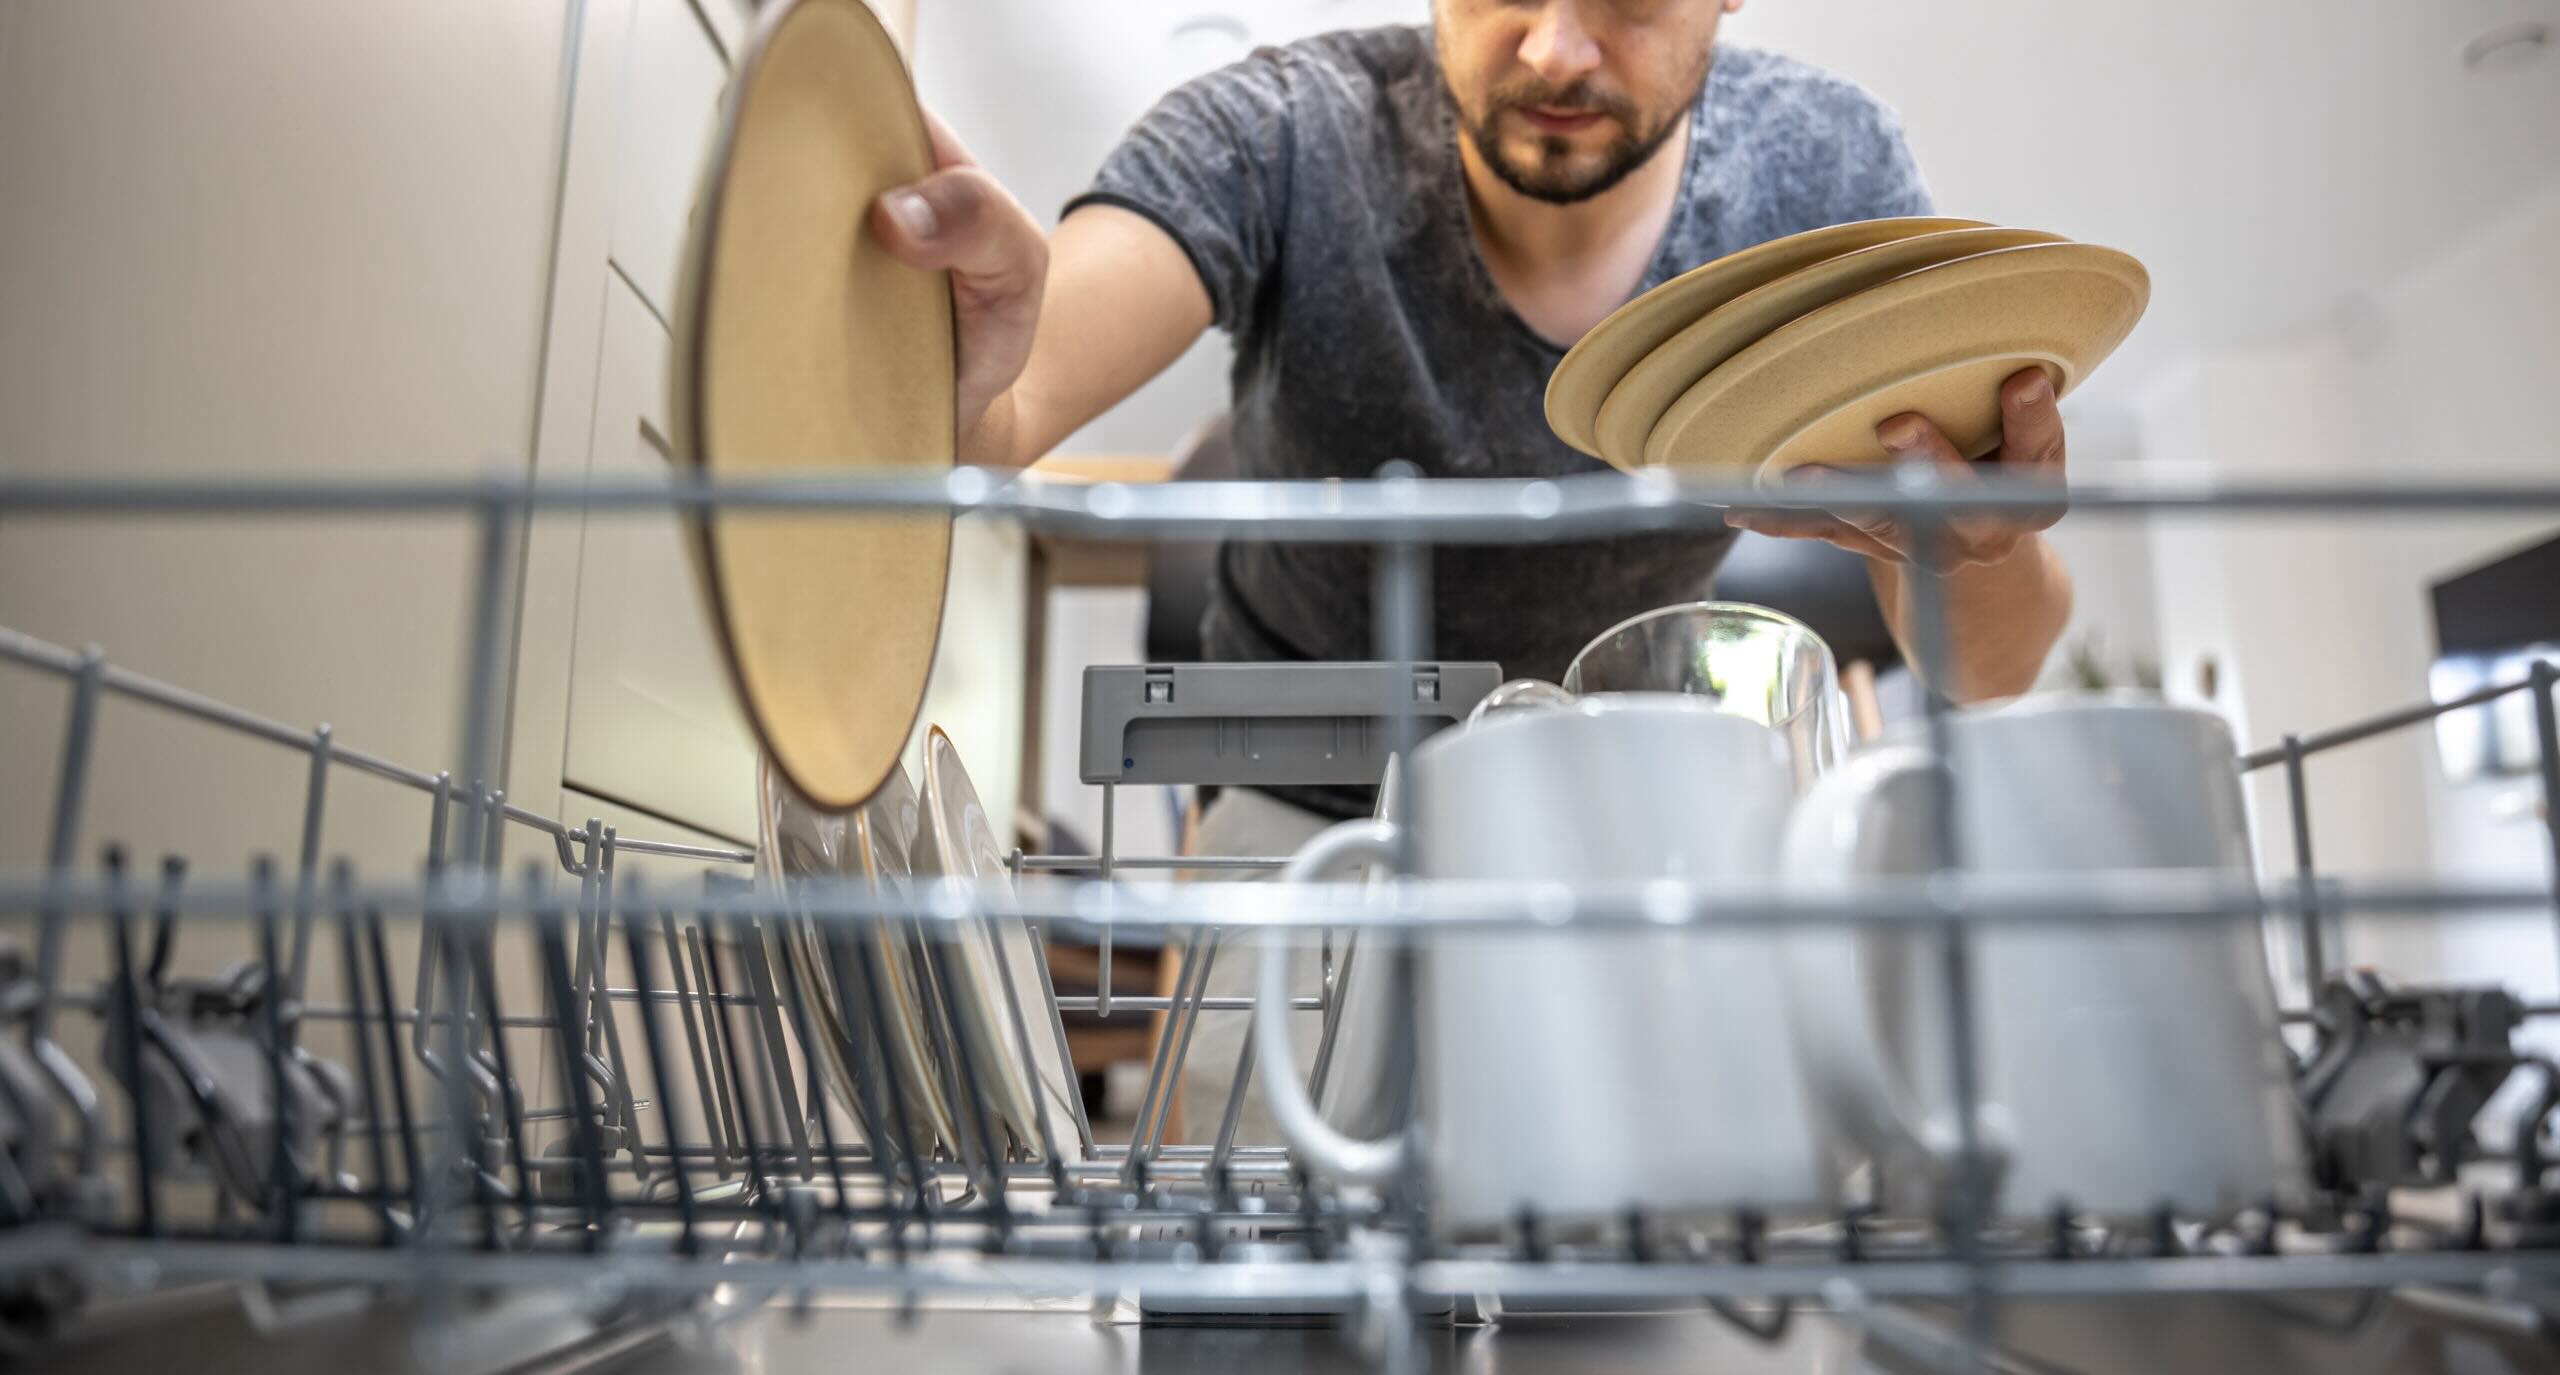
Welcome to our comprehensive guide on how to install a GE dishwasher! Whether you’re a seasoned DIY enthusiast or a beginner looking to tackle a home improvement project, installing your own dishwasher can save you both time and money. GE provides a range of high-quality dishwashers known for their efficiency and reliability.
In this article, we will walk you through the step-by-step process of installing a GE dishwasher. We’ll cover everything from preparing for installation to connecting the water supply and power cord, ensuring that you have all the information you need to successfully complete the installation.
Before we dive into the installation process, it’s important to note that installing a dishwasher typically requires some level of plumbing and electrical knowledge. If you’re unsure of your abilities or feel uncomfortable handling these tasks, it’s always best to seek assistance from a professional to ensure a safe and proper installation.
Now that we’ve covered the basics, let’s get started on installing your GE dishwasher!
Key Takeaways:
- DIY enthusiasts can save time and money by installing their own GE dishwasher, but it’s crucial to have plumbing and electrical knowledge. Safety should always be a top priority, and professional assistance is recommended if unsure.
- Proper preparation, careful water supply and drain hose connections, and thorough testing are essential for a successful GE dishwasher installation. Enjoy the convenience and efficiency of your new appliance while prioritizing safety and proper maintenance.
Read more: How To Install A Samsung Dishwasher
Step 1: Prepare for installation
Before you begin the installation process, it’s important to gather all the necessary tools and materials. Here’s a list of items you’ll need:
- GE dishwasher
- Installation manual
- Tape measure
- Screwdriver
- Pliers
- Adjustable wrench
- Teflon tape
- Drill
- Level
Once you have all the necessary tools and materials, you’ll want to prepare the area where the dishwasher will be installed. Start by shutting off the power to the dishwasher at the circuit breaker. Next, remove any items from the cabinet underneath the sink to provide ample space for the installation process.
Measure the space where the dishwasher will be placed to ensure it will fit properly. Most dishwashers have a standard width of 24 inches, but make sure to check the specifications of your specific model.
Now, carefully read through the installation manual provided by GE. The manual will provide important instructions specific to your model, including any additional steps or requirements. Familiarize yourself with the manual to have a clear understanding of the installation process before proceeding.
Lastly, ensure that the necessary plumbing and electrical connections are available and accessible. Check that there is a water supply line and a drain line nearby. If these connections are not present, you may need to consult a professional plumber to have them installed.
With these preparations completed, you’re ready to move on to the next step of the installation process: locating and connecting the water supply.
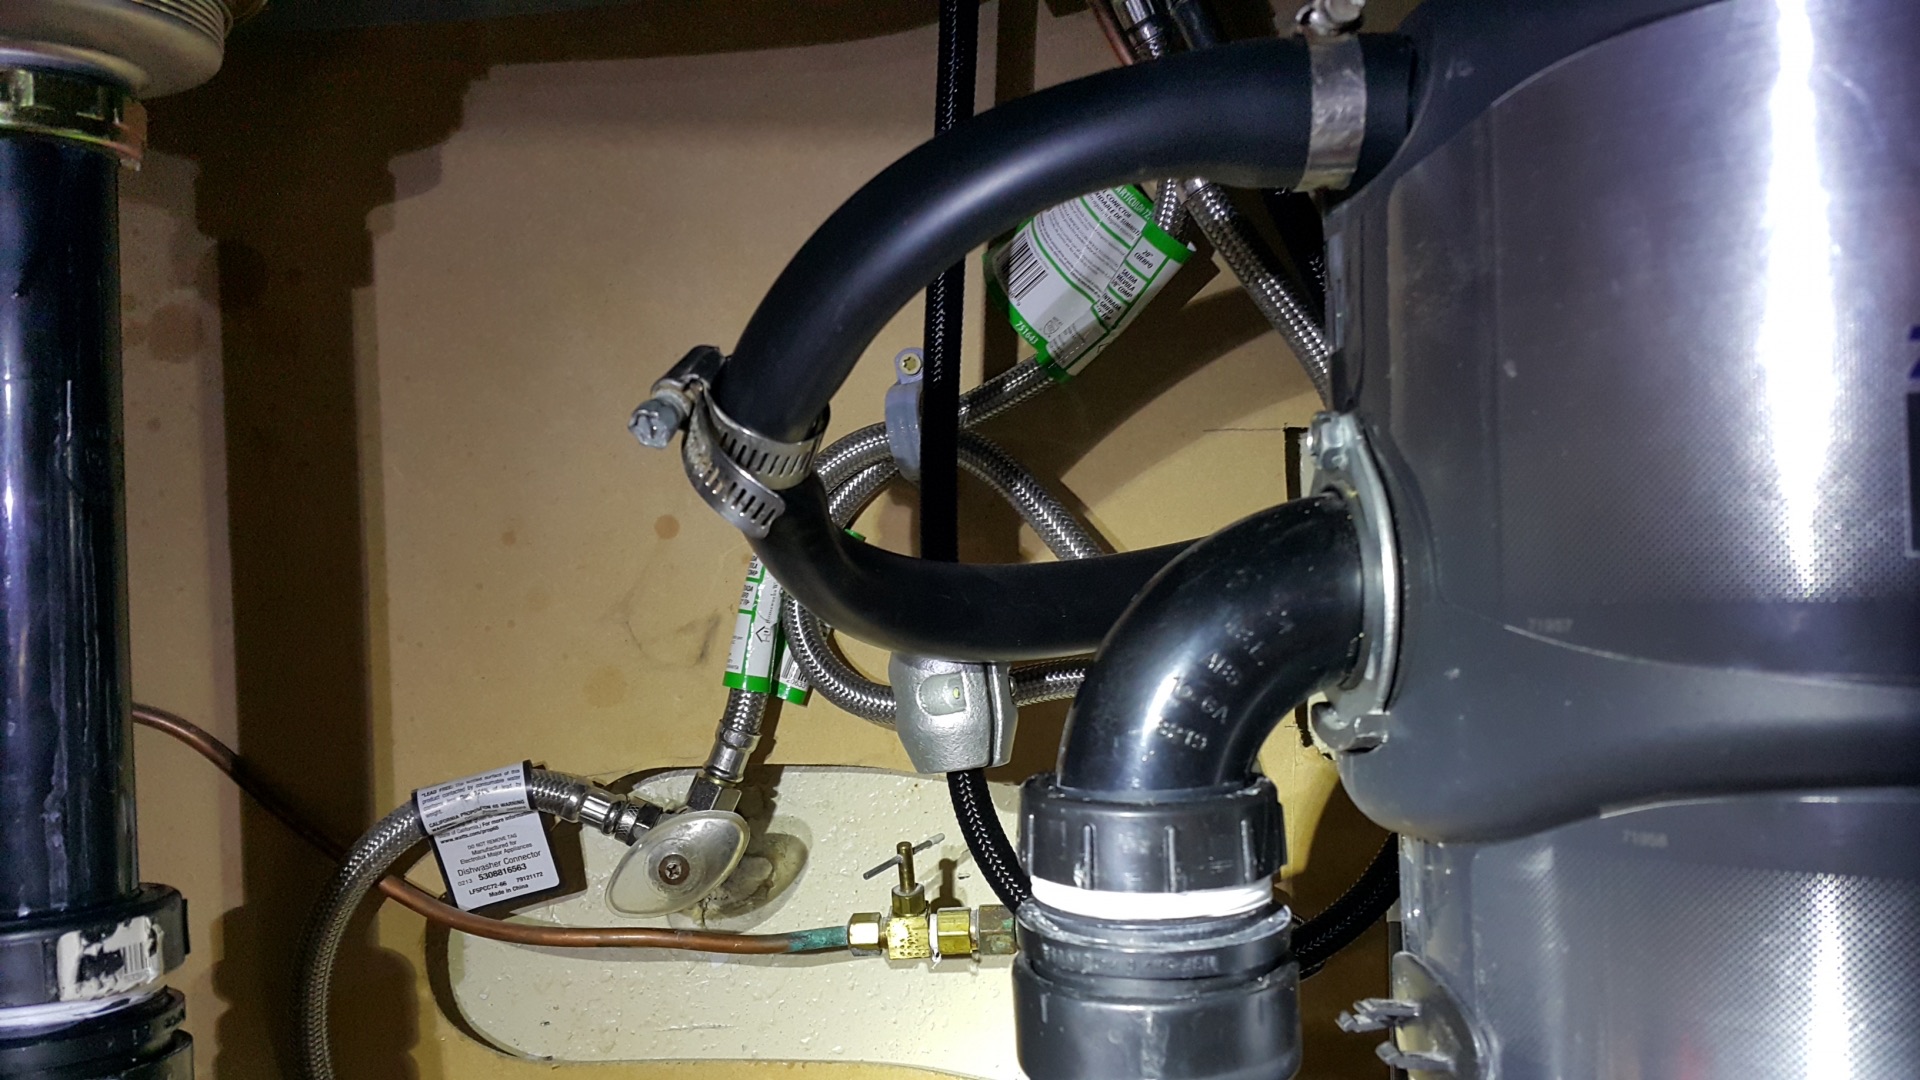
Step 2: Locate and connect water supply
Locating and connecting the water supply is a crucial step in the installation process. Follow these steps to ensure a proper and secure connection:
- Begin by turning off the water supply to the sink. Locate the shut-off valve underneath the sink and turn it clockwise to close.
- Next, attach the water supply line to the dishwasher. The water supply line is typically included with your GE dishwasher and consists of a flexible hose with a threaded connector on one end.
- Apply Teflon tape to the threaded connector of the water supply line. This will create a watertight seal when connecting it to the dishwasher.
- Locate the water inlet valve on the back of the dishwasher. It will have a threaded male connector.
- Carefully thread the water supply line onto the water inlet valve. Use pliers or an adjustable wrench to tighten the connection snugly but not too tight.
- Once the water supply line is securely connected, turn the water supply valve back on by turning it counterclockwise.
- Run a quick test to check for any leaks. Turn on the dishwasher and allow it to fill with water. Inspect the water supply line and connection for any signs of leakage. If there are any leaks, tighten the connections as needed.
It’s important to note that if you are using a direct water supply connection or have specific plumbing requirements, consult the installation manual provided by GE for detailed instructions on how to connect the water supply.
With the water supply connected, you’re ready to move on to the next step: connecting the drain hose.
Step 3: Connect drain hose
Connecting the drain hose is a crucial step in the installation process. Follow these steps to ensure a proper and secure connection:
- Locate the dishwasher’s drain outlet, which is typically located at the back of the unit. It will be a small hose fitting with a cap or plug.
- Remove the cap or plug from the drain outlet.
- Inspect the end of the drain hose. There may be a plastic or rubber fitting with a hose clamp attached to it.
- If there is a plastic or rubber fitting, slide the hose clamp over the fitting.
- Insert the end of the drain hose onto the drain outlet until it is secure.
- If there is a hose clamp, use a screwdriver or pliers to tighten it securely around the hose.
- Ensure that the drain hose is routed to a proper drain location. It should be positioned higher than the dishwasher’s drain outlet and connected to a drain pipe or garbage disposal.
- If necessary, use zip ties or clamps to secure the drain hose to the underside of the sink or nearby plumbing.
It’s important to note that the drain hose should not be kinked or bent sharply, as this can lead to poor drainage. Ensure that the hose is free from any obstructions and positioned properly.
Once the drain hose is securely connected and properly routed, you’re ready to move on to the next step: installing the power cord.
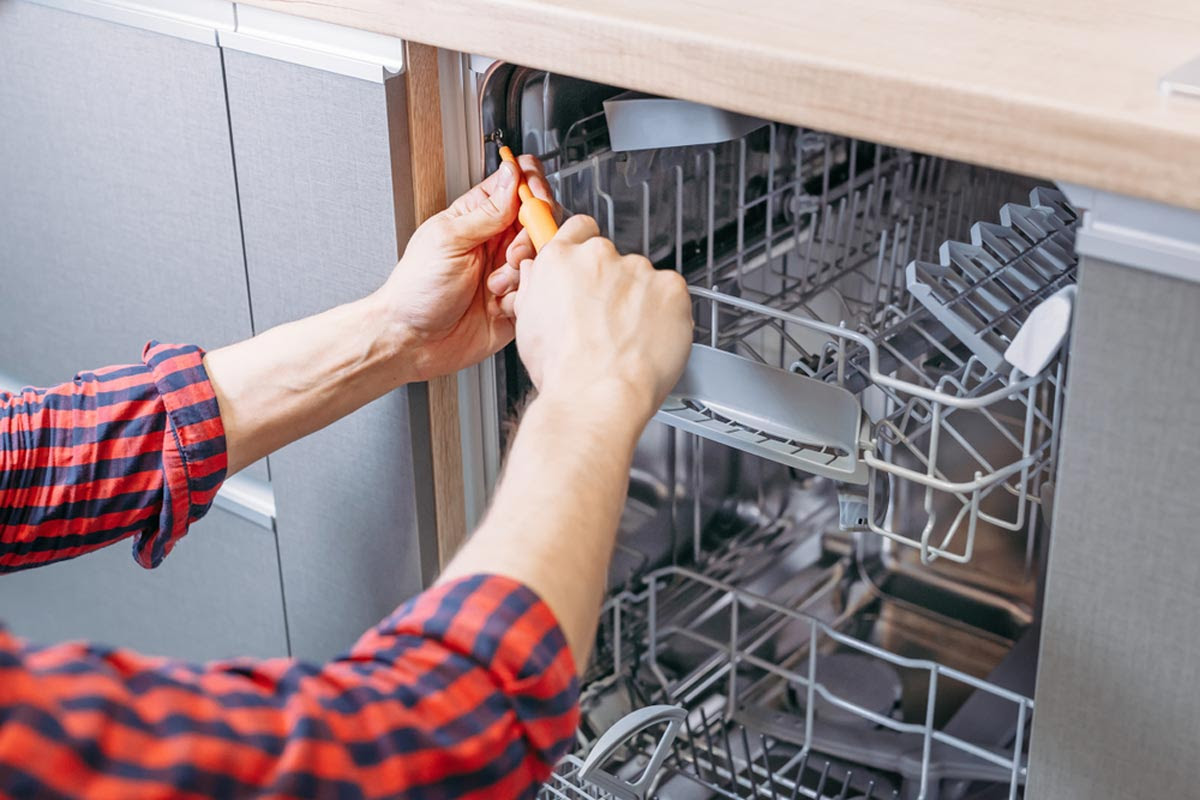
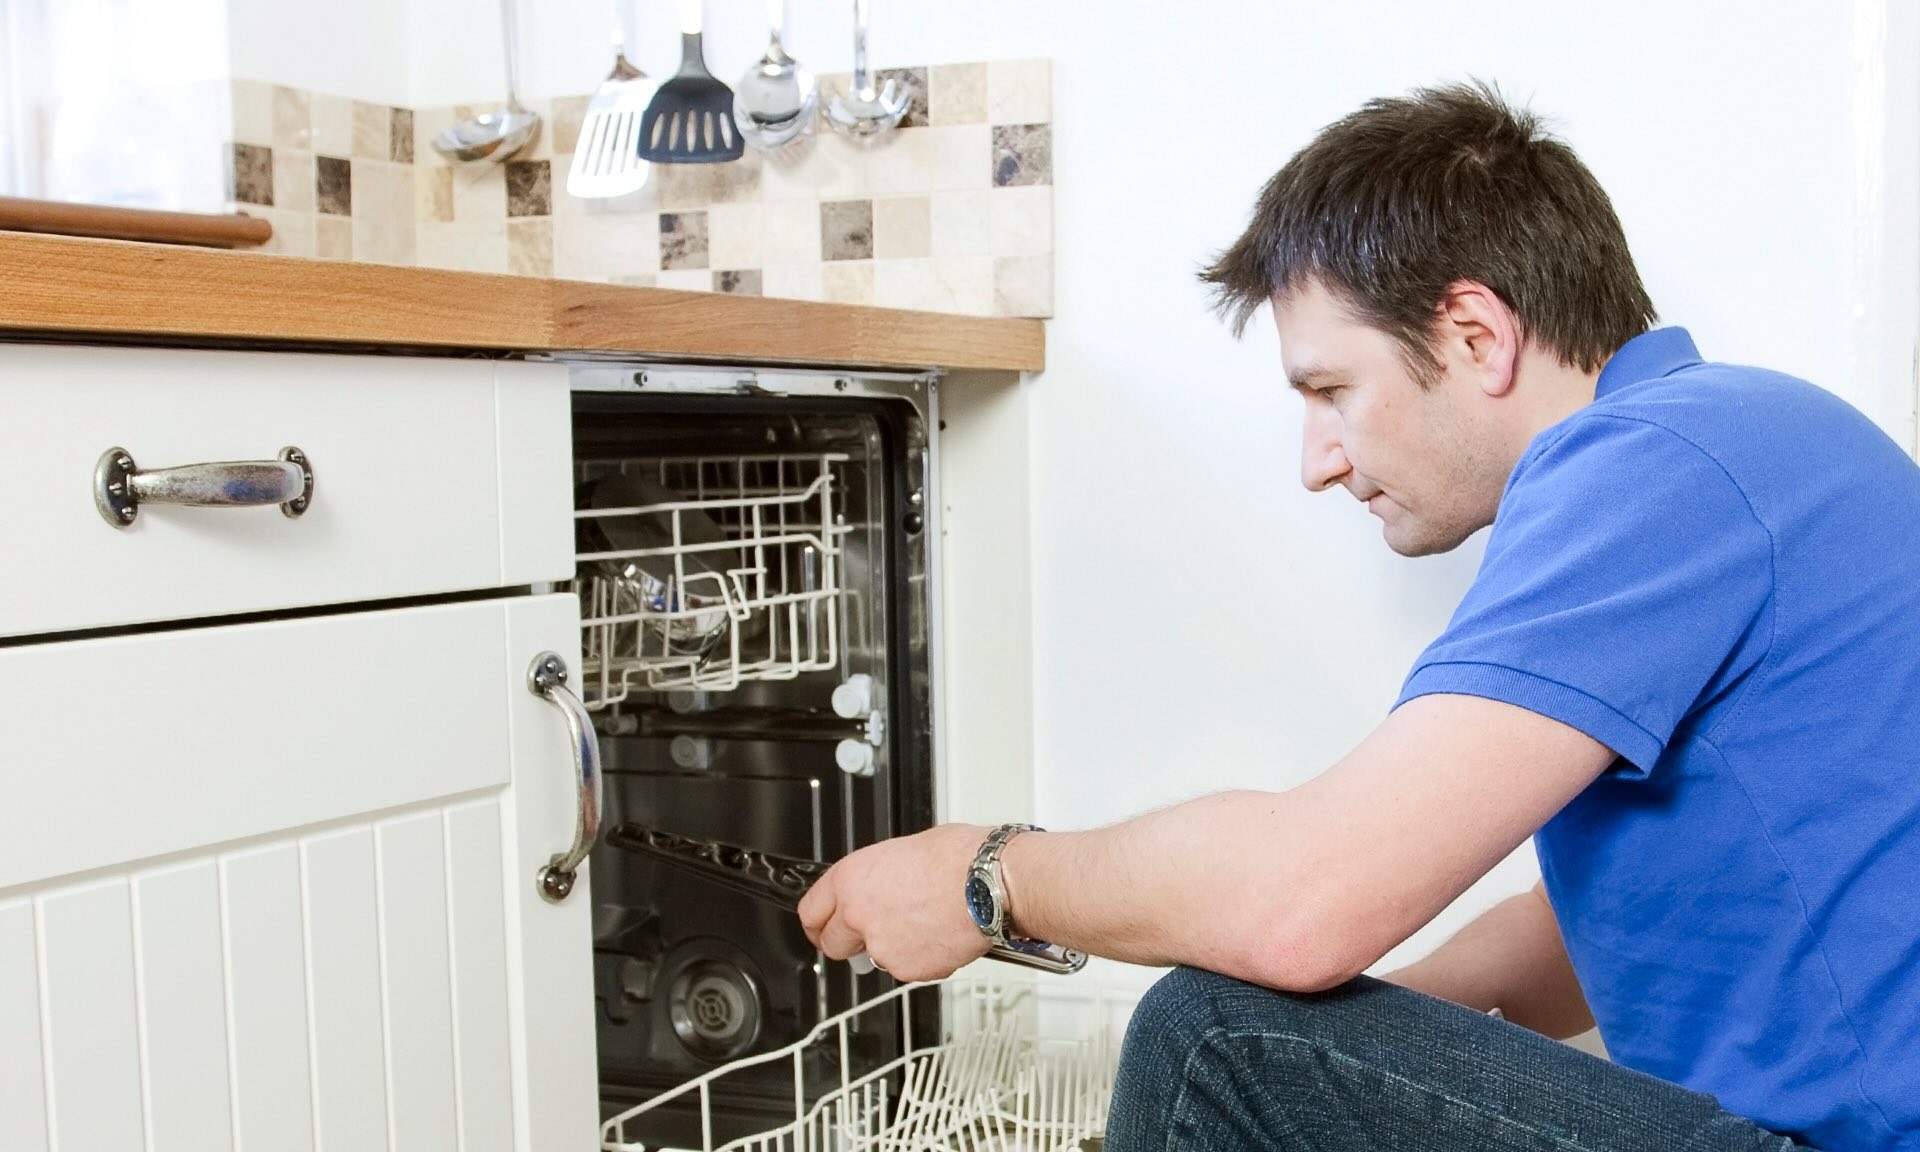
Step 4: Install power cord
Installing the power cord is an essential step in the dishwasher installation process. Follow these steps to ensure a safe and proper connection:
- Before starting, make sure that the dishwasher’s power supply is turned off at the circuit breaker. Safety should always be your top priority.
- Locate the electrical junction box at the back of the dishwasher. This is where the power cord will be connected.
- Remove the cover from the electrical junction box.
- Check the wiring diagram provided in the GE dishwasher’s installation manual to determine the correct configuration for the power cord.
- Strip the plastic insulation from the end of the power cord wires to expose the bare copper ends.
- Connect the black (hot) wire from the power cord to the black (hot) wire in the electrical junction box. Twist the wires together and secure them with a wire nut.
- Repeat the same process with the white (neutral) wires, connecting the power cord’s white (neutral) wire to the white (neutral) wire in the junction box.
- If there is a green or bare copper wire in the power cord, connect it to the grounding screw or terminal in the junction box. This ensures that the dishwasher is properly grounded.
- Double-check all connections to ensure they are tight and secure.
- Replace the cover on the electrical junction box.
It’s important to note that a dishwasher installation may require the help of a licensed electrician depending on local electrical codes and regulations. If you are unsure about your ability to safely install the power cord, it’s recommended that you consult a professional for assistance.
Once the power cord is properly installed, you’re ready to move on to the next step: positioning and leveling the dishwasher.
Read more: How To Install Frigidaire Dishwasher
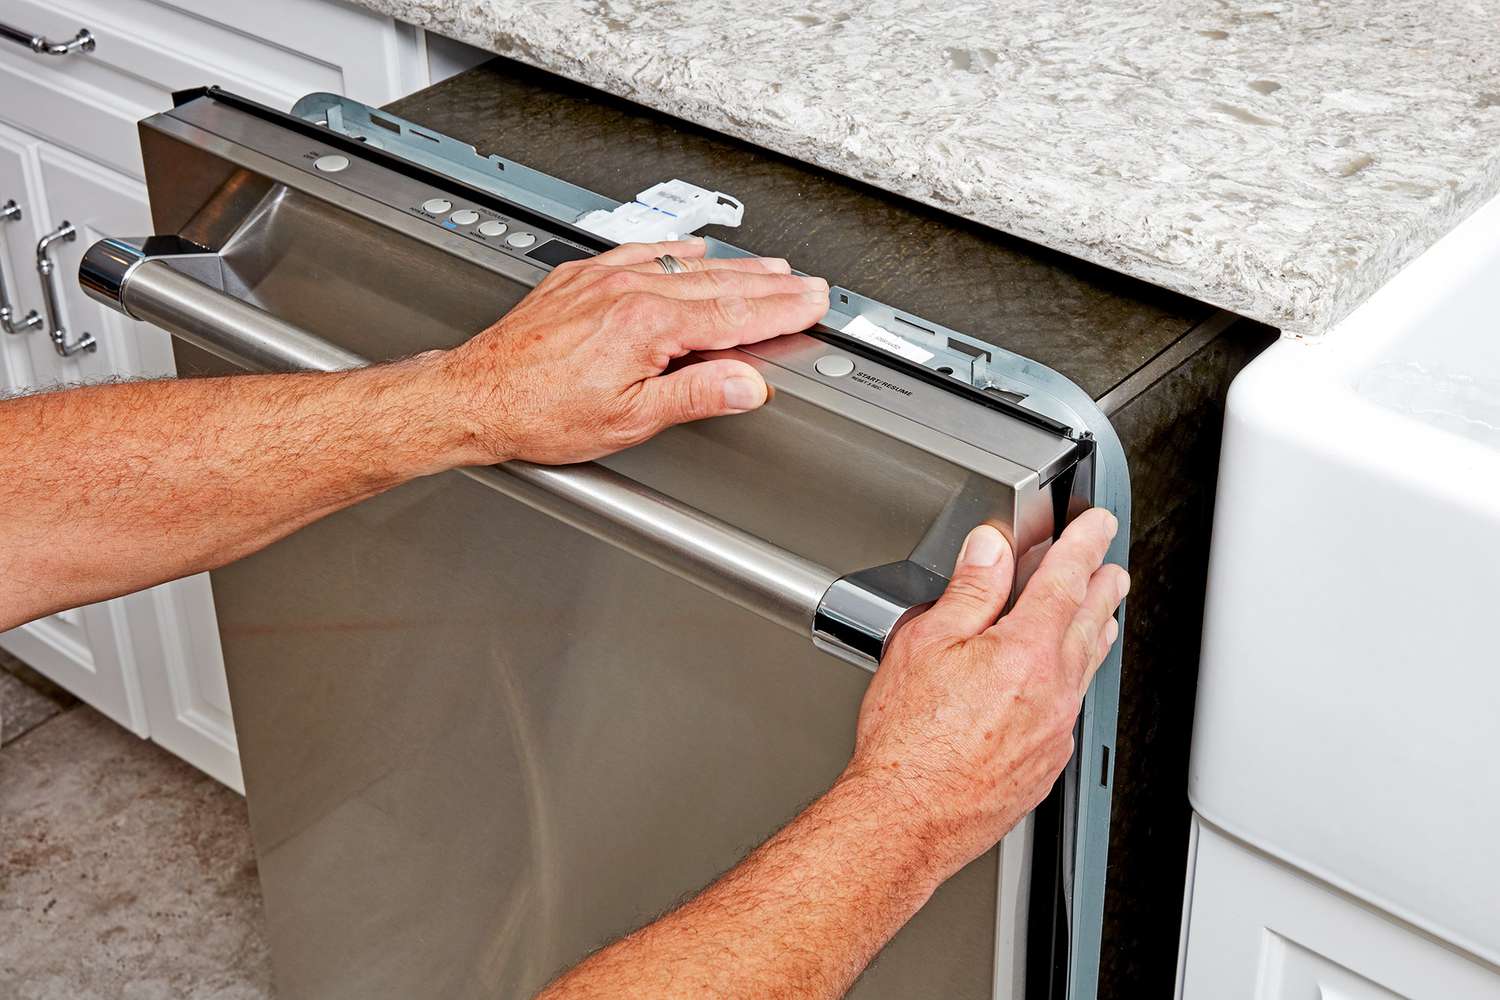
Step 5: Position and level the dishwasher
Properly positioning and leveling the dishwasher is crucial for its optimal performance and stability. Follow these steps to ensure a secure and balanced installation:
- Carefully slide the dishwasher into its designated space, taking care not to damage the flooring or cabinetry.
- Ensure that the dishwasher is centered within the opening and aligned with the countertop.
- Use a level to check the dishwasher’s front-to-back and side-to-side alignment. Adjust the leveling legs as necessary to achieve a level position.
- Extend the leveling legs by twisting them counterclockwise to raise the dishwasher and retract them by twisting clockwise to lower the dishwasher.
- Continue adjusting the leveling legs until the dishwasher is perfectly level in all directions. This step is crucial to prevent any issues with the door seal and ensure proper water drainage.
- Once the dishwasher is leveled, secure it in place by attaching the mounting brackets to the adjacent cabinetry or countertop. Follow the manufacturer’s instructions for proper bracket installation.
- Ensure that the dishwasher is securely attached and does not move or wobble when gently pushed or pulled.
It’s important to note that if you encounter any issues during the positioning and leveling process or if the dishwasher cannot be leveled satisfactorily, it may be necessary to consult a professional installer or technician for assistance.
With the dishwasher properly positioned and leveled, you’re ready to move on to the next step: attaching the dishwasher to the countertop.
Before installing a GE dishwasher, make sure to measure the space to ensure it fits properly. Also, check the electrical and plumbing connections to ensure they are compatible with the new dishwasher.
Step 6: Attach dishwasher to countertop
Attaching the dishwasher to the countertop ensures stability and prevents any movement during operation. Follow these steps to securely attach the dishwasher:
- Locate the mounting brackets on the top of the dishwasher, typically located near the front.
- Measure the distance between the mounting brackets and the underside of the countertop.
- Using a screwdriver or drill, secure the mounting brackets to the underside of the countertop using screws or brackets provided with the dishwasher.
- Tighten the screws securely, making sure the dishwasher is firmly attached to the countertop.
- Test the dishwasher by gently pulling on it to ensure it is secure and does not move or shift.
Attaching the dishwasher to the countertop helps prevent any excessive vibration or movement during the dishwasher’s operation. This step is crucial in maintaining the overall stability and performance of the appliance.
Once the dishwasher is successfully attached to the countertop, you’re ready to move on to the next step: connecting the dishwasher to the water supply.
Step 7: Connect dishwasher to water supply
Connecting the dishwasher to the water supply is an important step in the installation process. Follow these steps to ensure a proper and secure connection:
- Locate the water supply connection on the back of the dishwasher.
- Check the installation manual provided by GE to determine the type of water supply connection required for your specific dishwasher model. It may require a direct water supply connection or the use of a fill hose.
- If a direct water supply connection is required, ensure that there is a water shut-off valve dedicated to the dishwasher. If not, consult a professional plumber to have one installed.
- If using a fill hose, connect one end of the hose to the water supply connection on the dishwasher.
- Connect the other end of the fill hose to the water supply valve, ensuring a secure and watertight connection.
- Check all connections for any signs of leakage. If there are any leaks, tighten the connections as needed.
- Once the water supply is connected, slowly turn on the water supply valve to allow water to flow into the dishwasher.
- Check for any leaks around the water supply connection to ensure a proper seal.
It’s important to note that the water supply connection may vary depending on your specific GE dishwasher model. Always refer to the installation manual provided by GE for detailed instructions and guidance specific to your dishwasher.
With the dishwasher successfully connected to the water supply, you’re ready to move on to the next step: testing the dishwasher.
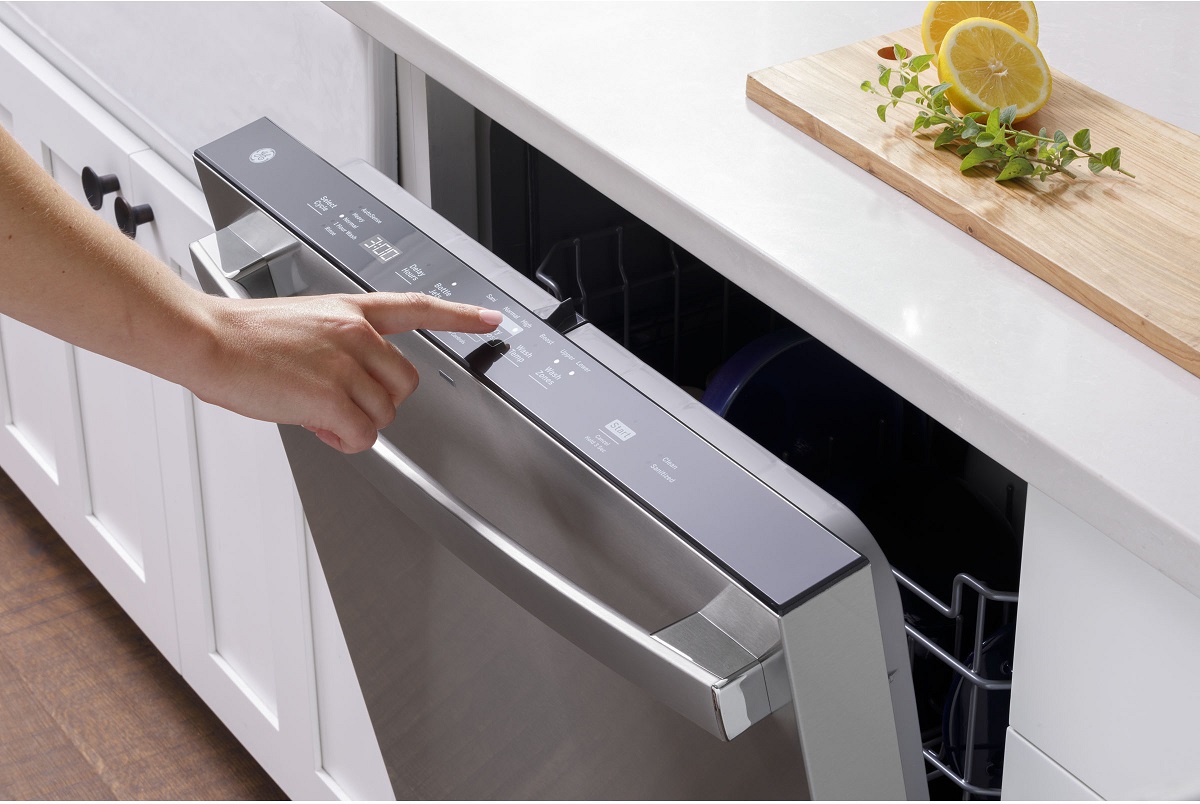
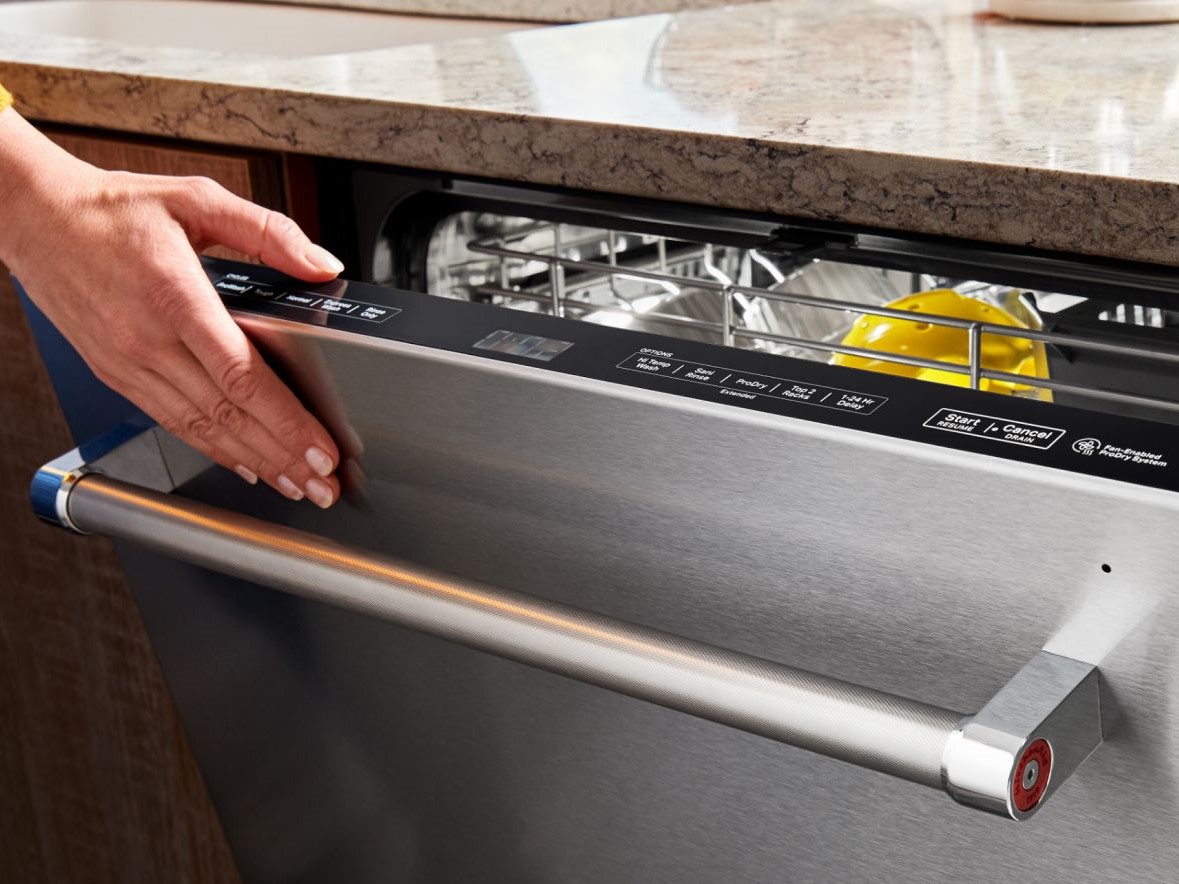
Step 8: Test the dishwasher
Once the dishwasher is installed and connected to the water supply, it’s time to test its functionality. Follow these steps to ensure that the dishwasher is working properly:
- Ensure that the dishwasher door is securely closed.
- Turn on the water supply to allow water to flow into the dishwasher.
- Set the dishwasher controls to a test or short cycle.
- Allow the dishwasher to run its cycle, paying close attention to any unusual noises, leaks, or error messages.
- Monitor the dishwasher as it fills, sprays, and drains water.
- Check for any leaks around the door, water supply connection, or drain hose connection.
- Make sure the detergent dispenser opens properly and dispenses the detergent during the wash cycle.
- Observe the dishwasher’s operation and ensure that the dishes are being properly cleaned.
- Once the test cycle is complete and the dishwasher has successfully run without any issues, turn off the dishwasher and open the door.
- Inspect the interior of the dishwasher and check for any remaining water or residue.
If any issues or problems are encountered during the test cycle, consult the troubleshooting section of the GE dishwasher’s installation manual. It will provide guidance on how to address common problems or contact customer support for assistance.
With the dishwasher tested and successfully running, you’re ready to move on to the final step: securing the dishwasher in place.
Read more: How To Install A Whirlpool Dishwasher
Step 9: Secure dishwasher in place
Securing the dishwasher in place is the final step of the installation process, ensuring its stability and preventing any movement during use. Follow these steps to securely fasten the dishwasher:
- Locate the mounting brackets or screws provided with the dishwasher.
- Position the dishwasher so that the brackets align with the holes or slots on the sides of the adjacent cabinetry or countertop.
- Insert the screws or engage the brackets into the corresponding holes or slots.
- Tighten the screws or secure the brackets to firmly attach the dishwasher to the surrounding structure.
- Double-check all connections and attachments to ensure they are tight and secure.
- Test the dishwasher by gently pushing and pulling it to ensure it does not move or shift.
Securing the dishwasher in place is important for its stability and to prevent any excessive vibration or movement that can occur during operation.
With the dishwasher securely fastened, you have successfully completed the installation process. Congratulations on your new GE dishwasher!
It’s important to note that if you encounter any issues during the installation process or if the dishwasher does not operate correctly, it may be necessary to consult a professional installer or technician for assistance.
Now you can enjoy the convenience of your newly installed GE dishwasher and have peace of mind knowing that you successfully completed the installation process.
Conclusion
Congratulations on successfully installing your GE dishwasher! By following the step-by-step guide provided in this article, you have tackled a home improvement project that will bring convenience and efficiency to your kitchen routine.
Throughout the installation process, you learned how to prepare for installation, locate and connect the water supply, connect the drain hose, install the power cord, position and level the dishwasher, attach it to the countertop, connect it to the water supply, test its functionality, and secure it in place.
It’s essential to remember that safety should always be a top priority during any installation process. If at any point you feel uncomfortable or unsure, it is best to seek assistance from a professional to ensure proper installation and avoid any potential issues.
Now that your GE dishwasher is installed and ready for use, make sure to familiarize yourself with its features, functions, and maintenance requirements. Consult the user manual provided by GE for detailed instructions on programming, loading, and caring for your dishwasher.
Enjoy the convenience of clean and sparkling dishes with the efficiency and reliability of your new GE dishwasher. Say goodbye to the hassle of handwashing and embrace the time-saving benefits of modern kitchen technology.
Thank you for choosing GE, and we hope that this guide has been helpful in your dishwasher installation journey. Be sure to check back for more informative articles and tips on home improvement projects.
Happy dishwashing!
Frequently Asked Questions about How To Install Ge Dishwasher
Was this page helpful?
At Storables.com, we guarantee accurate and reliable information. Our content, validated by Expert Board Contributors, is crafted following stringent Editorial Policies. We're committed to providing you with well-researched, expert-backed insights for all your informational needs.


0 thoughts on “How To Install Ge Dishwasher”