Articles
How To Install Ladder Rack
Modified: October 20, 2024
Learn how to properly install a ladder rack with our informative articles. Discover step-by-step instructions and helpful tips for a successful installation.
(Many of the links in this article redirect to a specific reviewed product. Your purchase of these products through affiliate links helps to generate commission for Storables.com, at no extra cost. Learn more)
Introduction
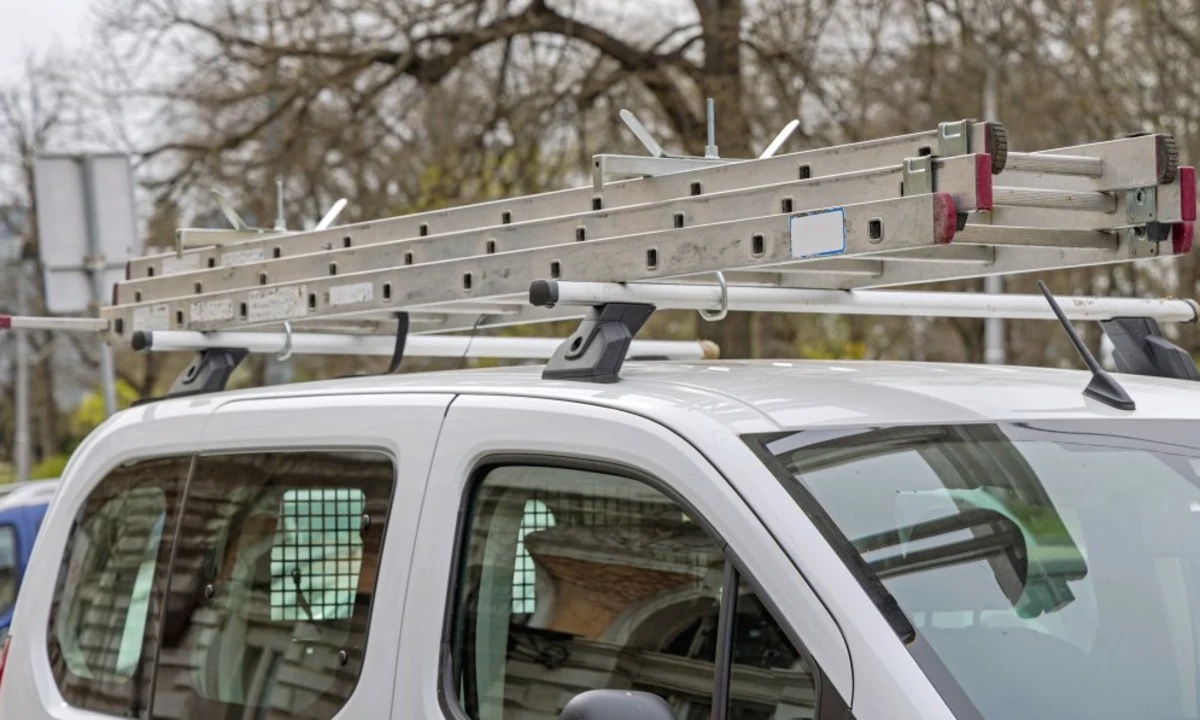
Welcome to this step-by-step guide on how to install a ladder rack. Whether you need it for work or leisure, a ladder rack is a valuable addition to your vehicle. It provides a secure and convenient way to transport ladders, lumber, or any other long and bulky items. In this article, we will walk you through the process of installing a ladder rack on your vehicle, ensuring a safe and efficient setup.
Before we begin, it’s important to note that ladder racks come in different styles and configurations, tailored to fit specific vehicle models. While the general installation steps may be similar, it is crucial to consult the manufacturer’s instructions particular to the ladder rack you have. Let’s get started!
In order to successfully install a ladder rack, you will need the following materials:
- 1 ladder rack kit (including crossbars, mounting brackets, and necessary hardware)
- Measuring tape
- Pencil or marker
- Socket set or wrench
- Drill and drill bits
- Screwdriver
- Level
- Protective eyewear and gloves
Now that you have gathered all the necessary materials, let’s move on to the next step: measuring and marking the placement for your ladder rack.
Key Takeaways:
- Proper installation of a ladder rack involves gathering the right materials, measuring and marking the placement, and securing the rack to ensure safe and efficient transportation of bulky items.
- Testing the stability of the ladder rack after installation is crucial to confirm its secure attachment and ability to withstand the rigors of transportation, providing peace of mind for the user.
Read more: Where To Buy Ladder Racks
Step 1: Gather Required Materials
Before you begin the installation process, it’s crucial to gather all the required materials. This will ensure that you have everything you need at hand, saving you time and preventing any interruptions during the installation. Here is a list of the materials you will need:
- 1 ladder rack kit (including crossbars, mounting brackets, and necessary hardware)
- Measuring tape
- Pencil or marker
- Socket set or wrench
- Drill and drill bits
- Screwdriver
- Level
- Protective eyewear and gloves
Ensure that you have all the components of the ladder rack kit before starting the installation. This includes crossbars, mounting brackets, bolts, nuts, washers, and any other hardware specified in the instructions. It’s always a good idea to double-check the contents of the kit to avoid any delays or missing pieces during the installation process.
Having a measuring tape, pencil or marker, and a level on hand is essential for accurately marking the placement and ensuring a level installation. These tools will help you achieve a secure and stable ladder rack setup.
A socket set or wrench, drill with appropriate drill bits, and a screwdriver will be necessary for attaching the mounting brackets to your vehicle. Make sure you have the correct tools for the job, as using the wrong tools can lead to damage or improper installation.
Lastly, don’t forget to wear protective eyewear and gloves throughout the installation process. This will help prevent any injuries or accidents, especially when handling sharp edges or using power tools.
Once you have gathered all the required materials, you can move on to the next step: measuring and marking the placement for your ladder rack.
Step 2: Measure and Mark the Placement
Now that you have all the necessary materials, it’s time to measure and mark the placement for your ladder rack. This step is crucial to ensure that the rack is positioned correctly on your vehicle, providing enough clearance and stability.
To begin, park your vehicle on a flat surface and locate the area where you will be installing the ladder rack. This is typically on the roof or bed of the vehicle, depending on the style of rack you have. Consult the manufacturer’s instructions for the specific placement guidelines for your ladder rack model.
Using a measuring tape, carefully measure and mark the desired distance between the mounting brackets. This will vary depending on the length of the crossbars and the width of your vehicle. It’s important to ensure that the distance between the brackets is evenly spaced for a balanced and secure rack setup.
Next, using a level, ensure that the marks are perfectly horizontal or vertical, depending on the orientation of the rack. This will help maintain the stability and aesthetic appeal of the ladder rack. Make any necessary adjustments to achieve a level position.
Once you are satisfied with the measurements and markings, double-check them to ensure accuracy. It’s better to spend a bit more time in this step to avoid any issues during the installation process.
Keep in mind that the placement of the ladder rack may vary depending on your vehicle’s make and model. Some vehicles may have specific locations or mounting points designated for a ladder rack installation. Refer to your vehicle’s user manual or consult with the ladder rack manufacturer for any specific guidelines or restrictions.
With the placement marked and confirmed, you are now ready to move on to the next step: preparing the mounting brackets for installation.
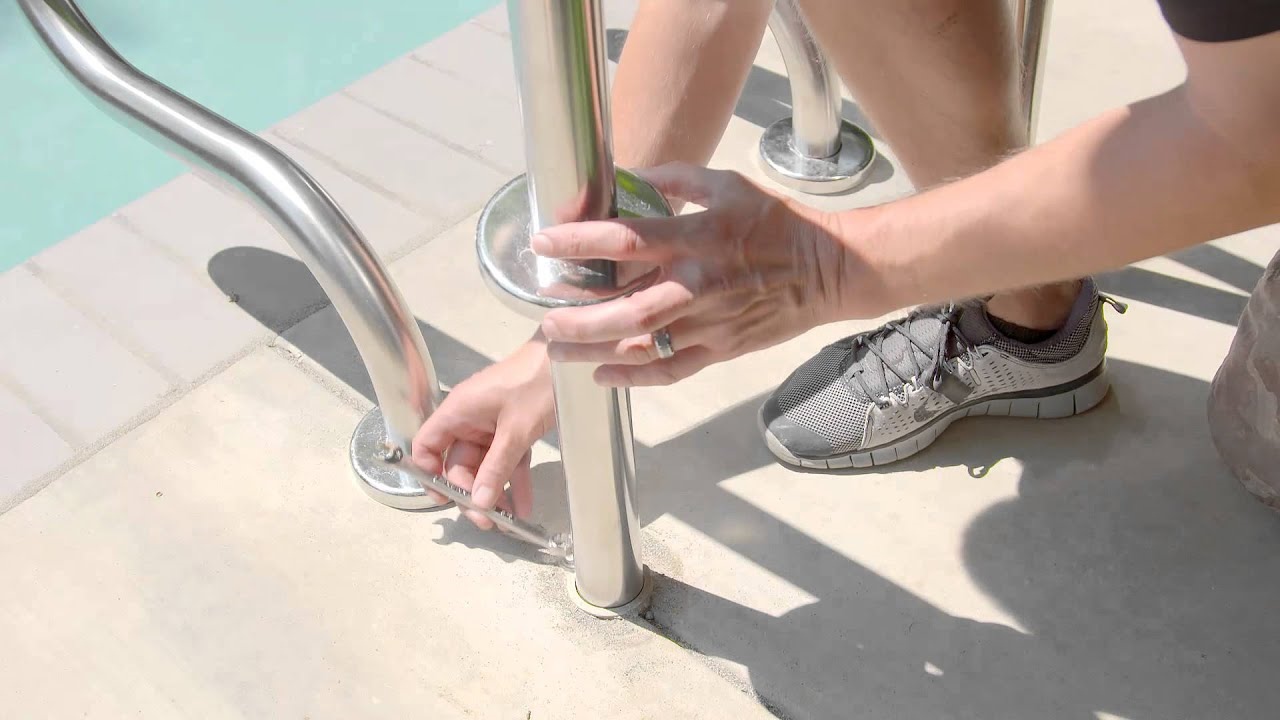
Step 3: Prepare the Mounting Brackets
With the placement for your ladder rack marked, the next step is to prepare the mounting brackets. These brackets will serve as the attachment points between your vehicle and the ladder rack, providing stability and support.
Begin by carefully unpacking the mounting brackets from the ladder rack kit. Ensure that you have all the necessary brackets and hardware as specified in the instructions. Lay them out in an organized manner to make the installation process smoother.
Before attaching the mounting brackets, it’s important to clean the surface area of your vehicle where the brackets will be installed. Remove any dirt, debris, or wax using a mild detergent or rubbing alcohol. This will ensure a clean and secure attachment between the brackets and your vehicle.
Next, position the mounting brackets according to the markings you made in the previous step. Align them with the markings to ensure proper positioning. Use a pencil or marker to trace the outline of each bracket on the vehicle’s surface. This will serve as a guide when drilling holes and attaching the brackets.
Check the instructions or manufacturer’s specifications for the appropriate size and type of drill bit required for your specific mounting brackets. Carefully drill the necessary holes on the marked areas of your vehicle. Take caution to avoid damaging any vital components or electrical wiring.
Once the holes are drilled, it’s a good idea to apply a coat of rust-resistant paint or a primer to the exposed metal surfaces. This will help protect against corrosion and extend the lifespan of your ladder rack and vehicle.
Finally, attach the mounting brackets to the vehicle using the provided hardware. Depending on your ladder rack model, this may involve inserting bolts, nuts, and washers through the holes and tightening them securely with a socket set or wrench. Follow the manufacturer’s instructions carefully to ensure proper installation.
Repeat this process for all the mounting brackets, ensuring that they are securely attached to your vehicle. Once the brackets are in place, you are now ready to move on to the next step: installing the crossbars.
Step 4: Attach the Mounting Brackets to the Vehicle
With the mounting brackets prepared and securely attached to your vehicle, it’s now time to move on to the next step: attaching the crossbars.
Begin by carefully positioning the crossbars on top of the installed mounting brackets. Ensure that they are aligned properly and centered on your vehicle. Take measurements and make any necessary adjustments to achieve an even and balanced placement.
Depending on the ladder rack model, you may need to insert the crossbars into the designated slots on the mounting brackets. Some racks may require sliding the crossbars through a specific channel or attaching them using brackets and bolts.
Refer to the manufacturer’s instructions for your specific ladder rack model to understand the proper attachment method. Follow the provided guidelines carefully to ensure a secure and stable connection between the crossbars and the mounting brackets.
Once the crossbars are in position, use a socket set or wrench to tighten any bolts or nuts that secure them to the mounting brackets. Be sure to tighten them securely, but avoid over-tightening, as this may cause damage to the rack or your vehicle.
After attaching the crossbars, double-check their alignment and stability. Ensure that they are level and evenly spaced. This will help maintain the integrity and balance of the ladder rack when carrying heavy loads.
At this point, it’s a good idea to test the crossbars by applying gentle pressure and shaking them lightly. This will help you detect any loose connections or instability. If you notice any issues, recheck the attachments and make the necessary adjustments until the rack is secure and stable.
Once you are satisfied with the attachment of the crossbars, you can move on to the next step: securing the ladder rack.
When installing a ladder rack, make sure to carefully follow the manufacturer’s instructions and use the appropriate tools for a secure and stable installation. Double-check all connections and fastenings to ensure safety.
Read more: How To Tie Ladder To Roof Rack
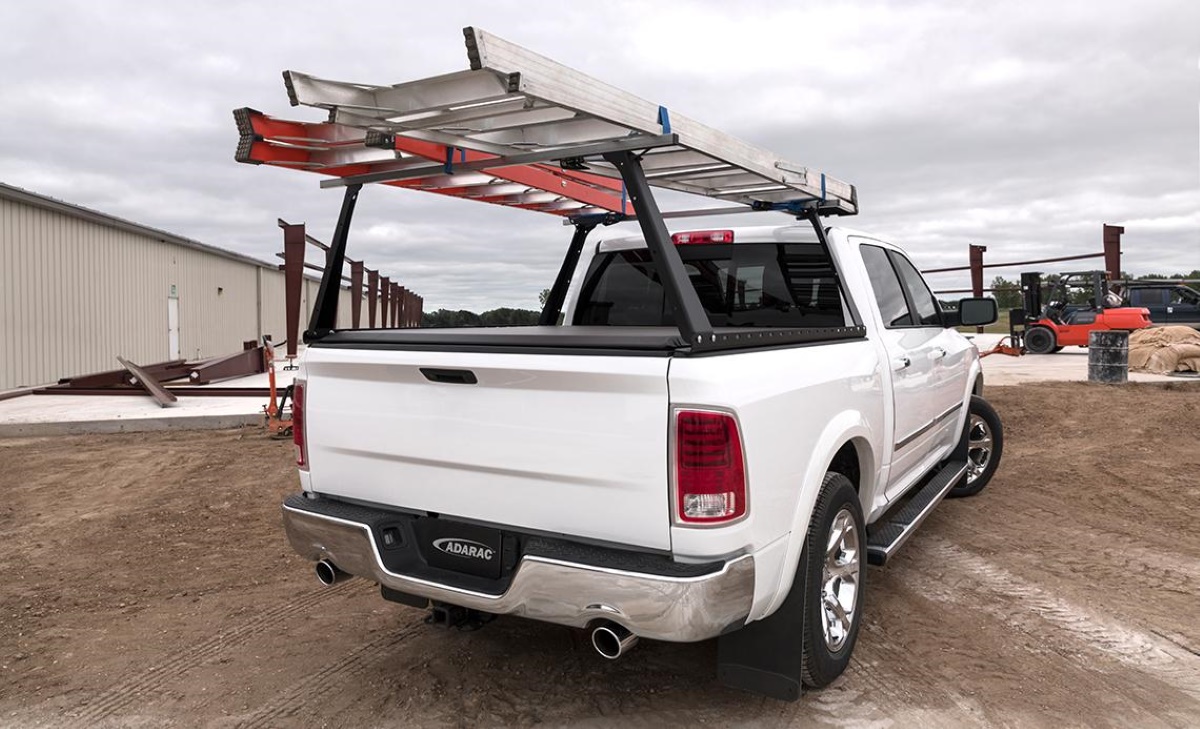
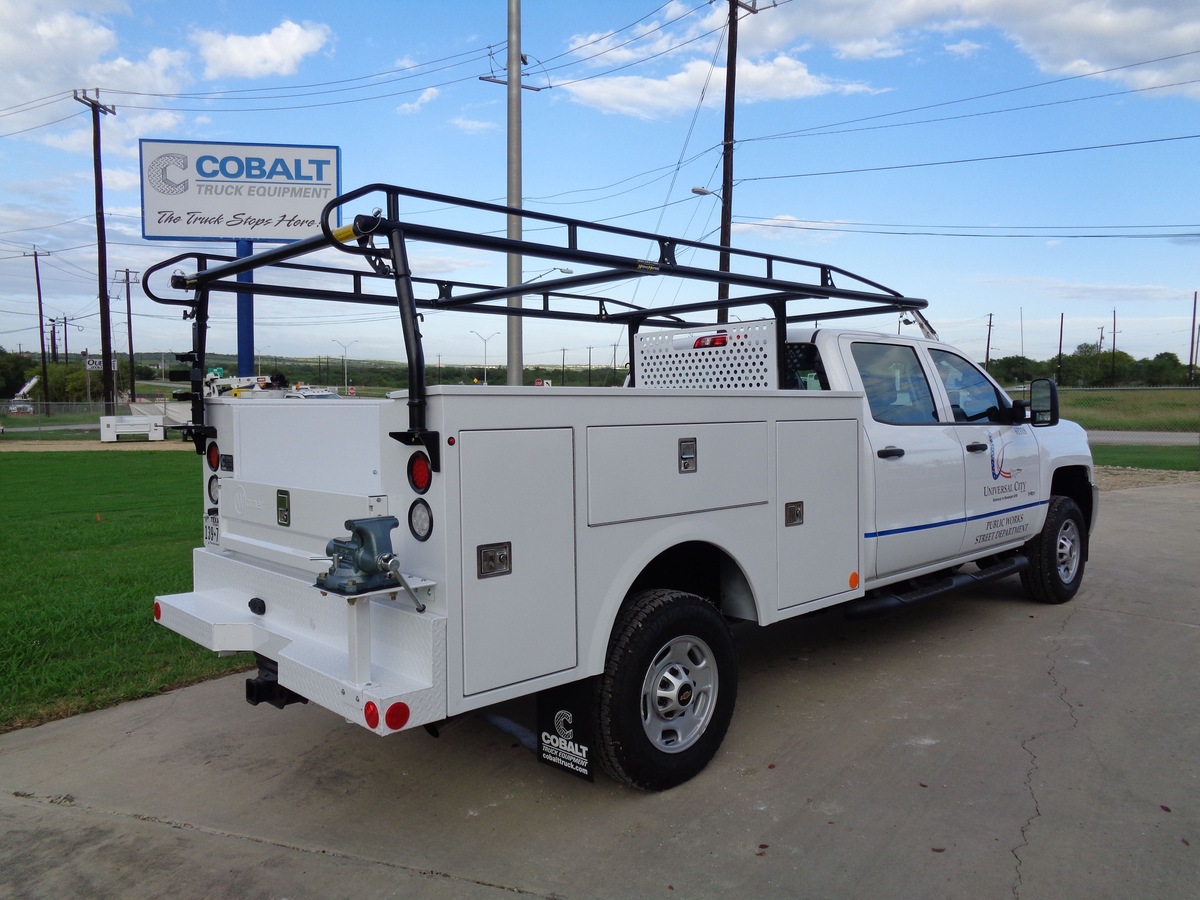
Step 5: Install the Crossbars
With the mounting brackets securely attached to your vehicle, it’s time to move on to installing the crossbars. The crossbars are an essential component of the ladder rack system as they provide support and stability for your load.
To install the crossbars, follow these steps:
- Start by positioning the crossbars on top of the installed mounting brackets. Ensure that they are aligned properly and centered on your vehicle. Take measurements and make any necessary adjustments to achieve an even and balanced placement.
- Depending on the ladder rack model, you may need to insert the crossbars into the designated slots on the mounting brackets or attach them using brackets and bolts. Refer to the manufacturer’s instructions for your specific ladder rack model to understand the proper attachment method.
- Once the crossbars are in position, use a socket set or wrench to tighten any bolts or nuts that secure them to the mounting brackets. Be sure to tighten them securely, but avoid over-tightening, as this may cause damage to the rack or your vehicle.
- After attaching the crossbars, double-check their alignment and stability. Ensure that they are level and evenly spaced. This will help maintain the integrity and balance of the ladder rack when carrying heavy loads.
- At this point, it’s recommended to test the crossbars by applying gentle pressure and shaking them lightly. This will help you detect any loose connections or instability. If you notice any issues, recheck the attachments and make the necessary adjustments until the rack is secure and stable.
Remember to always follow the manufacturer’s instructions specific to your ladder rack model. Different racks may have variations in attachment methods or components, so it’s important to refer to the provided guidelines for an accurate installation.
Once you have completed the installation of the crossbars, you are ready to move on to the next step: securing the ladder rack.
Step 6: Secure the Ladder Rack
With the crossbars installed, the next step is to secure the ladder rack to ensure that it can safely and securely hold your load. Properly securing the ladder rack is crucial to prevent any accidents or damage while transporting your items.
To secure the ladder rack, follow these steps:
- Start by positioning your ladder or other load onto the crossbars. Make sure that the weight is evenly distributed and centered on the rack.
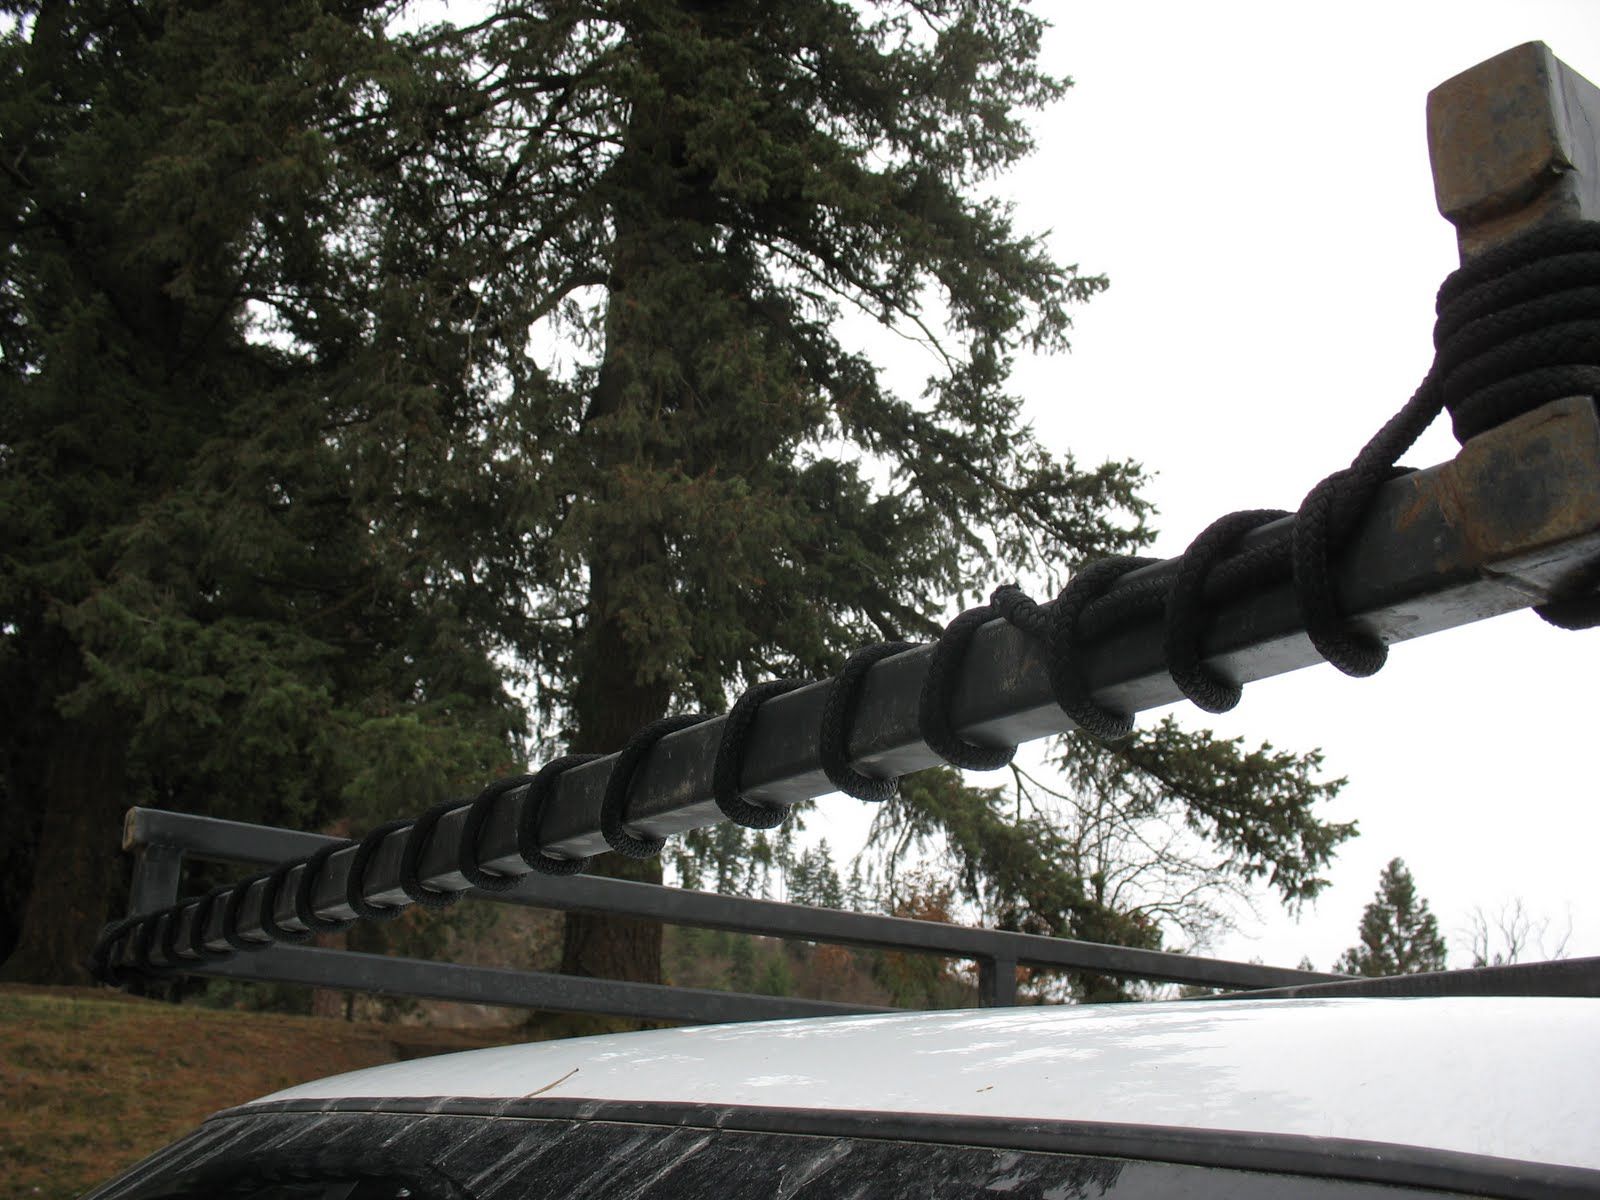
- Use ratchet straps or tie-down straps to secure the ladder or load to the ladder rack. Attach one end of the strap to the ladder or load, and the other end to the ladder rack or crossbars. Repeat this process for each point of attachment to ensure a secure fit.
- Tighten the straps firmly, but be careful not to over-tighten, as this could damage your load or the ladder rack. Make sure the straps are secure and do not have any slack.
- Double-check that the ladder or load is stable and does not move when shaken or gently pushed. It should be securely fastened to the ladder rack without any risk of shifting or falling off during transportation.
- If necessary, use additional securing methods such as bungee cords or rope to further stabilize the load and prevent any movement.
Be sure to check the manufacturer’s instructions or guidelines for any specific recommendations on securing your particular ladder rack model. They may provide additional details or suggestions to ensure proper and safe load securing.
It is essential to periodically check the straps or securing mechanisms throughout your journey to ensure they remain tight and secure. Stop and make adjustments if you notice any signs of loosening or shifting during transport.
By properly securing your ladder rack and load, you can have peace of mind knowing that your items are protected and your vehicle is safe while on the road.
Once the ladder rack is securely fastened, you can move on to the final step: testing the stability of the installation.
Step 7: Test the Stability
After completing the installation and securing the ladder rack, the final step is to test the stability of the setup. Testing the stability will ensure that your ladder rack is securely attached and can withstand the rigors of transportation.
To test the stability of your ladder rack, follow these steps:
- Perform a visual inspection of the entire ladder rack setup. Look for any signs of loose bolts, brackets, or straps. Check that all components are securely fastened and aligned.
- Gently shake the ladder rack to see if there is any excessive movement or wobbling. A slight movement is normal, but if you notice significant shaking or instability, it indicates that there may be loose or improperly installed components.
- If you detect any instability, carefully inspect the attachment points, mounting brackets, and crossbars. Ensure that all bolts and hardware are tightened correctly. Make any necessary adjustments or re-tighten loose components.
- Repeat the shaking test to confirm that the adjustments have improved the stability of the ladder rack. It should feel secure and rigid, with minimal movement.
- If you are still experiencing issues or are unsure about the stability of the ladder rack, consult the manufacturer’s instructions or seek professional assistance. It’s important to address any stability concerns before using the ladder rack to transport heavy or bulky items.
It’s worth noting that stability can also be affected by the weight and distribution of the load being transported. Ensure that the load is evenly distributed and properly secured to maintain optimal stability during transportation.
By thoroughly testing the stability of your ladder rack, you can have confidence in its performance and ensure the safety of yourself, your vehicle, and the items being transported.
With the ladder rack installation complete and its stability confirmed, you can now enjoy the convenience and functionality it provides for transporting your ladders and other long and bulky items.
Congratulations on successfully installing your ladder rack and creating a practical solution for your transportation needs!
Conclusion
Congratulations! You have successfully completed the installation of your ladder rack. By following the step-by-step guide outlined in this article, you have ensured a safe and efficient setup for transporting ladders and other long and bulky items.
Throughout the installation process, you learned the importance of gathering the required materials, measuring and marking the placement, preparing the mounting brackets, attaching them to your vehicle, installing the crossbars, securing the ladder rack, and testing the stability. Each step was crucial in creating a secure and reliable ladder rack system.
Remember, it is essential to refer to the manufacturer’s instructions specific to your ladder rack model for any variations or additional guidelines. They provide valuable insights into the proper installation and usage of your ladder rack.
Always prioritize safety when using your ladder rack. Regularly inspect the components to ensure they are secure and in good condition. Additionally, regularly check the straps or securing mechanisms to confirm they remain tight and functional.
Properly securing your load is vital to prevent accidents and damage. Double-check the stability of your ladder or other items before and during transportation to ensure they are securely fastened to the ladder rack.
By installing a ladder rack on your vehicle, you have opened up a world of possibilities for carrying heavy and lengthy objects. Whether you are a professional contractor or an avid adventurer, the ladder rack will provide the convenience and ease you need to transport your equipment.
Remember, when it comes to installation or any maintenance queries, always refer to the specific instructions provided by the manufacturer. This will ensure that you follow their guidelines and maintain the warranty of your ladder rack.
Now, enjoy the convenience and benefits of your newly installed ladder rack, knowing that it has been installed with precision and care.
Safe travels!
Frequently Asked Questions about How To Install Ladder Rack
Was this page helpful?
At Storables.com, we guarantee accurate and reliable information. Our content, validated by Expert Board Contributors, is crafted following stringent Editorial Policies. We're committed to providing you with well-researched, expert-backed insights for all your informational needs.


0 thoughts on “How To Install Ladder Rack”