Articles
How To Tie Ladder To Roof Rack
Modified: August 17, 2024
Learn how to securely tie a ladder to your roof rack with these helpful articles. Ensure a safe and worry-free journey!
(Many of the links in this article redirect to a specific reviewed product. Your purchase of these products through affiliate links helps to generate commission for Storables.com, at no extra cost. Learn more)
Introduction
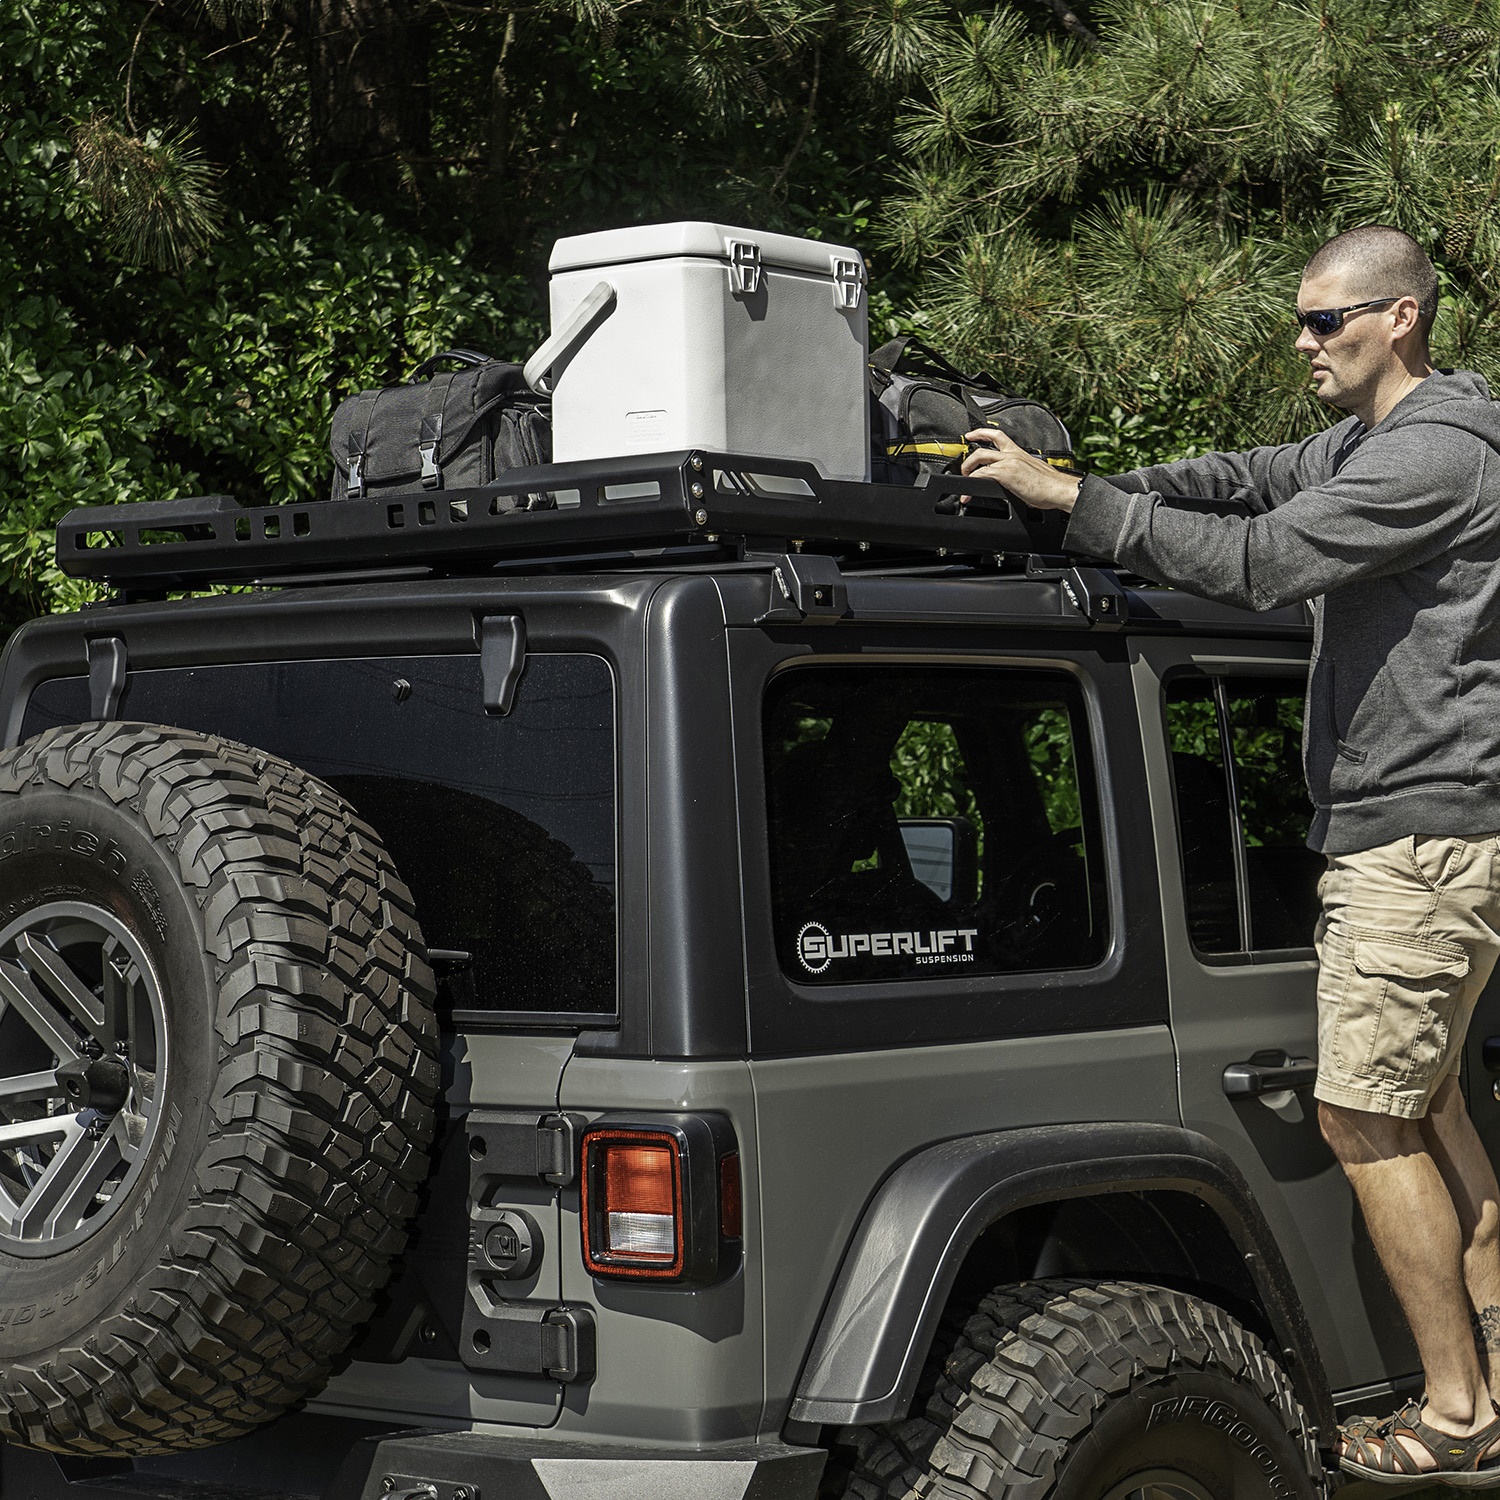
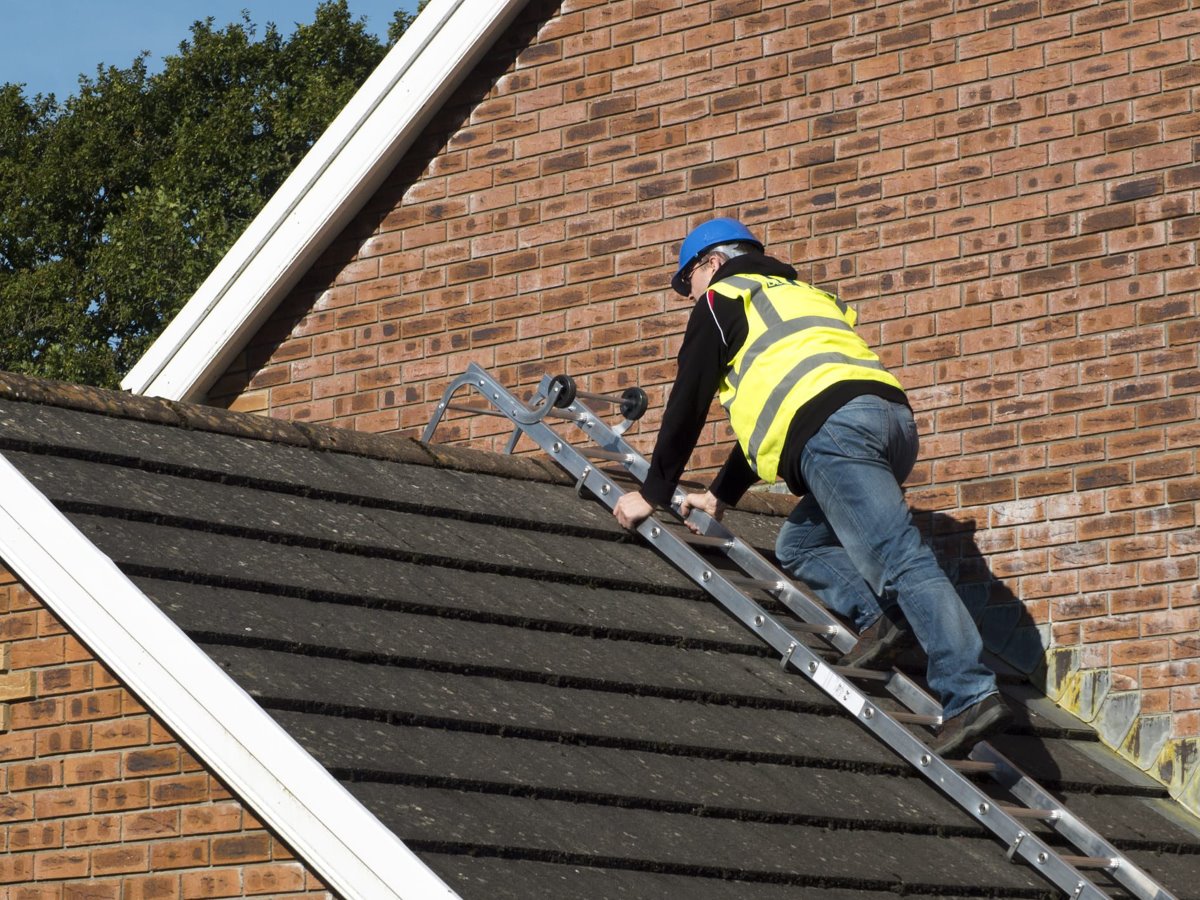
When it comes to transporting large and cumbersome items like ladders, having a roof rack can make all the difference. A roof rack provides a secure and convenient way to carry your ladder on top of your vehicle, allowing you to transport it safely to your desired location.
In this article, we will guide you through the process of tying a ladder to a roof rack. Whether you’re a seasoned DIY enthusiast or a beginner looking to undertake your first home improvement project, this step-by-step guide will ensure that your ladder is securely fastened and ready for transport.
Before we dive into the details, it’s important to note that the specific methods and techniques for tying a ladder to a roof rack may vary depending on the make and model of your roof rack, as well as the type and size of your ladder. It’s always a good idea to consult the manufacturer’s instructions for your specific roof rack and ladder to ensure correct and safe installation.
Now, let’s gather the necessary equipment and get started on securing your ladder to your roof rack!
Key Takeaways:
- Securely tie your ladder to a roof rack by choosing the right ladder, preparing the roof rack, positioning the ladder correctly, and using high-quality straps for a safe and worry-free transportation experience.
- Prioritize safety and double-check the security of your ladder and roof rack setup before hitting the road. Following the step-by-step guide ensures a well-balanced and securely fastened ladder for confident transportation.
Read more: How To Tie A Shed Roof Into An Existing Roof
Equipment Needed
Before you begin tying your ladder to your roof rack, it’s important to gather all the necessary equipment. Here’s a list of items you’ll need:
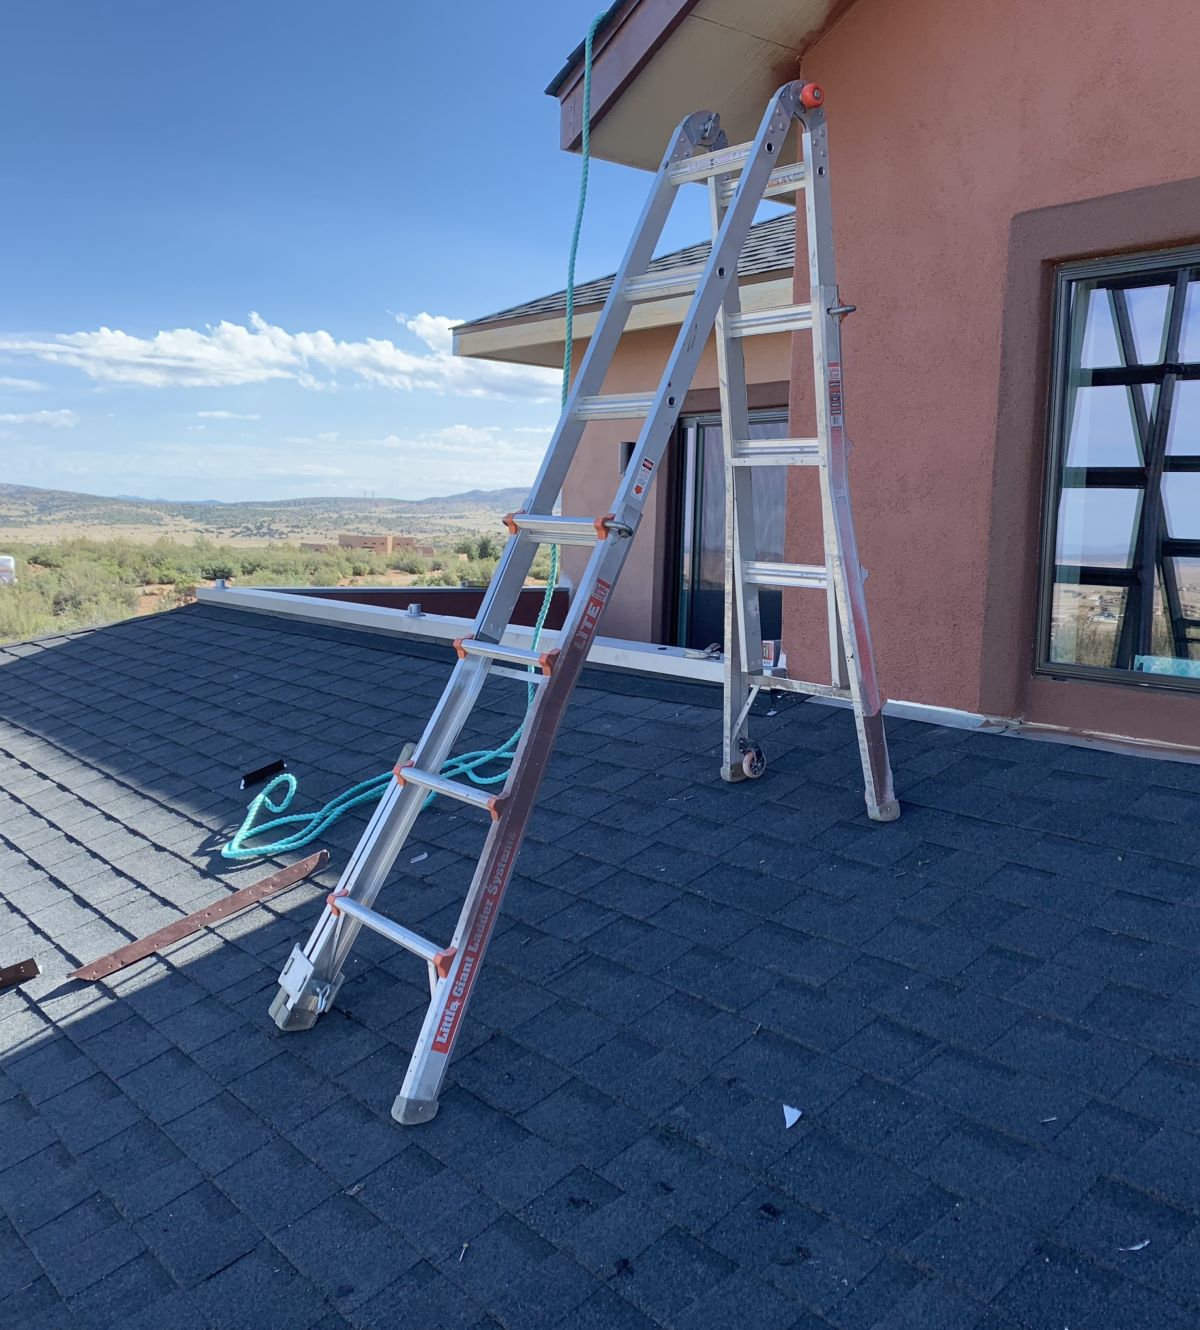
- Ladder: Choose a ladder that is appropriate for your needs and conforms to safety standards. Ensure that it is securely constructed and in good condition.
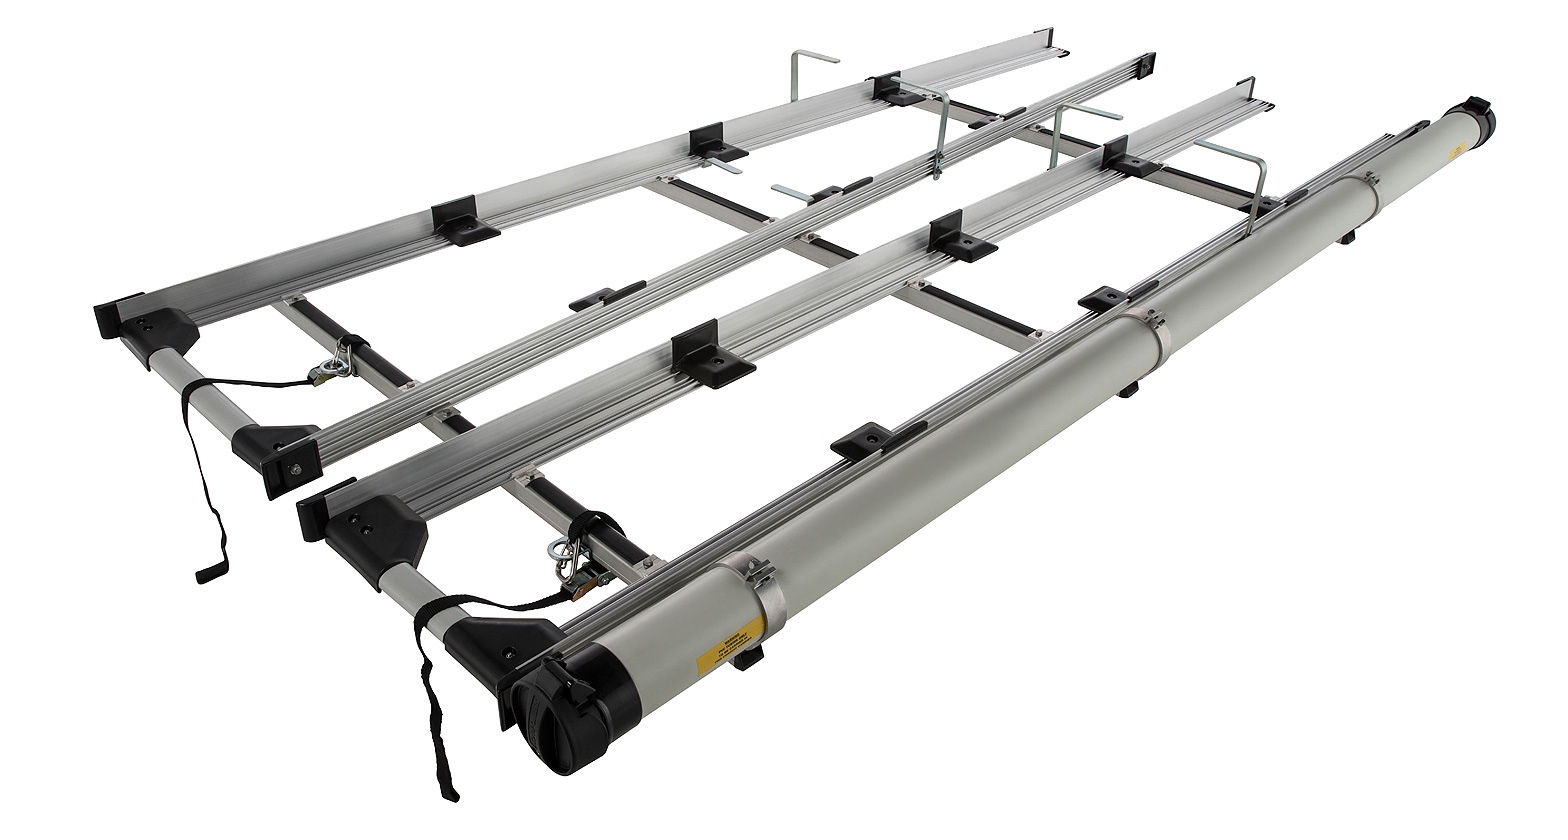
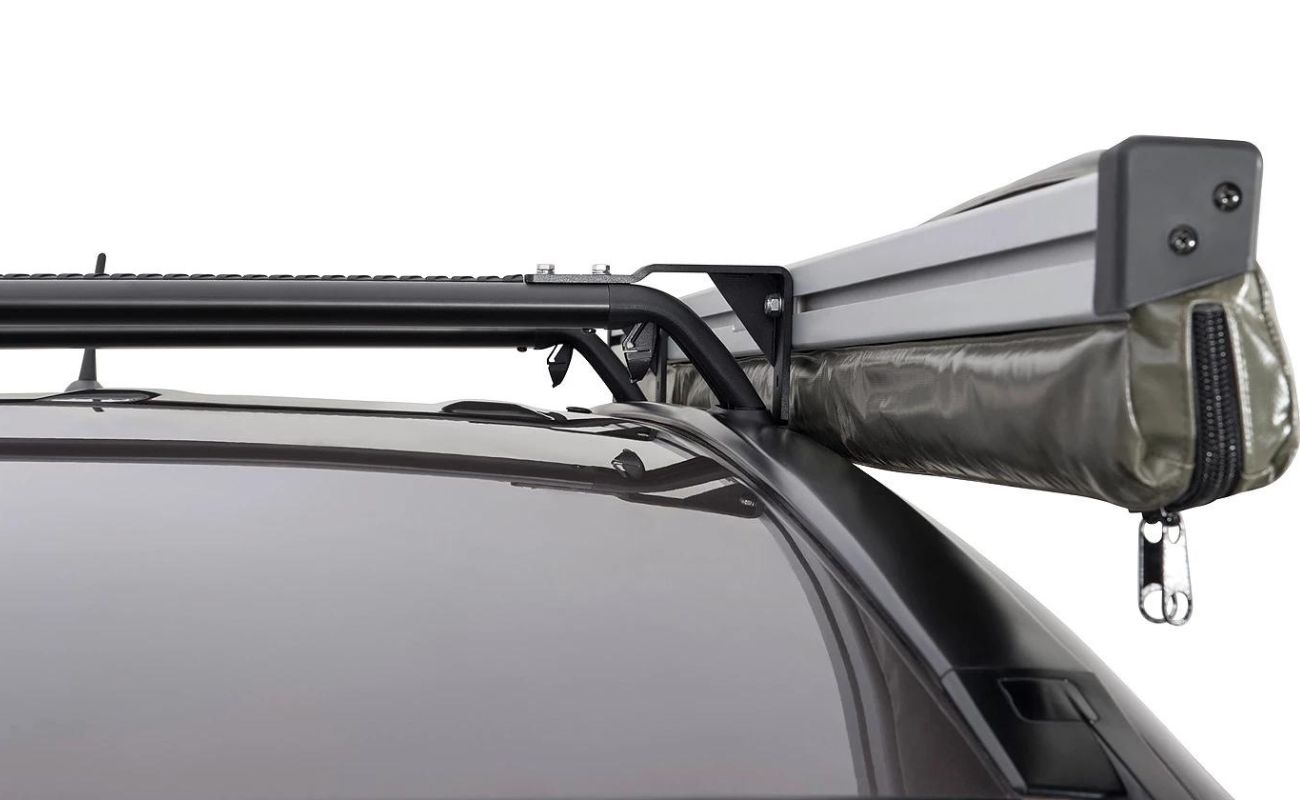
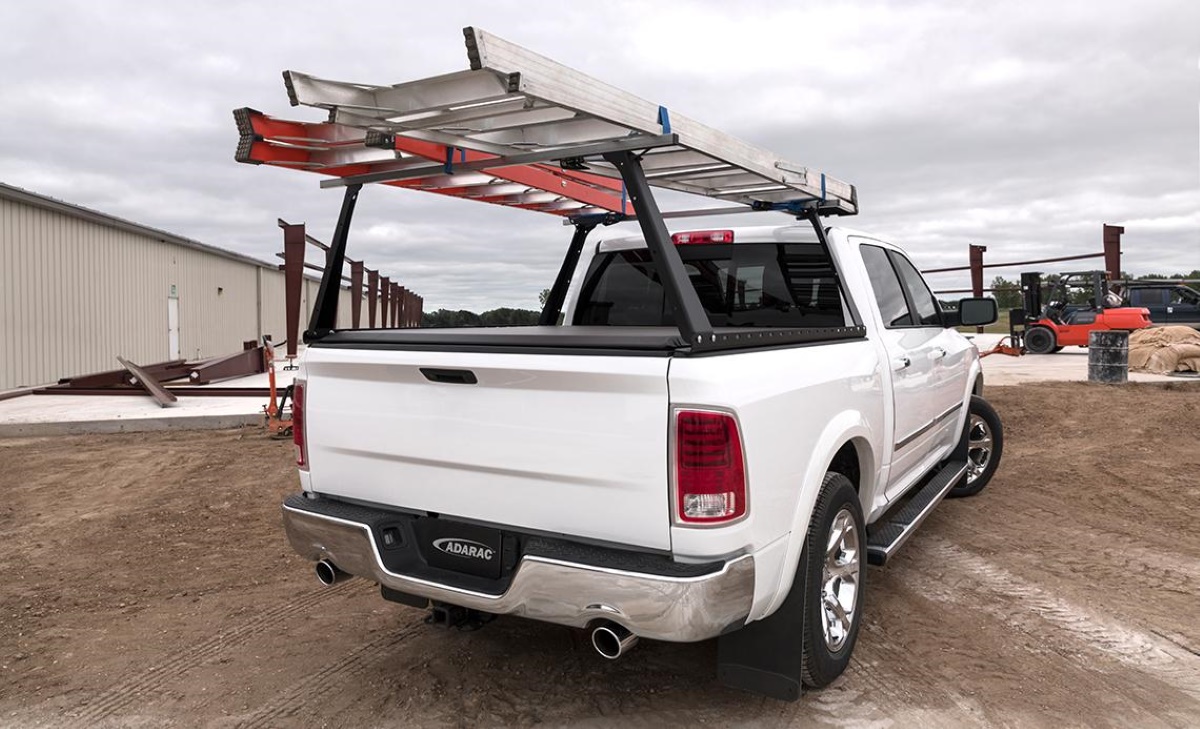
- Roof Rack: A roof rack is a must-have for this process. Make sure it is suitable for your vehicle and properly installed.
- Roof Rack Straps: Invest in high-quality straps made specifically for securing items to roof racks. Look for straps with a sturdy construction and a high weight capacity.
- Bungee Cords or Ratchet Straps: These straps will provide an extra layer of security and help keep your ladder in place during transportation.
- Protective Padding: Consider using foam or rubber padding to cushion the ladder and protect your vehicle’s roof rack from scratches or damage.
- Work Gloves: Wearing work gloves will not only protect your hands but also provide a better grip when securing the ladder and adjusting straps.
Once you have gathered all the necessary equipment, you are ready to proceed with tying your ladder to your roof rack. Remember to prioritize safety and always double-check the security of your setup before hitting the road.
Step 1: Choosing the Right Ladder
Before you can secure your ladder to your roof rack, it’s essential to choose the right ladder for your needs. Here are some factors to consider:
- Ladder Type: Determine the type of ladder you need based on your intended use. Common types include step ladders, extension ladders, and platform ladders. Each type has its own advantages and limitations, so choose one that suits your specific requirements.
- Ladder Height: Consider the maximum height you require for your project. Ensure that the ladder you choose can reach the necessary height and has sufficient extension capabilities if needed.
- Ladder Weight: Take into account the weight of the ladder. Make sure your roof rack is capable of supporting the weight of the ladder, along with any additional equipment or materials you may be carrying.
- Ladder Material: Ladders can be made of various materials, such as aluminum, fiberglass, or wood. Consider the advantages and disadvantages of each material in terms of weight, durability, and resistance to weather conditions.
- Ladder Safety: Ensure that the ladder you choose meets safety standards and has features like non-slip steps and secure locking mechanisms. Safety should always be a top priority.
Once you have chosen the right ladder for your needs, you can move on to the next step of preparing your roof rack for securing the ladder.
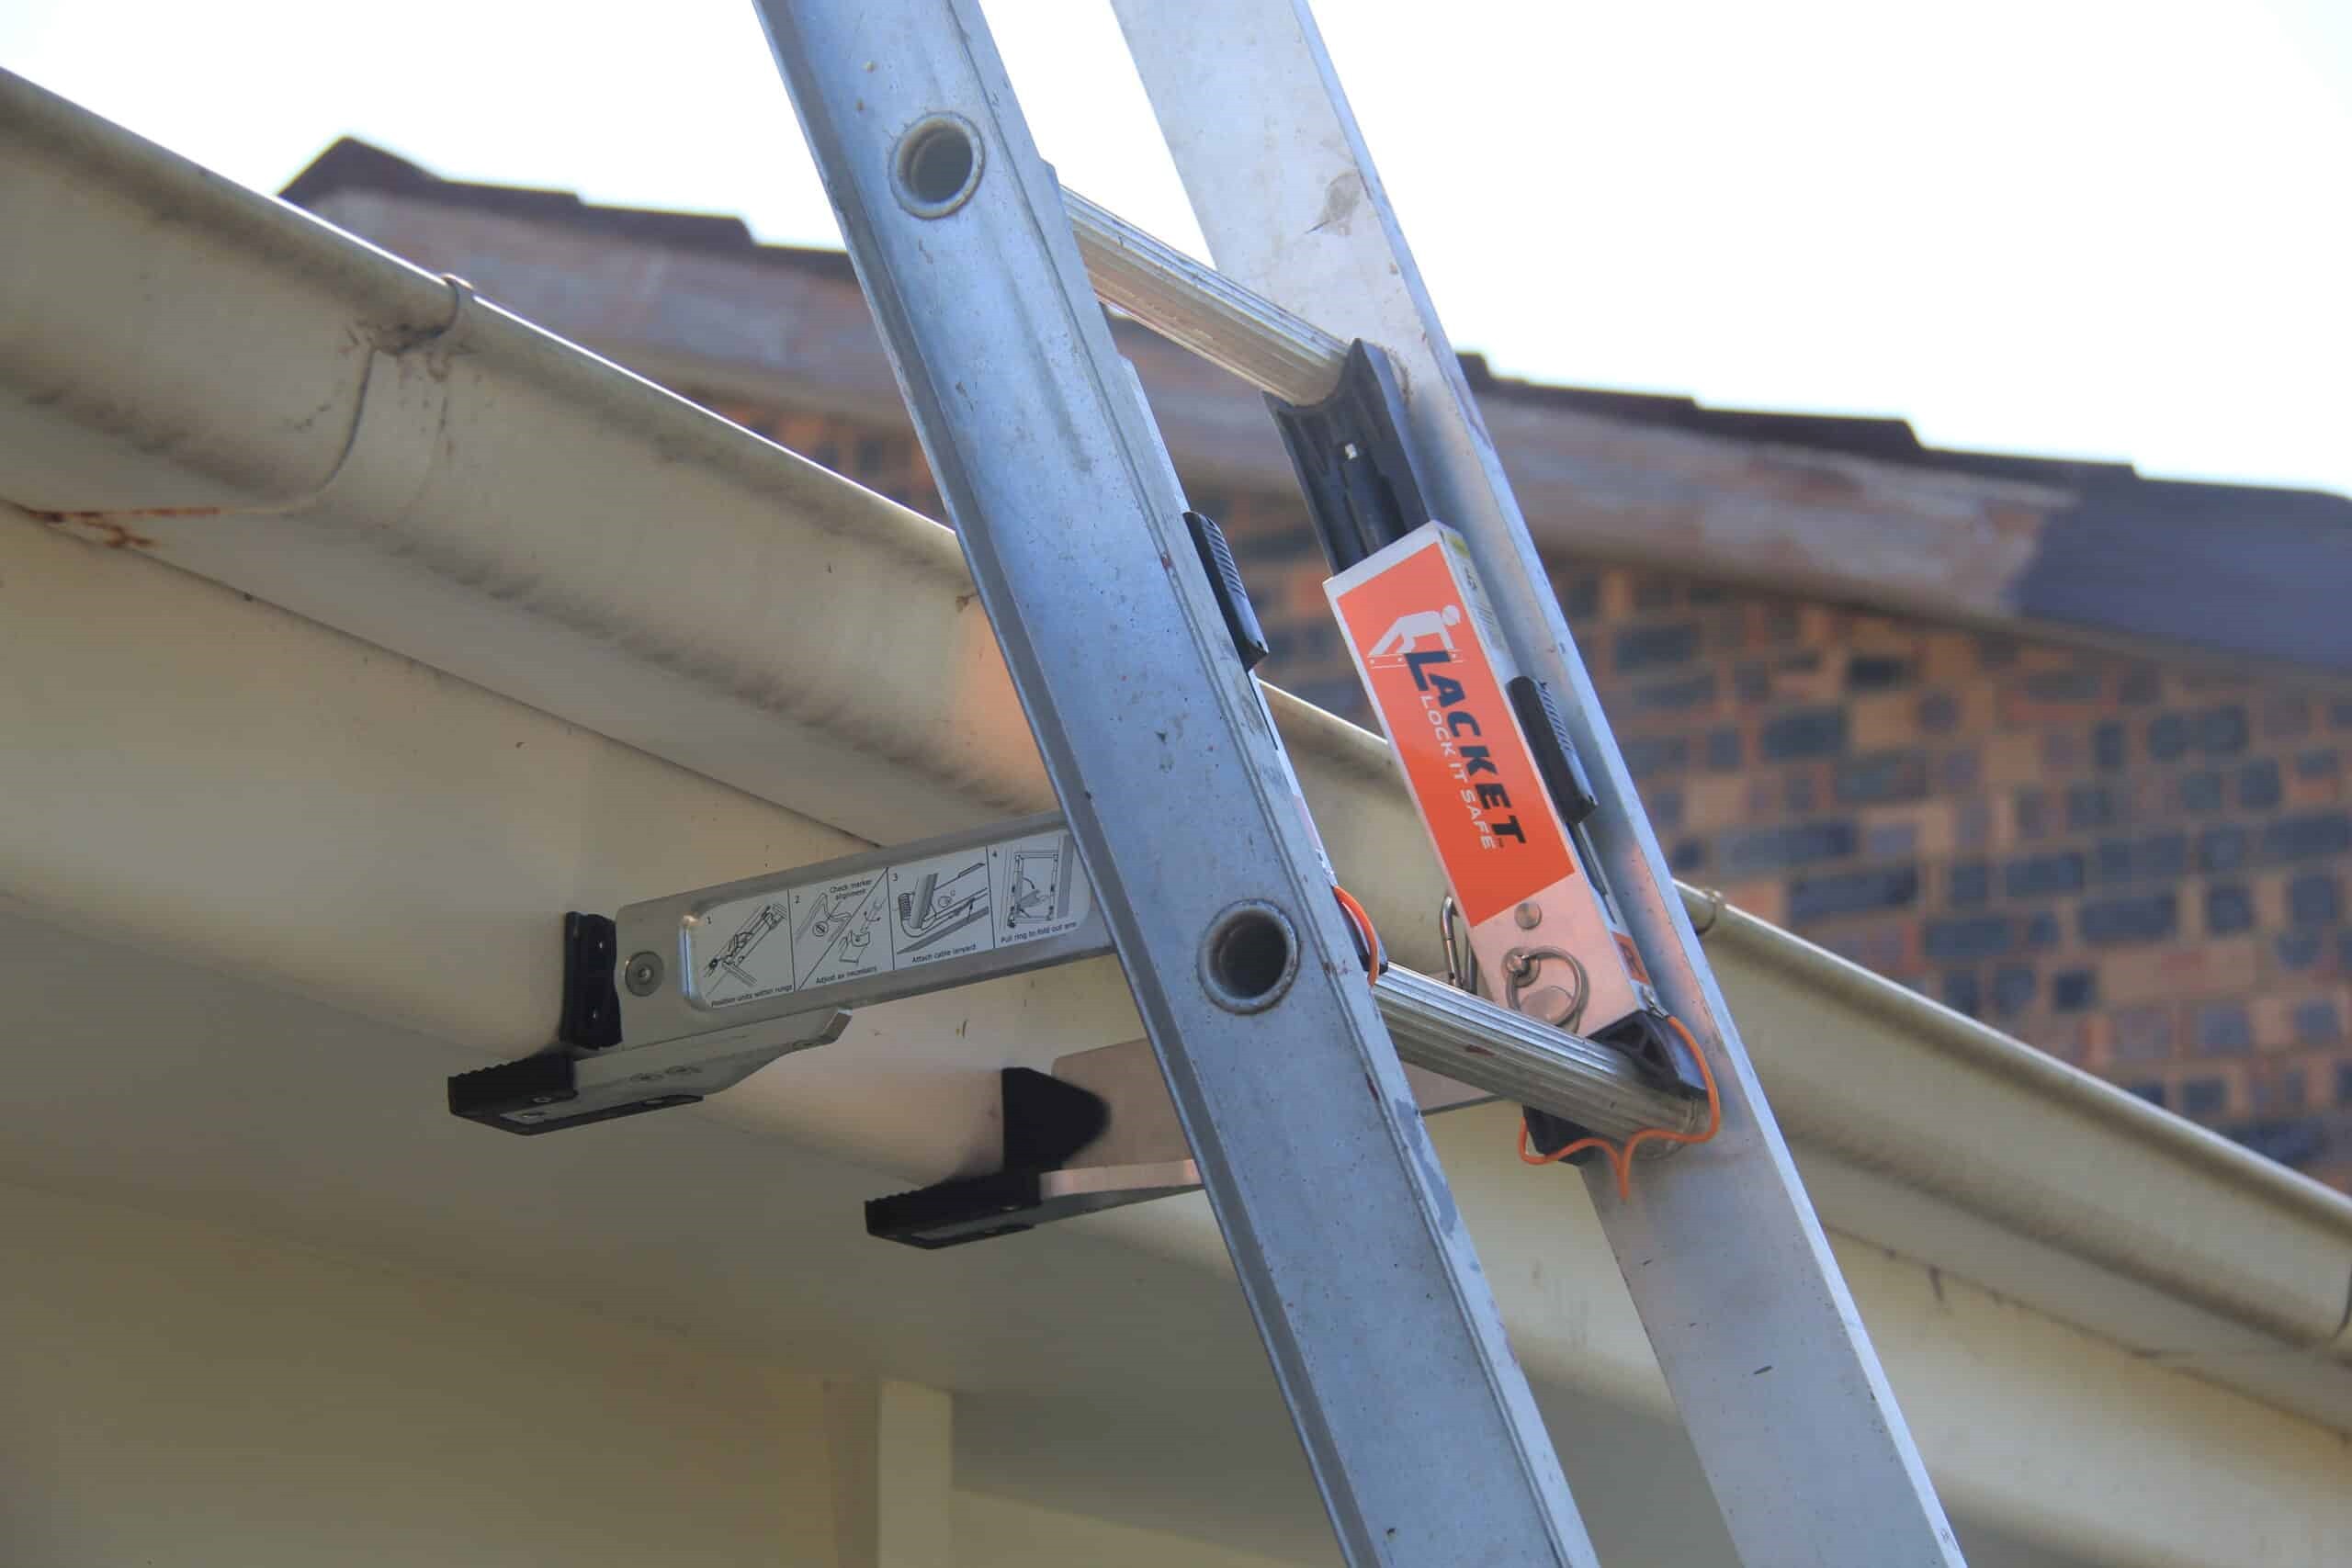
Step 2: Preparing the Roof Rack
Before you can securely tie your ladder to the roof rack, it’s important to prepare the roof rack itself. Follow these steps to ensure a proper setup:
- Clean the Roof Rack: Start by cleaning the roof rack to remove any dirt, debris, or residue that may interfere with the attachment of the ladder. Use a mild detergent and water to clean the surface and then dry it thoroughly.
- Add Protective Padding: To prevent any potential damage to your vehicle or the ladder, add protective padding to the roof rack. Foam or rubber padding can provide a cushioning effect and help prevent scratches or dents.
- Inspect the Roof Rack: Carefully inspect the roof rack for any signs of damage or loose components. Ensure that all securing mechanisms, such as bolts or clasps, are in good condition and securely fastened.
- Check Weight Capacity: Refer to the manufacturer’s instructions or consult the vehicle’s manual to determine the maximum weight capacity of your roof rack. Make sure your ladder and any additional equipment will not exceed this limit.
- Position Crossbars: If your roof rack has adjustable crossbars, position them according to the width of your ladder. Ensure that the ladder will sit securely on the crossbars without overhanging on either side.
By properly preparing your roof rack, you create a solid foundation for tying your ladder securely. Once you have completed these steps, you are ready to move on to the next stage of positioning the ladder on the roof rack.
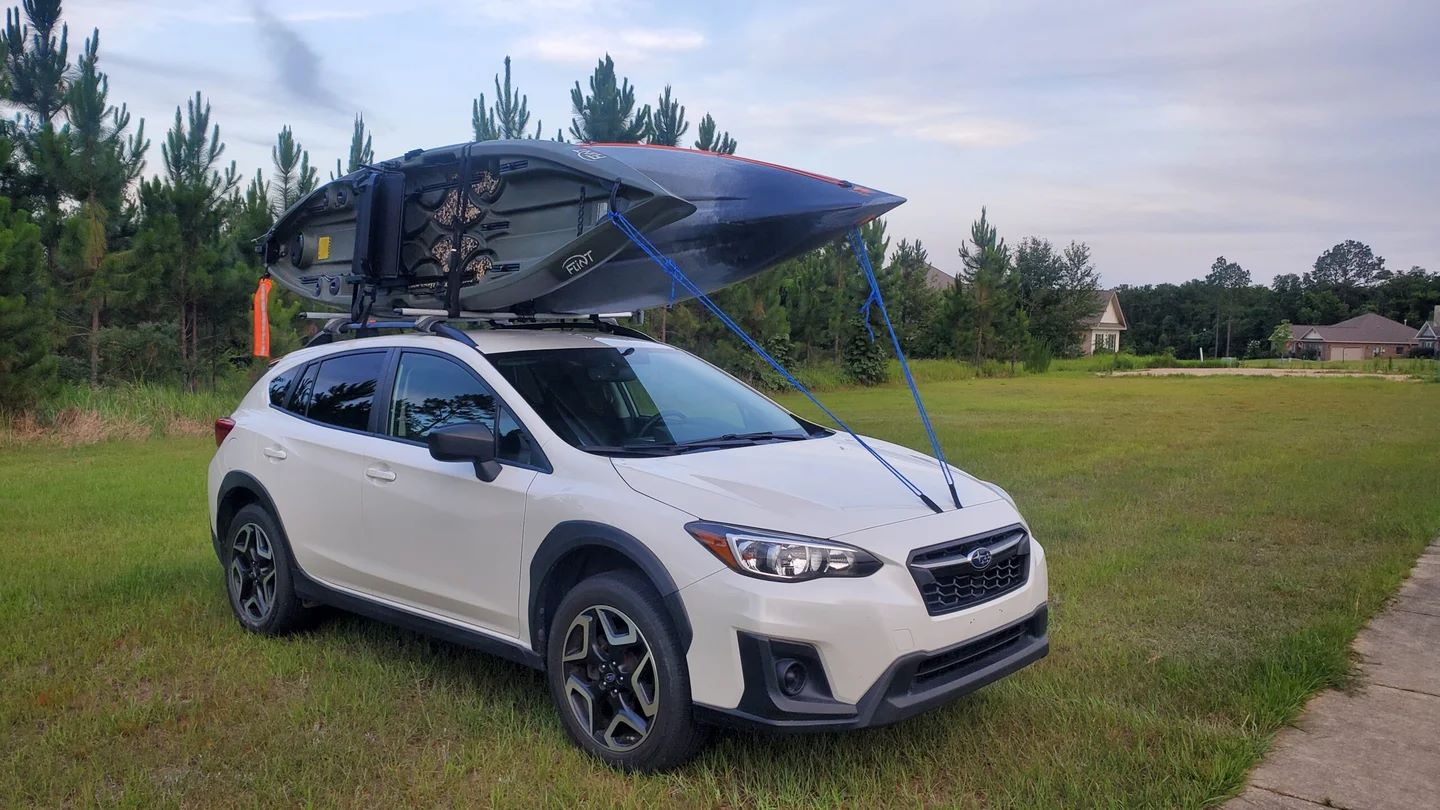
When tying a ladder to a roof rack, use ratchet straps or bungee cords to secure it in place. Make sure the ladder is centered and tied down tightly to prevent shifting during transit.
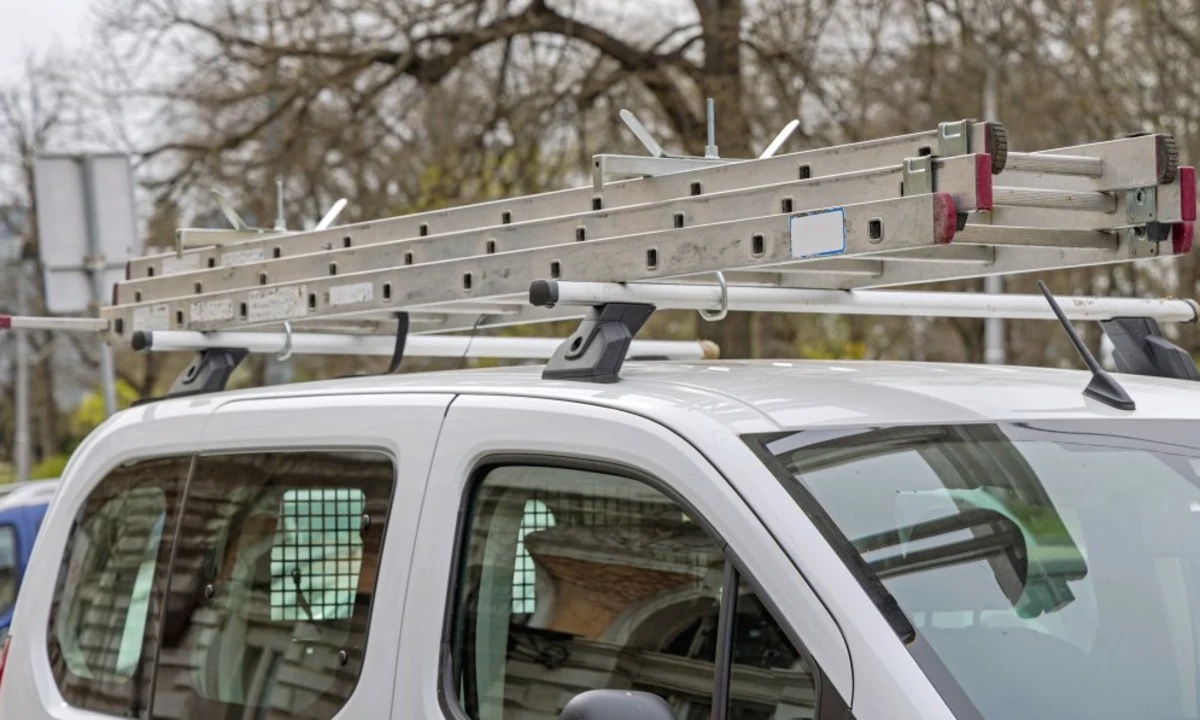
Step 3: Positioning the Ladder
With your roof rack prepared, it’s time to position the ladder on top of your vehicle. Follow these steps to ensure proper positioning:
- Align the Ladder: Carefully lift the ladder and position it parallel to the roof rack, ensuring that it is centered and aligned with the length of your vehicle.
- Angle of Placement: Consider the angle at which you place the ladder on the roof rack. It’s generally recommended to position the ladder at an angle of about 45 degrees to provide better stability during transportation.
- Overhang: Check for any overhang of the ladder on the front or rear edges of the roof rack. Ideally, there should be minimal or no overhang to maintain a balanced and secure setup.
- Protective Measures: Place additional protective padding, such as foam or rubber, between the ladder and the roof of your vehicle to prevent any potential scratches or damage.
- Ensure Stability: Gently push down on the ladder to ensure it is securely resting on the roof rack and does not wobble or shift. Double-check the alignment and make any necessary adjustments before proceeding.
By properly positioning the ladder on your roof rack, you lay the foundation for a secure and well-balanced setup. Once the ladder is aligned and in place, it’s time to move on to the next step of securing it to the roof rack.
Read more: How To Tie Off A Ladder
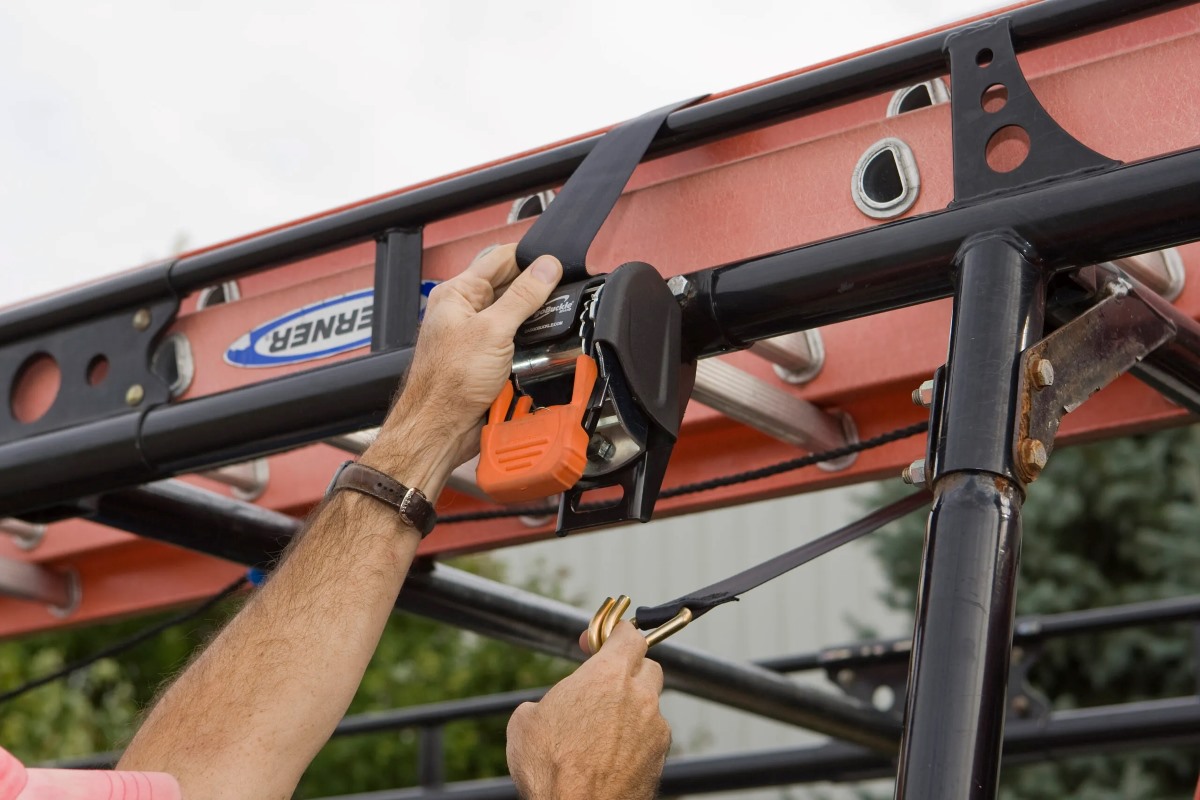
Step 4: Securing the Ladder to the Roof Rack
Now that your ladder is properly positioned on the roof rack, it’s time to secure it in place. Follow these steps to ensure a secure attachment:
- Attach Roof Rack Straps: Take your roof rack straps and loop them around the ladder and the crossbars of the roof rack. Make sure the straps are positioned evenly on both sides of the ladder.
- Tighten the Straps: Begin tightening the straps by pulling on the free ends. Apply firm yet controlled pressure to ensure a secure hold. Avoid over-tightening, as this may cause damage to the ladder or roof rack.
- Use Additional Straps: If necessary, use additional bungee cords or ratchet straps to provide extra support and security. Attach these straps to the ladder and secure them to the roof rack or vehicle’s anchor points.
- Check Strap Tension: Once the straps are tightened, check the tension to ensure the ladder is securely fastened to the roof rack. Press down on the ladder and make any necessary adjustments or re-tighten the straps as needed.
It’s important to note that the specific method of securing the ladder may vary depending on the type of roof rack and ladder you have. Always refer to the manufacturer’s instructions for the roof rack and ladder to ensure correct and safe installation.
Once you have securely fastened the ladder to the roof rack, it’s time for the final step of double-checking the security of your setup.
Step 5: Double-checking the Security
Before hitting the road, it’s crucial to double-check the security of your ladder and roof rack setup. Taking this extra step will ensure a safe and worry-free journey. Here’s what you need to do:
- Gently Shake the Ladder: Give the ladder a gentle shake to test its stability. It should remain firmly in place without any noticeable movement or shifting. If you feel any instability, re-adjust the ladder and straps as necessary.
- Inspect Strap Attachments: Examine the attachment points of the straps to ensure they are secure and properly fastened. Check for any signs of looseness or slippage, and tighten if needed.
- Verify Roof Rack Hold: Confirm that the ladder is securely held by the roof rack. Check for any signs of the ladder sliding or shifting on the roof rack. If you notice any issues, readjust the ladder and straps until it is securely in place.
- Test Wind Resistance: Imagine driving at different speeds, including highway speeds. Visualize how the ladder might react to wind resistance. If it appears unstable or prone to excessive movement, reinforce the straps or make necessary adjustments.
- Consider Visibility: Make sure the ladder does not obstruct your front or rear visibility while driving. Adjust its position if necessary to ensure a clear line of sight.
By double-checking the security of your ladder and roof rack, you can have peace of mind during your journey, knowing that your ladder is safe and secure.
Remember, safety should always be your top priority. If you have any doubts or concerns about the attachment of your ladder to the roof rack, seek assistance from a professional or consult the manufacturer’s instructions for further clarification.
With your ladder securely tied to your roof rack, you are now ready to transport it to your destination and complete your tasks with confidence.
Conclusion
Tying a ladder to a roof rack is a crucial step in safely transporting it to your desired location. By following the steps outlined in this guide, you can ensure that your ladder is securely fastened and ready for the journey.
Choosing the right ladder for your needs, preparing the roof rack, positioning the ladder correctly, securing it with straps, and double-checking the setup are all essential tasks in this process. By taking the time to go through these steps, you significantly reduce the risk of accidents or damage during transportation.
Always prioritize safety while tying your ladder to the roof rack. Use the appropriate equipment, such as roof rack straps, bungee cords, or ratchet straps, to ensure a secure hold. Double-check the ladder’s stability and straps’ tension before hitting the road.
Remember to refer to the manufacturer’s instructions for your specific roof rack and ladder for additional guidance and specifications. Adapting the techniques to your particular setup will help ensure the best results.
By following these steps, you can have peace of mind knowing that your ladder is securely fastened and ready to be transported to your destination. Just a few extra minutes spent on proper installation and verification can make a significant difference in the safety of your journey.
Now, armed with the knowledge of how to tie a ladder to a roof rack, you can confidently undertake your home maintenance, renovation, or any other projects that require transportation of your ladder. Stay safe, enjoy your journey, and successfully complete your tasks with a securely fastened ladder on your roof rack!
Now that you've mastered securing ladders for transport, why not tackle more projects around your home? Our guide on DIY home improvement offers practical advice for transforming spaces effortlessly. Whether you're looking to update your kitchen, refurbish old furniture, or create beautiful outdoor areas, our tips will set you on the right path. Dive into our comprehensive DIY guide and start enhancing your home today!
Frequently Asked Questions about How To Tie Ladder To Roof Rack
Was this page helpful?
At Storables.com, we guarantee accurate and reliable information. Our content, validated by Expert Board Contributors, is crafted following stringent Editorial Policies. We're committed to providing you with well-researched, expert-backed insights for all your informational needs.


0 thoughts on “How To Tie Ladder To Roof Rack”