Articles
How To Install An Attic Ladder
Modified: August 16, 2024
Learn how to easily install an attic ladder with our step-by-step articles. Increase convenience and accessibility in your home.
(Many of the links in this article redirect to a specific reviewed product. Your purchase of these products through affiliate links helps to generate commission for Storables.com, at no extra cost. Learn more)
Introduction
Installing an attic ladder can transform your unused attic space into a functional and accessible area in your home. Whether you’re looking to create additional storage space or want to convert your attic into a living area, a well-installed attic ladder is a vital component.
However, installing an attic ladder may seem like a daunting task if you have never done it before. Don’t worry, though! In this article, we will guide you through the step-by-step process of installing an attic ladder, ensuring a smooth and successful installation.
Before you begin, it’s important to note that attic ladder installation requires some basic carpentry skills and familiarity with using power tools. If you’re uncomfortable with these tasks, it’s worth considering hiring a professional to handle the installation for you.
Now, let’s get started with the first step of the installation process: measuring and preparing the opening.
Key Takeaways:
- Transform your attic into a functional space by following step-by-step instructions for installing an attic ladder. Prioritize safety, gather the right tools, and enjoy the convenience of accessing your attic.
- Ensure a smooth and successful attic ladder installation by measuring and preparing the opening, purchasing the right ladder kit, and following manufacturer’s instructions. Prioritize safety, test the ladder’s operation, and enjoy your newly accessible attic space.
Read more: How To Install Attic Ladder By Yourself
Step 1: Measure and Prepare the Opening
The first step in installing an attic ladder is to accurately measure and prepare the opening in your ceiling. This will ensure that the ladder fits properly and functions smoothly. Follow these steps to measure and prepare the opening:
- Start by determining the location where you want to install the attic ladder. Choose an area that provides easy access to your attic and doesn’t obstruct any existing structures, such as roof beams or electrical panels.
- Measure the dimensions of the attic ladder kit. Take into account not only the size of the ladder itself but also the clearance needed for it to fully extend when in use. You’ll need to ensure that there is enough space in your attic to accommodate the ladder when it’s extended, without any obstructions.
- Use a stud finder to locate any ceiling joists or support beams in the area where you plan to install the attic ladder. It’s crucial to avoid cutting into any structural components during the installation process.
- Mark the dimensions of the opening on your ceiling, using a pencil or chalk. Double-check your measurements to ensure accuracy.
- Next, using a reciprocating saw or a handsaw, carefully cut along the marked lines to create the opening. Take caution to avoid damaging any electrical wires or plumbing pipes that may be hidden in the ceiling.
- Once the opening is cut, remove any insulation or debris that may be obstructing the area. Ensure that the opening is clean and free from any obstacles.
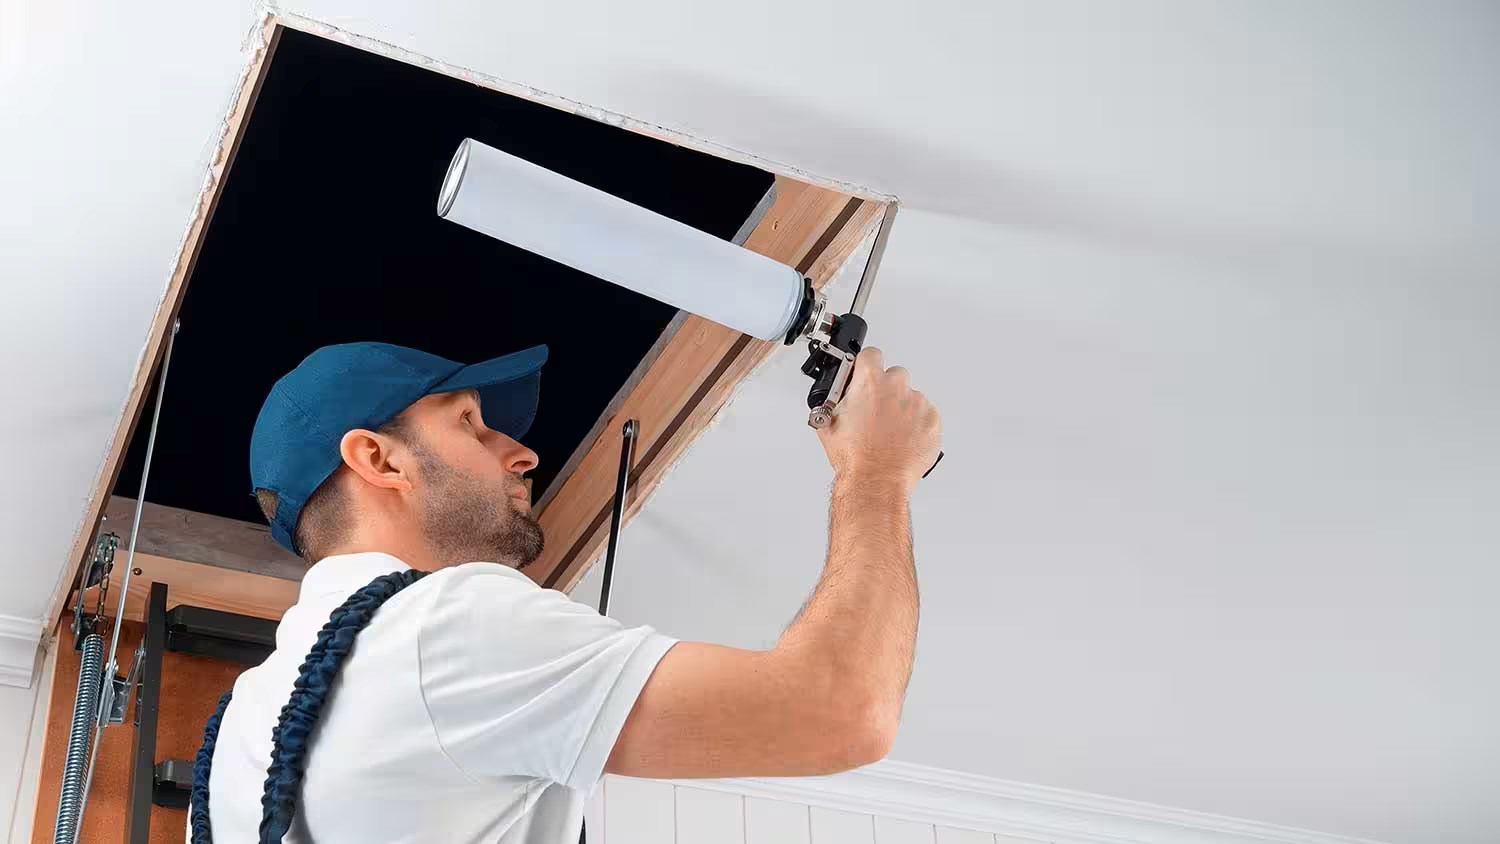
- Finally, reinforce the edges of the opening by installing framing or trim, as instructed by the manufacturer. This will provide additional stability and a finished look to the opening.
By following these steps, you will have successfully measured and prepared the opening for your attic ladder. Now, it’s time to move on to the next step: purchasing the attic ladder kit.
Step 2: Purchase the Attic Ladder Kit
Once you’ve measured and prepared the opening for your attic ladder, the next step is to purchase the attic ladder kit that suits your needs. Here are some considerations to keep in mind when selecting a ladder kit:
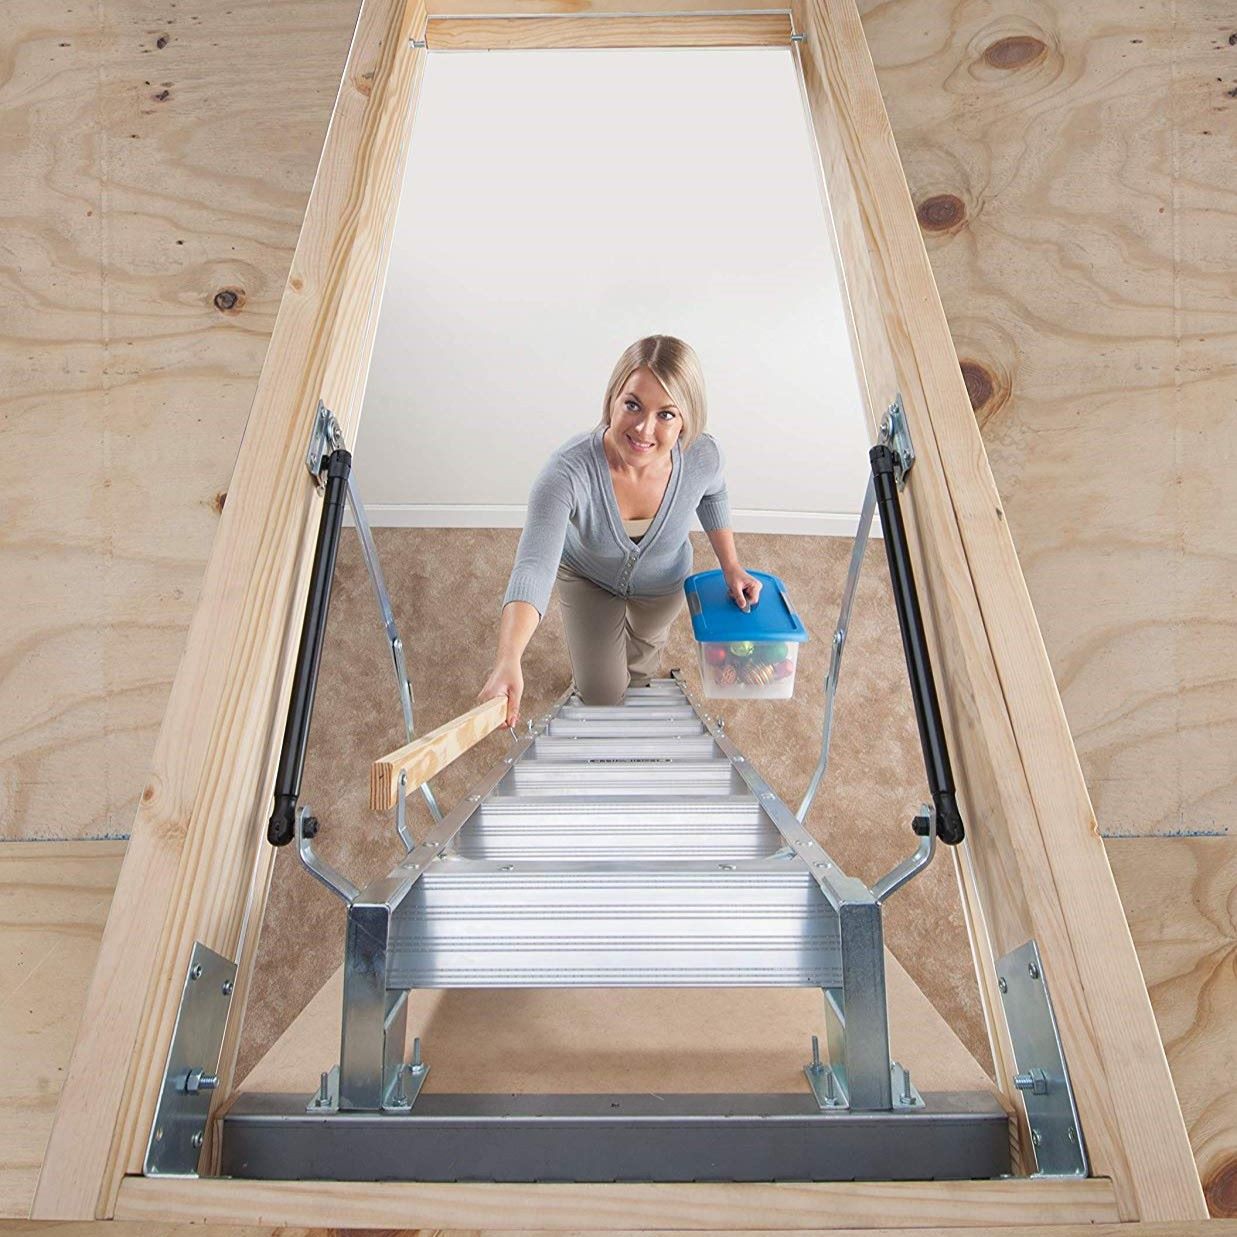
- Ladder Type: There are various types of attic ladders available in the market, including folding, telescoping, and sliding. Consider the space available in your attic and your personal preference when choosing the ladder type.
- Weight Capacity: Ensure that the ladder you choose has a weight capacity that can support your weight and any potential items you may carry into the attic. It’s important to select a ladder with a weight rating that exceeds your requirements for safety.
- Material: Attic ladders are typically made from aluminum or wood. Aluminum ladders are lightweight and durable, while wood ladders provide a more traditional look. Consider the pros and cons of each material before making a decision.
- Insulation and Energy Efficiency: Some attic ladder kits come with built-in insulation, which helps to maintain the temperature in your home and improve energy efficiency. If energy efficiency is a priority for you, look for ladder kits with insulation features.
- Brand and Quality: Research different brands and read reviews to ensure you choose a reputable manufacturer known for producing high-quality attic ladder kits. A well-made ladder will not only be more durable but also function smoothly and safely.
- Budget: Set a budget for your attic ladder kit and explore options within that range. Remember that investing in a higher-quality ladder may be a smart long-term decision, as it will be more durable and provide better performance.
Once you have considered these factors, visit your local home improvement store or browse online to find the attic ladder kit that meets your criteria. Be sure to follow the manufacturer’s instructions and specifications to ensure a proper fit and safe installation.
With the attic ladder kit in hand, you’re ready to move on to the next step: gathering the necessary tools for installation.
Step 3: Gather the Necessary Tools
Before you begin the actual installation of your attic ladder, it’s important to gather all the necessary tools and equipment. Having the right tools on hand will make the process much smoother and more efficient. Here are the essential tools you’ll need for installing an attic ladder:
- Tape Measure: This tool is crucial for measuring the dimensions of the opening and ensuring the ladder kit fits properly.
- Pencil or Chalk: You’ll need a writing instrument to mark the dimensions and cut lines on the ceiling.
- Reciprocating Saw or Handsaw: A saw will be required to cut along the marked lines and create the opening in the ceiling. Ensure you have a suitable saw for the job.
- Stud Finder: This tool is essential for locating ceiling joists or support beams, ensuring you avoid cutting into them during the installation process.
- Screwdriver: A screwdriver will be needed to secure various components of the ladder kit, such as hinges and hardware.
- Drill: Depending on the ladder kit you’ve purchased, you may need a drill to create pilot holes or to secure screws or bolts.
- Level: A level is essential for checking and ensuring that the ladder and frame are installed correctly and are perfectly horizontal.
- Work Gloves: It’s important to protect your hands during the installation process. Wear work gloves to prevent injury and provide a better grip when handling tools.
- Safety Glasses: Eye protection is essential when working with power tools and during the entire installation process. Wear safety glasses to protect your eyes from any potential hazards.
- Ladder or Step Stool: To safely access the attic and work at heights, use a sturdy ladder or step stool that can support your weight.
- Utility Knife: A utility knife will come in handy when trimming and cutting any materials, such as insulation or trim pieces.
- A Helper: Installing an attic ladder is much easier with an extra set of hands. Enlist the help of a friend or family member to assist you during the installation process.
Make sure all your tools are in good working condition before starting the installation. If any tools need replacing or repairs, take care of them beforehand to avoid any delays or accidents during the installation process.
With all the necessary tools gathered, you’re ready to move on to the next step: reading and understanding the manufacturer’s instructions for your specific attic ladder kit.
Step 4: Read and Understand the Manufacturer’s Instructions
Before you begin the installation of your attic ladder, it’s crucial to familiarize yourself with the specific instructions provided by the manufacturer. Each attic ladder kit may have slight variations in installation requirements and procedures. Follow these steps to ensure you understand and follow the manufacturer’s instructions:
- Carefully read the instruction manual that comes with your attic ladder kit. Pay close attention to any safety precautions, specific measurements, and recommended tools.
- Take note of any weight restrictions, maximum load capacities, or special considerations mentioned in the instructions. This will help you ensure the safety and longevity of your attic ladder.
- Refer to any diagrams or illustrations provided in the manual to visualize the installation process. This will help you better understand the steps involved and the order in which they should be performed.
- If the manufacturer has provided an installation video or online resources, take advantage of them. Watching a visual demonstration can provide additional clarity and guidance.
- If you come across any terminology or steps that you’re unfamiliar with, research and familiarize yourself with them before proceeding. This will ensure you have a thorough understanding of the installation process.
- If you have any questions or concerns about the instructions, reach out to the manufacturer’s customer support for clarification. It’s better to seek clarification beforehand than to proceed with uncertainty.
By taking the time to thoroughly read and understand the manufacturer’s instructions, you’ll gain the knowledge and confidence needed to successfully install your attic ladder. Following the instructions correctly will ensure a safe and efficient installation process.
Once you have a good grasp of the instructions, you’re ready to move on to the next step: implementing safety precautions during the attic ladder installation.
Step 5: Safety Precautions
When it comes to installing an attic ladder, safety should be your top priority. It’s important to take necessary precautions to protect yourself and ensure a safe installation process. Follow these safety tips to minimize the risk of accidents or injuries:
- Wear Protective Gear: Before you start the installation, make sure to wear appropriate protective gear, including work gloves, safety glasses, and a dust mask if needed. This will protect you from any potential hazards during the installation process.
- Secure the Ladder: Secure the ladder or step stool you’re using to access the attic. Ensure it is stable and placed on a level surface. If necessary, have someone hold the ladder for extra stability and support.
- Use Power Tools Safely: If you’re using power tools, always follow the manufacturer’s instructions and safety guidelines. Use them in a well-ventilated area and ensure they are in good working condition. Keep your hands away from moving parts and always unplug them when not in use.
- Work in a Well-Lit Area: Adequate lighting is essential when working in an attic or enclosed space. Use portable lights or ensure there is sufficient natural light to illuminate your work area. This will help you see clearly and avoid potential accidents.
- Be Mindful of Wires and Pipes: While working in the attic, be cautious of any electrical wires or plumbing pipes that may be hidden in the ceiling. Avoid cutting into or damaging them. If you’re unsure, consult a professional before proceeding.
- Follow Weight Capacity Guidelines: Ensure that the attic ladder you’ve chosen can support your weight and any potential items you may carry. Exceeding weight capacity can lead to accidents and ladder failure. Always adhere to the weight limits specified by the manufacturer.
- Take Breaks and Stay Hydrated: Attic ladder installation can be physically demanding. Take regular breaks to avoid fatigue and stay hydrated throughout the process. This will help you stay focused and reduce the risk of accidents caused by exhaustion.
- Ask for Help: Some steps of the installation process may require assistance. Don’t hesitate to ask for help when needed, especially when it comes to maneuvering and securing the ladder in place.
- Follow Safety Guidelines: In addition to these general safety precautions, follow any specific safety guidelines provided by the manufacturer in the instruction manual. They may provide additional recommendations to ensure a safe installation.
By implementing these safety precautions, you can significantly minimize the risk of accidents or injuries during the installation of your attic ladder. Remember, safety should never be compromised for the sake of efficiency or speed.
With safety measures in place, you’re ready to move on to the next step: removing the existing attic access before installing the new ladder.
Make sure to measure the ceiling height and the rough opening size before purchasing an attic ladder. This will ensure that the ladder will fit properly and function safely.
Step 6: Remove the Existing Attic Access
Before installing your new attic ladder, you’ll need to remove any existing attic access that may be in place. This could be a simple plywood cover, a hatch door, or an old attic ladder that needs replacing. Follow these steps to properly remove the existing attic access:
- Ensure Safety: Before starting, make sure you’re wearing appropriate protective gear, such as work gloves and safety glasses. Also, ensure you have a stable and secure ladder or step stool to access the attic safely.
- Inspect the Existing Access: Take a close look at the existing attic access to assess how it is secured and any potential obstructions or obstacles that need to be dealt with. Observe how it is attached to the ceiling and make note of any screws, nails, or hinges that need to be removed.
- Safely Remove Fasteners: Using a screwdriver or a drill with the appropriate bit, carefully remove any screws or nails that are securing the existing attic access. Be cautious not to damage or scrape the ceiling during this process.
- Disconnect Hinges (If Applicable): If the existing attic access is connected to hinges, use a screwdriver or a wrench to disconnect them. This will allow you to remove the access without any resistance.
- Cutting Clearance (If Necessary): In some cases, the existing attic access may be larger than the opening required for the new attic ladder. If this is the case, use a saw to carefully trim the edges of the access to match the size of the new opening. Take precise measurements to ensure a proper fit.
- Lower the Existing Access: With the fasteners and hinges removed, carefully lower the existing attic access to the ground. If it’s too large or heavy to handle on your own, ask a helper to assist you.
- Set Aside or Dispose of the Old Access: Depending on its condition, you may choose to keep the old attic access for future use or dispose of it appropriately. If disposing, check your local regulations for the proper procedure.
Once you’ve successfully removed the existing attic access, you can proceed to the next step: installing the frame for your new attic ladder.
Note: If you’re installing a new attic ladder in a brand-new opening, skip this step and proceed directly to the installation of the attic ladder frame.
Step 7: Install the Attic Ladder Frame
With the existing attic access removed, it’s time to install the frame for your new attic ladder. The frame provides structural support and a secure platform for the ladder to attach to. Follow these steps to properly install the attic ladder frame:
- Refer to the manufacturer’s instructions: Before starting the installation, carefully review the manufacturer’s instructions specific to your attic ladder kit. This will ensure that you understand the recommended installation process and any specific requirements.
- Position the frame: Place the attic ladder frame into the opening you prepared earlier. Ensure that it is centered and aligned properly. Use a level to make sure the frame is perfectly horizontal and adjust as necessary.
- Secure the frame: Depending on the manufacturer’s instructions, use appropriate screws or nails to secure the frame to the ceiling joists or support beams. Be sure to follow the recommended spacing and fastening guidelines for a secure installation.
- Check for stability: Once the frame is secured, check for any movement or wobbling. The frame should be stable and firmly in place. Make any necessary adjustments or additional fastenings to ensure stability.
- Verify the frame height: Double-check the height of the frame to ensure it matches the recommended height mentioned in the manufacturer’s instructions. This will ensure proper alignment and operation of the ladder later.
- Inspect for gaps: Inspect the edges of the frame to ensure there are no gaps or uneven surfaces. If necessary, use trim or filler material recommended by the manufacturer to improve the appearance and seal any gaps.
- Follow any additional manufacturer recommendations: Some attic ladder kits may have additional steps or specific requirements for installing the frame. Make sure to review the instructions carefully and follow any additional recommendations provided.
By following these steps, you’ll successfully install the frame for your attic ladder. The frame provides a sturdy foundation for the ladder and ensures a secure and stable installation. With the frame in place, you can move on to the next step: attaching the ladder and hardware.
Step 8: Attach the Ladder and Hardware
With the attic ladder frame securely installed, it’s time to attach the ladder and hardware to complete the installation process. Follow these steps to properly attach the ladder and hardware:
- Gather the necessary hardware: Refer to the manufacturer’s instructions to identify the specific hardware needed for attaching the ladder. This may include hinges, brackets, bolts, and screws. Make sure you have all the required hardware readily available.
- Position the ladder: Carefully position the attic ladder within the frame, ensuring that it aligns properly with the frame and the opening. Take caution not to damage the ladder or the newly installed frame during this process.
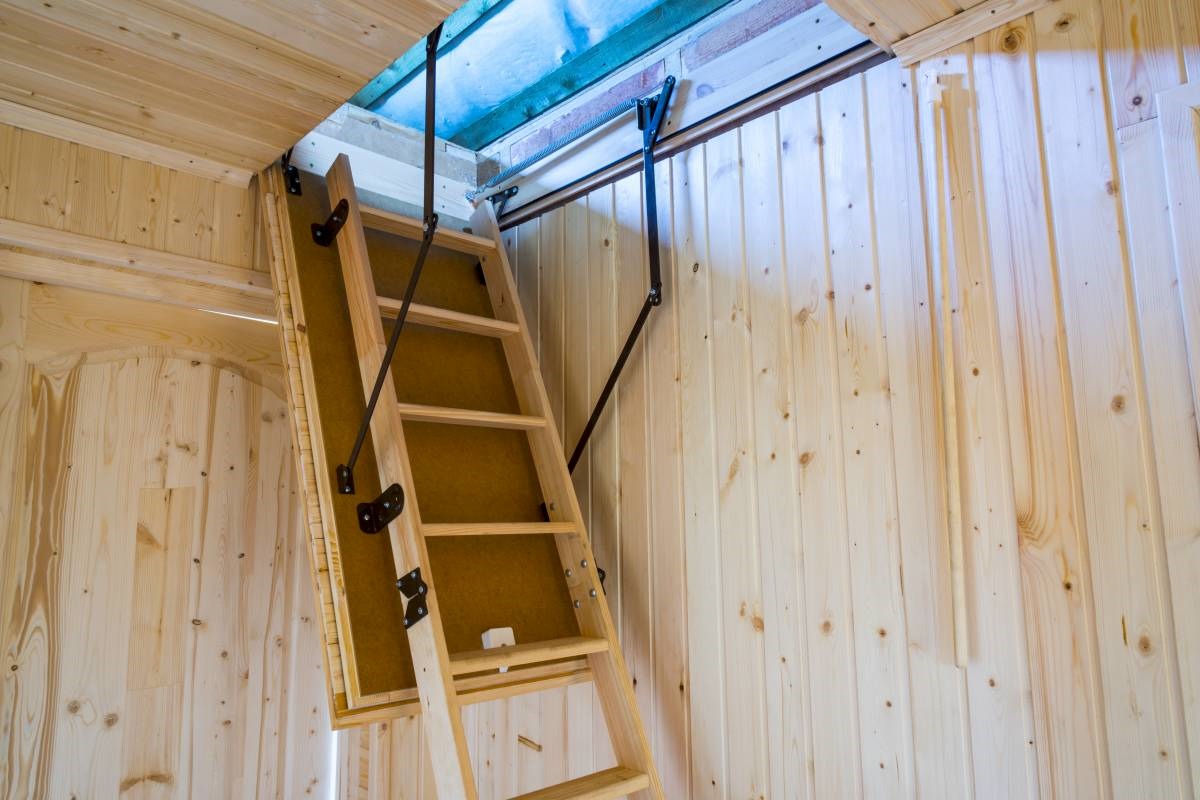
- Attach the hinges: Following the manufacturer’s instructions, attach the hinges to both the ladder and the frame. Use the recommended screws or bolts and ensure they are tightened securely. Hinges play a crucial role in the functionality and stability of the ladder, so double-check their alignment and installation.
- Check smooth operation: Test the ladder to ensure it opens and closes smoothly. Check that there are no obstructions or interference that hinder its operation. Make any necessary adjustments or tighten any loose components to ensure proper functioning.
- Secure the ladder: Once you are satisfied with the alignment and operation of the ladder, secure it in place according to the manufacturer’s instructions. This may involve using additional hardware such as brackets or locks to prevent accidental opening or provide added stability.
- Inspect the ladder and hardware: Give the ladder and hardware a thorough inspection to ensure everything is securely in place. Check for any loose screws, bolts, or other components and tighten as necessary.
- Test the ladder: Finally, test the ladder again to ensure it opens and closes smoothly and securely. Ascend and descend the ladder to test its stability and ensure that it can bear your weight.
Following these steps will ensure a proper attachment of the ladder and hardware, ensuring a safe and reliable attic ladder installation. With the ladder and hardware securely in place, you’re almost done. The next step involves testing and adjusting the operation of the ladder.
Read more: How To Close Attic Ladder
Step 9: Test and Adjust the Operation of the Ladder
Once you have attached the ladder and hardware, it’s essential to test and adjust its operation to ensure it functions smoothly and securely. Follow these steps to properly test and adjust the operation of the ladder:
- Perform a visual inspection: Take a close look at the ladder and its components to check for any visible defects or damages. Look for any loose or missing screws, bent rails, or any issues that may affect the ladder’s performance.
- Double-check the alignment: Verify that the ladder is aligned properly within the frame. Ensure that it sits securely and is centered without any wobbling or misalignment.
- Open and close the ladder: Test the ladder by opening and closing it multiple times to assess its smoothness and stability. Pay attention to any unusual noises or resistance during the operation.
- Check ladder clearance: While opening and closing the ladder, make sure it has enough clearance within the attic space. Ensure there are no obstructions such as pipes, electrical wires, or debris that hinder the ladder’s ability to fully extend and retract.
- Ascend and descend the ladder: Safely climb up and down the ladder to determine its stability and comfort. Assess whether the ladder feels secure and can support your weight without any noticeable movement or instability.
- Adjust ladder length (if applicable): Some attic ladders offer adjustable length settings. If your ladder has this feature, make sure to set it to the appropriate length based on the height of your ceiling or attic access point.
- Make necessary adjustments: If you encounter any issues or concerns during the testing process, make the necessary adjustments. This may involve tightening loose screws, lubricating hinges, or addressing any other minor issues that affect the ladder’s performance.
- Test multiple times: Test the ladder multiple times to ensure consistent performance. This will give you confidence in its operation and ensure that any adjustments made have been effective.
By thoroughly testing and adjusting the operation of the ladder, you can ensure that it functions smoothly, securely, and safely. It’s important to address any issues or concerns before proceeding to the final step: securing the ladder and finishing the attic opening.
Step 10: Secure the Ladder and Finish the Opening
With the ladder tested and adjusted, it’s time to secure it in place and complete the installation by finishing the opening. Follow these steps to properly secure the ladder and finish the attic opening:
- Refer to the manufacturer’s instructions: Before proceeding, review the manufacturer’s instructions for any specific recommendations or requirements for securing the ladder and finishing the opening. Adhere to their guidelines to ensure a proper installation.
- Secure the ladder to the frame: Depending on the specific ladder model and manufacturer’s instructions, use the recommended brackets, screws, or other hardware to secure the ladder to the frame. Follow the manufacturer’s instructions carefully to ensure a secure attachment.
- Check for stability: Once secured, check the ladder for any signs of movement or instability. Apply pressure and shake the ladder gently to ensure it remains steady and firmly in place. Make any necessary adjustments or additional fastenings if needed.
- Trim and finish the opening: If needed, use appropriate trim or molding suggested by the manufacturer to provide a finished and aesthetically pleasing look to the attic opening. Install the trim or molding according to the provided instructions, ensuring a seamless integration with the surrounding ceiling.
- Clean up the work area: Remove any debris, tools, or equipment from the installation area. Clean up any dust or waste materials generated during the installation process.
- Securely close the attic access: If your attic ladder includes a hatch door or cover, follow the manufacturer’s instructions to securely close and latch it. Ensure it is properly aligned and provides a tight seal to prevent any drafts or heat loss.
- Inspect the installation: Take a final look at the installation to ensure everything is in place and meets your satisfaction. Check for any visible issues or loose components and address them promptly.
- Document warranty information: Keep any warranty information, receipts, or documentation provided by the manufacturer in a safe place. This will come in handy if you need to access warranty services or support in the future.
By following these steps, you’ll complete the installation of your attic ladder and ensure that it is securely in place. Take a moment to appreciate your hard work and the accessibility to your attic space that you’ve now achieved.
Remember to keep the manufacturer’s instructions and any related documentation for future reference. If you have any concerns or encounter issues with the ladder’s performance, refer to the manufacturer’s support or contact a professional for assistance.
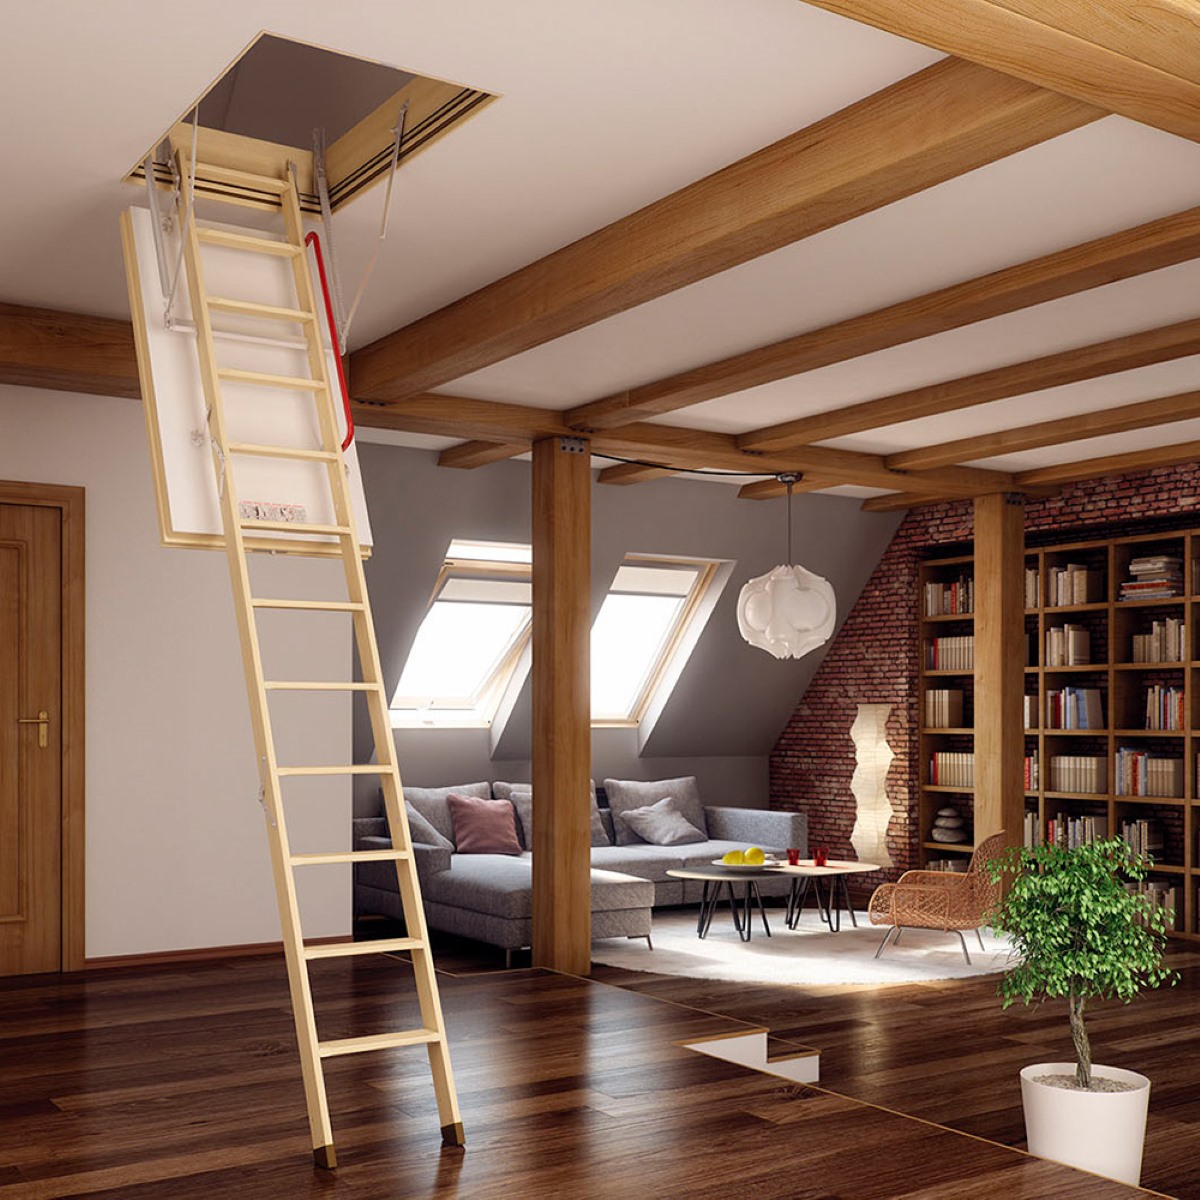
Enjoy your newly installed attic ladder and the convenience it brings to accessing your attic space!
Note: Ensure that you comply with local building codes and regulations when installing an attic ladder. Consult with a professional if you have any doubts or require additional assistance.
Conclusion
Installing an attic ladder can greatly enhance the functionality and accessibility of your attic space. With the step-by-step guide provided in this article, you should now feel confident in tackling the installation process. By following the manufacturer’s instructions, taking necessary safety precautions, and carefully completing each step, you can successfully install an attic ladder in your home.
From measuring and preparing the opening to securing the ladder and finishing the attic opening, each step is essential in ensuring a safe and reliable installation. By gathering the necessary tools, reading and understanding the manufacturer’s instructions, and testing the ladder for smooth operation, you can create a secure and convenient access point to your attic space.
Remember, it’s important to prioritize safety throughout the entire installation process. Always wear protective gear, use the appropriate tools, and work in a well-lit area. Take breaks as needed and ask for assistance when necessary, especially when handling heavy or awkward components.
With your new attic ladder in place, you can now unlock the potential of your attic, whether it’s for additional storage space, a home office, or even a cozy reading nook. Enjoy the convenience and versatility that your attic space now provides.
Lastly, keep in mind that this guide serves as a general overview of the attic ladder installation process. Be sure to consult the specific instructions provided by the manufacturer of your chosen attic ladder kit for the most accurate and detailed guidance.
Now, go ahead and transform your attic into a valuable and accessible part of your home with your newly installed attic ladder!
Frequently Asked Questions about How To Install An Attic Ladder
Was this page helpful?
At Storables.com, we guarantee accurate and reliable information. Our content, validated by Expert Board Contributors, is crafted following stringent Editorial Policies. We're committed to providing you with well-researched, expert-backed insights for all your informational needs.


0 thoughts on “How To Install An Attic Ladder”