Articles
How To Install Rain-Go Gutters on Video
Modified: January 23, 2024
Learn how to install Raingo gutters with this helpful video guide. Step-by-step instructions and tips provided in this articles.
(Many of the links in this article redirect to a specific reviewed product. Your purchase of these products through affiliate links helps to generate commission for Storables.com, at no extra cost. Learn more)
Introduction
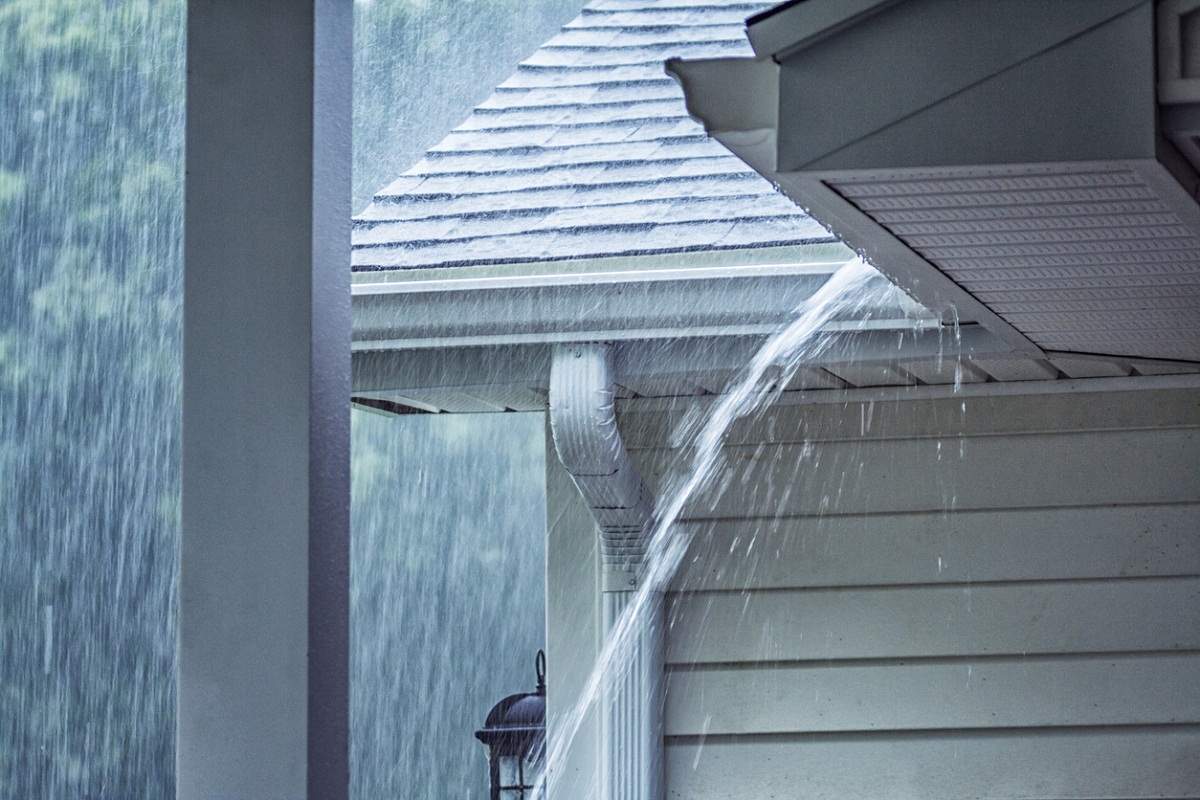
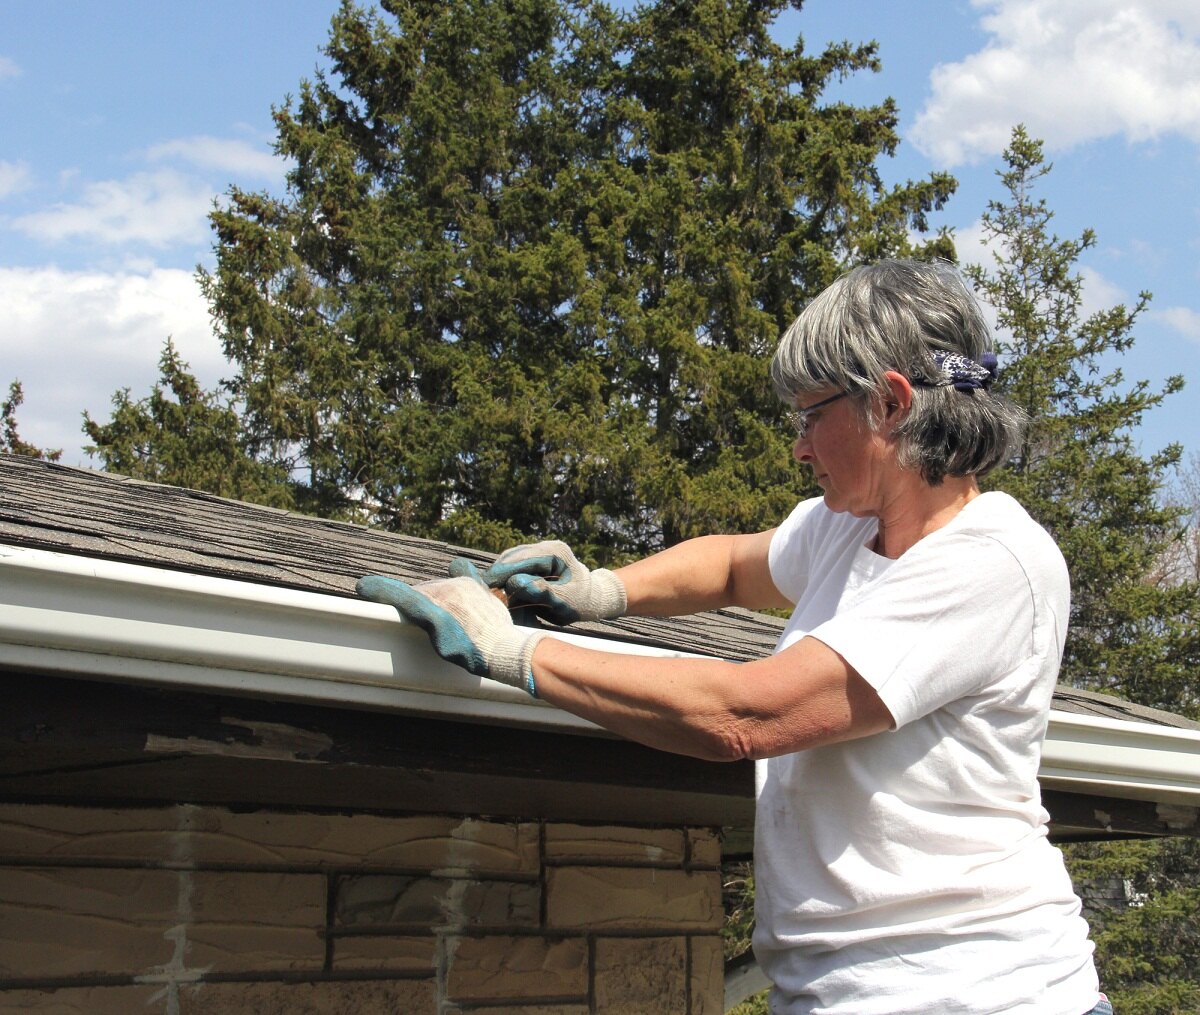
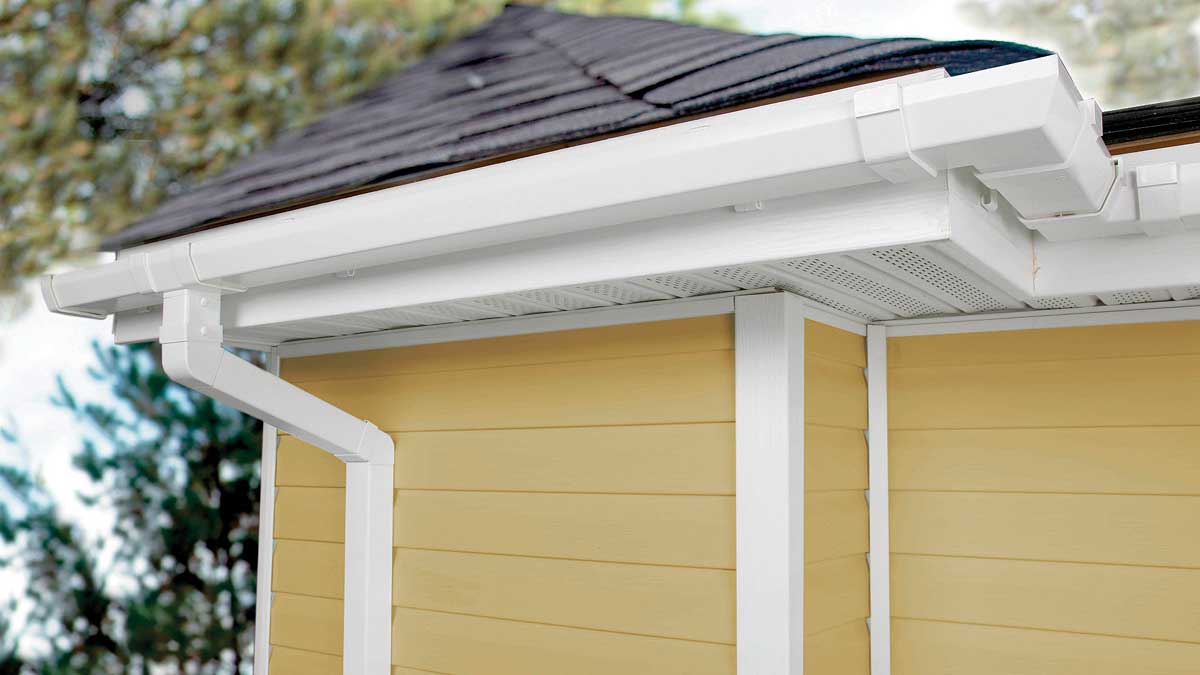
Welcome to our comprehensive guide on how to install Raingo gutters. If you’re looking to protect your home from rainwater damage and improve its overall drainage system, installing Raingo gutters is a great solution. Raingo is a popular brand known for its high-quality gutters that are easy to install and require minimal maintenance.
In this article, we will walk you through the step-by-step process of installing Raingo gutters. Whether you’re a seasoned DIY enthusiast or a beginner, we’ll provide you with all the information you need to successfully complete this project. By the end of this guide, you’ll have a functional and efficient gutter system that will help protect your home’s foundation, walls, and landscaping from rainwater runoff.
Before we dive into the installation process, it’s important to note that safety should always be your top priority. Make sure to wear appropriate protective gear, including gloves and safety goggles, and use a stable ladder when working at heights. If you’re not comfortable with any step of the installation process or feel unsure about your abilities, it’s best to consult a professional gutter installer.
Now, let’s get started with the first step – gathering the necessary tools and materials.
Key Takeaways:
- Installing Raingo gutters is a manageable DIY project that can protect your home from rainwater damage. Proper planning, preparation, and testing are crucial for a successful and reliable gutter system.
- Safety should always be a priority during gutter installation. Gathering the right tools, measuring accurately, and testing the system after installation are essential steps for a functional and efficient gutter system.
Read more: How To Install Rain Gutters On Mobile Home
Step 1: Gather the necessary tools and materials
Before you begin the installation process, it’s important to gather all the tools and materials you’ll need. Having everything prepared beforehand will ensure a smooth and efficient installation. Here’s a list of the essential tools and materials you’ll need for installing Raingo gutters:
- Gutter sections and fittings
- Gutter hangers and screws
- Downspouts and elbows
- Gutter sealant
- Hacksaw or tin snips
- Measuring tape
- Pencil or marker
- Level
- Drill with screwdriver bit
- Ladder
- Safety goggles and gloves
Make sure to purchase the correct amount and size of gutter sections and fittings based on the measurements of your house. It’s a good idea to have some extra sections and fittings on hand in case you need them during the installation.
Additionally, check if your house requires any specific accessories such as gutter guards or splash blocks. These can help enhance the functionality and efficiency of your gutter system.
Once you have gathered all the necessary tools and materials, you’ll be ready to move on to the next step – measuring and planning the installation.
Step 2: Measure and plan the installation
Accurate measurements and careful planning are crucial for a successful gutter installation. Before you start attaching any gutters, take the time to measure your house and plan out the best layout for your gutter system. Here’s how to do it:
- Start by measuring the length of each side of your house where the gutters will be installed. Use a measuring tape to get precise measurements, and note them down.
- Next, measure the height of your house from the ground to the eaves. This will determine the length of the downspouts.
- Take into consideration any obstacles or features that may affect the gutter installation, such as windows, doors, or landscaping elements. Make a note of these measurements and evaluate how they will impact the placement of the gutters.
- Using the measurements and layout of your house, plan out the placement of the gutter sections and fittings. Consider the slope of the roof and the direction of water flow to ensure proper drainage.
- Use a pencil or marker to mark the positions where the mounting brackets or hangers will be installed. These brackets should be placed around 24 to 36 inches apart, providing stable support for the gutters.
- Double-check your measurements and layout before proceeding to the next step. It’s better to spend extra time at this stage to avoid any mistakes later on.
Once you have completed the measuring and planning process, you’ll be ready to move on to the next step – preparing the area for gutter installation.
Step 3: Prepare the area
Before you start installing the gutters, it is essential to properly prepare the area to ensure a smooth installation process and optimal functionality of your gutter system. Here are the necessary steps to prepare the area:
- Clear the work area: Remove any debris, leaves, or twigs from the roof and gutter area. This will prevent any obstructions or clogs during installation.
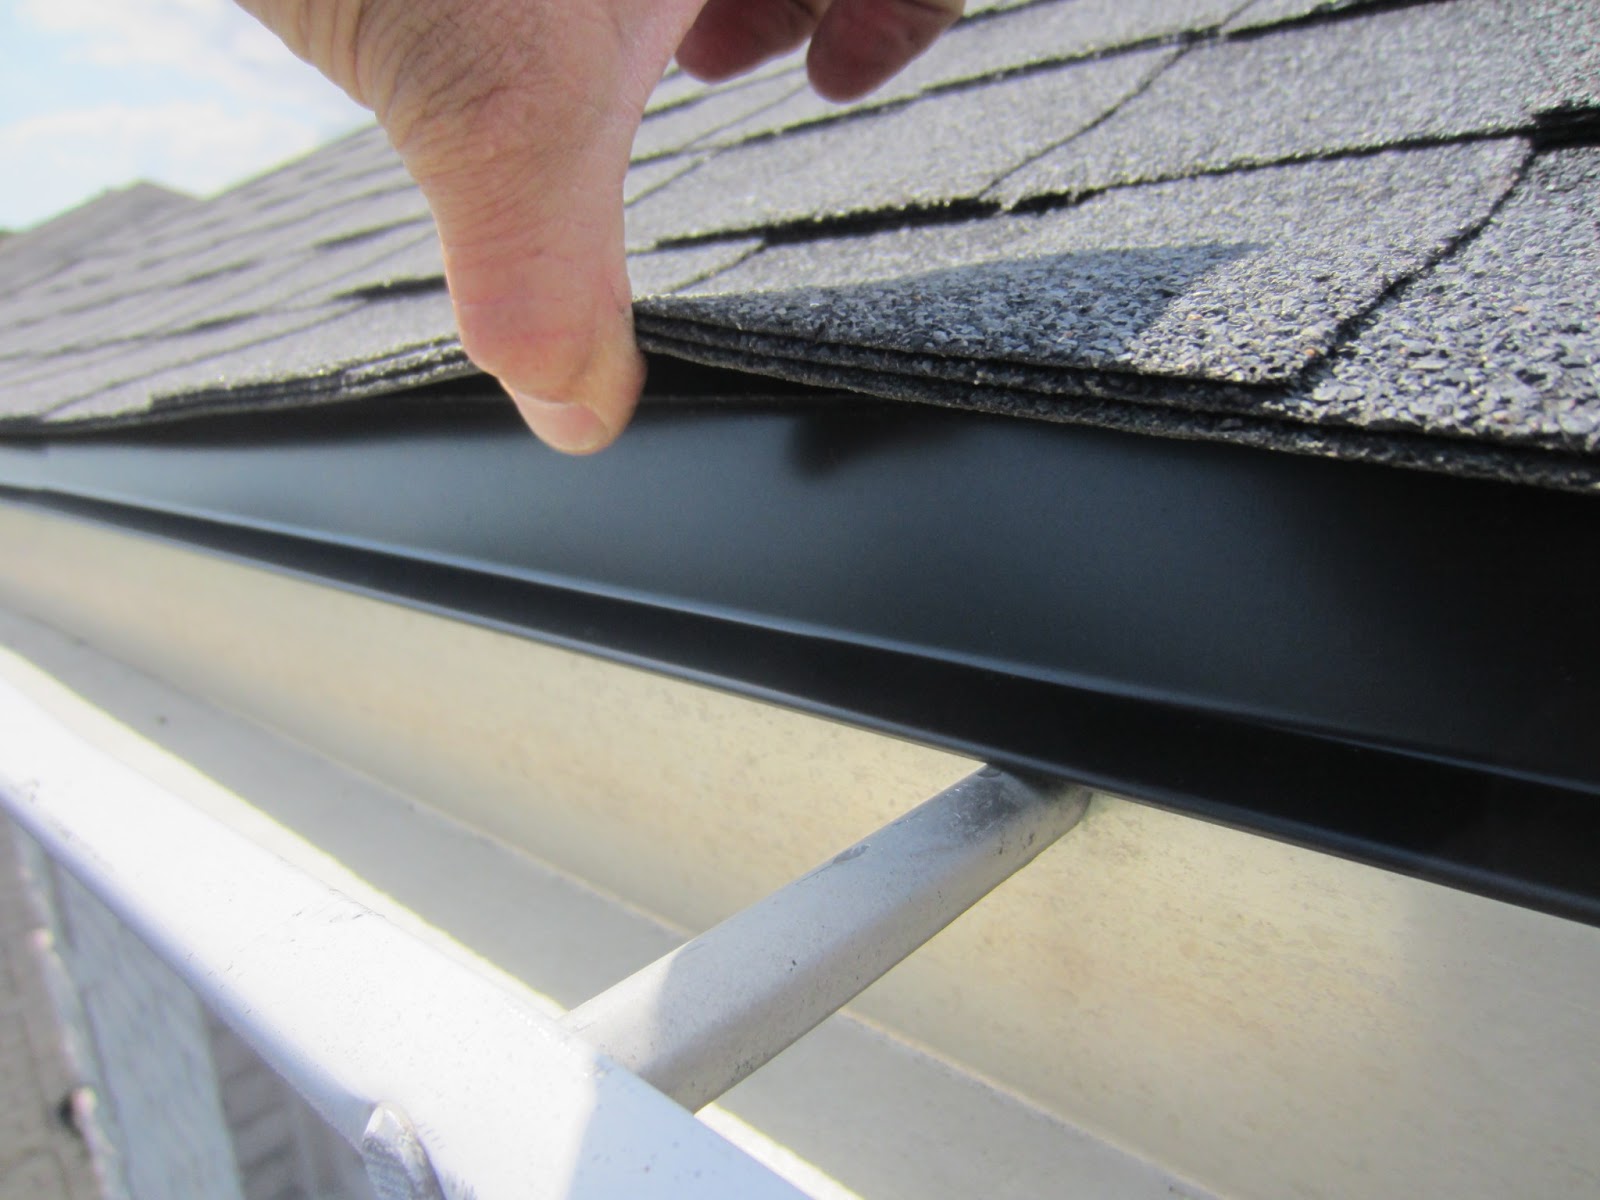
- Inspect the roof and fascia board: Check for any signs of damage or rot on the roof and fascia board. Replace or repair any damaged sections to ensure a solid foundation for the gutters.
- Install drip edge flashing: Drip edge flashing is a metal strip that helps redirect water away from the fascia board. Install it beneath the roof shingles along the eaves to protect the wood from water damage.
- Apply gutter sealant: Apply a generous amount of gutter sealant to all joints and connections of the gutter sections and fittings. This will create a watertight seal and prevent leaks.
- Secure gutter hangers: Install the gutter hangers or brackets along the fascia board using screws or nails. Make sure they are evenly spaced and securely attached to provide adequate support for the gutters.
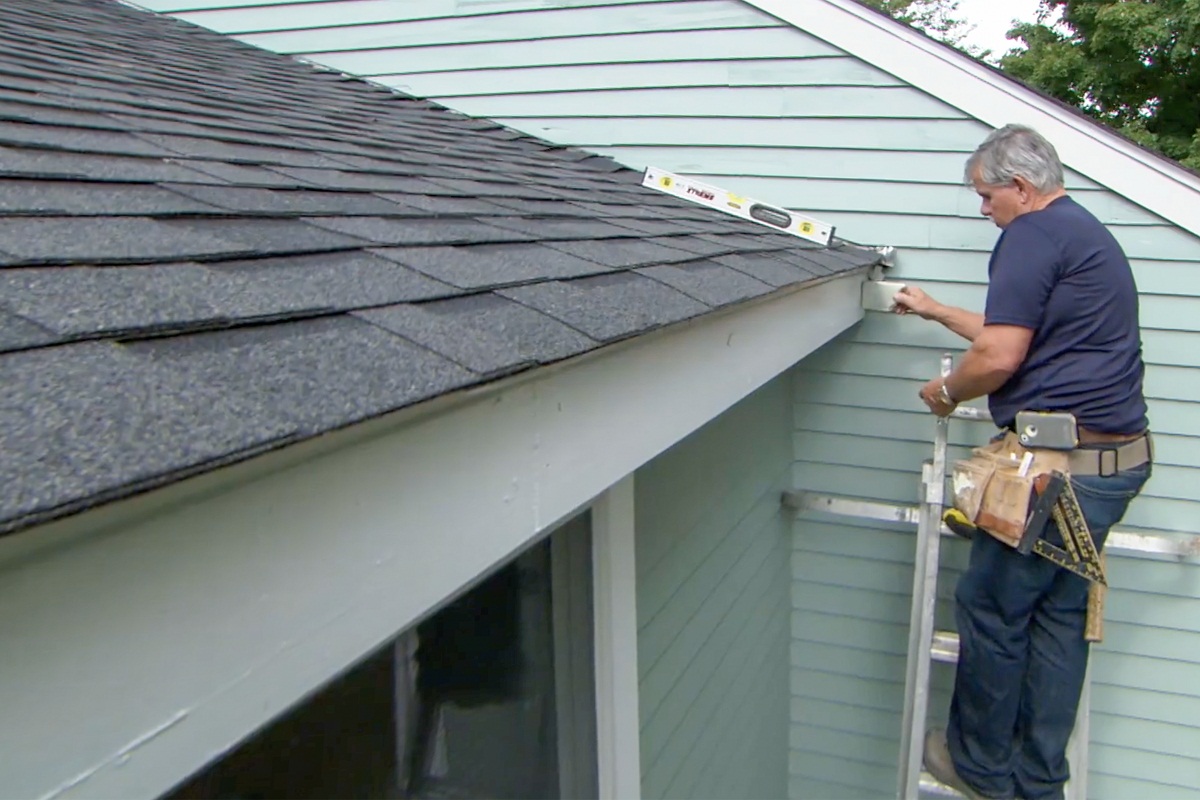
- Ensure proper slope: It’s important to ensure that the gutters have a slight slope towards the downspouts for proper water drainage. Use a level to check the slope and make any adjustments if necessary.
By properly preparing the area, you will lay the foundation for a successful installation and long-lasting gutter system. Once you have completed the preparation steps, you’ll be ready to move on to the next step – installing the gutter hangers.
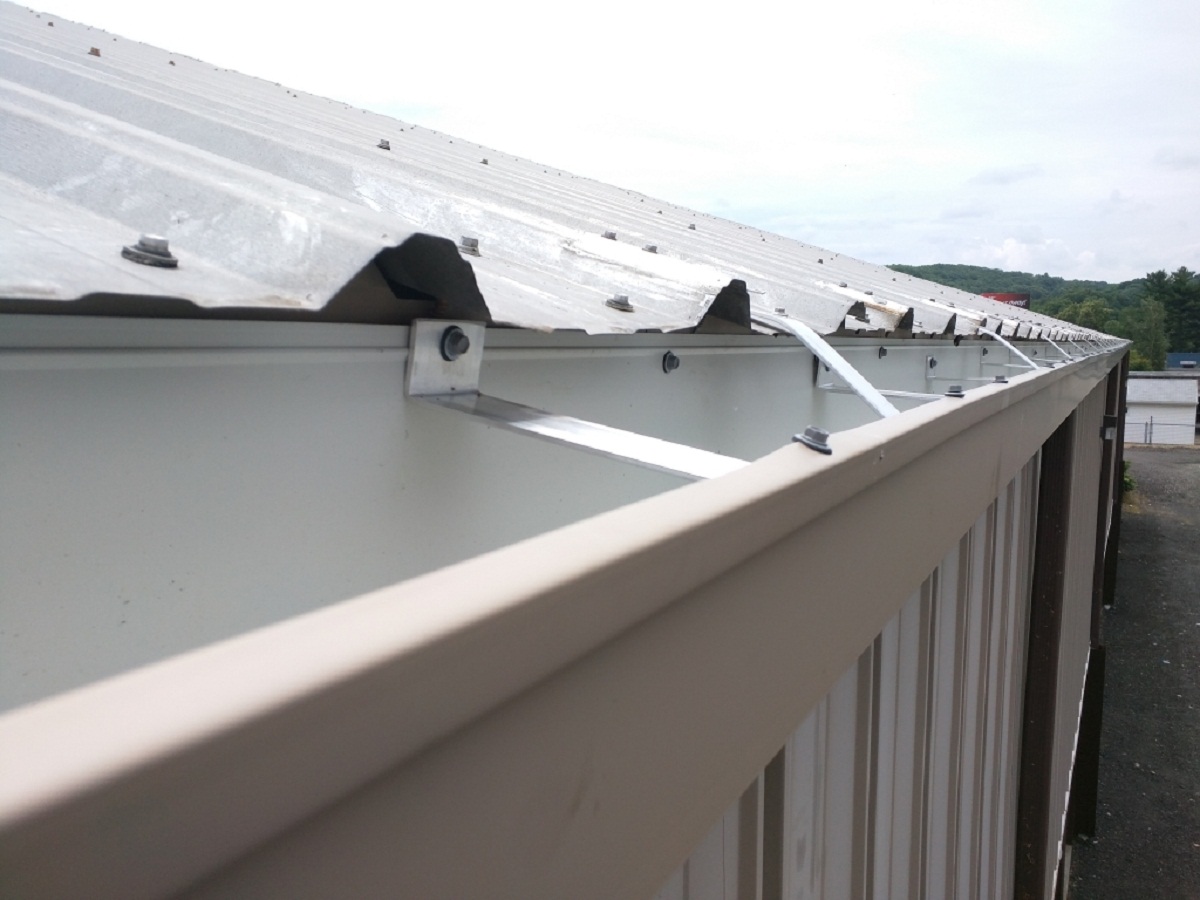
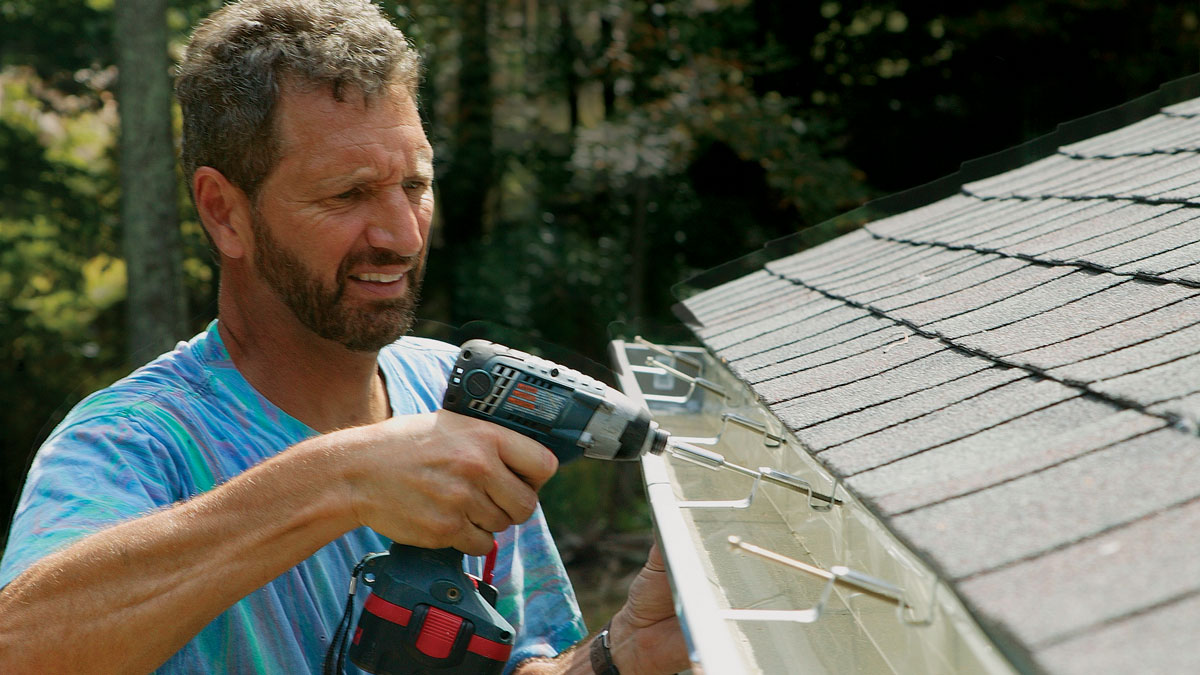
Step 4: Install the gutter hangers
Installing gutter hangers is an important step in ensuring the stability and proper functioning of your gutter system. These hangers provide support and secure the gutters in place along the fascia board. Here’s how to install gutter hangers:
- Start at one end of the gutter system. Position the first gutter hanger about 6 inches from the corner of the house.
- Use a pencil to mark the screw holes on the fascia board through the pre-drilled holes in the gutter hanger. Repeat this step for every hanger placement along the fascia board.
- Drill pilot holes into the fascia board at the marked spots. Make sure the holes are slightly smaller than the screws you will be using.
- Position the gutter hanger over the pilot holes and secure it to the fascia board using the provided screws. Repeat this process for each gutter hanger along the entire length of the fascia board.
- Double-check the alignment of the gutter hangers to ensure that they are level and evenly spaced. Adjust as needed.
- Once all the gutter hangers are securely installed, test their stability by gently pulling on the gutters. They should be securely attached and not come loose.
Installing the gutter hangers is essential for supporting the weight of the gutters and ensuring their durability. Once this step is complete, you’ll be ready to move on to the next step – assembling the gutters.
When installing Raingo gutters, make sure to properly slope the gutters towards the downspouts to ensure proper drainage and prevent water buildup.
Read more: What Do I Need To Install Rain Gutters
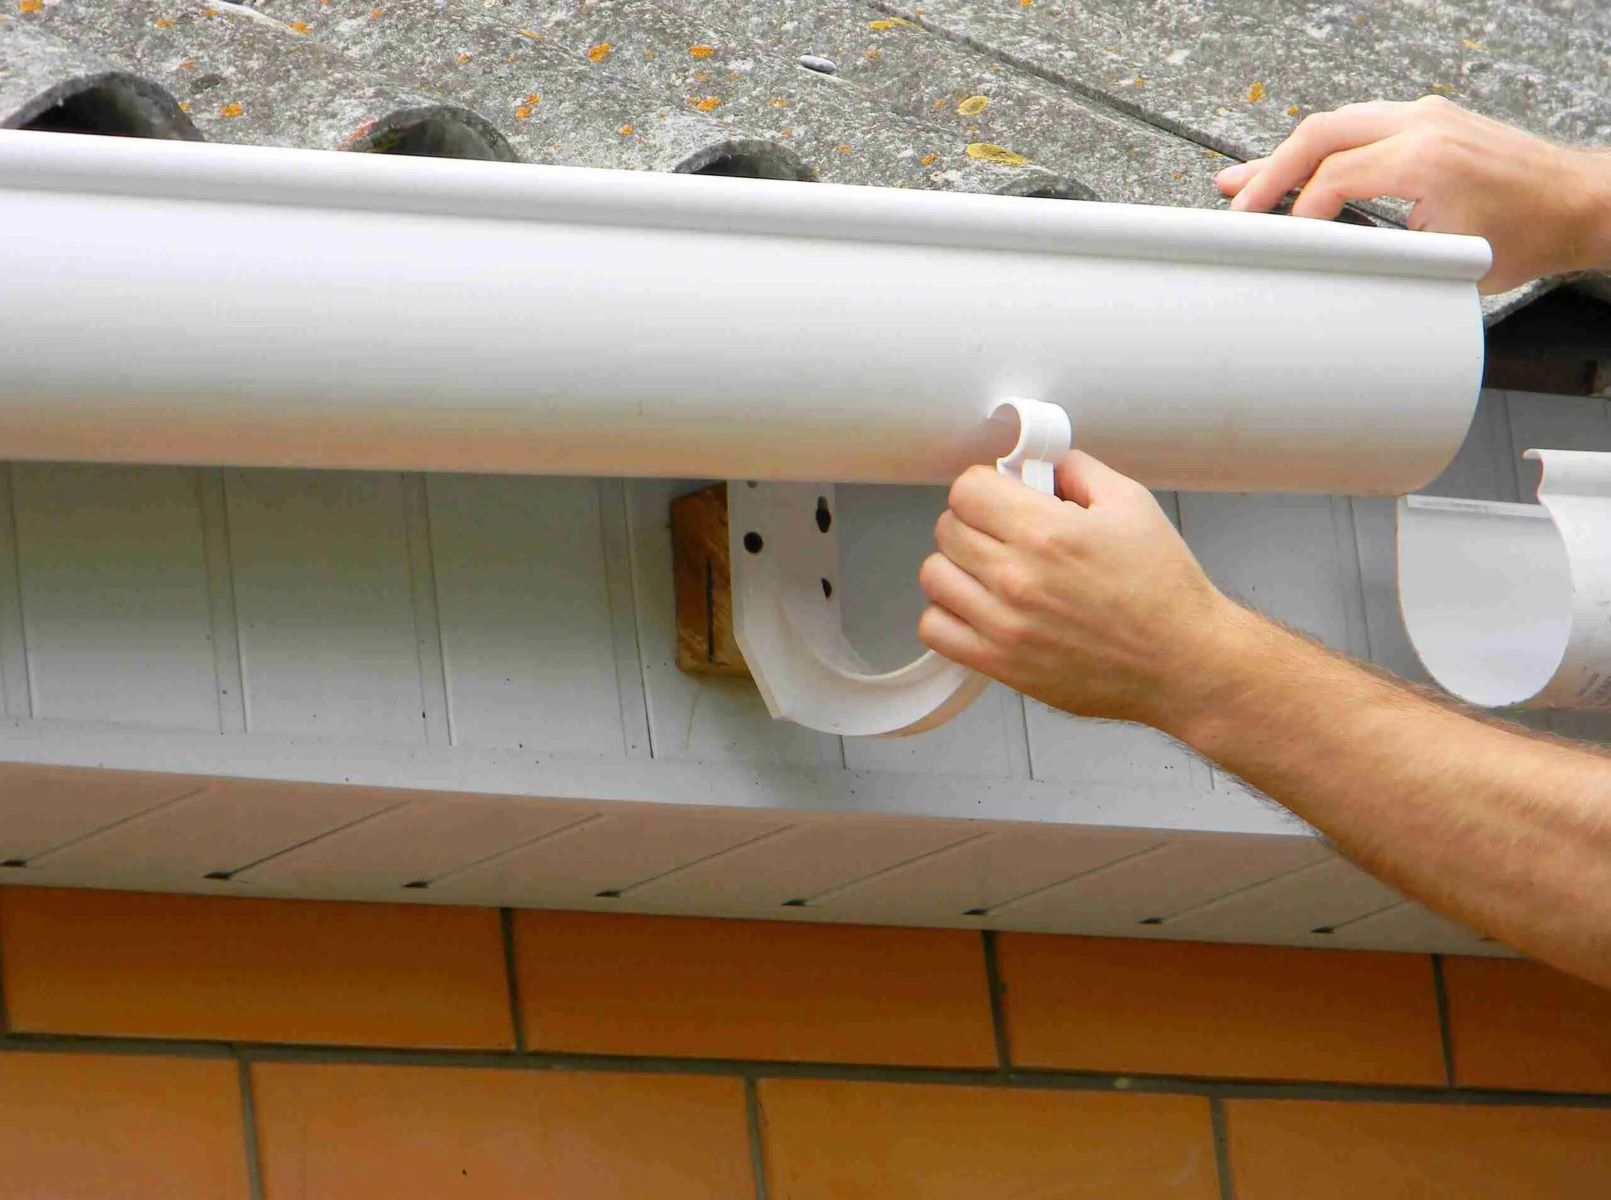
Step 5: Assemble the gutters
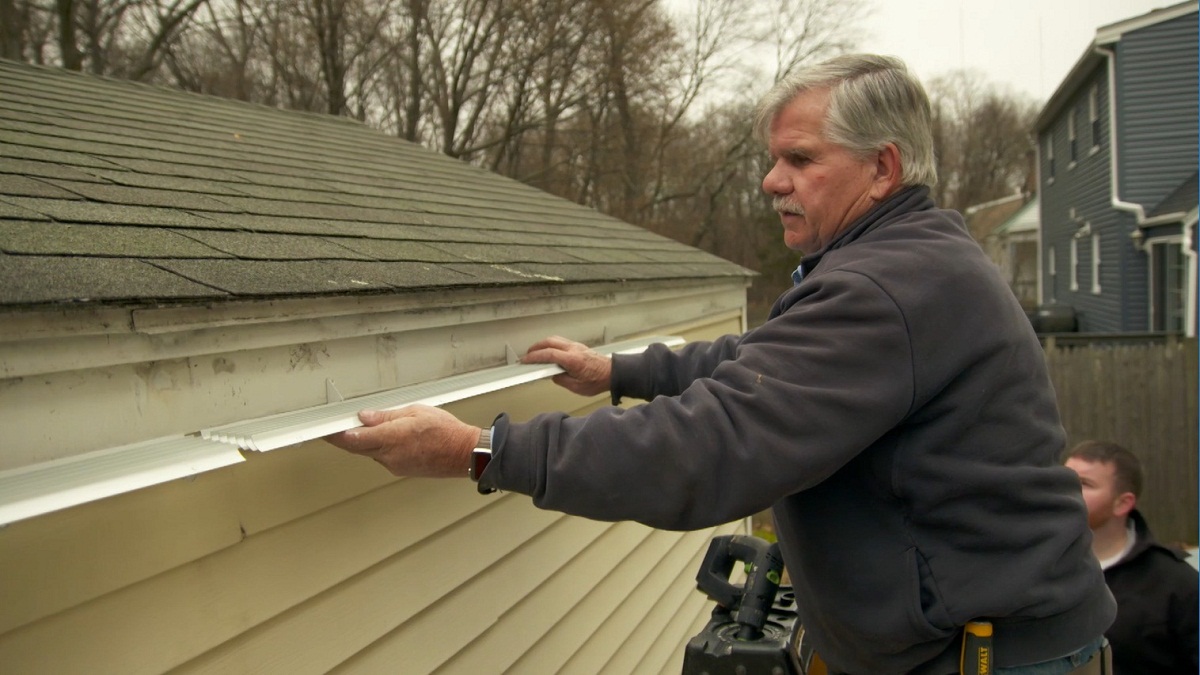
Now that the gutter hangers are securely in place, it’s time to assemble the gutters. This step involves connecting the gutter sections to create a continuous channel that will collect and direct rainwater away from your home. Here’s how to assemble the gutters:
- Start at one end of the gutter system and position a gutter section against the previously installed gutter hangers.
- Slide one end of the gutter section into the hanger, making sure it fits snugly and securely.
- Align the other end of the gutter section with the next section, overlapping them by about 2 inches.
- Using self-tapping screws or rivets, attach the overlapping ends of the gutter sections together. Place the screws or rivets every 2 to 3 feet along the joint, ensuring a tight and secure connection.
- Continue this process of sliding one end into the hanger, aligning, and securing the gutter sections until you reach the opposite end of the gutter system.
- Make sure each gutter section is level and properly aligned with the preceding section. Use a level to check and make any adjustments if needed.
- Inspect the joints and connections for any gaps or leaks. Apply gutter sealant to seal any gaps and ensure a water-tight seal.
- Trim any excess length from the last gutter section using a hacksaw or tin snips to fit it precisely.
By following these steps, you will successfully assemble the gutters into a continuous channel that will effectively collect rainwater. Once the gutters are assembled, you can proceed to the next step – attaching downspouts and elbows.
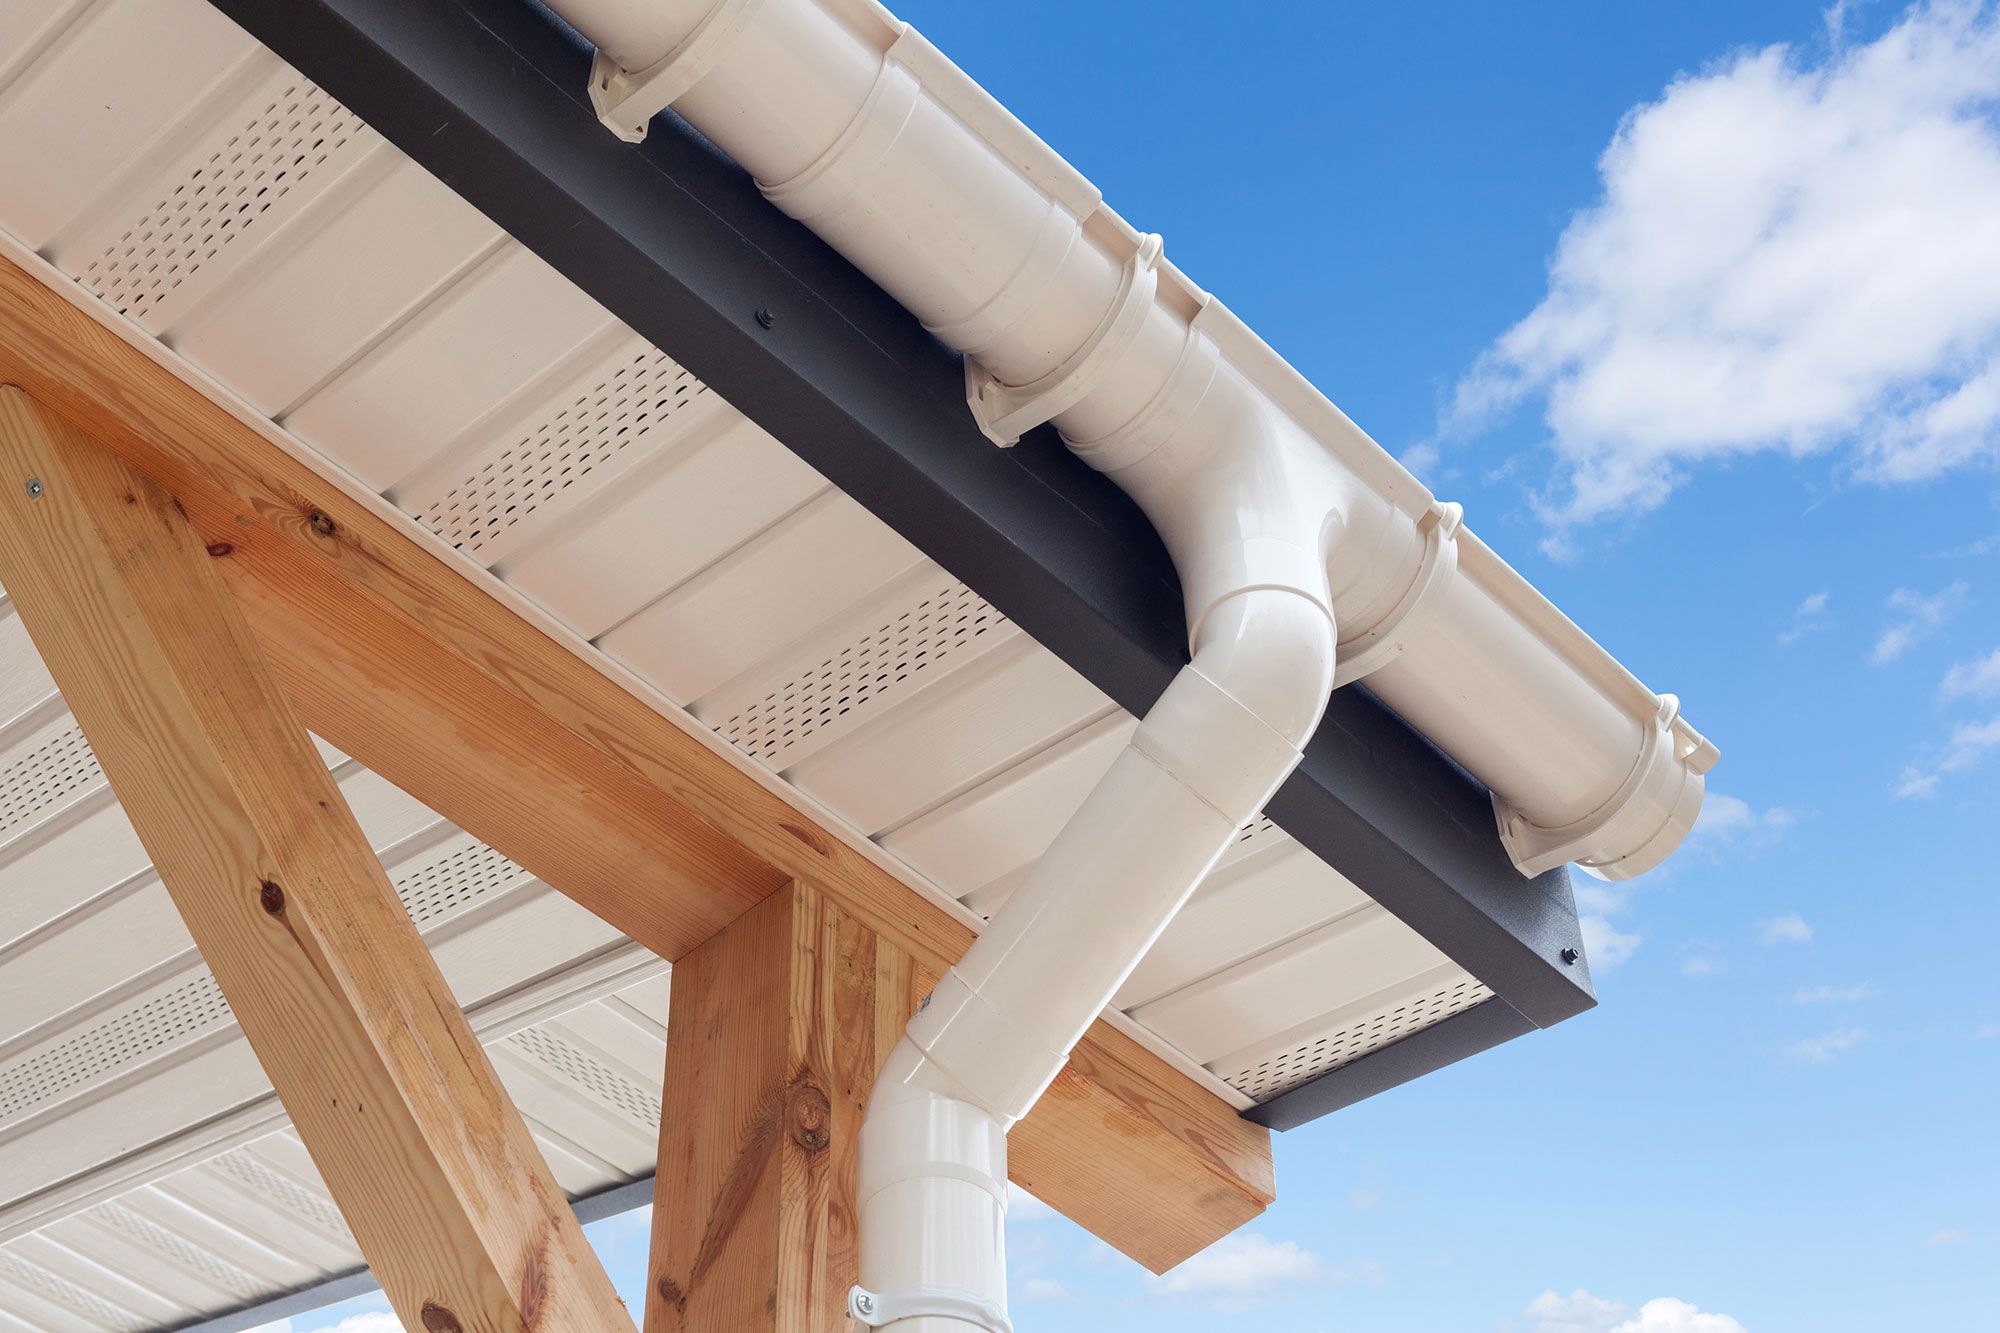
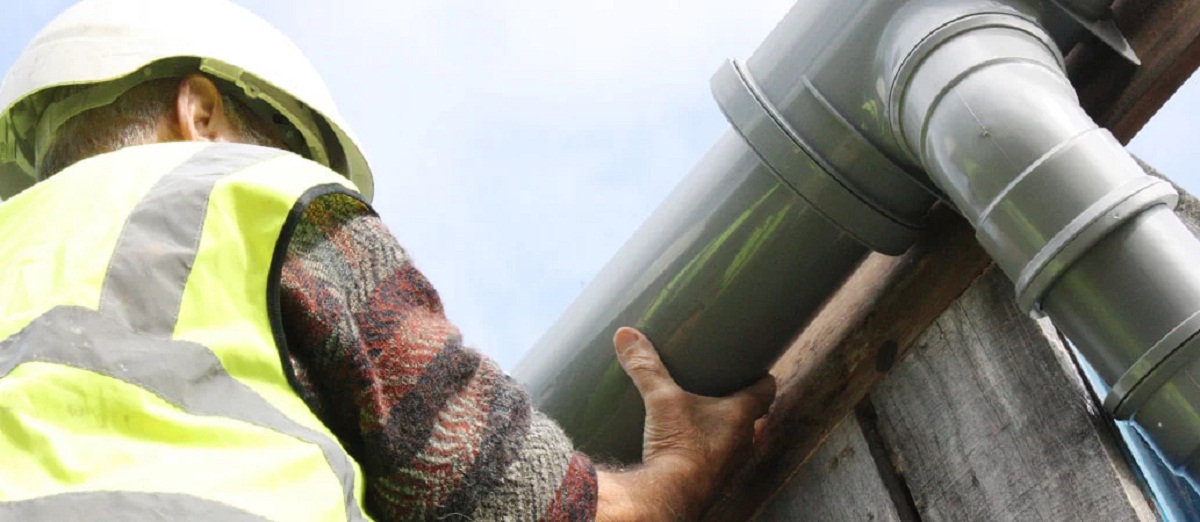
Step 6: Attach downspouts and elbows
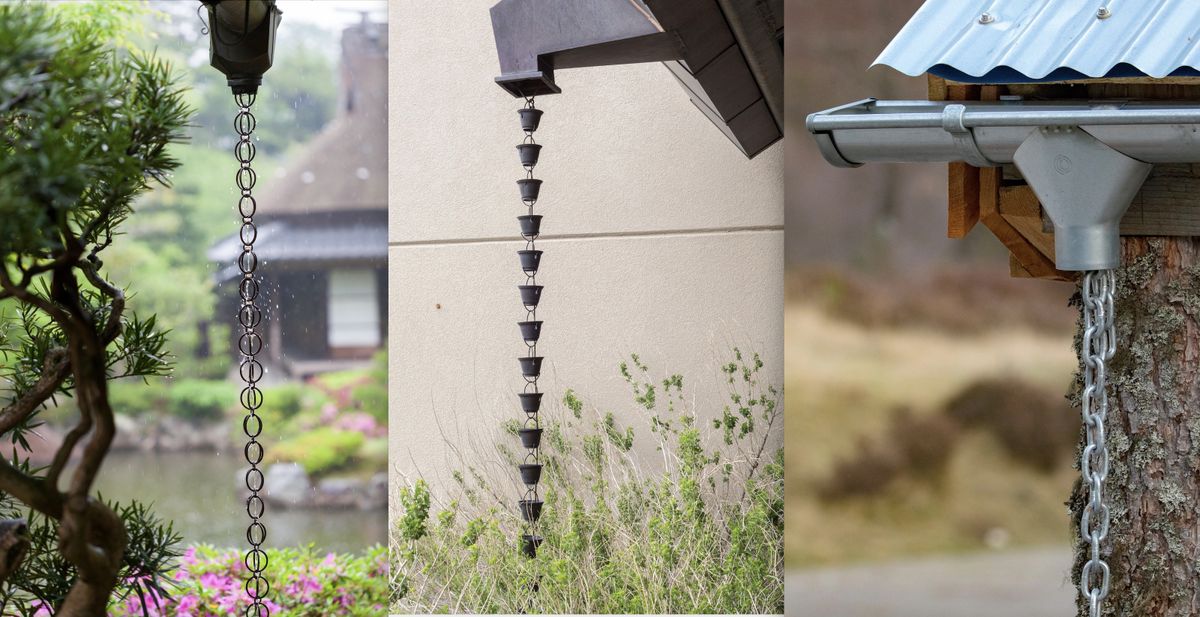
After assembling the gutters, it’s time to attach the downspouts and elbows to complete the gutter system. The downspouts are responsible for directing the water collected in the gutters away from your home’s foundation. Here’s how to attach downspouts and elbows:
- Start by measuring the length needed for each downspout to reach from the bottom of the gutter to the ground. Use a hacksaw or tin snips to cut the downspout to the appropriate length.
- Attach a downspout elbow to the bottom end of each downspout. This will redirect the water away from the wall and towards a desired location.
- Mount the downspout assembly onto the side of the house using downspout brackets or straps. Make sure to secure the downspout firmly in place to prevent it from shifting or falling off.
- If the downspout needs to navigate around any obstacles, such as corners or obstructions, attach additional downspout elbows or extensions as needed. These will allow the downspout to follow a desired path while still directing water away from your home.
- Ensure that the downspouts slope downward towards the ground to encourage water flow. Use a level to check the alignment and make adjustments if necessary.
- Secure the downspouts and elbows together using screws or rivets to create a sturdy and leak-free connection. Apply gutter sealant around the joints to prevent any water leakage.
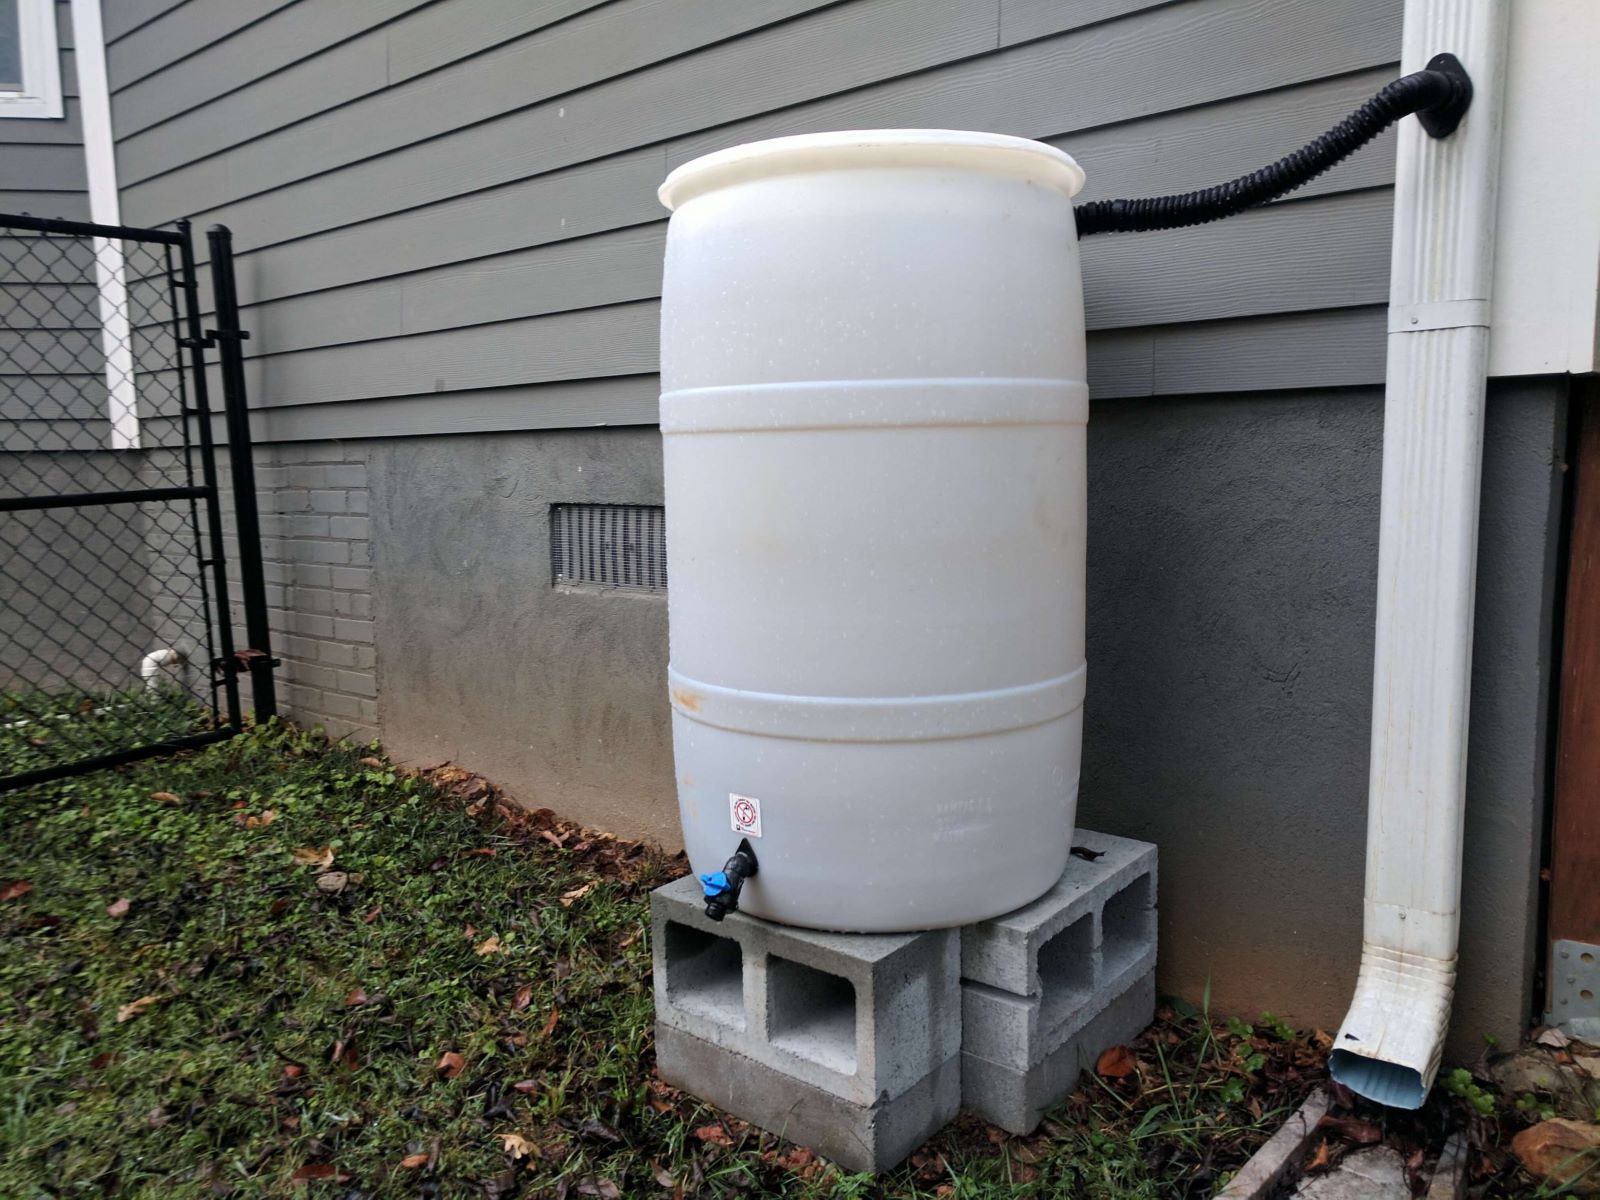
- Finally, position splash blocks or downspout extensions at the bottom of each downspout. These will help to further direct the water away from the foundation of your home and prevent erosion.
Attaching the downspouts and elbows is a critical step in completing the gutter system installation. Properly installed and secured downspouts will effectively direct rainwater away from your home, protecting its foundation. Once the downspouts and elbows are attached, you can proceed to the final step – testing the gutter system.
Step 7: Test the gutter system
After the installation of the gutters, gutter hangers, and the attachment of downspouts and elbows, it’s crucial to test the gutter system to ensure its proper functioning. Testing the system will help you identify any potential issues or areas that require adjustments. Here’s how to test the gutter system:
- Wait for a day with forecasted rain or use a garden hose to simulate rainwater.
- Observe the gutters as the water flows through them. Check for any signs of leakage, including drips or streams of water escaping from the gutters.
- Inspect the downspouts to ensure that water is being effectively directed away from the foundation of your home. Look for any obstructions or clogs that may hinder proper water flow.
- Walk around your home and examine the areas where water should be directed away from the foundation. Make sure the splash blocks or downspout extensions are functioning correctly and diverting water away from vulnerable areas.
- If you notice any issues or areas that require adjustment, make the necessary changes. This may involve tightening or repositioning gutter hangers, sealing any leaks with gutter sealant, or adjusting the slope of the gutters.
- Perform another test after making adjustments to ensure that the gutter system is now functioning properly.
By thoroughly testing the gutter system, you can identify and address any potential problems early on, ensuring a well-functioning and efficient system. Regular maintenance and cleaning of the gutters will also help maintain its effectiveness in channeling rainwater away from your home.
Congratulations! You have successfully installed Raingo gutters and created a functional and reliable drainage system for your home. The installation process may require time and effort, but the benefits of protecting your home from rainwater damage make it worthwhile.
Remember to follow safety precautions and consult a professional if you feel unsure or uncomfortable with any step of the installation process. Enjoy the peace of mind that comes with knowing your home is well-protected!
Thank you for reading our step-by-step guide on how to install Raingo gutters. We hope you found it informative and helpful. If you have any further questions or need additional assistance, feel free to reach out. Happy gutter installation!
Conclusion
In conclusion, installing Raingo gutters is a valuable investment for protecting your home from rainwater damage. With proper installation and maintenance, these gutters can effectively channel rainwater away from your home’s foundation, walls, and landscaping, preventing costly repairs and potential structural issues.
Throughout this comprehensive guide, we have provided a step-by-step process to help you successfully install Raingo gutters. From gathering the necessary tools and materials to testing the gutter system, each step is crucial for ensuring a functional and reliable drainage system.
Remember, safety should always be your top priority during installation. Take the necessary precautions, such as using protective equipment and a stable ladder, to prevent accidents or injuries.
Additionally, incorporating SEO optimization throughout the article allows your content to reach a wider audience and increase its visibility in search engine results. By balancing informative content with the strategic placement of keywords and meta tags, you can boost your article’s search engine rankings.
Whether you’re a homeowner looking to enhance your home’s protection or a DIY enthusiast seeking a new project, installing Raingo gutters is a manageable task with long-term benefits. With the information and guidance provided in this guide, you have all the tools and knowledge necessary to complete the installation process successfully.
Don’t forget that regular maintenance and cleaning of the gutters are essential for preserving their functionality and preventing clogs. By keeping your gutters clear of debris and inspecting them periodically, you can ensure their effectiveness in directing water away from your home.
We hope this guide has been helpful and informative. If you have any further questions or need assistance, don’t hesitate to reach out. Happy gutter installation!
Frequently Asked Questions about How To Install Rain-Go Gutters On Video
Was this page helpful?
At Storables.com, we guarantee accurate and reliable information. Our content, validated by Expert Board Contributors, is crafted following stringent Editorial Policies. We're committed to providing you with well-researched, expert-backed insights for all your informational needs.

0 thoughts on “How To Install Rain-Go Gutters on Video”