Articles
How To Install Amerimax Gutters
Modified: October 18, 2024
Learn how to install Amerimax gutters with our informative articles. Discover step-by-step guides and expert tips for a successful gutter installation.
(Many of the links in this article redirect to a specific reviewed product. Your purchase of these products through affiliate links helps to generate commission for Storables.com, at no extra cost. Learn more)
Introduction
Welcome to our comprehensive guide on how to install Amerimax gutters! Gutters play a crucial role in protecting your home from water damage by efficiently channeling rainwater away from your roof and foundation. Amerimax gutters are a popular choice among homeowners due to their durability, ease of installation, and aesthetic appeal.
In this article, we will take you through the step-by-step process of installing Amerimax gutters, ensuring that you have all the knowledge and tools necessary to complete the project successfully. Whether you are a seasoned DIY enthusiast or a beginner looking to tackle your first gutter installation, we’ve got you covered!
Before diving into the installation process, it is essential to gather all the necessary tools and materials. This will ensure a smooth and efficient installation, saving you time and frustration along the way.
Now, let’s begin by taking a look at the tools and materials you’ll need for the installation process.
Key Takeaways:
- Proper planning and preparation are essential for successful Amerimax gutter installation. Accurate measurements, sturdy fascia boards, and clear downspout placement are crucial for a reliable gutter system.
- Regular testing, cleaning, and maintenance are key to ensuring the longevity and effectiveness of your Amerimax gutters. Keep them free from debris and address any issues promptly for optimal performance.
Read more: How To Install Gutters Yourself
Tools and Materials Needed
Before you start installing Amerimax gutters, it’s important to gather all the necessary tools and materials. Here’s a list of what you’ll need:
- Amerimax gutter sections
- Amerimax fascia brackets
- End caps
- Downspouts
- Gutter hangers
- Gutter screws
- Gutter sealant
- Gutter brackets
- A level
- A measuring tape
- A drill
- A hacksaw or tin snips
- A ladder
- Safety goggles
- Work gloves
- A caulking gun
Make sure you have all these tools and materials readily available before starting the installation process. This will help ensure a smooth and efficient installation.
Now that you have everything you need, let’s move on to the step-by-step installation process.
Step 1: Measure and Plan
The first step in installing Amerimax gutters is to accurately measure your roofline and plan the layout of the gutter system. Proper measurements are crucial to ensure that your gutters effectively collect and divert water away from your home.
Here’s how to measure and plan for your Amerimax gutter installation:
- Start by measuring the length of your roofline where you intend to install the gutters. Use a measuring tape and record the measurements.
- Next, determine the location of the downspouts. Ideally, you should have at least one downspout for every 30 to 40 feet of gutter. Consider the placement of existing structures and drainage paths when deciding on the downspout locations.
- Plan the slope of your gutters. A proper slope is essential to ensure that water flows towards the downspouts. Amerimax gutters should have a slope of at least ¼ inch for every 10 feet of gutter.
- Take note of any obstacles such as corners, roof features, or obstructions that may affect the gutter installation. Consider how these obstacles will impact the gutter layout and plan accordingly.
Once you have measured and planned the layout of your Amerimax gutters, you’ll have a clear understanding of the materials needed and the installation process. This will help you proceed with confidence and efficiency.
Now that you have your measurements and plan in place, it’s time to move on to the next step – preparing the area for gutter installation.
Step 2: Prepare the Area
Before you can begin installing the Amerimax gutters, it’s important to prepare the area where the gutters will be installed. Taking the time to properly prepare the area will ensure a smooth and successful installation process.
Follow these steps to prepare the area for the Amerimax gutter installation:
- Ensure that the roofline is clean and free of debris. Remove any leaves, branches, or other obstructions that may interfere with the installation process.
- Inspect the fascia board, which is the board that the gutters will attach to. Make sure it is sturdy and in good condition. If there are any signs of rot or damage, repair or replace the fascia board before proceeding with the installation.
- If necessary, use a level to ensure that the fascia board is straight and level. This will ensure that the gutters are installed correctly and will function properly.
- Install gutter flashing if required. Gutter flashing is a thin strip of metal that helps direct water into the gutter and prevents water from seeping behind the gutter.
- Ensure that the area around the roofline is clear of any landscaping or other obstacles that may interfere with the installation process.
- Take necessary safety precautions, such as using a sturdy ladder and wearing proper protective gear, including safety goggles and work gloves.
By properly preparing the area before installing Amerimax gutters, you’ll create a solid foundation for the installation process. This will help ensure that your gutters are secure and function effectively.
Now that the area is prepared, you’re ready to move on to the next step – installing the fascia brackets.
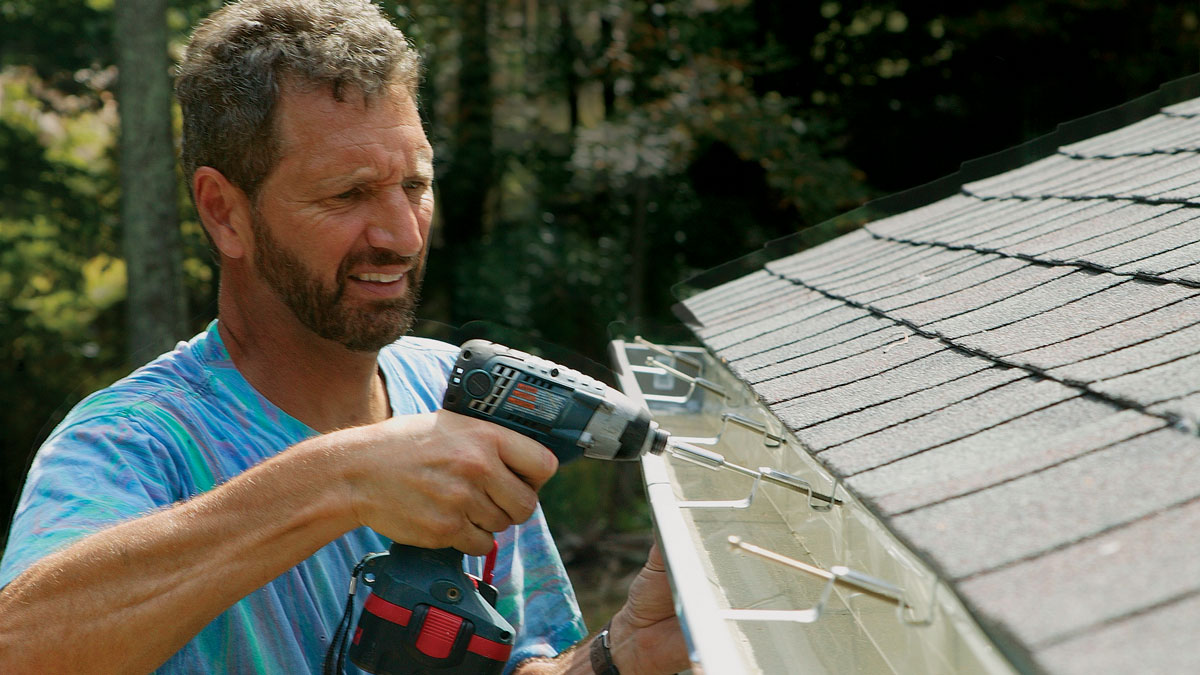
Step 3: Install Fascia Brackets
Now that the area is prepared, it’s time to install the fascia brackets, which will hold the gutter sections securely in place. Fascia brackets are typically included with your Amerimax gutter system and are designed to attach to the fascia board.
Follow these steps to install the fascia brackets:
- Start by marking the locations where the fascia brackets will be installed. Use a level or a chalk line to ensure that the brackets will be straight and even.
- Measure the spacing between the fascia brackets. The spacing will depend on the length of your gutter sections, but it is typically recommended to space the brackets about 24 to 36 inches apart.
- Pre-drill holes for the screws that will secure the fascia brackets to the fascia board. Make sure the holes are slightly smaller than the screws to ensure a tight fit.
- Position the fascia brackets on the marked locations and secure them to the fascia board using the provided screws. Ensure that the brackets are level and secure.
- Repeat this process for all the fascia brackets along the roofline, ensuring consistent spacing between each bracket.
Installing the fascia brackets is a crucial step in ensuring the stability and longevity of your Amerimax gutter system. Properly secured fascia brackets will provide a strong foundation for the gutter sections.
With the fascia brackets securely in place, you can now move on to the next step – attaching the end caps to your gutters.
Read more: How To Install Gutters On A Metal Building
Step 4: Attach End Caps
After installing the fascia brackets, the next step in installing Amerimax gutters is to attach the end caps. End caps are an essential component of the gutter system as they help to prevent water from flowing out of the sides, ensuring that it is properly channeled through the downspouts.
Follow these steps to attach the end caps to your Amerimax gutters:
- Inspect the gutter sections to identify the end where the end caps will be attached. Typically, one end of the gutter section will be open while the other end will have a pre-formed indentation for the end cap.
- Apply a thin line of gutter sealant along the inside edge of the end cap. This will help create a watertight seal once the end cap is attached.
- Position the end cap on the corresponding end of the gutter section, ensuring that it aligns properly with the pre-formed indentation.
- Press the end cap firmly onto the gutter section, making sure it is securely attached.
- Repeat this process for all the gutter sections where end caps are required.
Attaching the end caps is a crucial step in ensuring that your Amerimax gutters function effectively. The secure attachment of the end caps will help prevent water leakage and maintain proper water flow through the gutter system.
With the end caps securely attached, you’re ready to move on to the next step – installing the downspouts.
When installing Amerimax gutters, make sure to carefully follow the manufacturer’s instructions for proper placement and secure attachment to prevent leaks and ensure proper drainage.
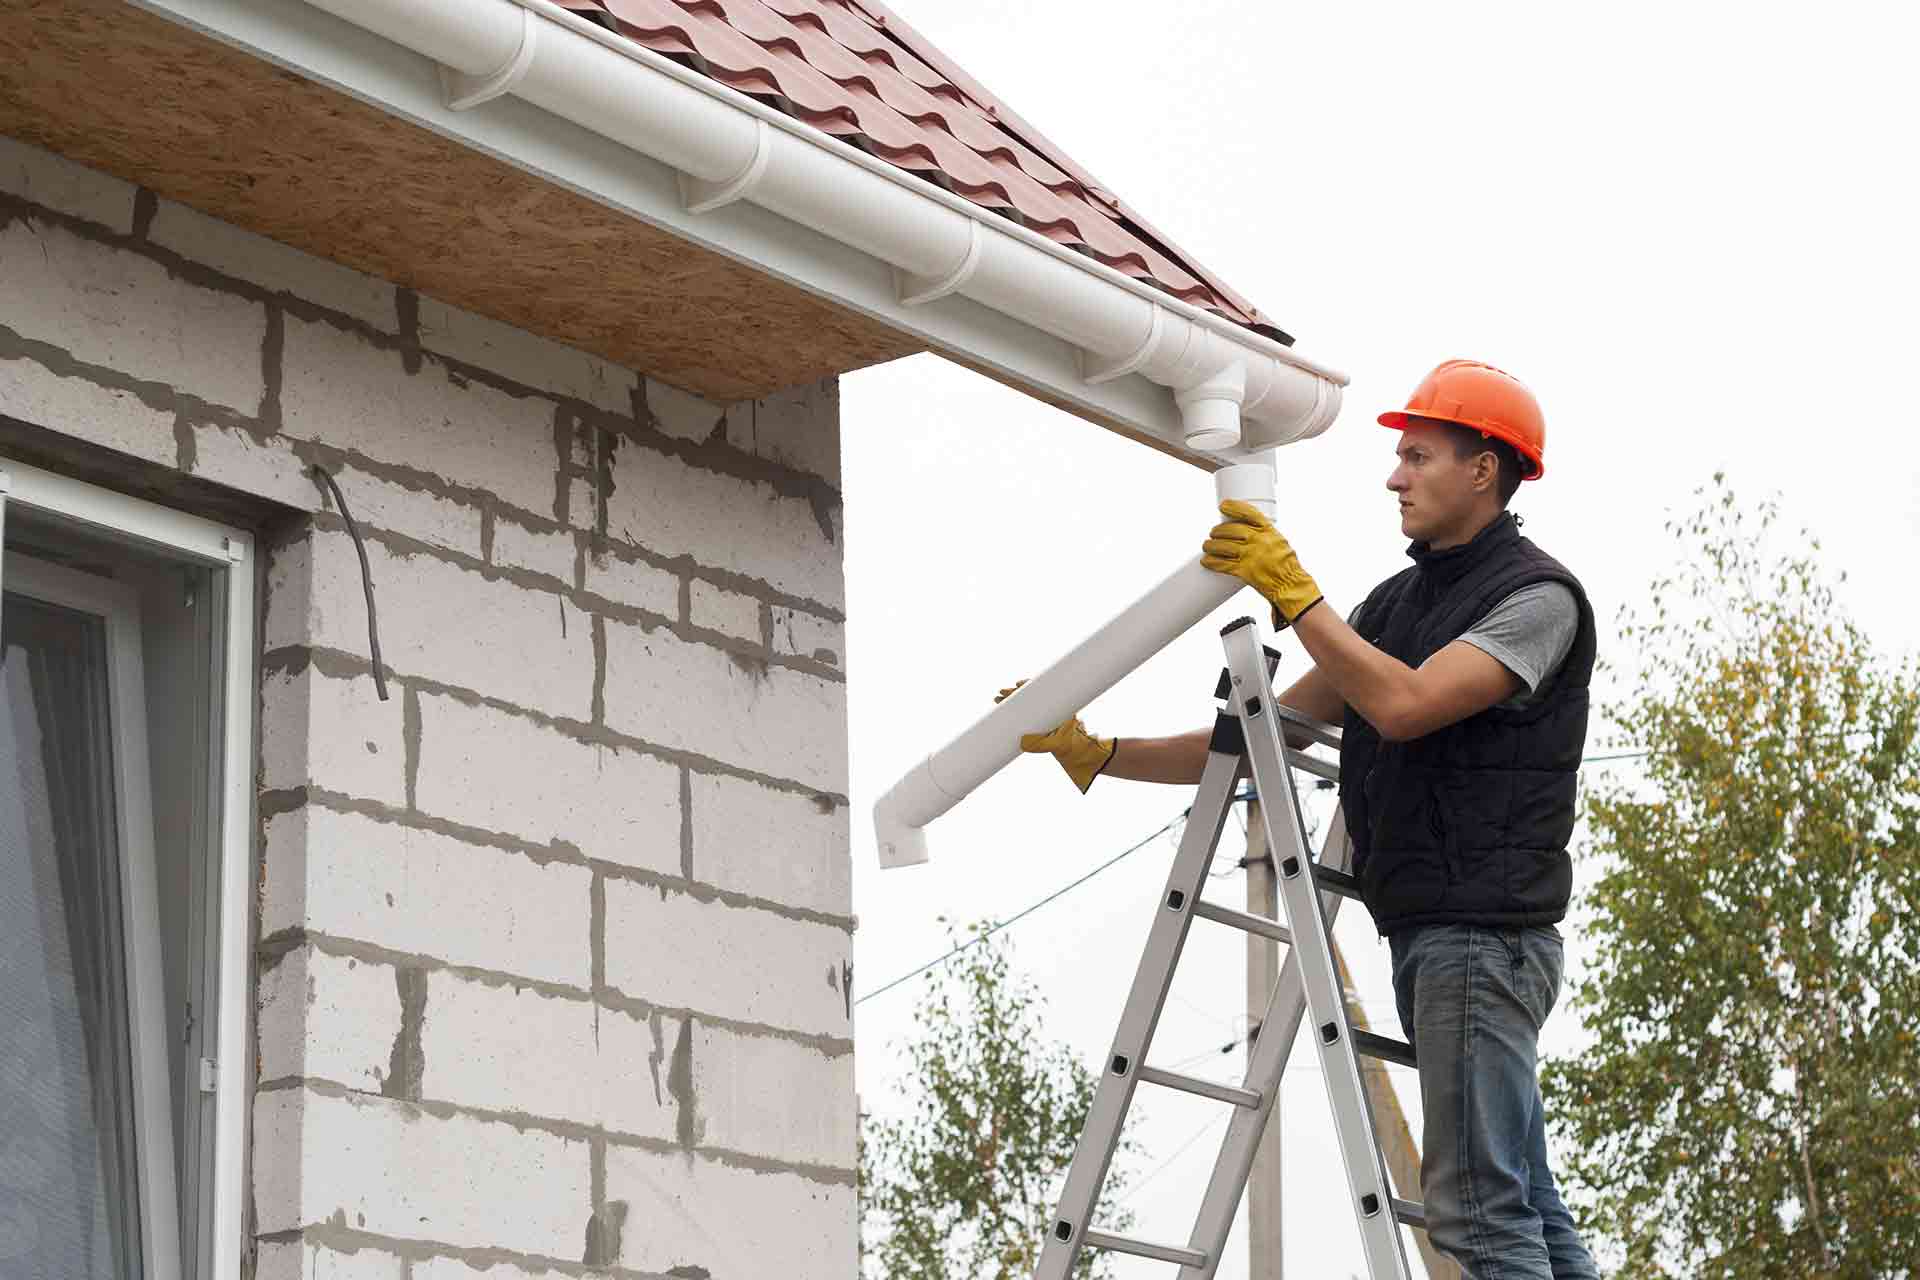
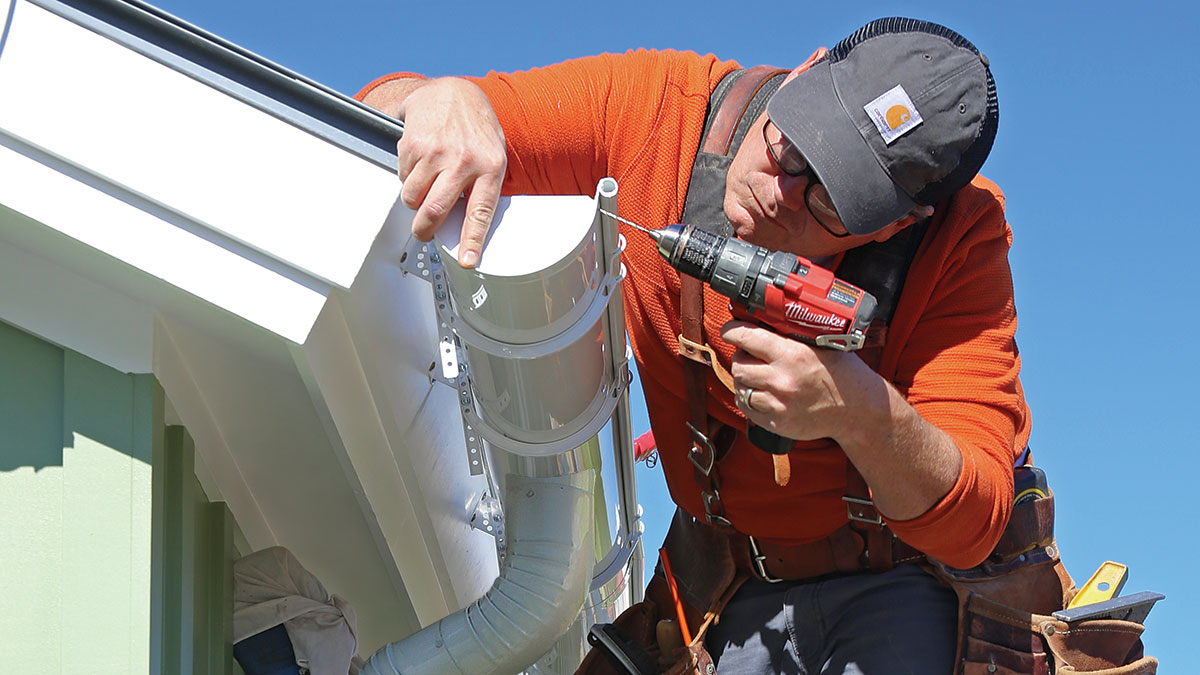
Step 5: Install Downspouts
In Step 5 of installing Amerimax gutters, you will install the downspouts. Downspouts are essential for directing water from the gutters down to the ground, helping to prevent water buildup and potential damage to your home’s foundation.
Follow these steps to install the downspouts:
- Measure and mark the desired locations for the downspouts. The placement of the downspouts should allow for proper water flow and drainage away from the foundation of your home. Consider any existing structures or obstacles that may affect the placement.
- Using a drill, create a hole at the marked location on the gutter. The hole should be slightly smaller than the diameter of the downspout outlet.
- Attach the downspout outlet to the hole in the gutter, ensuring a secure fit. Use screws or rivets to keep the outlet in place.
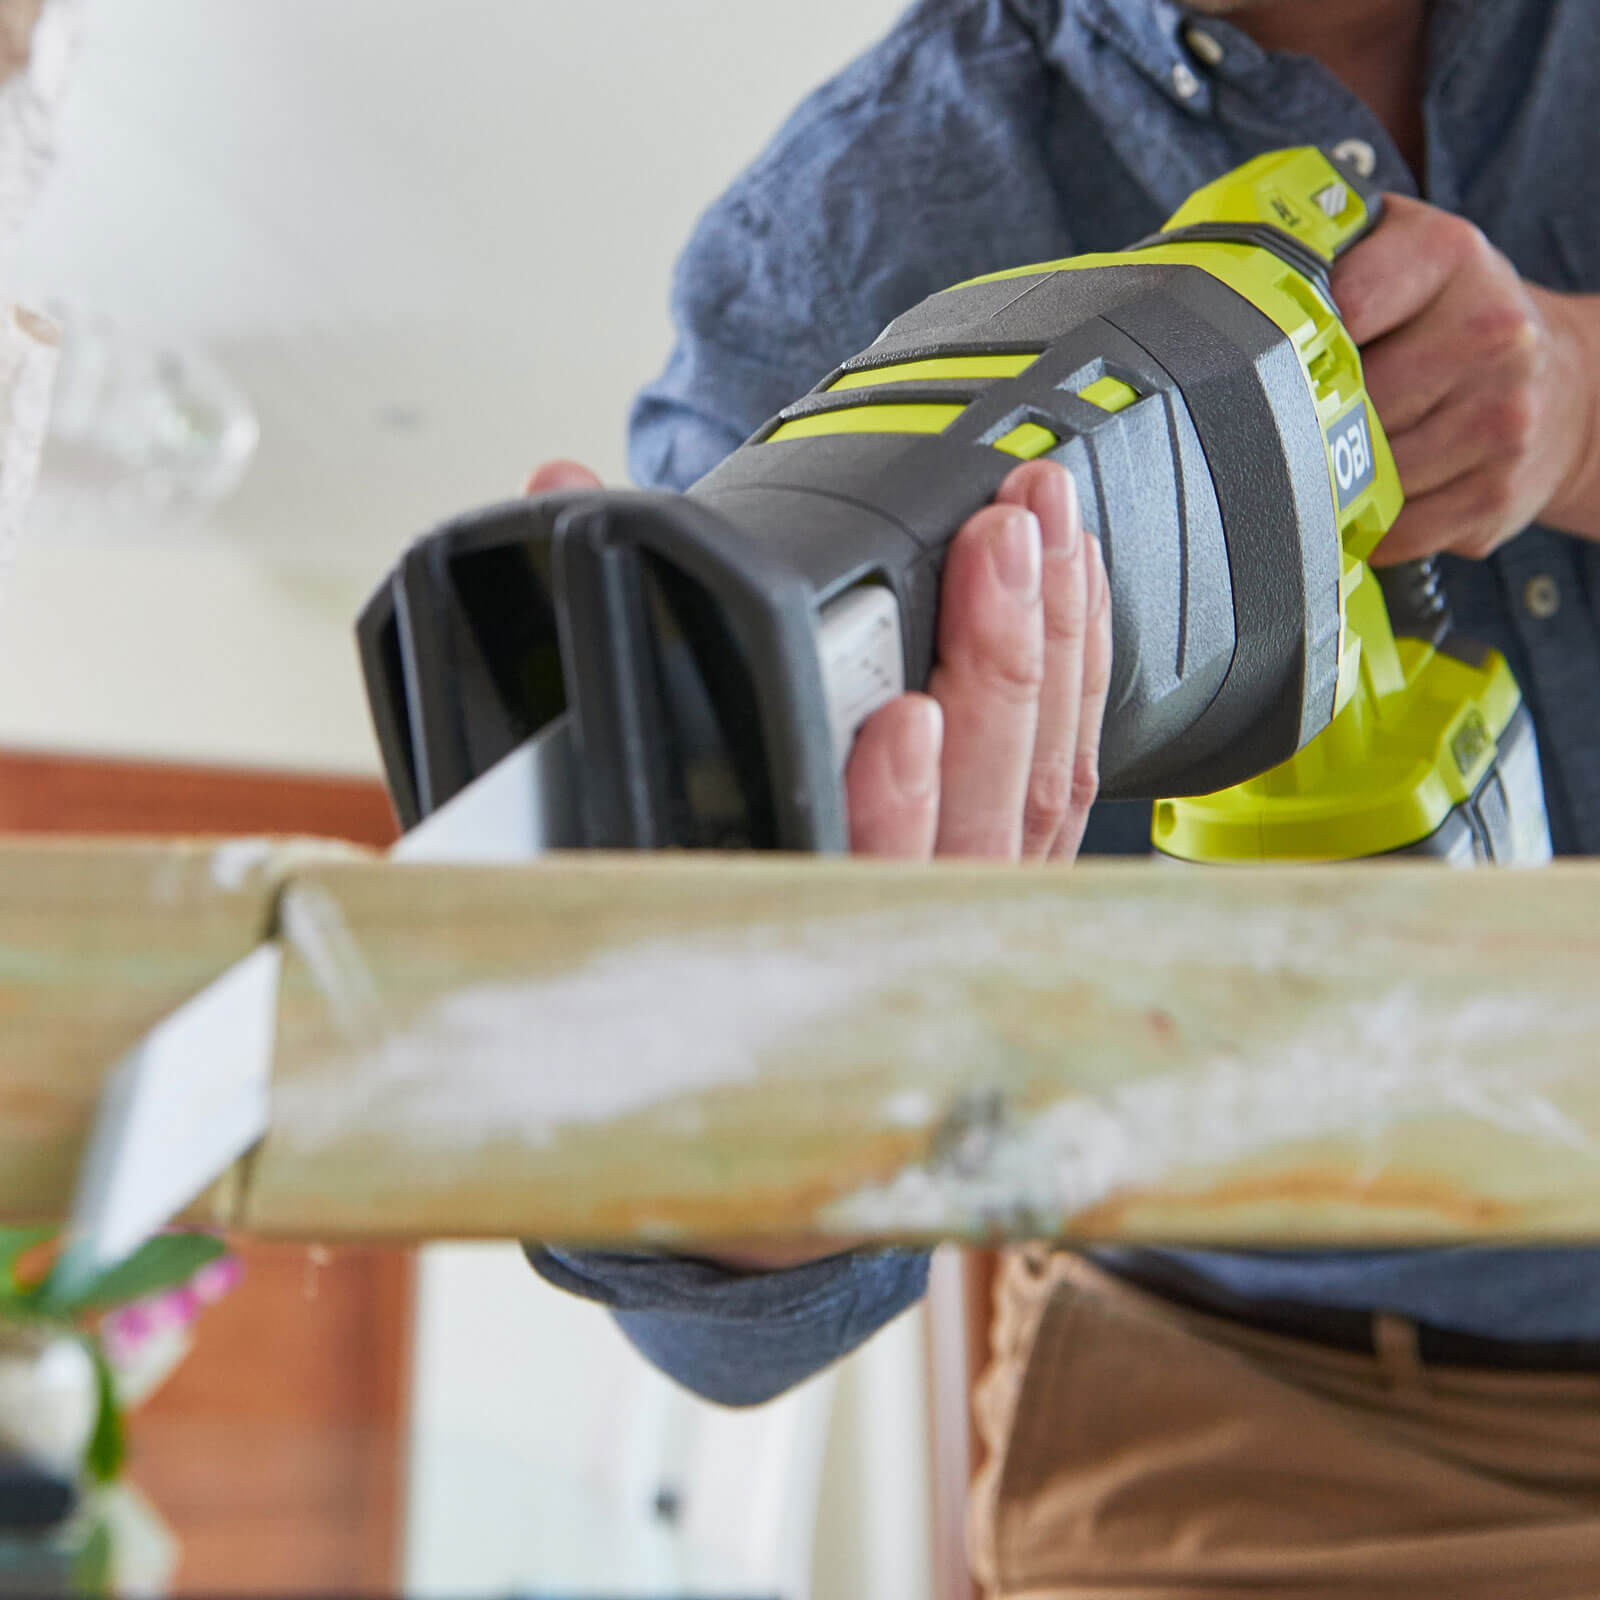
- Measure and cut the downspout to the desired length using a hacksaw or tin snips. It’s advisable to cut the downspout slightly longer than necessary to allow for adjustments during installation.
- Fit the downspout into the downspout outlet and attach it securely using screws or brackets.
- Position the bottom end of the downspout at the desired location where water can be properly drained away from the foundation. You may need to dig a trench or install a splash block to ensure proper water flow.
Properly installed downspouts will help prevent water from pooling around the foundation of your home, protecting it from potential damage. It’s important to ensure that the downspouts are securely attached and properly directed to ensure effective water drainage.
With the downspouts in place, you’re ready to move on to the next step – installing the gutter sections.
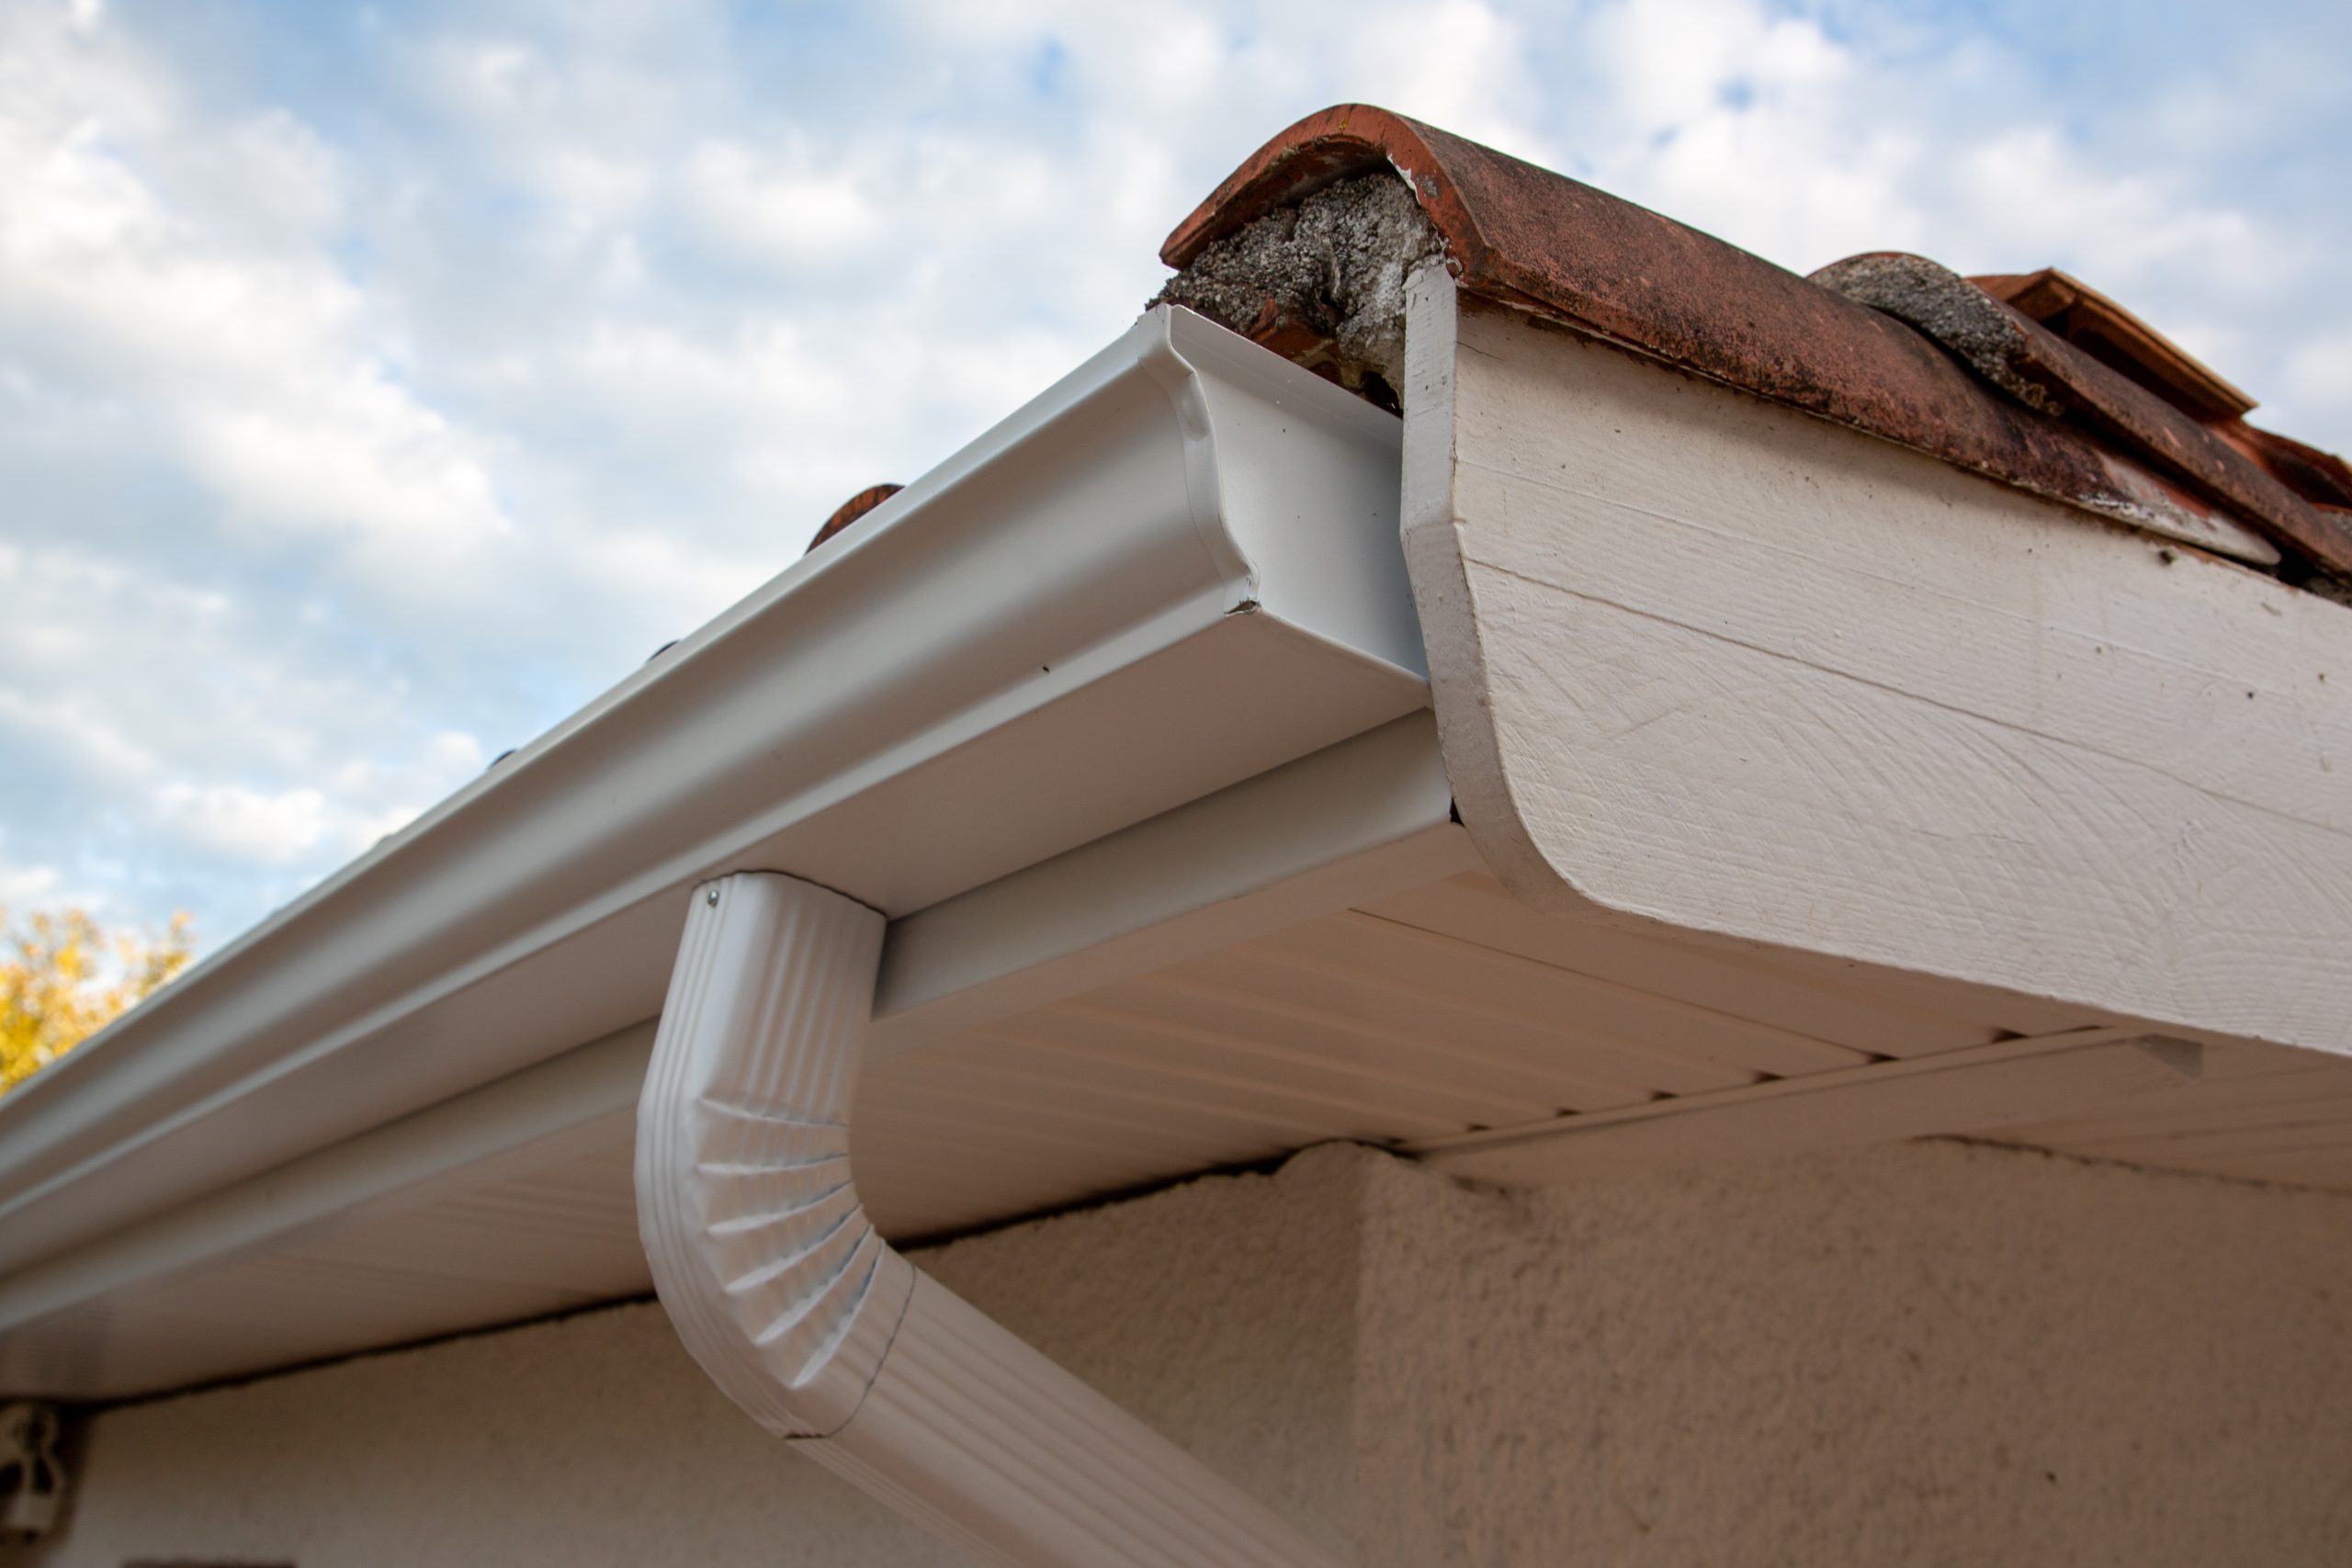
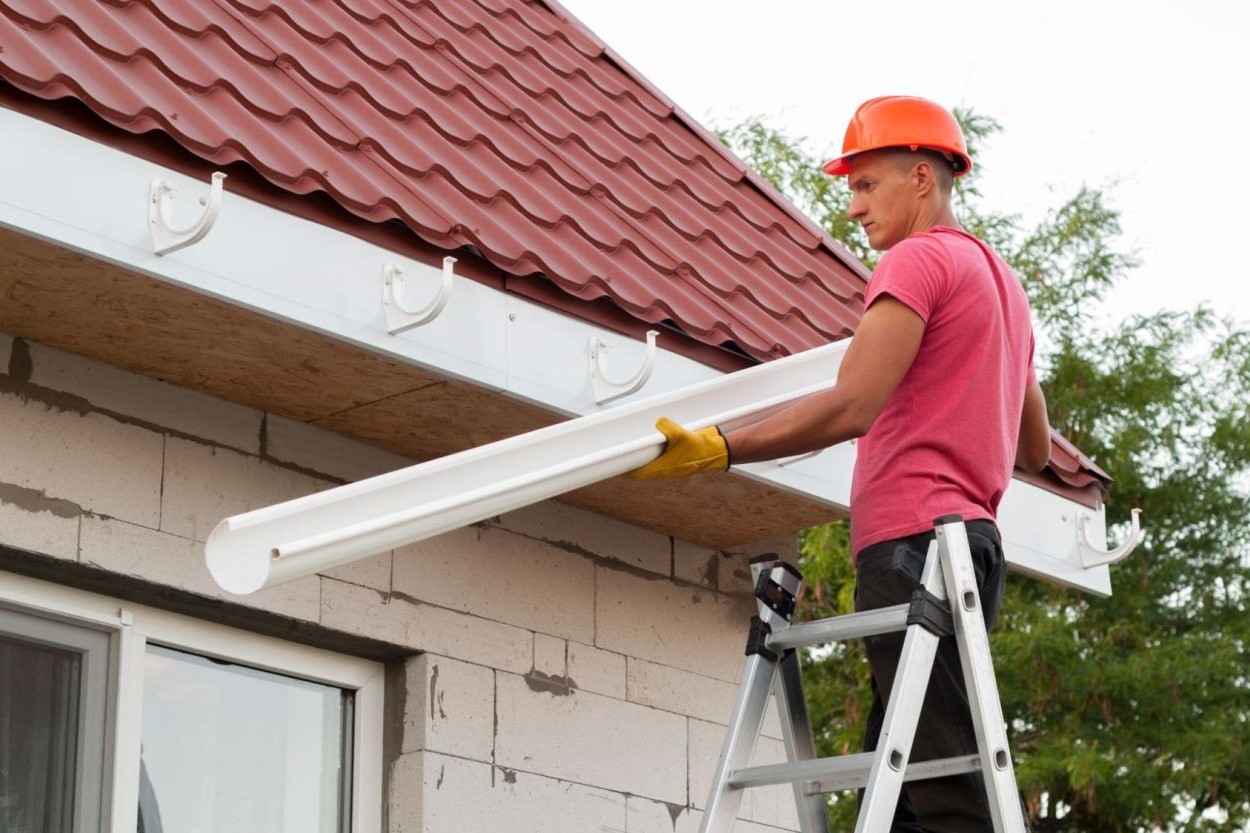
Step 6: Install Gutter Sections
With the fascia brackets, end caps, and downspouts in place, it’s time to install the gutter sections themselves. This step involves connecting the gutter sections and securing them to the fascia brackets to create a continuous gutter system.
Follow these steps to install the gutter sections:
- Begin by positioning the first gutter section against the fascia brackets, ensuring that it is level and aligned properly.
- Attach the gutter section to the fascia brackets using gutter hangers or brackets. These should be spaced according to the manufacturer’s recommendations, typically around 2 feet apart.
- Connect the subsequent gutter sections by overlapping the ends. Use gutter screws or connectors to secure the sections together.
- Continue attaching and connecting the remaining gutter sections until you have reached the end of the roofline.
While installing the gutter sections, it’s important to ensure that they have the appropriate slope. This ensures that water will flow towards the downspouts and not accumulate in the gutters. Use a level to check the slope of the gutter sections and make any necessary adjustments.
Throughout the installation process, double-check that all sections are properly aligned and securely attached to the fascia brackets. This will ensure the stability and functionality of your Amerimax gutter system.
With the gutter sections securely installed, it’s time to move on to the next step – securing the gutters.
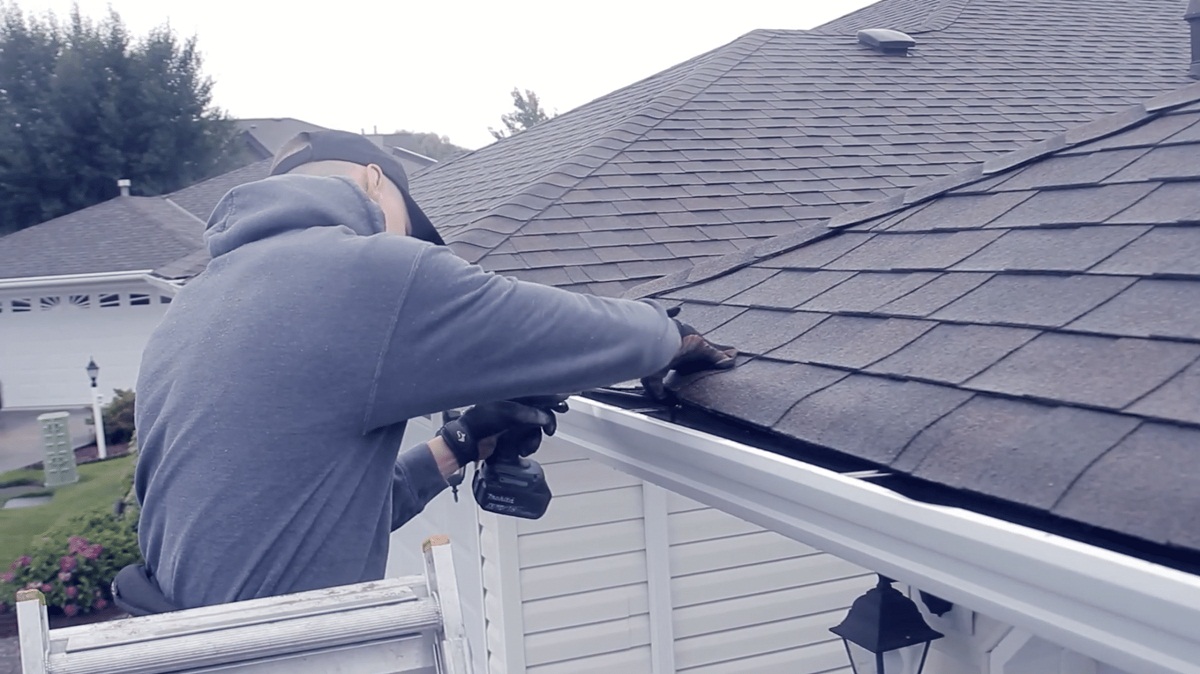
Step 7: Secure the Gutters
Once the gutter sections are installed, it’s important to secure them properly to ensure that they remain stable and withstand various weather conditions. This step involves securing the gutter sections to the fascia brackets and making sure that they are securely fastened.
Follow these steps to secure the gutters:
- Inspect each gutter section to ensure that it is properly aligned and level.
- Use gutter screws or nails to fasten the gutter sections to the fascia brackets. These should be placed through the back of the gutter sections into the fascia boards.
- Secure the gutter sections to the fascia brackets at regular intervals, typically around 2 to 3 feet apart.
- Make sure that the screws or nails are tightened securely, but be careful not to overtighten them as this can damage the gutter sections.
When securing the gutters, it’s important to pay attention to any sagging or misalignment. This can occur over time as the gutters are exposed to heavy rainfall or other factors. If you notice any sagging, use additional gutter hangers or brackets to provide extra support and ensure that the gutters are level.
By securely fastening the gutters to the fascia brackets, you will enhance their stability and longevity. This will help prevent any issues such as sagging or detachment, ensuring that your Amerimax gutter system functions effectively.
Now that the gutters are securely fastened, you can move on to the next step – connecting the downspouts.
Read more: How To Install Gutters With Drip Edge
Step 8: Connect the Downspouts
With the gutters securely installed, it’s time to connect the downspouts to ensure proper water flow and drainage. Downspouts play a crucial role in channeling water from the gutters and directing it away from your home’s foundation.
Follow these steps to connect the downspouts:
- Position the downspout outlet at the top end of the downspout, aligning it with the opening in the gutter section.
- Secure the outlet to the gutter using screws or rivets, ensuring a tight and secure fit.
- Attach the downspout to the outlet, making sure it fits snugly and securely.
- If necessary, use downspout elbows to redirect the downspout around corners or obstacles. Connect the elbows securely to the downspout and position them as needed.
- Continue connecting the downspout sections until you reach the bottom end where water will be directed away from the foundation.
- At the bottom end of the downspout, ensure that it is directed away from your home’s foundation. This can be achieved by using a downspout extension, splash block, or underground drainage system.
It’s important to note that downspouts should have a slight downward slope to ensure proper water flow. Use a level to ensure that the downspout sections are aligned correctly, and make any adjustments as necessary.
By connecting the downspouts properly, you’ll ensure that water is effectively directed away from your home, preventing potential water damage and foundation issues.
With the downspouts connected, you’re ready to move on to the final step – testing and cleaning the gutter system.
Step 9: Test and Clean
After completing the gutter installation, it’s crucial to test the system and make sure it is functioning properly. Additionally, regular cleaning and maintenance will help keep your Amerimax gutters in optimal condition and prevent clogs and debris buildup.
Follow these steps to test and clean your gutter system:
- Test the gutters by running water through them. Use a garden hose or simulate rainfall by pouring water into the gutter sections.
- Observe the water flow throughout the gutter system. Ensure that water is flowing freely and not backing up or overflowing.
- Check for any leaks or drips around the gutter connections and downspouts. If you notice any leaks, apply gutter sealant to the affected areas for a watertight seal.
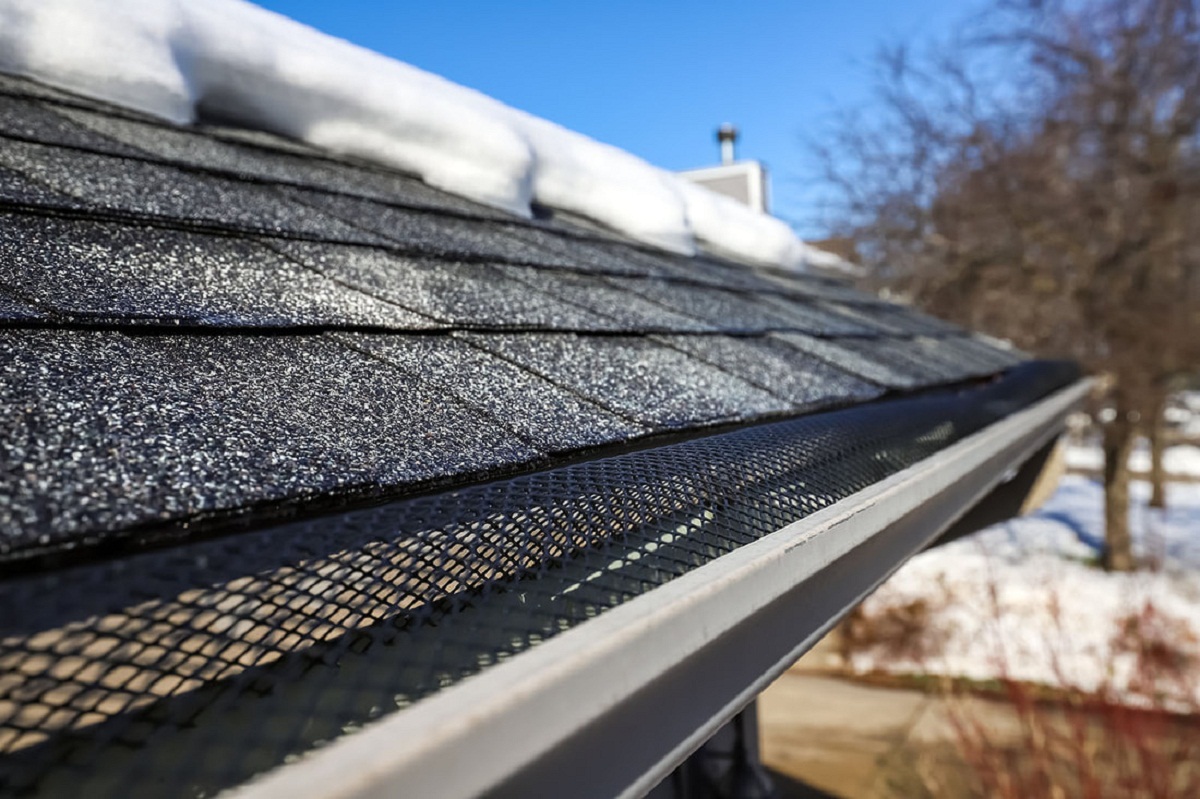
- Inspect the gutter system for any signs of debris or clogs. Remove any leaves, twigs, or other obstructions that may be blocking the flow of water.
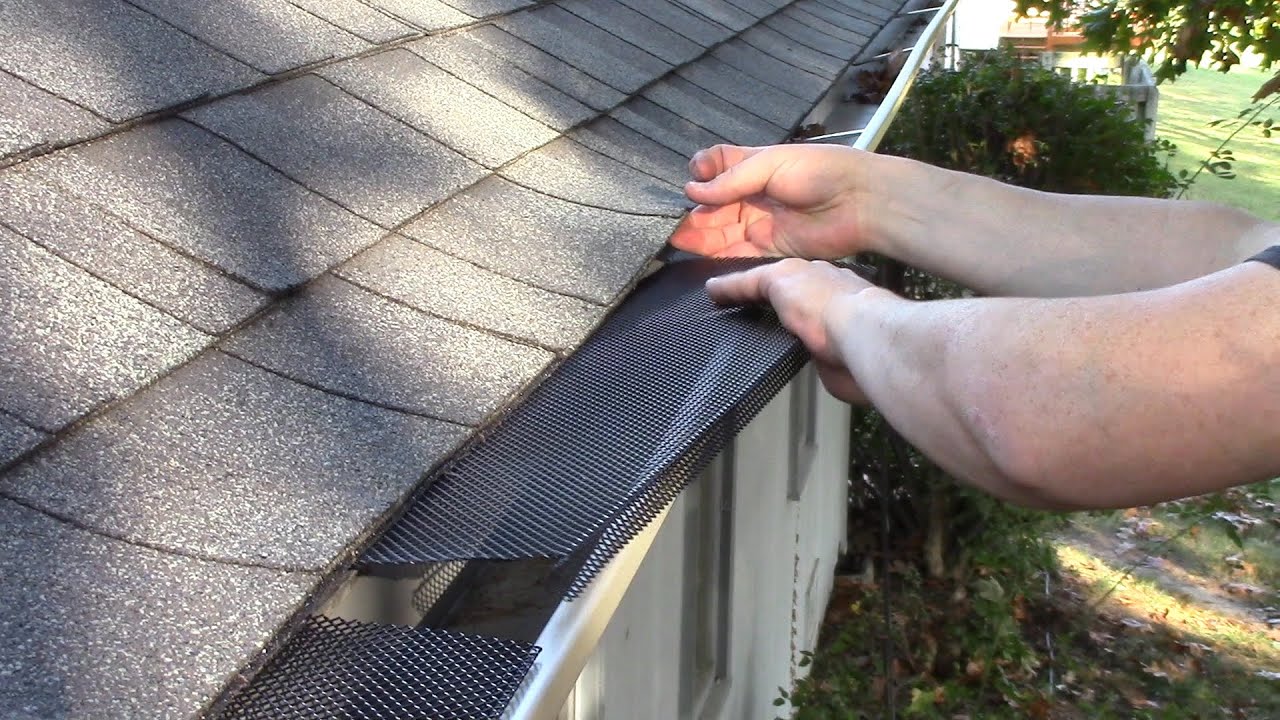
- Consider installing gutter guards or screens to help prevent the accumulation of debris in the future. These can help reduce the frequency of cleaning and maintenance.
- Clean the gutters regularly to prevent debris buildup. Use a gutter scoop, brush, or pressure washer to remove any remaining dirt or debris.
- Inspect the gutters for any signs of damage or wear. Replace any damaged sections or components to maintain the functionality of your gutter system.
- Perform regular maintenance on your gutters, including checking the fasteners and ensuring that they remain secure.
Regular testing and cleaning of your gutter system will help ensure that it functions optimally and protects your home from water damage. By properly maintaining your Amerimax gutters, you can extend their lifespan and maintain their efficiency over time.
Congratulations! You have successfully completed the installation of your Amerimax gutters and have taken the necessary steps to maintain their effectiveness. Your home is now better protected against the potential damage caused by rainfall.
Remember to monitor your gutters regularly and address any issues promptly to ensure the continued functionality of your gutter system.
Thank you for following our guide, and we hope this has been a helpful resource for your Amerimax gutter installation.
Happy guttering!
Conclusion
Installing Amerimax gutters is a valuable investment in protecting your home from water damage and maintaining its structural integrity. By following the step-by-step guide we’ve provided, you can successfully install your gutter system and ensure its proper functioning.
Throughout the installation process, it is crucial to measure accurately, plan the layout, and properly prepare the area. Installing fascia brackets, attaching end caps, and connecting downspouts are essential steps in creating a reliable gutter system. Securing the gutters and testing for proper water flow are important to ensure the longevity and effectiveness of your Amerimax gutters.
Regular cleaning and maintenance will help keep your gutters free from debris and functioning optimally. By taking these steps, you will ensure that your gutters effectively channel water away from your home’s foundation, reducing the risk of water damage and other related issues.
We hope that this comprehensive guide has provided you with the necessary knowledge and confidence to install Amerimax gutters successfully. Remember that safety is paramount when working on any installation project, so always take the necessary precautions and use appropriate tools and protective gear.
If you encounter any challenges during the installation process or have specific questions, don’t hesitate to consult a professional or reach out to Amerimax customer support for assistance.
Now, it’s time to sit back, relax, and enjoy the peace of mind that comes with a properly installed gutter system. Happy home improvement!
Frequently Asked Questions about How To Install Amerimax Gutters
Was this page helpful?
At Storables.com, we guarantee accurate and reliable information. Our content, validated by Expert Board Contributors, is crafted following stringent Editorial Policies. We're committed to providing you with well-researched, expert-backed insights for all your informational needs.


0 thoughts on “How To Install Amerimax Gutters”