Articles
How To Install Vinyl Gutters
Modified: October 19, 2024
Learn how to install vinyl gutters with our comprehensive articles. Get step-by-step instructions and expert tips to ensure a successful installation.
(Many of the links in this article redirect to a specific reviewed product. Your purchase of these products through affiliate links helps to generate commission for Storables.com, at no extra cost. Learn more)
Introduction
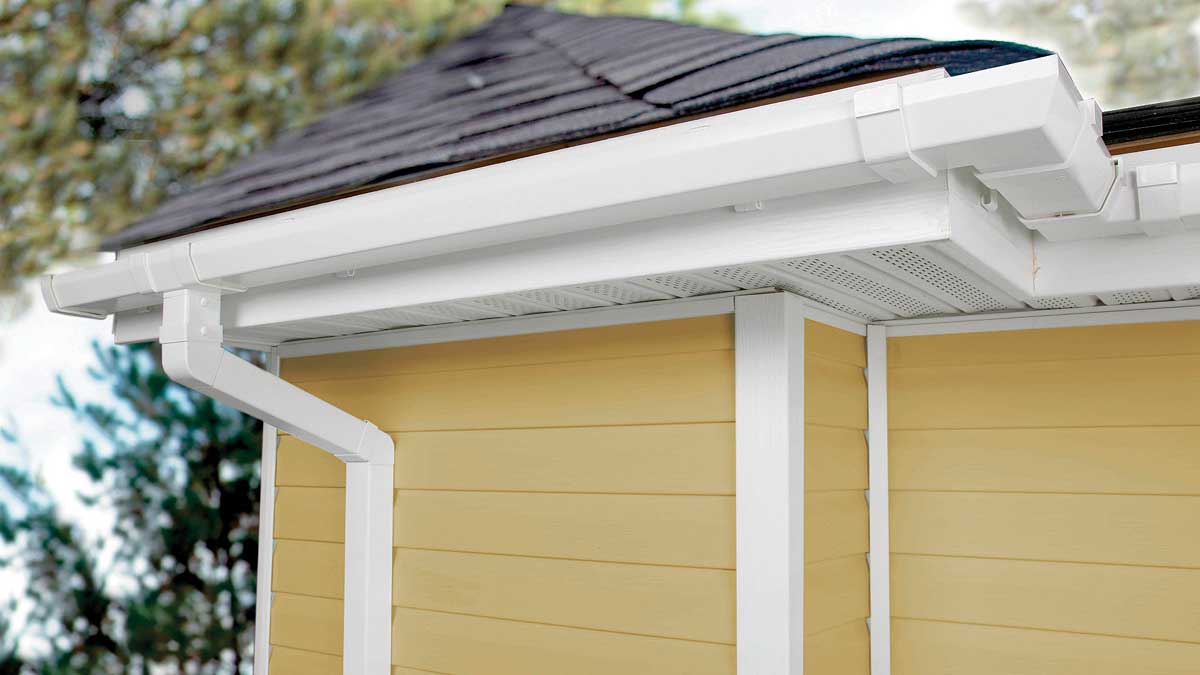
When it comes to protecting your home from water damage, properly installed gutters are essential. Gutters play a crucial role in redirecting rainwater away from your home’s foundation and preventing water from seeping into your basement or causing damage to your exterior walls. While there are various types of gutters available, one popular option is vinyl gutters.
Vinyl gutters are made from durable PVC (polyvinyl chloride) material, which is resistant to rust, corrosion, and color fading. These gutters offer several advantages over traditional metal gutters, making them a preferred choice for many homeowners. In this article, we will discuss the benefits of vinyl gutters and provide you with a step-by-step guide on how to install them.
Key Takeaways:
- Vinyl gutters offer affordability, low maintenance, durability, and easy installation, making them a popular choice for homeowners seeking a reliable and aesthetically appealing solution for protecting their homes from water damage.
- Proper installation and maintenance of vinyl gutters are essential for ensuring effective water drainage and long-term functionality. Following a step-by-step guide and testing the system will help homeowners enjoy the benefits of a reliable gutter system.
Read more: What Is Better Vinyl Or Aluminum Gutters?
Benefits of Vinyl Gutters
Choosing the right type of gutters for your home is important, and vinyl gutters offer several notable benefits that make them an attractive option for many homeowners:
- Affordability: Vinyl gutters are a cost-effective choice compared to other gutter materials such as aluminum or copper. They are budget-friendly without compromising on quality and durability.
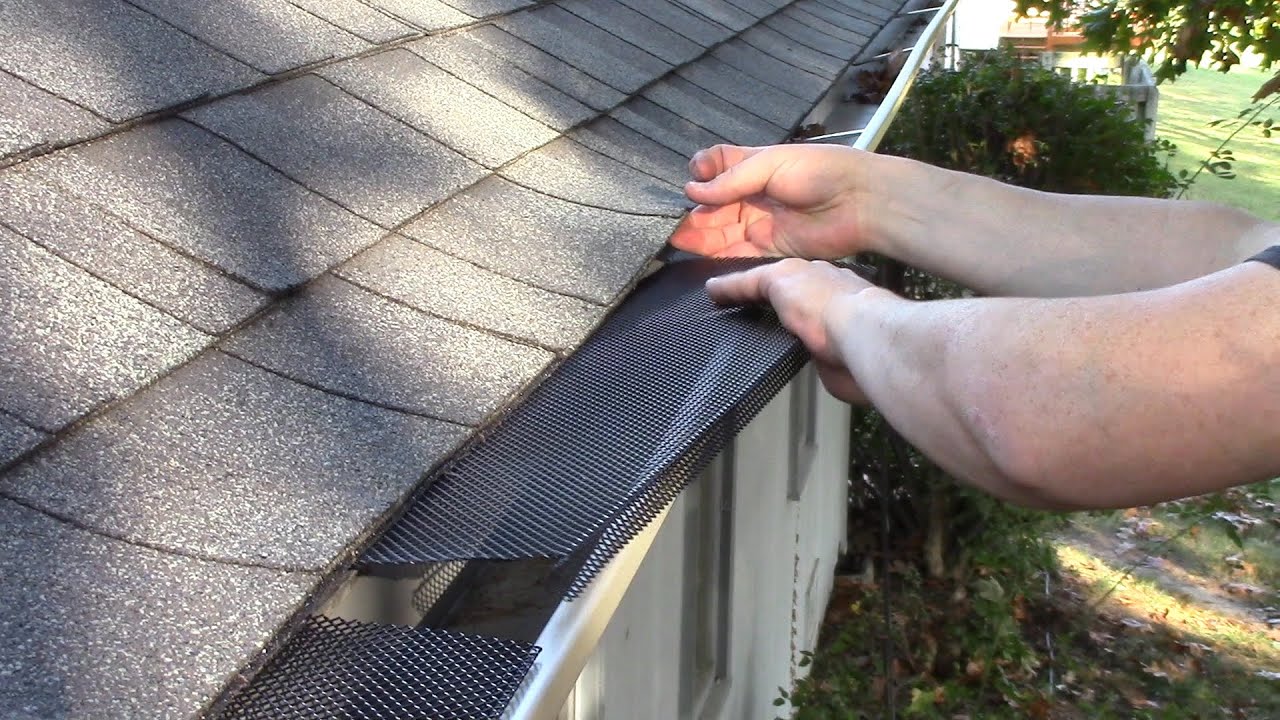
- Low Maintenance: Vinyl gutters are virtually maintenance-free. Unlike metal gutters, they do not require regular painting or sealing. Additionally, their smooth surface does not accumulate debris and leaves, making cleaning a breeze.
- Durability: Made from PVC, vinyl gutters have excellent durability. They are resistant to rust, rot, and corrosion, ensuring they will withstand the elements and last for many years.
- Color Options: Vinyl gutters come in a wide range of colors, allowing you to choose a shade that complements your home’s exterior. This makes it easy to achieve a seamless and aesthetically appealing look.
- Easy Installation: Vinyl gutters are lightweight, making them easy to handle and install. Their simple design and snap-together components simplify the installation process, making it a feasible DIY project for many homeowners.
- Quiet Operation: The smooth surface of vinyl gutters reduces the noise produced by rainwater flowing through them, creating a quieter and more peaceful environment inside your home.
- Eco-Friendly: PVC, the material used to make vinyl gutters, is recyclable. Choosing vinyl gutters contributes to a more sustainable and eco-friendly approach to home improvement.
With their affordability, low maintenance requirements, durability, and aesthetic appeal, vinyl gutters have become a popular choice for homeowners. Now that you understand the benefits, let’s move on to the materials needed and the steps involved in the installation process.
Materials Needed
Before you begin installing vinyl gutters, it’s important to gather all the necessary materials. Here’s a list of items you’ll need:
- Vinyl gutters: Measure the length of your house to determine how much gutter material you’ll need. Purchase vinyl gutter sections in the appropriate length.
- Gutter hangers: These will hold the gutters in place. Make sure to choose hangers specifically designed for vinyl gutters.
- End caps: These are used to cap the ends of the gutter sections.
- Downspouts: Determine the number of downspouts you’ll need based on the size of your house and the volume of water you expect to handle. Purchase downspouts along with the necessary elbows and brackets.
- Gutter sealant: Choose a high-quality gutter sealant that is compatible with vinyl gutters. This will ensure a watertight connection between gutter sections and fittings.
- Hacksaw or gutter cutter: You’ll need a tool to accurately cut the vinyl gutters to the desired length.
- Screws or nails: These will be used to secure the gutter hangers to the fascia board.
- Screwdriver or drill: Depending on the type of screws or nails you use, you’ll need an appropriate tool to fasten the hangers.
- Measuring tape: This will help you accurately measure the length of the gutter sections and downspouts.
- Pencil or marker: Use these to mark the measurement points and guide your cutting.
- Ladder: Since gutter installation involves working at heights, make sure you have a sturdy ladder to safely reach the gutters.
- Safety equipment: Wear gloves to protect your hands and goggles to shield your eyes from debris and sharp edges.
Once you have gathered all the necessary materials, you’re ready to move on to the next step: measuring and planning the installation.
Step 1: Measure and Plan
Before you start installing vinyl gutters, it is essential to accurately measure and plan the installation. This will ensure that you have the correct amount of gutter material and that the gutters are properly positioned to effectively channel rainwater away from your home’s foundation.
To determine the length of gutter sections you need, measure the linear footage of your house along the eaves where the gutters will be installed. If you have multiple rooflines, measure each section separately. Take note of any corners or changes in roof slope that will require additional gutter fittings.
Once you have the measurements, create a layout plan for your gutter system. Determine the ideal placement of downspouts to effectively direct rainwater away from your home. Plan for downspouts to be positioned at least 6 feet apart to prevent overloading the system during heavy rainfalls.
Consider the slope of the gutters as well. It’s recommended to have a 1/2 inch slope for every 10 feet of gutter, allowing water to flow smoothly towards the downspouts. Use a level to ensure your gutters are properly aligned and sloped.
Take into account any landscaping features or obstacles that may affect the gutter installation. Make adjustments in your plan to accommodate trees, shrubs, or architectural elements.
With a thorough plan in place, you can proceed to gather the necessary tools for the installation, ensuring that you have everything you need to complete the project efficiently and effectively.
Now that you have measured and planned your gutter installation, it’s time to gather the tools you’ll need to install the vinyl gutters. Let’s move on to step two: gather tools.
Step 2: Gather Tools
Before you begin installing vinyl gutters, it’s crucial to gather all the tools required for the job. Having the necessary tools on hand will ensure a smooth and efficient installation process. Here’s a list of tools you’ll need:
- Ladder: Choose a sturdy ladder that is tall enough to reach the eaves of your house comfortably. Ensure that the ladder is placed on a stable and level surface.
- Miter Saw or Gutter Cutter: You’ll need a miter saw or a specialized gutter cutter to cut the vinyl gutter sections to the appropriate length. These tools will provide clean and accurate cuts.
- Tape Measure: A tape measure is essential for taking precise measurements of your house and determining the required length of the gutter sections.
- Pencil or Marker: Use a pencil or marker to mark the measurement points on the gutter sections before cutting them. This will ensure accurate cuts and proper alignment during installation.
- Hacksaw or Tin Snips: In addition to a miter saw or gutter cutter, you may need a hacksaw or tin snips to make smaller cuts or adjustments to the gutter sections, downspouts, or gutter accessories.
- Screwdriver or Drill: Depending on the fasteners you choose, you’ll need a screwdriver or a drill with the appropriate head to secure gutter hangers, downspout brackets, and other fittings.
- Torpedo Level: A torpedo level will help you ensure that the gutters are installed with the proper slope, allowing for efficient water drainage. This tool ensures that the gutters do not sag or tilt.
- Chalk Line: A chalk line is useful for creating straight guidelines on the fascia board to ensure proper alignment during gutter installation.
- Gloves and Safety Glasses: Always prioritize safety during the installation process. Wear gloves to protect your hands from sharp edges, and use safety glasses to shield your eyes from debris or potential hazards.
- Gutter Sealant: Choose a high-quality gutter sealant that is specifically designed for vinyl gutters. This will help ensure a watertight seal at joints and connections.
- Screws or Nails: Use screws or nails that are suitable for attaching gutter hangers and downspout brackets to your home’s fascia board. Ensure they are corrosion-resistant and the appropriate length for a secure installation.
By ensuring that you have all the necessary tools ready, you can streamline the installation process and minimize interruptions. With the tools in hand, you’re now prepared to move on to the next step: preparing the area for gutter installation.
Read more: How To Install Gutters Yourself
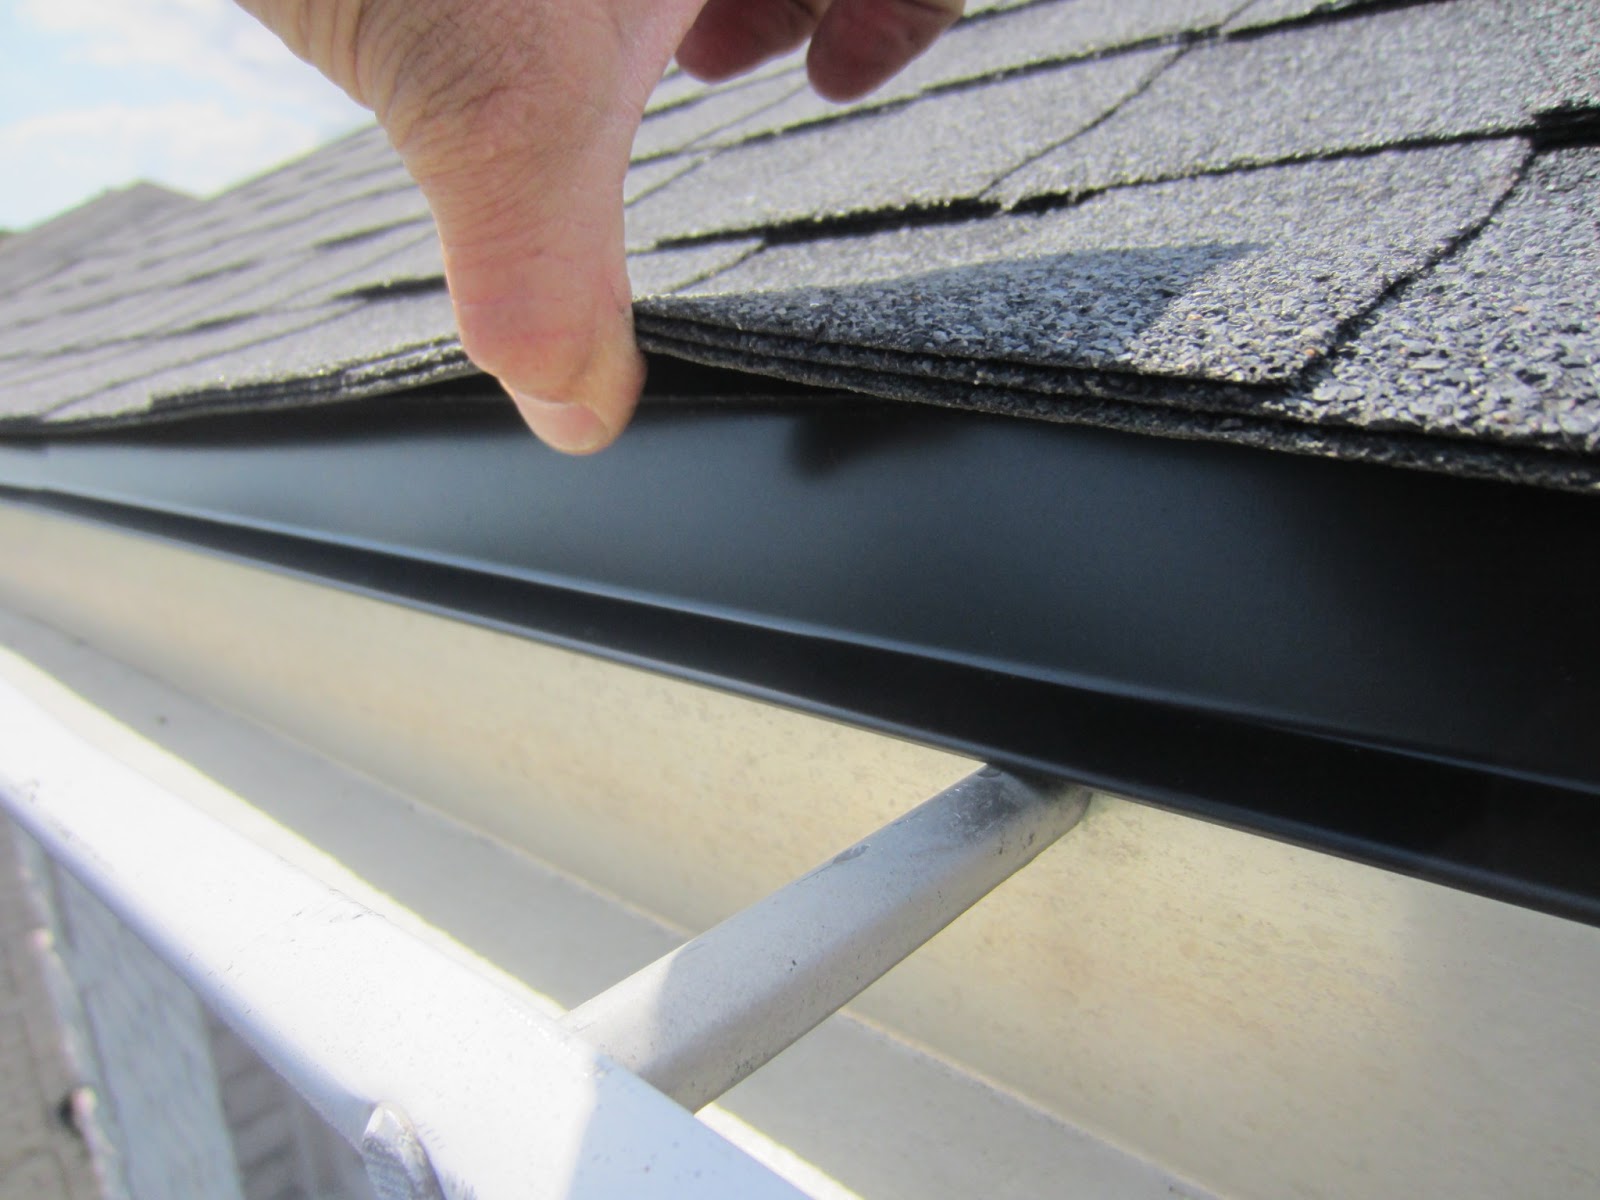
Step 3: Prepare the Area
Before you start installing vinyl gutters, it is essential to properly prepare the area where the gutters will be installed. Taking the time to prepare the area will ensure a smooth and successful installation process. Here are the steps to follow:
- Clean the Fascia Board: Begin by cleaning the fascia board, which is the wooden board that runs along the eaves of your house. Remove any dirt, debris, or old gutter components from the board. Ensure that the fascia board is in good condition and securely attached to your home’s structure.
- Repair and Replace: Inspect the fascia board for any signs of damage, such as rot or decay. Replace any damaged sections and repair any loose or weak areas. A solid and stable fascia board is crucial for a secure gutter installation.
- Remove Obstacles: Clear away any landscaping elements that may obstruct the installation, such as tree branches, shrubs, or vines. This will ensure easy access to the area and prevent interference during the gutter installation process.
- Mark the Gutter Placement: Use a chalk line or a pencil to mark the desired position of the gutter sections on the fascia board. This will serve as a guide for accurate and straight installation.
- Create Slope: To ensure proper drainage of rainwater, create a slight slope along the chalk line using a level. A 1/2 inch slope for every 10 feet of gutter is recommended to allow water to flow towards the downspouts.
- Install Gutter Hangers: Secure the gutter hangers to the fascia board at regular intervals, following the marked line. Make sure they are aligned with the slope and evenly spaced. Use screws or nails suitable for the type of hanger you are using.
- Attach Splash Blocks or Downspout Extensions: If you have splash blocks or downspout extensions, position them at the appropriate locations where water will be discharged away from your home’s foundation. Ensure that they are securely placed.
- Double-check: Before proceeding to attach the gutter sections, double-check the alignment of the hangers, the slope of the chalk line, and the overall readiness of the installation area.
Properly preparing the installation area will contribute to the overall effectiveness and longevity of your vinyl gutter system. By following these steps, you’ll create a solid foundation for the installation process. Now it’s time to move on to the next step: installing the hangers.
When installing vinyl gutters, make sure to carefully follow the manufacturer’s instructions for proper placement and secure attachment. Use the correct tools and materials to ensure a tight and durable fit.
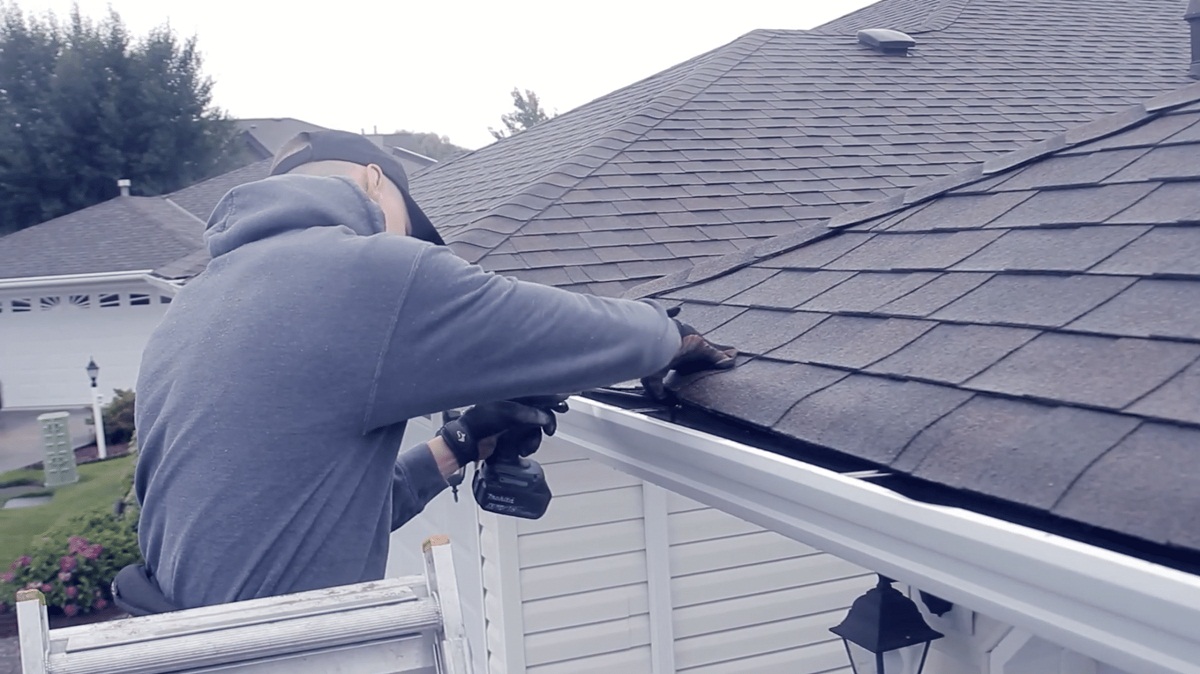
Step 4: Install the Hangers
Installing the hangers is a crucial step in the installation of vinyl gutters. The hangers are what hold the gutter sections in place and provide stability and support. Follow these steps to properly install the hangers:
- Start from one end: Begin at one end of the gutter run and position the first hanger about 6 inches from the corner. Ensure that the hanger is aligned with the chalk line or pencil marking on the fascia board.
- Mark the screw holes: Using a pencil or marker, mark the screw holes on the fascia board through the holes in the hanger. This will guide you when attaching the hanger to the board.
- Pre-drill the holes: Depending on the type of hangers and fasteners you’re using, pre-drill the screw holes in the fascia board using an appropriate drill bit. This will prevent the wood from splitting when the screws are inserted.
- Attach the hanger: Line up the holes in the hanger with the pre-drilled holes in the fascia board and fasten the hanger using screws or nails. Make sure the hanger is securely attached and level with the chalk line.
- Continue installing hangers: Move along the gutter run, spacing the hangers approximately 24 to 36 inches apart. If you anticipate heavy rainfall or are installing in a region with frequent snowfall, consider spacing the hangers closer together for added support.
- Ensure alignment and levelness: As you install each hanger, double-check that the gutter slope is maintained and the hangers are aligned with the chalk line. Use a level to ensure the gutters are level and do not sag.
- Adjust if needed: If any hangers are not properly aligned or level, make adjustments as necessary before proceeding to the next step.
By following these steps, you will ensure that the hangers are securely attached to the fascia board and provide a stable foundation for the vinyl gutters. Once the hangers are in place, you are ready to move on to the next step: attaching the gutter sections.
Step 5: Attach the Gutters
Now that the hangers are securely installed, it’s time to attach the vinyl gutter sections. Follow these steps to properly attach the gutters:
- Start at one end: Begin at one end of the gutter run and position the first gutter section against the hangers. Make sure the gutter sits snugly into the hanger brackets.
- Secure the gutter: Use screws or nails to fasten the gutter to the hangers. Insert the fasteners through the pre-drilled holes in the gutter back and into the hanger brackets. Space the fasteners approximately 16 inches apart.
- Check alignment and slope: As you attach each gutter section, double-check the alignment with the chalk line and ensure the proper slope for water drainage. Adjust as necessary.
- Trim the gutter: If the gutter section is longer than the required length, use a miter saw or gutter cutter to trim it to the appropriate size. Measure carefully and make precise cuts.
- Continue attaching gutter sections: Move along the gutter run, attaching each section to the hangers using screws or nails. Make sure each section is securely fastened and aligned properly with the previous sections.
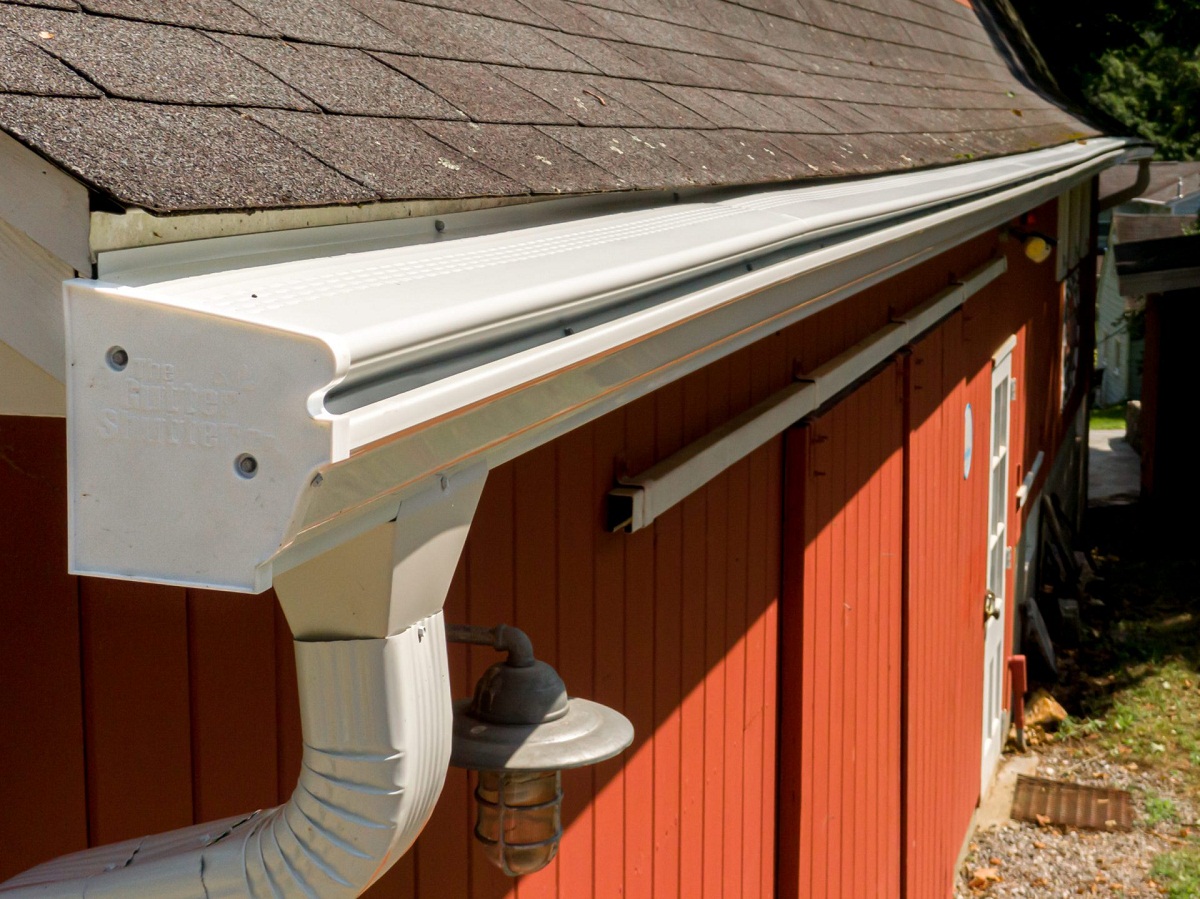
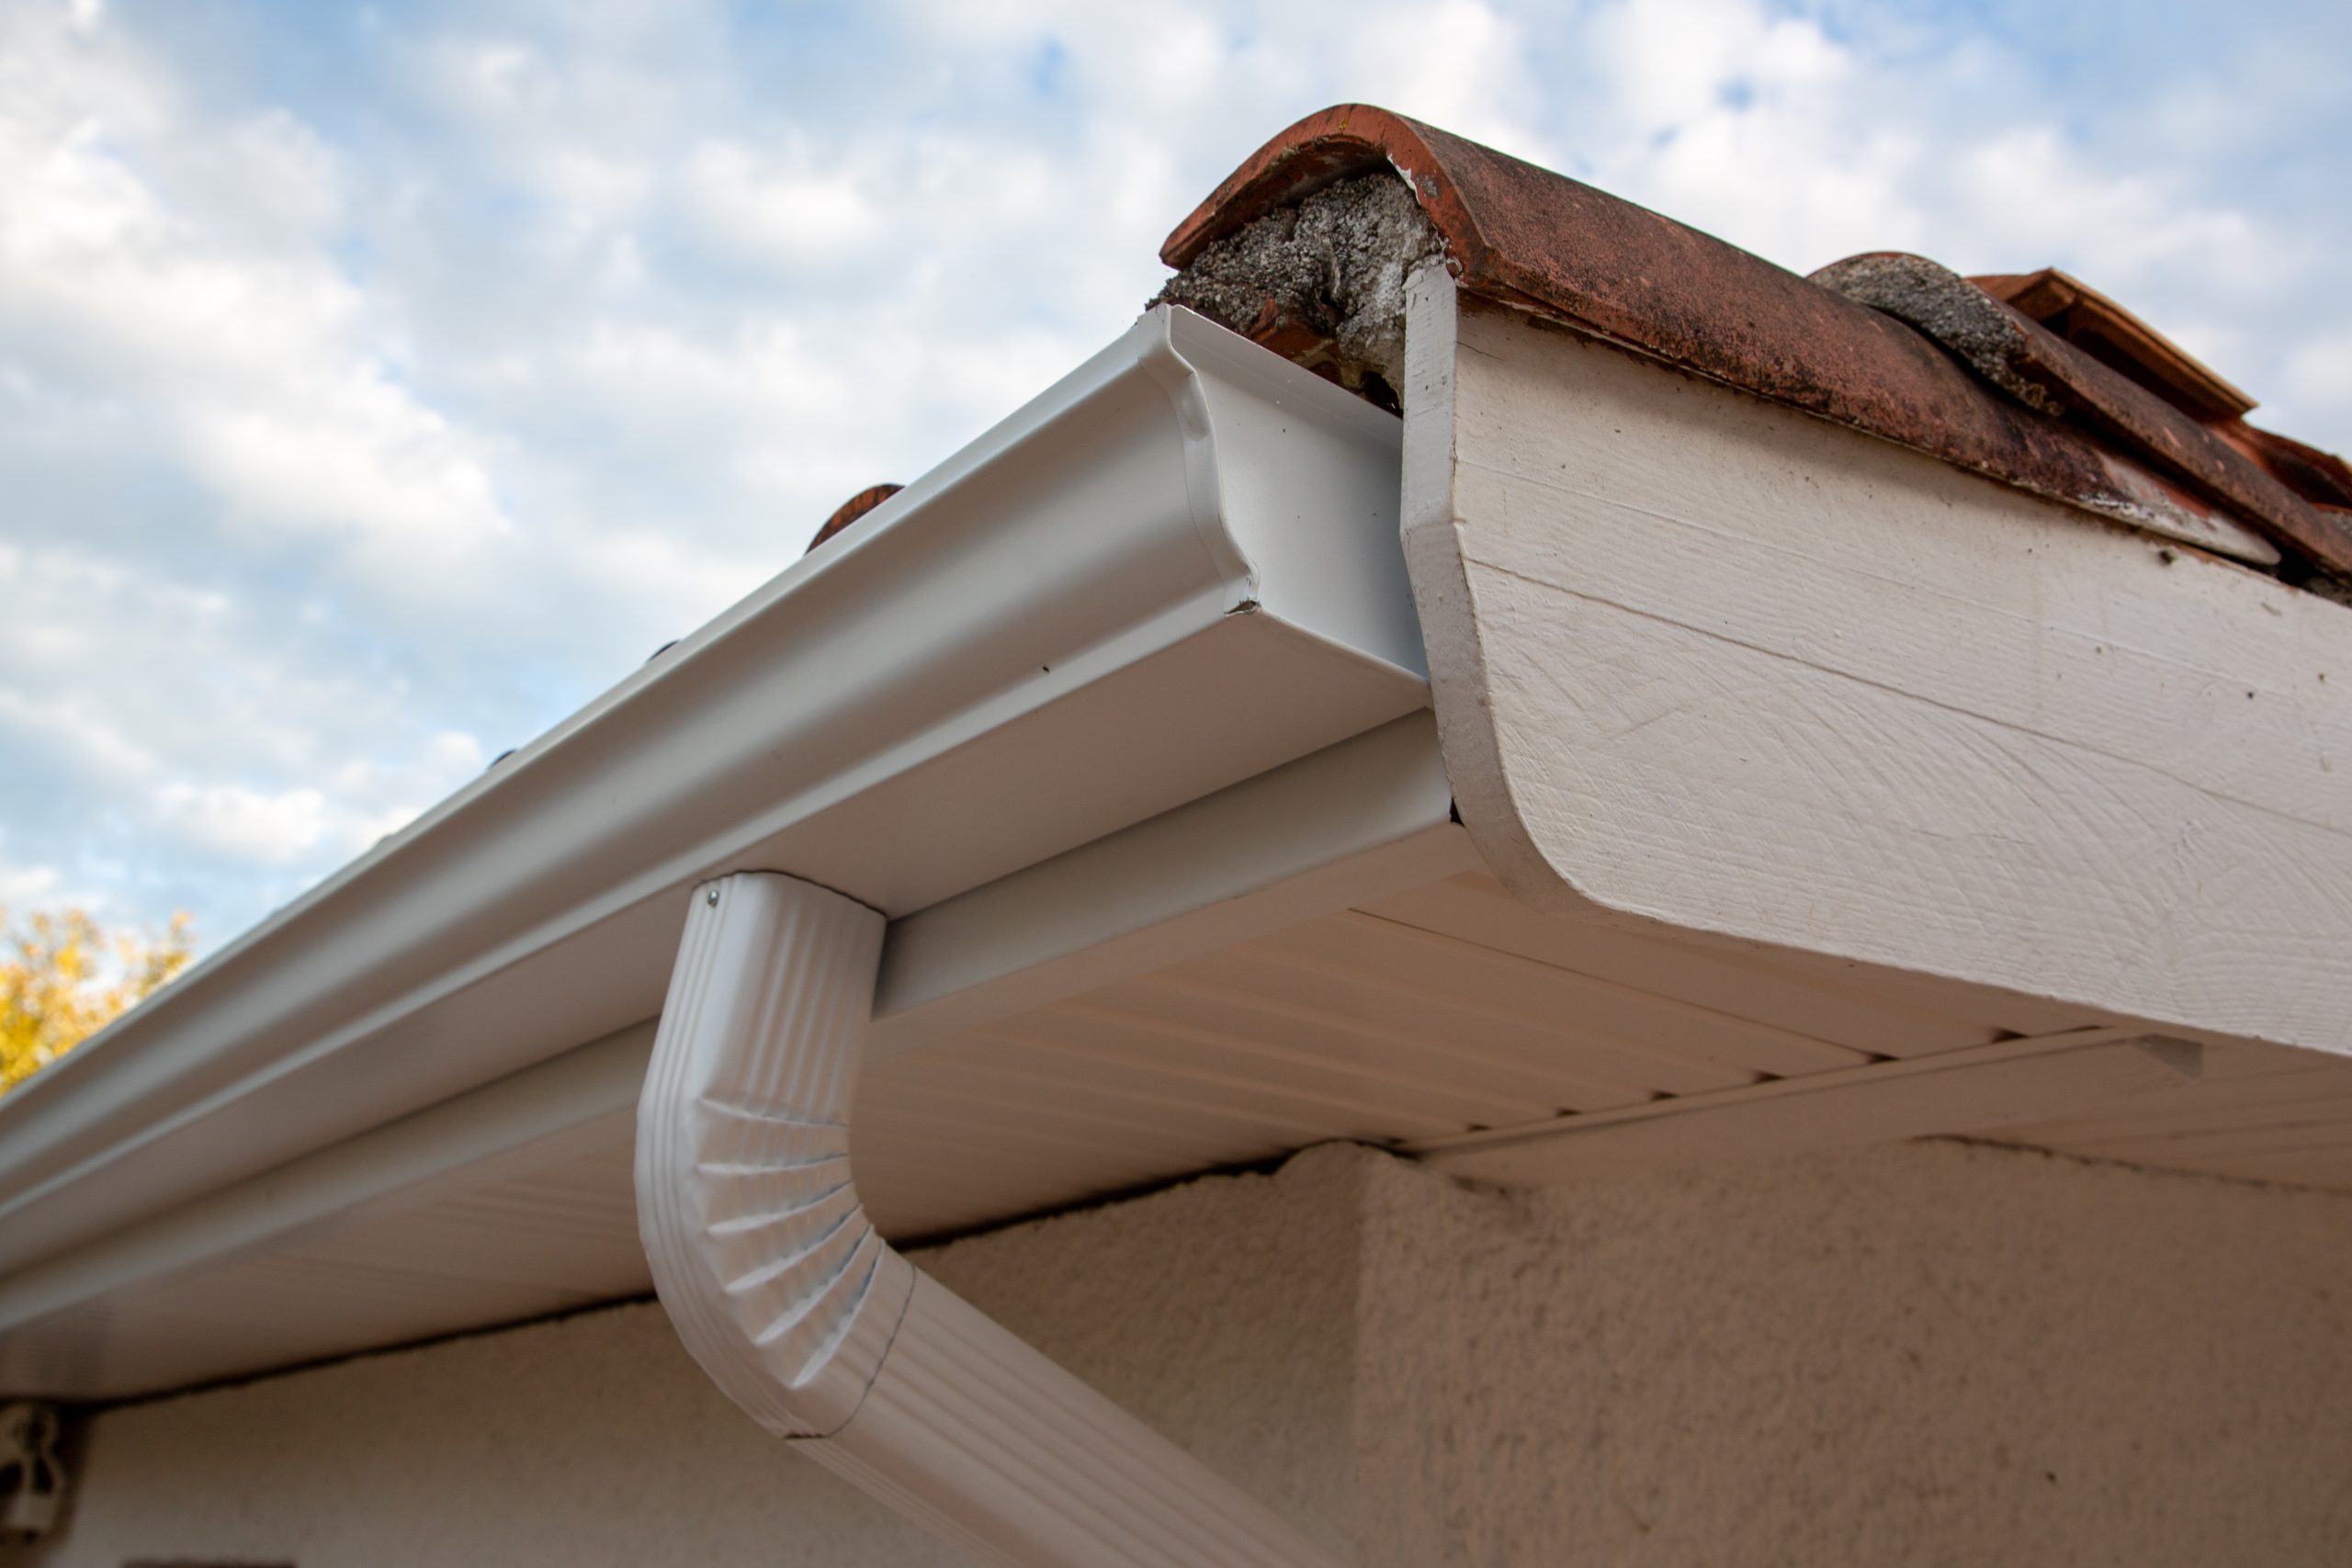
- End with an end cap: When you reach the end of the gutter run, install an end cap to close off the gutter. It will prevent water from escaping and give the gutter a finished appearance.
- Check for leaks: After all the gutter sections are attached, run water through the gutter system to check for any leaks or gaps. Apply gutter sealant to any problem areas to ensure a tight and watertight seal.
By following these steps, you will properly attach the vinyl gutter sections to the hangers, ensuring a secure and functional gutter system. Once the gutters are attached, it’s time to move on to the next step: connecting the gutters together.
Step 6: Connect the Gutters
Connecting the gutter sections together is an important step to ensure the proper flow of rainwater through the system. Follow these steps to connect the vinyl gutters:
- Position a gutter union: Place a gutter union fitting at the point where two gutter sections meet. The gutter union will serve as a connector between the two sections.
- Secure the gutter union: Fasten the gutter union to the gutter sections using screws or rivets. Ensure that the union is tightly secured and forms a seamless connection between the sections.
- Apply gutter sealant: To ensure a watertight connection, apply gutter sealant around the edges of the gutter union. This will help prevent leaks and minimize the risk of water damage.
- Repeat for additional connections: If your gutter run requires additional connections, follow the same process for each union. Ensure that each connection is securely fastened and sealed.
- Check for proper alignment: As you connect the gutter sections, double-check that they are properly aligned and level. Use a level to ensure that the gutters have a slight slope for proper water flow towards the downspouts.
- Inspect for leaks: Once the gutter sections are connected, inspect the connections for any potential leaks. Run water through the gutter system and check for any water seepage. Apply additional gutter sealant if needed.
- Double-check the overall system: After connecting the gutters, ensure that the entire system is aligned, sloped correctly, and securely attached to the hangers. Make any necessary adjustments or enhancements.
By following these steps, you will ensure that the gutter sections are properly connected, allowing for the efficient flow of rainwater through the gutter system. Once the gutters are connected, it’s time to move on to the next step: installing the downspouts.
Read more: How To Install Gutters On A Metal Building
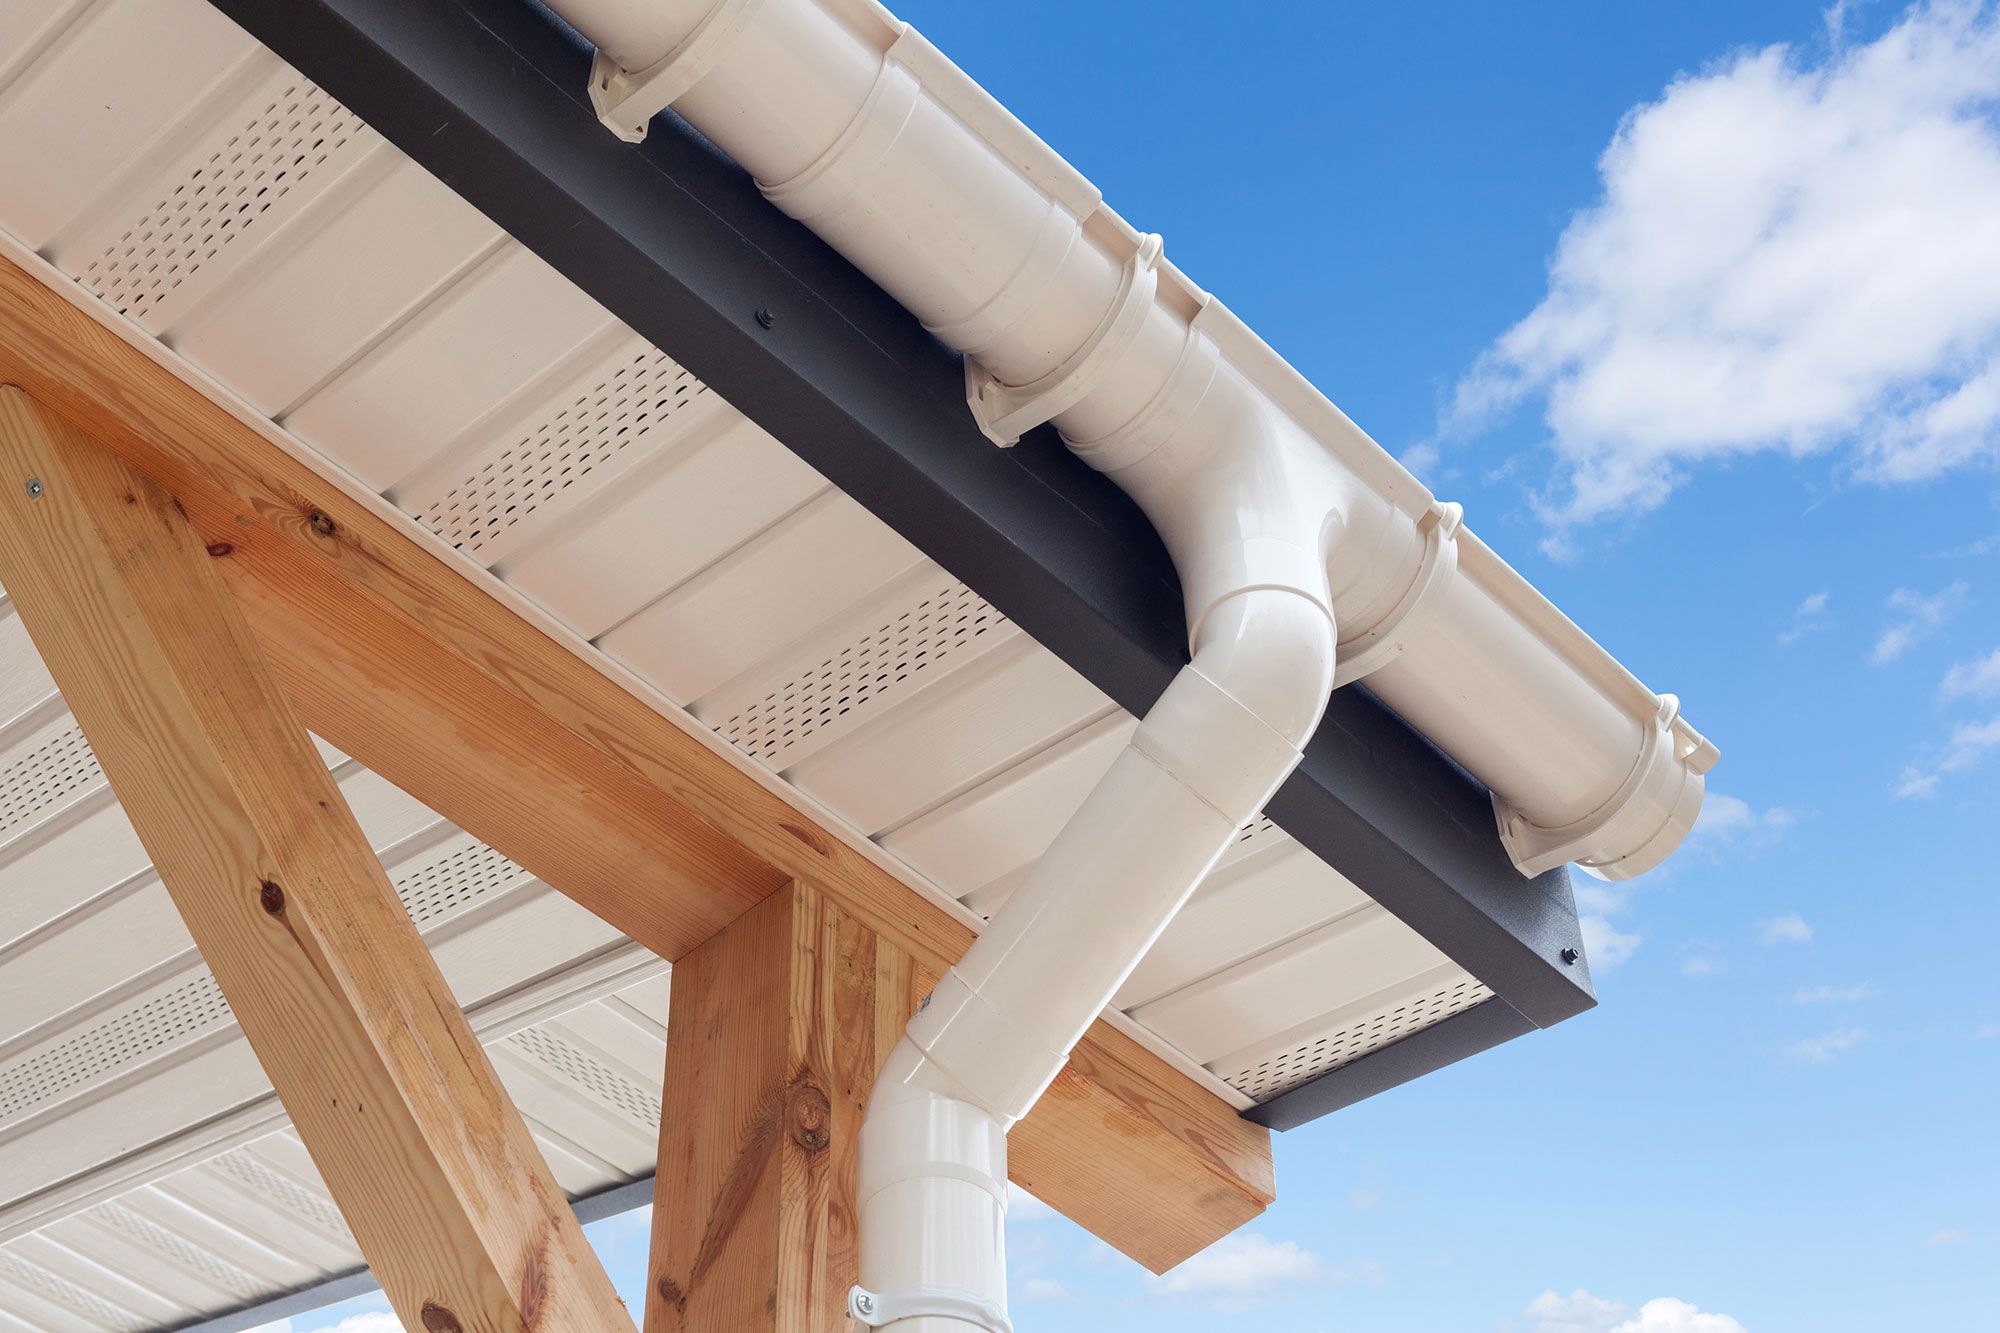
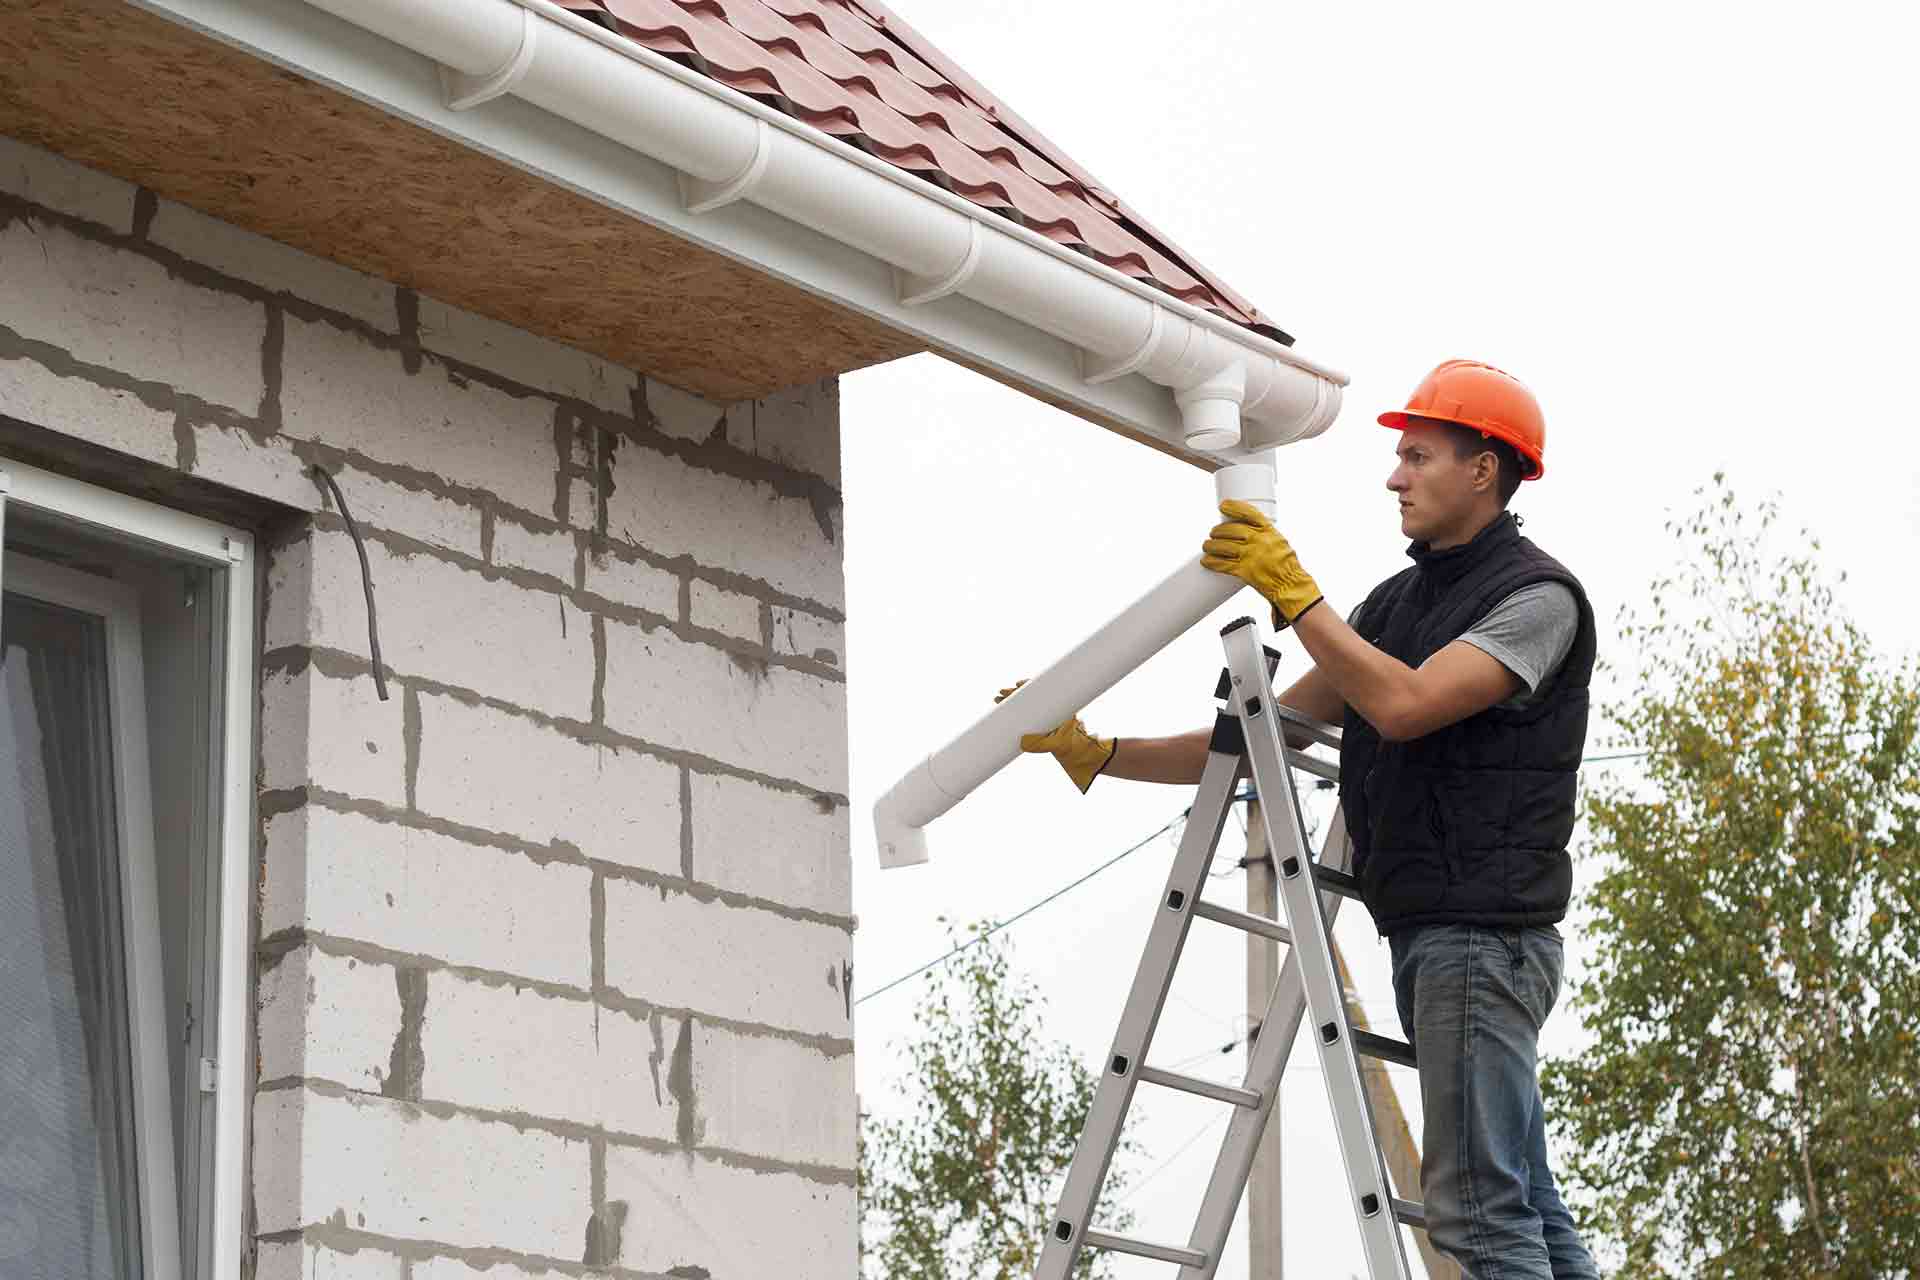
Step 7: Install the Downspouts
Installing the downspouts is the next step in completing your vinyl gutter system. The downspouts are responsible for directing the rainwater from the gutters down to the ground. Follow these steps to properly install the downspouts:
- Position the downspout outlet: Start by positioning the downspout outlet at the desired location on the gutter. This is typically at the corner of the house or where the water needs to be directed away from the foundation.
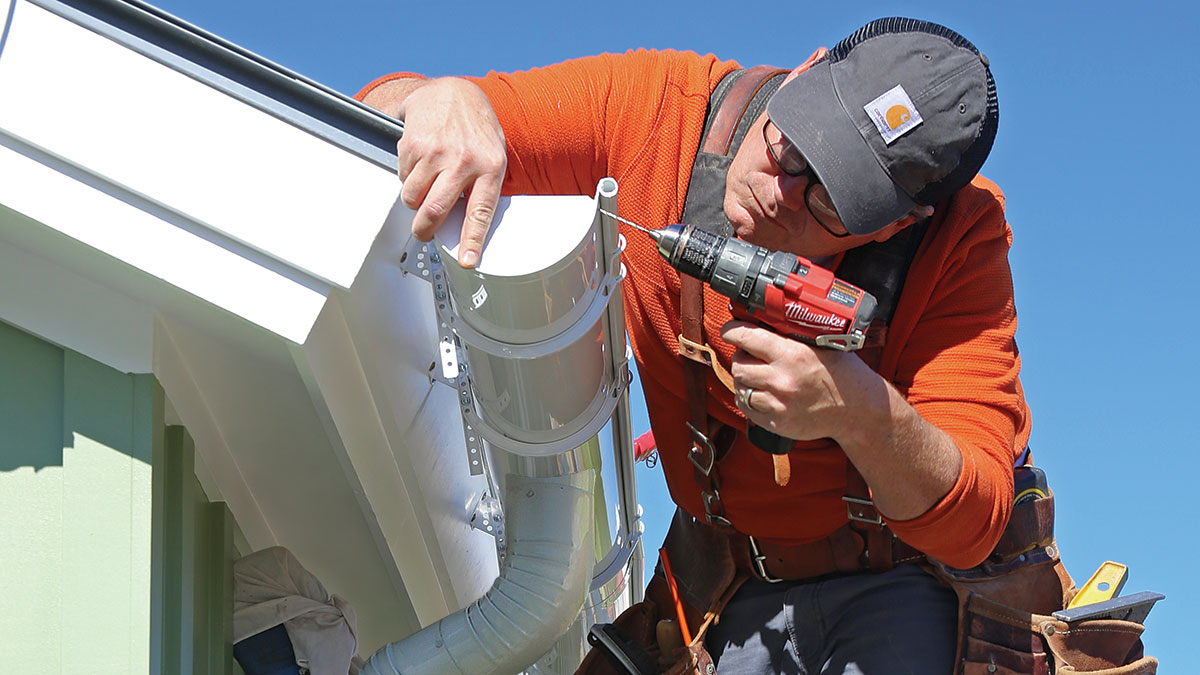
- Secure the downspout outlet: Secure the downspout outlet to the gutter using screws or rivets. Make sure it is firmly attached and properly aligned.
- Measure and cut the downspout: Measure the length required for the downspout to reach from the outlet to the ground. Use a miter saw or tin snips to cut the downspout to the appropriate size. Make straight and clean cuts.
- Attach the downspout to the outlet: Slide the downspout onto the outlet and secure it using screws or rivets. Ensure a snug fit and proper alignment.
- Install downspout elbows: If your downspout needs to redirect the water or navigate around obstacles, install downspout elbows. Attach them to the downspout using screws or rivets. Make sure they are securely and tightly fastened.
- Anchor the downspout to the wall: Attach downspout brackets to the wall where the downspout will run vertically. Use screws or nails to secure the brackets and ensure they are level and sturdy.
- Connect downspout sections: If your downspout requires multiple sections, connect them together using downspout connectors or crimping tools. Make sure the connections are tight and sealed to prevent leaks.
- Attach the downspout extension: If necessary, attach a downspout extension at the bottom of the downspout to direct the water away from the foundation. Ensure it is securely fastened.
- Double-check the installation: Once all the downspout components are in place, double-check the overall installation. Confirm that the downspouts are properly aligned, sloping away from the house, and securely attached.
Following these steps will ensure that the downspouts are correctly installed and effectively channel the rainwater away from your home’s foundation. With the downspouts in place, it’s time to move on to the final step: testing the system.
Step 8: Test the System
After completing the installation of your vinyl gutter system, it’s important to test the system to ensure it is functioning properly. Testing the system will help you identify any issues or areas that may require adjustments. Follow these steps to test your gutter system:
- Check for proper water flow: Start by observing the flow of water through the gutters during a rainfall or by using a hose to simulate rainfall. Confirm that water is effectively being channeled through the gutters and into the downspouts.
- Inspect for leaks or overflow: As the water flows through the gutters and downspouts, carefully examine the entire system for any signs of leaks, seepage, or overflow. Look for any areas where water may escape or accumulate excessively.
- Monitor downspout discharge: Observe the water being discharged from the downspouts. Ensure that it is directed away from your home’s foundation to prevent potential water damage.
- Adjustments and enhancements: If you notice any leaks, overflow, or improper water flow, make the necessary adjustments or enhancements. This may involve tightening connections, applying additional sealant, or repositioning downspouts.
- Repeat the test: After making any necessary adjustments, repeat the water flow test to ensure that the system is now functioning optimally. Continue to monitor the performance of the gutter system during different weather conditions to confirm its effectiveness.
- Maintain and clean regularly: To keep your gutter system in good working condition, make it a habit to clean and maintain it regularly. Remove debris, leaves, and other obstructions to prevent clogs and ensure proper water flow.
By testing the system and addressing any issues, you can ensure that your vinyl gutter system is working efficiently in diverting rainwater away from your home. Regular maintenance will help prolong the lifespan and functionality of your gutter system.
Congratulations on successfully installing your vinyl gutters! With proper maintenance and regular inspections, you can enjoy the benefits of a functional and reliable gutter system that protects your home from water damage.
Remember, if you’re unsure about any step of the installation process or encounter any difficulties, it’s always recommended to consult with a professional gutter installer or seek expert advice.
Conclusion
Installing vinyl gutters can be a rewarding DIY project that offers numerous benefits for your home. The affordability, low maintenance requirements, durability, and aesthetic appeal of vinyl gutters make them a popular choice among homeowners.
By following the step-by-step guide outlined in this article, you can successfully install vinyl gutters and enjoy the peace of mind that comes with protecting your home from water damage.
Remember to measure and plan accordingly, gather the necessary tools, and prepare the area before installation. Installing the hangers, attaching the gutters, and connecting them properly are crucial for a secure and functional gutter system. Additionally, the installation of downspouts ensures proper water flow and drainage away from your home’s foundation.
Before completing the installation, don’t forget to test the system to ensure it is functioning properly. Regular maintenance and cleaning will help keep your vinyl gutters in optimal condition for years to come.
If you are unsure about any step of the installation process or have concerns about your abilities, it’s advisable to consult with a professional gutter installer. They can provide expert guidance and ensure the job is done correctly.
With your newly installed vinyl gutters, you can have peace of mind knowing that your home is protected from potential water damage. Enjoy the benefits of a reliable gutter system that efficiently channels rainwater away from your home’s foundation.
Now it’s time to sit back, relax, and admire your handiwork as you appreciate the value and functionality that vinyl gutters bring to your home.
Frequently Asked Questions about How To Install Vinyl Gutters
Was this page helpful?
At Storables.com, we guarantee accurate and reliable information. Our content, validated by Expert Board Contributors, is crafted following stringent Editorial Policies. We're committed to providing you with well-researched, expert-backed insights for all your informational needs.


0 thoughts on “How To Install Vinyl Gutters”