
Articles
How To Install Leaf Guard Gutters
Modified: December 7, 2023
Learn how to install leaf guard gutters with our informative articles. Protect your home from clogged gutters and potential water damage.
(Many of the links in this article redirect to a specific reviewed product. Your purchase of these products through affiliate links helps to generate commission for Storables.com, at no extra cost. Learn more)
Introduction
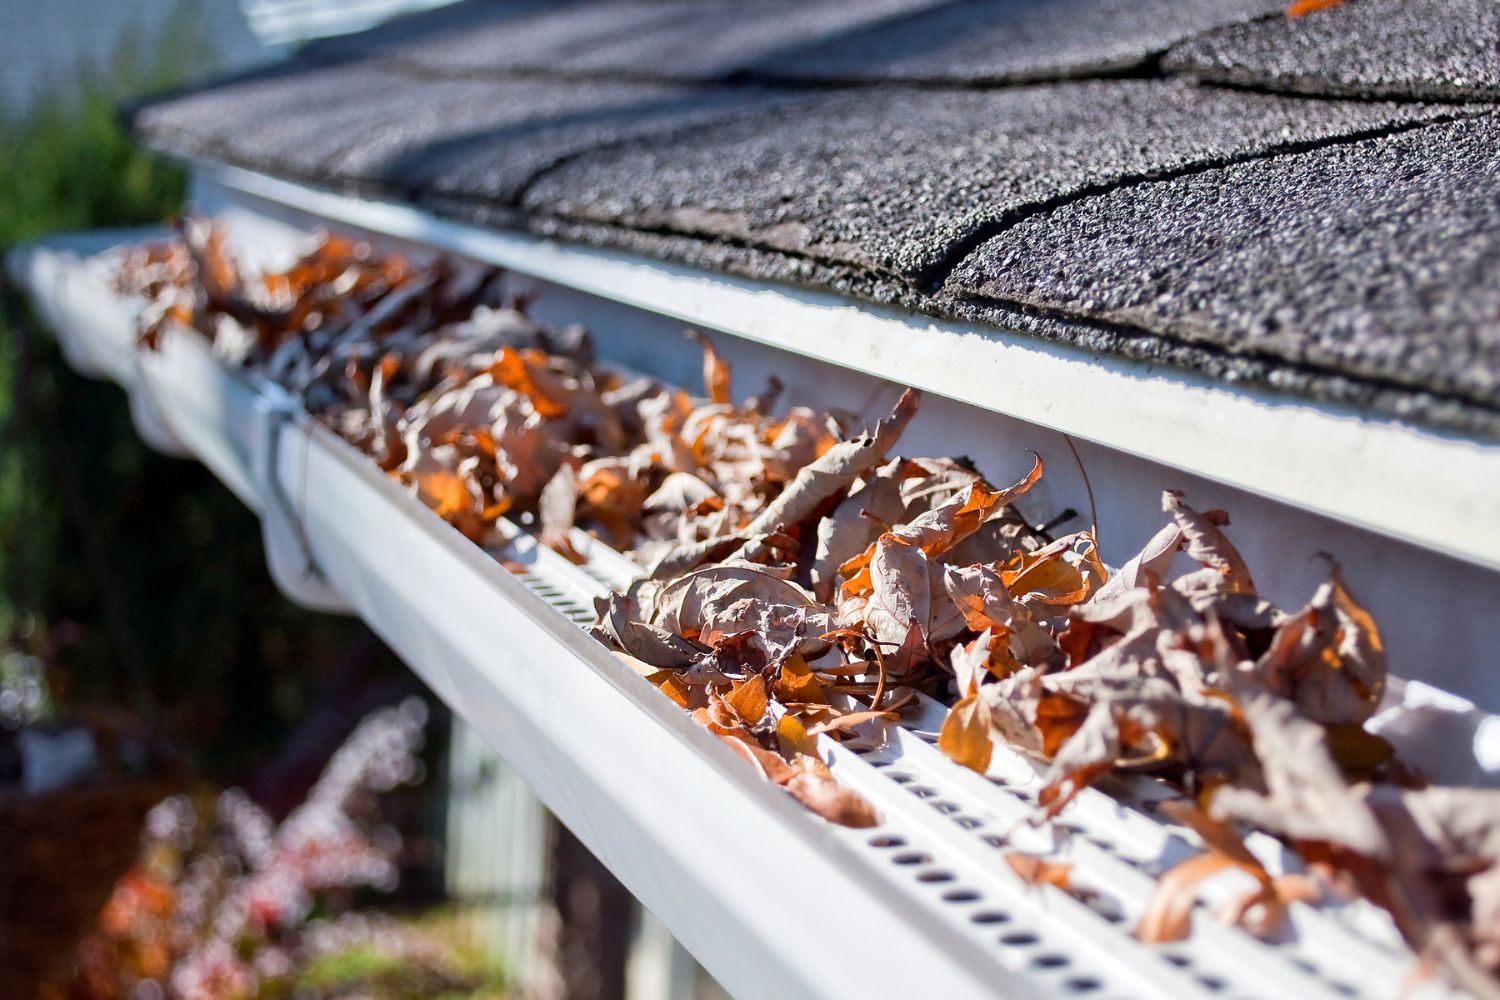
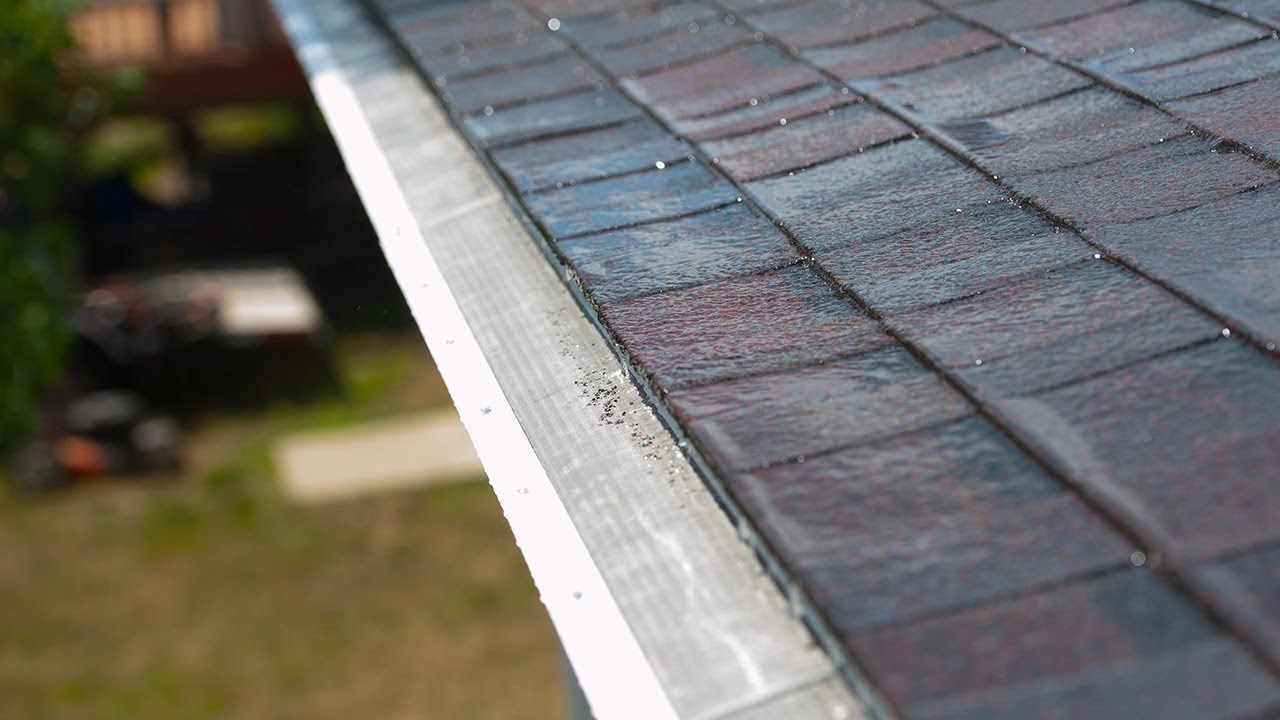
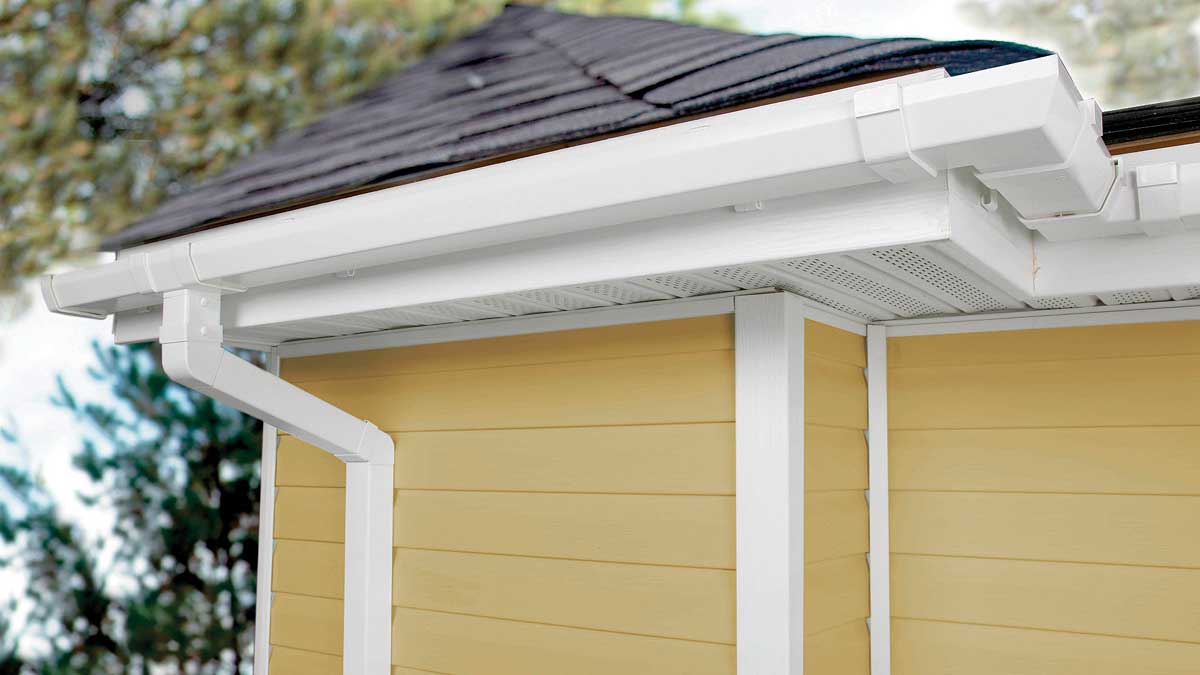
When it comes to maintaining the health and functionality of your home’s gutter system, installing leaf guard gutters can be a game-changer. These innovative additions help prevent leaves, debris, and other unwanted materials from clogging your gutters, saving you valuable time and effort in cleaning and maintenance.
In this comprehensive guide, we will walk you through the step-by-step process of installing leaf guard gutters. By following these instructions, you can ensure that your gutter system remains free from obstructions and functions at its best. So, let’s dive in and get started!
Key Takeaways:
- Installing leaf guard gutters can save time and effort in gutter maintenance by preventing clogs. Thorough cleaning, precise measurements, and secure attachment are essential for a seamless installation.
- Checking for leaks after installation ensures optimal gutter functionality. Addressing any leaks promptly can prevent potential water damage to your home’s foundation and landscaping.
Read more: How Leaf Guard Gutters Work
Step 1: Gather the necessary materials
Before you begin the installation process, it’s crucial to gather all the necessary materials. By having everything you need on hand, you can streamline the installation process and avoid any delays. Here’s a list of the materials you’ll need:
- Leaf guard gutter sections
- Gutter hangers
- Gutter screws or nails
- Downspouts
- Outlets
- Measuring tape
- Hacksaw or tin snips
- Drill with bits
- Screwdriver
- Caulk gun
- Silicone caulk
- Level
- Pencil
Make sure to purchase enough leaf guard gutter sections to cover the entire length of your gutters. Additionally, take accurate measurements of your gutters to determine the quantity of hangers, screws or nails, downspouts, and outlets you’ll need.
Once you have all the materials in place, you’re ready to move on to the next step!
Step 2: Clean the gutters
Before installing the leaf guard gutter sections, it’s important to thoroughly clean your gutters. Over time, leaves, twigs, and other debris can accumulate and block the flow of water. Cleaning the gutters ensures that they are free from any obstructions and allows for smooth water flow.
Here’s a step-by-step process for cleaning your gutters:
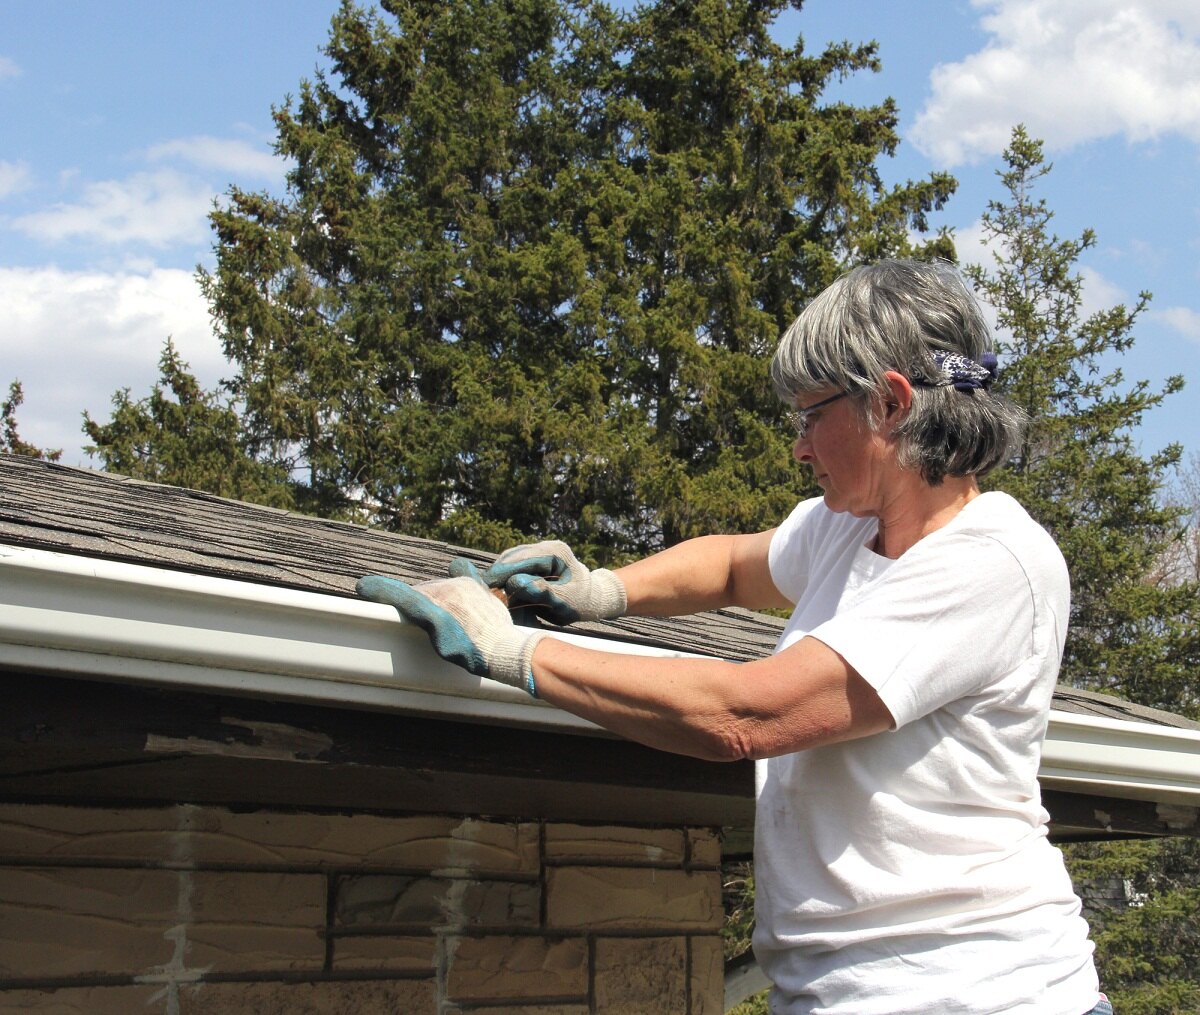
- Start by using a ladder to access your gutters safely. Ensure that the ladder is stable and secure before climbing up.
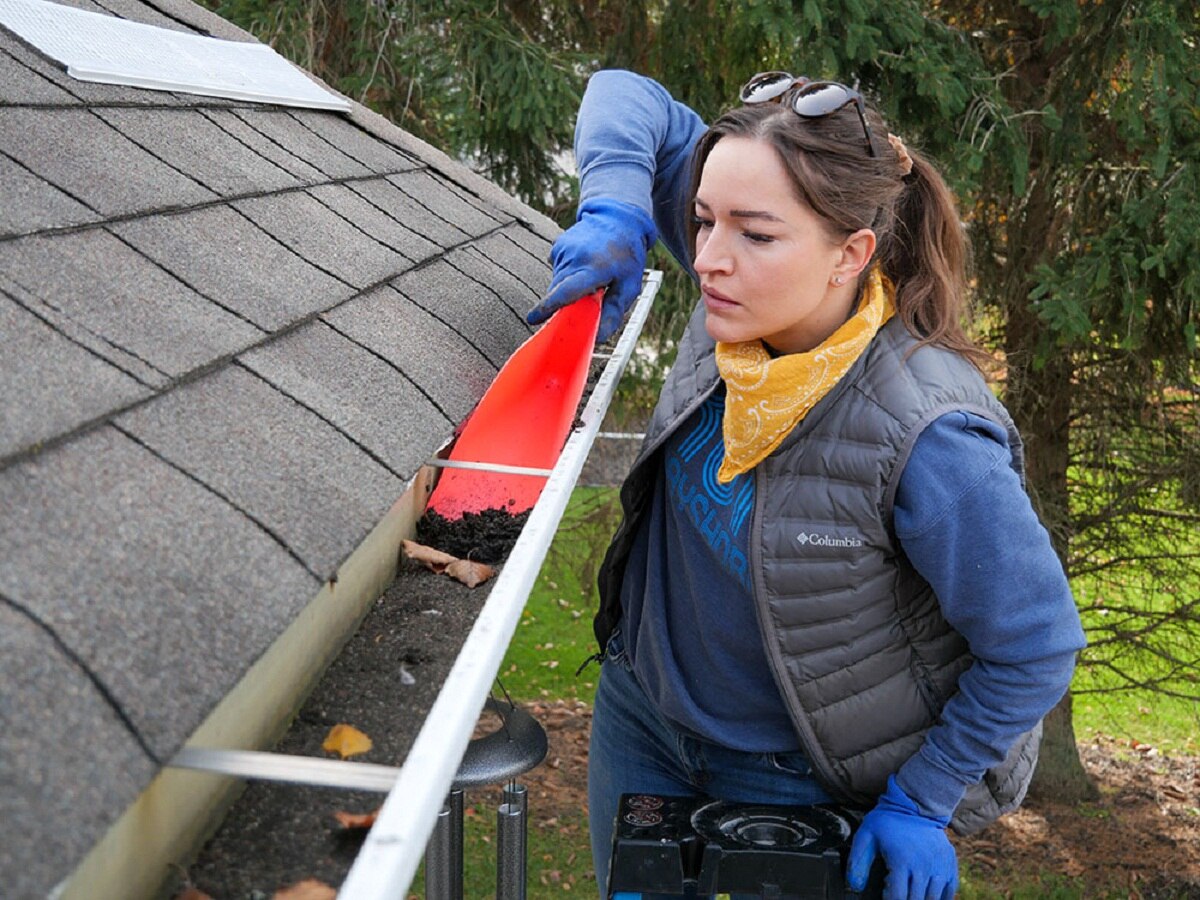
- Wear gloves and use a scoop or small trowel to remove any large debris such as leaves and twigs from the gutters. Place the debris in a bucket or bag to dispose of later.
- Next, use a hose with a spray nozzle to flush out any remaining dirt or smaller debris. Start from one end of the gutter and work your way towards the downspout. This will help push any remaining blockages towards the drainage point.
- Inspect the gutters for any signs of damage or leaks. If you notice any issues, make note of them for repairs before installing the leaf guard gutter sections.
- Lastly, ensure that the downspouts are clear of any clogs. Use a plumber’s snake or a high-pressure hose to remove any blockages.
By cleaning your gutters thoroughly, you’ll create a clean foundation for the leaf guard gutter installation. This step is essential in maintaining the overall functionality and lifespan of your gutter system.
Step 3: Measure and cut the leaf guard gutter sections
Now that your gutters are clean, it’s time to measure and cut the leaf guard gutter sections to fit your specific gutter system. This step ensures a precise and snug installation.
Follow these steps to measure and cut the leaf guard gutter sections:
- Start at one end of your gutter and use a measuring tape to measure the length. Take note of the measurement and move on to the next section.
- Repeat this process for each section of the gutter, recording the measurements as you go.
- To ensure a precise fit, subtract ½ inch from each measurement. This will allow for a small gap between the sections, ensuring proper expansion and contraction due to temperature changes.
- Transfer the measurements onto the leaf guard gutter sections using a pencil. Make sure to mark the end that will connect to the next section.
- Using a hacksaw or tin snips, carefully cut the leaf guard gutter sections at the marked points. Ensure that the cuts are straight and clean.
It’s important to take accurate measurements and make clean cuts to ensure a seamless installation. Remember, it’s always better to double-check your measurements before cutting to avoid any errors.
Once you have the leaf guard gutter sections measured and cut, you’re ready to move on to the next step: attaching them to the gutters.
When installing leaf guard gutters, make sure to properly measure and cut the guards to fit the length of your gutters. Use a sturdy ladder and follow all safety precautions during installation.
Step 4: Attach the leaf guard gutter sections
Now that you have measured and cut the leaf guard gutter sections, it’s time to attach them to your gutters. This step will help in preventing leaves and debris from entering the gutter system while ensuring proper water flow.
Follow these steps to attach the leaf guard gutter sections:
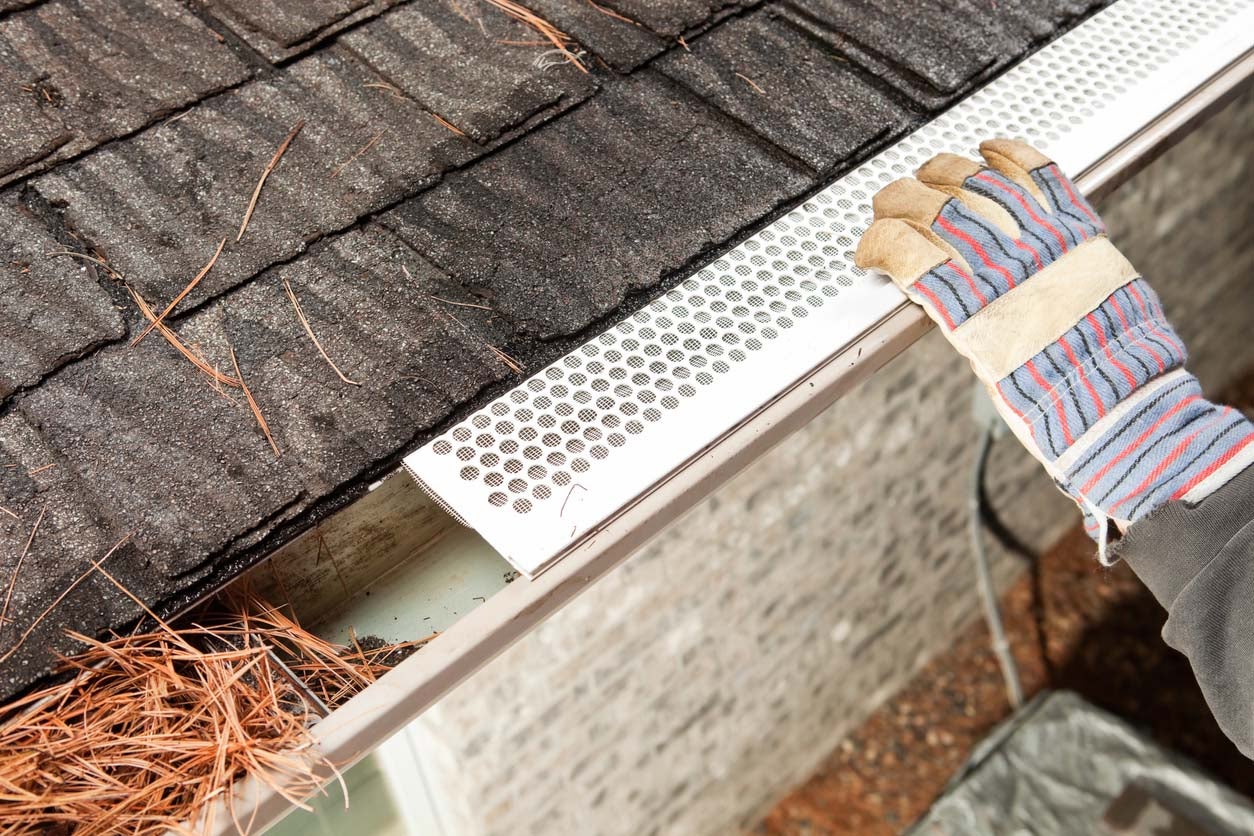
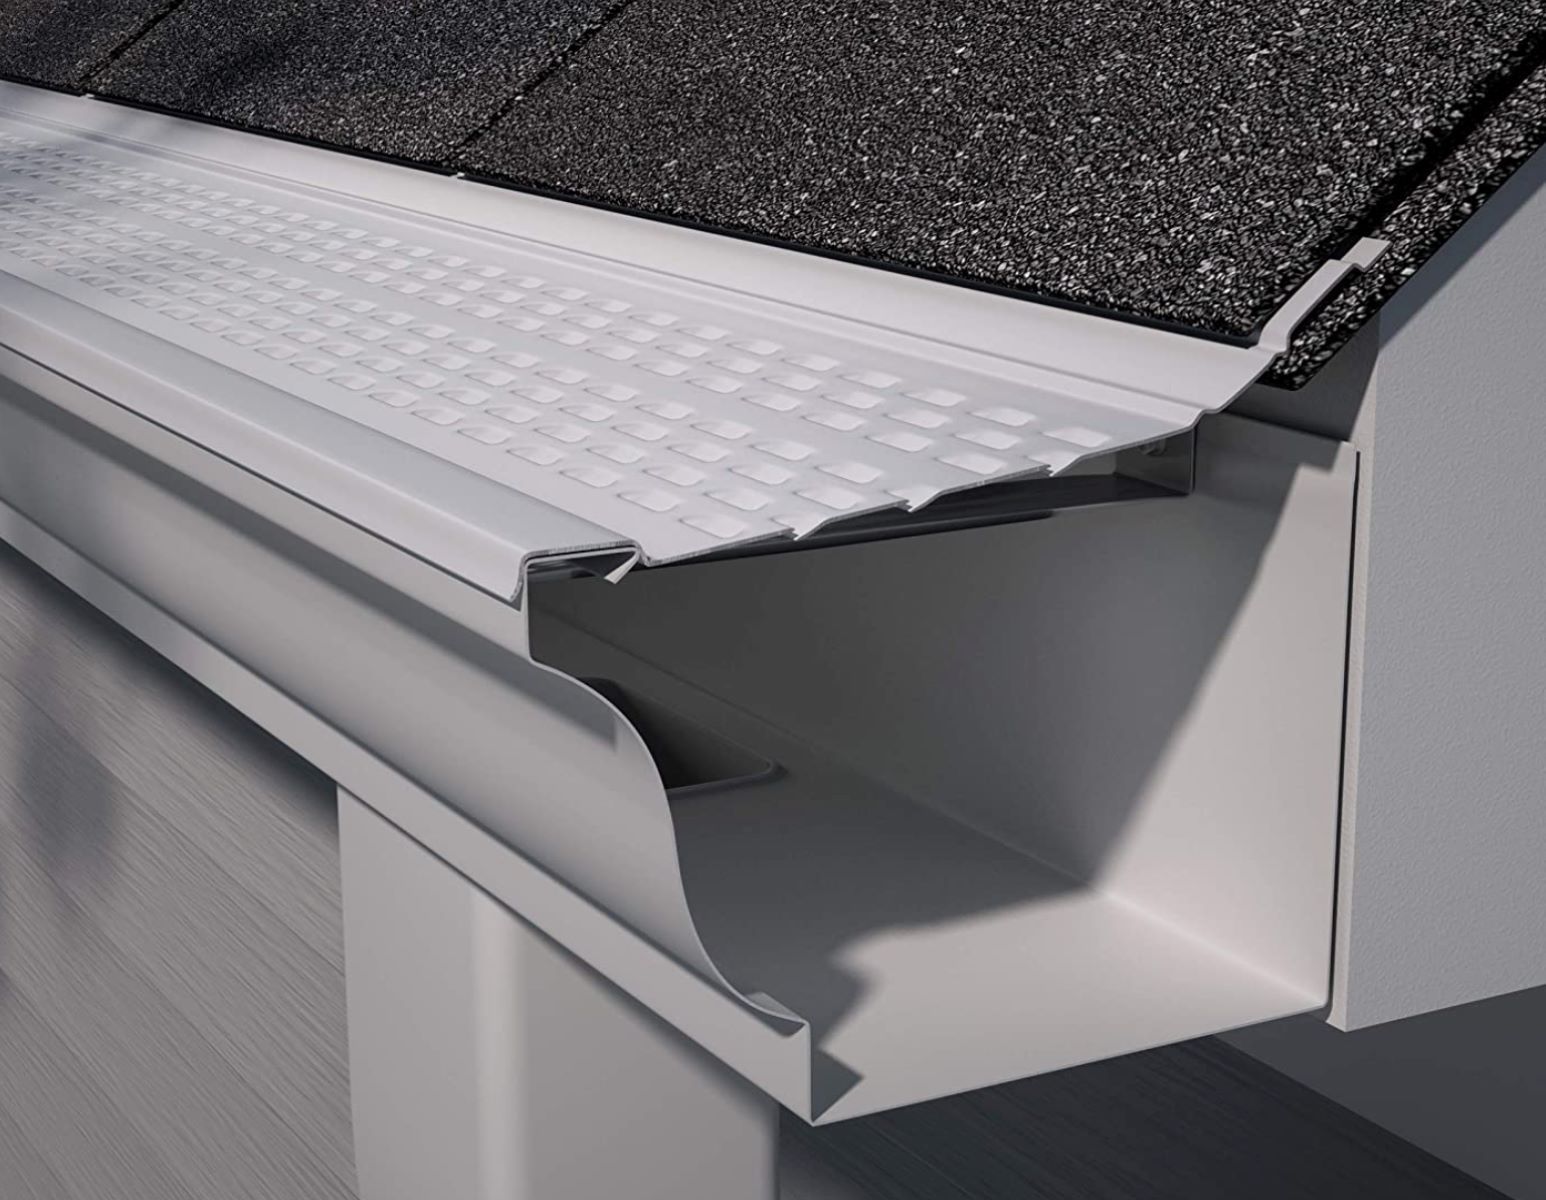
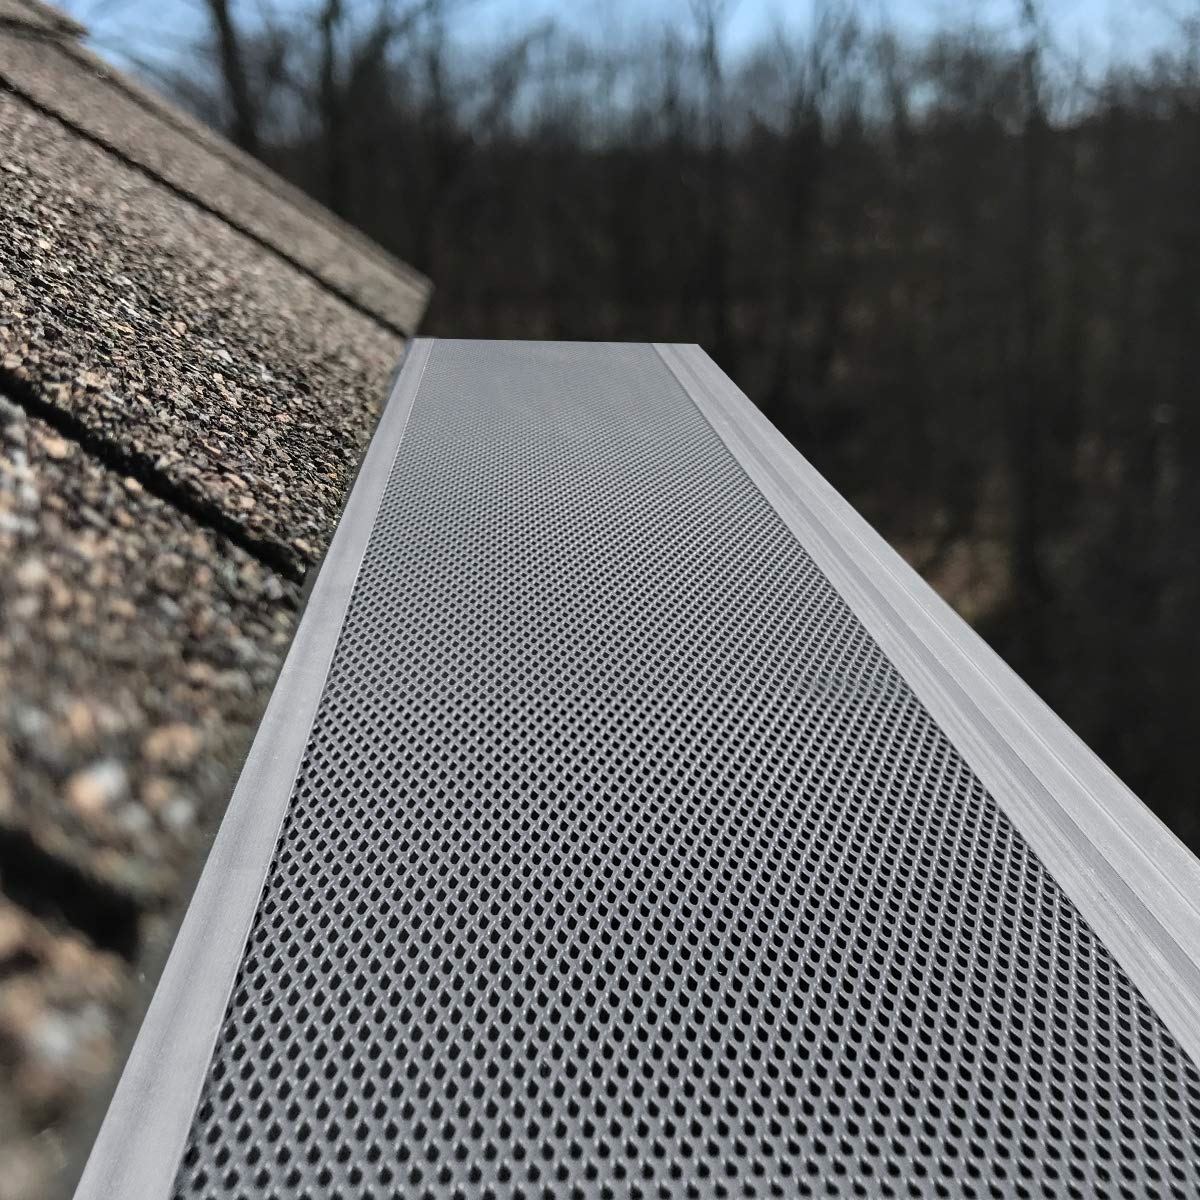
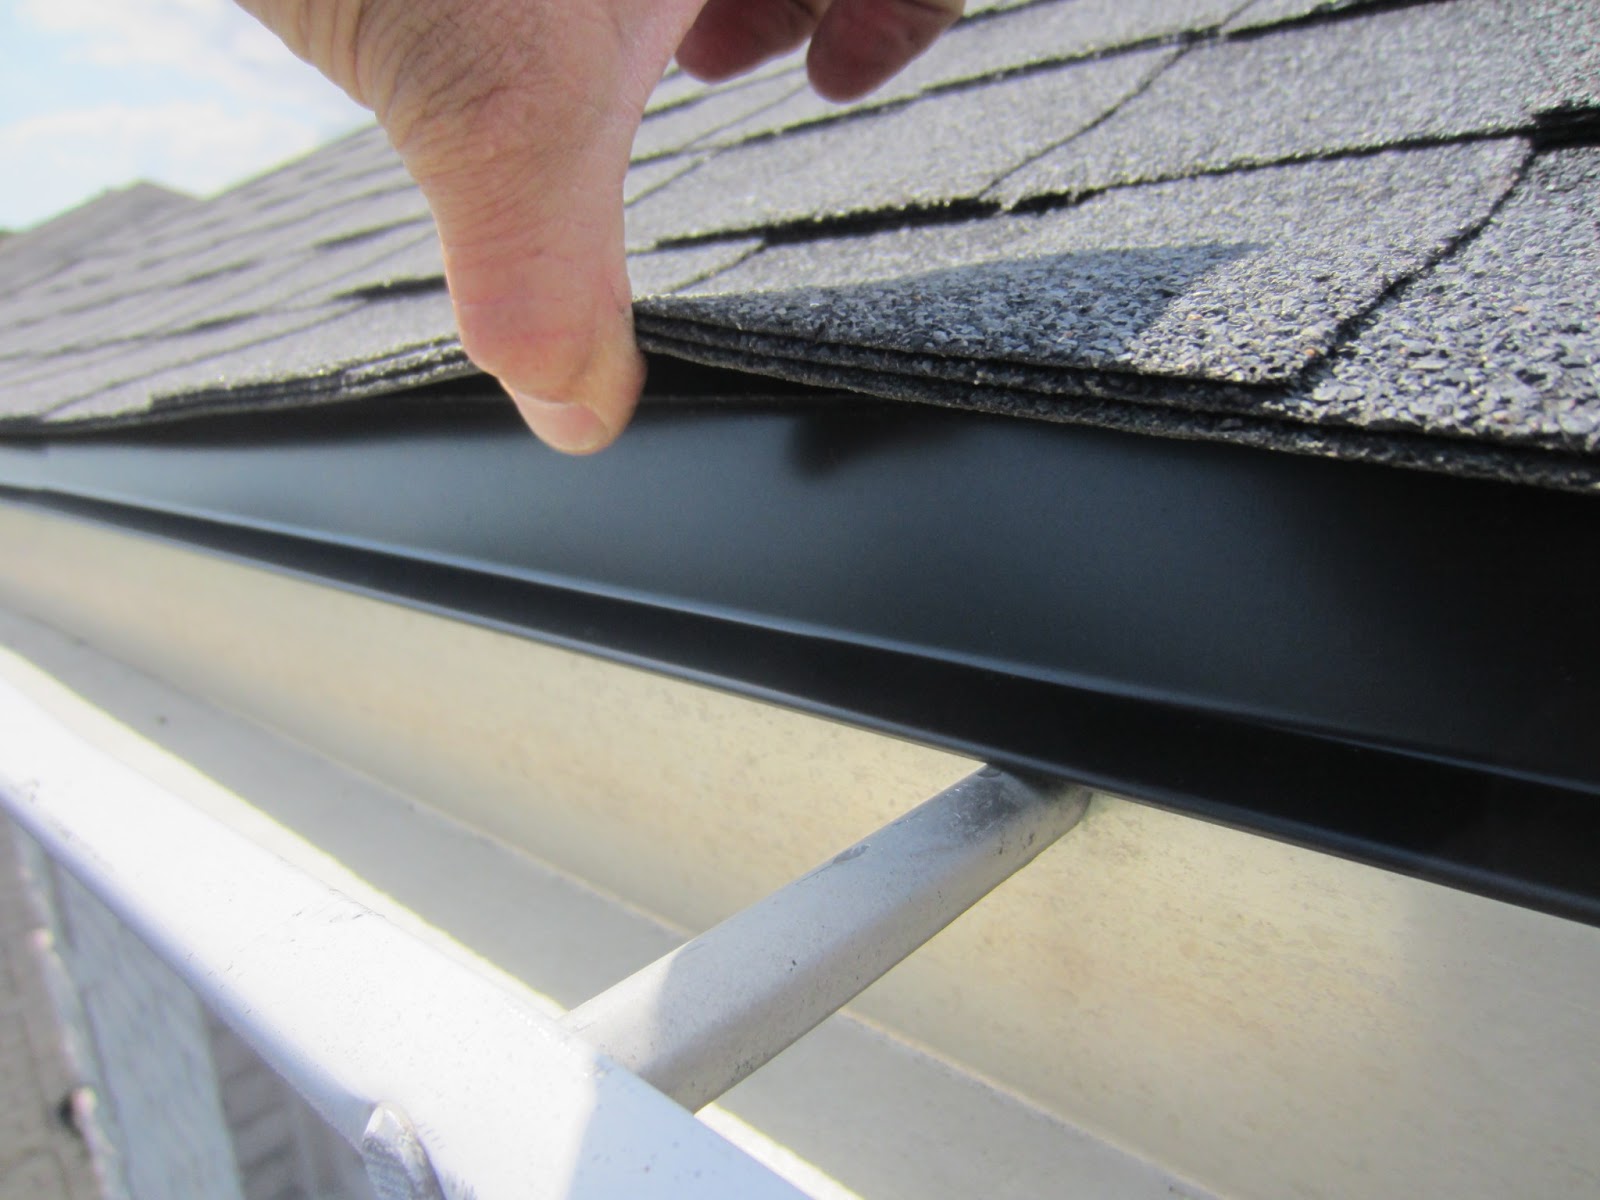
- Starting at one end of the gutter, position the leaf guard gutter section on top of the gutter, aligning it with the edge.
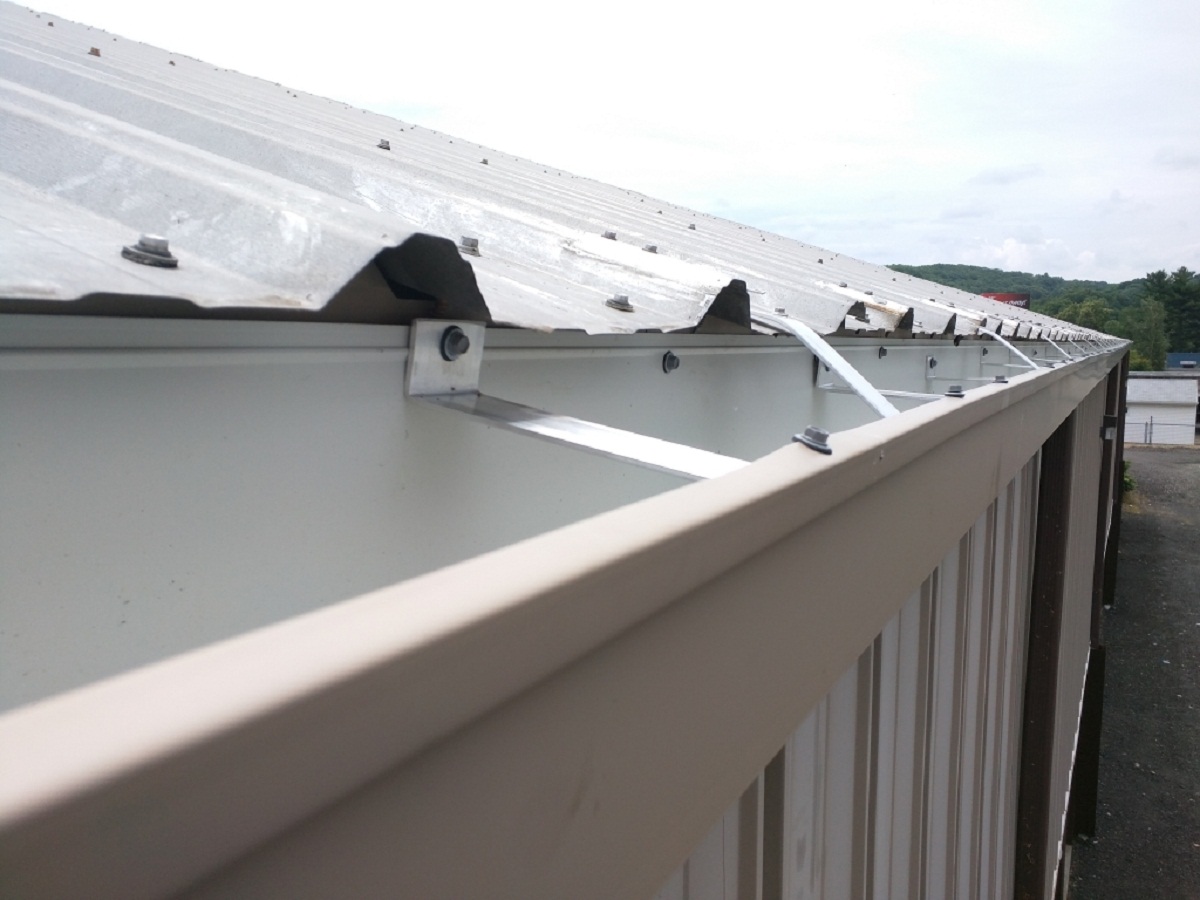
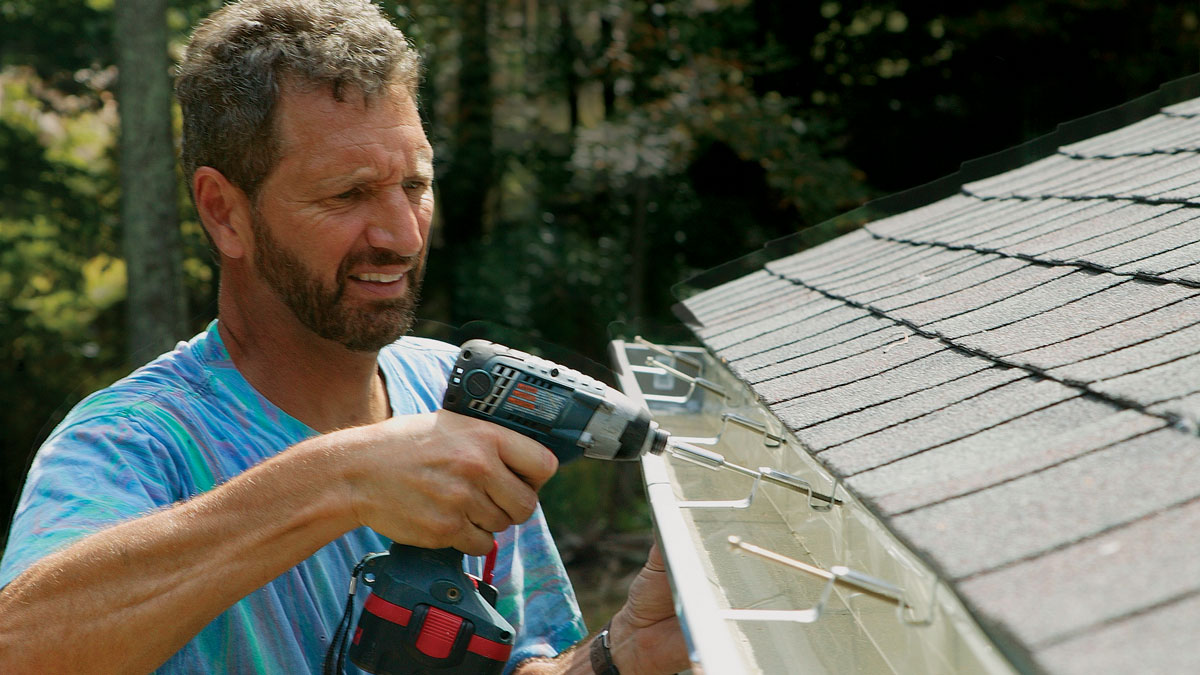
- Secure the leaf guard gutter section by using gutter hangers. Place the hangers at regular intervals, spacing them according to the manufacturer’s guidelines. Attach the hangers to the gutter using gutter screws or nails.
- Continue attaching the leaf guard gutter sections, making sure to overlap the sections slightly to prevent any gaps. Use the same process of securing them with gutter hangers.
- Once all the sections are attached, use a level to ensure that they are aligned properly. Adjust the position if necessary.
- Check the connections between the leaf guard gutter sections for any gaps or loose spots. If needed, tighten the screws or nails to secure them firmly.
Attaching the leaf guard gutter sections securely is crucial in preventing leaves and debris from entering your gutter system. Take your time during this step to ensure a sturdy and effective installation.
With the leaf guard gutter sections in place, you’re ready to move on to the next step: installing downspouts and outlets.
Read more: What Are The Best Leaf Guards For Gutters
Step 5: Install downspouts and outlets
Once you have the leaf guard gutter sections attached, the next step is to install the downspouts and outlets. These components are essential for directing the water from your gutter system away from your home’s foundation.
Follow these steps to install the downspouts and outlets:
- Choose the appropriate locations for the downspouts based on your landscape and drainage needs. Mark these locations on your gutters using a pencil.
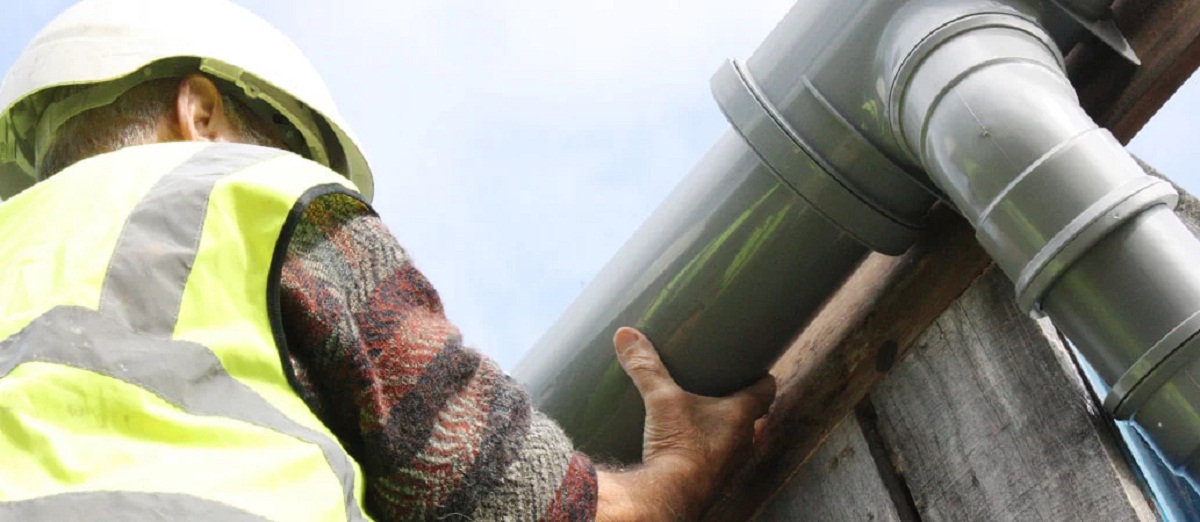
- Attach the outlet to the marked location on the gutter. Use a drill with the appropriate bit to create a hole for the outlet. Ensure that the outlet is securely fitted into the hole.
- Measure and cut the downspout sections to the desired length. Make sure to leave some room for the downspout elbow and extension at the bottom.
- Connect the downspout sections to the outlets, ensuring a tight fit. Use screws or rivets to secure the connections.
- If necessary, install downspout elbows to redirect the water flow away from the wall. Attach the elbows using screws or rivets.
- Install downspout extensions at the bottom of the downspouts to channel the water away from your property. Ensure that the extensions are sloped away from your home’s foundation.
Installing downspouts and outlets is essential for the proper functioning of your gutter system. It allows the water to be directed away from your home, preventing potential water damage and foundation issues.
With the downspouts and outlets in place, you’re almost done! The final step is to check for any leaks.
Step 6: Check for leaks
After completing the installation of leaf guard gutters, downspouts, and outlets, it’s important to check for any potential leaks before considering the project complete. This ensures that your gutter system is functioning optimally and that there are no issues that need to be addressed.
Follow these steps to check for leaks in your gutter system:
- Start by visually inspecting the entire gutter system. Look for any signs of water leakage, such as dripping, streaks, or water stains.
- Next, use a hose to simulate rainfall. Start at one end of the gutter and gradually work your way down, focusing on each section at a time. Allow water to flow through the gutter system for a few minutes.
- Observe any areas where water may be leaking. Pay close attention to the connections between the leaf guard gutter sections, downspouts, outlets, and other components. In particular, check for any water seepage or drips.
- If you notice any leaks, mark their locations and address them promptly. This may involve tightening screws or nails, applying silicone caulk to seal gaps, or making adjustments to ensure a proper fit.
- Continue running water through the gutter system until you are satisfied that there are no more leaks. Monitor the system for a longer period of time to ensure that there are no hidden leaks.
Checking for leaks is a crucial step to ensure that your gutter system is functioning efficiently. By addressing any leaks, you can prevent water damage to your home’s foundation, walls, and landscaping.
With the thorough inspection and resolution of any leaks, you have successfully completed the installation of leaf guard gutters!
Conclusion
Installing leaf guard gutters is a wise investment that can save you time, effort, and potentially costly repairs in the long run. With proper installation and maintenance, these innovative additions help prevent leaves, debris, and other unwanted materials from clogging your gutters.
In this comprehensive guide, we have walked you through the step-by-step process of installing leaf guard gutters. From gathering the necessary materials to checking for leaks, each step is crucial in ensuring a seamless and effective installation.
Remember, before you begin the installation process, gather all the necessary materials and thoroughly clean your gutters. Measure and cut the leaf guard gutter sections accurately, and attach them securely to your gutters. Install downspouts and outlets to direct the water away from your home’s foundation. Lastly, check for any leaks to ensure the optimal functionality of your gutter system.
By following these instructions and incorporating good maintenance practices, you can enjoy the benefits of a well-functioning and efficient gutter system that keeps your home protected from water damage.
So, go ahead and give your gutters the protection they deserve with leaf guard gutters. With your newfound knowledge and the right tools, you can successfully install these innovative additions and enjoy the peace of mind that comes with a well-maintained gutter system.
Frequently Asked Questions about How To Install Leaf Guard Gutters
Was this page helpful?
At Storables.com, we guarantee accurate and reliable information. Our content, validated by Expert Board Contributors, is crafted following stringent Editorial Policies. We're committed to providing you with well-researched, expert-backed insights for all your informational needs.



0 thoughts on “How To Install Leaf Guard Gutters”