Articles
How To Install Stackable Washer And Dryer
Modified: February 29, 2024
Learn how to install a stackable washer and dryer with our helpful articles. Make laundry day easier with these step-by-step guides and tips.
(Many of the links in this article redirect to a specific reviewed product. Your purchase of these products through affiliate links helps to generate commission for Storables.com, at no extra cost. Learn more)
Introduction
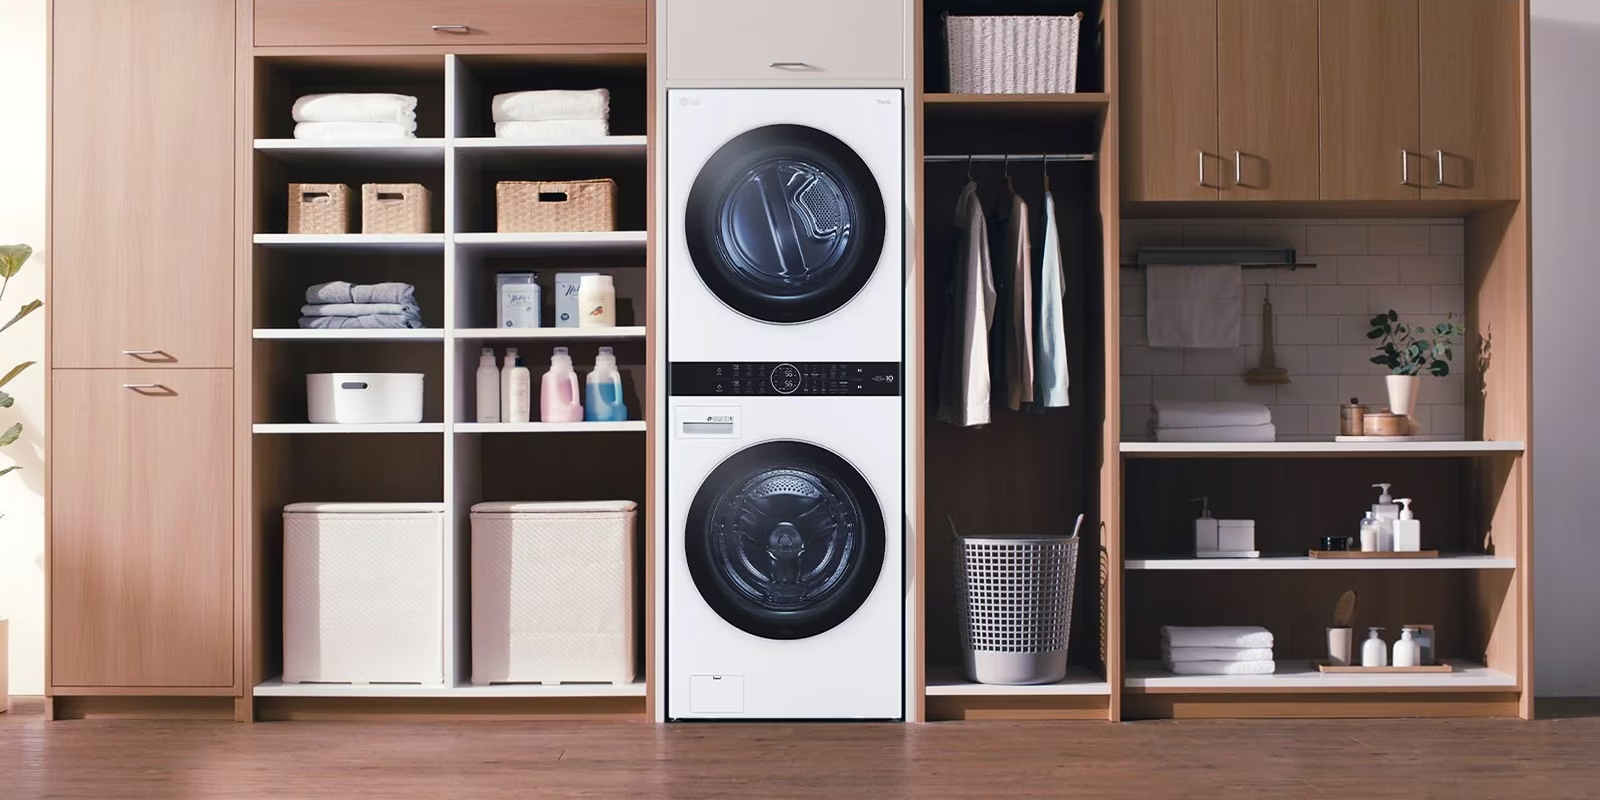
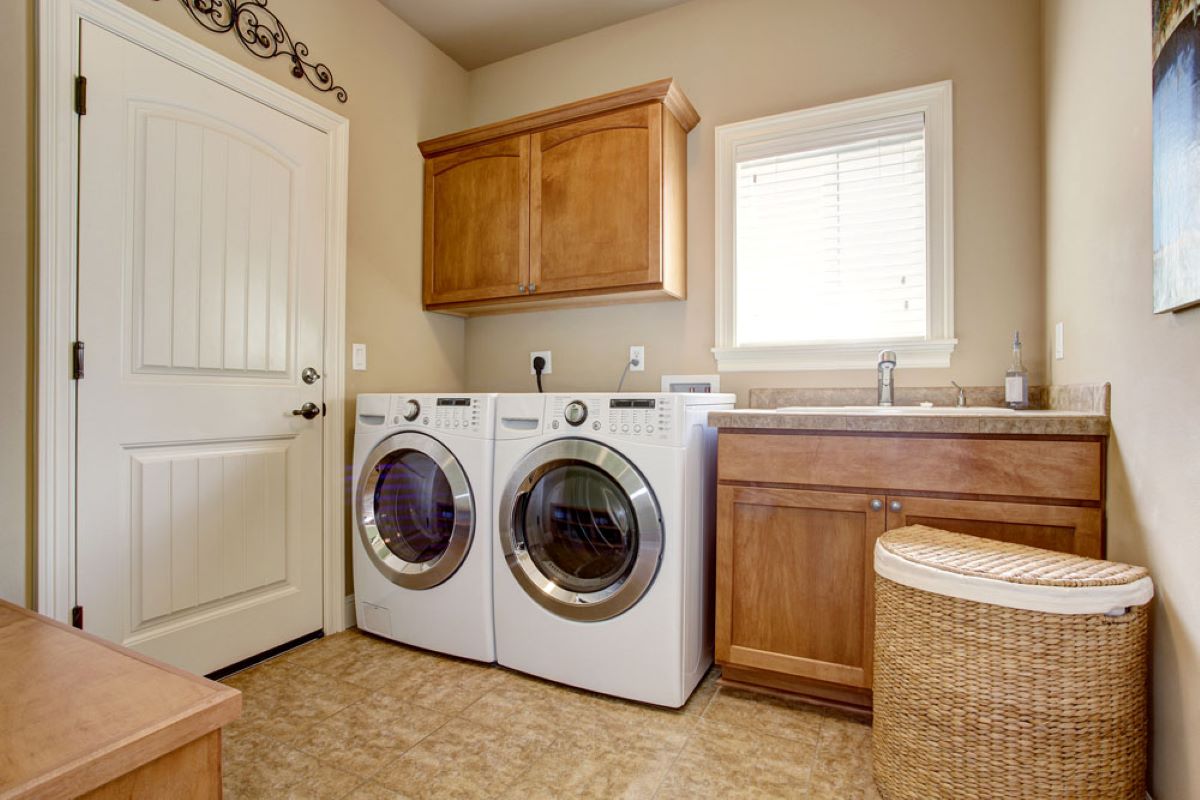
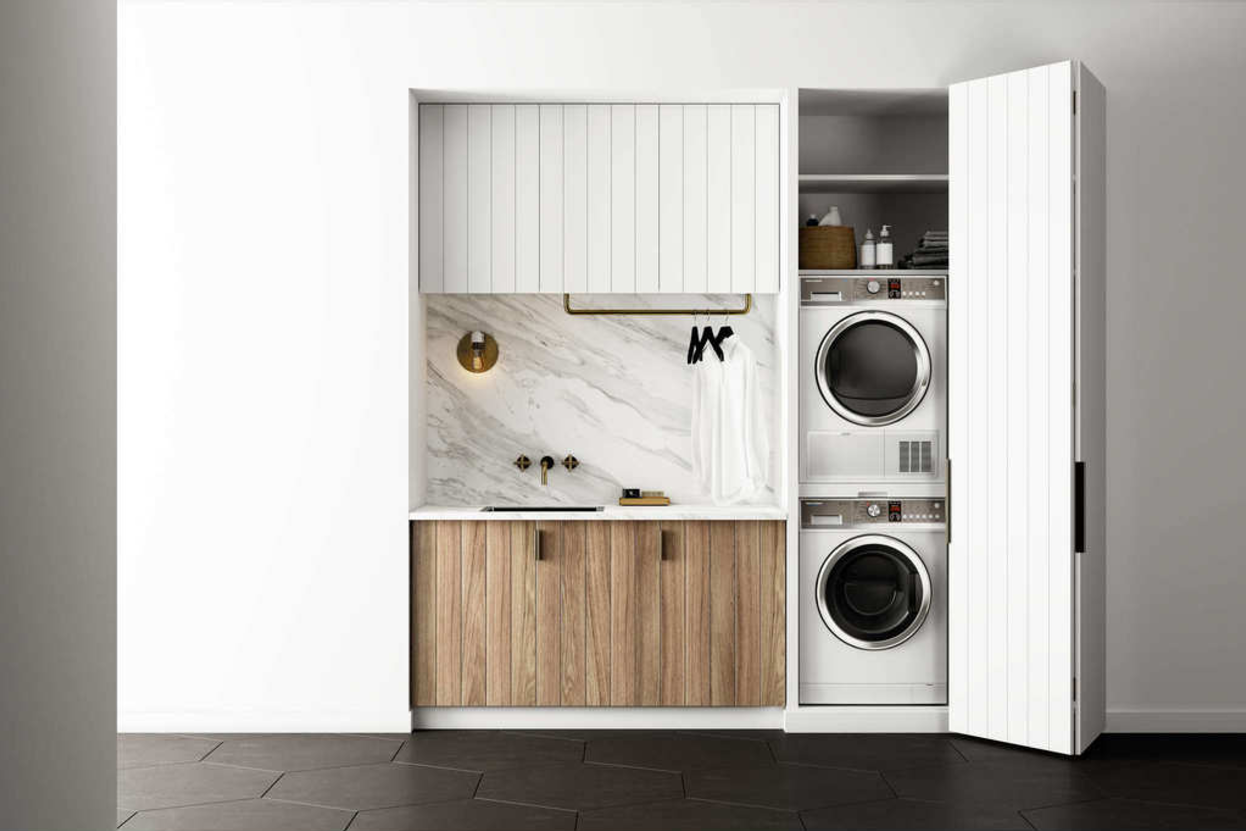
Installing a stackable washer and dryer can be a convenient and space-saving solution for your laundry needs. This compact and efficient appliance combination is perfect for apartments, small homes, or any area with limited space. With a step-by-step installation process, you can have your stackable washer and dryer up and running in no time.
In this article, we will guide you through the installation process of a stackable washer and dryer. From measuring and preparing the space to connecting the units, we will cover all the necessary steps to ensure a successful installation.
Before we begin, it is important to note that each washer and dryer model may have its own specific installation instructions. Be sure to consult the manufacturer’s manual for your particular unit to ensure you follow any unique guidelines or requirements.
Now, let’s get started on installing your stackable washer and dryer!
Key Takeaways:
- Proper preparation is essential for installing a stackable washer and dryer. From measuring the space to ensuring electrical and plumbing connections, attention to detail ensures a smooth and hassle-free installation process.
- Securing the stacked units in place and testing the installation are crucial steps for a successful setup. Following the manufacturer’s instructions and making any necessary adjustments will optimize the performance of your laundry units.
Read more: How To Install Washer And Dryer
Step 1: Measure and prepare the space
The first step in installing a stackable washer and dryer is to measure and prepare the space where you plan to install it. This will ensure that the units fit properly and have enough clearance for operation. Here’s what you need to do:
- Measure the available space: Start by measuring the height, width, and depth of the area where you plan to install your stackable washer and dryer. Make sure to account for any obstructions such as baseboards, cabinets, or countertops that may affect the measurements.
- Check the clearance requirements: Refer to the manufacturer’s manual to determine the required clearance for your specific washer and dryer units. This includes both the sides and the back of the units. It’s important to leave enough space for proper ventilation and access for maintenance or repairs.
- Prepare the floor: Ensure that the floor where you plan to install the stackable washer and dryer is level and sturdy. If the floor is uneven, you may need to use shims to level it out. Additionally, consider placing a protective mat or sheet to prevent any damage to the floor from vibrations or leaks.
- Check the utility connections: Locate the nearest electrical outlet, water supply, and drain connections. Make sure they are easily accessible and compatible with your washer and dryer units. If necessary, hire a professional plumber or electrician to install any required connections.
Once you have completed these steps, you will have a clear understanding of the space requirements and any preparations needed before proceeding with the installation. Taking the time to properly measure and prepare the space will ensure a smooth and hassle-free installation process.
Step 2: Ensure proper electrical and plumbing connections
Before proceeding with the installation of your stackable washer and dryer, it is essential to ensure that you have proper electrical and plumbing connections in place. This will provide the necessary power and water supply for your units to function effectively. Follow these steps to ensure the connections are set up correctly:
- Check the electrical requirements: Refer to the manufacturer’s manual to determine the electrical requirements for your washer and dryer units. Make sure the electrical outlet near the installation area meets these requirements. If you do not have the appropriate outlet, consult a licensed electrician to install the necessary outlet or make any needed electrical modifications.
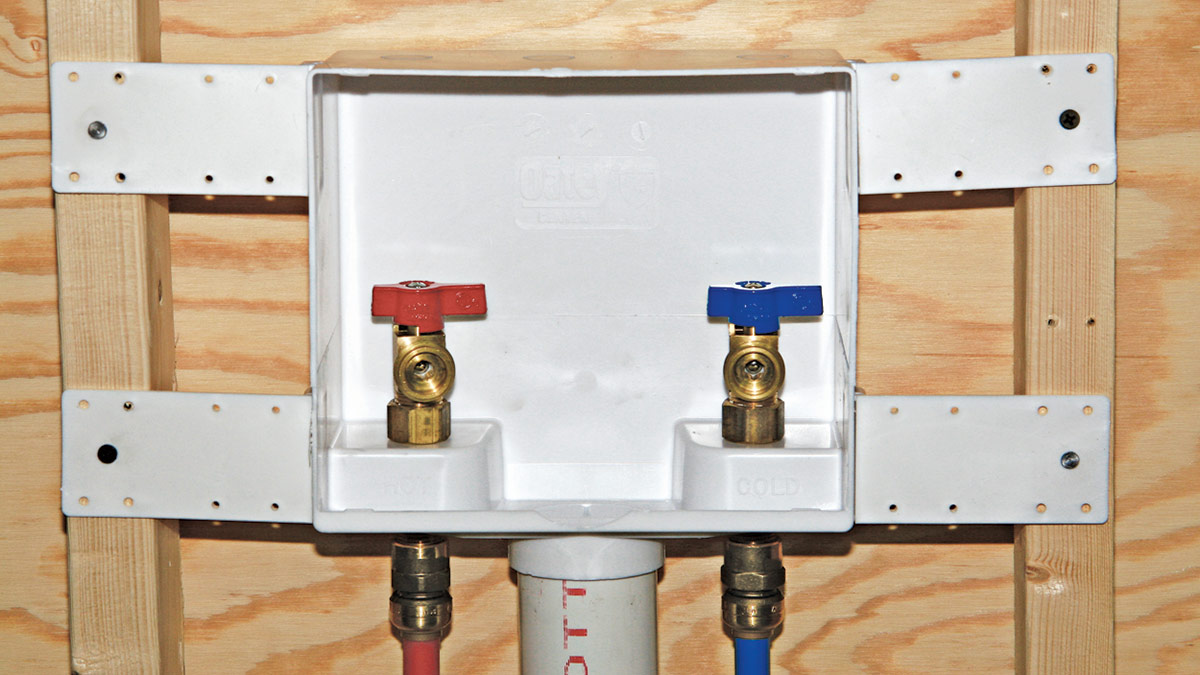
- Verify the water supply: If your stackable washer and dryer require a water supply, ensure that you have a dedicated water line for the units. Locate the nearest water source and check the compatibility of the connections. If needed, consult a professional plumber to install the necessary water supply lines and valves.
- Install the drain line: Determine the proper drain location for your washer and dryer units. Ensure that the drain line is securely connected and properly positioned to prevent any leaks or water damage. If required, consult a plumber to install or relocate the drain line as needed.
- Ground the units: It is crucial to properly ground your washer and dryer units to ensure safety. Follow the manufacturer’s guidelines to connect the units to a grounded outlet or grounding conductor.
Please note that electrical and plumbing requirements may vary based on your specific washer and dryer model. It is essential to consult the manufacturer’s manual for accurate information and to adhere to all local building codes and regulations.
By ensuring proper electrical and plumbing connections, you can guarantee the safe and efficient operation of your stackable washer and dryer units. Take the time to double-check these connections before proceeding to the next installation steps.
Step 3: Unpack and prepare the washer and dryer units
Once you have measured the space and ensured proper electrical and plumbing connections, it’s time to unpack and prepare the washer and dryer units for installation. Follow these steps to properly set up your stackable washer and dryer:
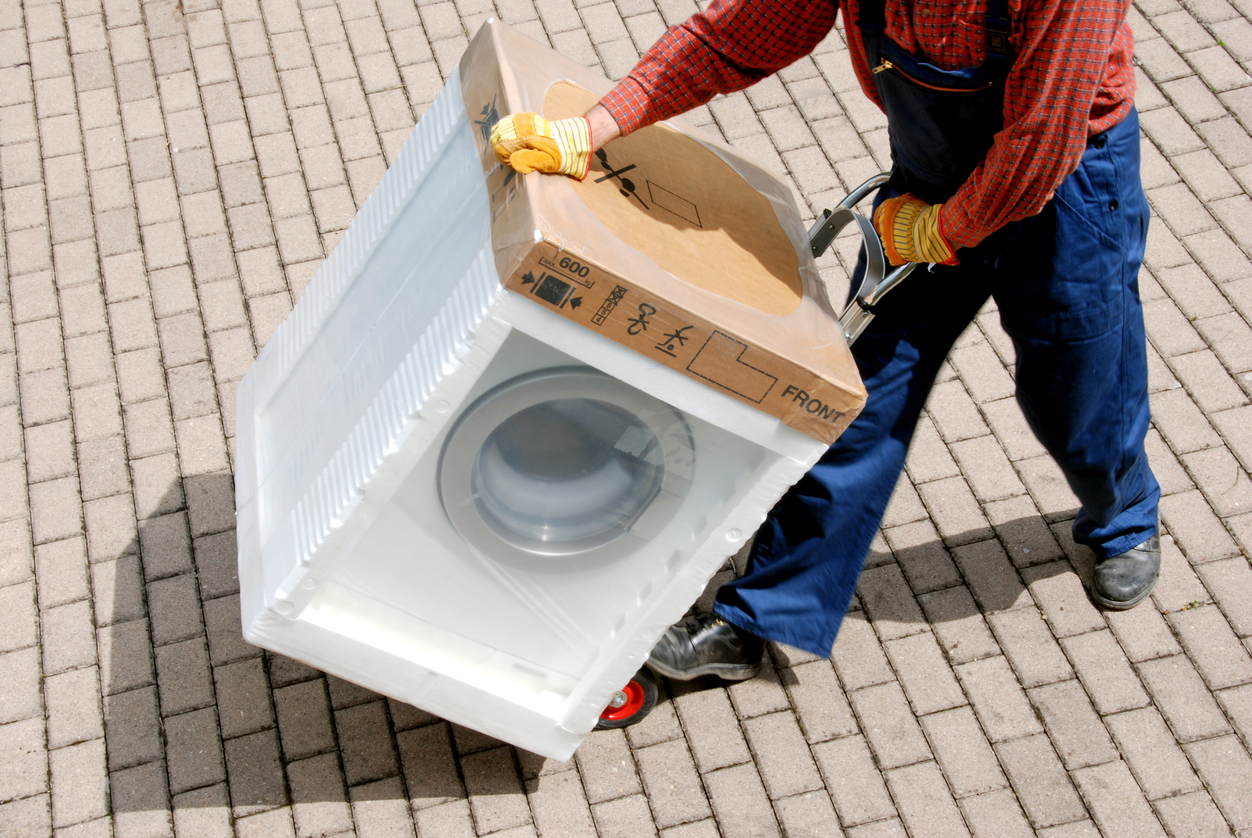
- Unpack the units: Carefully unpack the washer and dryer units, following the manufacturer’s instructions. Remove any packing materials, tape, or protective plastic coverings. Keep any accompanying accessories, such as hoses or venting kits, in a safe place for future use.
- Inspect for any damage: Thoroughly inspect both the washer and dryer units for any signs of damage that may have occurred during transportation. Check for dents, scratches, or broken parts. If you notice any damage, contact the manufacturer or retailer for assistance.
- Prepare the washer: Before placing the washer unit on top of the dryer, install any necessary accessories, such as the water inlet hoses or drain hose. Make sure to connect them securely according to the manufacturer’s instructions. If your washer requires leveling, use a leveling tool to adjust the feet for stability.
- Prepare the dryer: If your dryer requires venting, locate the appropriate venting outlet and ensure that you have the necessary ducting materials. Install the venting kit according to the manufacturer’s instructions, ensuring a secure and proper connection. Adjust the dryer’s leveling feet if needed.
- Position the units: Carefully position the washer unit on top of the dryer, ensuring that they are aligned and centered. Use caution and, if needed, ask for assistance to avoid any injuries or damage to the units.
By unpacking and preparing the washer and dryer units correctly, you are setting the foundation for a successful installation. Take your time and follow the manufacturer’s instructions to ensure that each unit is properly set up and ready for the next steps.
Step 4: Stack the washer and dryer units
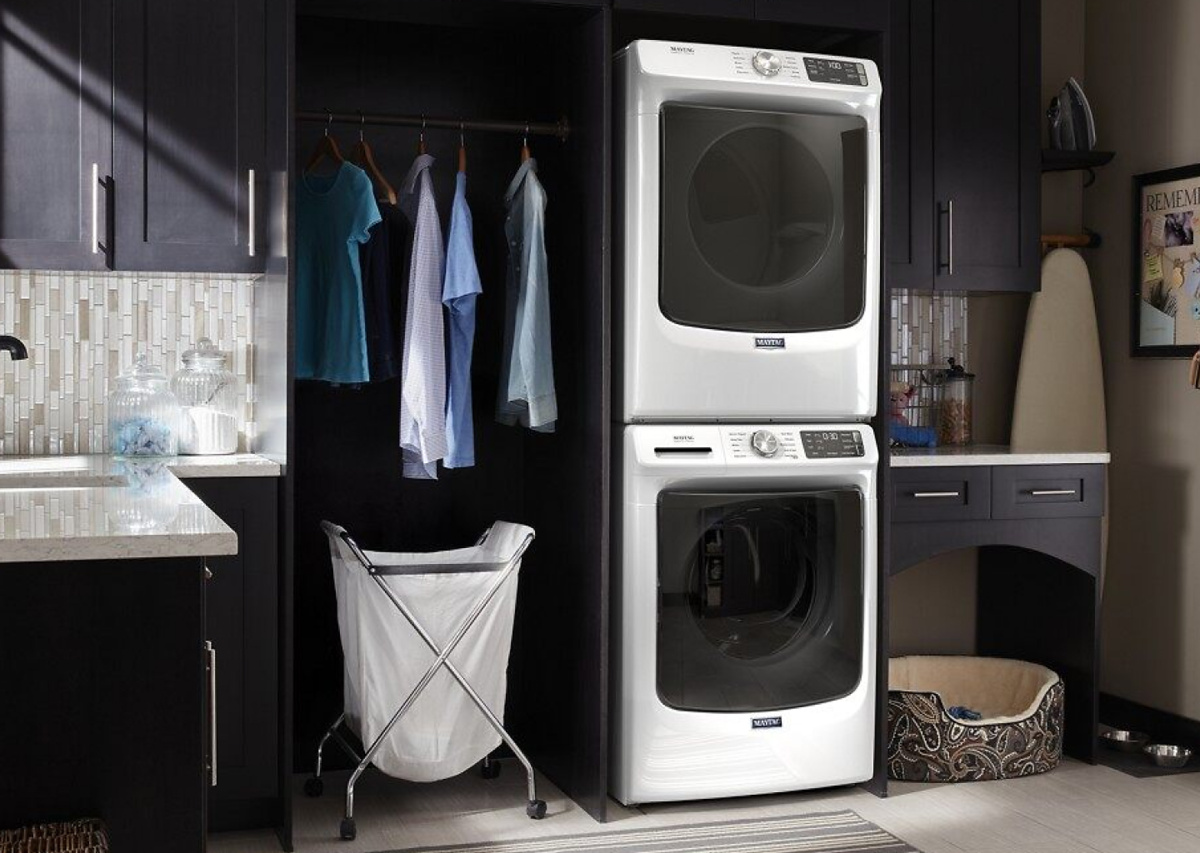
Now that you have unpacked and prepared the washer and dryer units, it’s time to stack them. Stacking the units is an important step in the installation process, as it maximizes the use of vertical space and creates a compact and organized setup. Follow these steps to stack your washer and dryer units:
- Ensure stability: Before stacking, make sure that the dryer unit is stable and securely positioned on the floor. Check that the leveling feet are adjusted correctly to prevent any wobbling or movement.
- Use a stacking kit: Most stackable washer and dryer units come with a stacking kit that allows for secure stacking. If your units come with a stacking kit, follow the manufacturer’s instructions to attach it to the washer and dryer. The stacking kit typically includes brackets, screws, and other components.
- Align the units: Carefully align the washer unit on top of the dryer unit, making sure they are centered and snugly fit together. Use caution and, if needed, ask for assistance to avoid any injuries or damage to the units.
- Secure the units: Once the washer unit is positioned on top of the dryer unit, use the provided screws or brackets to secure them together. Follow the manufacturer’s instructions to ensure a proper and secure attachment.
- Check for stability: Give the stacked units a gentle shake to check for any instability or movement. If the units feel unstable, recheck their alignment and tighten the screws or brackets as needed.
It is crucial to follow the manufacturer’s instructions and use the provided stacking kit to ensure a safe and secure stack. Improper stacking may lead to stability issues or damage to the units.
Once the washer and dryer units are properly stacked, you have successfully completed this step of the installation process. The next step will involve securing the stacked units in place.
When installing a stackable washer and dryer, make sure to level the machines to prevent excessive vibration and noise during operation. Use a bubble level to ensure they are balanced before securing them in place.
Read more: How To Install Washer And Dryer Hookups
Step 5: Secure the stacked units in place
After stacking the washer and dryer units, it is essential to secure them in place to ensure stability and safety during operation. Follow these steps to properly secure your stacked units:
- Use anti-vibration pads: Place anti-vibration pads between the washer and dryer units and the floor. These pads help reduce vibrations and noise that may occur during operation. Make sure the pads are properly aligned and securely in place.
- Attach brackets or straps: Use the provided brackets or straps to secure the stacked units to the wall. Follow the manufacturer’s instructions to determine the correct location for the brackets or straps. Use a level to ensure they are straight and properly positioned.
- Anchor the units: Use screws or other appropriate hardware to anchor the brackets or straps securely to the wall. Make sure to screw them into studs or use wall anchors for added stability. Check the manufacturer’s guidelines for recommended anchor methods.
- Double-check stability: Once the units are anchored to the wall, give them a firm shake to ensure they are stable and properly secured. If they feel loose or unstable, recheck the brackets, straps, or anchor points and make any necessary adjustments.
Securing the stacked units in place is essential to prevent any accidents or damage that may occur due to tipping or movement. Take the time to follow the manufacturer’s instructions and properly anchor the units to provide a secure and stable installation.
By completing this step, you have taken an important measure to ensure the safety and longevity of your stackable washer and dryer setup. The next step will involve connecting the washer and dryer units to the necessary utilities.
Step 6: Connect the washer and dryer units
Now that your stacked washer and dryer units are secured in place, it’s time to connect them to the necessary utilities. Follow these steps to properly connect your washer and dryer units:
- Connect the water supply: If your washer requires a water supply, connect the water inlet hoses to the designated valves. Ensure that the hoses are tightly secured to prevent any leaks. Open the water supply valves and check for any leaks or drips.
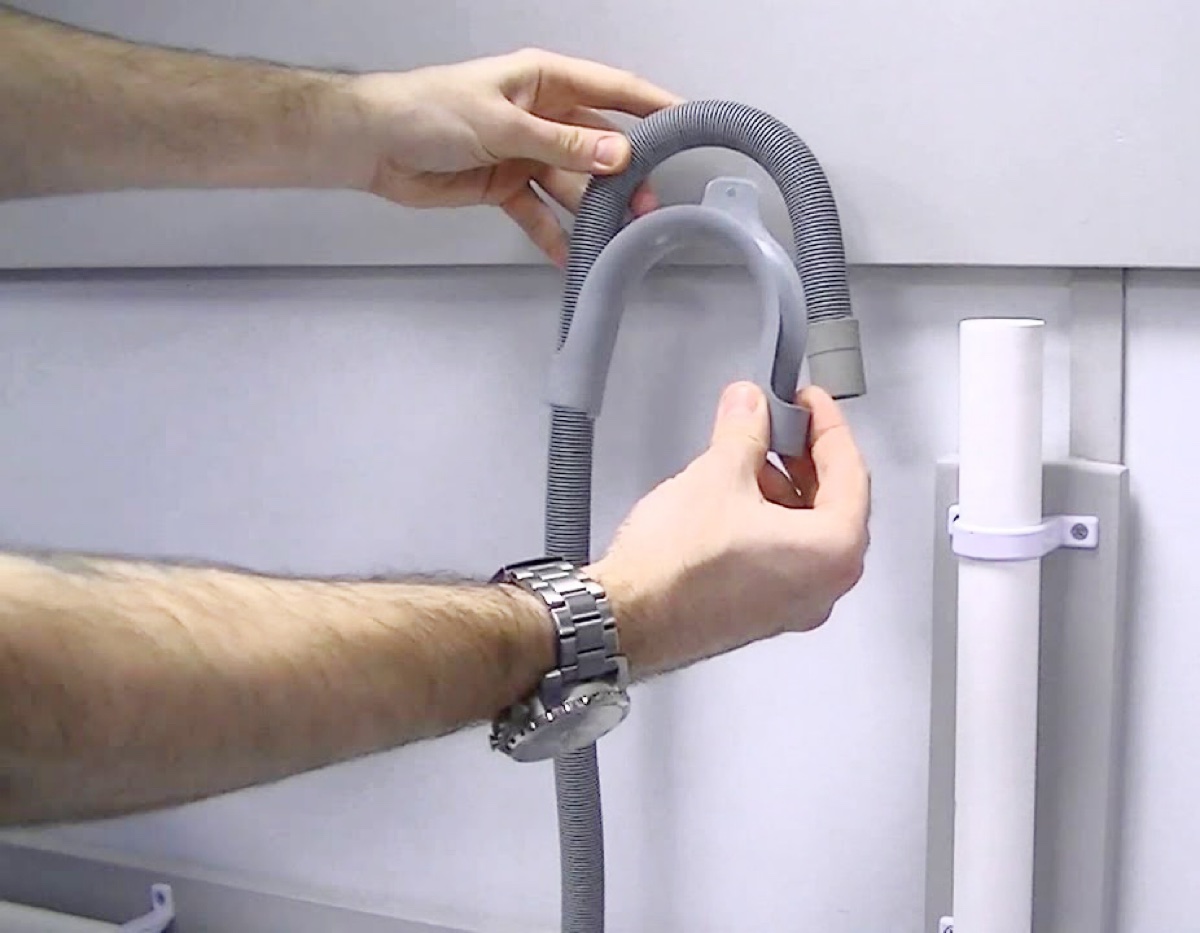
- Connect the drain line: Attach the drain hose from your washer to the drain pipe or standpipe. Make sure the connection is secure and there are no leaks. If needed, use a hose clamp or zip tie to secure the hose in place.
- Connect the dryer vent: If your dryer requires venting, connect the vent hose or duct to the dryer’s exhaust outlet. Use a clamp to secure the connection and ensure it is tight. Route the vent hose to the designated vent outlet or exhaust vent outside of your home.
- Check the electrical connections: Plug the power cords of the washer and dryer into the appropriate electrical outlets. Ensure that the outlets are grounded and meet the electrical requirements specified by the manufacturer.
- Inspect for any leaks: After connecting the water supply and drain line, visually inspect all connections for any signs of leaks or drips. Run a test cycle or load to ensure that water is properly flowing into the washer and being drained without any issues.
It is important to carefully follow the manufacturer’s guidelines for connecting the washer and dryer units. Each unit may have specific requirements for water connections, electrical requirements, and venting. Take the time to read the manual and ensure everything is connected correctly and securely.
Once you have successfully connected the washer and dryer units, you are one step closer to enjoying the convenience of your stackable laundry setup. The next step will involve testing the installation and making any necessary final adjustments.
Step 7: Test the installation and make final adjustments
After completing the installation and connections of your stacked washer and dryer units, it is crucial to test the setup and make any final adjustments. This step ensures that everything is in proper working order and provides an opportunity to address any issues that may arise. Follow these steps to test the installation and make final adjustments:
- Read the user manual: Refer to the manufacturer’s manual to familiarize yourself with the operating instructions, control settings, and any special features of your washer and dryer units.
- Run a test cycle: Start by running a test cycle on your washer and dryer units. Use the recommended settings and load size to ensure proper functionality. Monitor the units for any unusual noises, vibrations, or malfunctions.
- Check for proper drainage: During the test cycle, observe the drainage of water from the washer. Ensure that the water is properly draining without any leaks or obstructions in the drain line.
- Verify the performance of the dryer: Pay attention to the drying performance of your dryer. Ensure that it is effectively and efficiently drying the laundry without any issues. Check for adequate heat and proper air circulation.
- Make final adjustments: If you notice any issues during the test cycle, address them accordingly. This may include leveling the units to minimize vibration, tightening any loose connections, or adjusting the control settings to optimize performance.
- Consult professional help if needed: If you encounter any major issues or difficulties during the testing process, seek assistance from a professional technician who specializes in washer and dryer repairs or contact the manufacturer’s customer service for guidance.
Testing the installation ensures that your stacked washer and dryer units are functioning as intended and gives you peace of mind knowing that everything is in working order. By making any final adjustments, you can optimize the performance and efficiency of your laundry setup.
Once you have completed the testing and made any necessary adjustments, your stackable washer and dryer installation is complete. Congratulations! You can now enjoy the convenience and space-saving benefits of your new laundry setup.
Conclusion
Installing a stackable washer and dryer can be a great solution for optimizing space and convenience in your home. By following the step-by-step process outlined in this article, you can successfully install and set up your stackable washer and dryer units.
Remember to start by measuring and preparing the space, ensuring you have the proper electrical and plumbing connections. Unpack and prepare the units before stacking them securely. Secure the stacked units in place and then proceed to connect the washer and dryer units to the necessary utilities. Finally, make sure to test the installation and make any final adjustments to optimize the performance of your units.
Throughout the installation process, refer to the manufacturer’s instructions and guidelines for your specific washer and dryer models. Following these instructions will ensure a safe and efficient installation process.
Once your stackable washer and dryer units are installed and properly set up, you will enjoy the benefits of a space-saving and convenient laundry solution. With careful attention to detail and proper installation, you can look forward to clean and dry clothes without sacrificing valuable space in your home.
If you encounter any difficulties or have specific concerns during the installation process, it is always recommended to consult a professional technician or contact the manufacturer’s customer service for assistance. They can provide guidance and address any issues you may encounter.
Now that you have the knowledge and guidance to install your stackable washer and dryer, it’s time to enjoy the convenience and efficiency they bring to your laundry routine. Get started and enjoy your new laundry setup!
Frequently Asked Questions about How To Install Stackable Washer And Dryer
Was this page helpful?
At Storables.com, we guarantee accurate and reliable information. Our content, validated by Expert Board Contributors, is crafted following stringent Editorial Policies. We're committed to providing you with well-researched, expert-backed insights for all your informational needs.


0 thoughts on “How To Install Stackable Washer And Dryer”