Articles
How To Replace Belt On Samsung Dryer
Modified: August 28, 2024
Learn how to replace the belt on your Samsung dryer with this informative article. Step-by-step instructions and helpful tips included.
(Many of the links in this article redirect to a specific reviewed product. Your purchase of these products through affiliate links helps to generate commission for Storables.com, at no extra cost. Learn more)
Introduction
Replacing the belt on a Samsung dryer is a relatively simple task that can save you the cost and inconvenience of calling a technician. Over time, the belt may become worn or damaged, causing the dryer drum to stop spinning. If you notice that your dryer is not tumbling properly or making unusual noises, it may be time to replace the belt.
In this article, we will guide you through the step-by-step process of replacing the belt on your Samsung dryer. With some basic tools and a little bit of patience, you can have your dryer up and running again in no time.
Please note that the specific steps may vary depending on the model of your Samsung dryer. It is always recommended to consult the user manual for your specific appliance before attempting any repairs.
Before we begin, let’s gather the necessary tools and materials.
Key Takeaways:
- Save time and money by replacing the belt on your Samsung dryer yourself. Follow the safety precautions, step-by-step instructions, and testing process to ensure a successful DIY repair.
- Prioritize safety, gather the right tools, and take your time to access, remove, and install the new belt. Test the dryer thoroughly to confirm a successful repair and enjoy a fully functional appliance.
Read more: How To Replace A GE Dryer Belt
Tools and Materials Needed
Before you start replacing the belt on your Samsung dryer, make sure you have the following tools and materials on hand:
- Phillips screwdriver
- Flathead screwdriver
- Needle-nose pliers
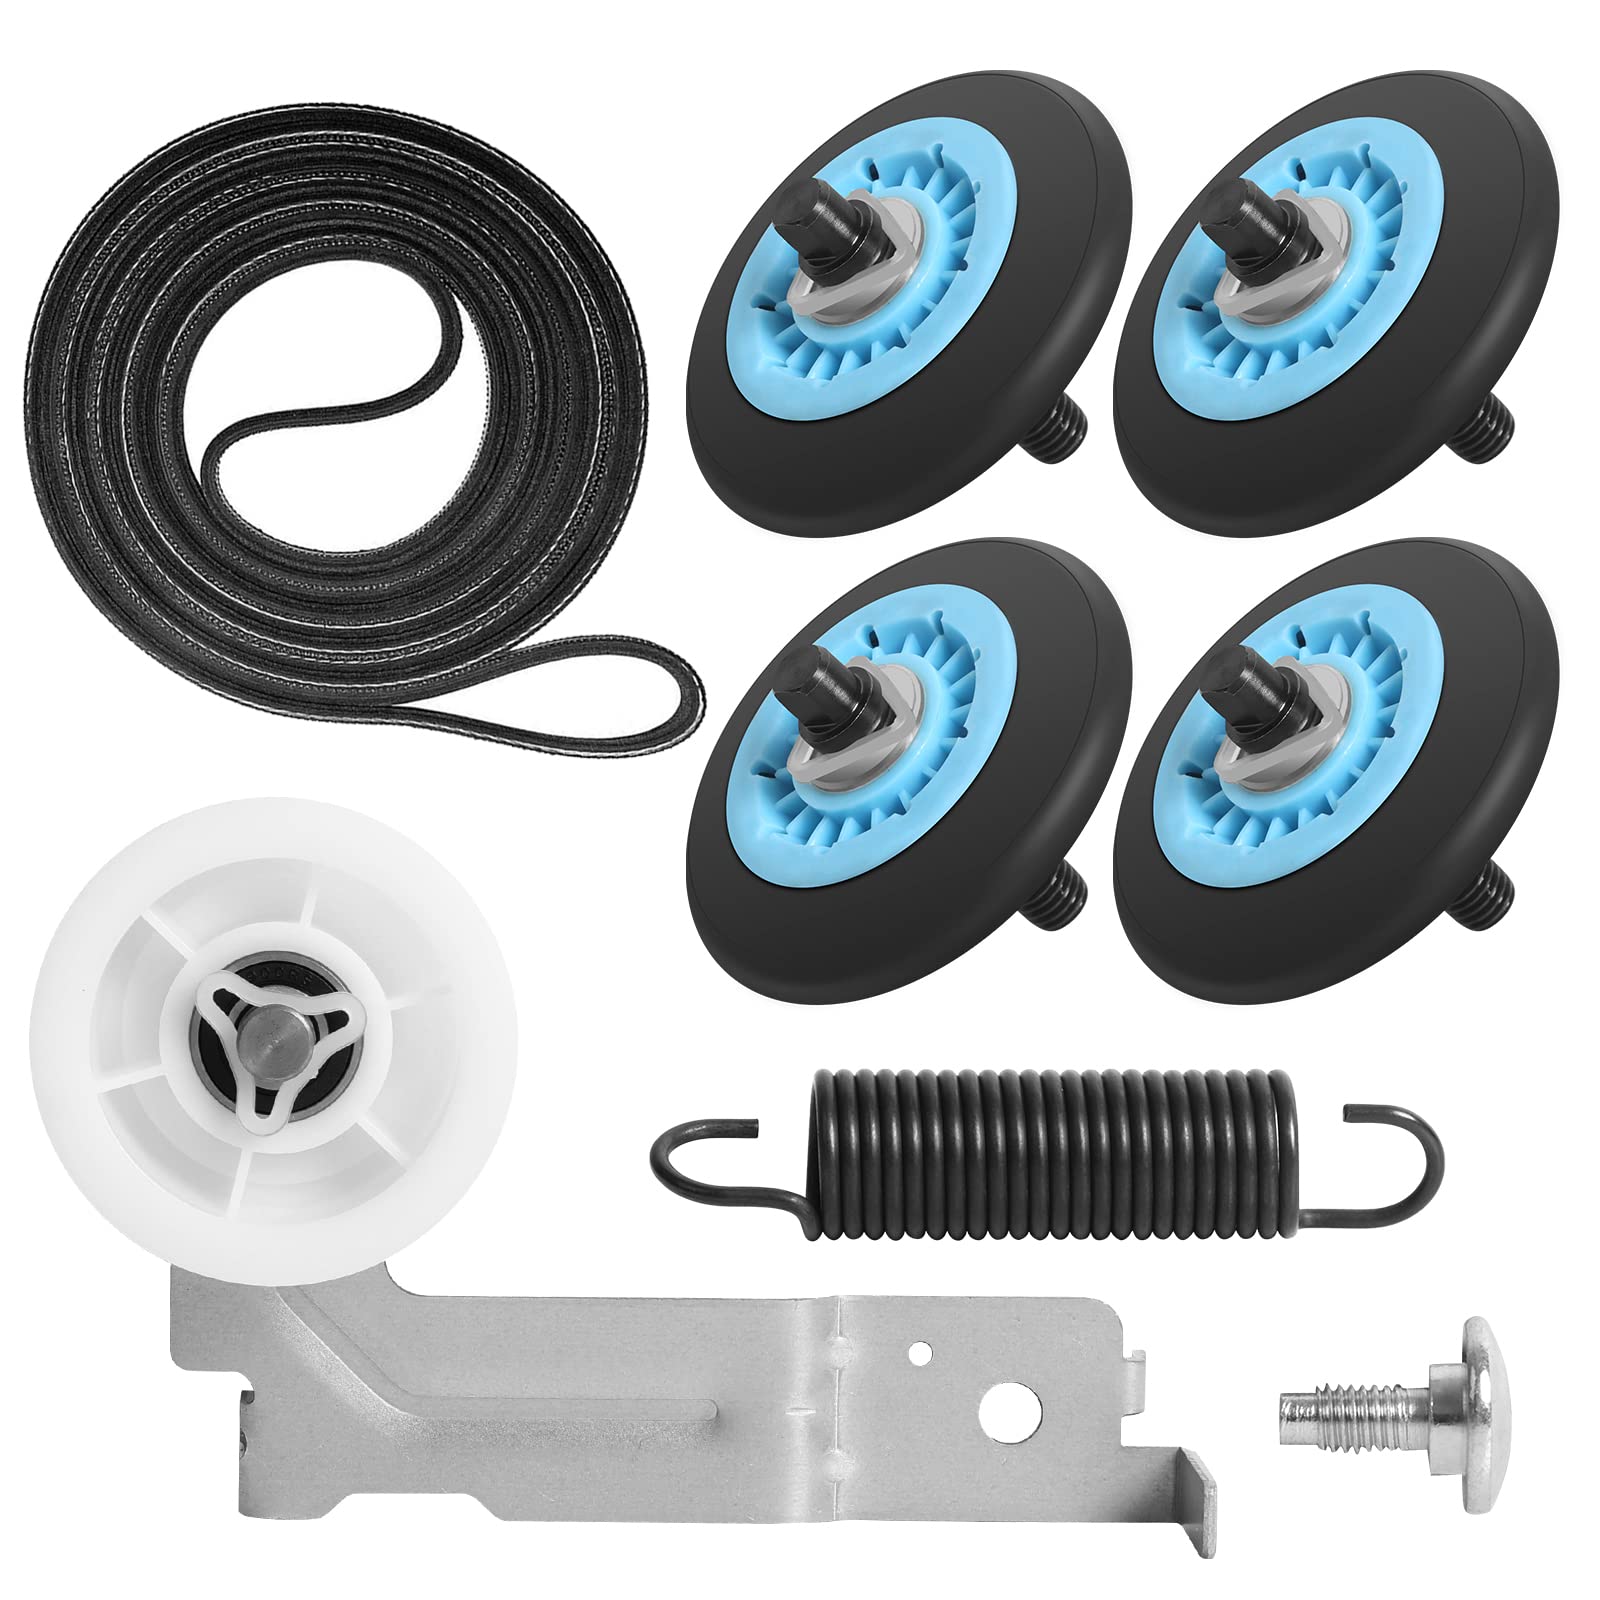
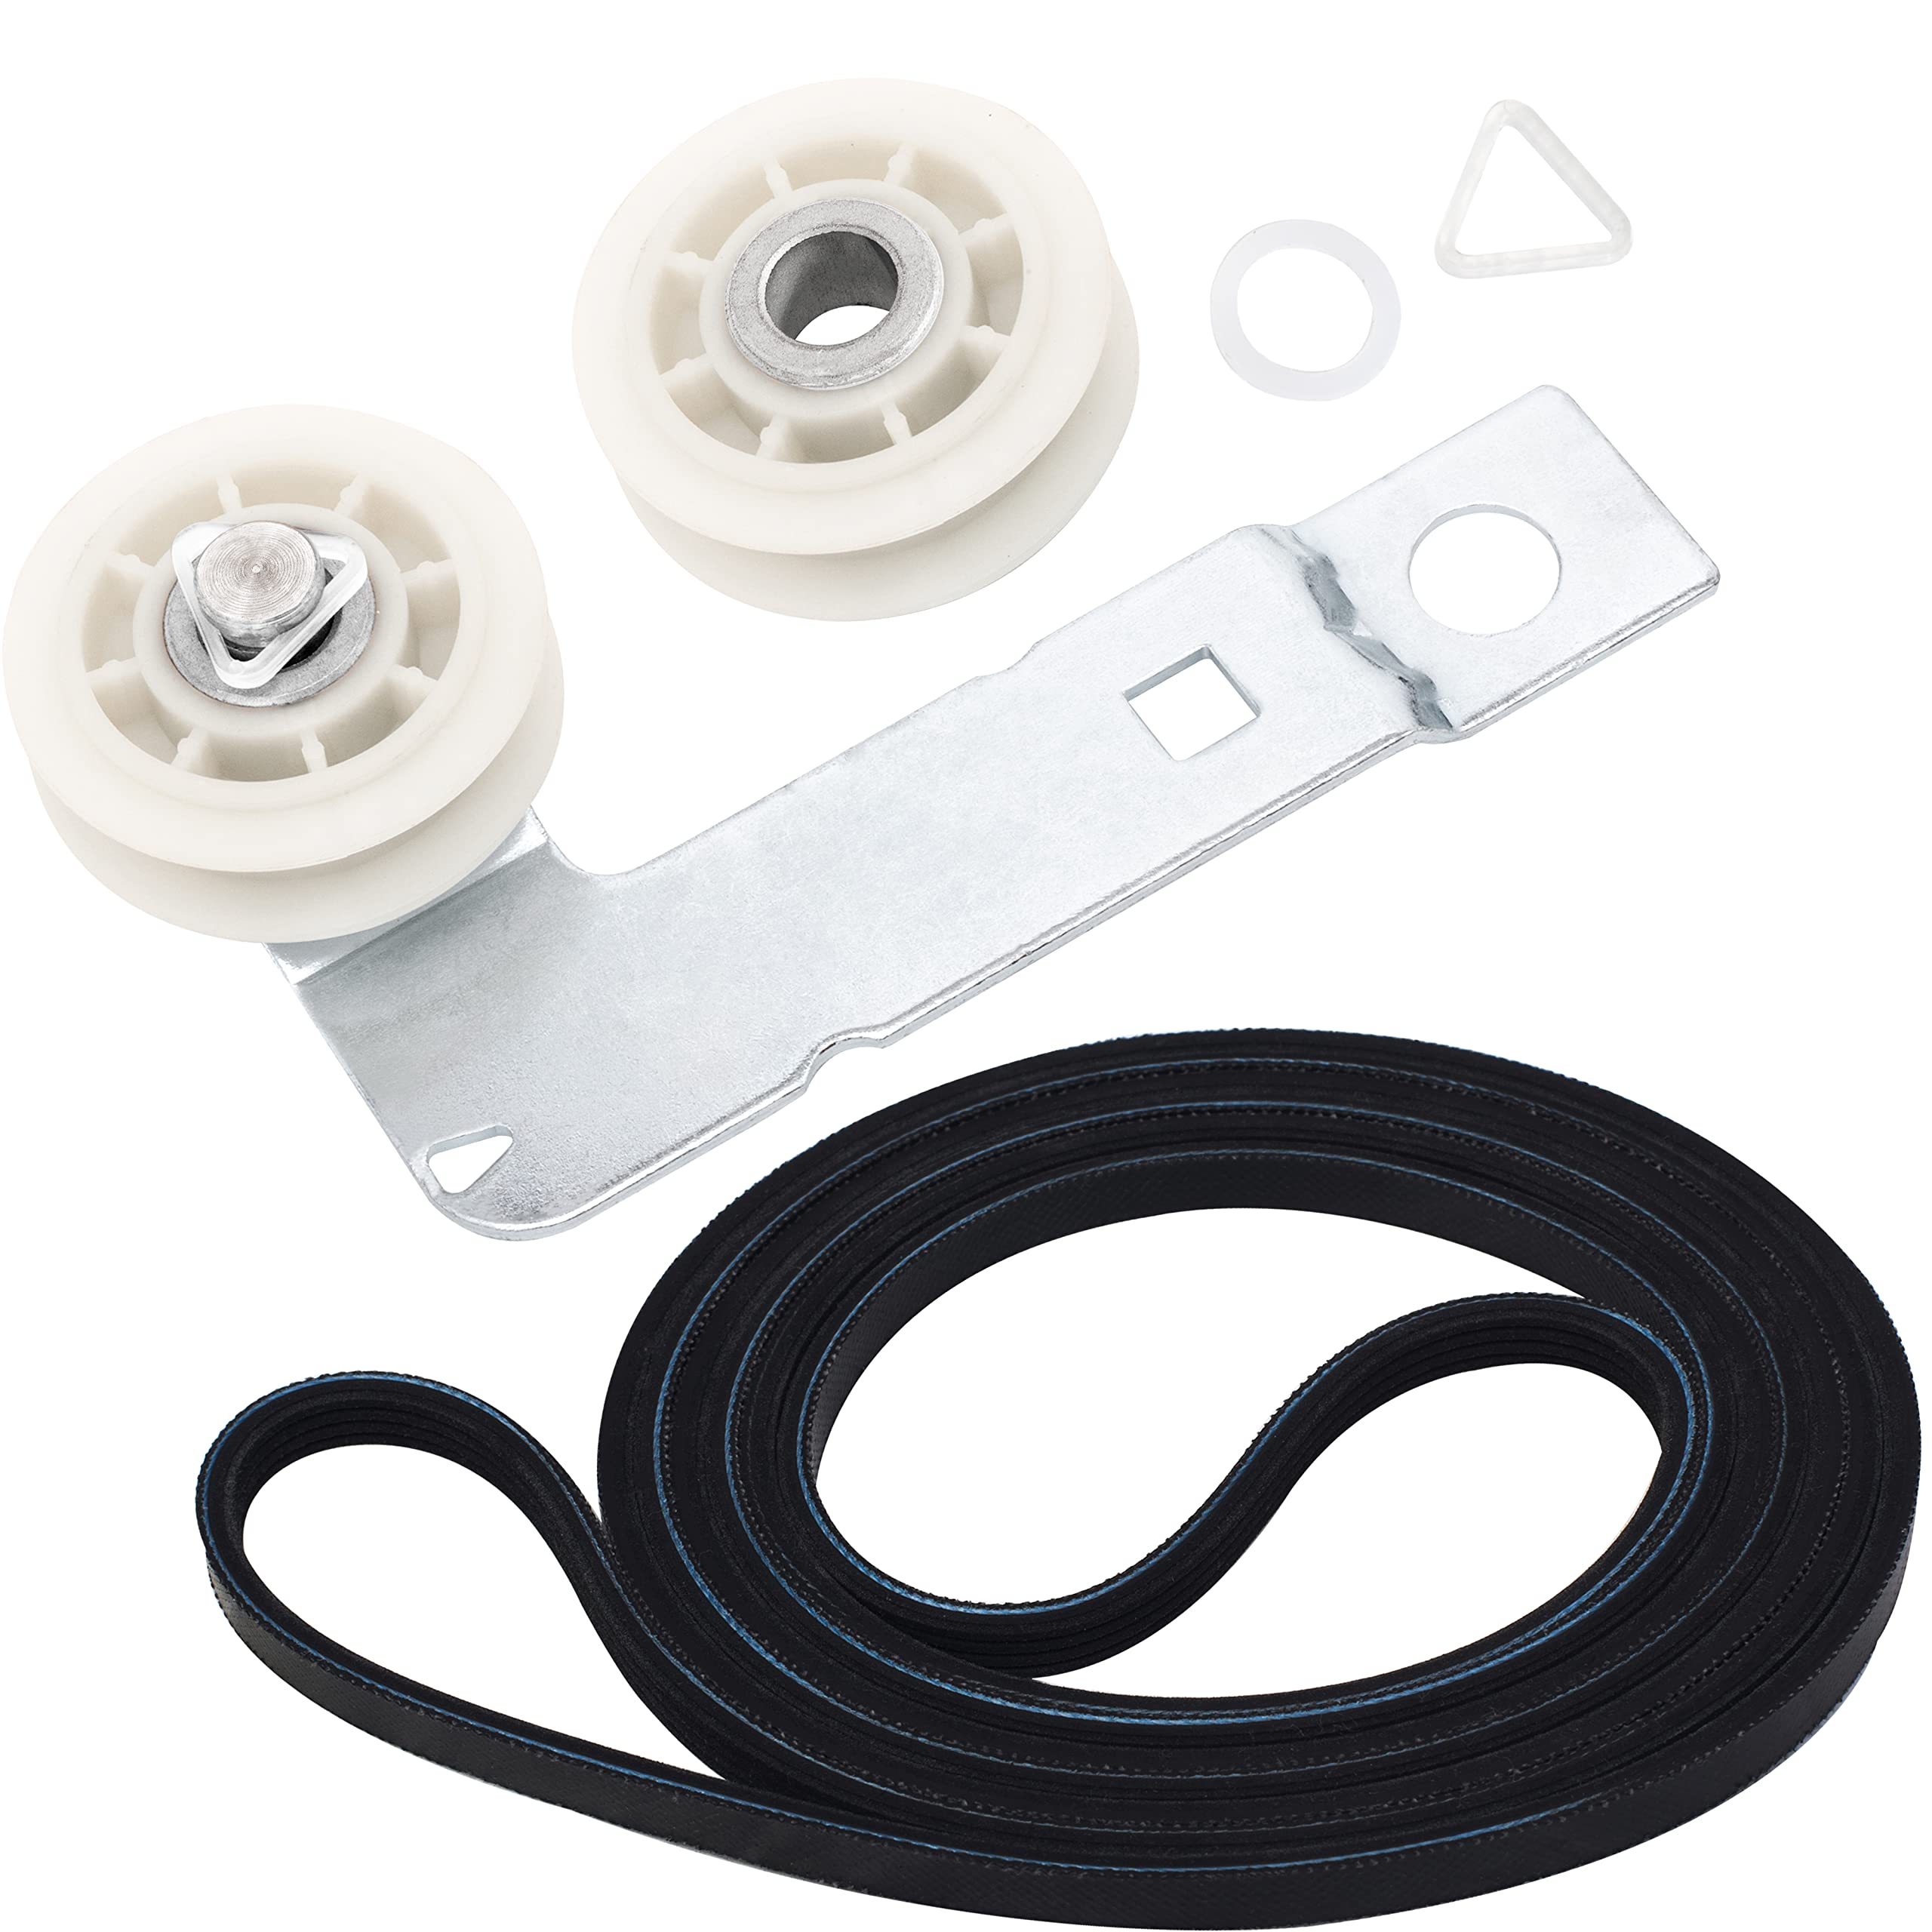
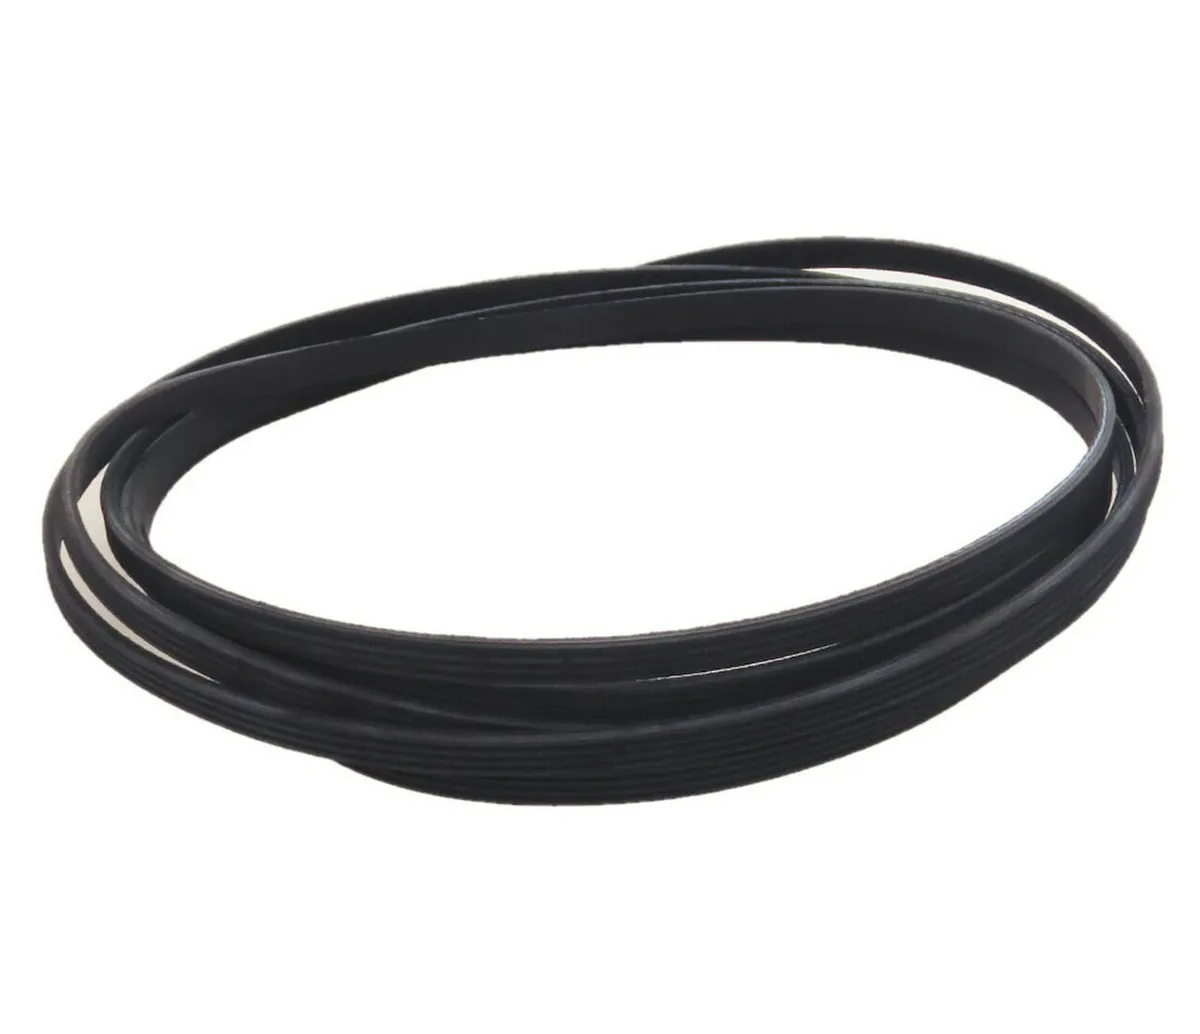
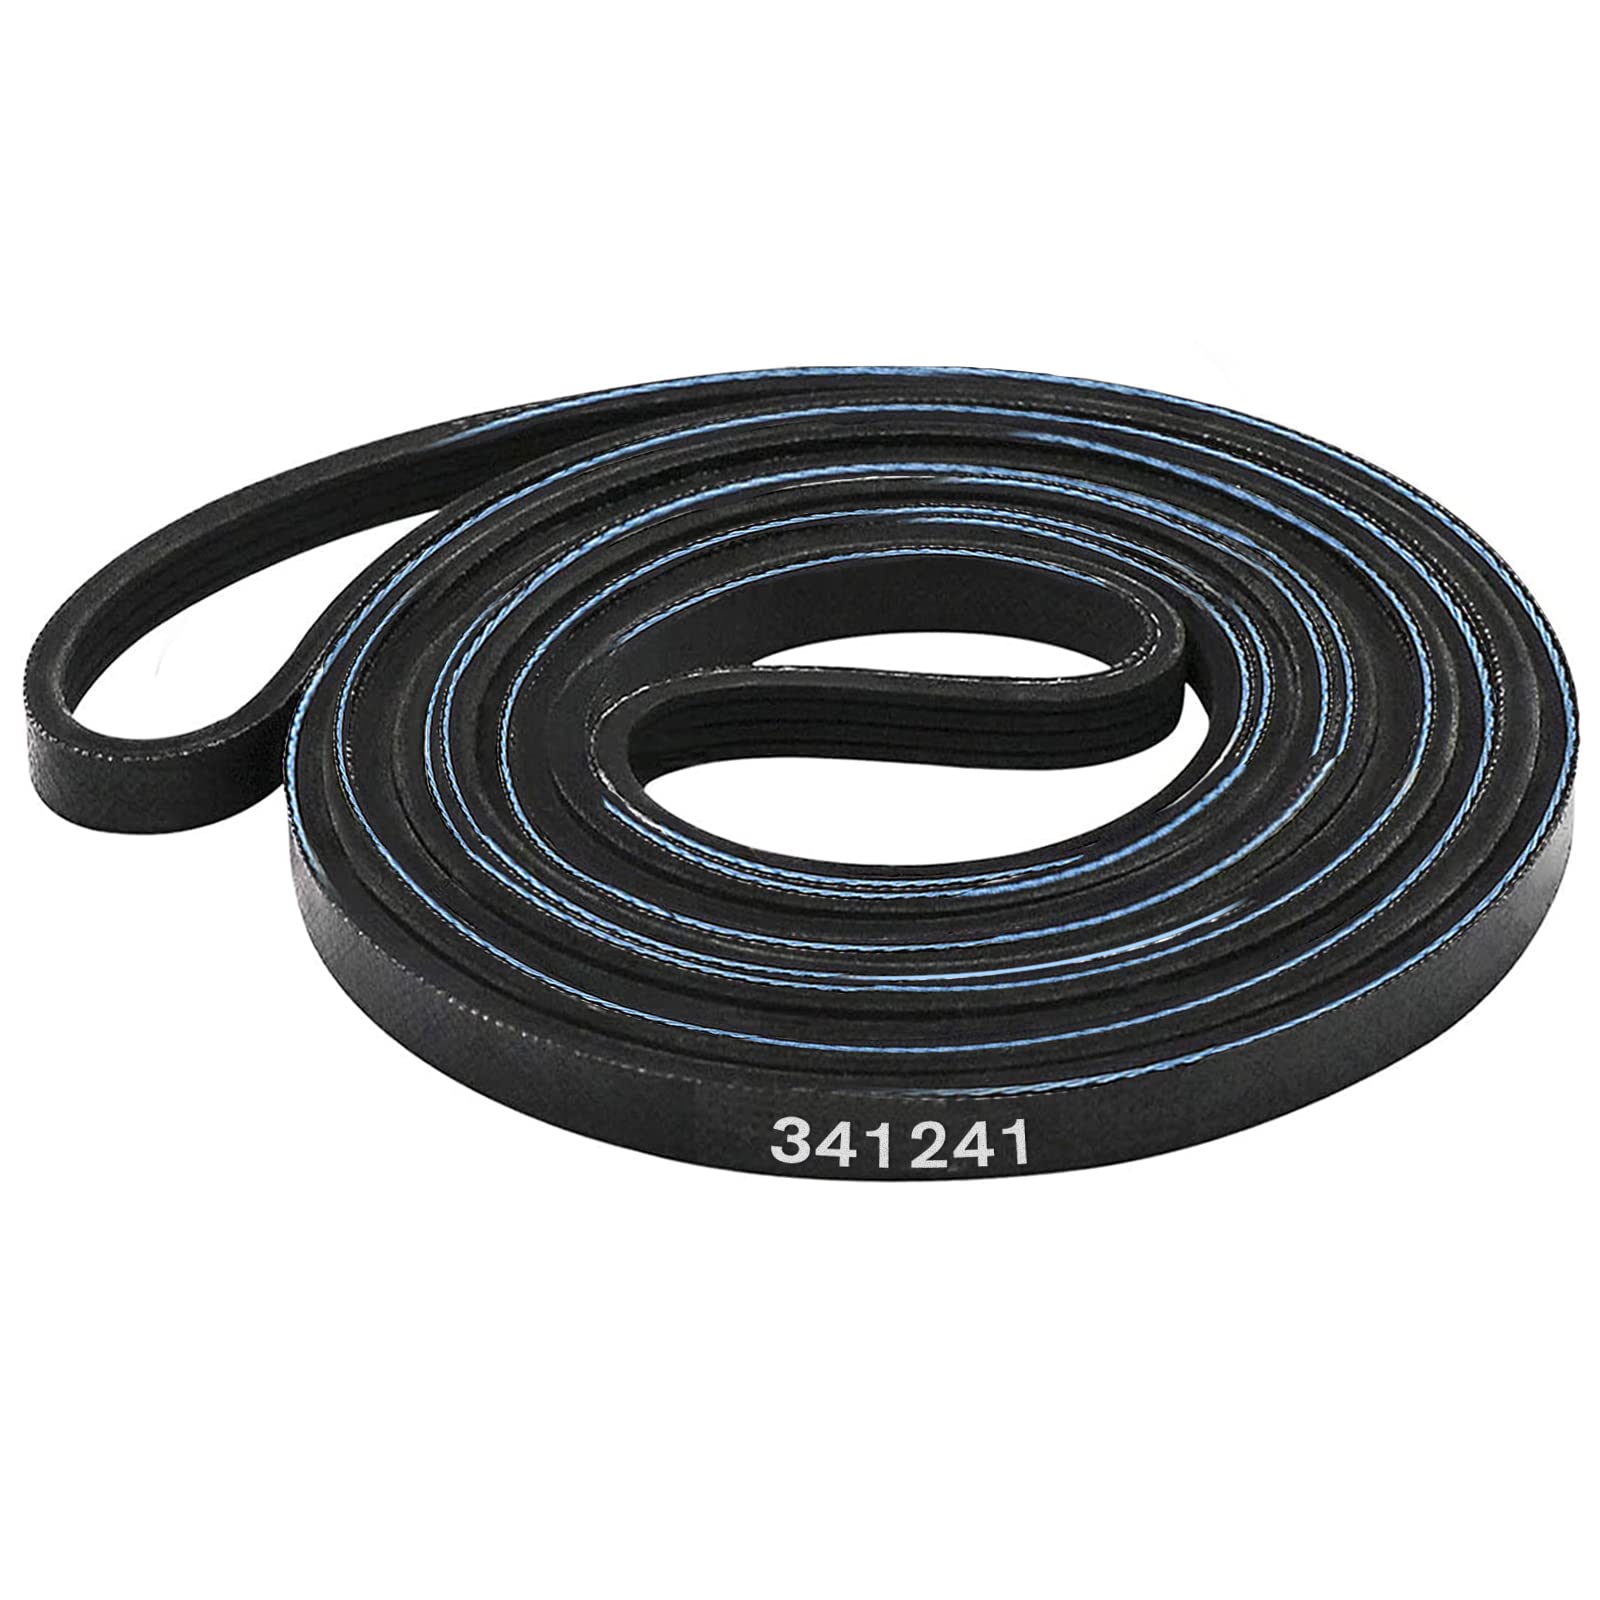
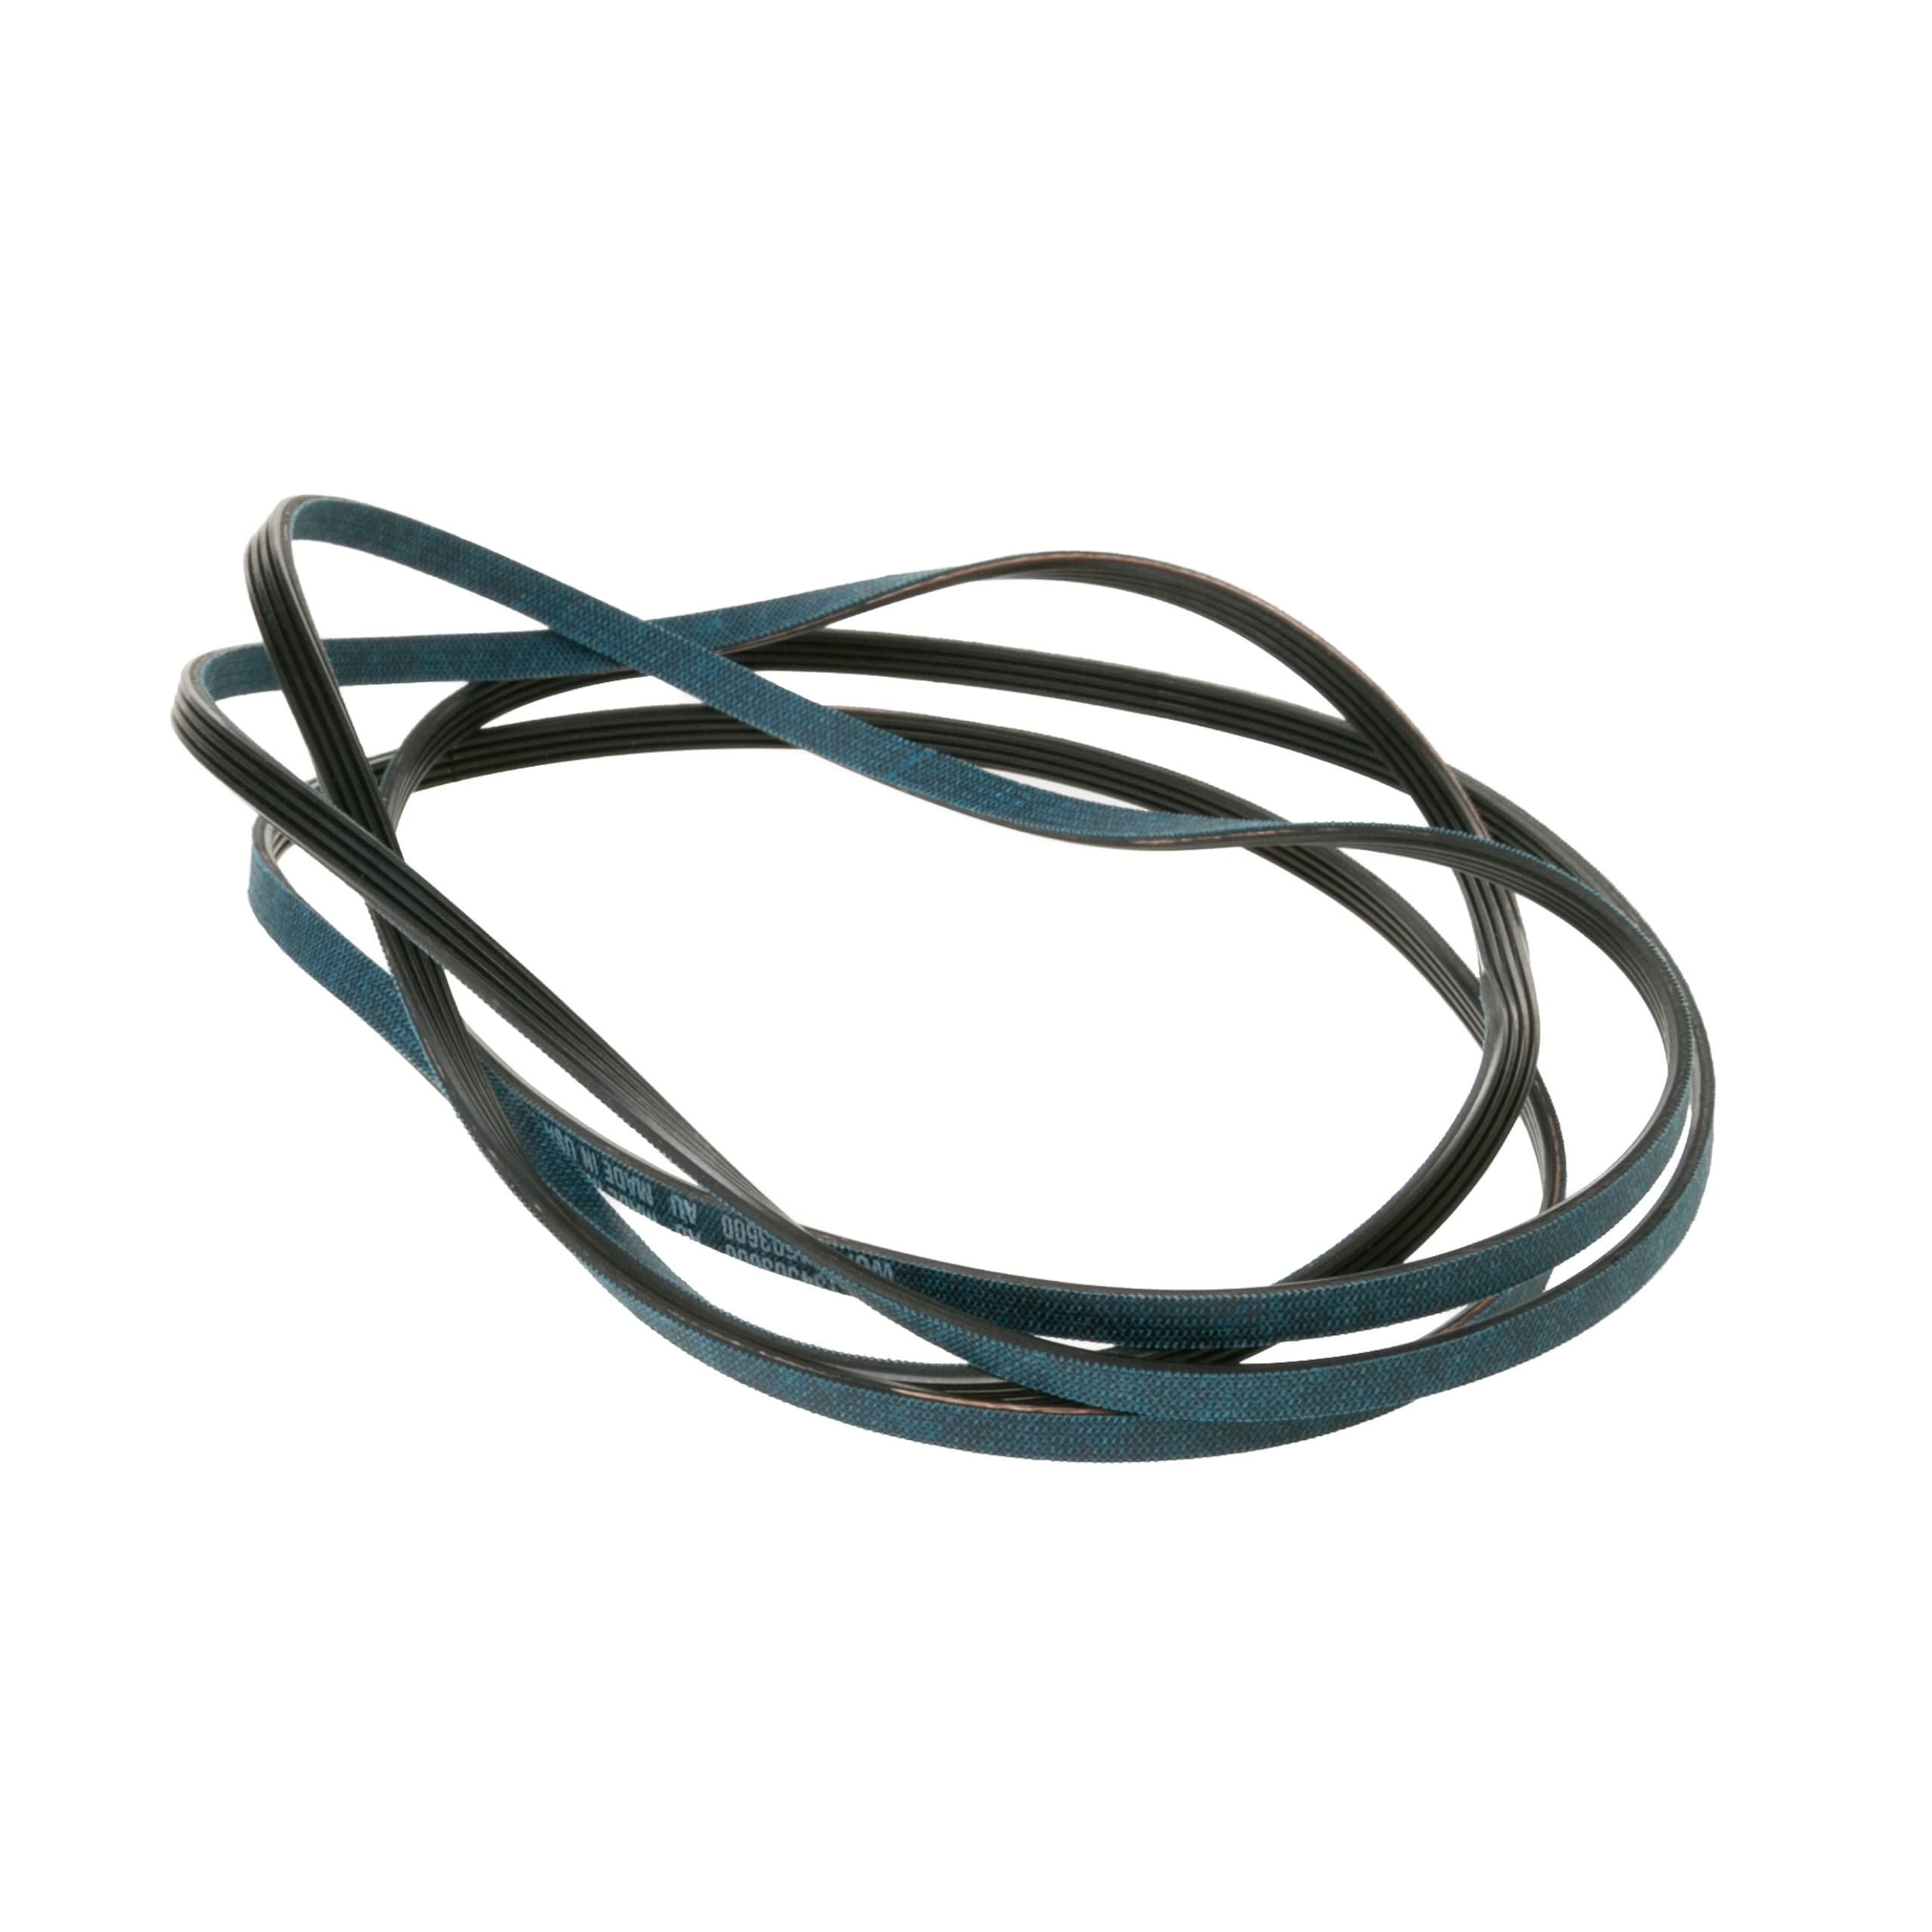
- Replacement dryer belt
- Lint brush or vacuum cleaner
It’s important to have the right tools for the job to ensure a smooth and efficient repair process.
Additionally, it’s a good idea to have a clean work area and access to a power outlet for testing the dryer once the repair is complete.
Now that you have all the necessary tools and materials, let’s move on to the safety precautions you should take before starting the repair process.
Safety Precautions
Before you begin replacing the belt on your Samsung dryer, it’s important to prioritize safety. Follow these safety precautions to prevent accidents or injuries:
- Turn off the power: Unplug the dryer from the electrical outlet before attempting any repairs. This will prevent accidental electrical shocks or fires.
- Allow the dryer to cool down: If the dryer has been in use recently, give it enough time to cool down before starting the repair. This will prevent any burns from hot surfaces.
- Wear protective gear: It’s advisable to wear gloves and safety goggles to protect your hands and eyes during the repair process.
- Work in a well-ventilated area: Adequate ventilation will help dissipate any lingering heat or fumes that may be present in the dryer.
- Read the user manual: Familiarize yourself with the manufacturer’s instructions and warnings specific to your Samsung dryer model. This will ensure that you follow the correct procedures and avoid any potential hazards.
By taking these safety precautions, you can minimize the risk of accidents and perform the belt replacement with confidence. Now that you’re aware of the safety measures, let’s move on to the first step of the repair process.
Step 1: Unplug the Dryer
Before you start working on your Samsung dryer, it’s important to ensure that it is completely disconnected from the power source. Follow these steps to safely unplug the dryer:
- Locate the power cord: The power cord is usually located at the back of the dryer. It is connected to an electrical outlet or power supply.
- Disconnect the power cord: Firmly grasp the power cord and pull it out of the electrical outlet. Make sure to remove it completely to prevent any accidental power supply during the repair.
- Give it a test: Once the dryer is unplugged, try turning it on to ensure that it does not start. This step will help confirm that the power supply has been successfully disconnected.
By unplugging the dryer, you eliminate the risk of electric shock and allow for a safe working environment. Now that your dryer is safely unplugged, we can proceed to the next step, which is accessing the belt area of the dryer.
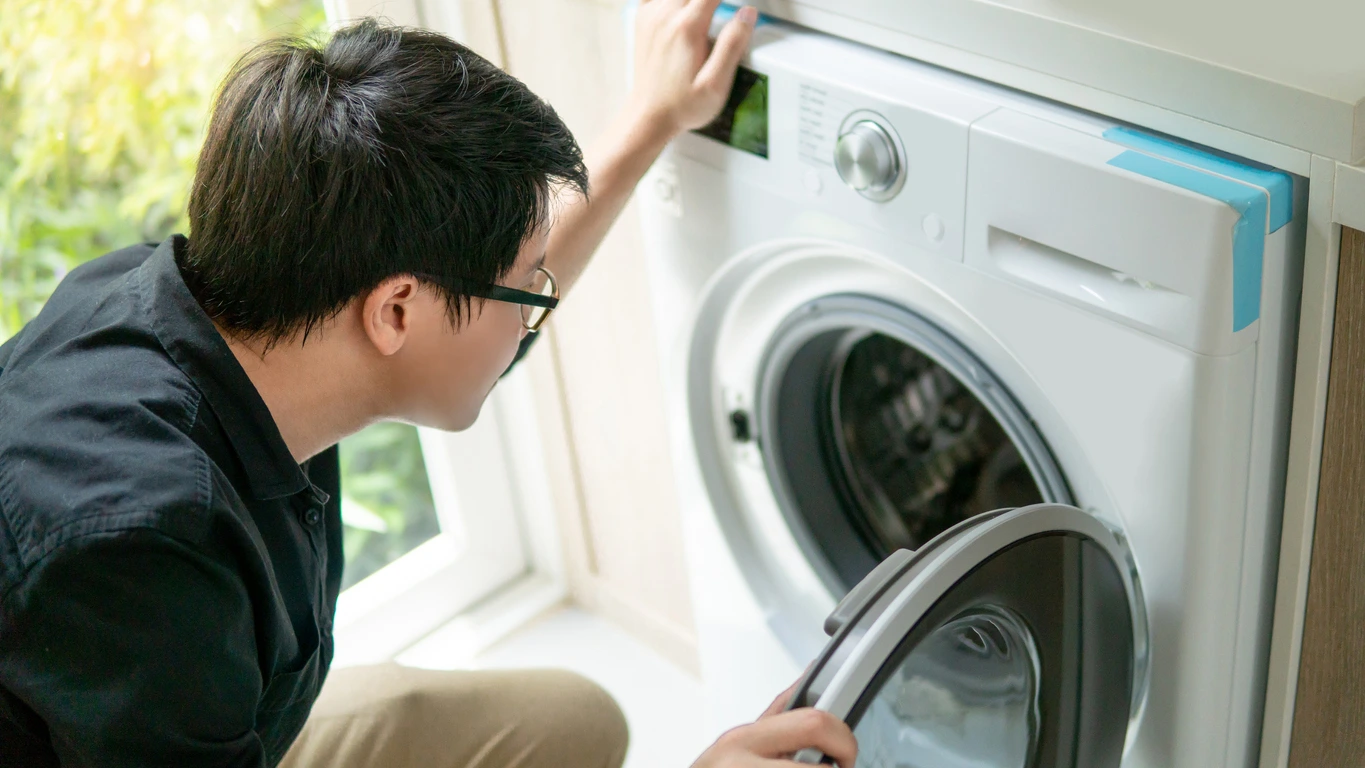
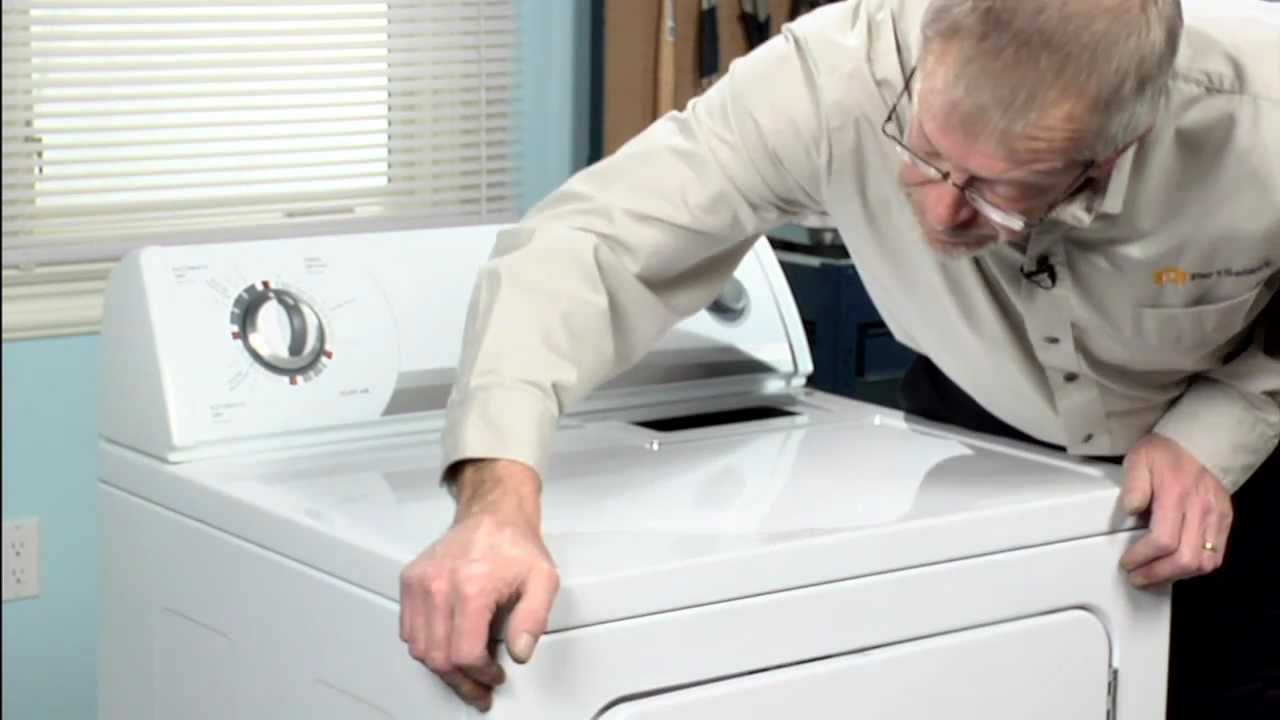
Step 2: Access the Belt Area
Once you have unplugged the dryer, the next step is to gain access to the belt area. Follow these steps to access the belt:
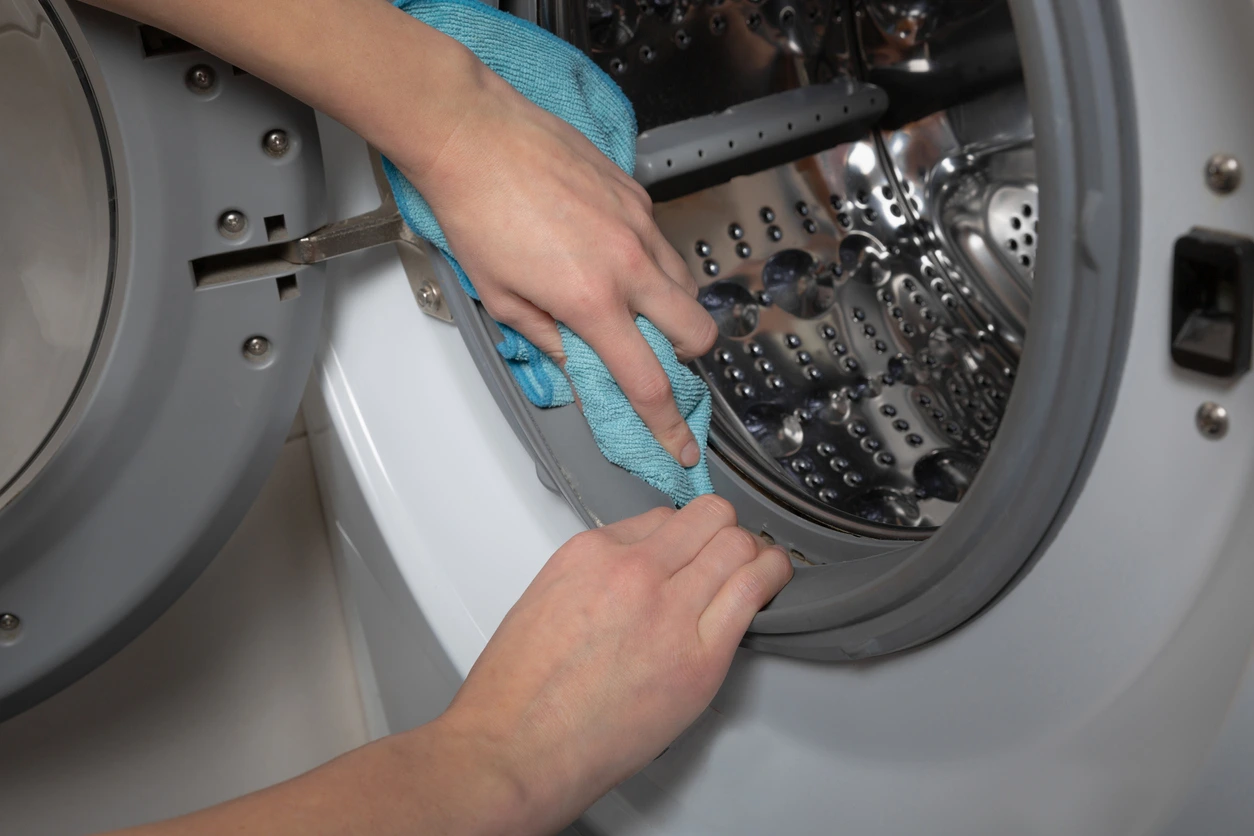
- Remove the lint filter: Locate the lint filter, which is typically located on the top panel of the dryer. Remove the lint filter by pulling it straight up and out.
- Remove the screws: Use a Phillips screwdriver to remove the screws that secure the lint filter housing. Set the screws aside in a safe place.
- Remove the top panel: Gently lift the top panel of the dryer by pushing a flathead screwdriver into the two clips that hold it in place. Lift the panel up and lean it against a support or wall to prevent damage.
- Disconnect the control panel: Carefully disconnect the wire harness that connects the control panel to the dryer. Take note of the color-coded wires and their positions to ensure proper reconnection later.
- Remove the front panel: Locate and remove the screws that secure the front panel to the sides of the dryer cabinet. Once the screws are removed, tilt the front panel forward and set it aside.
By following these steps, you will be able to access the belt area of the Samsung dryer. Now that you have gained access, we can move on to the next step of removing the old belt.
When replacing the belt on a Samsung dryer, make sure to unplug the dryer and remove the top and front panels to access the drum. Then, loop the new belt around the drum and motor pulley, and reassemble the dryer.
Read more: How To Replace A Whirlpool Dryer Belt
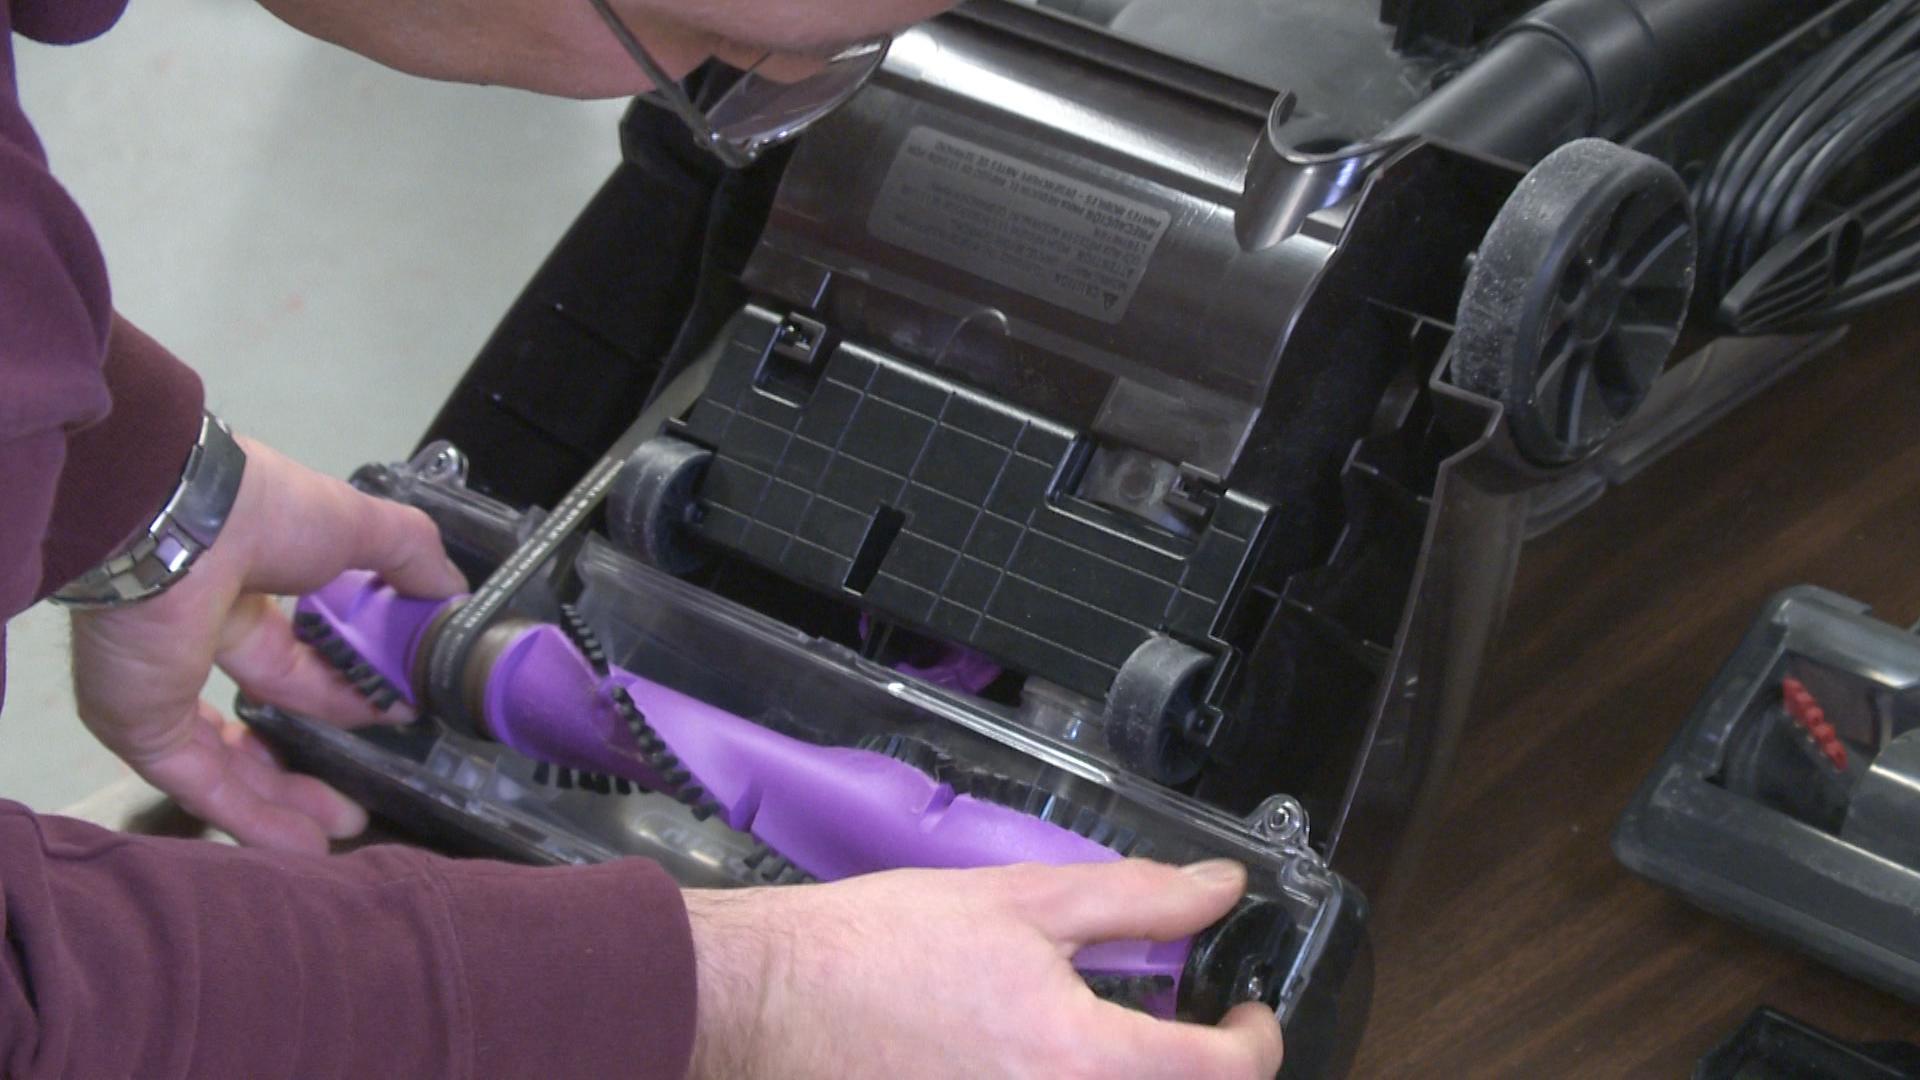
Step 3: Remove the Old Belt
With access to the belt area of your Samsung dryer, it’s time to remove the old belt. Follow these steps to successfully remove the old belt:
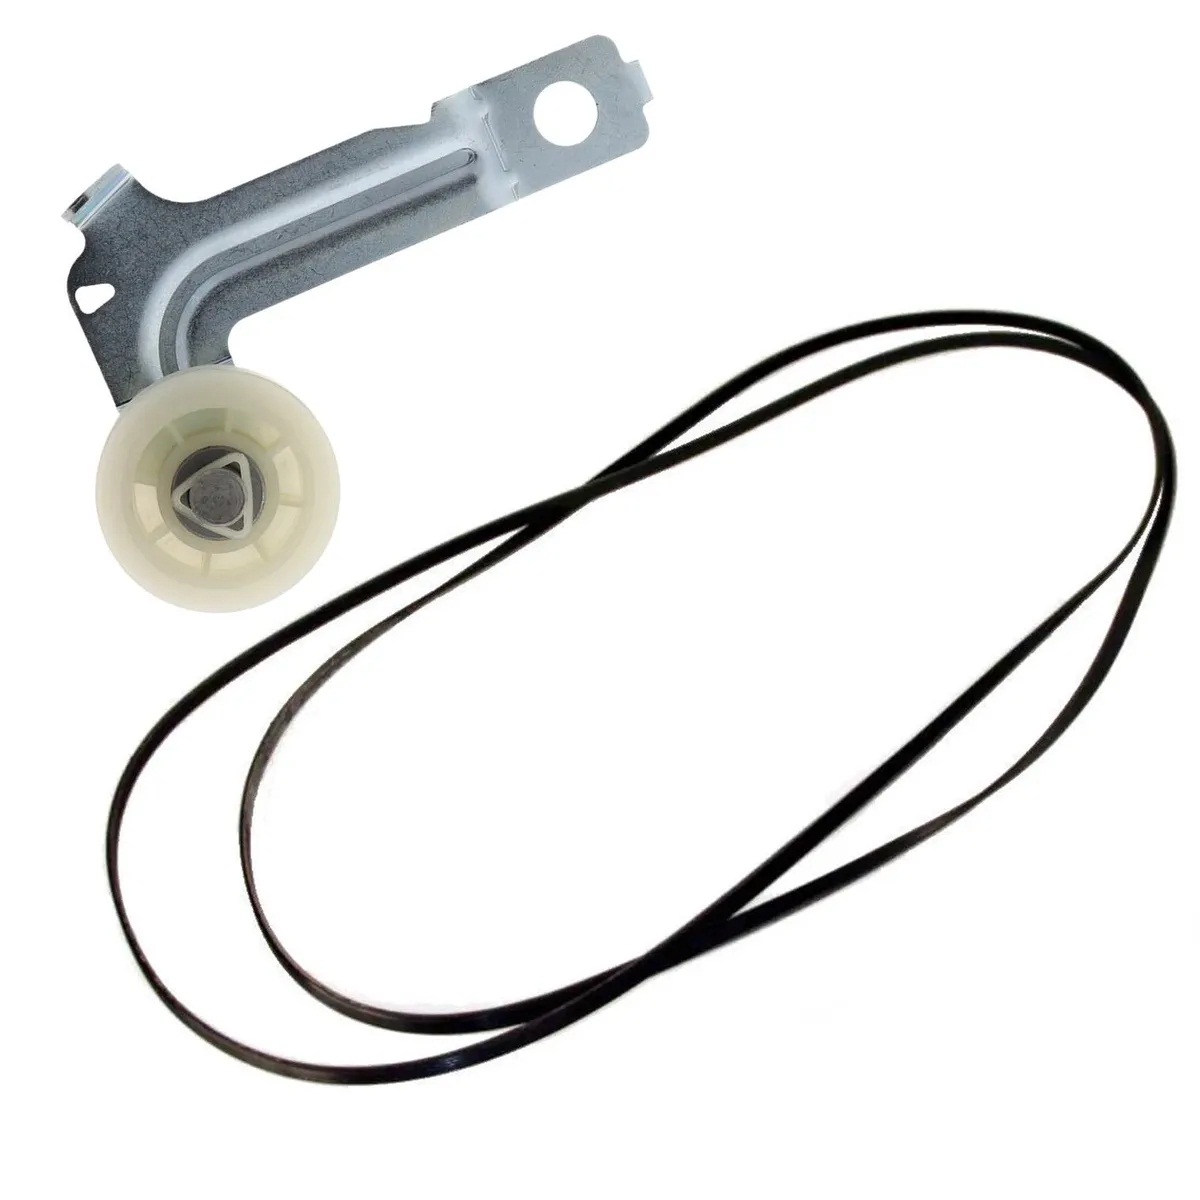
- Locate the idler pulley: The idler pulley is a small wheel that helps maintain tension on the dryer belt. Identify the position of the idler pulley and take note of its location for reassembly.
- Release tension on the belt: Use a flathead screwdriver or your fingers to release tension on the belt by pushing the idler pulley towards the motor. This will loosen the belt and allow for its removal.
- Remove the belt from the motor pulley: Once the tension is released, slip the old belt off the motor pulley.
- Remove the belt from the drum: Reach into the dryer and carefully lift the drum to provide better access to the belt. Slide the old belt off the drum and set it aside.
Now that you have successfully removed the old belt, it’s time to move on to the next step of installing the new belt.
Step 4: Install the New Belt
After removing the old belt from your Samsung dryer, it’s time to install the new belt. Follow these steps to properly install the new belt:
- Position the new belt on the drum: Take the new belt and wrap it around the drum, ensuring that it is aligned properly and sits securely on the drum surface. make sure the ribbed side of the belt is facing inward against the drum.
- Route the belt around the idler pulley and motor pulley: Holding the tension pulley in place, loop the new belt around the idler pulley and then around the motor pulley. Make sure to follow the same pathway as the old belt. Check that the belt is sitting correctly on both pulleys.
- Ensure proper tension: Using your fingers or a flathead screwdriver, push the idler pulley towards the motor to apply tension to the belt. The belt should be tight but not overly stretched.
Make sure the new belt is properly installed, routed, and tensioned before moving on to the next step.
With the new belt in place, we can proceed to reassembling the dryer. This will allow us to test the dryer and ensure that the belt replacement was successful.
Step 5: Reassemble the Dryer
With the new belt installed on your Samsung dryer, it’s time to reassemble the dryer. Follow these steps to put everything back together:
- Reattach the front panel: Align the front panel with the sides of the dryer cabinet and secure it in place with the screws that were previously removed. Make sure the panel is aligned properly and flush with the rest of the dryer.
- Reconnect the control panel: Reconnect the wire harness to the control panel, making sure to match the color-coded wires with their respective connections.
- Replace the top panel: Lift the top panel of the dryer and carefully lower it onto the dryer cabinet. Make sure it is seated properly and secure.
- Secure the lint filter housing: Use the Phillips screwdriver to reinsert and tighten the screws that secure the lint filter housing.
- Replace the lint filter: Insert the lint filter back into its designated slot on the top panel of the dryer.
Make sure all elements are securely reassembled and tightened to ensure the proper functioning and safety of the dryer.
Now that the dryer is reassembled, it’s time to move on to the final step of the repair process – testing the dryer.
Step 6: Test the Dryer
After reassembling your Samsung dryer, it’s crucial to test it and ensure that the belt replacement was successful. Follow these steps to test the dryer:
- Plug in the dryer: Carefully plug the power cord back into the electrical outlet.
- Turn on the dryer: Set the dryer to a timed dry cycle or any other appropriate setting and turn it on.
- Observe the drum: Watch the drum closely to verify that it is spinning smoothly and without any irregular noises. Ensure that the new belt is working properly to rotate the drum.
- Check for proper heating: As the dryer runs, check whether it is producing a sufficient amount of heat. This will ensure that the heating element is functioning correctly.
- Monitor for any issues: Pay attention to any unusual noises, vibrations, or other issues that may indicate a problem. If you notice any abnormalities, it may be necessary to repeat the previous steps and double-check the belt installation.
If the dryer is running smoothly, providing sufficient heat, and functioning as expected, then the belt replacement has been successful.
Congratulations! You have successfully replaced the belt on your Samsung dryer, saving yourself time and money. Remember to keep your dryer well-maintained by regularly cleaning the lint filter and vent to maximize its efficiency and prevent future issues.
If you encounter any difficulties or if the dryer continues to malfunction, it is recommended to seek assistance from a professional appliance repair technician.
Now that you have completed the repair process, you can enjoy the benefits of a fully functional Samsung dryer once again.
Conclusion
Replacing the belt on your Samsung dryer is a manageable DIY task that can save you time and money. By following the step-by-step instructions in this guide and exercising caution, you can successfully replace a worn or damaged belt and restore your dryer’s functionality.
Remember to gather the necessary tools and materials before starting the repair process. Ensure that you prioritize safety by unplugging the dryer, allowing it to cool down, and wearing protective gear.
Accessing the belt area, removing the old belt, and installing the new belt require careful handling and attention to detail. Take your time to ensure everything is done correctly.
After reassembling the dryer, don’t forget to test it. Monitor the drum for smooth operation and listen for any unusual noises. Verify that the dryer is producing adequate heat during operation.
If you encounter any difficulties or if the dryer continues to experience issues, it is recommended to seek professional assistance from a qualified appliance technician.
By following these steps, you can successfully replace the belt on your Samsung dryer and enjoy the benefits of a fully functioning appliance. Regular maintenance and cleaning of your dryer will help prolong its lifespan and prevent future issues.
Thank you for choosing this guide to assist you with replacing the belt on your Samsung dryer. We hope that it has been helpful and that your dryer is now working perfectly. Happy drying!
Frequently Asked Questions about How To Replace Belt On Samsung Dryer
Was this page helpful?
At Storables.com, we guarantee accurate and reliable information. Our content, validated by Expert Board Contributors, is crafted following stringent Editorial Policies. We're committed to providing you with well-researched, expert-backed insights for all your informational needs.


0 thoughts on “How To Replace Belt On Samsung Dryer”