Articles
How To Install Washer Drain
Modified: August 28, 2024
Learn how to install a washer drain with this comprehensive guide. Follow these step-by-step instructions and troubleshoot common issues. Find more articles on washer drain installation.
(Many of the links in this article redirect to a specific reviewed product. Your purchase of these products through affiliate links helps to generate commission for Storables.com, at no extra cost. Learn more)
Introduction
When it comes to installing a washer, one crucial aspect that often gets overlooked is the proper installation of the washer drain. The washer drain plays a vital role in efficiently removing wastewater from your washing machine, preventing any potential leaks or water damage. By following a few simple steps and using the right tools, you can easily install a washer drain and ensure smooth operation for years to come.
In this article, we will guide you through the process of installing a washer drain, providing valuable tips and insights along the way. So, let’s get started!
Key Takeaways:
- Proper installation of a washer drain is crucial for preventing leaks and water damage. Follow the steps outlined in this guide to ensure a secure and reliable installation that will keep your washing machine running smoothly.
- Testing the washer drain for proper functioning is essential to identify any potential issues before they lead to water damage. By following the installation process and conducting a thorough test, you can enjoy peace of mind knowing that your washer drain is installed correctly.
Read more: How To Drain Washer
Step 1: Gather necessary tools and materials
Before you begin installing the washer drain, it’s essential to gather all the necessary tools and materials. Having everything you need on hand will streamline the installation process and prevent unnecessary delays. Here are the key tools and materials you will need:
- Adjustable wrench
- Plumbing tape
- Pipe cutter or hacksaw
- PVC pipe and fittings
- P-trap
- Washer drain hose
- Screwdriver
- Bucket or container
- Level
Make sure to check the specifications of your specific washer model, as it may require additional materials or have different installation requirements. Once you have gathered all the necessary tools and materials, you are ready to move on to the next step.
Step 2: Choose a suitable location for the washer drain
Choosing the right location for the washer drain is crucial for its proper functionality and convenience. Here are a few important considerations to keep in mind:
- Proximity to the washing machine: The washer drain should be located near the washing machine to minimize the length of the drain hose. This will help maintain optimal water flow and prevent any kinks or clogs.
- Adequate space: Ensure that there is enough space around the area where you plan to install the washer drain. This will allow for easy access in case of any future maintenance or repairs.
- Gravity flow: The washer drain should be positioned lower than the drain of the washing machine to ensure proper gravity flow. This will allow the wastewater to flow easily from the machine into the drain.
- Existing plumbing: Take into consideration the existing plumbing system in your home. It’s recommended to connect the washer drain to an existing drain line if possible, as this will simplify the installation process.
Once you have identified a suitable location for the washer drain, mark the area using a pencil or tape. This will serve as a reference point when preparing the installation area in the next step.
Step 3: Prepare the installation area
Now that you have chosen a suitable location for the washer drain, it’s time to prepare the installation area. Follow these steps to ensure a smooth and secure installation:
- Clear the area: Remove any obstacles or debris from the installation area. This will provide you with a clean and clutter-free workspace.
- Locate the existing plumbing: If you plan to connect the washer drain to an existing drain line, locate the nearest plumbing access point. This will help you determine the path and length of the drain pipe.
- Measure and cut the drain pipe: Using a pipe cutter or hacksaw, carefully measure and cut a section of the drain pipe that will connect the washer drain to the existing plumbing. Be sure to wear protective gloves and goggles when cutting the pipe.
- Smooth the edges: Use sandpaper or a file to smooth out any rough edges on the cut pipe. This will ensure a tight and secure fit when connecting the pipes.
- Apply plumbing tape: Wrap plumbing tape around the threads of the drain pipe to create a watertight seal. This will prevent any potential leaks.
By thoroughly preparing the installation area, you are setting the foundation for a successful washer drain installation. With these steps complete, you are now ready to move on to the next phase of the installation process – installing the P-trap.
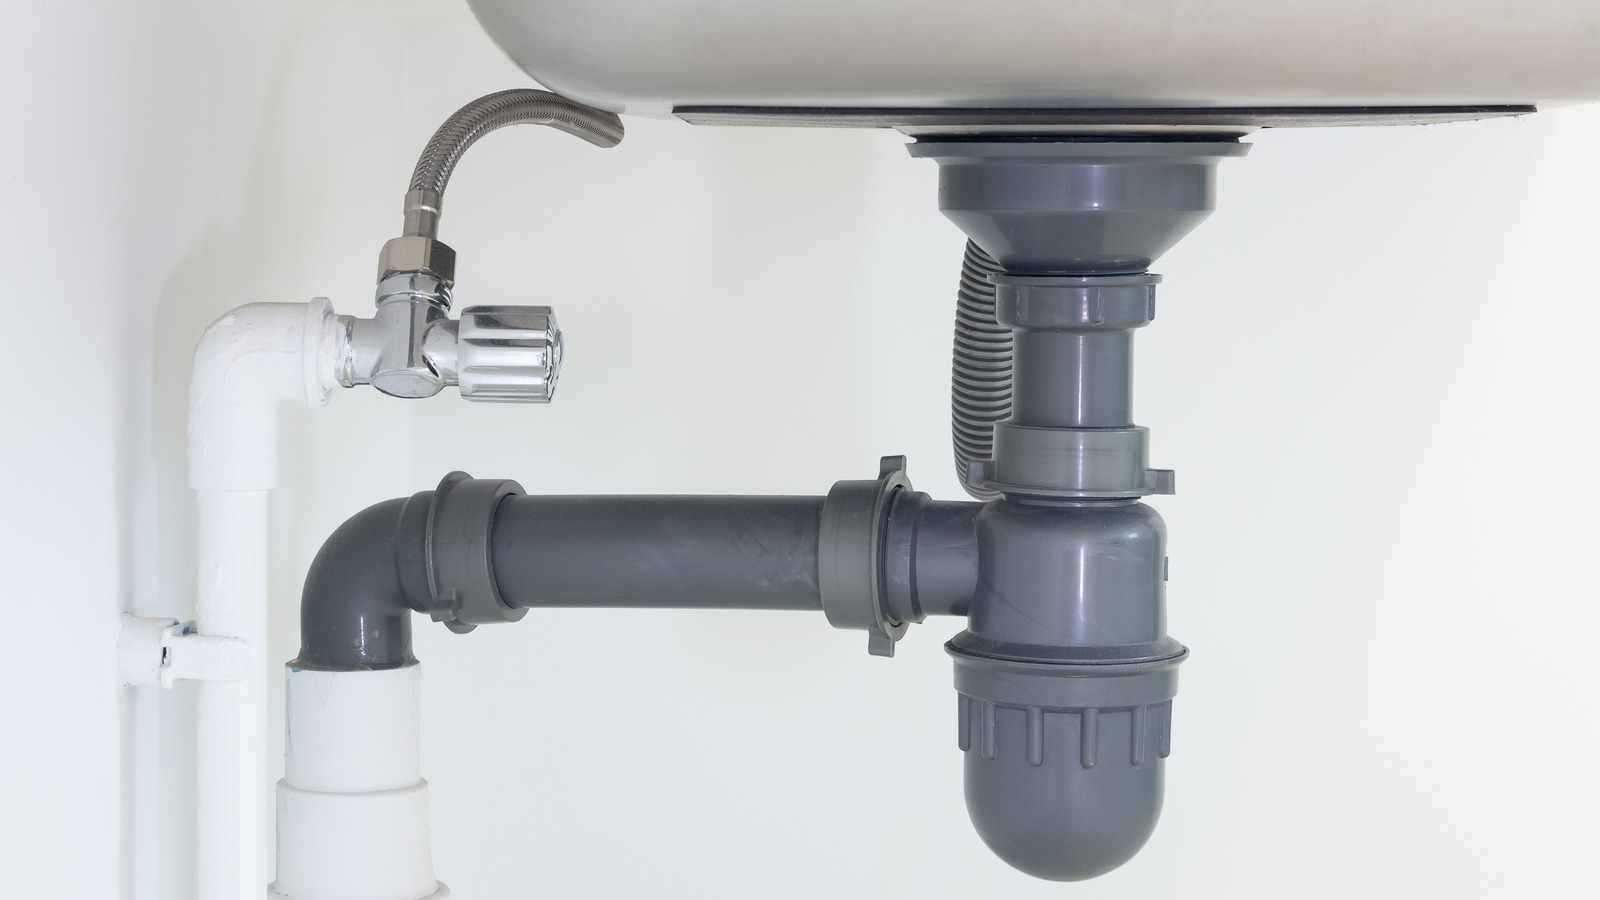
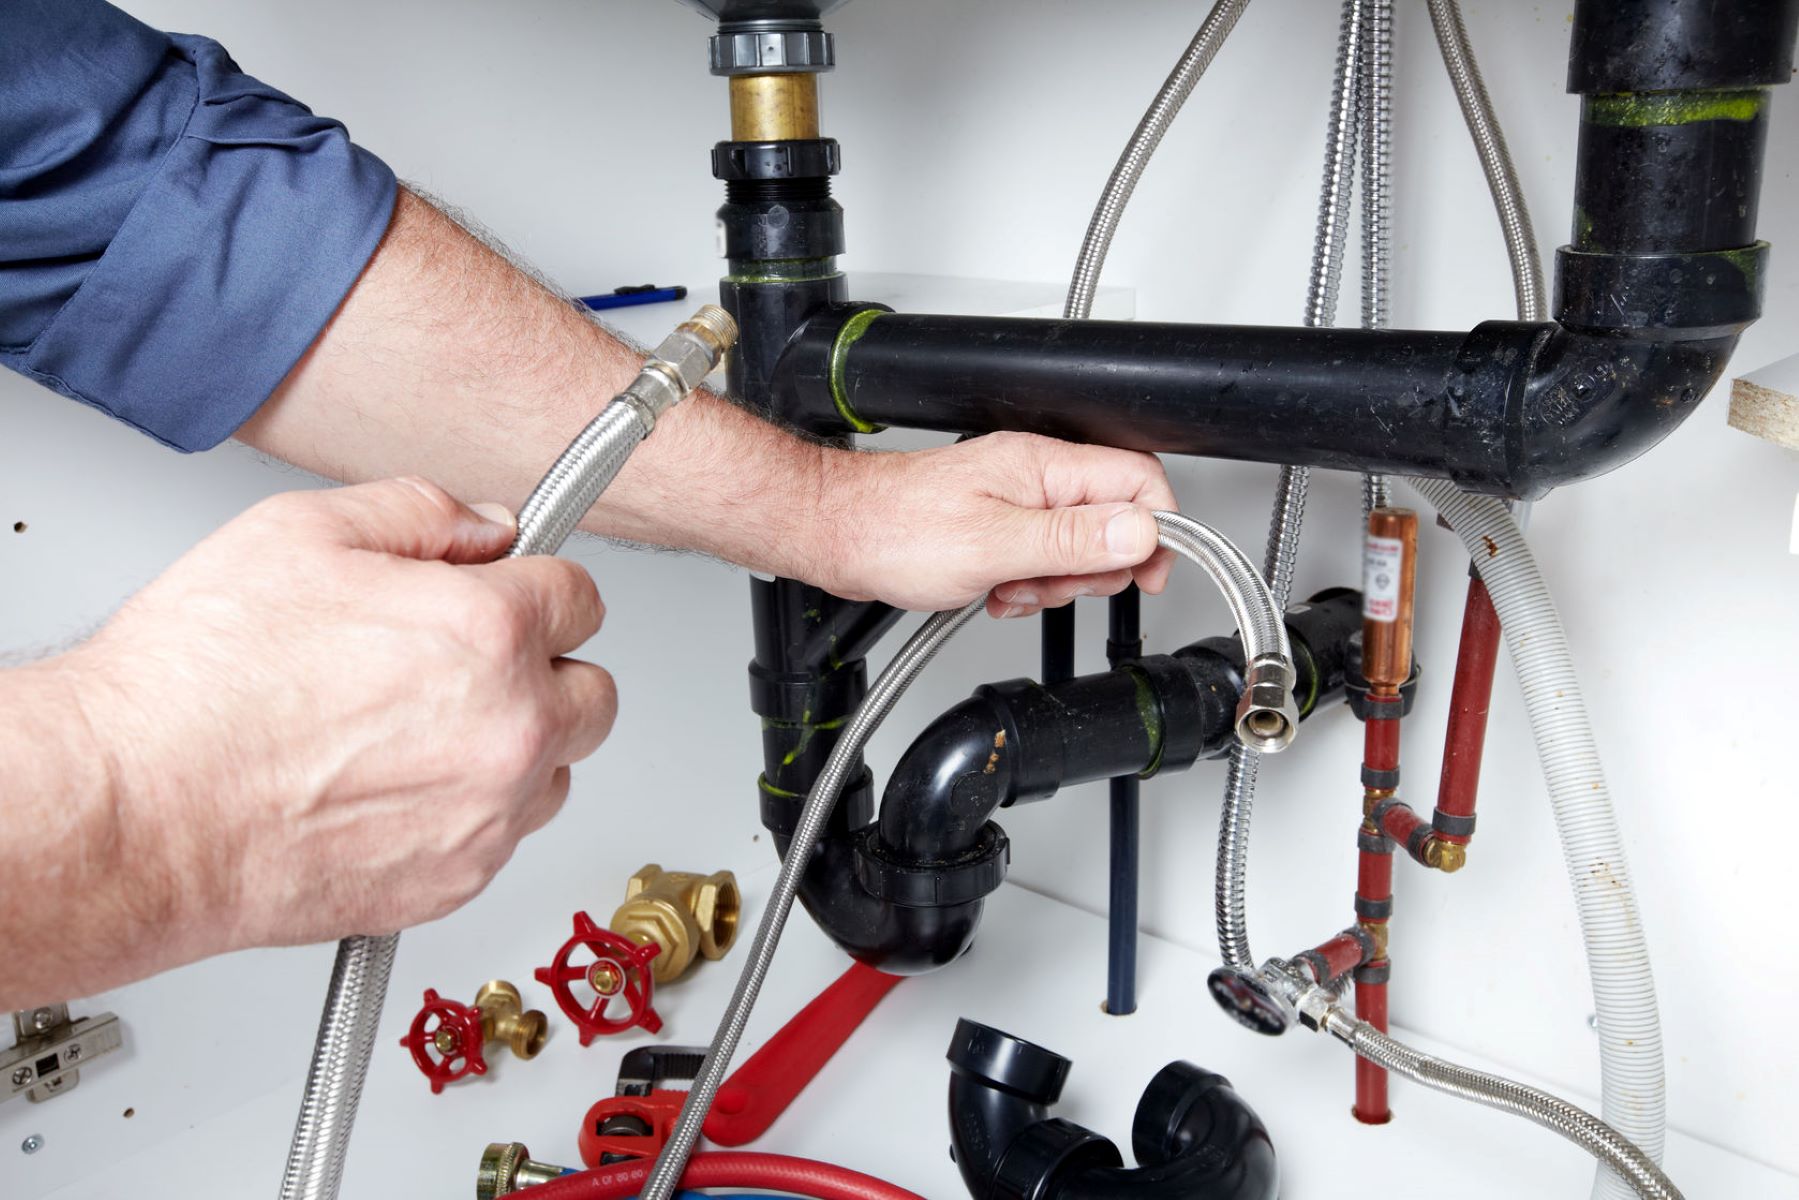
Step 4: Install the P-trap
The P-trap is a crucial component of the washer drain system as it helps to prevent sewer gases from entering your home. Follow these steps to properly install the P-trap:
- Position the P-trap: Place the P-trap under the sink or in the designated area, ensuring that it aligns with the drain pipe.
- Connect the P-trap: Insert one end of the drain pipe into the P-trap and securely tighten the connection using an adjustable wrench. Ensure that the P-trap is level and properly aligned.
- Connect the other end of the drain pipe: Insert the other end of the drain pipe into the existing plumbing or the designated drain line. If needed, use PVC fittings to make the connections secure.
- Tighten all connections: Use an adjustable wrench to tighten all the connections. Make sure they are snug but be careful not to overtighten, as it can damage the pipes.
- Check for leaks: Once the connections are secured, turn on the water supply and inspect the P-trap for any signs of leaks. If any leaks are detected, adjust the connections as needed or reapply plumbing tape.
By properly installing the P-trap, you are ensuring a secure and effective connection for your washer drain system. With this step completed, you are ready to move on to the next phase of the installation – connecting the drain hose.
When installing a washer drain, make sure to properly secure the drain hose to the standpipe or laundry tub to prevent leaks and ensure proper drainage. Use a hose clamp or zip tie to secure the connection.
Read more: How To Drain A Maytag Washer
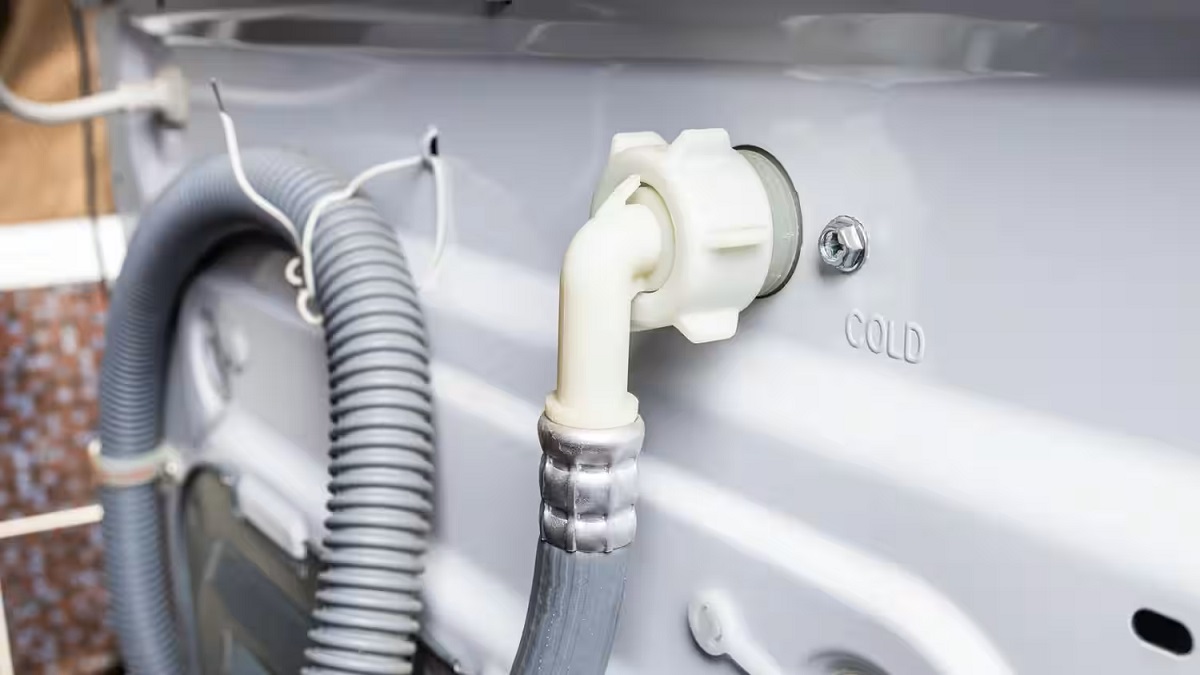
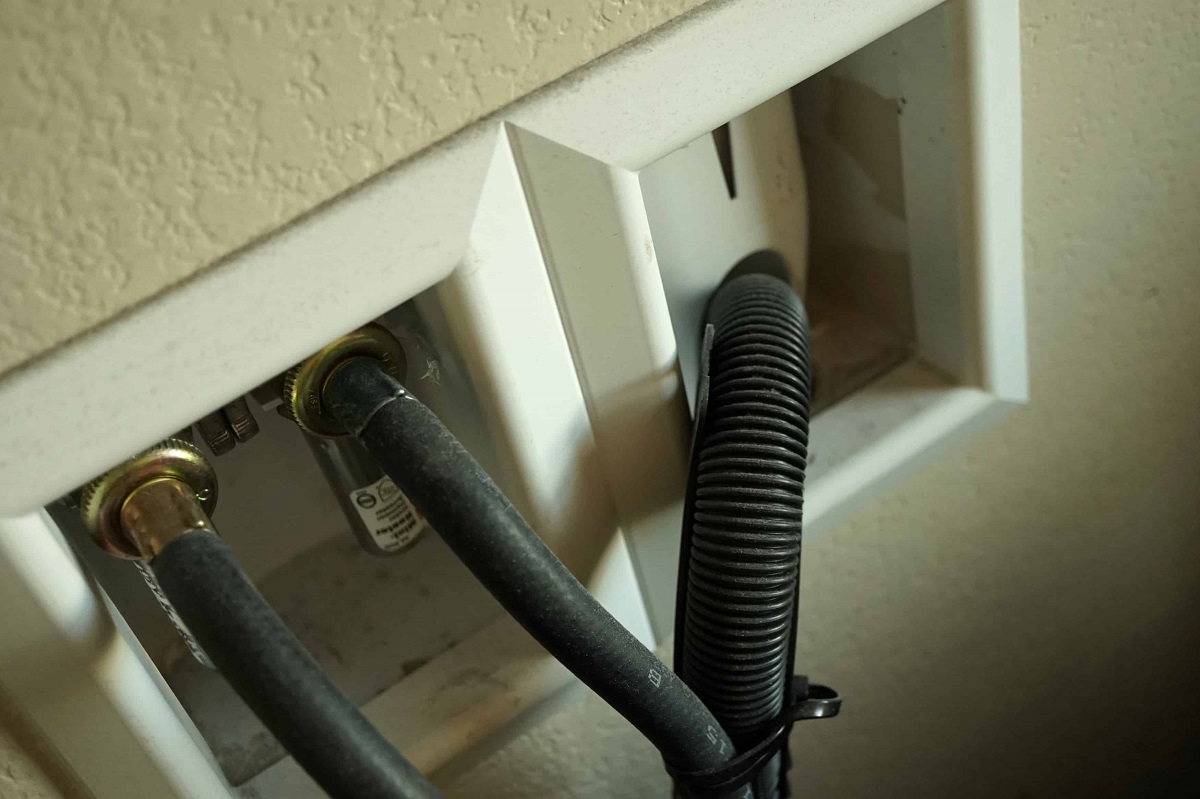
Step 5: Connect the drain hose to the P-trap
Connecting the drain hose to the P-trap is a crucial step in the installation of the washer drain. Follow these steps to ensure a proper connection:
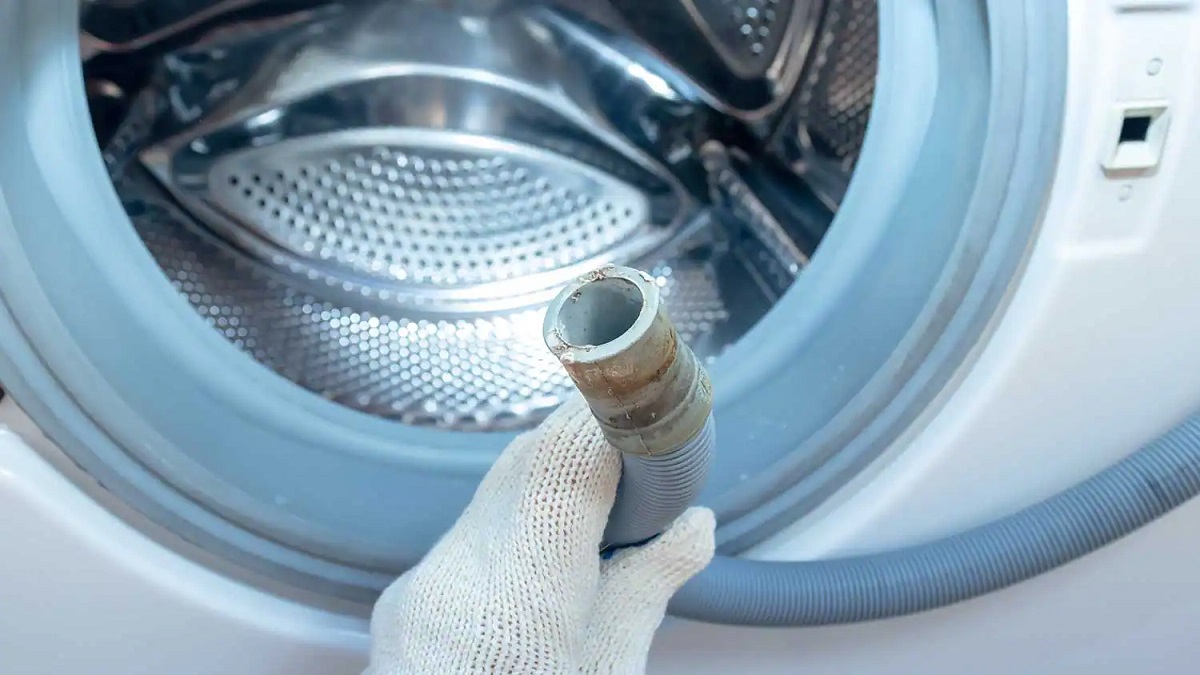
- Inspect the drain hose: Before connecting the drain hose to the P-trap, inspect it for any damage or blockages. Make sure the hose is clean and free of debris.
- Attach the hose clamp: Slide a hose clamp onto the end of the drain hose. Position it a few inches from the end, leaving enough space to connect it to the P-trap.
- Insert the hose into the P-trap: Insert the end of the drain hose into the P-trap opening. Push it in until it reaches a tight fit.
- Tighten the hose clamp: Using a screwdriver, tighten the hose clamp around the drain hose and the P-trap. Ensure that it is secure but not overly tight, as it can damage the hose or the P-trap.
- Check for proper alignment: Verify that the drain hose is properly aligned with the P-trap and that there are no kinks or twists. This will ensure proper water flow from the washing machine to the drain.
Once the drain hose is securely connected to the P-trap, you have successfully completed this step of the installation process. The next step will involve securing the drain hose in place.
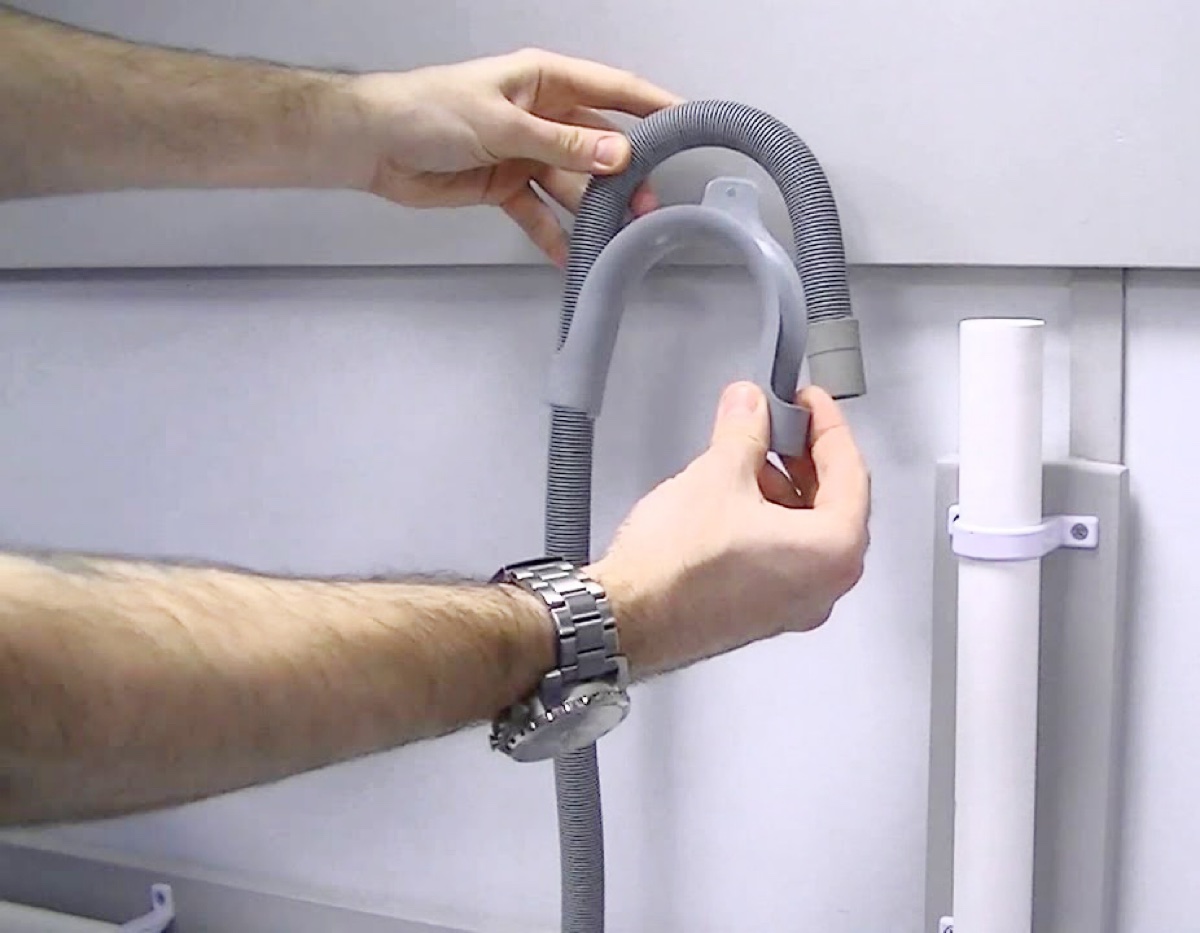
Step 6: Secure the drain hose in place
Securing the drain hose in place is essential to prevent it from slipping or coming loose during the operation of the washer. Follow these steps to ensure the drain hose remains secure:
- Use hose clamps: Slide hose clamps onto the drain hose at both ends: the end connected to the P-trap and the end attached to the washing machine. Position the clamps a few inches away from the connection points.
- Position the drain hose: Carefully position the drain hose in a way that allows for a smooth downward flow of water. Avoid any sharp bends or kinks in the hose, as this can impede water flow and potentially cause leaks.
- Tighten the hose clamps: Using a screwdriver, tighten the hose clamps securely around the drain hose and the connection points. Ensure that they are tight enough to hold the hose in place but not so tight that they cause damage.
- Secure the drain hose to a wall or floor: If needed, use zip ties, brackets, or hooks to secure the drain hose to a wall or the floor. This will prevent it from moving or shifting during the operation of the washer.
- Check for any leaks: After securing the drain hose, turn on the washer and run a test cycle to check for any leaks. Monitor the connections and the hose for any signs of water leakage. If leaks are detected, tighten the connections or reposition the hose as necessary.
By properly securing the drain hose, you can ensure that it remains in place and prevents any potential water damage or leaks. With this step completed, you are now ready to move on to the final step – testing the washer drain for proper functioning.
Step 7: Test the washer drain for proper functioning
Once you have completed the installation of the washer drain, it is important to test its functionality before regular use. Follow these steps to ensure that the drain is working properly:
- Run a test cycle: Fill the washing machine with water and run a test cycle. Observe the water as it drains through the hose and into the P-trap. Ensure that the water flows freely without any blockages or slow drainage.
- Monitor for leaks: While the test cycle is running, carefully inspect all connections and the drain hose for any signs of water leakage. Additionally, check the area around the P-trap for any water accumulation.
- Check for odors: After the test cycle is complete, check for any unpleasant odors coming from the drain. If you notice any foul smells, it may indicate a problem with the P-trap or the ventilation system. Consult a plumber in such cases.
- Adjust if needed: If you notice any issues during the test, such as slow drainage or leaks, you may need to readjust or tighten the connections. Double-check that the drain hose is properly positioned and secured.
By testing the washer drain for proper functioning, you can identify any potential issues before they can lead to water damage or other complications. It is important to address any problems promptly to ensure the long-term effectiveness of the drain system.
Once you have confirmed that the washer drain is working correctly, congratulations! You have successfully installed a washer drain, ensuring efficient and safe operation of your washing machine.
Conclusion
Installing a washer drain is a critical step in setting up your washing machine for efficient operation. By following the steps outlined in this guide, you can ensure a secure and reliable installation that prevents leaks, blockages, and potential water damage.
Remember to gather all the necessary tools and materials before starting the installation process. Take the time to choose a suitable location for the drain and properly prepare the installation area by measuring, cutting, and smoothing the pipes. Installing the P-trap and connecting the drain hose are important steps that require careful attention to detail. Be sure to secure the drain hose in place and test the system for proper functioning before regular use.
By taking the necessary steps and following the proper procedures, you can enjoy peace of mind knowing that your washer drain is installed correctly and will provide reliable service for years to come.
If you encounter any difficulties or have any concerns during the installation process, it is always advisable to consult with a professional plumber who can provide expert guidance and assistance.
Now that you have successfully installed the washer drain, you can confidently use your washing machine and enjoy the convenience and efficiency it brings to your laundry routine.
Frequently Asked Questions about How To Install Washer Drain
Was this page helpful?
At Storables.com, we guarantee accurate and reliable information. Our content, validated by Expert Board Contributors, is crafted following stringent Editorial Policies. We're committed to providing you with well-researched, expert-backed insights for all your informational needs.


0 thoughts on “How To Install Washer Drain”