Home>Articles>How To Install A Maytag Stacked Washer And Dryer Combo
Articles
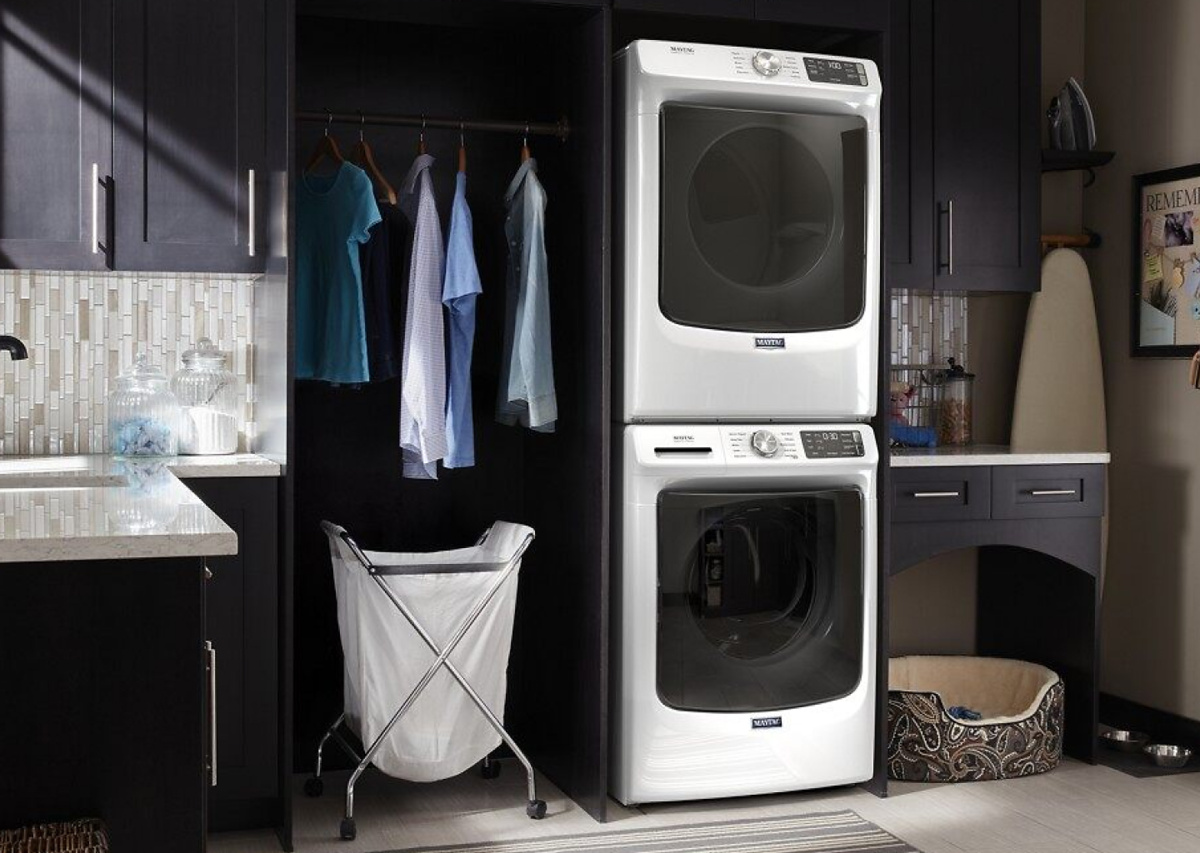
How To Install A Maytag Stacked Washer And Dryer Combo
Modified: October 19, 2024
Learn how to install a Maytag stacked washer and dryer combo with our step-by-step articles. Simplify your laundry routine with this efficient appliance setup.
(Many of the links in this article redirect to a specific reviewed product. Your purchase of these products through affiliate links helps to generate commission for Storables.com, at no extra cost. Learn more)
Introduction
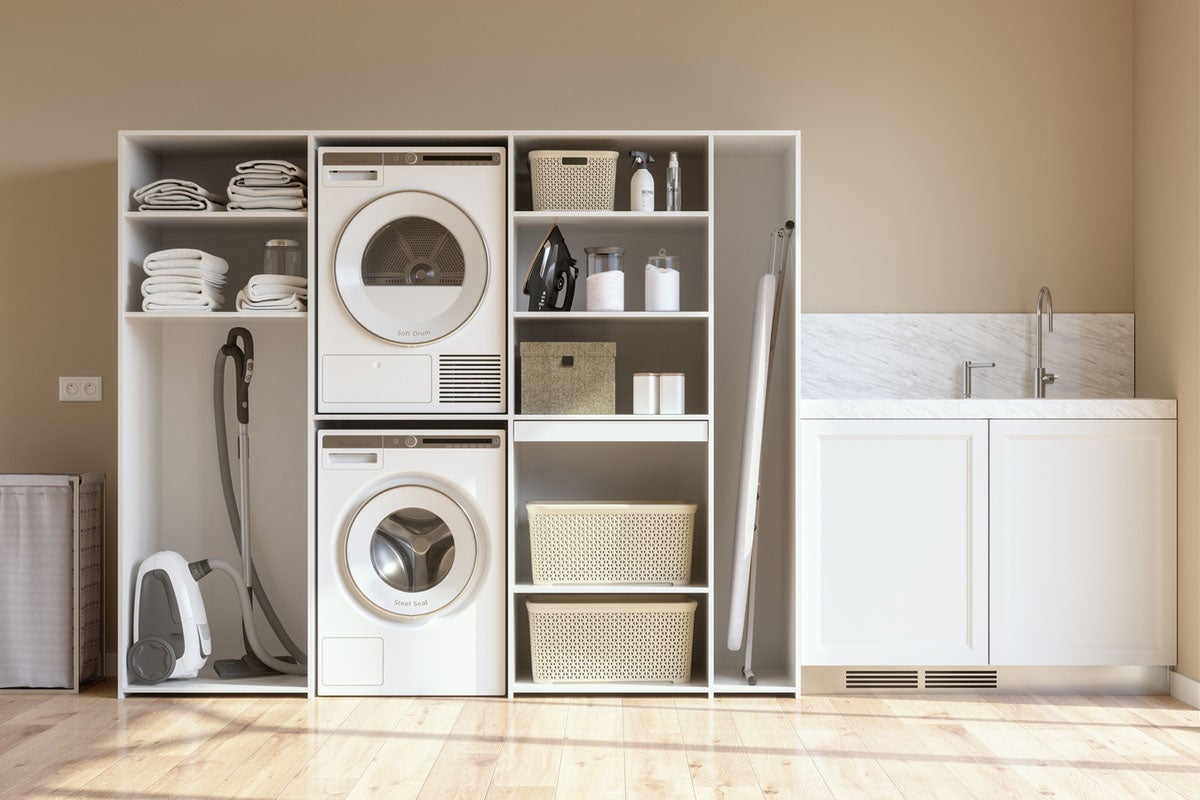
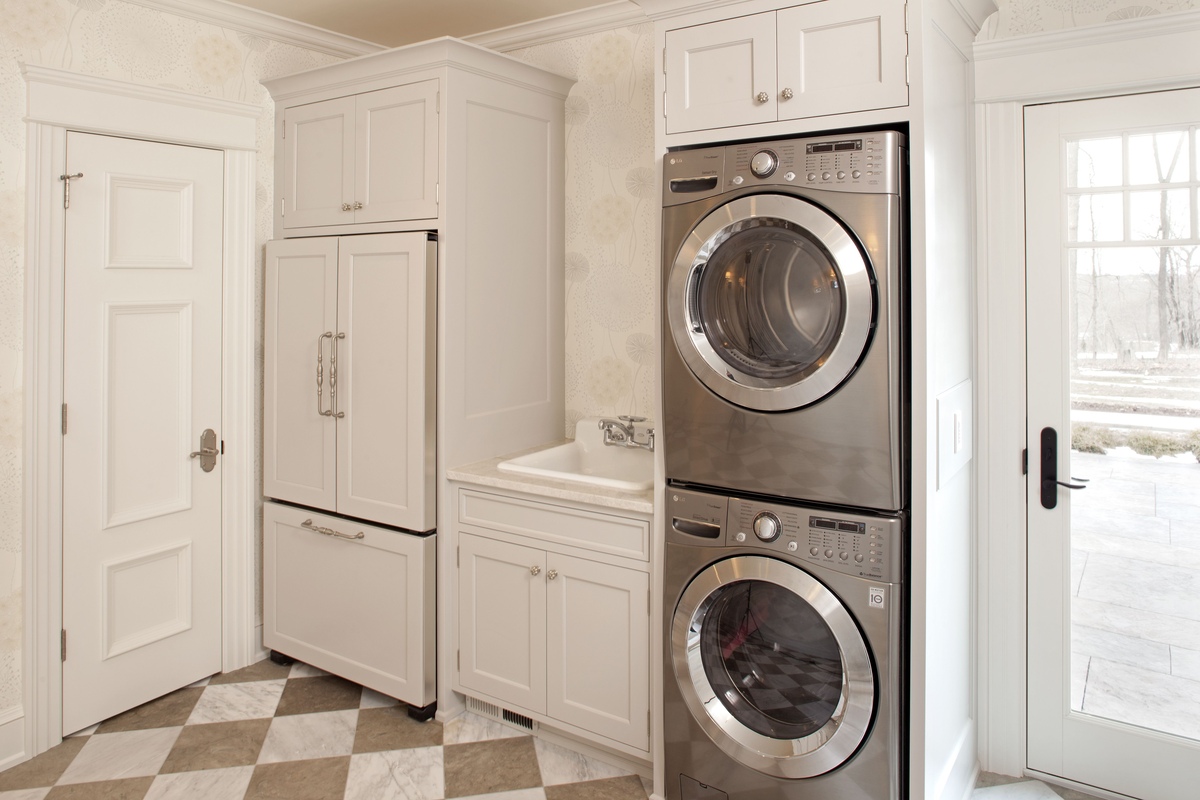
Installing a Maytag stacked washer and dryer combo in your home is a convenient and space-saving solution for your laundry needs. With this setup, you can have a high-quality washing machine and dryer stacked on top of each other, taking up minimal space while still providing efficient and effective laundry care.
In this article, we will guide you through the step-by-step process of installing a Maytag stacked washer and dryer combo. From gathering the necessary tools and materials to testing the installation, we will cover everything you need to know to successfully set up your new laundry appliances.
Before we begin, it’s important to note that while we will provide a general installation guide, it’s always recommended to refer to the manufacturer’s instructions specific to your Maytag model. These instructions will provide any model-specific considerations and ensure proper installation.
So, let’s get started and transform your laundry area into a functional and efficient space with a Maytag stacked washer and dryer combo!
Key Takeaways:
- Installing a Maytag stacked washer and dryer combo requires careful preparation, precise measurements, and thorough testing. Following the step-by-step process ensures a space-saving and efficient laundry area with optimal performance and safety.
- Prioritizing safety, gathering the necessary tools, connecting water supply lines, and testing the installation are essential for a successful setup. Proper installation leads to worry-free laundry care and long-term appliance reliability.
Step 1: Gather the necessary tools and materials
Before you begin the installation process, it’s important to gather all the tools and materials you’ll need. Having everything on hand will make the installation smoother and more efficient. Here’s a list of the essential tools and materials:
1. Measuring tape: You’ll need a measuring tape to determine the precise dimensions of the installation area and ensure a proper fit.
2. Level: A level tool will help you ensure that the stacked washer and dryer combo is perfectly horizontal and balanced.
3. Adjustable wrench: This tool is essential for tightening and connecting the water supply lines.
4. Pliers: Pliers may be needed for some tasks, such as securing hose clamps or making adjustments.
5. Screwdriver: Depending on the model, you may need a screwdriver to secure panels or connect certain parts of the washer and dryer.
6. Safety goggles and gloves: It’s always a good idea to prioritize safety. Wear safety goggles to protect your eyes and gloves to keep your hands safe while handling tools or sharp edges.
7. Water supply lines: Make sure you have the appropriate water supply lines compatible with your Maytag washer and dryer combo. These can typically be purchased at hardware or home improvement stores.
8. Drain hose: Ensure you have a proper drain hose that meets the specifications of your Maytag appliance.
9. Power cord: Check that you have the correct power cord for your washer and dryer combo. Some models may require a specific type of cord.
10. Dolly or hand truck: If your laundry machines are heavy, using a dolly or hand truck can make it easier to move them during the installation process.
By gathering all the necessary tools and materials, you’ll be well-prepared to install your Maytag stacked washer and dryer combo. With everything in place, you can proceed with confidence and efficiency to the next steps of the installation process.
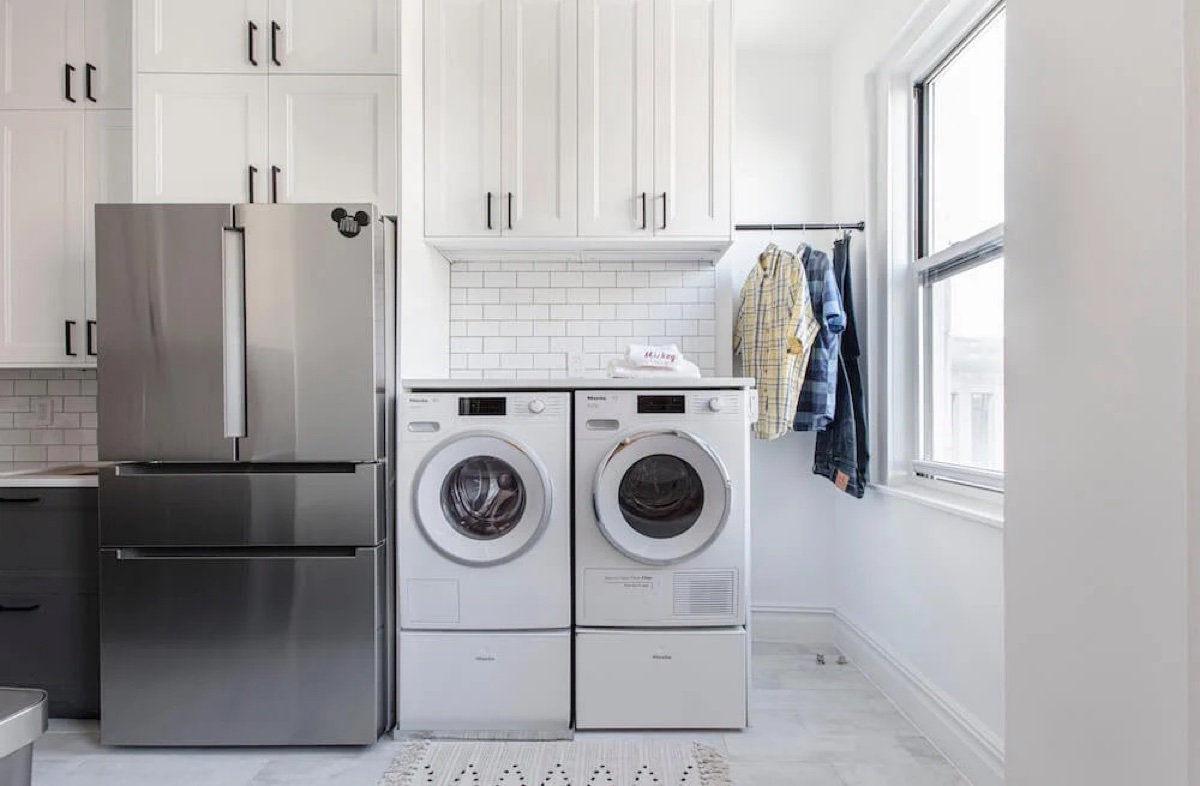
Step 2: Measure and prepare the installation area
Before you start installing your Maytag stacked washer and dryer combo, it’s crucial to measure and prepare the installation area. This step ensures that the appliances will fit properly and have adequate space for ventilation. Follow these steps for a successful installation:
1. Measure the dimensions: Use a measuring tape to determine the width, height, and depth of the installation area. Be sure to measure the space accurately, taking into account any obstructions such as cabinets, countertops, or walls.
2. Check clearance requirements: Refer to the manufacturer’s instructions to find the recommended clearance requirements for the specific model of your Maytag stacked washer and dryer combo. The clearance allows for proper ventilation and prevents overheating.
3. Prepare the floor: Ensure that the floor is clean and level before placing the appliances. Use a level tool to check for any unevenness. If the floor is uneven, you may need to make adjustments using shims or leveling feet to achieve a stable and balanced installation.
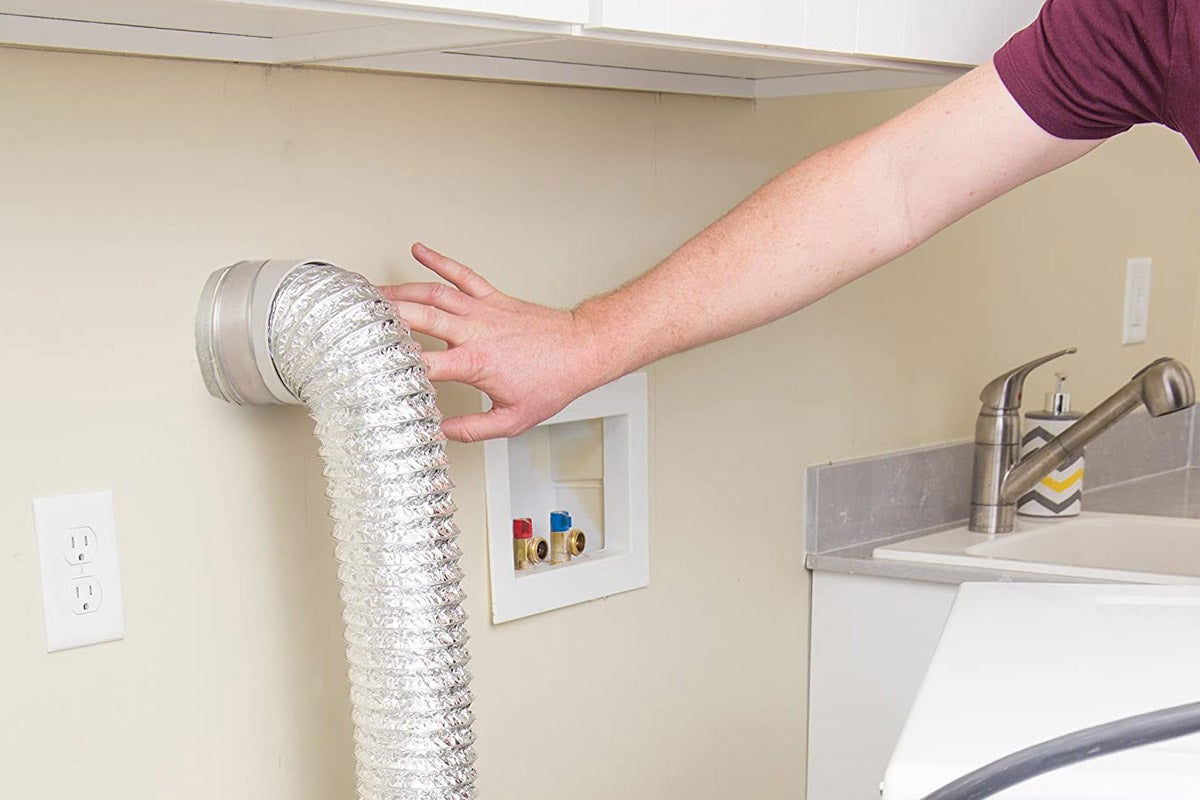
4. Provide proper ventilation: It’s crucial to have adequate ventilation for your dryer to expel hot air and moisture. Check if your model requires a vent or if it is ventless. If a vent is required, ensure that there is a proper venting system in place that meets local building codes.
5. Check electrical requirements: Determine the electrical requirements for your Maytag stacked washer and dryer combo. Make sure that there is a dedicated electrical circuit with the correct voltage and amperage to safely operate the appliances.
6. Consider accessibility: Plan for easy access to the appliances for maintenance and repairs. Ensure that there is enough space to open the doors fully and maneuver around the stacked unit comfortably.
By accurately measuring and preparing the installation area, you’ll ensure that your Maytag stacked washer and dryer combo fits perfectly and functions optimally. Taking the time to do this step properly will save you potential headaches in the future and make the installation process smoother overall.
Step 3: Connect the water supply lines
Connecting the water supply lines is an essential step in the installation process of your Maytag stacked washer and dryer combo. Here’s a step-by-step guide on how to connect the water supply lines:
1. Turn off the water supply: Before you begin, make sure to shut off the main water supply to your home. This will prevent any accidental leaks or flooding during the installation process.
2. Locate the water inlet valves: Find the hot and cold water inlet valves behind the washer unit. These valves are typically located on the wall directly behind the appliance.
3. Attach the supply hoses: Take the hot and cold water supply hoses and fasten them tightly to the corresponding hot and cold water inlet valves. Make sure to use an adjustable wrench to securely tighten the connections.
4. Connect the other end of the hoses: On the back of the washer unit, locate the hot and cold water inlet connections. Connect the other ends of the supply hoses to these inlet connections. Check that the connections are secure but avoid over-tightening, as it may damage the hoses or connections.
5. Check for leaks: Once the hoses are connected, turn on the main water supply and check for any leaks. Inspect all the connections, including the valves and hose connections, to confirm that there are no water leaks. If you notice any leaks, ensure that the connections are tightened appropriately.
6. Test the water flow: Once the connections are secure and leak-free, turn on the water supply and test the water flow. Run a short cycle on the washer to ensure that water fills the machine properly without any issues.
Properly connecting the water supply lines ensures that your Maytag stacked washer and dryer combo has access to the necessary water for its operation. By following these steps and carefully checking for leaks, you can be confident in the functionality of your appliances and avoid any potential water damage during operation.
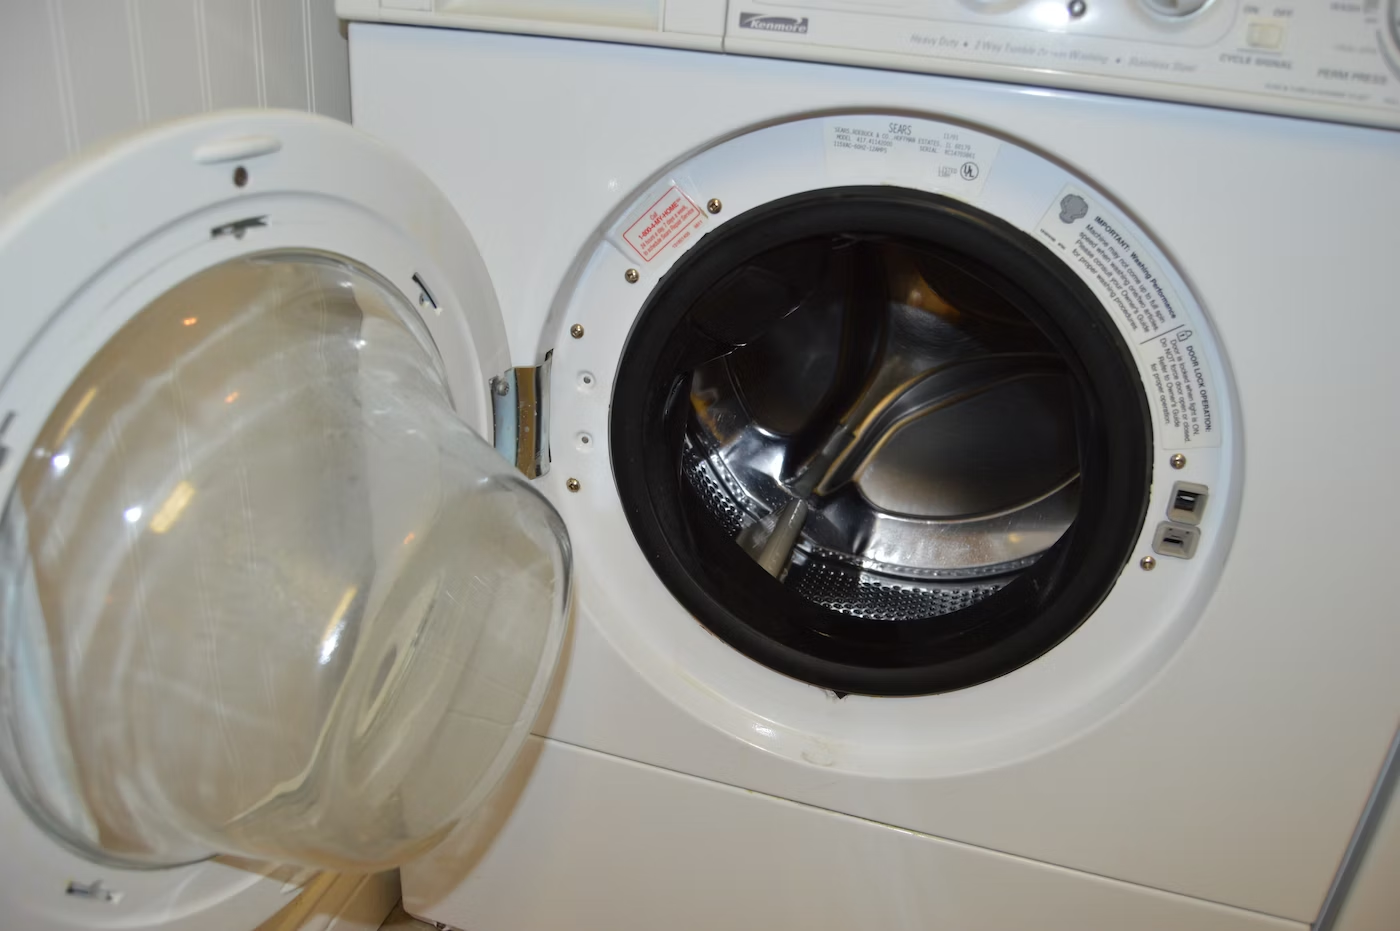
Step 4: Install the drain hose
Installing the drain hose is a crucial step in the installation process of your Maytag stacked washer and dryer combo. The drain hose is responsible for removing the water from the washer during the wash and rinse cycles. Follow these steps to install the drain hose properly:
1. Locate the drain outlet: Identify the drain outlet on the back of the washer unit. This outlet is typically located near the bottom of the machine.
2. Position the drain hose: Take the drain hose and position it so that it reaches the drain outlet. Ensure that the hose is not kinked or twisted, as it may impede proper water drainage.
3. Connect the drain hose to the drain outlet: Attach one end of the drain hose to the drain outlet on the washer unit. Ensure a secure connection by fastening any clamps or securing mechanisms provided by the manufacturer.
4. Position the other end of the drain hose: Determine the location where you will drain the water. It is recommended to have a drain pipe or a laundry sink nearby. Position the other end of the drain hose into the drain pipe or insert it into the laundry sink. Make sure the hose is securely in place to prevent any water leaks or spills.
5. Test the drain system: Once the drain hose is properly installed, run a short cycle on the washer and observe the water draining through the hose. Check for any leaks or issues with water flow. It’s crucial to ensure that the water drains properly without any backup or clogging.
By correctly installing the drain hose, you can ensure the efficient and effective drainage of water from your Maytag stacked washer and dryer combo. Taking the time to position and secure the hose properly will help prevent any water damage or drainage issues during the operation of your appliances.
When installing a Maytag stacked washer and dryer combo, make sure to level the unit using a bubble level to ensure proper operation and to prevent excessive vibration during use.
Step 5: Plug in the power cord
Plugging in the power cord is a vital step in the installation process of your Maytag stacked washer and dryer combo. This step ensures that your appliances receive the necessary electrical power to operate safely and efficiently. Follow these steps to plug in the power cord correctly:
1. Locate the power outlet: Identify a nearby power outlet that is grounded and meets the electrical requirements of your Maytag washer and dryer combo. The outlet should be easily accessible and within reach of the power cord.
2. Unpack the power cord: Remove the power cord from its packaging and unravel it fully. Ensure that the cord is not damaged or frayed.
3. Attach the power cord to the appliances: Find the designated power cord connection point at the back of each appliance. Align the power cord prongs with the corresponding slots and insert them securely. Make sure that the connection is tight and that the cord is fully inserted.
4. Plug in the power cord: With caution, insert the power plug into the power outlet. Ensure a secure fit and ensure that the plug is fully inserted into the outlet.
5. Test the power supply: Turn on the power switch or press the power button on your Maytag stacked washer and dryer combo. Check if the appliances power up and if the control panel displays any lights or indicators. If everything powers up and functions correctly, you have successfully plugged in the power cord.
It’s essential to follow these steps carefully to ensure a secure and safe power connection for your Maytag appliances. Any loose or improper connections can result in electrical issues or even damage to the appliances. Always prioritize safety by confirming that the power cord is plugged into a grounded outlet and that there are no visible signs of damage or wear on the cord itself.
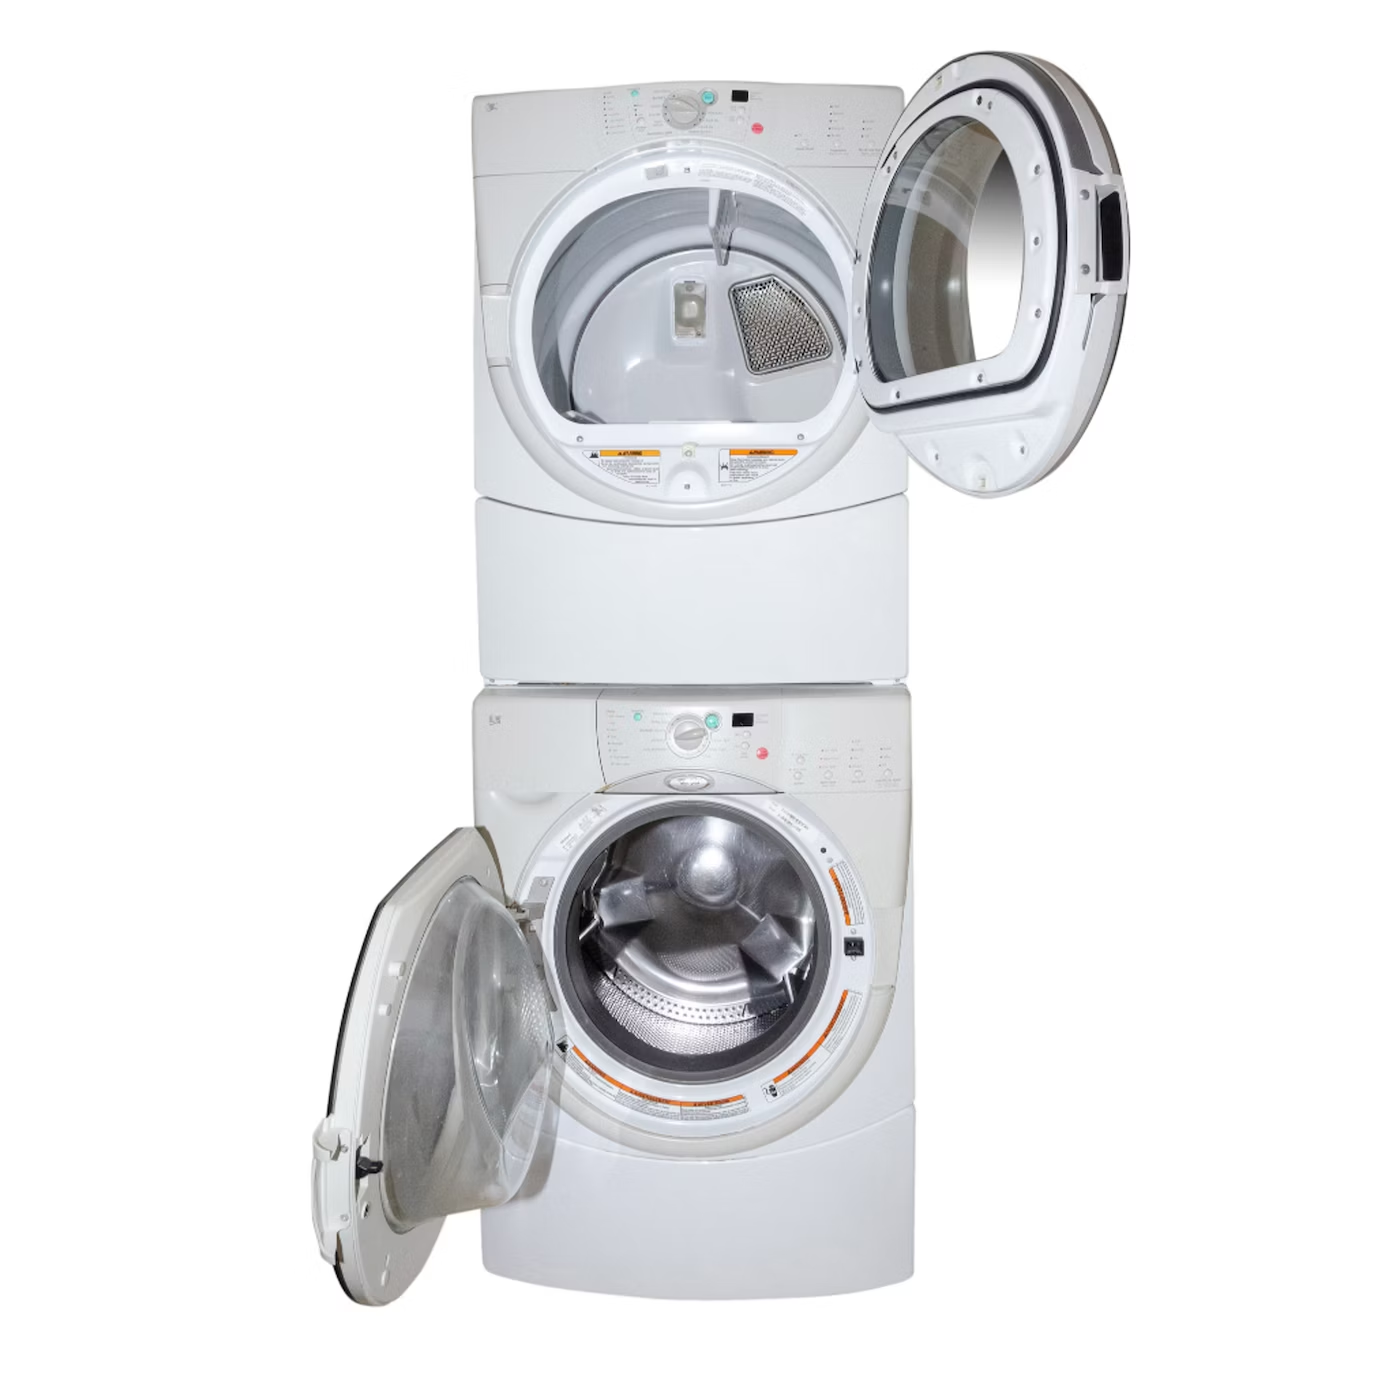
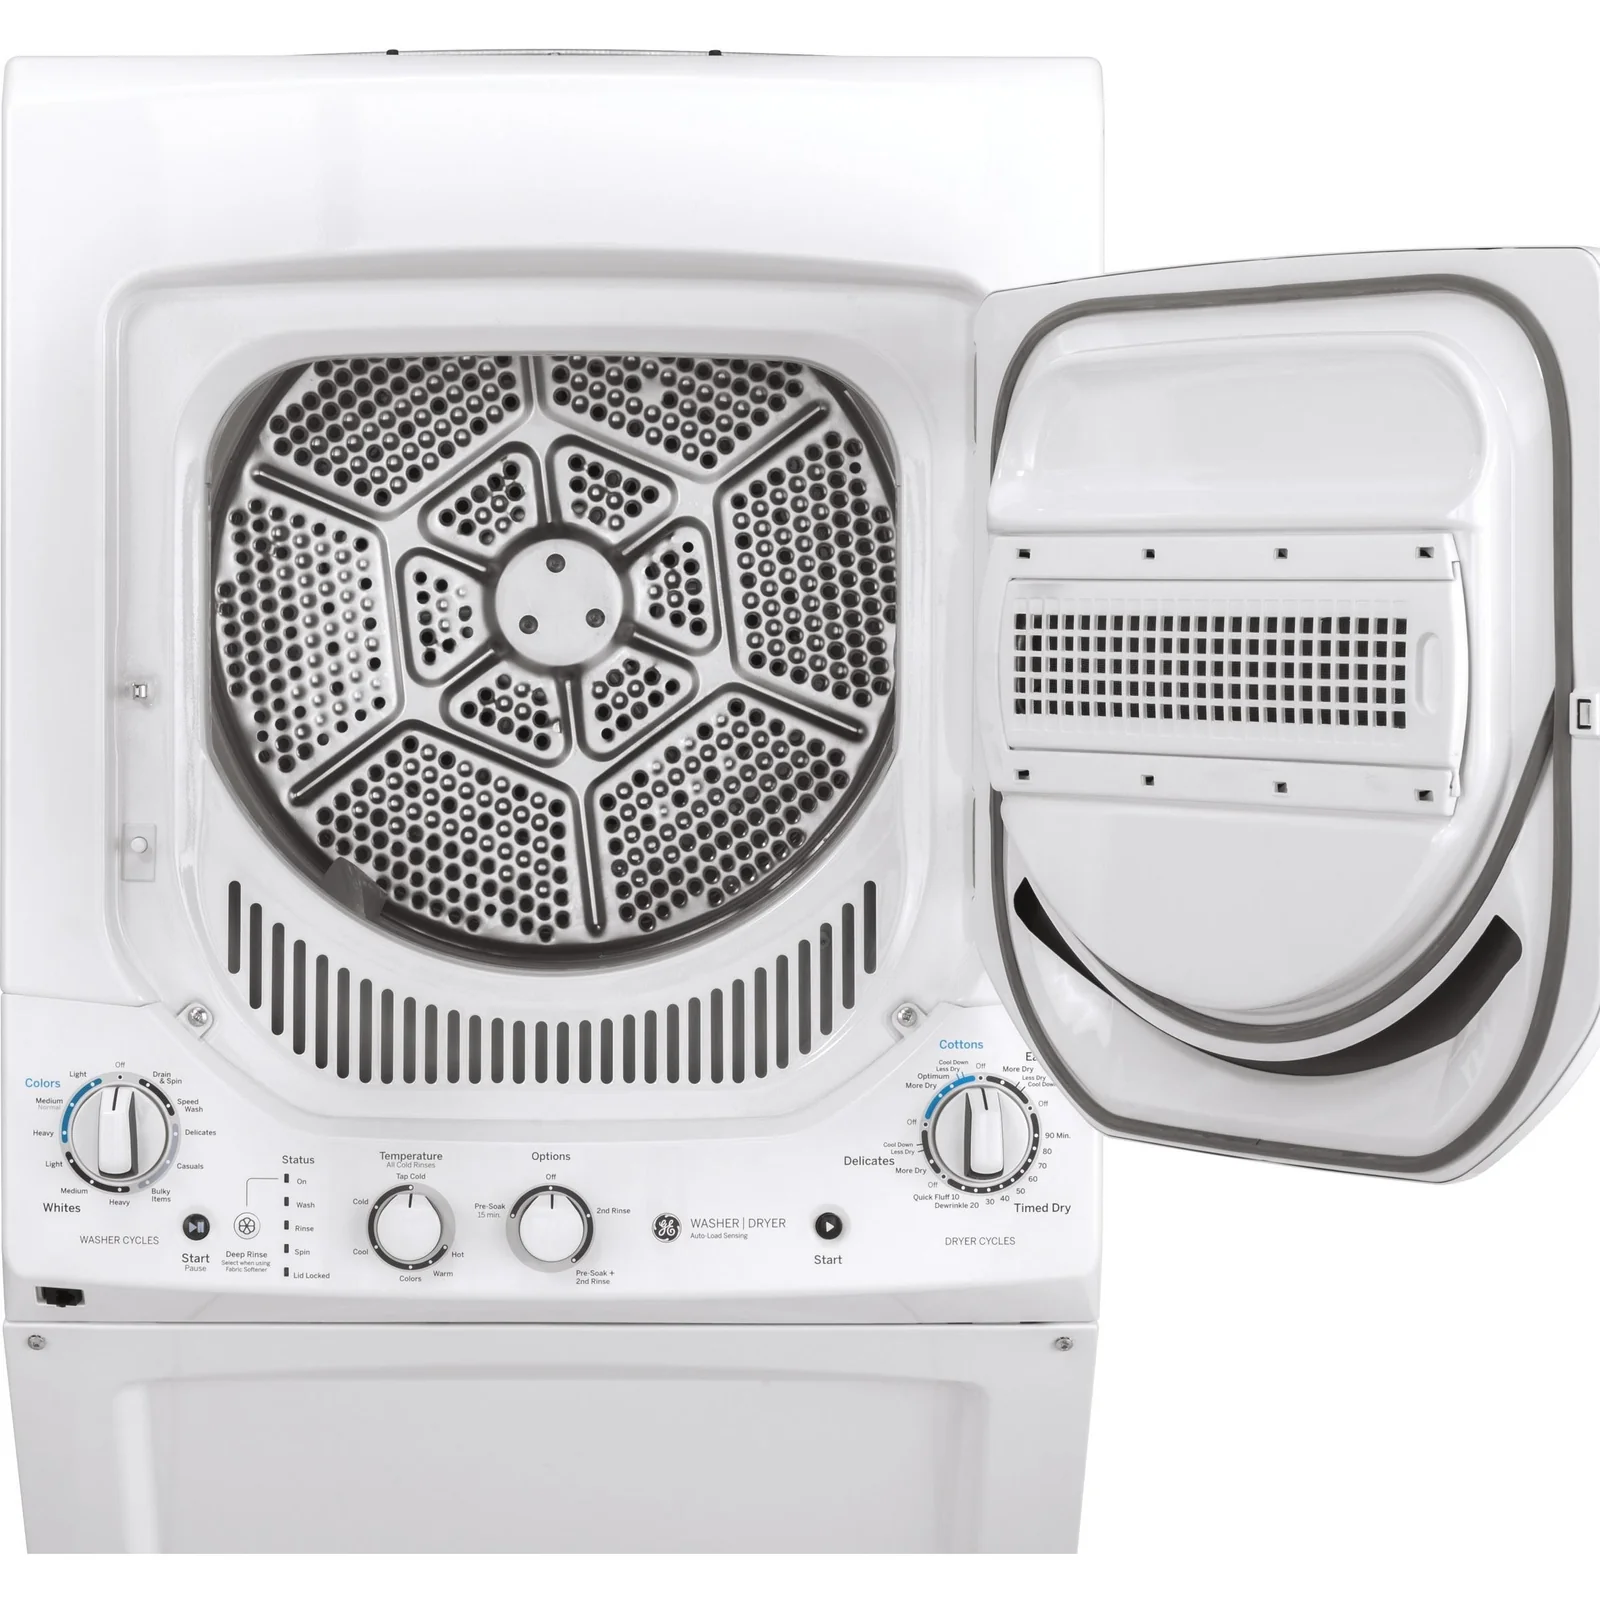
Step 6: Level and secure the stacked washer and dryer combo
Leveling and securing the stacked washer and dryer combo is an important step to ensure stability and prevent any unwanted movement or vibrations during operation. Here’s how you can level and secure your Maytag stacked washer and dryer combo:
1. Verify the stability: Before starting the leveling process, ensure that the appliances are placed on a solid and stable surface. If necessary, use a dolly or hand truck to move them to a more suitable location.
2. Adjust the leveling feet: Each appliance typically has adjustable leveling feet located at the bottom. Use a wrench or pliers to raise or lower the feet as needed to level the appliances. Check the levelness in both the front-to-back and side-to-side directions.
3. Use a level tool: Place a level tool on top of the appliances to check for any imbalance. Adjust the feet further if needed until the bubble in the level is centered. This indicates that the appliances are perfectly level.
4. Secure the appliances: Once the washer and dryer combo is level, secure them together using manufacturer-provided brackets or straps. Follow the instructions provided by Maytag to properly attach the brackets or straps to ensure stability. These brackets or straps will prevent the appliances from tipping or shifting during use.
5. Secure the stacked unit to the wall (optional): For added safety and stability, consider securing the stacked washer and dryer combo to the wall using appropriate wall mounting hardware. This additional step can prevent accidents and reduce the risk of tipping over, especially in a high-traffic area.
Properly leveling and securing the stacked washer and dryer combo is essential for optimal performance and safety. A stable unit reduces vibrations, prevents excessive noise, and prolongs the lifespan of your appliances. By taking the time to level and secure the appliances, you can enjoy a smooth and efficient laundry experience for years to come.
Step 7: Test the installation
After completing the installation process of your Maytag stacked washer and dryer combo, it’s crucial to test the installation to ensure that everything is functioning correctly. Follow these steps to properly test the installation:
1. Water supply test: Confirm that the water supply lines are correctly connected and functional. Turn on the water supply and check for any leaks or water flow issues. Run a short cycle on the washer and verify that the machine fills with water as expected.
2. Ventilation test: If your dryer requires venting, test the ventilation system. Ensure that the vent hose is securely connected and that the outlet is clear of any obstructions. Run a drying cycle and check that the hot air is properly expelled through the vent.
3. Operating test: Test the operation of both the washer and dryer. Run a full cycle on each appliance, following the instructions provided by Maytag. Observe the performance, including water temperature, spinning, agitating, and drying efficiency. Check for any unusual noises or malfunctions.
4. Sensor functions test (if applicable): If your Maytag appliances feature sensor functions or advanced settings, test their accuracy and functionality. For example, test the moisture sensor on the dryer to ensure it detects the proper dryness level.
5. Safety test: Ensure that all safety features are working correctly. Test the door locks, emergency stop functions, and any other safety mechanisms provided by the manufacturer. This step is crucial to maintain the safety of both the appliances and the user.
6. Calibration (if necessary): Some models may require calibration for optimal performance. Refer to the manufacturer’s instructions to determine if your Maytag stacked washer and dryer combo needs any calibration adjustments and follow the recommended steps.
By thoroughly testing the installation, you can address any potential issues early on and ensure that your Maytag stacked washer and dryer combo is functioning optimally. This testing process allows you to make any necessary adjustments or seek support if you encounter any problems. Once you are satisfied with the performance and functionality, your installation is complete, and you can start enjoying the convenience and efficiency of your new laundry appliances.
Conclusion
Installing a Maytag stacked washer and dryer combo in your home can transform your laundry area into a space-saving and efficient zone. By following the step-by-step installation process outlined in this article, you can ensure a successful setup and optimal performance of your appliances.
From gathering the necessary tools and materials to testing the installation, each step is crucial in creating a functional and safe laundry space. By preparing the installation area, connecting the water supply lines, installing the drain hose, plugging in the power cord, leveling and securing the appliances, and testing the installation, you can achieve a seamless and worry-free operation.
Remember to refer to the manufacturer’s instructions specific to your Maytag model for any model-specific considerations and instructions. It’s essential to prioritize safety throughout the installation process by wearing appropriate protective gear and following all safety guidelines.
By taking the time to install your Maytag stacked washer and dryer combo correctly, you can enjoy the benefits of efficient laundry care without sacrificing space in your home. Whether it’s washing clothes or drying them, your Maytag appliances will provide the performance and reliability you need.
Don’t forget to perform regular maintenance and check-ups on your appliances to ensure their longevity and optimal performance. Following the manufacturer’s recommended maintenance schedule and seeking professional help when needed can extend the lifespan of your Maytag appliances.
Now that you have successfully installed your Maytag stacked washer and dryer combo, it’s time to sit back, relax, and enjoy the convenience of a functional and efficient laundry area in your home. Say goodbye to cramped spaces and hello to convenient and effortless laundry care.
Frequently Asked Questions about How To Install A Maytag Stacked Washer And Dryer Combo
Was this page helpful?
At Storables.com, we guarantee accurate and reliable information. Our content, validated by Expert Board Contributors, is crafted following stringent Editorial Policies. We're committed to providing you with well-researched, expert-backed insights for all your informational needs.


0 thoughts on “How To Install A Maytag Stacked Washer And Dryer Combo”