Home>Articles>How To Install A Carpet Padding On A Concrete Floor
Articles
How To Install A Carpet Padding On A Concrete Floor
Modified: August 28, 2024
Learn how to install carpet padding on a concrete floor with these helpful articles. Ensure a comfortable and durable carpet installation for your space.
(Many of the links in this article redirect to a specific reviewed product. Your purchase of these products through affiliate links helps to generate commission for Storables.com, at no extra cost. Learn more)
Introduction
Welcome to our comprehensive guide on how to install carpet padding on a concrete floor. Carpet padding is an essential component of any carpet installation project as it provides added cushioning, sound insulation, and prolongs the life of your carpet. Installing carpet padding on a concrete floor can seem like a daunting task, but with the right materials and a step-by-step approach, you can achieve professional-quality results.
In this article, we will walk you through the process of preparing the concrete floor, measuring and cutting the carpet padding, laying and securing the padding, trimming excess padding, and inspecting the final result. Whether you are a DIY enthusiast or a homeowner looking to save on installation costs, this guide will equip you with the knowledge and confidence to successfully install carpet padding on your concrete floor.
Before we dive into the installation process, let’s take a look at the materials you will need for this project.
Key Takeaways:
- Properly preparing the concrete floor, measuring and cutting the carpet padding, and securing it in place are crucial steps for a successful installation. Take your time and follow the guide to achieve professional-quality results.
- Thoroughly inspect and test the carpet padding before proceeding with the final carpet installation to ensure optimal performance. Enjoy the comfort, insulation, and longevity that well-installed carpet padding brings to your home!
Read more: How To Install Carpet On Concrete
Materials Needed
Before you begin installing carpet padding on your concrete floor, it’s important to gather all the necessary materials. Here’s a list of items you will need:
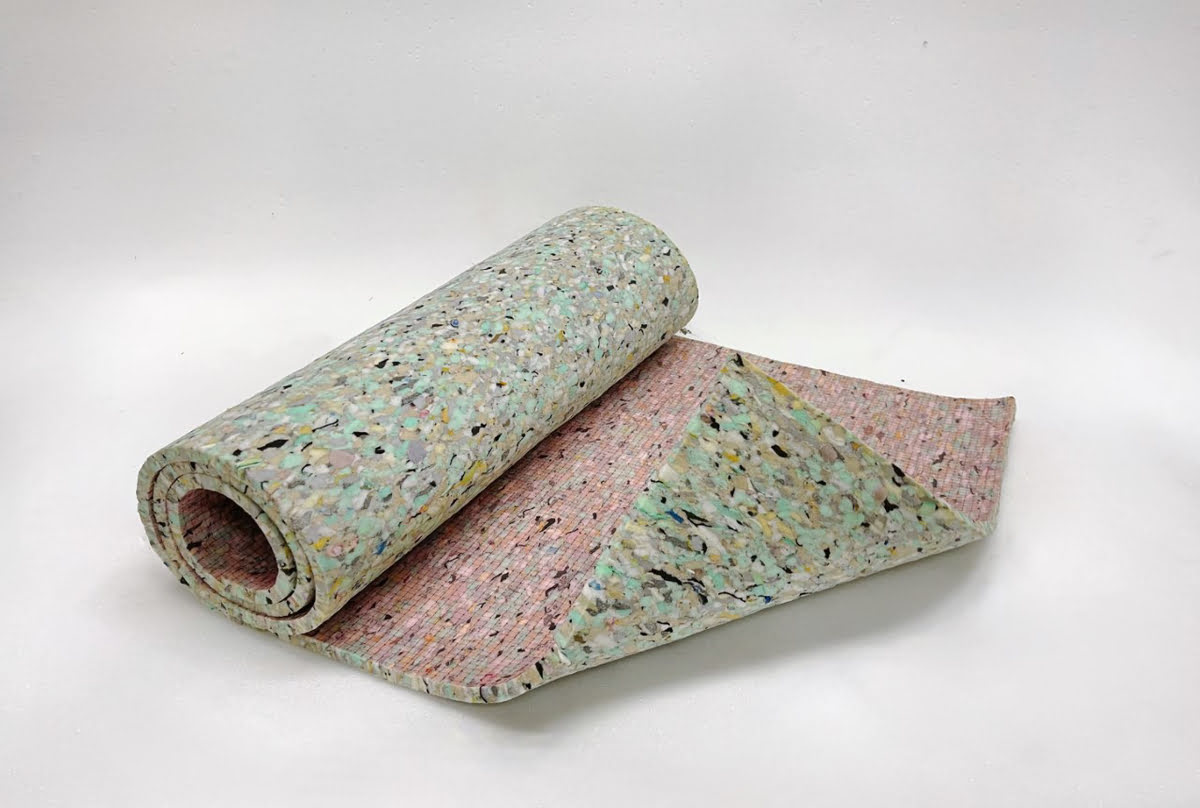
- Carpet Padding – Choose a high-quality carpet padding that suits your needs. Look for padding with good cushioning and sound insulation properties.
- Measuring Tape – You will need a measuring tape to accurately measure and cut the carpet padding.
- Straight Edge – A straight edge will help you achieve clean and precise cuts on the padding.
- Utility Knife – A sharp utility knife is essential for cutting the carpet padding to the correct size.
- Duct Tape – Duct tape is used to secure the seams between pieces of padding and hold the padding in place on the concrete floor.
- Staple Gun – A staple gun is required if you choose to staple the padding to the concrete floor for added stability.
- Staples – If you opt to use a staple gun, make sure you have the appropriate staples for securing the padding.
These are the essential materials needed for installing carpet padding on a concrete floor. Additionally, it’s always a good idea to wear safety goggles and gloves to protect yourself during the installation process.
Now that you have all the necessary materials, let’s move on to the step-by-step process of installing carpet padding on your concrete floor.
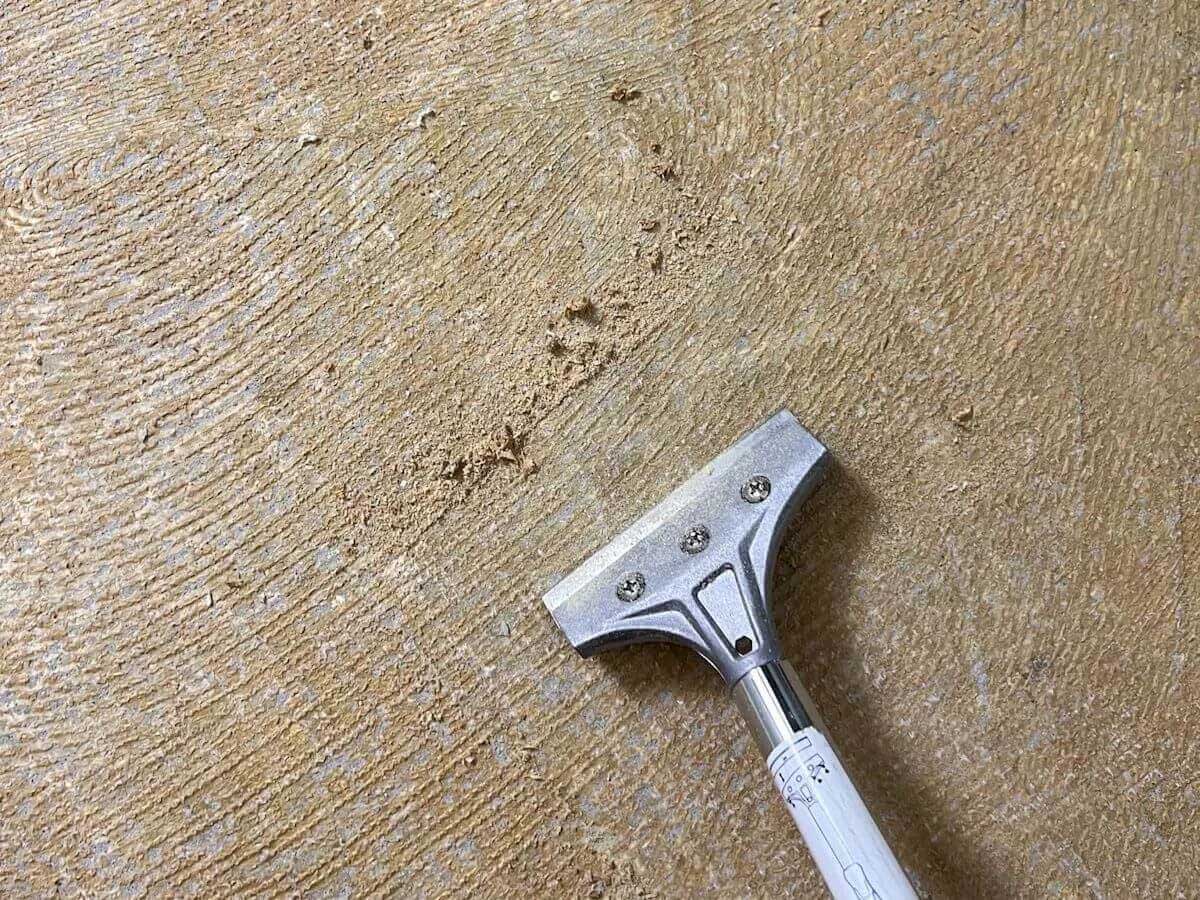
Step 1: Prepare the Concrete Floor
Before you lay the carpet padding, it’s important to prepare the concrete floor to ensure a smooth and durable installation. Follow these steps:
- Clean the Floor: Begin by thoroughly cleaning the concrete floor. Remove any debris, dust, or dirt using a broom and a vacuum cleaner. A clean surface will facilitate better adhesion of the carpet padding.
- Repair Cracks and Imperfections: Inspect the concrete floor for any cracks or imperfections. Fill in any cracks or gaps with a high-quality concrete patching compound. Smooth out the patched areas using a putty knife and allow them to dry completely according to the manufacturer’s instructions.
- Moisture Barrier: Concrete floors can sometimes have moisture issues, which can deteriorate the carpet padding. To prevent moisture from seeping into the padding, consider applying a moisture barrier. There are various moisture barrier products available in the market that can be rolled or sprayed onto the concrete surface. Follow the manufacturer’s instructions for proper application.
- Level the Floor: Use a leveling compound to even out any uneven areas on the concrete floor. Follow the manufacturer’s instructions to mix and apply the leveling compound. Use a trowel or a straight edge to spread the compound evenly, ensuring a smooth, level surface. Allow the leveling compound to cure completely before proceeding with the installation.
Preparing the concrete floor is a crucial step in ensuring a successful carpet padding installation. Taking the time to clean, repair, and level the floor will help create a solid foundation for the padding, resulting in a professional and long-lasting installation.
Now that the concrete floor is prepared, let’s move on to the next step of measuring and cutting the carpet padding.
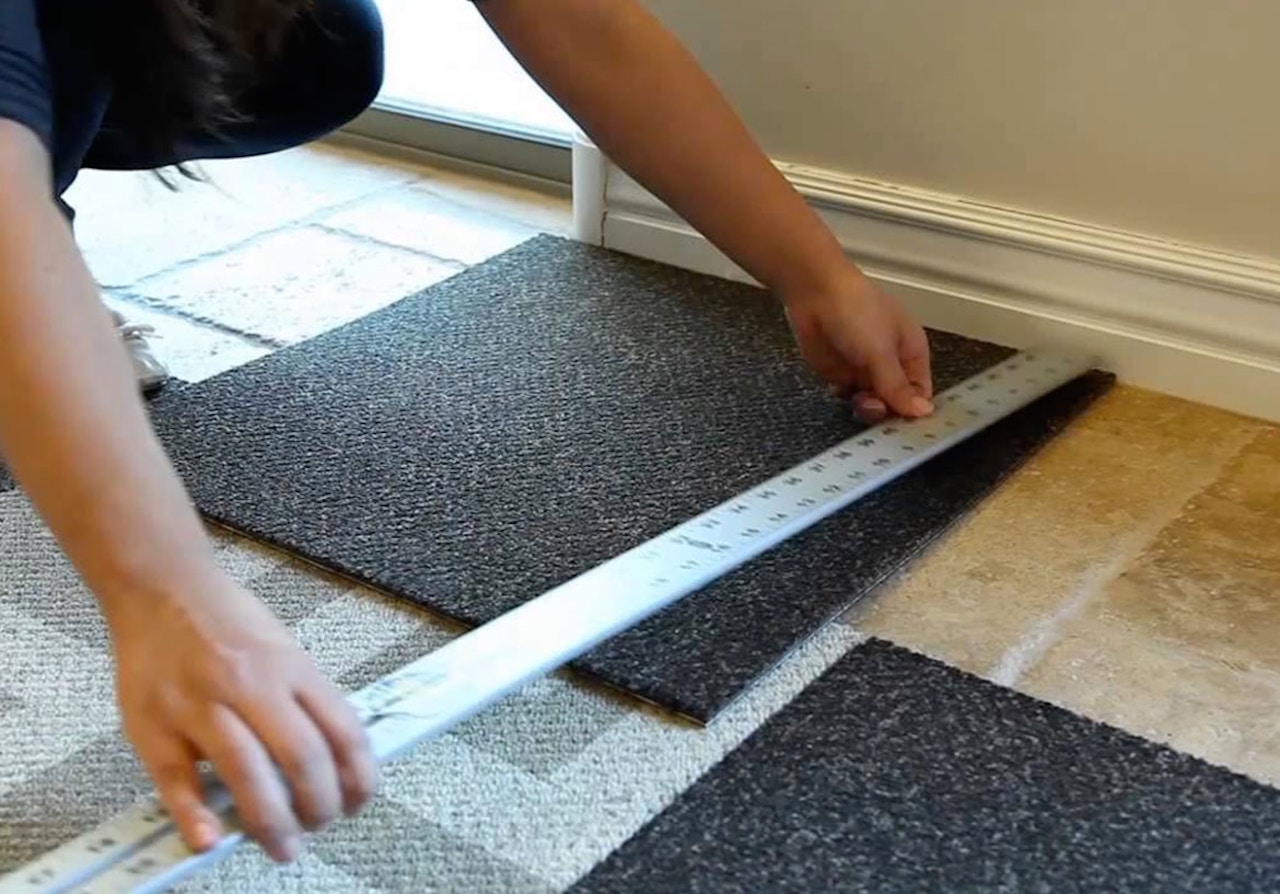
Step 2: Measure and Cut the Carpet Padding
Accurate measurement and proper cutting of the carpet padding are essential for a seamless installation. Follow these steps:
- Measure the Area: Use a measuring tape to measure the length and width of the room where you will be installing the carpet padding. Make sure to measure from wall to wall, accounting for any alcoves or odd-shaped areas.
- Add Extra Inches: Once you have the measurements, add an additional 2-3 inches to each side. This extra length will allow for any adjustments or trimming needed during the installation process.
- Mark and Cut: Use a straight edge and a utility knife to mark and cut the carpet padding to the desired size. Make sure to cut it in a straight line and follow your measurements accurately.
- Multiple Sections: If your room is too large for a single piece of carpet padding, you may need to use multiple sections. In that case, overlap the sections by a few inches and cut them to fit accordingly.
Always double-check your measurements before making any cuts to ensure accuracy. It’s better to double-check and make adjustments now rather than encountering issues when installing the padding.
Once you have measured and cut the carpet padding, you are ready to move on to the next step: laying the padding on the concrete floor.
Step 3: Lay the Carpet Padding
Now that you have measured and cut the carpet padding to the correct size, it’s time to lay it on the prepared concrete floor. Follow these steps:
- Position the Padding: Begin by unrolling the carpet padding and positioning it in one corner of the room. Leave a few inches of excess padding along the walls to ensure full coverage.
- Smooth out the Padding: Use your hands or a broom to smooth out any wrinkles or folds in the carpet padding. Ensure that the padding lies flat and evenly across the floor.
- Seam Alignment: If you are using multiple sections of padding, align the seams properly. Take care to overlap the sections by a few inches and secure them together using duct tape.
- Stapling (optional): If you prefer added stability, you can choose to staple the carpet padding to the concrete floor. Use a staple gun and type appropriate for concrete. Start at one corner and staple along the edges every few inches. Take care not to over-staple, as this may damage the padding.
- Repeat and Adjust: Continue unrolling and laying the carpet padding section by section until the entire floor is covered. If necessary, make any additional cuts or adjustments to ensure a perfect fit.
Properly laying the carpet padding is crucial for achieving a smooth and comfortable surface for your carpet. Take your time to ensure that the padding is positioned correctly and all seams are aligned securely.
With the carpet padding laid out, we can now move on to the next step: securing the padding in place.
Before installing carpet padding on a concrete floor, make sure the surface is clean and dry. Use a moisture barrier to prevent mold and mildew. Cut the padding to fit the room and use adhesive or double-sided tape to secure it in place.
Read more: How To Install Wood Floor On Concrete
Step 4: Secure the Carpet Padding
Once you have laid the carpet padding on the concrete floor, it’s important to secure it in place to prevent shifting or movement during installation. Follow these steps to secure the padding:
- Duct Tape: Secure the edges of the carpet padding by using duct tape. Start at one corner and apply duct tape along the perimeter of the room, pressing it firmly against the padding and the concrete floor. This will help keep the padding in place throughout the carpet installation process.
- Stapling (optional): If you have chosen to use a staple gun to secure the padding, continue stapling along the edges every few inches. Ensure that the staples are driven into the concrete floor securely without damaging the padding.
- Check for Tightness: As you secure the padding, periodically check for any slack or loose sections. Smooth out any wrinkles or unevenness and make any necessary adjustments to ensure a tight and secure fit.
Properly securing the carpet padding is essential for a professional-looking finish and to prevent any potential issues with the carpet installation process. Take your time to ensure that the padding is securely in place before moving on to the next step.
Now that the carpet padding is secured, it’s time to trim any excess padding and prepare for the final installation of the carpet.
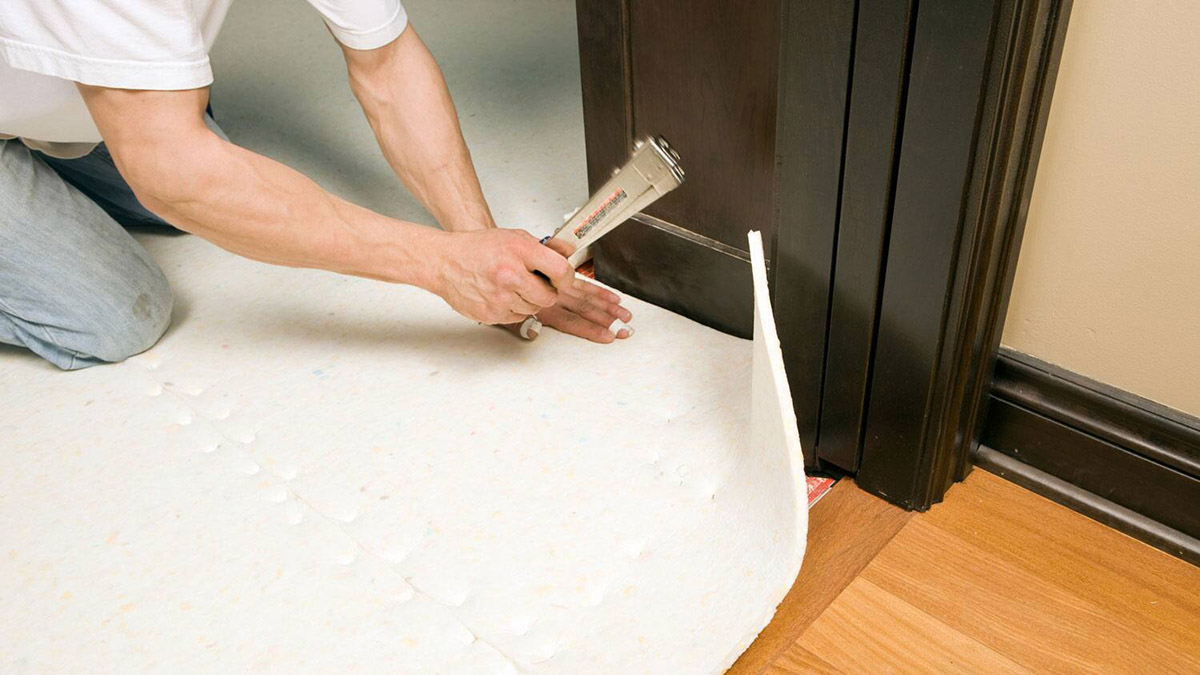
Step 5: Trim Excess Padding
After securing the carpet padding, it’s important to trim any excess padding to ensure a neat and tidy installation. Follow these steps to trim the excess padding:
- Inspect the Edges: Carefully examine the edges of the room where the padding meets the walls. Look for any areas where the padding extends beyond the desired coverage.
- Mark the Excess: Use a straight edge and a marker or chalk to mark the areas where you need to trim the excess padding. Ensure that the markings are visible and precise.
- Cut the Excess: With a sharp utility knife, carefully cut along the marked lines to remove the excess padding. Use a controlled and gentle cutting motion to avoid damaging the carpet padding or the concrete floor.
- Double Check: After trimming the excess padding, double-check the edges of the room to ensure that the padding is now flush with the walls. Smooth out any rough or jagged edges for a clean finish.
Trimming the excess padding will give your carpet installation a professional look and prevent any visible gaps or unevenness. Take your time and use steady hands when cutting to achieve clean and precise results.
Now that you have successfully trimmed the excess padding, it’s time to move on to the final step: inspecting and testing the carpet padding.
Step 6: Inspect and Test the Carpet Padding
Before proceeding with the final installation of your carpet, it’s important to inspect and test the carpet padding to ensure that it’s properly installed and ready for use. Follow these steps:
- Visual Inspection: Walk around the room and visually inspect the carpet padding. Look for any visible wrinkles, folds, or uneven areas. Smooth out any imperfections by hand to ensure a smooth surface.
- Check for Movement: Apply gentle pressure to the carpet padding in different areas of the room. Check for any movement or shifting. The padding should be securely in place without any noticeable give or displacement.
- Sound Insulation Test: Clap your hands or create some sound in the room to test the sound insulation properties of the carpet padding. Listen for any noticeable reduction in noise compared to the bare concrete floor.
- Cushioning Test: Step onto the carpet padding and walk around the room. Pay attention to the level of comfort and cushioning provided by the padding. It should feel soft and supportive underfoot.
- Safety and Stability: Ensure that the carpet padding is secure and free from any tripping hazards. Walk across the room and test the stability of the padding to ensure it doesn’t move or shift, which could pose a safety risk.
By thoroughly inspecting and testing the carpet padding, you can address any issues or concerns before installing the carpet. This will help ensure a smooth and successful final installation.
Congratulations! You have now completed the process of installing carpet padding on a concrete floor. Proceed with the final installation of your carpet according to the manufacturer’s instructions, and enjoy the comfort, insulation, and longevity that the carpet padding provides.
Remember, proper installation and maintenance of your carpet and carpet padding are key to maximizing their performance and durability over time.
Now you are ready to enjoy your new carpet with a properly installed and secure carpet padding!
Conclusion
Installing carpet padding on a concrete floor is a relatively straightforward process that can greatly enhance the comfort and longevity of your carpet. By following the steps outlined in this comprehensive guide, you can achieve professional-quality results and create a solid foundation for your carpet installation.
Throughout this guide, we discussed the importance of preparing the concrete floor, measuring and cutting the carpet padding, laying and securing the padding, trimming any excess, and inspecting and testing the padding. Each of these steps is crucial for a successful installation and ensuring that your carpet padding performs optimally.
By properly preparing the concrete floor and securing the padding, you can prevent shifting, movement, and premature wear of both the padding and the carpet. Additionally, the padding provides added cushioning, sound insulation, and comfort underfoot, enhancing your overall carpet experience.
Remember to take your time, measure accurately, and follow manufacturer’s instructions for materials and tools. It’s also important to inspect and test the carpet padding before proceeding with the final carpet installation to address any issues or concerns.
With the knowledge and skills gained from this guide, you are now equipped to confidently install carpet padding on your concrete floor. Whether you are a DIY enthusiast or a homeowner looking to save on installation costs, you can achieve professional results with proper preparation and execution.
Enjoy the comfort, insulation, and longevity that carpet padding brings to your home, and revel in the softness and coziness of your new carpet with the knowledge that it is firmly supported by a well-installed carpet padding on your concrete floor.
Good luck with your carpet installation project, and may your new carpet and padding bring warmth and comfort to your space for years to come!
Frequently Asked Questions about How To Install A Carpet Padding On A Concrete Floor
Was this page helpful?
At Storables.com, we guarantee accurate and reliable information. Our content, validated by Expert Board Contributors, is crafted following stringent Editorial Policies. We're committed to providing you with well-researched, expert-backed insights for all your informational needs.