Articles
How To Put Plumbing Pipes Together
Modified: December 7, 2023
Learn how to put plumbing pipes together with our informative articles. Gain the knowledge and skills you need for successful pipe connections.
(Many of the links in this article redirect to a specific reviewed product. Your purchase of these products through affiliate links helps to generate commission for Storables.com, at no extra cost. Learn more)
Introduction
Welcome to the world of plumbing! Whether you’re a DIY enthusiast or a homeowner looking to save some money by tackling home improvement projects yourself, knowing how to put plumbing pipes together is a valuable skill to have. From fixing leaky pipes to installing new plumbing systems, understanding the basics of pipe assembly can help you solve a variety of plumbing issues.
In this article, we will guide you through the process of putting plumbing pipes together. We’ll cover everything from the supplies you’ll need to step-by-step instructions on how to cut, measure, and join pipes. By the end, you’ll have the knowledge and confidence to tackle plumbing projects with ease.
Before we dive into the details, it’s important to note that plumbing work can vary depending on the specific job and the type of pipes you’re working with. Different materials, such as copper, PVC (polyvinyl chloride), or PEX (cross-linked polyethylene), may require slightly different techniques. However, the fundamental principles we’ll discuss in this article are applicable to various types of pipe installations.
Now, let’s gather our supplies and get started!
Key Takeaways:
- Mastering the art of putting plumbing pipes together empowers you to handle various plumbing projects with confidence. From accurate measurements to leak testing, attention to detail is crucial for a successful plumbing system.
- Prioritizing safety, following manufacturer’s instructions, and thorough leak testing are essential for a durable and reliable plumbing system. With practice, you can become proficient in maintaining an efficient plumbing system.
Read more: How To Put A Blender Together
Supplies Needed
Before you begin any plumbing project, it’s important to gather all the necessary supplies. Here’s a list of the common tools and materials you’ll need to put plumbing pipes together:
- Pipe Cutter: A pipe cutter is used to cut through pipe material cleanly and accurately.
- Measuring Tape: You’ll need a measuring tape to measure and mark the correct length for your pipes.
- Deburring Tool: A deburring tool helps remove any rough edges or burrs left after cutting the pipes.
- Emery Cloth or Sandpaper: This is used to smooth out the ends of the pipes before joining them.
- Primer: A pipe primer prepares the surface of the pipe for proper adhesion of the cement.
- Pipe Cement: The pipe cement or solvent weld is used to bond the pipes together permanently.
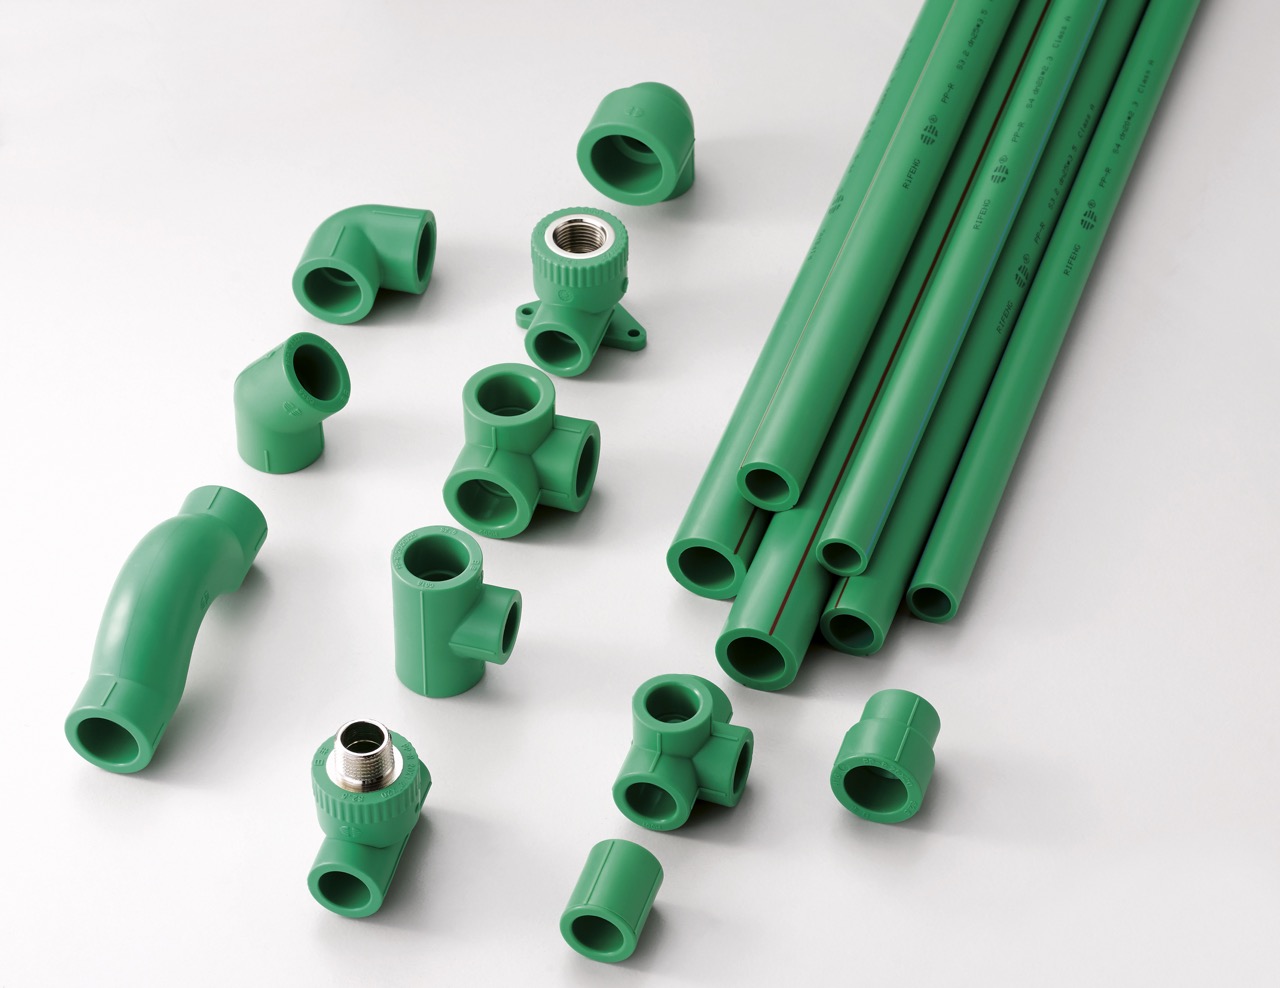
- Pipe Fittings: Depending on your project, you’ll need various types of fittings, such as elbows, tees, and couplings, to connect the pipes in the desired configuration.
- Pipe Supports: These include brackets or hangers that provide support and stability to the pipes.
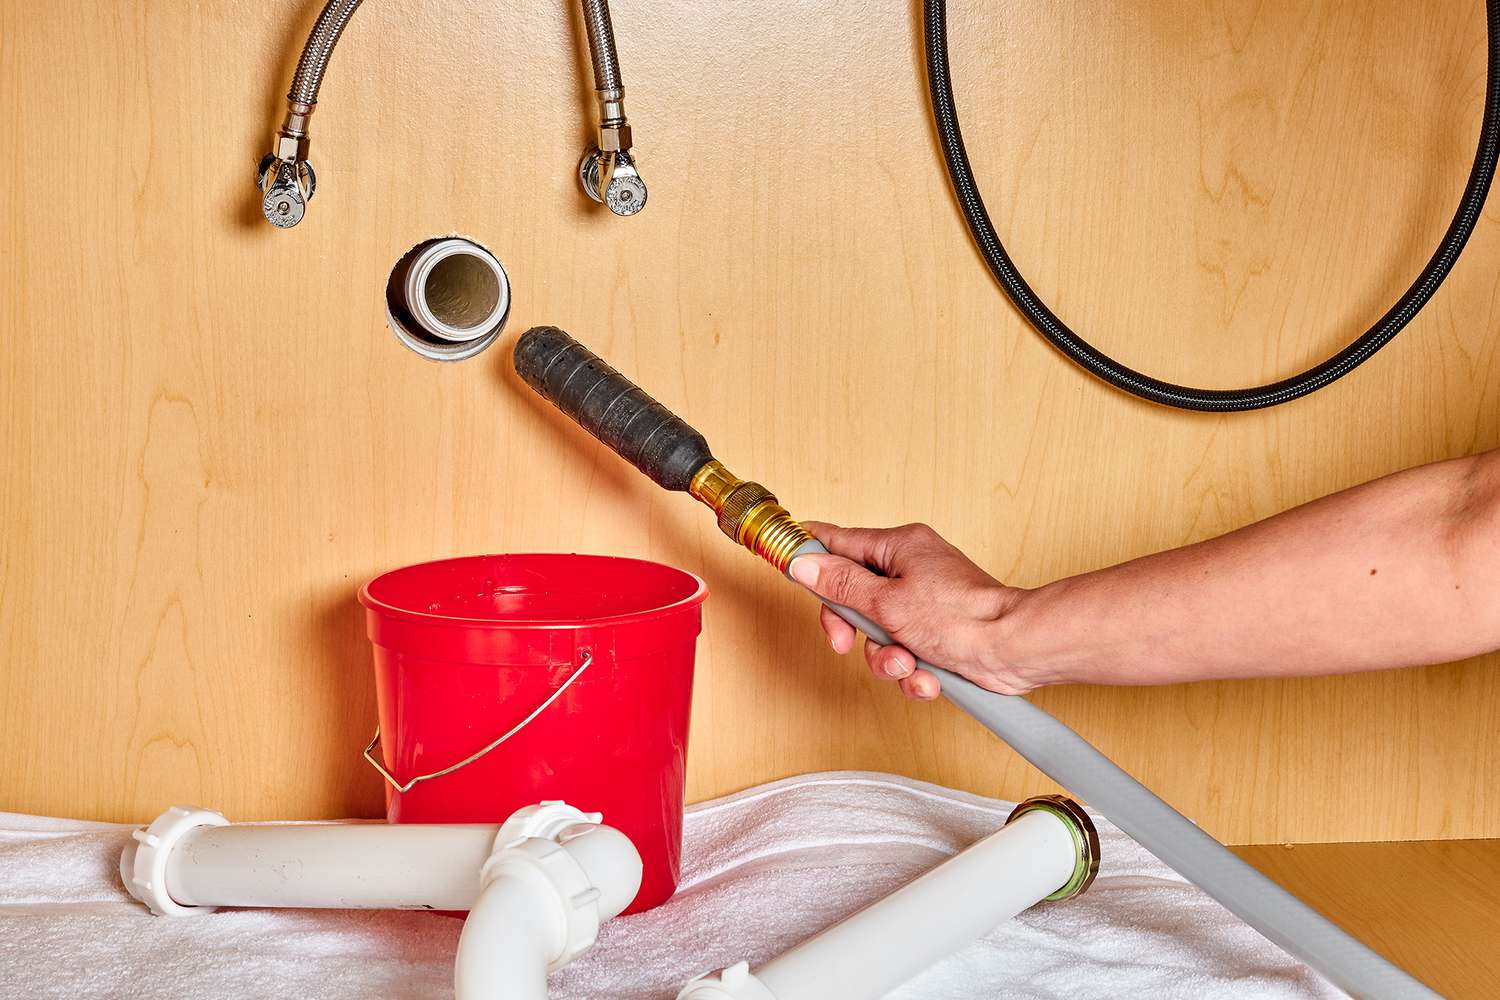
- Bucket or Rag: To catch any excess water or debris that may flow out during the assembly process.
- Safety Gear: It’s essential to prioritize safety when working with plumbing. Wear gloves, safety glasses, and a mask to protect yourself from any potential hazards.
Make sure you have all the necessary supplies before starting your project as it can save you time and ensure a smooth assembly process.
Step 1: Cutting the Pipes
The first step in putting plumbing pipes together is cutting the pipes to the desired lengths. It’s crucial to measure carefully and use a pipe cutter to ensure clean and accurate cuts. Here’s how to do it:
- Measure and Mark: Use a measuring tape to determine the required length of the pipe. Make a mark at the desired location.
- Secure the Pipe: Place the pipe inside the pipe cutter with the mark aligned with the cutting wheel. Make sure the pipe is securely held in place.
- Cut the Pipe: Rotate the cutter around the pipe, gradually tightening the cutting wheel with each rotation. Apply steady pressure until the pipe is cleanly cut through.
Remember to measure twice and cut once to avoid any mistakes. Cutting pipes accurately is essential for a secure and leak-free plumbing system.
Step 2: Measuring and Marking
Accurate measurements are crucial when it comes to putting plumbing pipes together. Proper measuring and marking ensure that the pipes fit together precisely, minimizing the risk of leaks or uneven joints. Here’s how to measure and mark your pipes:
- Measure the Length: Use a measuring tape to determine the required length for the pipe. Measure from the fitting that the pipe will connect to, making sure to account for any additional fittings that will be inserted.
- Make a Mark: Once you have determined the correct length, make a clear and visible mark on the pipe using a pencil or a marker. This mark will guide you during the cutting process.
- Double-Check: It’s important to double-check your measurements before proceeding. Ensure that the marked length matches your requirements, and make any necessary adjustments if needed.
Taking the time to measure accurately and mark your pipes will save you from costly mistakes and ensure a proper fit when it comes time to assemble your plumbing system. Remember, precision is key!
Step 3: Preparing the Pipes
Before you can join the pipes together, it’s essential to prepare them properly. This involves smoothing out any rough edges and ensuring that the surfaces are clean for optimal adhesion. Here’s how to prepare the pipes:
- Trim the Ends: After cutting the pipe, use a deburring tool, emery cloth, or sandpaper to remove any rough edges or burrs. Smooth out the ends of the pipes to ensure a proper fit and prevent any obstructions during assembly.
- Clean the Surfaces: Wipe the outside and inside of the pipes using a clean cloth or rag to remove any dirt, dust, or debris. It’s crucial to have clean surfaces to achieve a strong bond between the pipes and the fittings.
Preparing the pipes may seem like a small and insignificant step, but it plays a significant role in the overall success of your plumbing project. Taking the time to smooth the edges and clean the surfaces will contribute to a secure and leak-free connection.
When putting plumbing pipes together, make sure to clean and deburr the ends of the pipes before joining them. This will ensure a proper and secure connection.
Read more: How To Clean Plumbing Pipes
Step 4: Applying Primer and Cement
Once the pipes are cut and prepared, the next step is to apply primer and cement. These essential components create a strong and durable bond between the pipes and fittings, ensuring a leak-free connection. Here’s how to apply primer and cement:
- Apply Primer: Using a brush, apply a thin layer of primer to the outside of the pipe and the inside of the fitting. The primer softens the plastic material, allowing the cement to create a secure bond.
- Let the Primer Dry: Wait for the primer to dry completely. The drying time may vary, so refer to the manufacturer’s instructions for the recommended waiting period.
- Apply Cement: Once the primer is dry, apply a generous amount of cement to the outside of the pipe and the inside of the fitting. Ensure that the cement is evenly distributed and covers the entire surface area where the pipe and fitting will come into contact.
- Join the Pipes: Quickly insert the pipe into the fitting, twisting it slightly to ensure a proper fit. Hold the pipe and fitting firmly in place for a few seconds to allow the cement to set.
It’s important to note that the cement sets quickly, so it’s crucial to work efficiently. Avoid excessive movement or rotation once the pipes are joined to prevent any misalignment.
Remember, primer and cement should be used according to the manufacturer’s instructions. Different types of pipes and cements may have specific requirements, so always refer to the product guidelines for the best results.
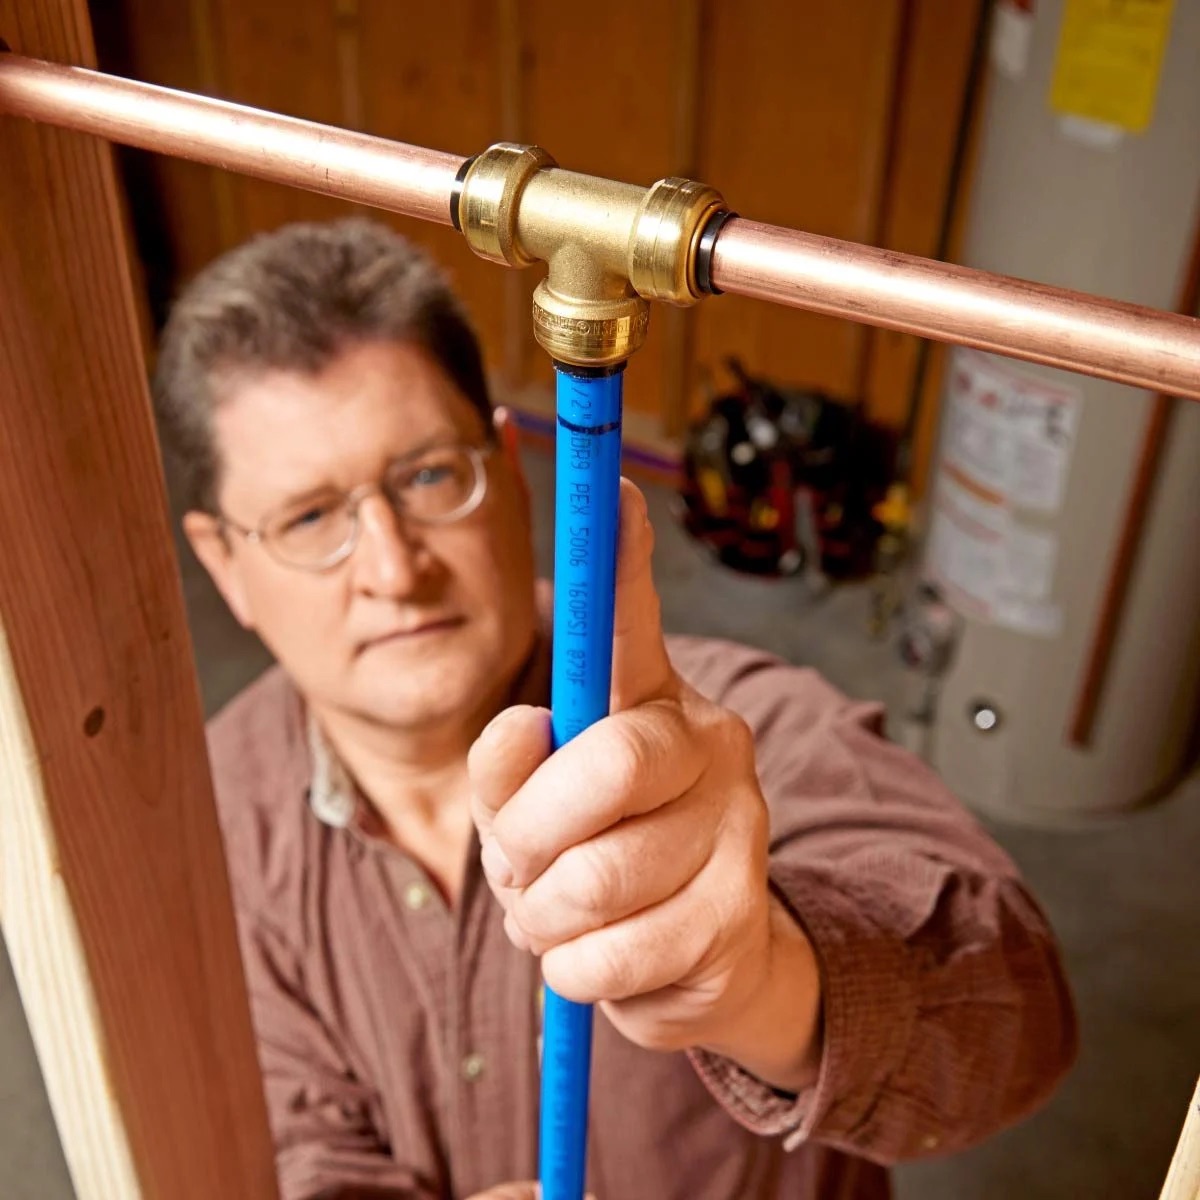
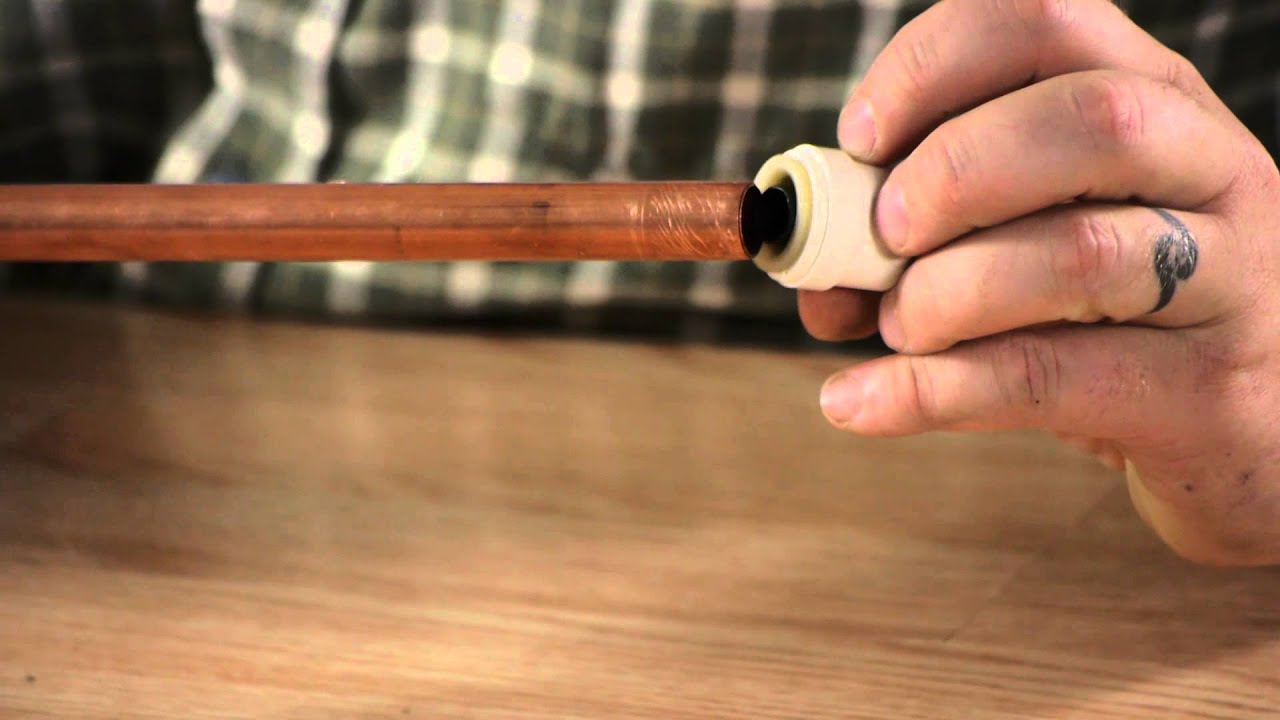
Step 5: Joining the Pipes
With the pipes cut, prepared, and cement applied, it’s time to join them together. Properly joining the pipes ensures a secure and watertight connection. Follow these steps to join the pipes:
- Insert the Pipe: Insert the end of one pipe into the fitting or socket of another pipe. Make sure it slides in smoothly and fits snugly.
- Twist and Align: Twist the pipe slightly as you insert it to ensure a proper fit and alignment. The pipe should go in straight and should not be forced or misaligned.
- Check the Connection: Once the pipe is fully inserted, visually inspect the joint to ensure that the pipe is fully seated in the fitting. The joint should appear even and flush.
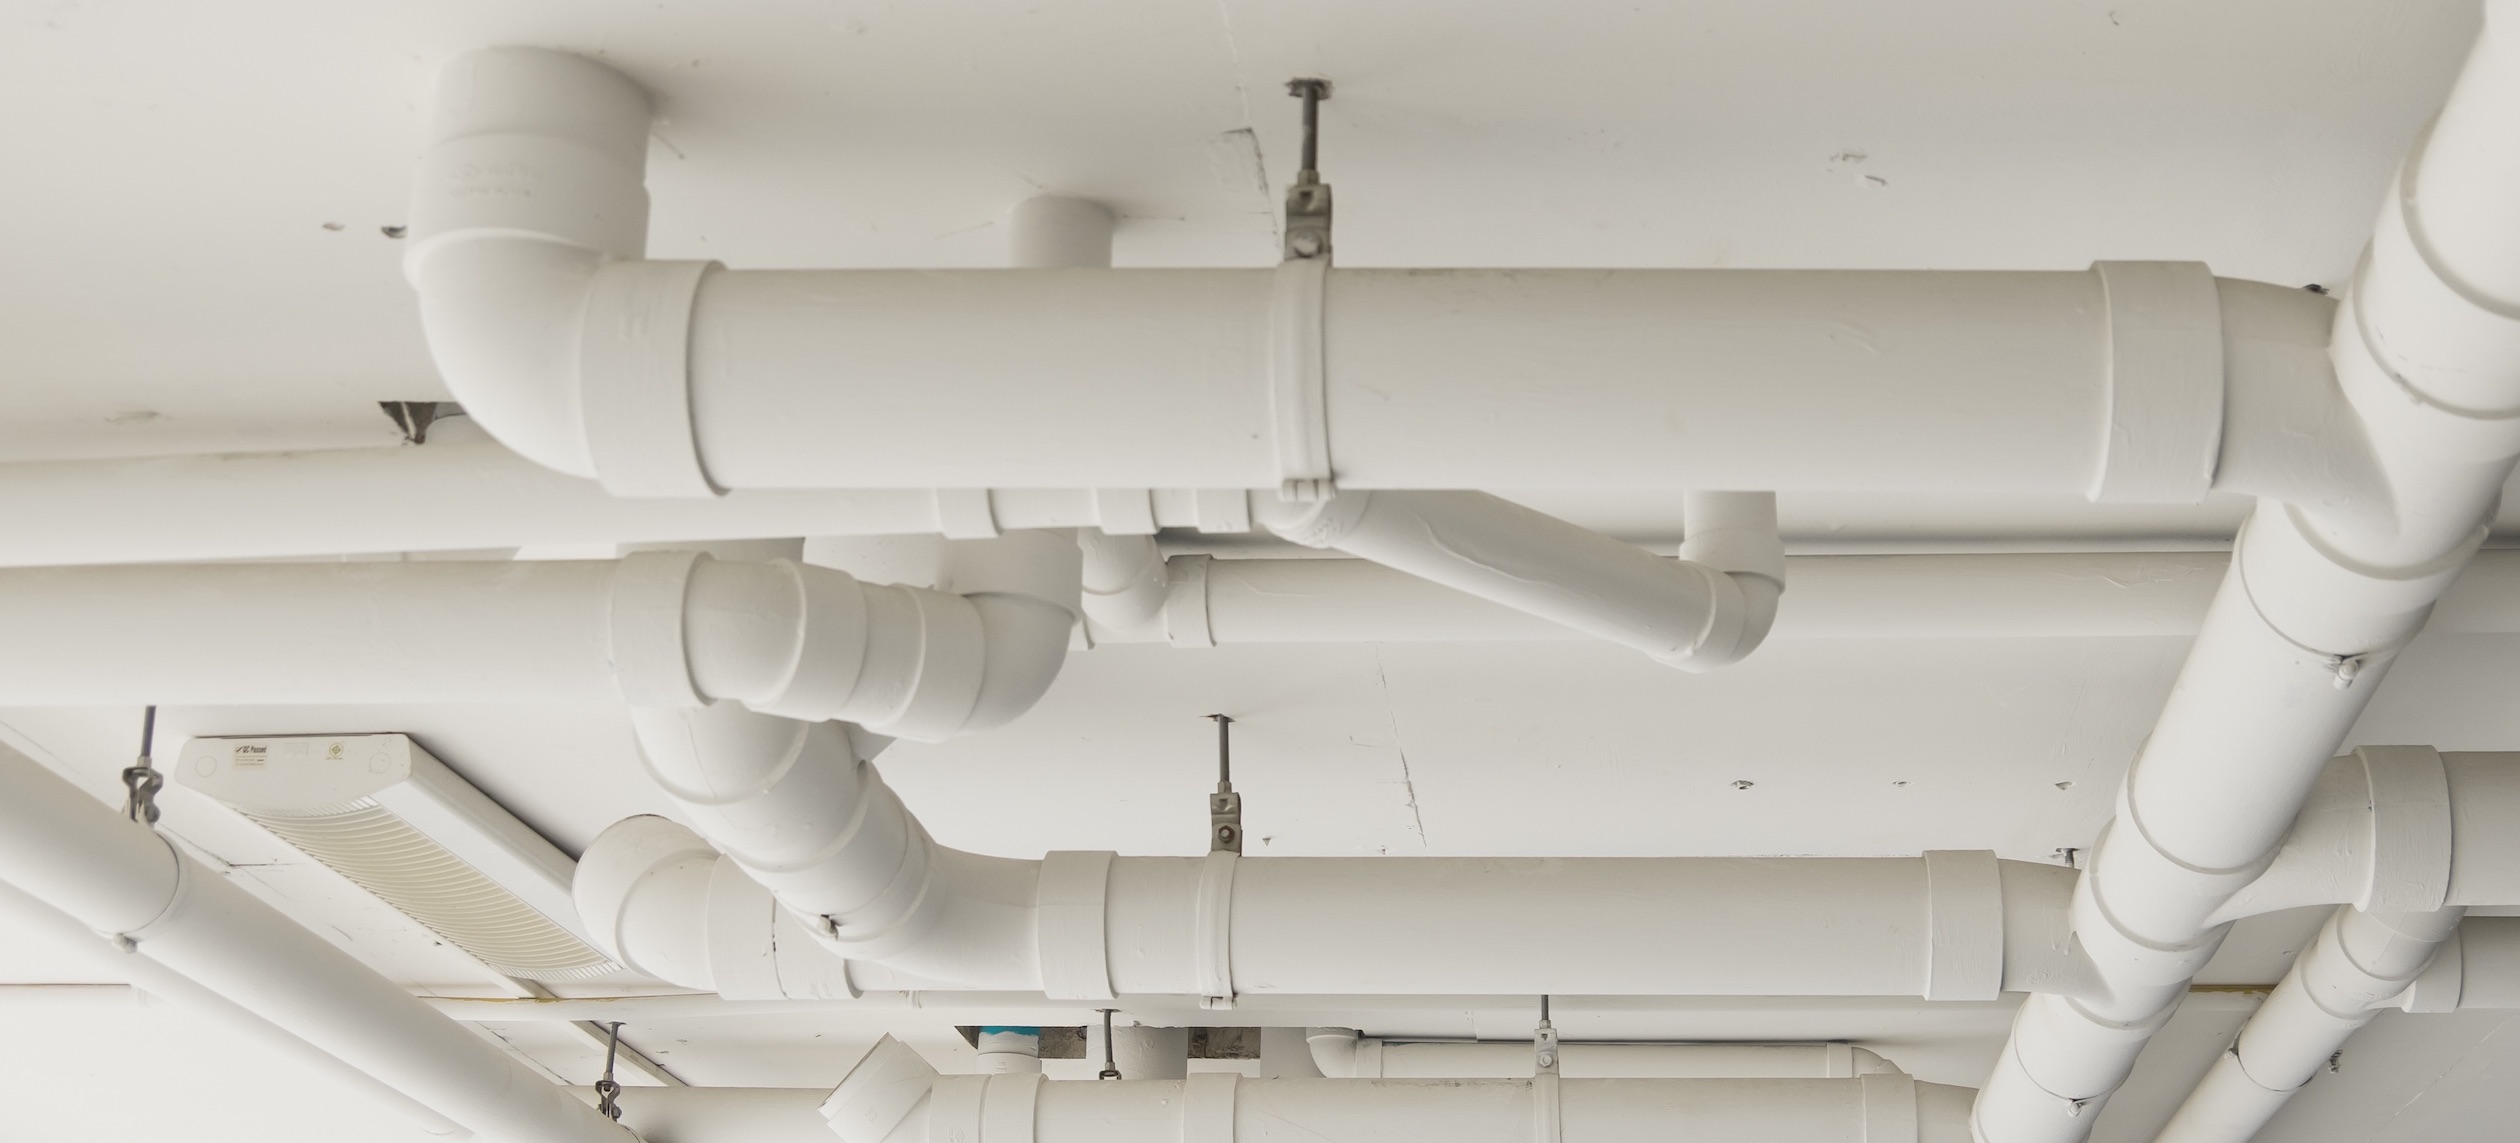
It’s important to note that different types of pipes may have specific joining methods. For example, PVC pipes typically require a push-fit or solvent welding technique, while copper pipes may utilize soldering or compression fittings. Follow the appropriate joining method for the type of pipe you are working with.
Take your time while joining the pipes to ensure a proper and secure connection. A well-joined pipe will lead to a durable and reliable plumbing system.
Step 6: Tightening the Connections
Once the pipes are joined together, it’s important to tighten the connections to ensure a secure and leak-free plumbing system. Follow these steps to tighten the connections:
- Hand-Tighten: Begin by hand-tightening the connections. Use your hand to firmly tighten the fittings clockwise until they are snug. Make sure not to overtighten, as this can lead to damage or distortion of the fittings.
- Use Tools if Necessary: If hand-tightening is not sufficient to achieve a leak-free seal, you may need to use a wrench or pliers. However, be cautious not to apply excessive force, as it can lead to damaged fittings or stripped threads.
- Check for Leaks: Once the connections are tightened, it’s important to check for any leaks. Turn on the water supply and observe the joints closely. Look for any signs of dripping or moisture around the connections. If you notice any leaks, further tightening may be necessary.
Take your time during this step to ensure that all connections are properly tightened. This will help prevent any future issues and maintain the integrity of your plumbing system.
Keep in mind that different types of pipes and fittings may require specific tightening methods. Always refer to the manufacturer’s instructions for the recommended torque or tightening specifications.
Step 7: Testing for Leaks
After completing the pipe assembly and tightening the connections, it’s crucial to test for leaks. Detecting and addressing any leaks early on will prevent potential water damage and ensure the efficiency of your plumbing system. Here’s how to test for leaks:
- Close the Valves: Ensure that all valves connected to the newly assembled pipes are closed. This prevents water from flowing into the system during the testing process.
- Turn on the Water: Slowly open the main water supply valve or the corresponding valve for the section you’re testing. Gradually increase the water flow to the desired level.
- Inspect the Joints: Carefully observe each joint and connection point for any signs of leaks. Look for drips, water pooling, or any moisture around the fittings.
- Check Accessibility: If possible, access areas behind walls or ceilings to inspect hidden pipes and connections. Use a flashlight or a mirror, if needed, to get a better view.
- Listen for Water Flow: Listen closely for any sounds of running water or hissing sounds near the pipes. This can indicate a hidden leak even if you don’t see visible signs of water.
- Perform a System-Wide Check: Test all the faucets, showerheads, and other water outlets connected to the system. Ensure that they are functioning properly and that there are no leaks.
If you detect any leaks during the testing process, it’s essential to address them immediately. Turn off the water supply and make the necessary adjustments or repairs. This may involve tightening the connections, replacing faulty fittings, or reapplying cement and primer.
Remember, thorough leak testing will give you peace of mind and ensure the longevity of your plumbing system. Take the time to perform this crucial step before considering your pipe assembly complete.
Read more: How To Insulate Plumbing Pipes
Conclusion
Congratulations! You’ve learned the essential steps to put plumbing pipes together. By following these steps and techniques, you can confidently tackle various plumbing projects and address common plumbing issues.
Remember, accuracy and attention to detail are key when cutting, measuring, and joining pipes. Take your time to ensure precise cuts, proper measurements, and secure connections. Preparing the pipes, applying primer and cement, and tightening the connections will ensure a strong and watertight plumbing system.
Don’t forget to test for leaks once the assembly is complete. Testing is crucial to identify any issues early on and prevent potential water damage. Checking for leaks and ensuring the proper functioning of all water fixtures connected to the system is essential.
It’s important to note that while this article provides a general guide to putting plumbing pipes together, different types of pipes (such as copper, PVC, or PEX) may require specific techniques and materials. Always refer to the manufacturer’s instructions and guidelines for the best results.
Now that you have the knowledge and skills to put plumbing pipes together, you can confidently take on plumbing projects in your home or even help friends and family with their plumbing needs. Just remember to prioritize safety, double-check your work, and always seek professional assistance for complex plumbing tasks.
With practice and experience, you’ll become even more proficient in handling plumbing projects and maintaining a functional and efficient plumbing system in your home.
Frequently Asked Questions about How To Put Plumbing Pipes Together
Was this page helpful?
At Storables.com, we guarantee accurate and reliable information. Our content, validated by Expert Board Contributors, is crafted following stringent Editorial Policies. We're committed to providing you with well-researched, expert-backed insights for all your informational needs.

0 thoughts on “How To Put Plumbing Pipes Together”