Articles
How To Cap Off Plumbing Pipes
Modified: May 6, 2024
Learn how to cap off plumbing pipes with this informative article. Find step-by-step instructions and expert tips to complete your DIY plumbing project.
(Many of the links in this article redirect to a specific reviewed product. Your purchase of these products through affiliate links helps to generate commission for Storables.com, at no extra cost. Learn more)
Introduction
Plumbing pipes play a crucial role in any building’s infrastructure, carrying water and other fluids to different areas. However, there may come a time when you need to cap off a plumbing pipe. Whether you are renovating your home, repairing a damaged section of pipe, or simply no longer require a particular line, knowing how to properly cap off plumbing pipes is essential.
In this article, we will guide you through the step-by-step process of capping off plumbing pipes. We will cover the tools and materials you will need, as well as provide detailed instructions to ensure a successful and leak-free end result.
So, let’s grab our toolbox and get started with this plumbing DIY project!
Key Takeaways:
- Properly capping off plumbing pipes requires identifying the pipe type, turning off the water supply, measuring and cutting the cap, applying sealant, and testing for leaks to ensure a secure and leak-free seal.
- By following the step-by-step process and taking safety precautions, you can confidently cap off plumbing pipes, saving time and money while ensuring the integrity of the plumbing system.
Read more: How To Clean Plumbing Pipes
Tools and Materials Needed
Before you begin capping off your plumbing pipes, it’s important to gather all the necessary tools and materials. Here’s a list of what you’ll need:
1. Pipe cutter or hacksaw: This tool is essential for cutting the pipe and ensuring a clean and precise cut.
2. Deburring tool: After cutting the pipe, you’ll need a deburring tool to remove any rough or sharp edges from the cut end.
3. Pipe thread sealant: This sealant helps create a watertight seal between the pipe and the cap.
4. Teflon tape: Also known as plumber’s tape, Teflon tape is used to further enhance the seal and prevent leaks.
5. Pipe cap: This is what you’ll be using to cap off the pipe. Make sure you choose a cap that matches the size and material of your plumbing pipe.
6. Adjustable wrench: An adjustable wrench will be needed to tighten the cap onto the pipe securely.
7. Safety goggles and gloves: It’s always important to prioritize safety when working with pipes. Protect your eyes with safety goggles and wear gloves to avoid any injuries.
8. Pipe cleaning solution: To ensure a clean and debris-free pipe end, you may need a pipe cleaning solution or a mixture of water and mild detergent.
9. Rag or towel: Keep a rag or towel handy to wipe away any excess sealant or cleaning solution during the process.
10. Measuring tape: Accurate measurements are crucial when cutting the pipe and selecting the right cap size, so have a measuring tape on hand.
Now that you have all the necessary tools and materials, you’re ready to move on to the next step: determining the type of plumbing pipe you’re working with.
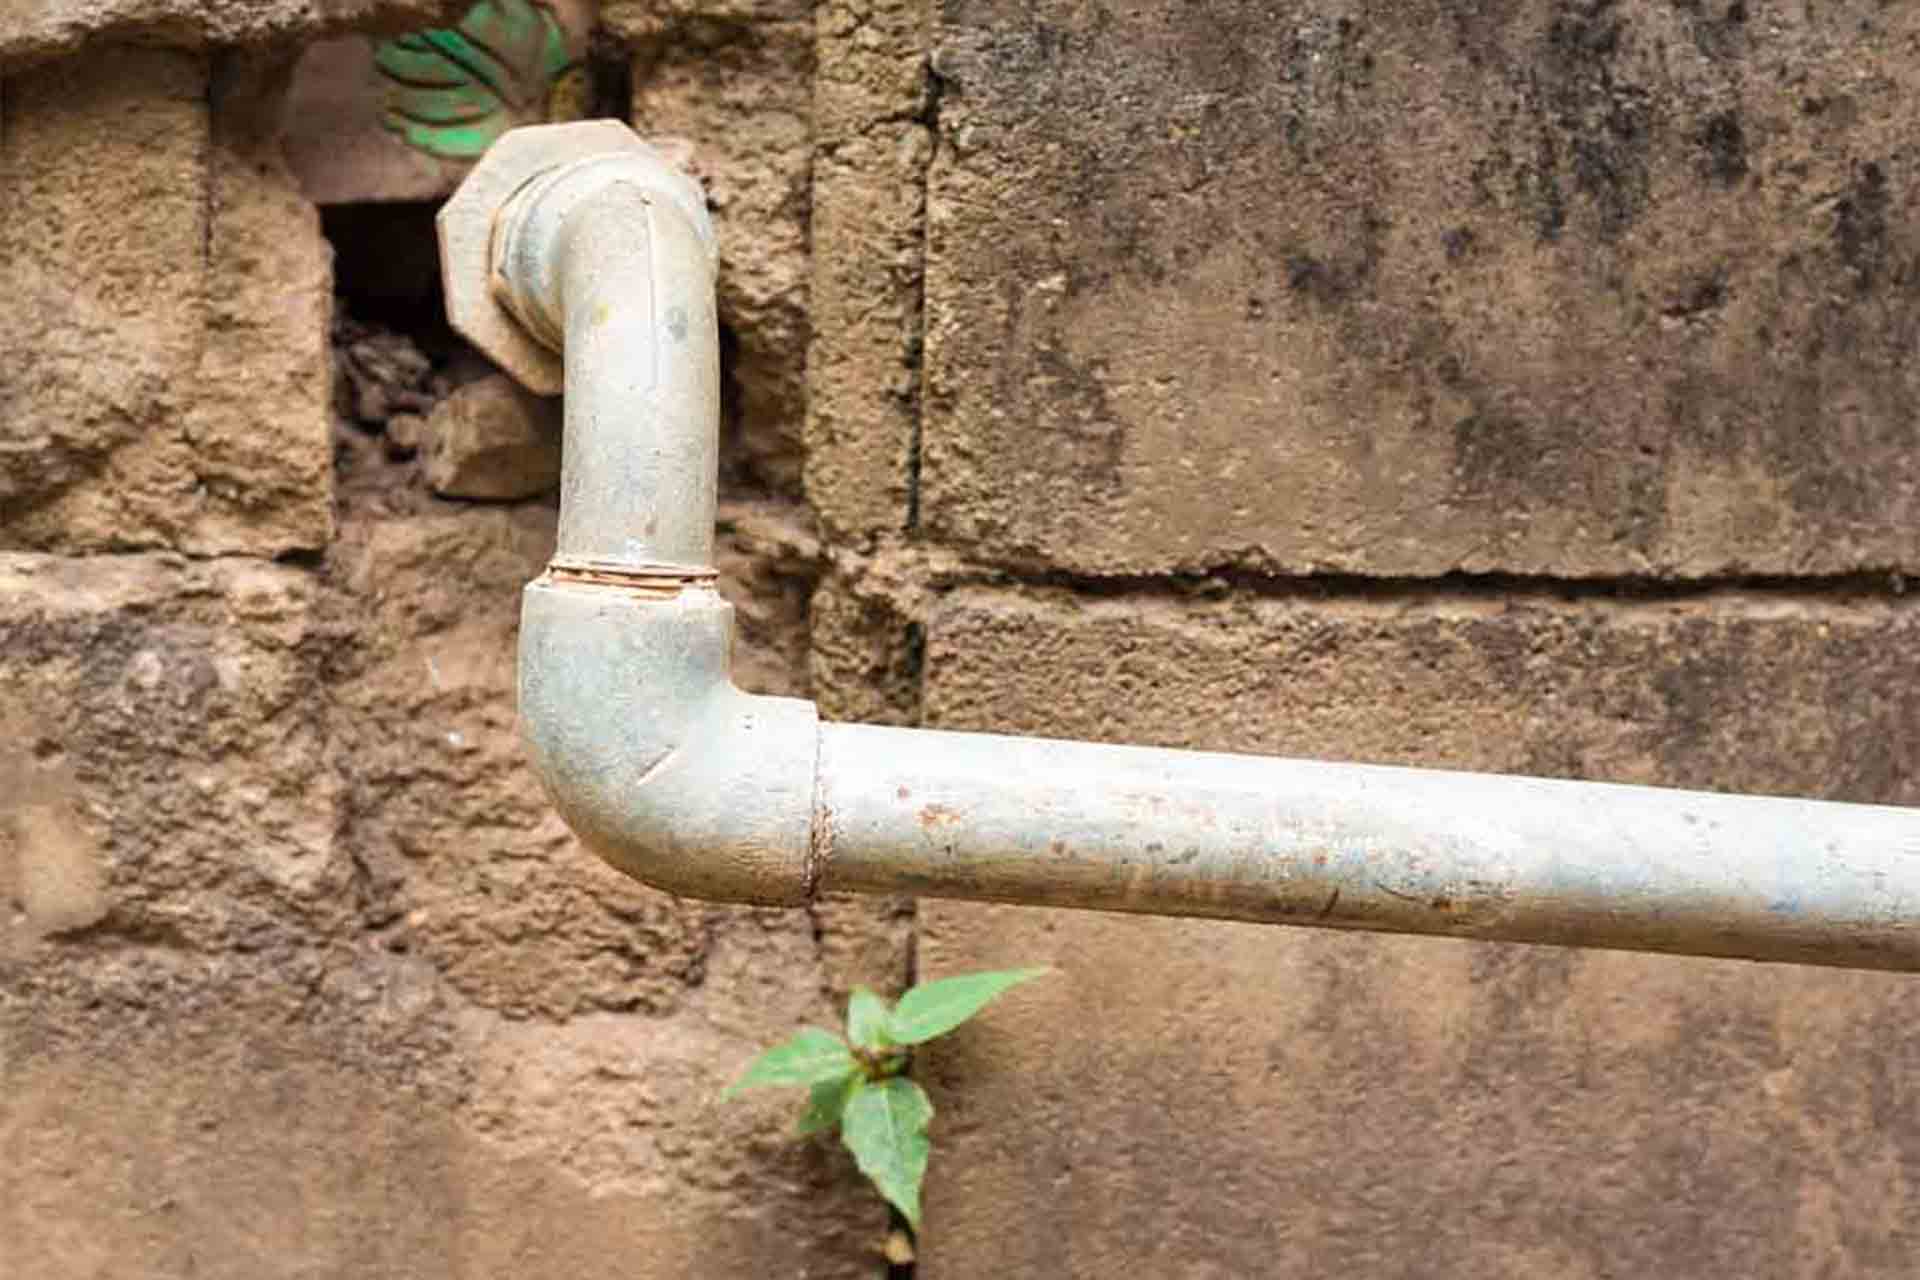
Step 1: Determine the Type of Plumbing Pipe
Before you can cap off the plumbing pipe, it’s important to determine the type of pipe you’re working with. Different types of pipes require different techniques and materials for capping.
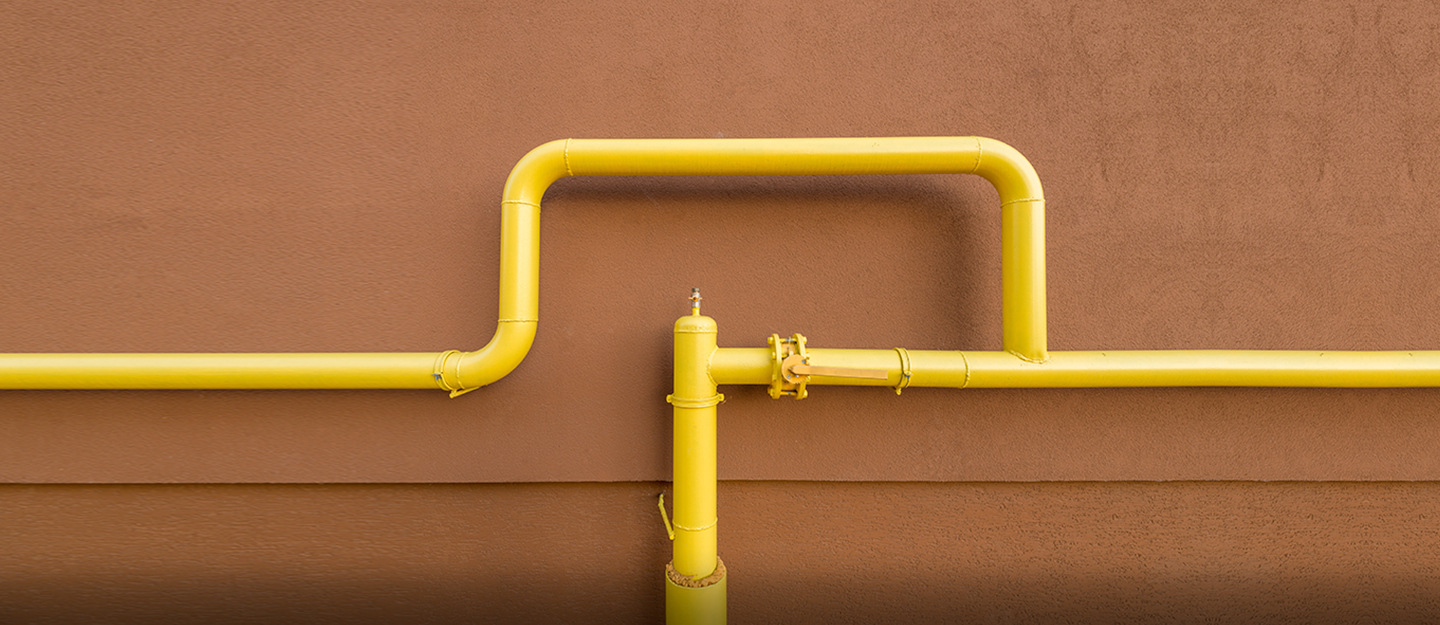
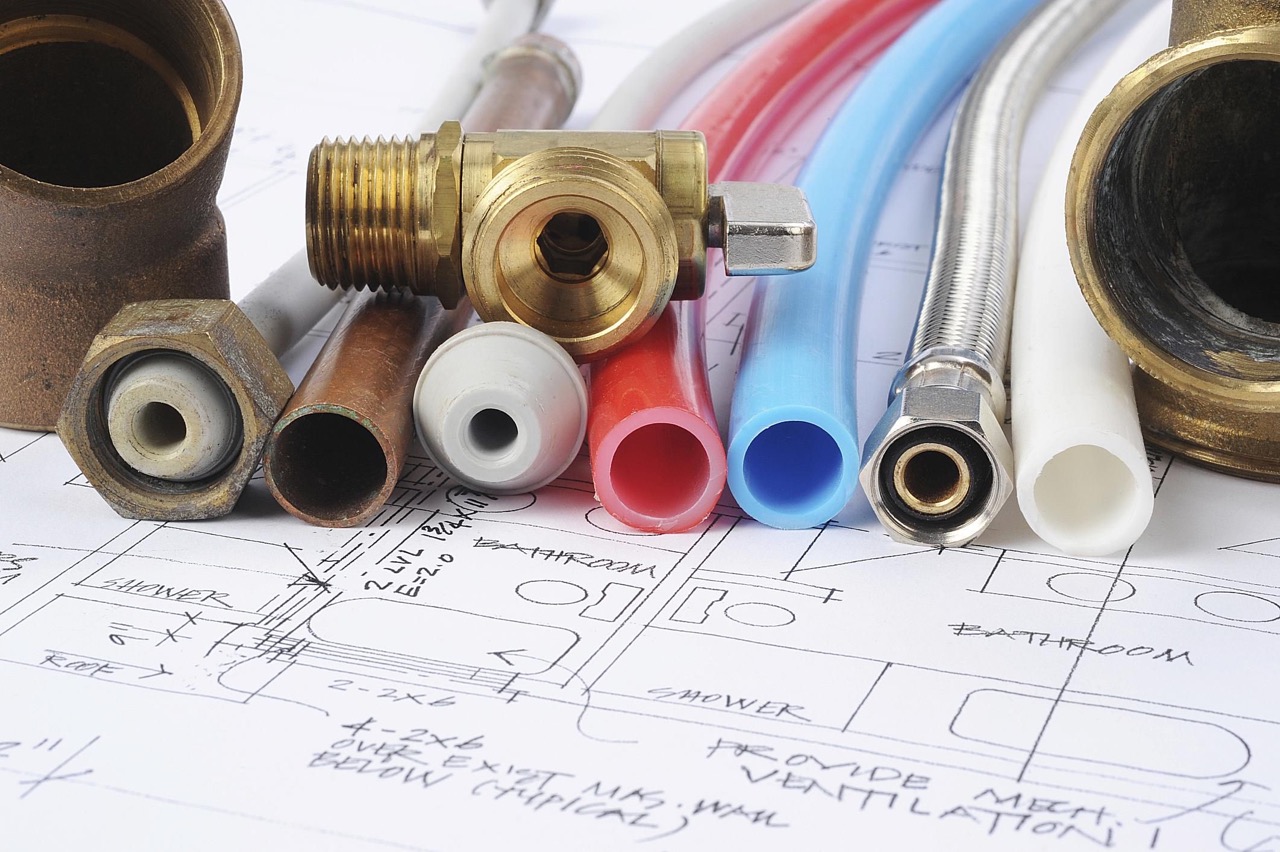
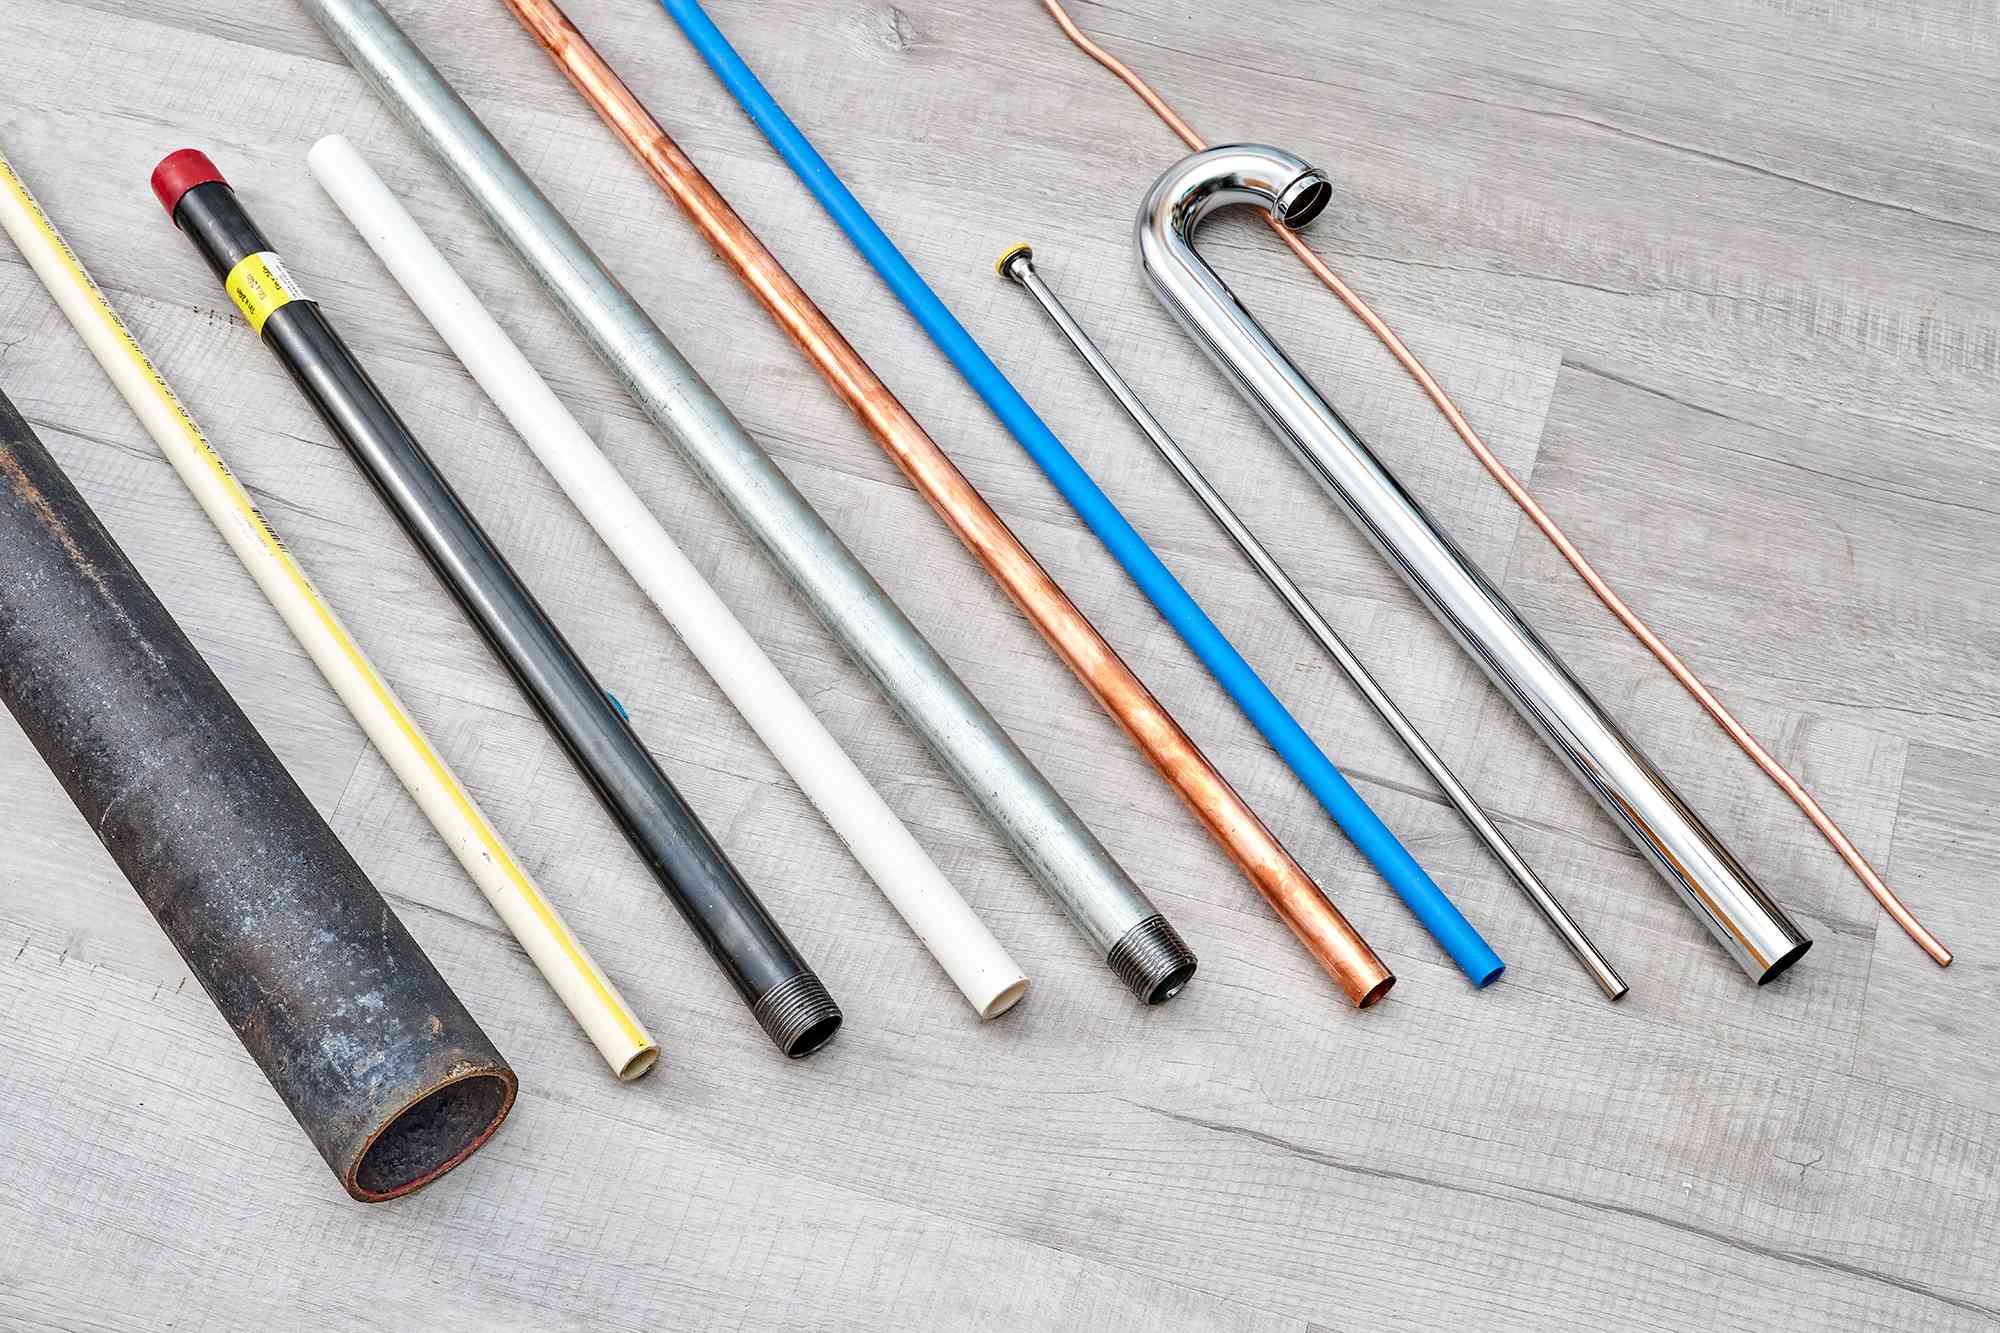
The most common types of plumbing pipes include copper, PVC (polyvinyl chloride), PEX (cross-linked polyethylene), and galvanized steel. Each type has its own unique properties and requires specific methods for capping.
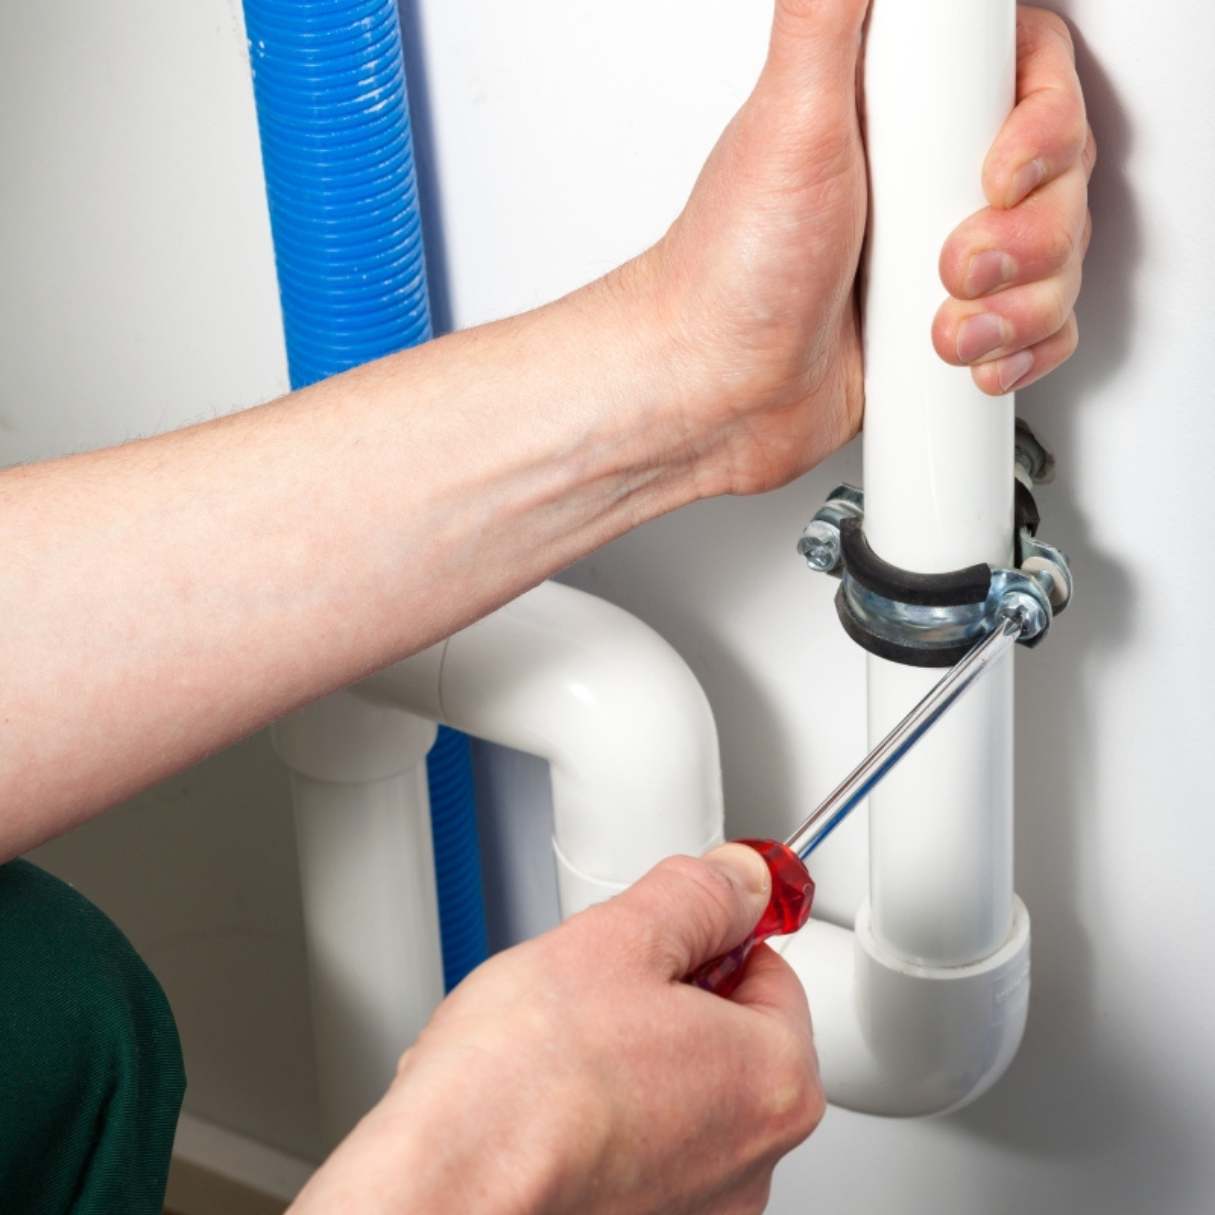
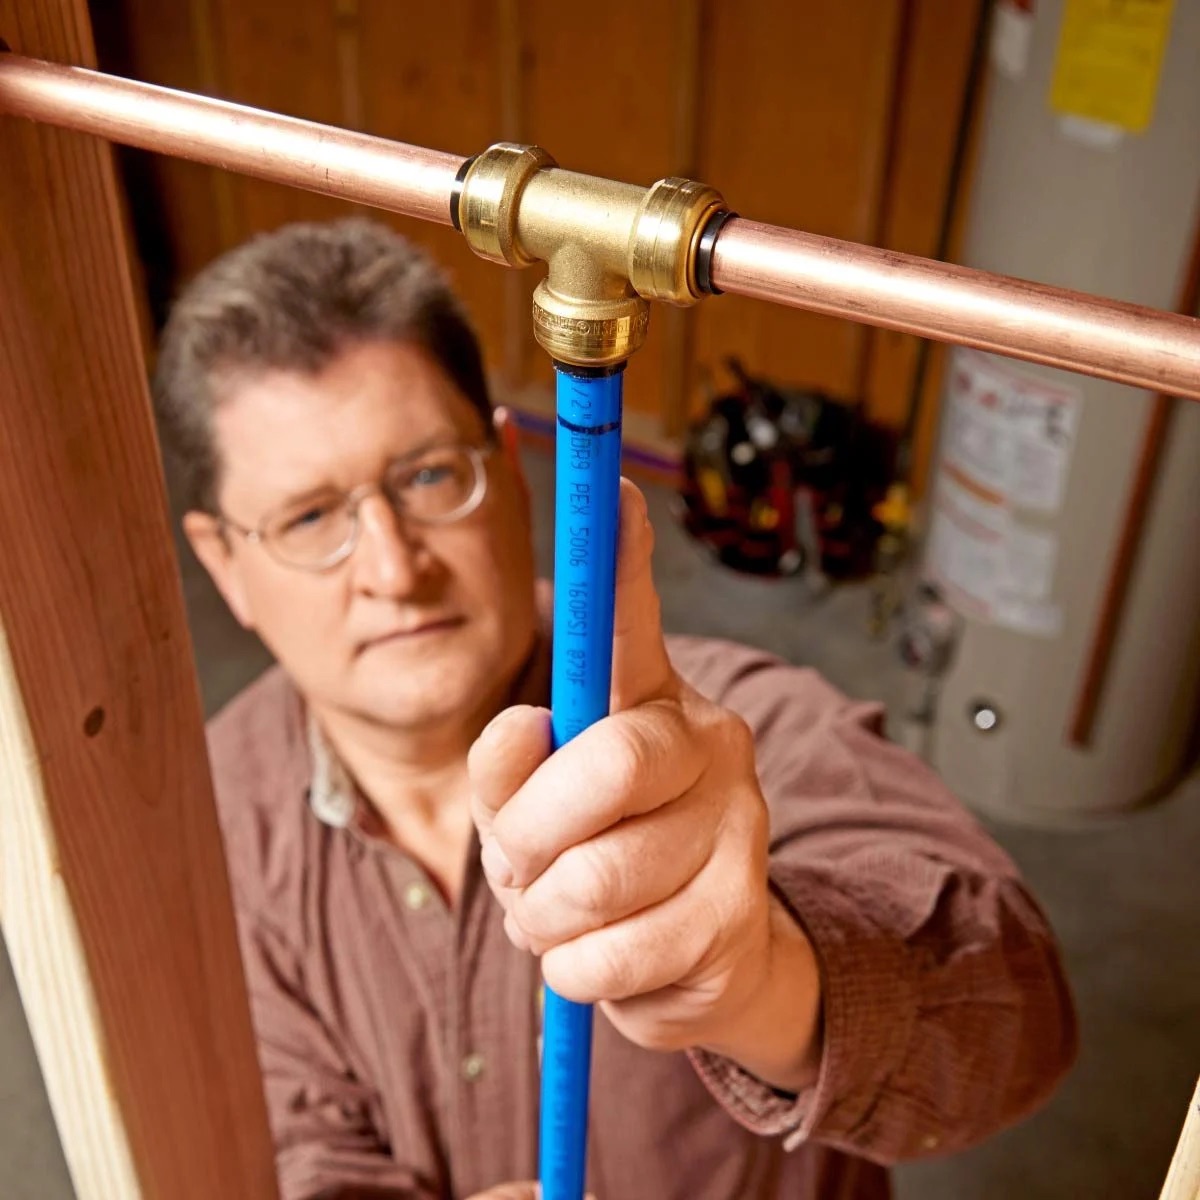
To determine the type of pipe, visually inspect the pipe material. Copper pipes are shiny and have a distinct reddish-brown color. PVC pipes are white or gray and have a smooth surface. PEX pipes are flexible and typically have a red or blue color. Galvanized steel pipes have a silver or gray appearance with threaded ends.
If you’re unsure about the type of pipe, you can consult a plumbing professional or refer to the building’s blueprints or documentation.
Once you have identified the type of pipe, you can proceed to the next step knowing the appropriate techniques and materials to use for capping. It’s important to choose a cap that matches the size and material of the pipe to ensure a proper fit and secure seal.
Remember, if you’re working with a specialized or complex plumbing system, it’s always best to consult a professional plumber who can provide expert guidance and assistance.
Now that you’ve determined the type of pipe you’re working with, let’s move on to the next step: turning off the water supply.
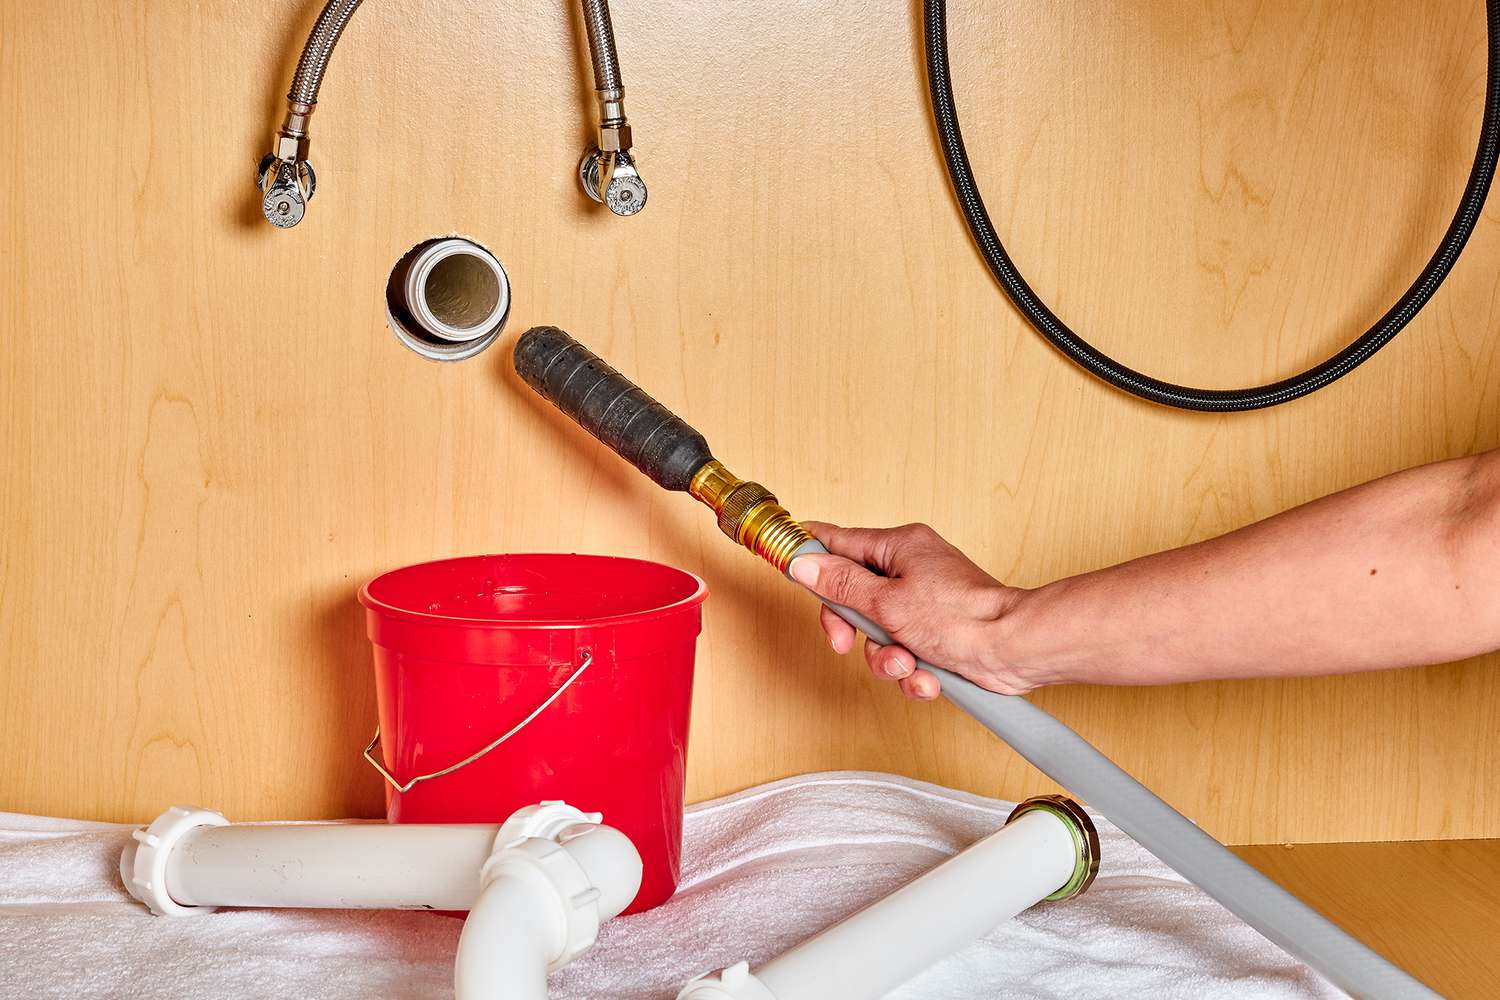
Step 2: Turn Off the Water Supply
Before you start capping off the plumbing pipe, it’s crucial to turn off the water supply to prevent any leaks or accidents. Shutting off the water supply will ensure a safe and controlled working environment.
Locate the main water supply valve for your property. In most cases, this valve is located near the water meter or where the water line enters your home. Turn the valve clockwise to shut off the water supply. You may need to use a wrench or pliers to turn the valve if it’s stiff or hard to reach.
Once you have successfully turned off the water supply, relieve any remaining pressure in the pipes by opening faucets or flushing toilets. This will help to drain any water still present in the system and minimize the risk of any water escaping when you cap the pipe.
Remember, turning off the water supply is a crucial step to ensure your safety and prevent any damage to the plumbing system. Take a moment to double-check that the water is completely shut off before proceeding to the next step.
Now that the water supply is turned off, we can move on to preparing the pipe for capping in the next step.
Step 3: Clean the Pipe End
Before you can cap off the plumbing pipe, it’s important to clean the end of the pipe to ensure a proper and secure seal. Cleaning the pipe end will remove any dirt, debris, or old sealant that could potentially interfere with the cap’s effectiveness.
Here’s how to clean the pipe end:
1. Use a pipe cleaning solution or a mixture of water and mild detergent. Apply the solution to a cloth or brush.
2. Thoroughly scrub the end of the pipe to remove any dirt, grease, or residue. Pay special attention to the area where the cap will be placed.
3. Rinse the pipe end with clean water to remove any remaining cleaning solution.
4. Dry the pipe end using a clean towel or rag.
By cleaning the pipe end, you ensure a smooth surface that allows for a proper seal between the pipe and the cap. This step is particularly important when working with older pipes that may have accumulated buildup or corrosion.
After cleaning the pipe end, take a moment to inspect it for any damage, cracks, or irregularities. If you notice any significant issues, it’s best to consult a professional plumber for further assessment and repairs.
Now that the pipe end is clean and ready, we can proceed to the next step: measuring and cutting the cap.
When capping off plumbing pipes, make sure to clean the end of the pipe thoroughly before applying the cap. Use Teflon tape or pipe sealant to ensure a tight, leak-free seal.
Read more: How To Insulate Plumbing Pipes
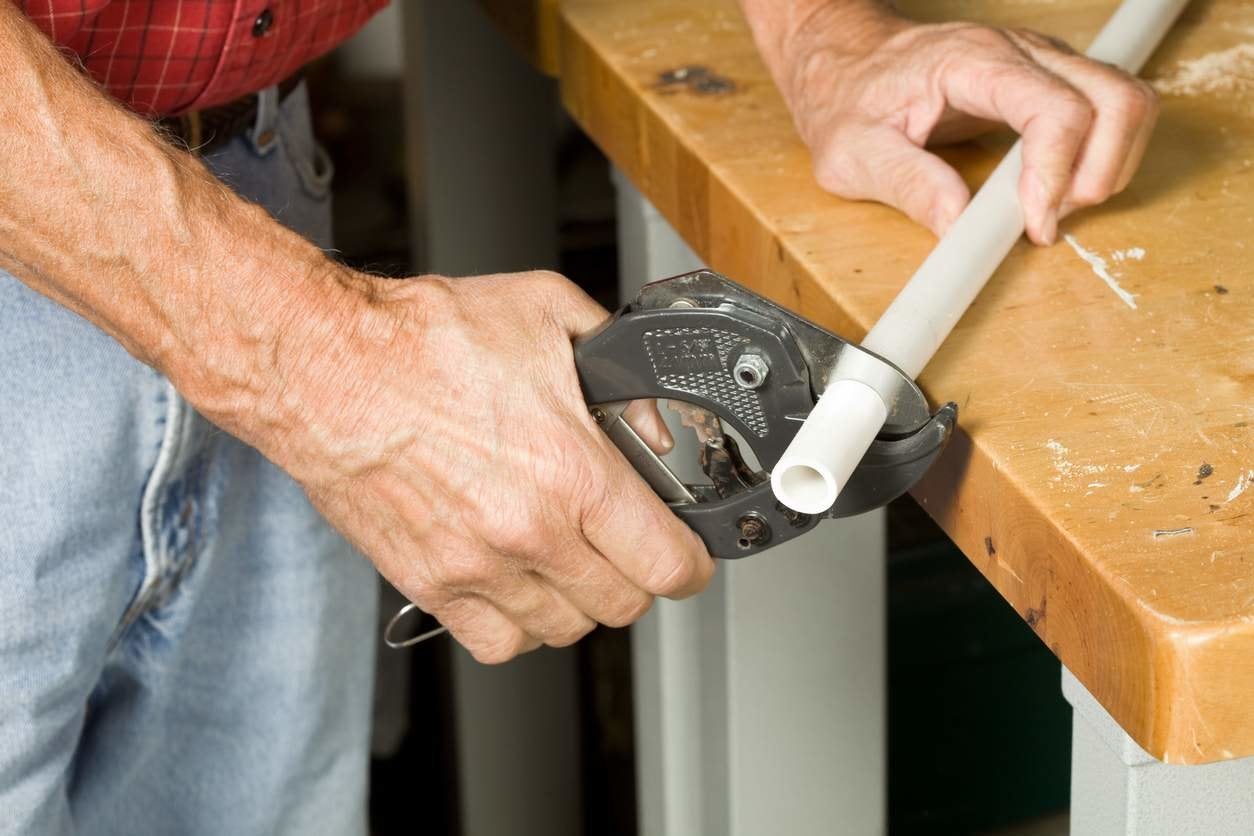
Step 4: Measure and Cut the Cap
In order to properly cap off the plumbing pipe, you’ll need to measure and cut the cap to the correct size. This ensures a snug fit and a secure seal.
Here’s how to measure and cut the cap:
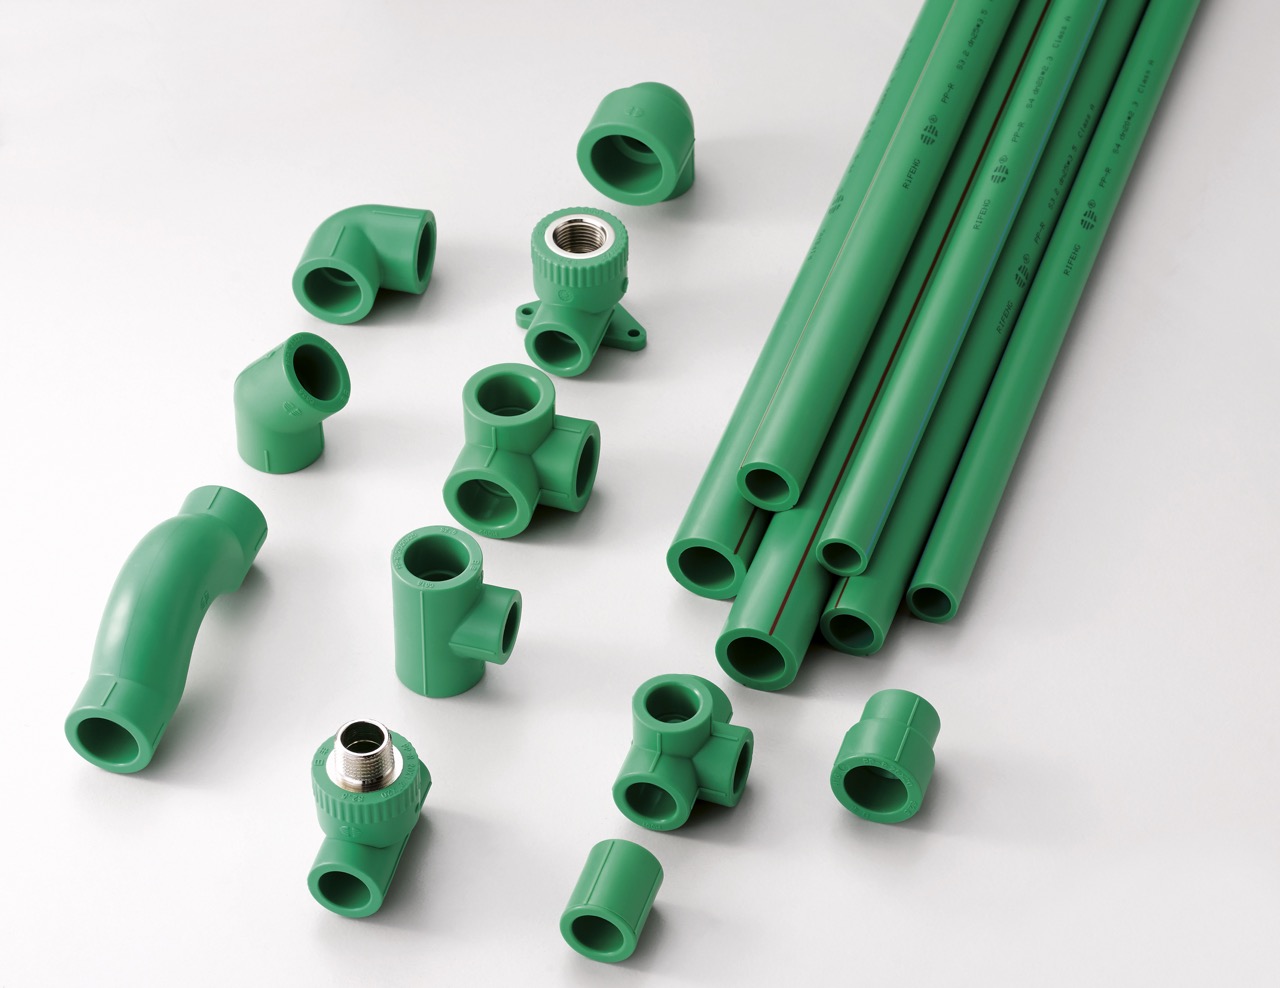
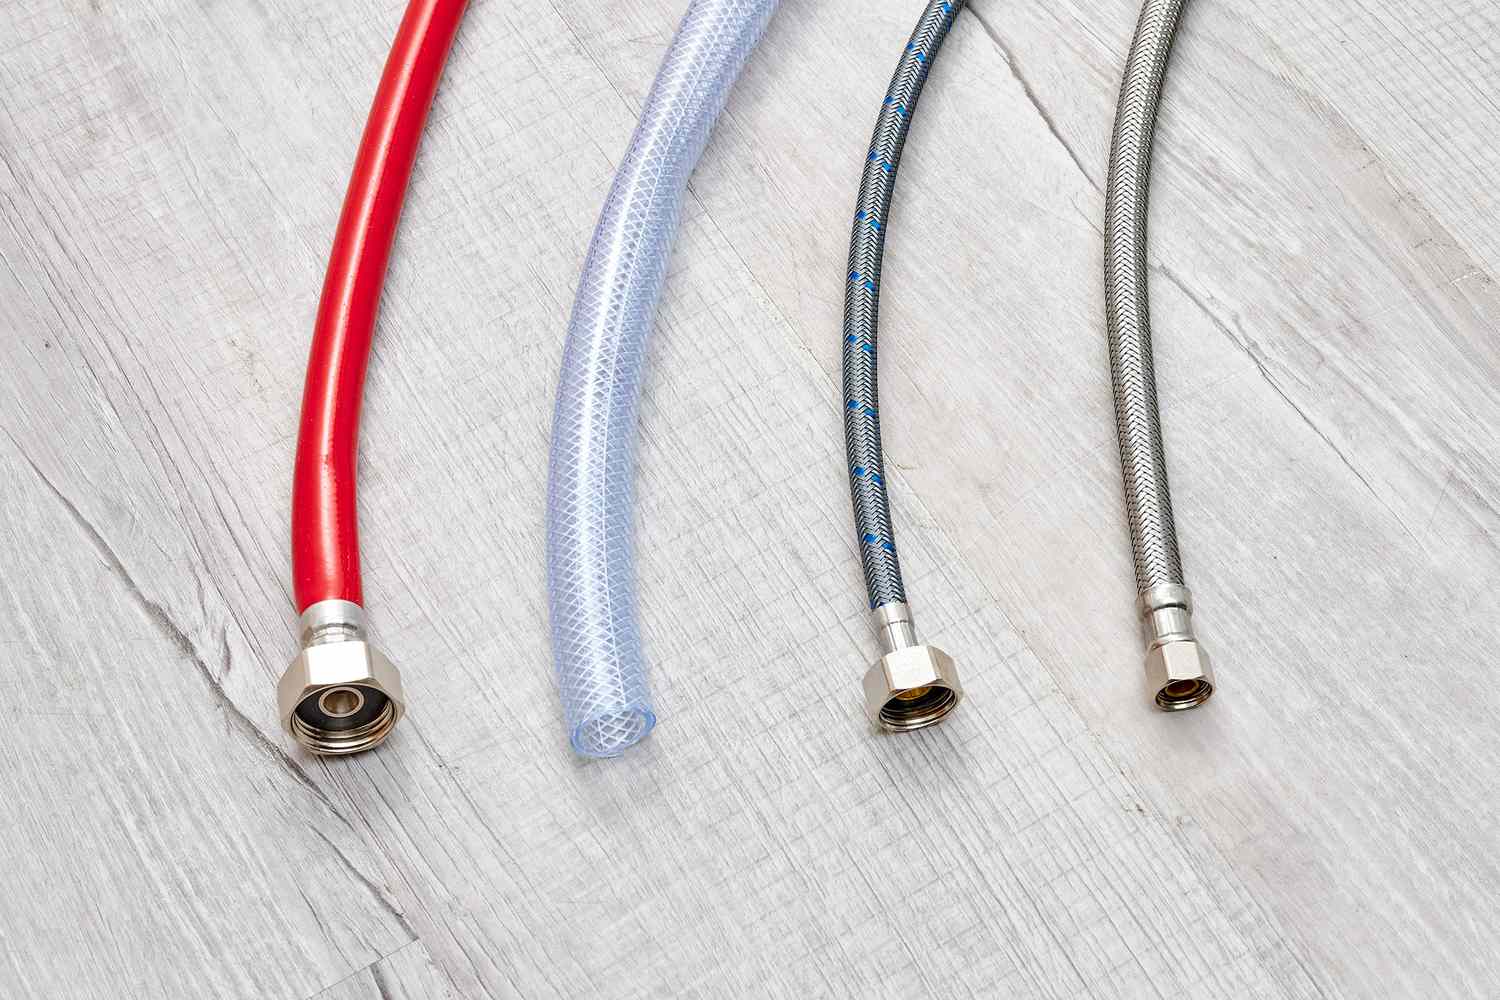
1. Measure the diameter of the pipe. Use a measuring tape to determine the exact size of the pipe’s opening. This measurement will guide you in selecting the appropriate cap size.
2. Choose a cap that matches the size and material of the pipe. Caps are available in various sizes and materials, such as copper, PVC, or brass. Make sure to select a cap that is compatible with your pipe.
3. When measuring the cap, account for any additional length that may be needed to fit securely onto the pipe. You can mark the cap with a pencil or marker to indicate where it should be cut.
4. Using a pipe cutter or a hacksaw, carefully cut the cap to the desired length. Follow the marked line and make a clean, straight cut. Take your time to ensure accuracy and precision.
5. Once the cap is cut to size, use a deburring tool to remove any sharp edges or burrs from the cut end. This step helps create a smooth surface that will fit snugly onto the pipe.
Double-check the measurements and ensure that the cap fits properly over the pipe. It’s important to have a tight and secure fit to prevent any leaks or issues in the future.
Now that the cap is properly measured and cut, we can move on to the next step: applying pipe thread sealant.
Step 5: Apply Pipe Thread Sealant
Applying pipe thread sealant is a critical step in capping off a plumbing pipe. The sealant helps create a watertight seal between the pipe and the cap, preventing leaks and ensuring a secure connection.
Here’s how to apply pipe thread sealant:
1. Ensure that the pipe end is clean and dry. Any moisture or debris can interfere with the effectiveness of the sealant.
2. Begin by wrapping a layer of Teflon tape around the threads on the end of the pipe. This tape acts as an additional layer of sealant and improves the tightness of the connection. Start at the first thread and wrap the tape in a clockwise direction, overlapping each wrap slightly until the entire threaded area is covered.
3. After applying the Teflon tape, it’s time to apply the pipe thread sealant. This sealant usually comes in a paste or liquid form. Use a brush or your finger to apply a thin, even layer of sealant onto the threads of the pipe.
4. Make sure to cover the entire threaded area with the sealant, ensuring there are no gaps or missed spots.
5. Avoid applying an excessive amount of sealant, as this can cause it to squeeze out when tightening the cap, leading to messy cleanup and potential leaks.
By applying pipe thread sealant, you create a tight and reliable seal that prevents water from escaping or leaking. This step is crucial for ensuring the long-term integrity of the capped pipe.
Now that the pipe thread sealant is applied, we can move on to the next step: attaching the cap securely onto the pipe.
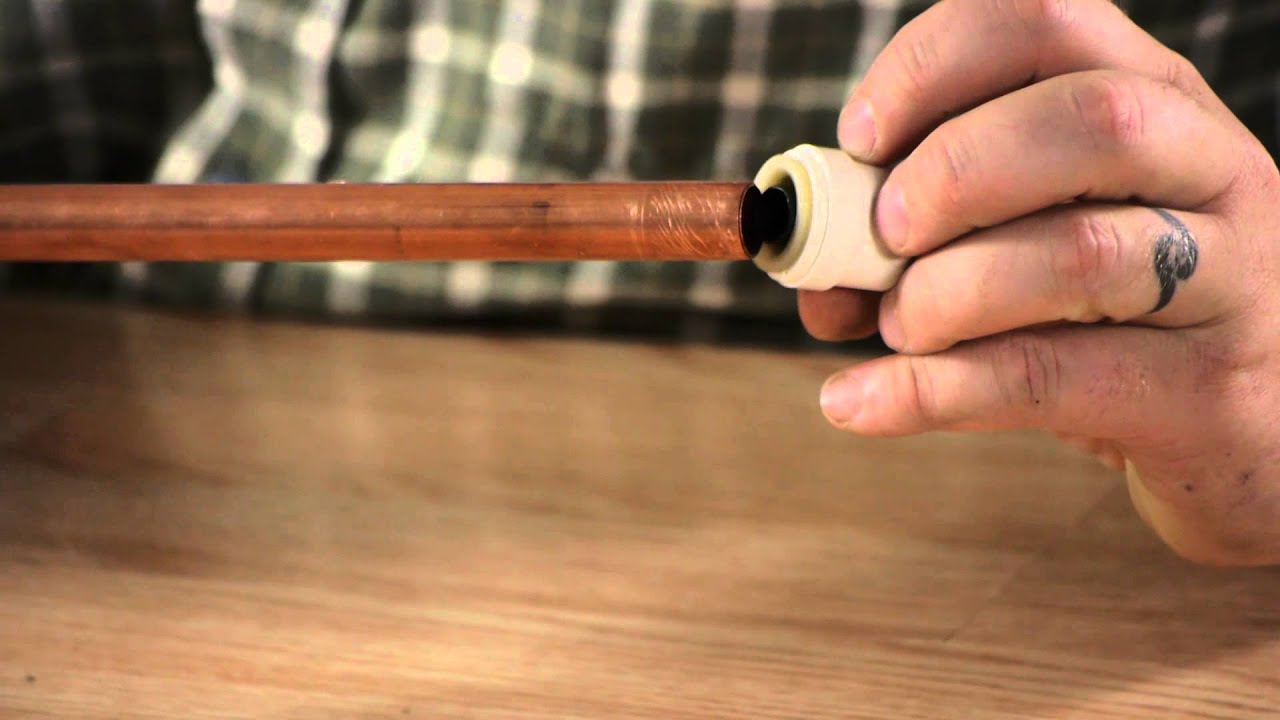
Step 6: Attach the Cap
With the pipe thread sealant applied, it’s time to attach the cap securely onto the end of the plumbing pipe. This step will complete the capping process and ensure a tight and reliable seal.
Here’s how to attach the cap:
1. Position the cap over the cleaned and sealed end of the pipe. Make sure the cap aligns with the threads and sits flush against the pipe.
2. Begin by hand-tightening the cap onto the pipe, turning it in a clockwise direction. Initially, focus on getting a few threads engaged to secure the cap in place.
3. Once the cap is hand-tightened, use an adjustable wrench to further tighten it onto the pipe. Be careful not to overtighten, as this can damage the threads or crack the cap. Use the wrench to achieve a secure and snug fit, but stop tightening once you feel resistance.
4. If you’re working with a plastic or PVC cap, be especially cautious not to overtighten, as these materials are more prone to cracking.
5. Double-check the alignment and make sure the cap is centered and straight. Adjust as needed before finalizing the tightening.
By attaching the cap securely onto the pipe, you ensure a reliable closure that prevents any water or fluid from escaping. The tight seal created by the cap will help maintain the integrity of the plumbing system.
Now that the cap is securely attached, we can move on to the final step: testing for leaks to ensure the success of the capping process.
Step 7: Test for Leaks
After capping off the plumbing pipe and attaching the cap, it’s crucial to test for any potential leaks. Testing for leaks will ensure that the capping process was successful and that the pipe is sealed properly.
Here’s how to test for leaks:
1. Slowly turn on the water supply. Gradually open the main water valve or any faucets connected to the capped pipe. This will allow water to flow through the system.
2. Observe the capped area closely. Look for any signs of water leakage, such as dripping or pooling.
3. Pay close attention to the area around the cap, as well as the surrounding pipes and connections. Check for any abnormal water flow or wet spots.
4. Leave the water running for a few minutes to thoroughly test for leaks. Watch for any changes or signs of water escaping.
5. If you notice any leaks or dripping, immediately shut off the water supply and tighten the cap further. Double-check the threads and ensure a proper seal. If the leak persists, you may need to remove the cap, inspect the threads, and reapply the pipe thread sealant.
6. If there are no signs of leakage, congratulations! Your capping process was successful, and the plumbing pipe is properly sealed.
Testing for leaks is a vital step to verify the effectiveness of the cap and ensure the integrity of the plumbing system. Even a small leak can lead to significant water damage over time, so it’s essential to be thorough in this process.
Remember, if you discover any persistent leaks or encounter difficulties during the capping process, it’s best to consult a professional plumber for assistance.
Now that you have tested for leaks and confirmed the success of the capping process, you can rest assured that your plumbing pipe is properly sealed and ready for use.
Read more: How To Replace Plumbing Pipes
Conclusion
Capping off plumbing pipes is a necessary skill that can come in handy in various situations, whether you’re making repairs, renovating, or simply no longer require a particular line. By following the step-by-step process outlined in this article, you can confidently cap off plumbing pipes and ensure a secure and leak-free seal.
From identifying the type of plumbing pipe and turning off the water supply to cleaning the pipe end, measuring and cutting the cap, applying pipe thread sealant, attaching the cap, and testing for leaks, each step plays a crucial role in achieving a successful capping outcome.
Remember to gather all the necessary tools and materials, take safety precautions, and exercise patience and precision when executing each step of the process. It’s important to choose the appropriate cap size and material, clean the pipe end thoroughly, and apply the pipe thread sealant effectively to ensure a watertight seal.
Testing for leaks is the final and essential step to confirm the success of the capping process. By carefully observing the capped area and checking for any signs of water leakage, you can ensure the integrity of the plumbing system and take immediate action if leaks are detected.
While capping off plumbing pipes can be a do-it-yourself project, it’s important to recognize your limitations. If you encounter any difficulties, persistent leaks, or are unsure about the process, it’s advisable to seek assistance from a professional plumber who can provide expert guidance and support.
By mastering the process of capping off plumbing pipes, you have gained a valuable skill that can save you time, money, and hassle in the future. With a properly capped pipe, you can confidently proceed with your home improvements or repairs, knowing that the plumbing system is secure and functioning as it should.
So, next time you find yourself in need of capping off a plumbing pipe, refer back to this comprehensive guide and tackle the task with confidence. Happy capping!
Now that you've mastered capping off plumbing pipes, why stop there? If you're unsure whether your home system needs professional attention, our next article, "How Can I Tell If I Need Plumbing Repair," is perfect for you. It offers clear, easy-to-understand tips on spotting potential issues before they escalate. Don't let small leaks turn into major problems—stay ahead with our helpful guide!
Frequently Asked Questions about How To Cap Off Plumbing Pipes
Was this page helpful?
At Storables.com, we guarantee accurate and reliable information. Our content, validated by Expert Board Contributors, is crafted following stringent Editorial Policies. We're committed to providing you with well-researched, expert-backed insights for all your informational needs.

0 thoughts on “How To Cap Off Plumbing Pipes”