Articles
How To Insulate PEX Pipe In An Attic
Modified: October 20, 2024
Learn how to properly insulate PEX pipe in the attic with our informative articles. Protect your plumbing from freezing and reduce energy loss.
(Many of the links in this article redirect to a specific reviewed product. Your purchase of these products through affiliate links helps to generate commission for Storables.com, at no extra cost. Learn more)
Introduction
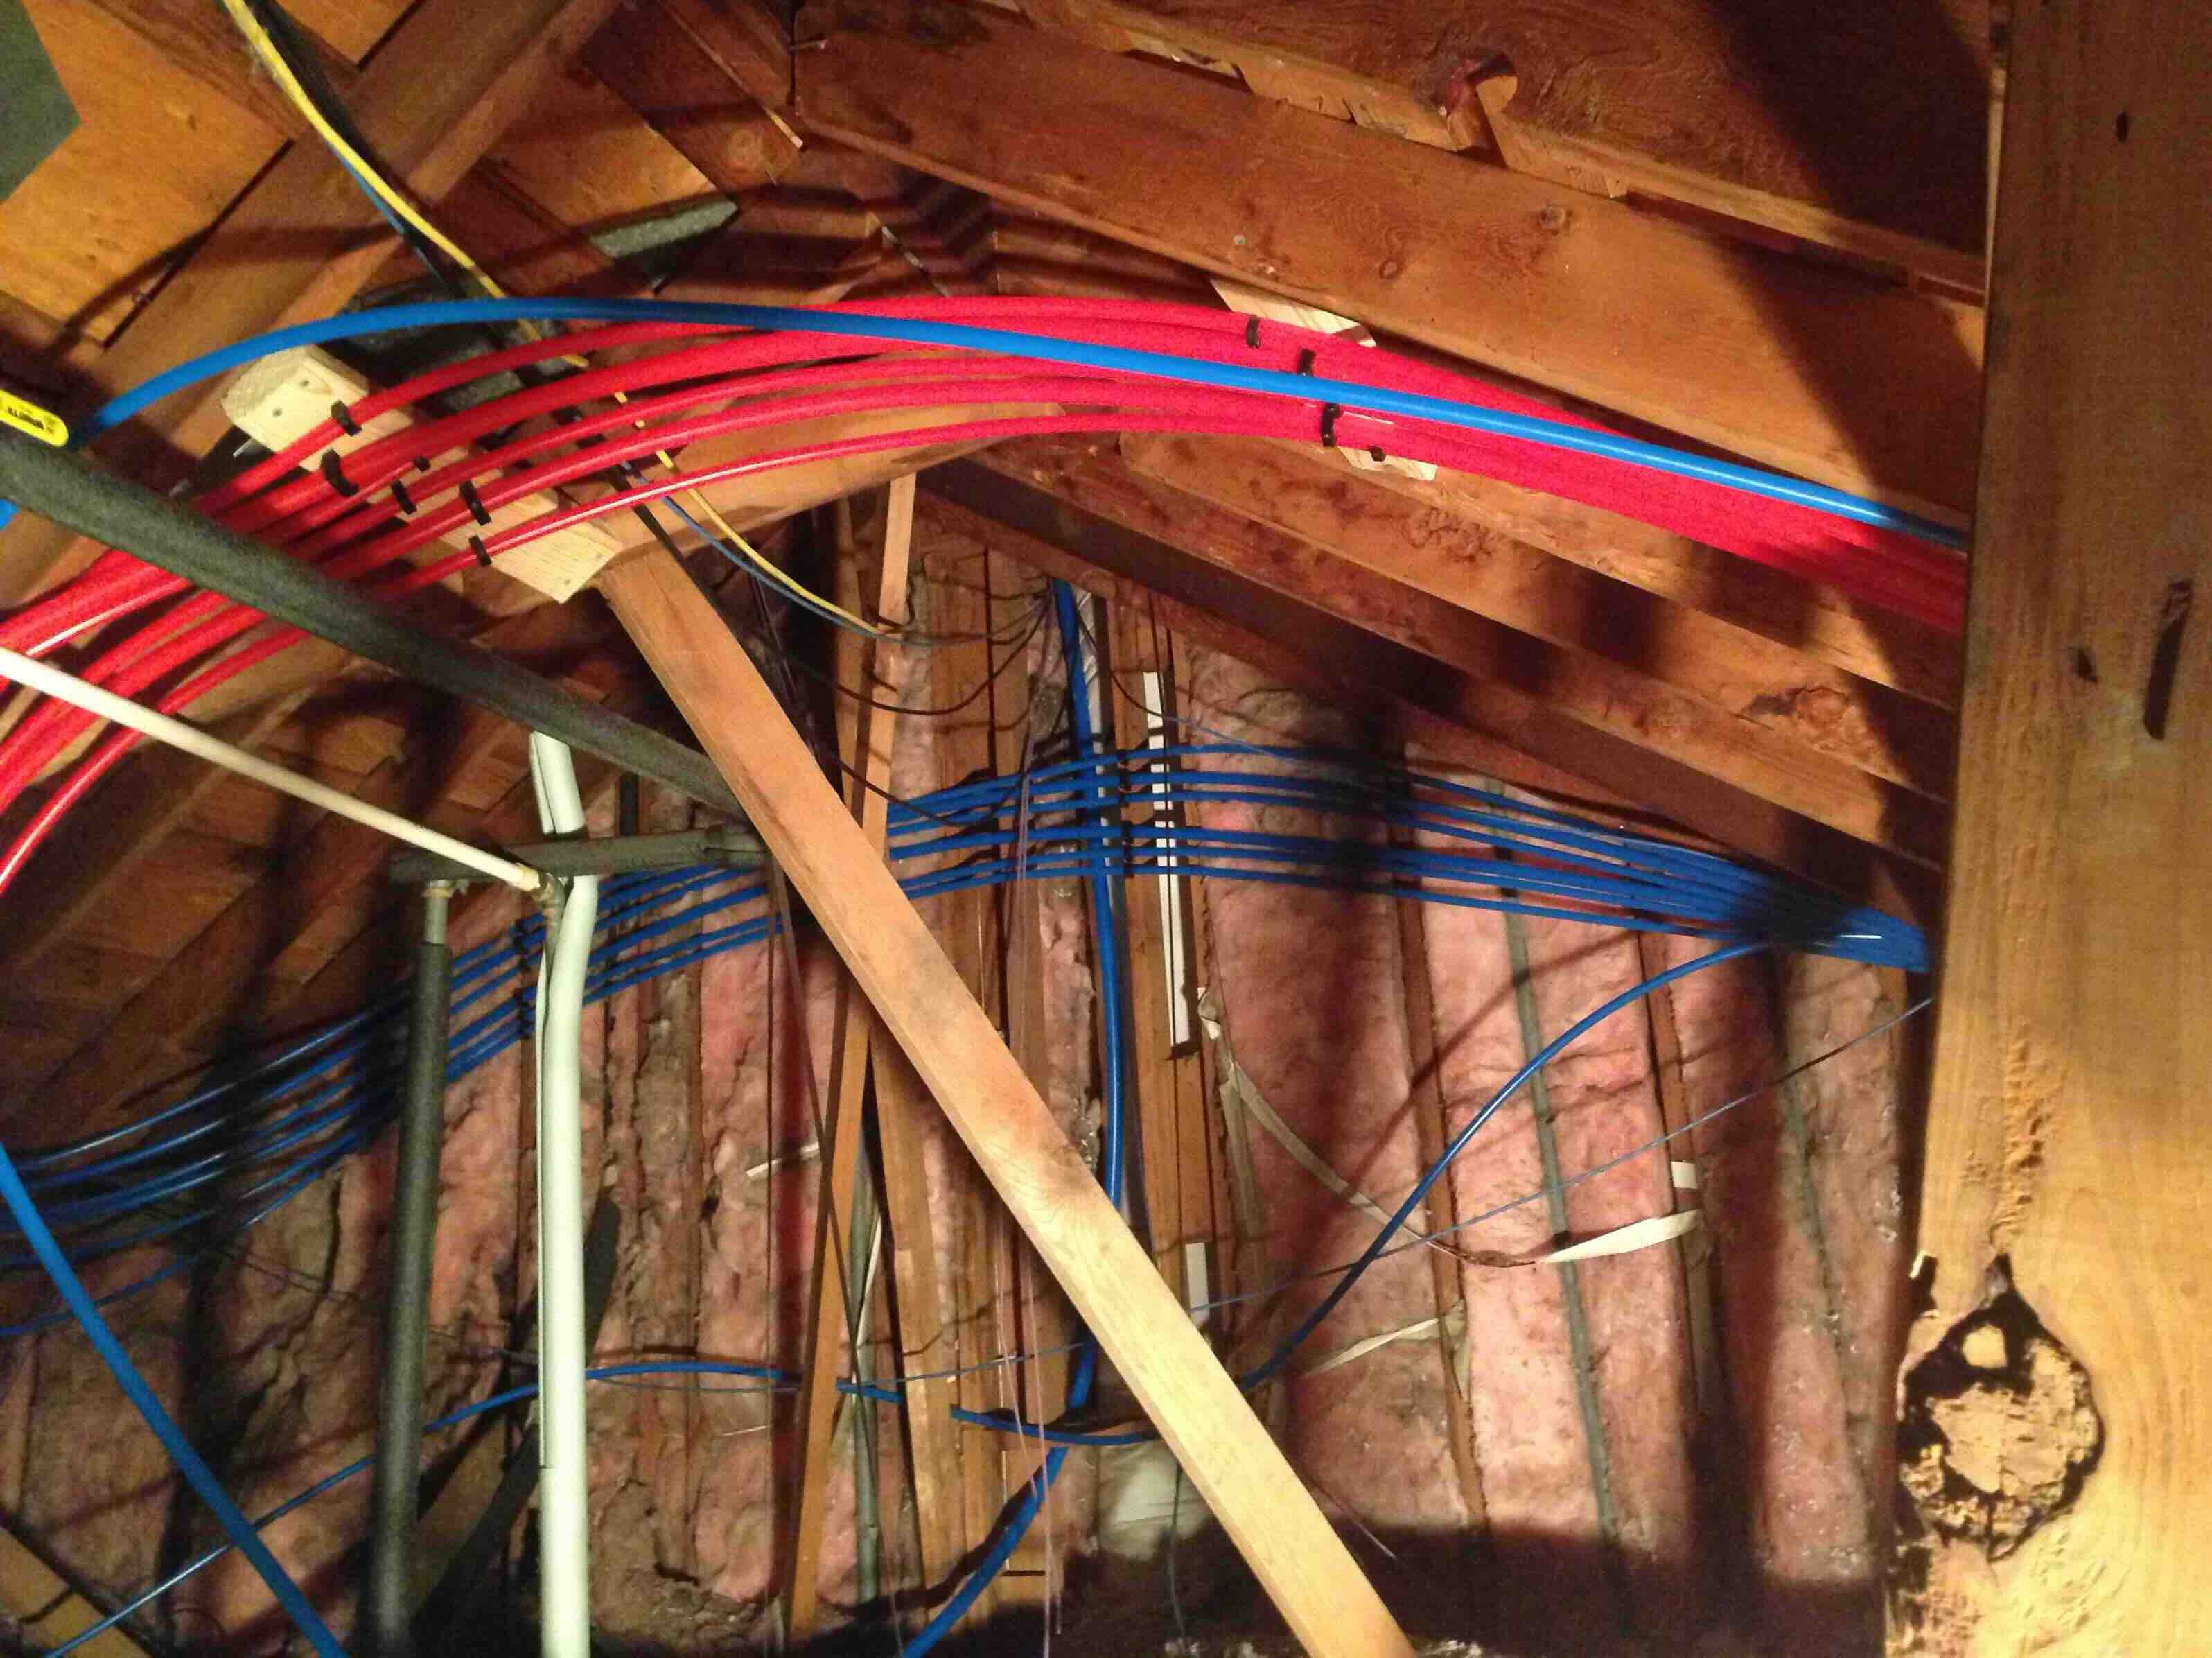
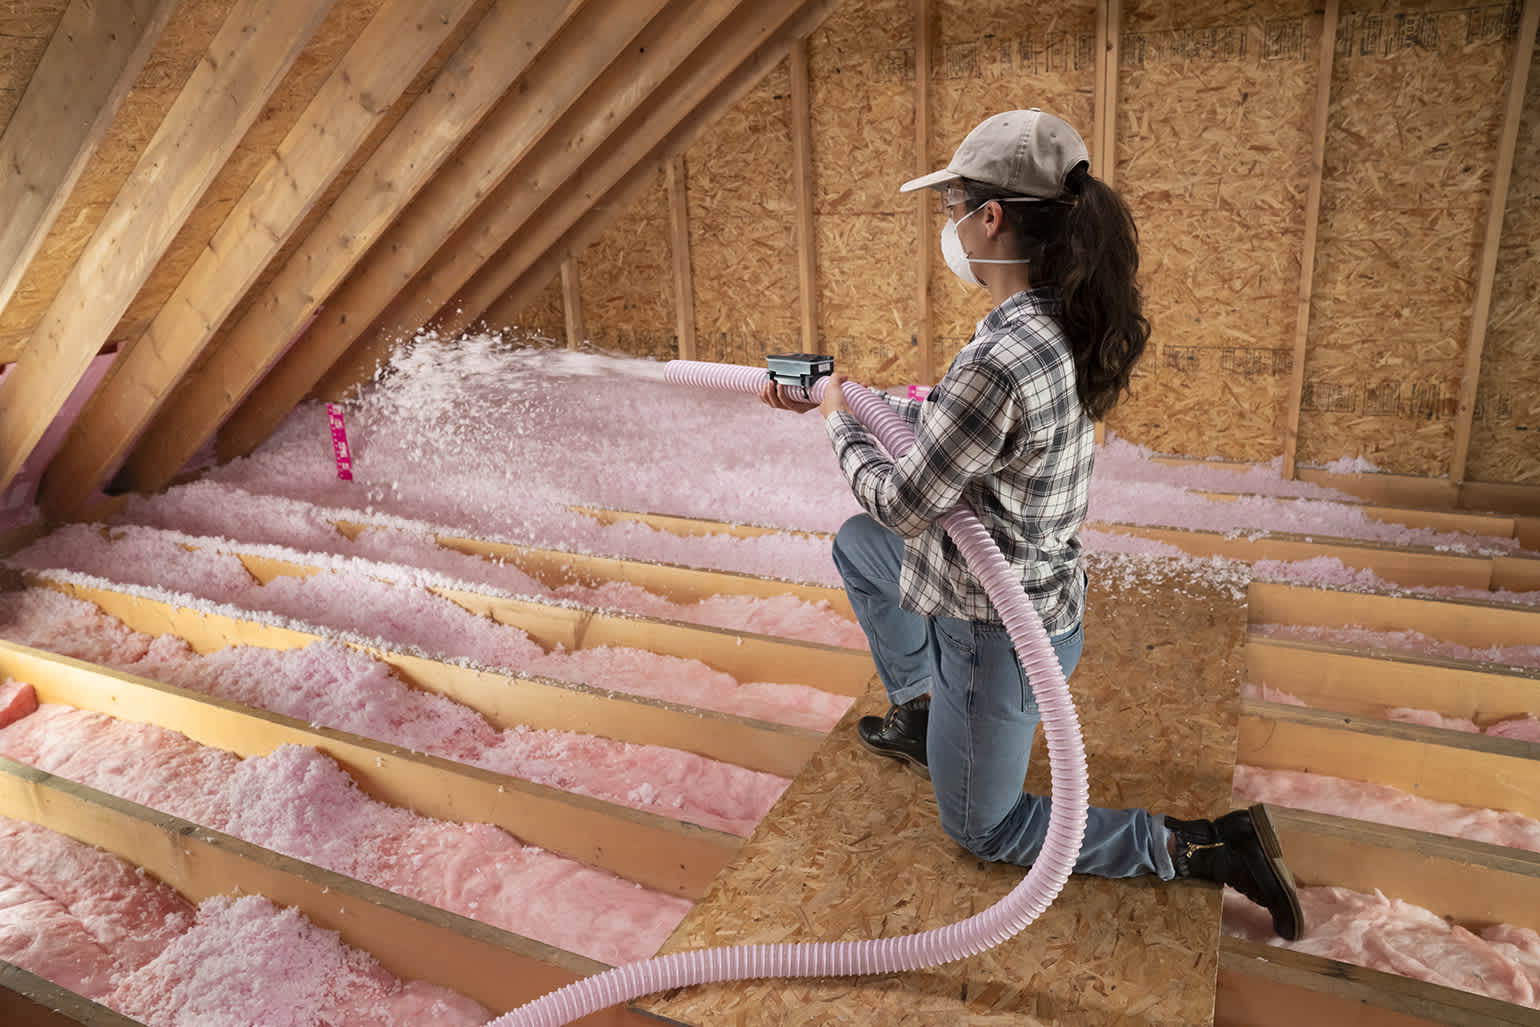
When it comes to insulating your home, one area that is often overlooked is the PEX pipes in your attic. PEX, or cross-linked polyethylene, pipes are commonly used for plumbing systems due to their flexibility and durability. However, these pipes are vulnerable to extreme temperature changes, which can lead to freezing or heat loss.
Insulating your PEX pipes in the attic is crucial for maintaining the integrity of your plumbing system and ensuring optimal performance. By taking the necessary steps to properly insulate these pipes, you can prevent costly repairs, conserve energy, and improve the overall efficiency of your home.
In this article, we will guide you through the process of insulating PEX pipes in your attic. From understanding the importance of insulation to choosing the right materials and installation techniques, we will cover everything you need to know to get the job done effectively.
So grab your tools and let’s get started on insulating your PEX pipes in the attic!
Key Takeaways:
- Properly insulating PEX pipes in the attic is essential for preventing freezing, heat loss, and condensation, ensuring the longevity and efficiency of your plumbing system while saving you time and money in the long run.
- By choosing the right insulation material, preparing, installing, and securing the insulation properly, and implementing additional tips, you can maximize the effectiveness and durability of your PEX pipe insulation, maintaining a well-protected and energy-efficient home.
Read more: How To Insulate PEX Pipes In A Crawl Space
Step 1: Understanding the Importance of Insulating PEX Pipes in the Attic
Insulating PEX pipes in the attic is crucial for several reasons. First and foremost, it helps prevent freezing during cold winter months. When water freezes in the pipes, it can cause them to expand, leading to cracks or even burst pipes. Not only does this result in costly repairs, but it can also cause water damage to your home.
Furthermore, insulating PEX pipes in the attic helps to prevent heat loss. Attics are often not insulated or adequately sealed, allowing heat from the rest of the house to escape. When hot water travels through the PEX pipes, it can lose heat rapidly in the unconditioned attic space. This not only affects the efficiency of your hot water system but also leads to higher energy bills.
Insulation acts as a barrier, reducing heat transfer and preventing temperature fluctuations in the pipes. By keeping the hot water hot and the cold water cold, you can maintain consistent water temperatures and improve the overall efficiency of your plumbing system.
Additionally, insulating PEX pipes in the attic can help prevent condensation. When warm, humid air comes into contact with cold pipes, condensation can occur. Over time, this can lead to moisture buildup, which can cause mold and mildew growth, as well as damage to the surrounding materials.
By insulating the PEX pipes, you create a barrier that prevents the warm air in the attic from coming into contact with the cold pipes. This helps eliminate the conditions necessary for condensation to form, keeping your pipes dry and free from moisture-related issues.
Overall, insulating PEX pipes in the attic is essential for protecting your plumbing system, preventing freezing, reducing heat loss, and preventing condensation. By taking this proactive step, you can ensure the longevity and efficiency of your home’s plumbing system, saving you both time and money in the long run.
Step 2: Gathering the Necessary Tools and Materials
Before you begin insulating your PEX pipes in the attic, it’s important to gather all the necessary tools and materials. Having everything prepared beforehand will make the process smoother and more efficient. Here is a list of the tools and materials you will need:
- Measuring tape or ruler: This will help you accurately measure the length of the PEX pipes.
- Utility knife: You will need a sharp utility knife to cut the insulation material to the appropriate size.
- Insulation material: Choose an insulation material that is suitable for PEX pipes. The most common options include foam pipe insulation, rubber insulation, or fiberglass insulation.
- Insulation tape: This tape is used to secure and seal the insulation around the pipes.
- Zip ties or wire: These will be used to secure the insulation in place.
- Protective gloves: To protect your hands during the installation process.
- Safety goggles: It’s important to wear safety goggles to protect your eyes from any debris or insulation particles.
Make sure to gather these tools and materials before you start the insulation process. Check the condition of your existing tools and ensure that you have enough insulation material to cover all the PEX pipes in your attic.
It’s also a good idea to wear appropriate clothing, such as long sleeves and pants, to protect your skin from any irritation that may be caused by the insulation material.
By having all the necessary tools and materials ready, you can ensure a smooth and efficient insulation process, saving you time and effort.
Step 3: Preparing the PEX Pipes for Insulation
Before you begin installing insulation on your PEX pipes in the attic, it’s important to properly prepare the pipes. This step ensures that the insulation adheres correctly and provides maximum effectiveness. Follow these steps to prepare the PEX pipes:
- Clean the pipes: Start by cleaning the PEX pipes to remove any dust, debris, or grease. Use a mild detergent and water solution to scrub the pipes gently. Rinse them thoroughly to ensure they are completely clean.
- Dry the pipes: After cleaning, allow the pipes to dry completely. Moisture on the pipes can affect the adhesion of the insulation material and promote the growth of mold or mildew.
- Inspect for damages: Inspect the PEX pipes carefully for any damages, such as cracks or leaks. If you notice any issues, repair or replace the damaged section before proceeding with the insulation.
- Remove existing insulation: If there is any old or damaged insulation on the pipes, remove it before installing new insulation. Make sure the surface of the pipes is clean and free from any residue.
By following these preparation steps, you create a clean and suitable surface for the insulation material to adhere to. Ensuring the pipes are in good condition and free from debris or old insulation will help maximize the effectiveness of the insulation and prevent any potential issues down the line.
Take the time to properly prepare the PEX pipes before moving on to the next step. This will help ensure a smooth and successful insulation process.
Step 4: Choosing the Right Insulation Material for PEX Pipes
Selecting the appropriate insulation material for your PEX pipes in the attic is crucial for effective insulation and long-term performance. Several factors need to be considered when choosing the right insulation. Here are some key factors to keep in mind:
- R-Value: The R-value measures the insulation material’s resistance to heat flow. Higher R-value indicates better insulation. Consider the climate in your area and choose an insulation material with an appropriate R-value to ensure optimal energy efficiency.
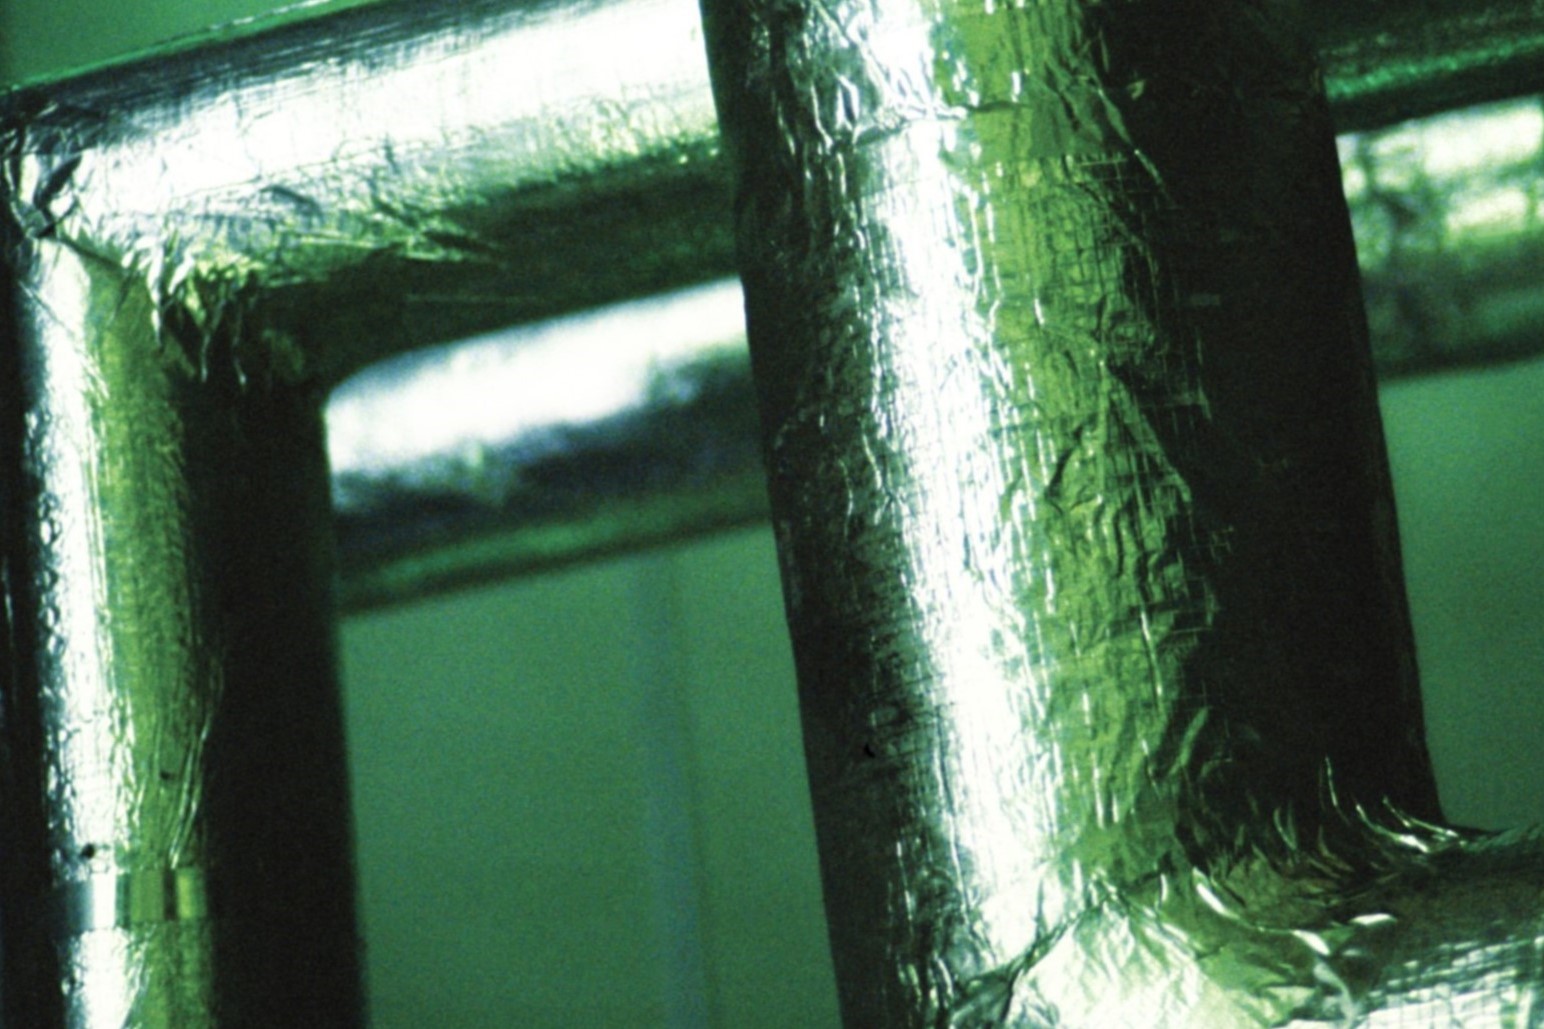
- Material type: The most common insulation materials for PEX pipes include foam pipe insulation, rubber insulation, or fiberglass insulation. Each has its pros and cons, so it’s essential to consider factors such as cost, moisture resistance, ease of installation, and durability.
- Pipe size compatibility: Ensure that the insulation material you choose fits the size of your PEX pipes. Measure the diameter of your pipes accurately and select an insulation material that matches or can be easily adjusted to fit.
- Moisture resistance: Since the pipes are located in the attic, it’s crucial to choose an insulation material that has good moisture resistance. This will help prevent condensation and moisture buildup around the pipes, which can lead to mold or damage over time.
- Fire safety: Consider the fire safety rating of the insulation material. Look for materials that are fire-resistant and meet the necessary safety standards to ensure the protection of your home.
Research different insulation materials, read product labels, and consult with professionals if needed, to make an informed decision. Consider the specific needs and requirements of your PEX pipes and choose the insulation material that best meets those needs.
Remember, the quality of the insulation material will directly impact the performance and effectiveness of your insulation. Therefore, take the time to choose the right material for your PEX pipes in the attic.
When insulating PEX pipes in the attic, use foam pipe insulation to wrap around the pipes and secure it with duct tape. This will help prevent the pipes from freezing in cold weather.
Read more: How To Install Pex Pipe To Bathroom Sink
Step 5: Installing Insulation on PEX Pipes in the Attic
Now that you have prepared the PEX pipes and chosen the right insulation material, it’s time to start installing the insulation in your attic. Follow these steps for a successful installation:
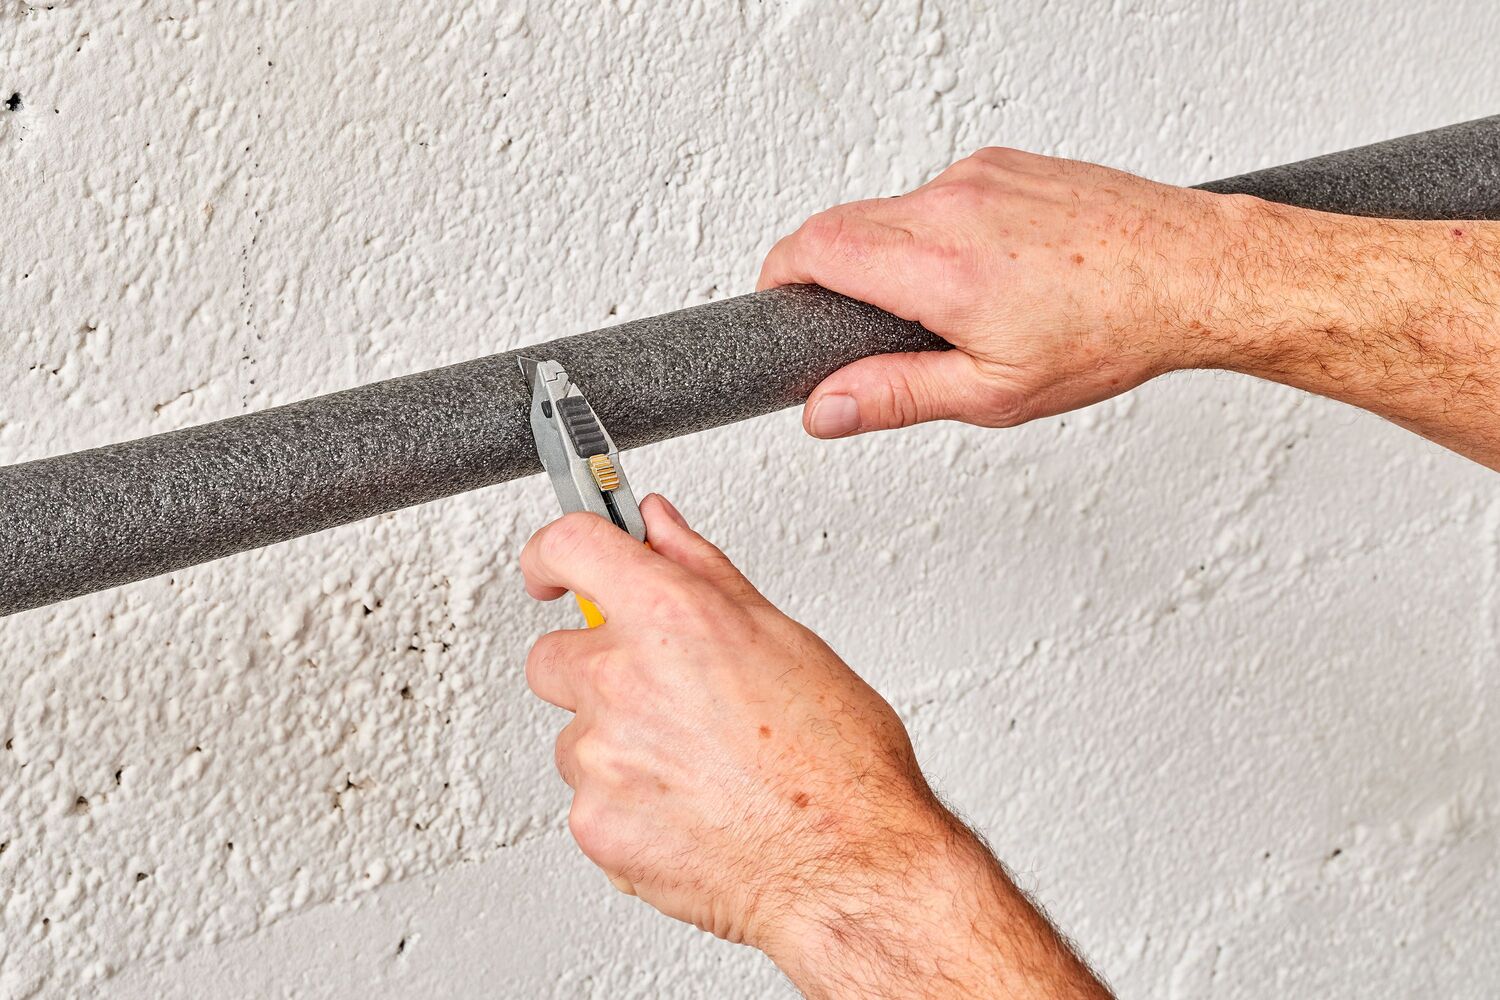
- Measure and cut: Begin by measuring the length of the PEX pipes in the attic. Use a measuring tape or ruler to ensure accurate measurements. Then, mark the insulation material accordingly and cut it to the appropriate size using a utility knife.
- Open the insulation: Most insulation materials come with a split opening or adhesive strip. Open the insulation by splitting or peeling it, exposing the inner part where the pipes will be placed.
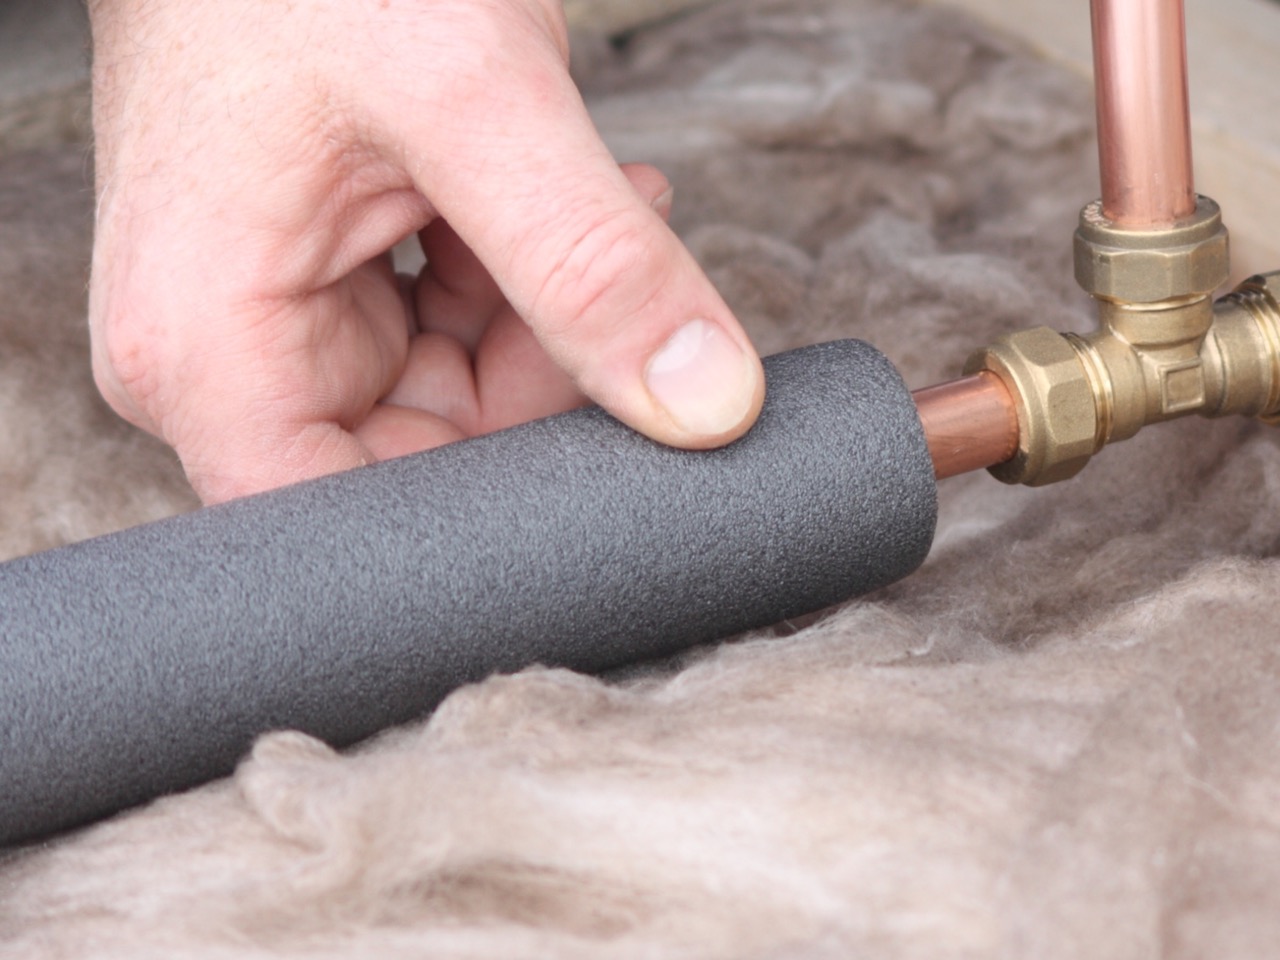
- Wrap the insulation around the pipes: Take the cut insulation pieces and wrap them tightly around the PEX pipes. Make sure the insulation completely covers the pipes, leaving no gaps or exposed areas.
- Secure with tape or zip ties: Use insulation tape or zip ties to secure the insulation in place. Wrap the tape around the insulation at regular intervals to hold it firmly. For zip ties, thread them through the designated holes on the insulation and tighten them securely.
- Seal any gaps: Inspect the installed insulation for any gaps or openings. Use insulation tape to seal any gaps or areas where the insulation may have come loose. This will ensure maximum coverage and effectiveness.
- Repeat the process: Continue measuring, cutting, and installing insulation on each PEX pipe in the attic until all pipes are properly insulated.
Remember to take necessary safety precautions while installing the insulation, such as wearing gloves and safety goggles. Take your time and ensure that each insulation piece is securely fastened and properly aligned.
Properly installed insulation will provide a protective barrier around the PEX pipes, preventing heat loss and reducing the risk of freezing or condensation. It will also help maintain a consistent temperature and improve the efficiency of your plumbing system.
Once you have successfully installed the insulation on all the PEX pipes in the attic, you’re ready to move on to the next step of securing and sealing the insulated pipes.
Step 6: Securing and Sealing Insulated PEX Pipes
After installing the insulation on your PEX pipes in the attic, it’s important to secure and seal the insulation to ensure its longevity and effectiveness. Follow these steps to properly secure and seal the insulated pipes:
- Inspect for loose insulation: Check each section of insulation to ensure that it is securely in place. If you find any loose areas, adjust the insulation and re-secure it with tape or zip ties.
- Use insulation tape for added security: Apply insulation tape where the insulation pieces meet each other or overlap. This will help create a strong and continuous seal along the entire length of the pipe.
- Seal the ends of the insulation: Pay special attention to the ends of the insulation where the pipes connect to fittings or fixtures. Use insulation tape or additional layers of insulation to seal these areas and prevent any air leakage.
- Check for gaps or exposed areas: Inspect the overall insulation coverage and make sure there are no gaps or exposed areas. Pay close attention to bends or corners where the insulation may have shifted or come loose.
- Seal any gaps or openings: If you notice any gaps or openings between the insulation and the pipe or the insulation itself, use insulation tape or additional insulation material to seal these areas. It’s important to achieve a tight seal to prevent any heat loss or moisture buildup.
- Test the security and tightness: Once you have secured and sealed the insulated PEX pipes, gently touch and press against the insulation to ensure it is firmly in place. Check for any movement or gaps that may need additional attention.
By properly securing and sealing the insulation on your PEX pipes, you ensure that it remains intact and provides optimal insulation benefits. This step helps maintain the integrity of the insulation and extends its lifespan.
Take the time to carefully inspect and address any areas that may require additional attention. A well-secured and sealed insulation will offer maximum efficiency and protection for your PEX pipes in the attic.
Step 7: Additional Tips for Insulating PEX Pipe in the Attic
Insulating your PEX pipes in the attic is an essential step to protect them from freezing, heat loss, and moisture-related issues. To further enhance the effectiveness and longevity of your insulation, consider these additional tips:
- Cover exposed pipes: If there are any sections of PEX pipes in the attic that are not insulated, such as where the pipes pass through walls or floors, consider using pipe sleeves or foam insulation to cover these exposed areas. This will provide additional protection and maintain consistent insulation throughout the system.
- Seal air leaks: Inspect the attic for any air leaks or drafts that may compromise the insulation. Use caulk or weatherstripping to seal any gaps or cracks around windows, doors, or other openings. This will help maintain a controlled environment and prevent heat transfer or moisture infiltration.
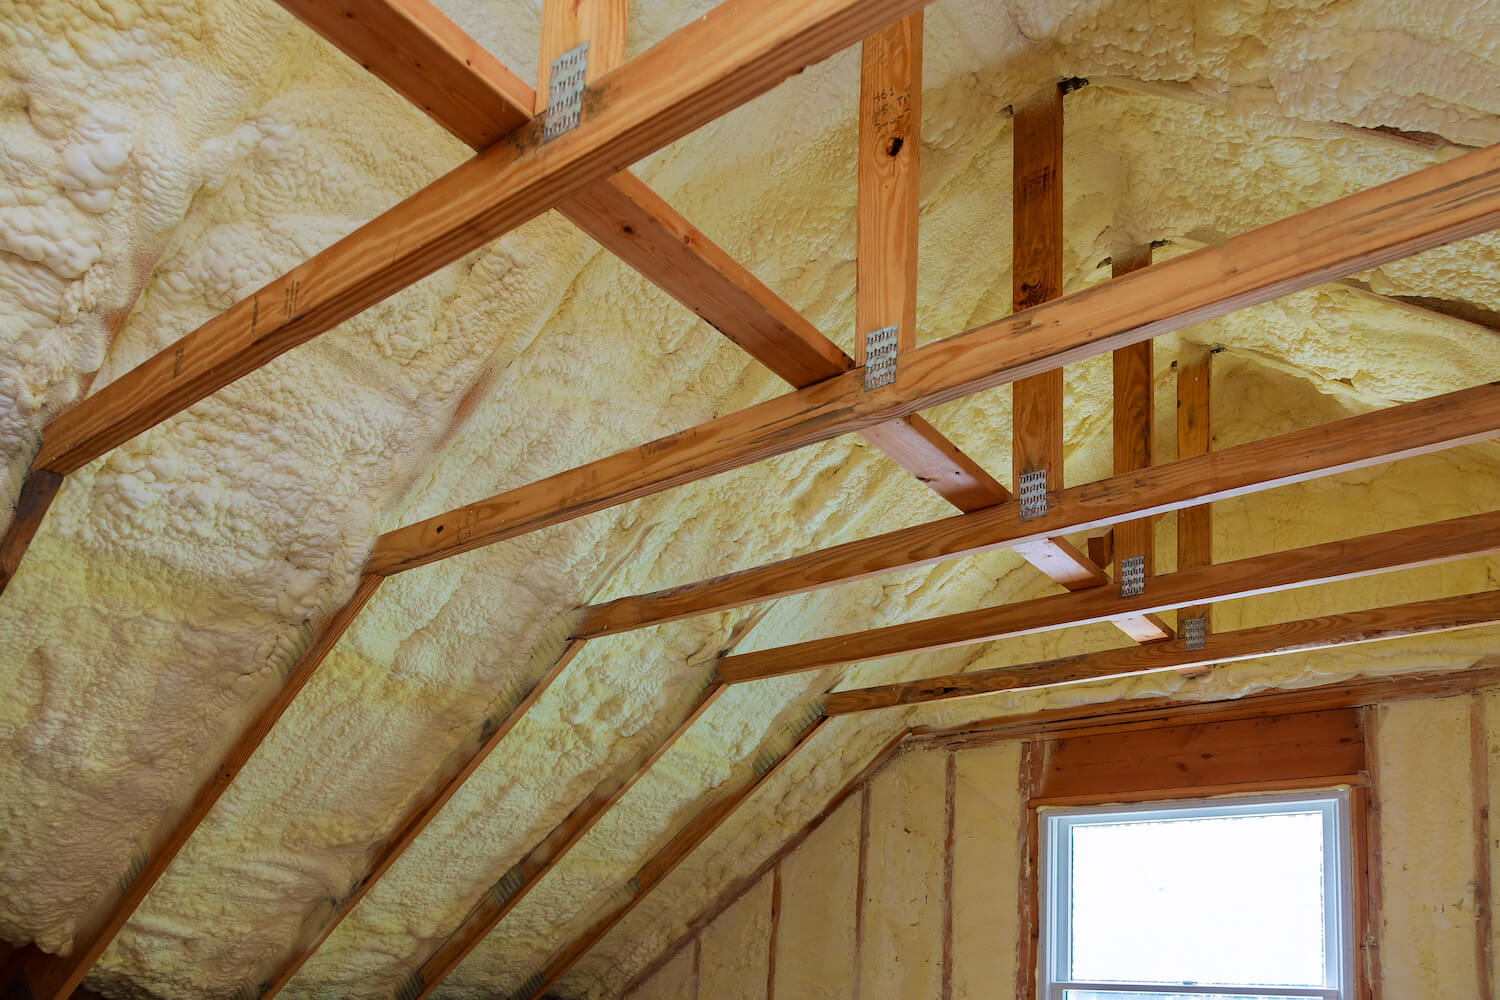
- Insulate the attic space: Consider insulating the entire attic space, including the walls, ceiling, and floor. This will further improve the energy efficiency of your home and provide additional protection for the PEX pipes. Consult with a professional to determine the best insulation type and thickness for your attic.
- Maintain proper ventilation: Ensure that your attic has proper ventilation to prevent moisture buildup and maintain good air circulation. Proper ventilation helps prevent condensation and reduces the risk of mold or mildew growth around the insulated pipes.
- Regularly inspect the insulation: Periodically check the insulation on your PEX pipes in the attic to ensure it remains in good condition. Look for any signs of wear, damage, or gaps, and repair or replace the insulation as needed. This will help maintain the effectiveness of the insulation and address any potential issues early on.
- Monitor temperature and humidity: Use a thermometer and a hygrometer to monitor the temperature and humidity levels in the attic. Keeping these within recommended ranges will help ensure the longevity of the insulation and the optimal performance of the PEX pipes.
By implementing these additional tips, you can enhance the insulation of your PEX pipes in the attic and maximize their efficiency and durability. Remember to regularly maintain and inspect the insulation to address any issues promptly and ensure long-term protection for your plumbing system.
Conclusion
Insulating your PEX pipes in the attic is a crucial step to protect your plumbing system from freezing, heat loss, and moisture-related issues. By following the steps outlined in this guide, you can effectively insulate your PEX pipes and reap the benefits of improved efficiency, energy savings, and peace of mind.
Understanding the importance of insulation and selecting the right materials are vital factors in the insulation process. Taking the time to prepare the PEX pipes, choose the appropriate insulation material, and properly install and secure the insulation will ensure optimal performance and longevity.
Additionally, implementing additional tips such as covering exposed pipes, sealing air leaks, and maintaining proper ventilation will further enhance the insulation and protect your plumbing system. Regularly inspecting and monitoring the insulation and the attic environment will help identify and address any issues promptly, minimizing the risk of damage or efficiency loss.
Remember to prioritize safety throughout the insulation process and consult with professionals if needed. Insulating PEX pipes in the attic is a worthwhile investment that will save you from potential costly repairs, conserve energy, and improve the overall efficiency of your home.
So don’t delay – take action today and insulate your PEX pipes in the attic. By doing so, you’ll ensure the continued performance and longevity of your plumbing system, while enjoying the benefits of a well-insulated and energy-efficient home.
Frequently Asked Questions about How To Insulate PEX Pipe In An Attic
Was this page helpful?
At Storables.com, we guarantee accurate and reliable information. Our content, validated by Expert Board Contributors, is crafted following stringent Editorial Policies. We're committed to providing you with well-researched, expert-backed insights for all your informational needs.


0 thoughts on “How To Insulate PEX Pipe In An Attic”