Articles
How To Check For Leaks In Plumbing
Modified: September 2, 2024
Learn how to check for leaks in your plumbing with our informative articles. Protect your home from water damage and save money on repairs.
(Many of the links in this article redirect to a specific reviewed product. Your purchase of these products through affiliate links helps to generate commission for Storables.com, at no extra cost. Learn more)
Introduction
Leaky plumbing can be a nightmare for homeowners. Not only can it cause significant water damage, leading to costly repairs, but it can also result in wasted water, driving up utility bills. Spotting and fixing leaks in your plumbing system is essential for maintaining the integrity of your home and conserving water.
In this article, we will guide you through the process of checking for leaks in your plumbing system. By following these steps, you can identify and address any issues promptly, saving yourself from potential headaches down the line.
Before we begin, it’s important to note that while some minor leaks can be easily fixed by homeowners, it is always recommended to consult a professional plumber for complex or major leaks, as they have the necessary expertise and tools to handle these situations.
Now, let’s dive into the steps you can take to check for leaks in your plumbing system.
Key Takeaways:
- Regularly checking for leaks in your plumbing system can prevent water damage and save you from costly repairs. Don’t forget to consult a professional plumber for complex or major leaks.
- A thorough inspection of visible and hidden areas, along with regular maintenance, can help conserve water and maintain the integrity of your home’s plumbing system. Remember, prevention is key!
Read more: How To Check Plumbing In A House
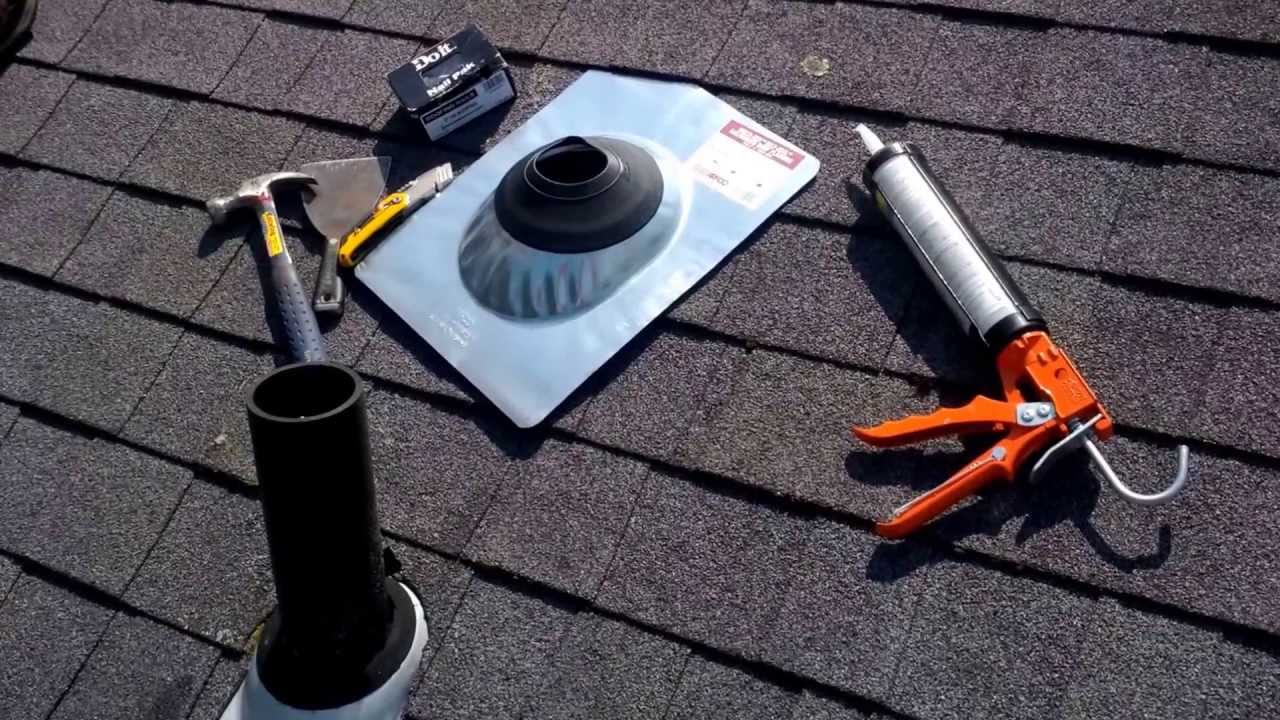
Tools and Materials Needed
Before you start checking for leaks in your plumbing system, make sure you have the following tools and materials on hand:
- Flashlight: A flashlight is essential for examining hard-to-reach areas and dark spaces.
- Adjustable wrench or pliers: These tools will be needed to tighten or loosen connections.
- Dye tablets or food coloring: These can be used to identify leaks in the toilet.
- Measuring cup or container: This will be used to measure water flow.
- Tape measure: A tape measure will be handy for taking measurements.
- Garden hose: If you suspect a leak in an outdoor faucet or sprinkler system, a garden hose can be useful.
- Bucket or towel: To contain any water that may leak during the inspection process.
It’s important to have these tools and materials ready before you begin your inspection. They will help make the process smoother and more efficient.
Step 1: Visual Inspection
The first step in checking for leaks in your plumbing system is to conduct a visual inspection. Start by examining all the visible plumbing fixtures, pipes, and connections in and around your home. Look for signs of water stains, discoloration, dampness, or corrosion. Pay close attention to areas such as under sinks, behind appliances, and near toilets.
If you notice any visible signs of leaks, take note of their location and severity. These observations will help you prioritize and address the leaks during the subsequent steps.
Additionally, check for any standing water or moisture accumulation in the areas you inspected. This could indicate an active leak that requires immediate attention. Pay attention to your sense of smell as well. If you detect a musty or moldy odor, it could be an indication of hidden water damage.
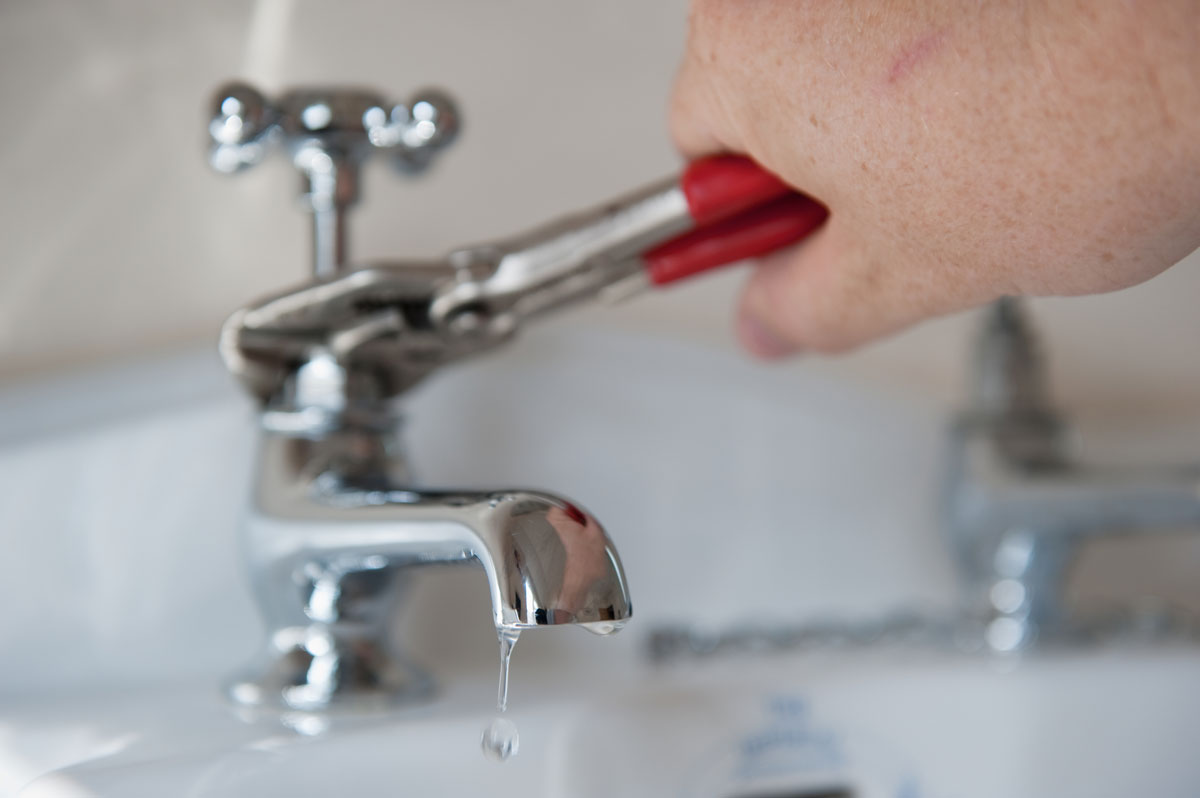
During the visual inspection, also check for leaking faucets and fixtures. Turn off all faucets and ensure that they are not dripping. If you find a faucet that is leaking, tighten it with an adjustable wrench or pliers. If the leak persists, it may require a replacement washer or other parts, which should be handled by a professional plumber.
Remember, a thorough visual inspection is crucial for identifying any obvious leaks or potential problem areas in your plumbing system. Taking the time to perform this step can help you pinpoint issues that require further investigation and repair.
Step 2: Checking Faucets and Fixtures
Leaky faucets and fixtures are common sources of water waste in many households. To check for leaks in these areas, follow these steps:
- Start by turning off all faucets in your home, including indoor and outdoor faucets.
- Inspect each faucet visually to check for any water drips or leaks. Pay attention to the base of the faucet, the handles, and the spout.
- If you notice any leaks, try tightening the fittings with an adjustable wrench or pliers. Be careful not to overtighten as it can damage the fixture.
- If the leak persists, it may be necessary to replace worn-out washers or other components of the faucet. Consult a professional plumber for assistance in this case.
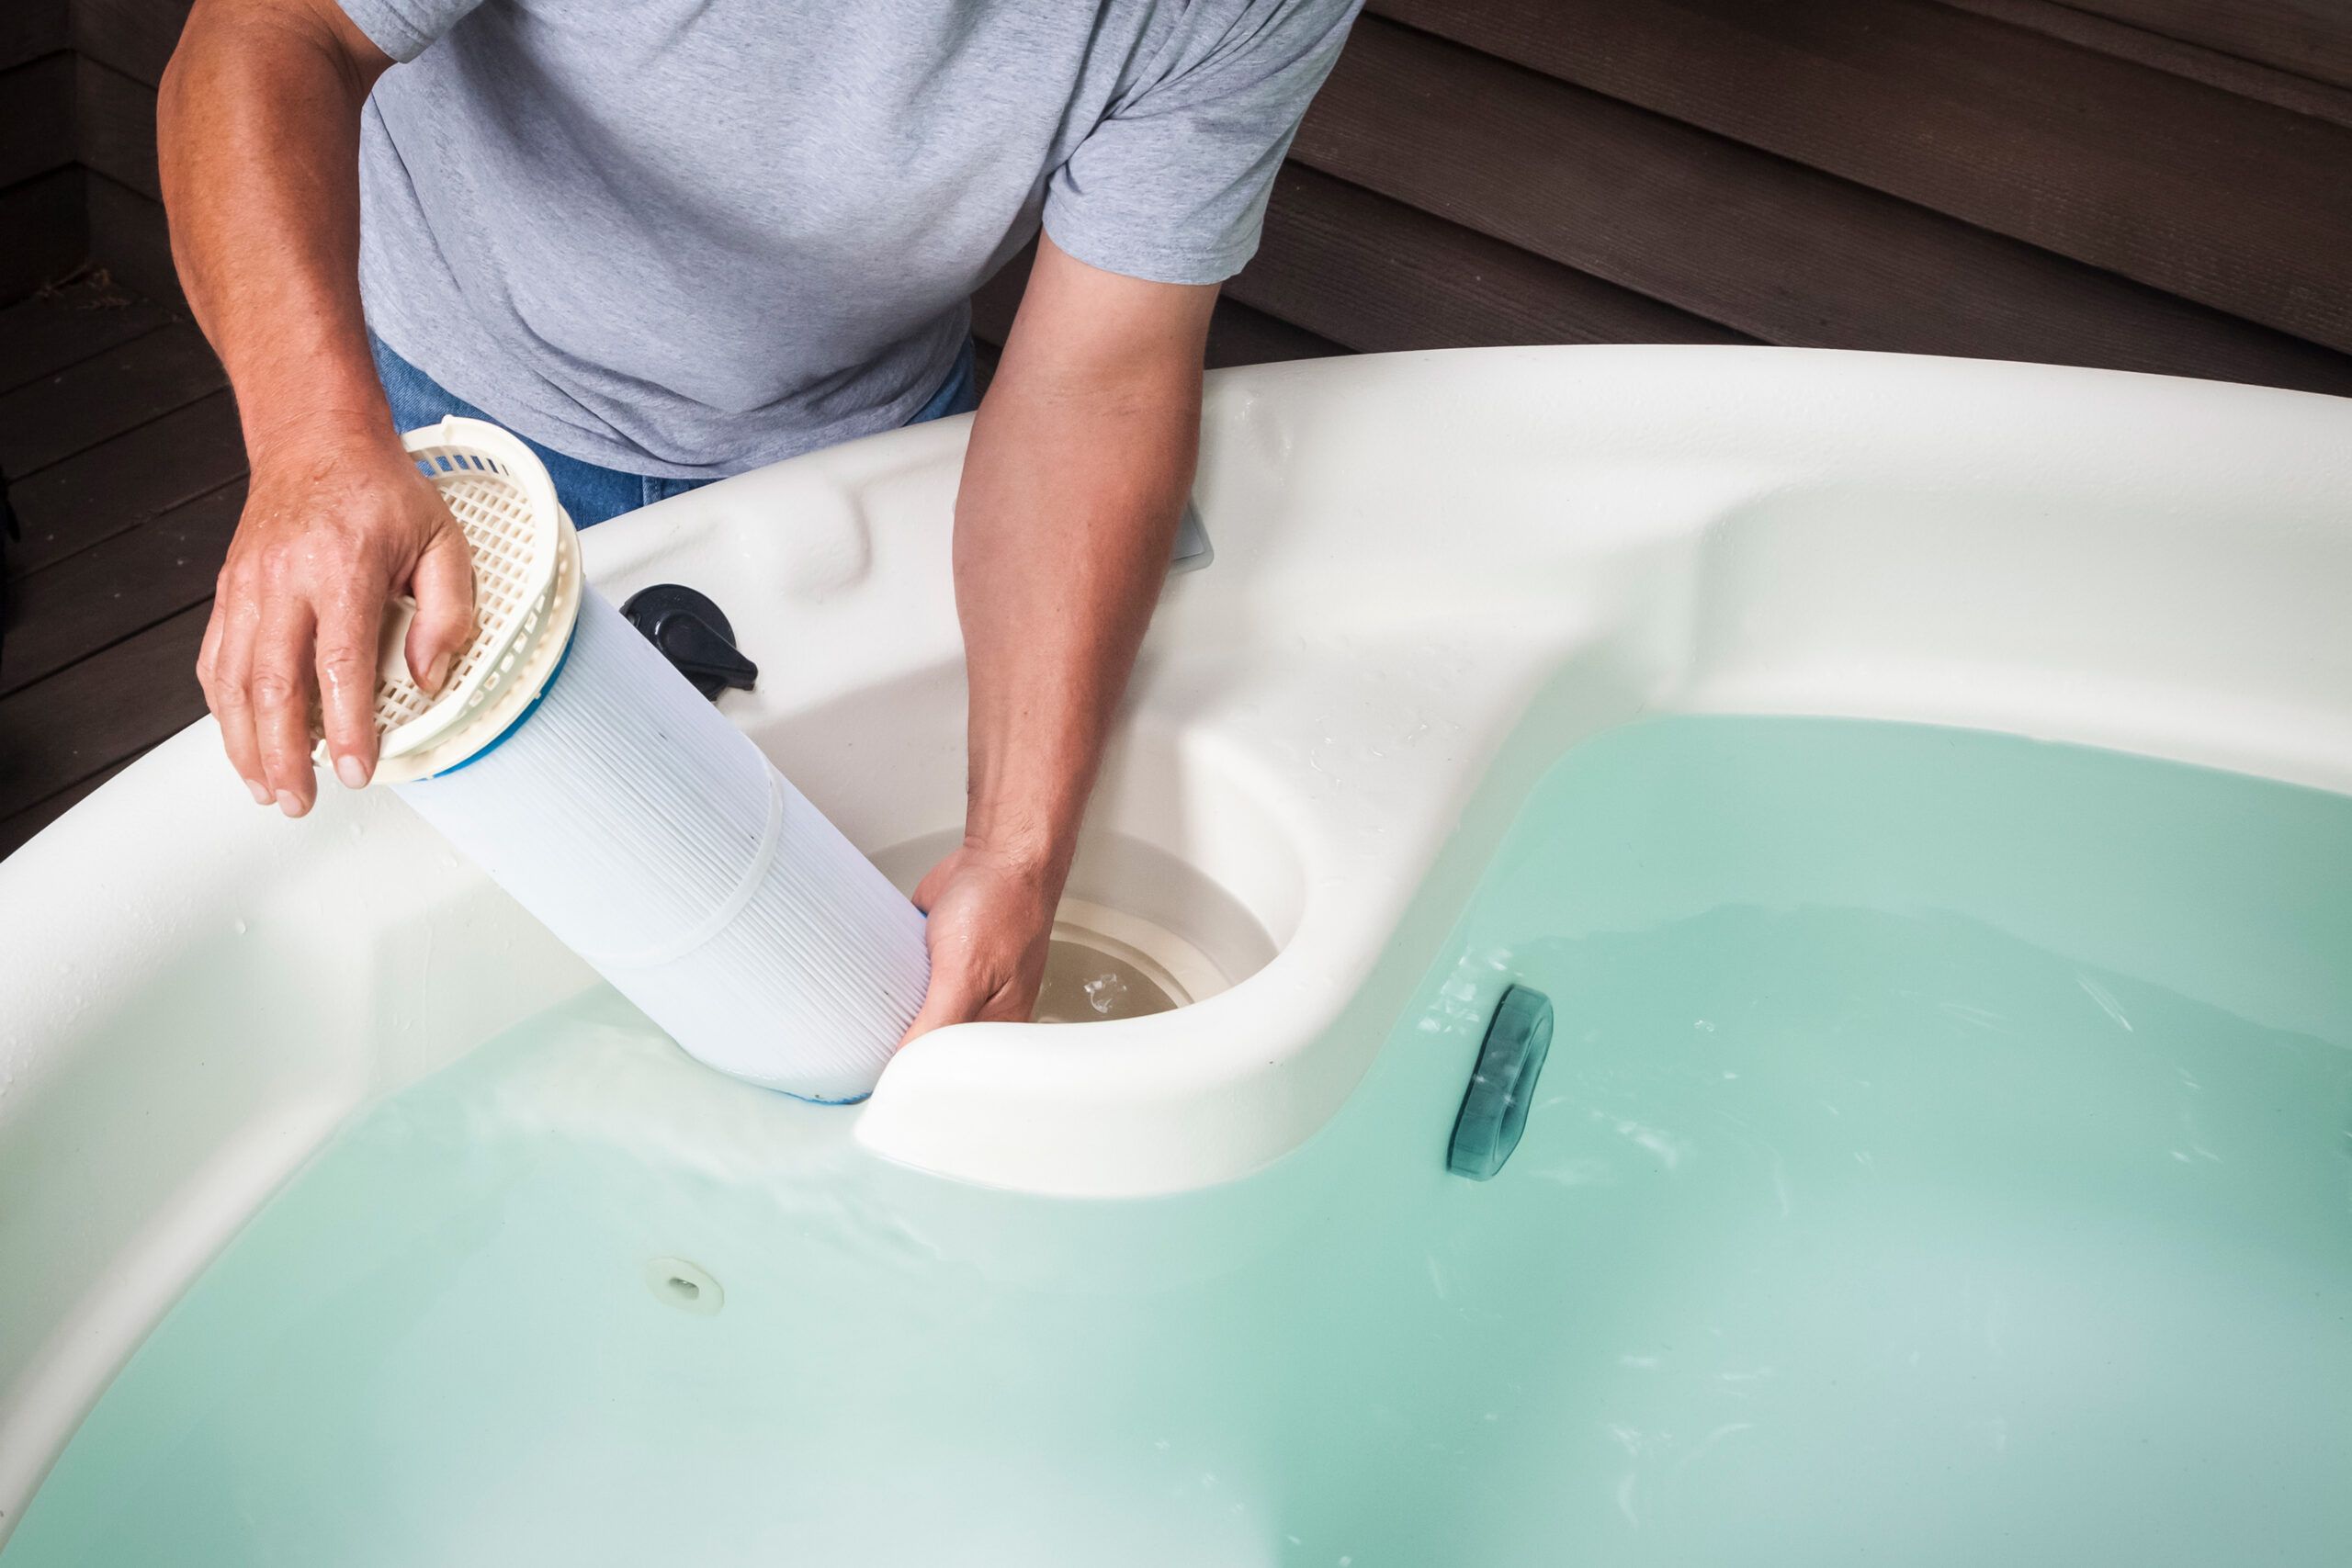
In addition to faucets, it’s important to check other fixtures in your home that use water, such as showers, tubs, and toilets. Look for any signs of leaks, including water stains, dampness, or unusual sounds.
To check for toilet leaks, you can use dye tablets or food coloring. Drop the dye into the toilet tank and wait for a few minutes without flushing. If the dyed water appears in the toilet bowl, it indicates a leak. This can usually be fixed by replacing the flapper or other parts of the toilet tank.
By thoroughly inspecting and addressing any leaks in your faucets and fixtures, you can prevent water waste and keep your plumbing system in top shape.
Step 3: Examining Water Meter
One of the most effective ways to check for hidden leaks in your plumbing system is by examining the water meter. The water meter is typically located near the main water supply entrance of your home.
Follow these steps to check for leaks using your water meter:
- Locate your water meter and make sure all water sources in your home are turned off. This includes faucets, showers, toilets, and any appliances that use water.
- Observe the water meter dial or digital display. It should be stationary if there are no active water-consuming activities in your home.
- If the water meter dial is still moving or the digital display is increasing, it indicates a potential leak in your plumbing system.
- To further confirm the presence of a leak, shut off the main water supply valve to your home. This valve is typically located near the water meter. If the dial or display continues to move, it indicates a leak in the water supply line between the meter and your home.
If you confirm the presence of a leak through this method, it is advisable to contact a professional plumber to identify and fix the issue. They have the expertise and tools to efficiently locate and repair hidden leaks.
Regularly examining your water meter is an excellent preventive measure to catch leaks early and save water and money.
One tip for checking for leaks in plumbing is to regularly inspect visible pipes for any signs of corrosion, rust, or moisture. This can help identify potential leaks early on and prevent further damage.
Read more: How To Check HVAC Ducts For Leaks
Step 4: Inspecting Toilet for Leaks
A toilet leak can waste a significant amount of water without you even realizing it. To check for leaks in your toilet, follow these steps:
- Remove the tank lid and place it in a safe location.
- Add a few drops of food coloring or a dye tablet into the toilet tank. Wait for approximately 10-15 minutes without flushing the toilet.
- Observe the water in the toilet bowl. If the water in the bowl has changed color or there are traces of dye, it indicates a leak from the toilet tank to the bowl.
- If you notice a leak, it could be due to a faulty flapper valve or another component in the toilet tank. It is recommended to consult a professional plumber for repairs or replacements.
Keep in mind that a toilet leak may not always be visible or detectable through the dye test. If you suspect a leak but cannot find any visible signs, it’s still important to address the issue. Leaks in the toilet flapper or fill valve can lead to continuous water flow, leading to unnecessary water waste and increased water bills.
In some cases, replacing the flapper valve or adjusting the float height can solve the problem. However, if you are unsure or the leak continues despite your best efforts, it’s best to seek the assistance of a professional plumber to properly diagnose and fix the issue.
Regularly inspecting your toilet for leaks is essential for water conservation and maintaining the efficiency of your plumbing system.
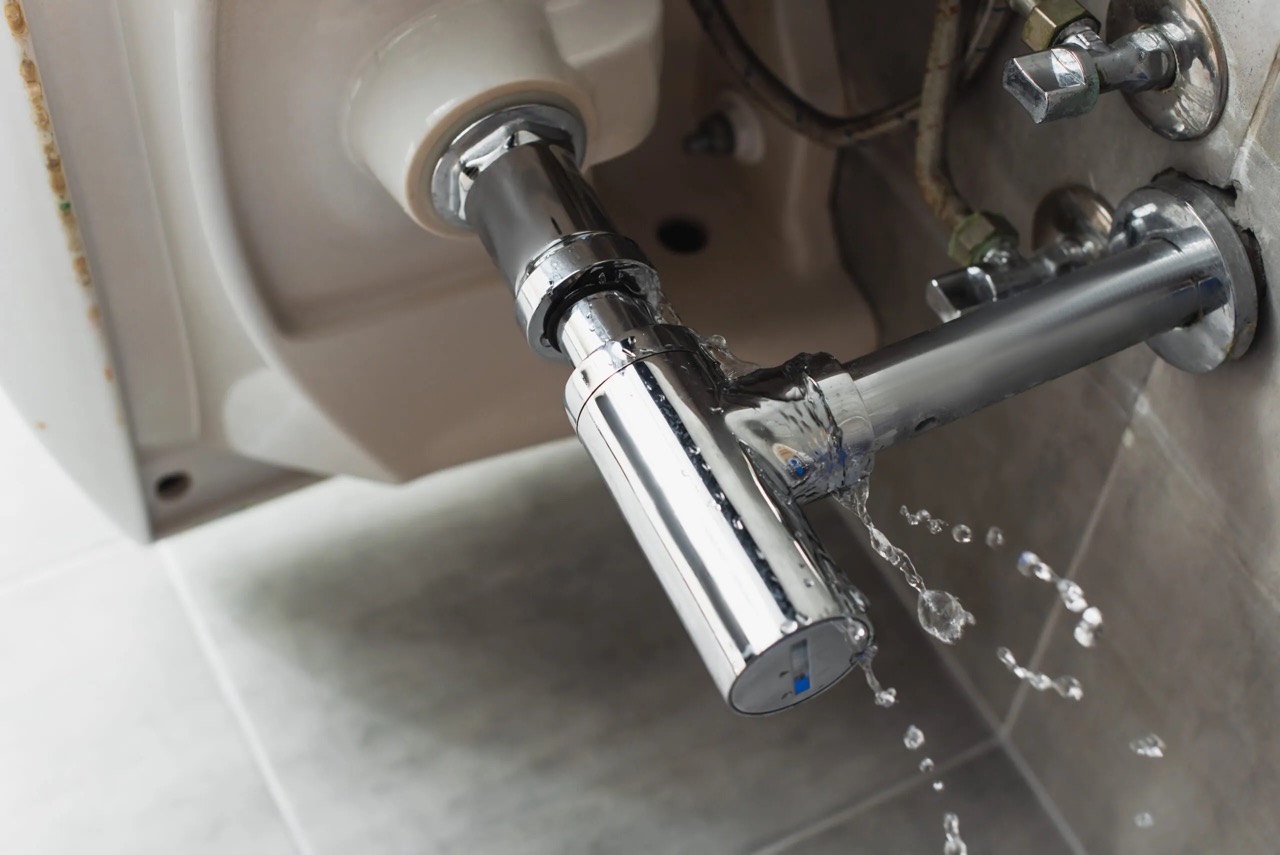
Step 5: Assessing Pipes and Connectors
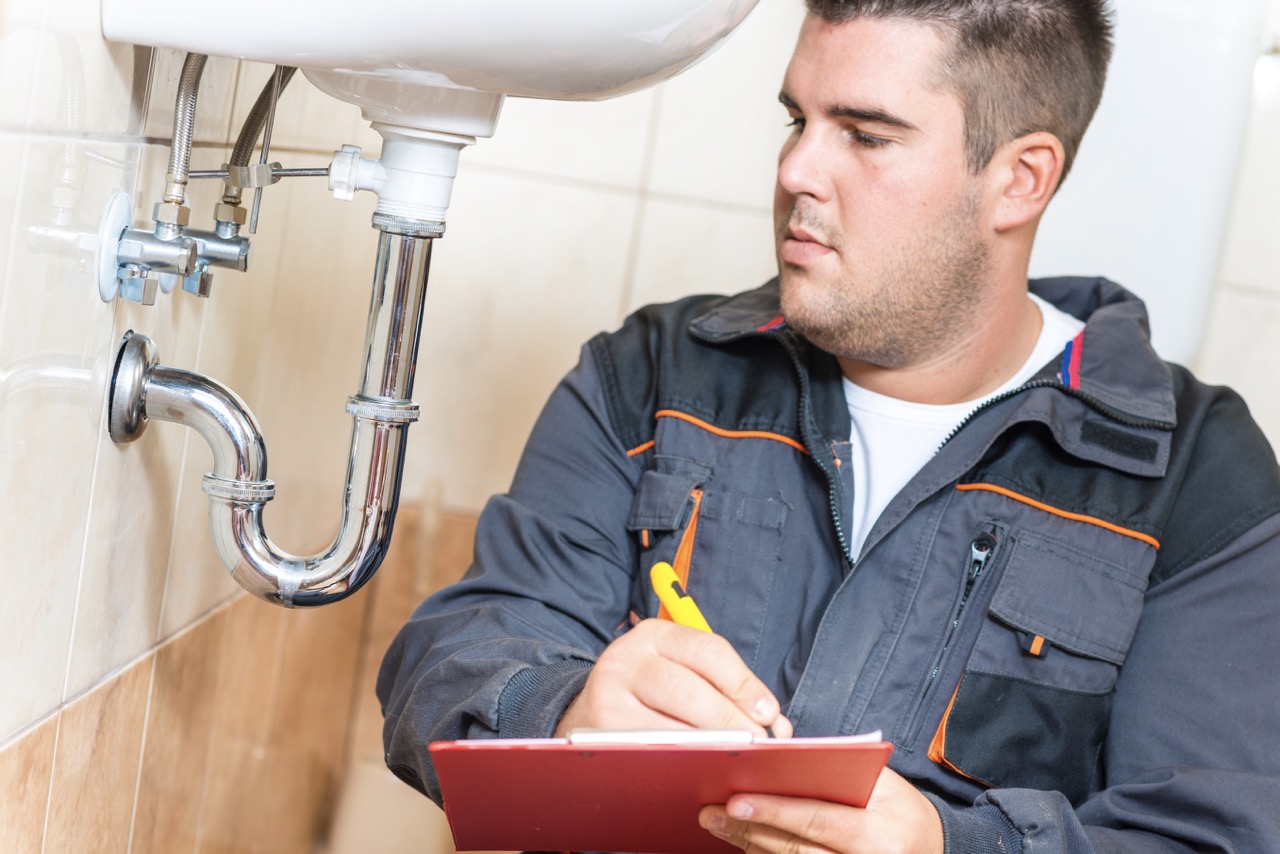
Inspecting the pipes and connectors in your plumbing system is crucial for identifying and addressing any leaks or potential issues. Follow these steps to assess your pipes and connectors:
- Start by visually examining the exposed pipes throughout your home, including under sinks, behind appliances, and in the basement or crawl space.
- Look for any signs of water stains, dampness, or corrosion. These can indicate a leak or a previous leak that has been repaired.
- Check the connectors and joints between the pipes for any signs of leaks or loose fittings. Use an adjustable wrench or pliers to tighten any loose connections.
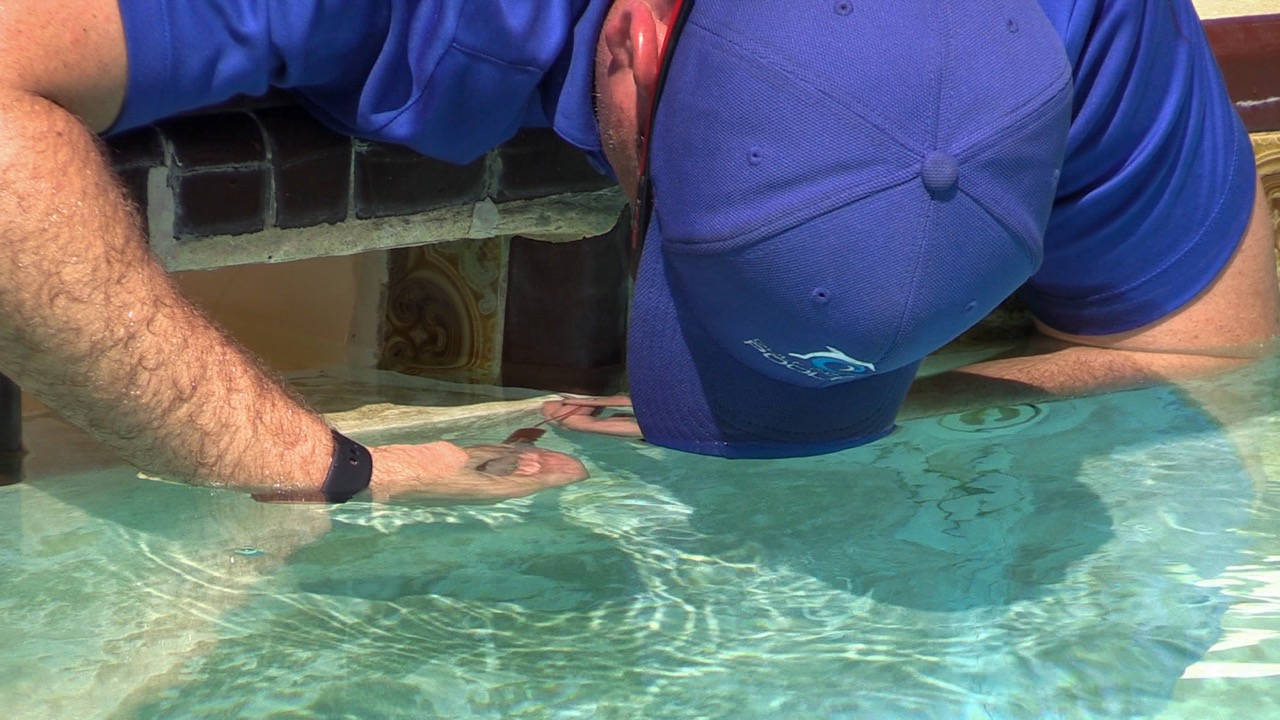
- If you encounter a leaky pipe, especially if it’s a major leak or a burst pipe, it’s crucial to shut off the water supply immediately and contact a professional plumber for assistance.
- Throughout this process, keep an eye out for any bulging or sagging pipes, which could be a sign of a hidden leak behind a wall or in the ceiling. If you suspect a hidden leak, it’s best to consult a professional plumber to locate and repair the issue.
It’s important to note that not all pipes and connectors are visible, especially those that are within the walls or underground. In such cases, it may be necessary to rely on other indicators such as changes in water pressure, strange sounds, or increased water bills to detect potential leaks in these hidden areas.
By thoroughly assessing your pipes and connectors, you can identify and address any leaks or potential issues, ensuring the proper functioning of your plumbing system and preventing water damage.
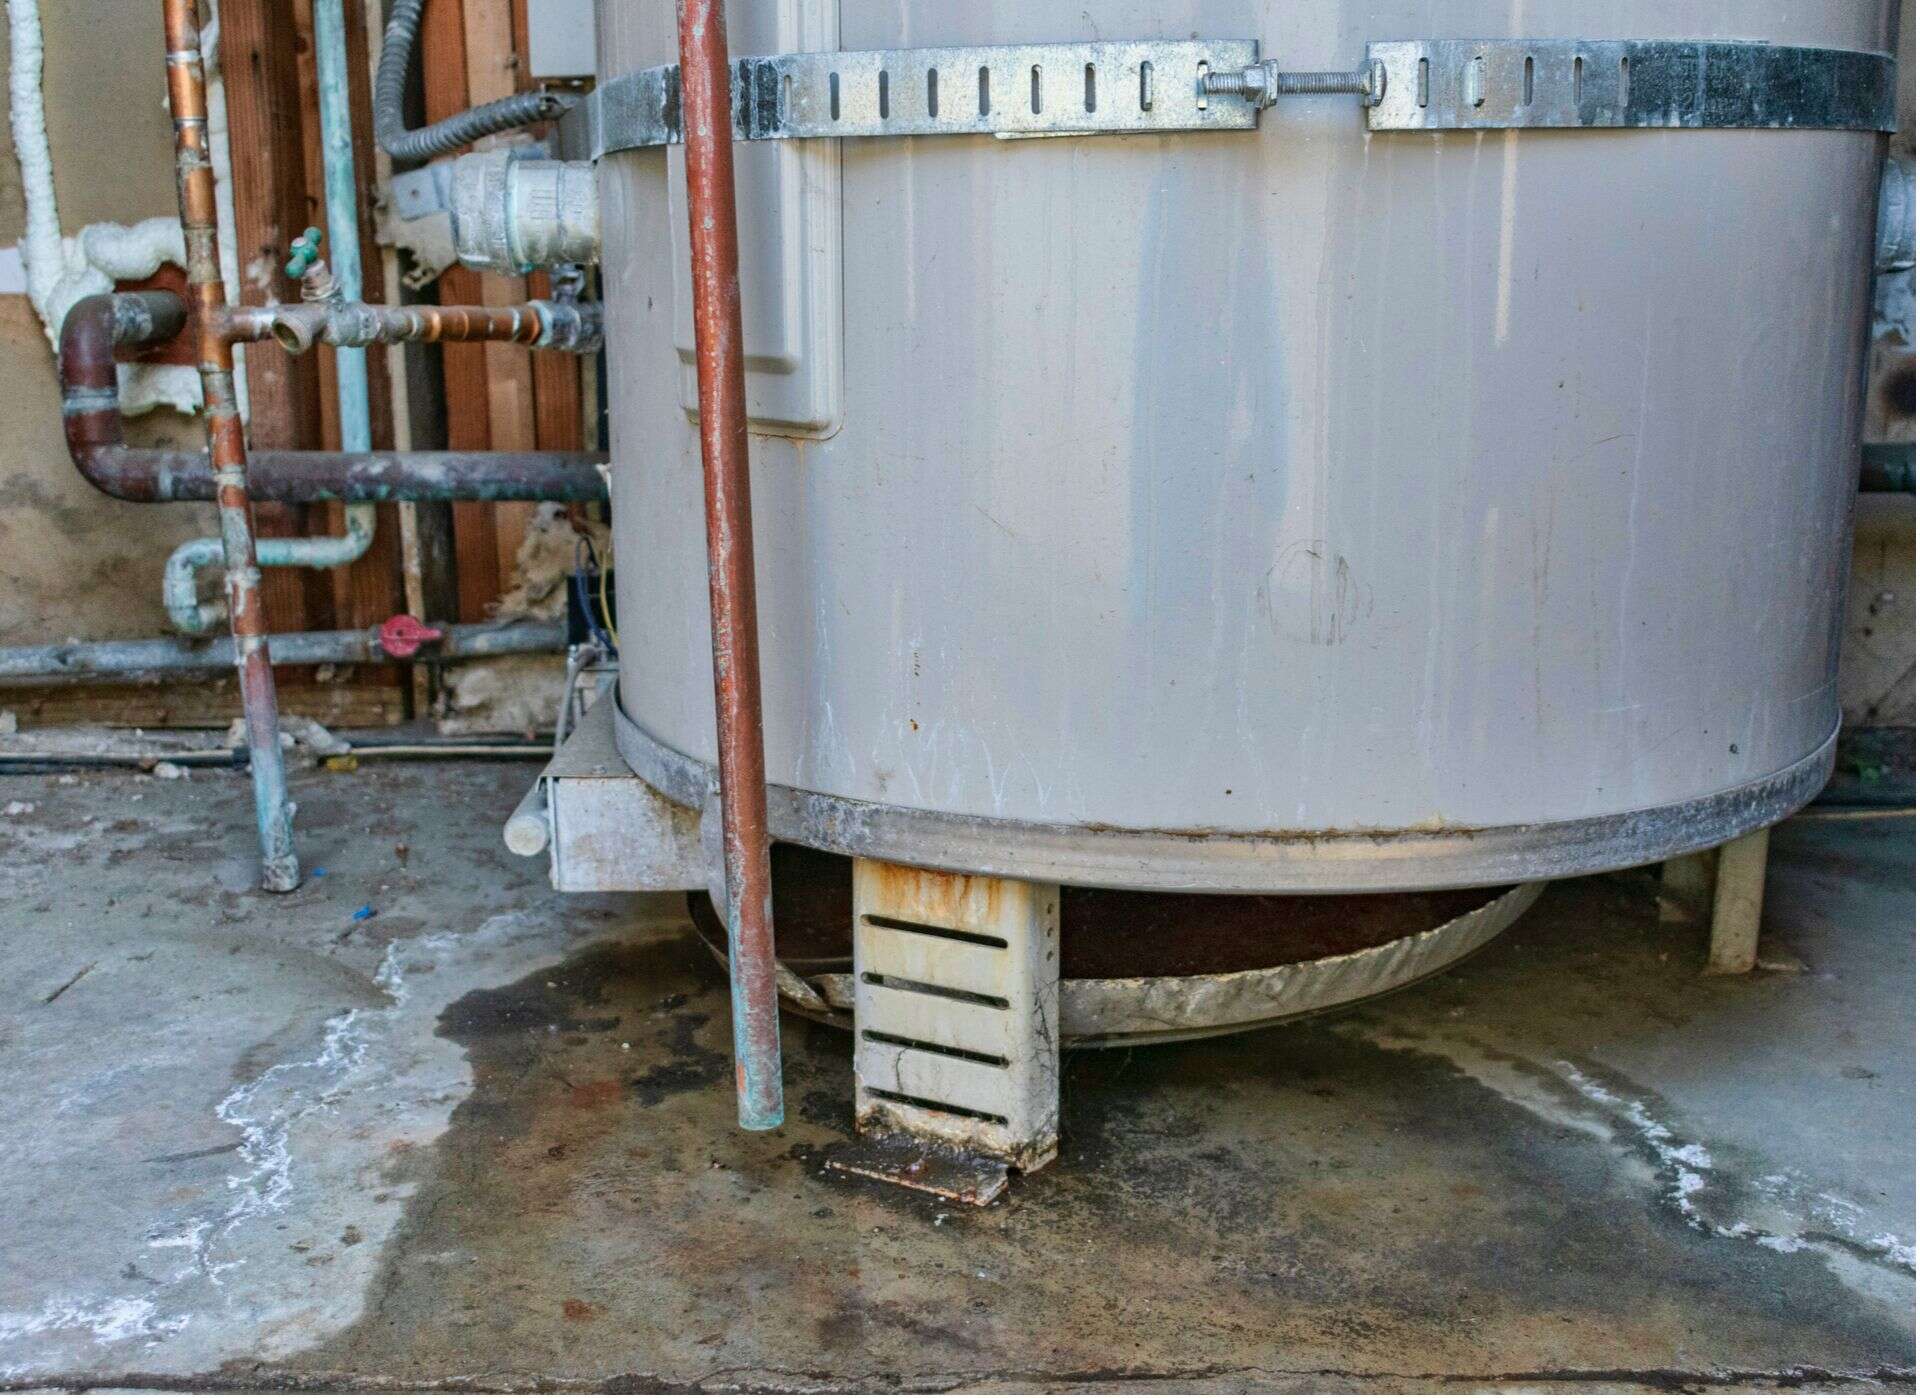
Step 6: Identifying Leaks in the Water Heater
The water heater is an essential component of your plumbing system, and it is important to regularly check for any leaks or potential issues. Follow these steps to identify leaks in your water heater:
- Start by visually inspecting the area around the water heater for any signs of water stains, dampness, or corrosion.
- Check the pressure relief valve located on the side or top of the water heater. Ensure it is not leaking or releasing water. If you notice any leaks from the relief valve, it may need to be replaced by a professional plumber.
- Inspect the pipes connected to the water heater. Look for any signs of leaks or corrosion. Tighten any loose fittings using an adjustable wrench or pliers.
- Examine the bottom of the water heater for any pools of water or dripping. If you notice any leaks from the bottom, it may indicate a more significant issue with the water heater, such as a faulty drain valve or tank corrosion. In such cases, it is recommended to contact a professional plumber for further inspection and necessary repairs or replacements.
Water heater leaks can lead to water damage and reduced efficiency of the unit. If you encounter any leaks or suspect a problem with your water heater, it is best to consult a professional plumber. They will have the expertise to accurately diagnose the issue and provide the appropriate solutions.
Regularly checking your water heater for leaks is essential in maintaining a properly functioning plumbing system and ensuring the longevity of your water heating unit.
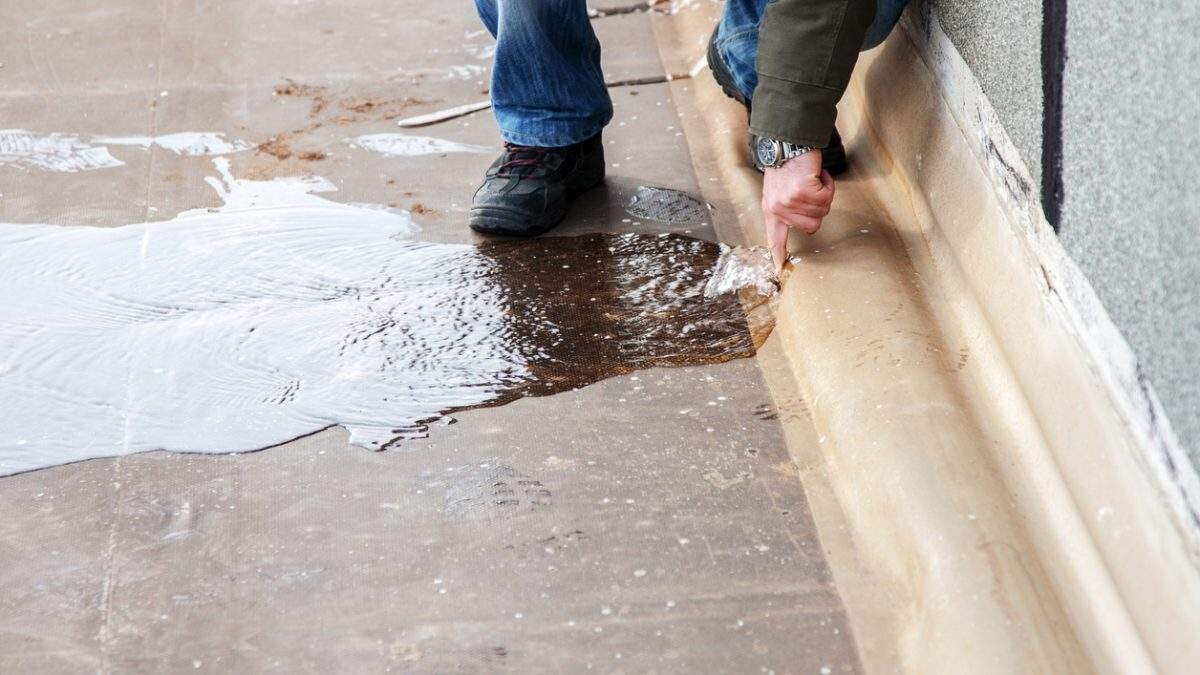
Step 7: Checking for Hidden Leaks
In addition to visible leaks, it’s important to check for hidden leaks in your plumbing system. These leaks may not be immediately noticeable but can still cause significant damage over time. Follow these steps to check for hidden leaks:
- Inspect your walls, ceilings, and floors for any signs of water stains, discoloration, or warping. These can indicate a hidden leak behind the surface.
- Pay attention to areas near plumbing fixtures or pipes, such as bathroom walls, kitchen cabinets, or utility rooms.
- Use your sense of smell to detect any musty or moldy odors, as they can be an indication of hidden water damage.
- If you suspect a hidden leak but are unable to pinpoint its location, consider using a water leak detection device or contacting a professional plumber who specializes in leak detection. These tools and experts can employ advanced techniques to locate and identify hidden leaks.
- Consider checking your water meter again after making sure all water-consuming activities are off. A sudden movement or increase in the meter reading can indicate a hidden leak. If you suspect a hidden leak but cannot find its source, a plumber can provide further assistance.
Hidden leaks can cause extensive damage if left undetected and untreated. By regularly checking for hidden leaks and addressing any issues promptly, you can protect your home from water damage and prevent further damage to your plumbing system.
Remember, if you suspect a hidden leak but are unable to locate or fix it yourself, it’s best to seek the help of a professional plumber. They have the expertise and experience to effectively identify and repair hidden leaks in your plumbing system.
Read more: What Is A Check Valve In Plumbing
Conclusion
Checking for leaks in your plumbing system is a crucial task for maintaining the integrity of your home and conserving water. By following the steps outlined in this article, you can proactively identify and address any leaks, preventing water damage and unnecessary expenses.
Start with a visual inspection of your plumbing fixtures, pipes, and connectors, looking for signs of leaks or water stains. Check faucets and fixtures for any drips or leaks, and assess the water meter to identify hidden leaks. Inspect your toilet for leaks using dye tablets or food coloring, and examine the pipes and connectors throughout your home.
Don’t forget to inspect the water heater for leaks, as a faulty unit can also contribute to water wastage and damage. Finally, be vigilant in checking for hidden leaks in walls, ceilings, and floors, as these can go undetected and lead to significant damage over time.
If you come across any leaks during the inspection process, it is recommended to consult a professional plumber for proper diagnosis and repairs. They have the expertise and tools to handle complex or major leaks effectively.
Regularly performing these leak checks is an essential part of responsible homeownership. By identifying and addressing leaks in a timely manner, you can conserve water, save on utility bills, and ensure the longevity of your plumbing system.
Remember, prevention is key. So, make it a habit to check for leaks periodically, and don’t hesitate to seek professional help when needed. By taking proactive measures, you can keep your plumbing system in optimal condition, maintaining both the functionality and value of your home.
Frequently Asked Questions about How To Check For Leaks In Plumbing
Was this page helpful?
At Storables.com, we guarantee accurate and reliable information. Our content, validated by Expert Board Contributors, is crafted following stringent Editorial Policies. We're committed to providing you with well-researched, expert-backed insights for all your informational needs.


0 thoughts on “How To Check For Leaks In Plumbing”