Articles
How To Keep Gravel In Place On Driveway
Modified: December 7, 2023
Learn effective ways to keep loose gravel in place on your driveway with these helpful articles. Ensure a stable and durable surface with expert tips and techniques.
(Many of the links in this article redirect to a specific reviewed product. Your purchase of these products through affiliate links helps to generate commission for Storables.com, at no extra cost. Learn more)
Introduction
Gravel driveways are a popular choice for homeowners due to their cost-effectiveness and natural beauty. However, one common issue that plagues gravel driveways is the movement of the gravel itself. Over time, the gravel can shift, causing uneven surfaces and gaps that can be both unsightly and inconvenient. Fortunately, there are several measures you can take to keep the gravel in place and maintain the integrity of your driveway.
In this article, we will explore the various factors that contribute to the movement of gravel, as well as practical solutions to prevent it. From preparing the driveway surface to implementing proper grading and compaction techniques, we will provide you with the knowledge and tools necessary to keep your gravel driveway looking its best.
Buckle up and get ready to learn the secrets behind maximizing the stability and longevity of your gravel driveway.
Key Takeaways:
- Proper preparation, edging, and geotextile fabric are crucial for keeping gravel in place on driveways. Regular maintenance and repairs are essential for long-term durability and stability.
- Understanding the factors affecting gravel movement and implementing practical solutions can help maintain a beautiful and resilient gravel driveway. Prevention and proactive maintenance are key to preserving its integrity.
Factors Affecting Gravel Movement
Understanding the factors that contribute to gravel movement on the driveway is essential for implementing effective solutions. Several elements can influence the displacement of gravel, and being aware of these factors will help you address the issue more effectively.
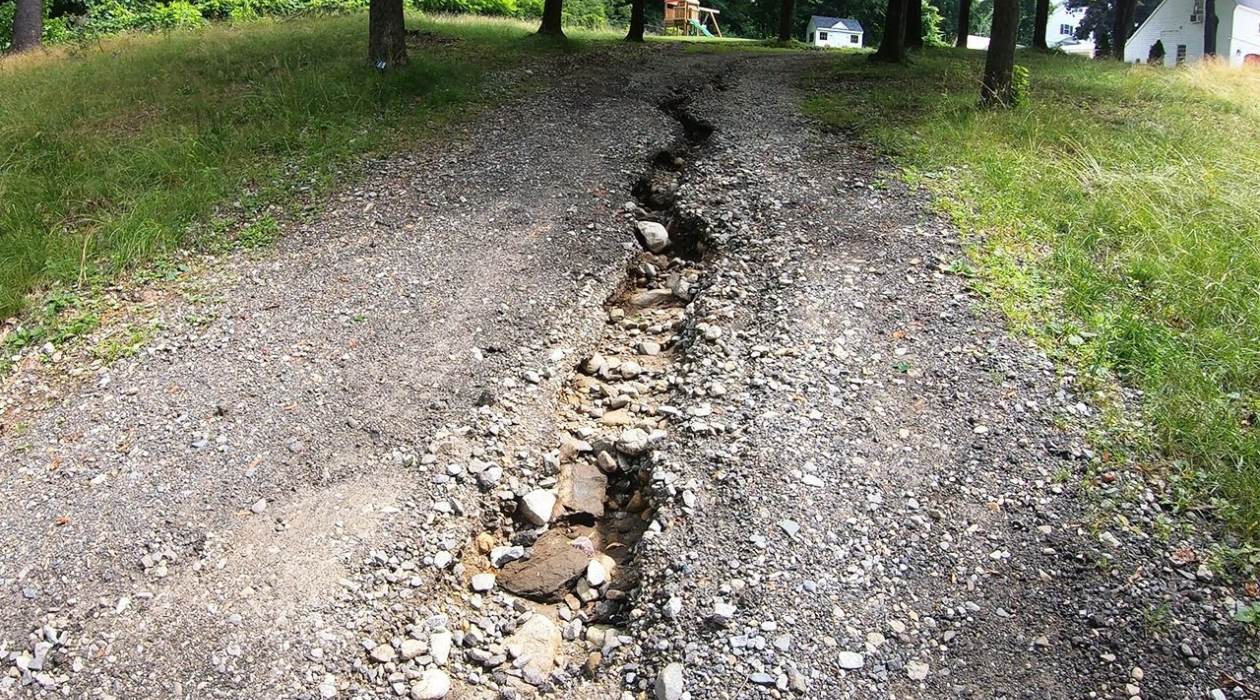
1. Rainfall: Rainwater can significantly impact the stability of a gravel driveway. Excessive rainfall can wash away the fines, which are the small particles that bind the gravel together. When the fines are lost, the gravel becomes loose and prone to movement.
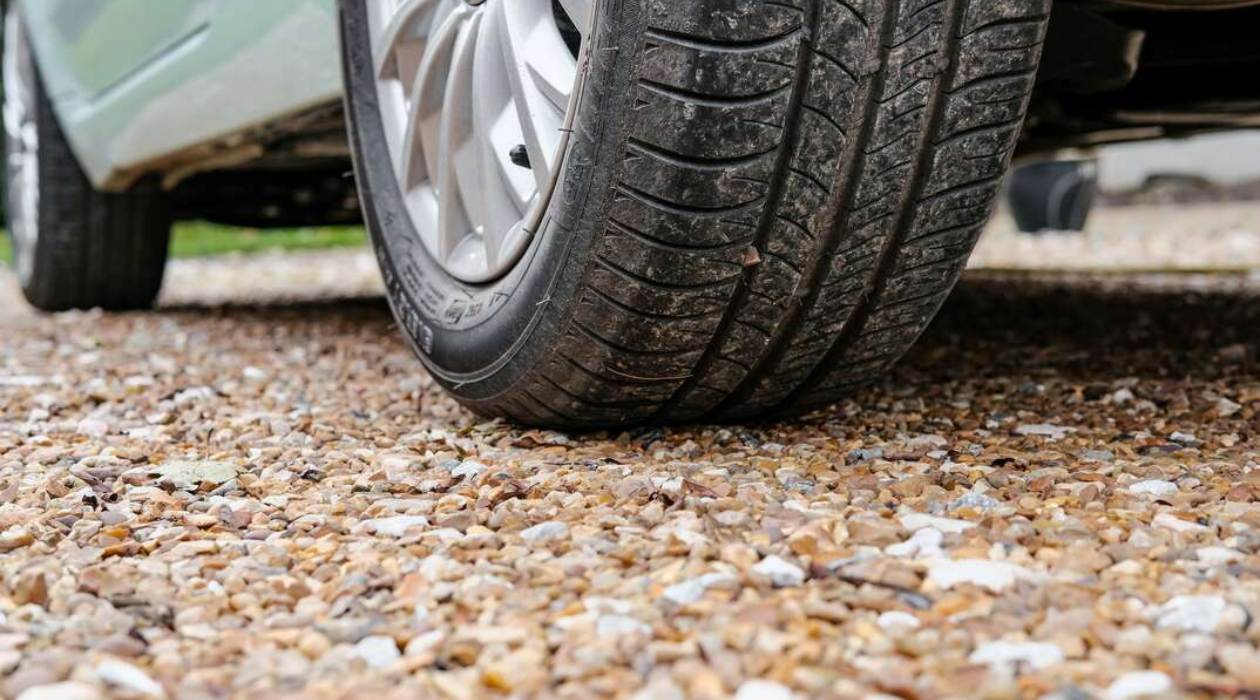
2. Vehicle Traffic: The weight and movement of vehicles driving on the gravel can also cause the stones to shift. Heavy vehicles or frequent traffic can gradually displace the gravel, resulting in uneven surfaces and potential rutting.
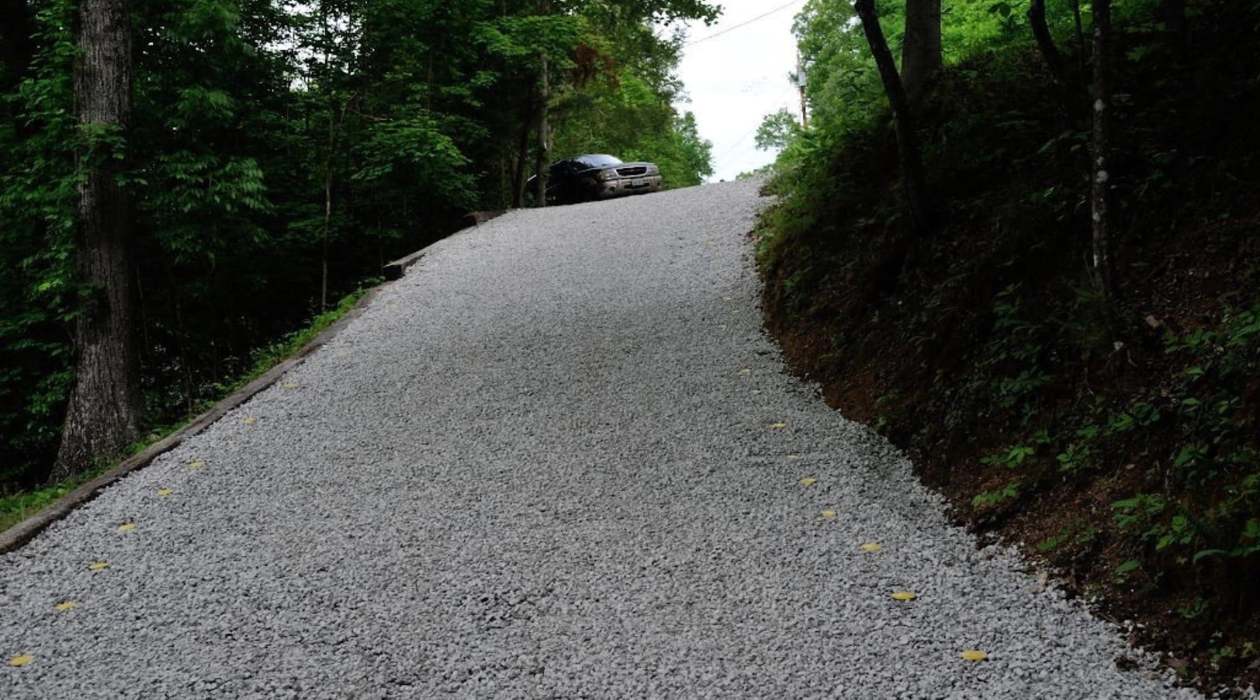
3. Slope: The slope of your driveway can affect the movement of gravel. On steep inclines, gravity can cause the gravel to slide down, creating voids and gaps in the process. Additionally, water runoff can erode the gravel on sloped surfaces, aggravating the issue further.
4. Lack of Edging or Borders: Without proper edging or borders, the gravel on the driveway has a higher chance of spreading beyond its designated area. This can happen due to natural forces like wind, water, or the movement of vehicles.
5. Inadequate Compaction: If the gravel was not adequately compacted during installation, it can easily shift over time. Insufficient compaction leads to a loosely packed surface that can easily be moved by external forces.
Understanding these factors will help you diagnose the problem areas of your gravel driveway and apply the necessary solutions to keep the gravel in place. Now that you are aware of the influences behind gravel movement, let’s move on to the practical steps you can take to minimize this issue.
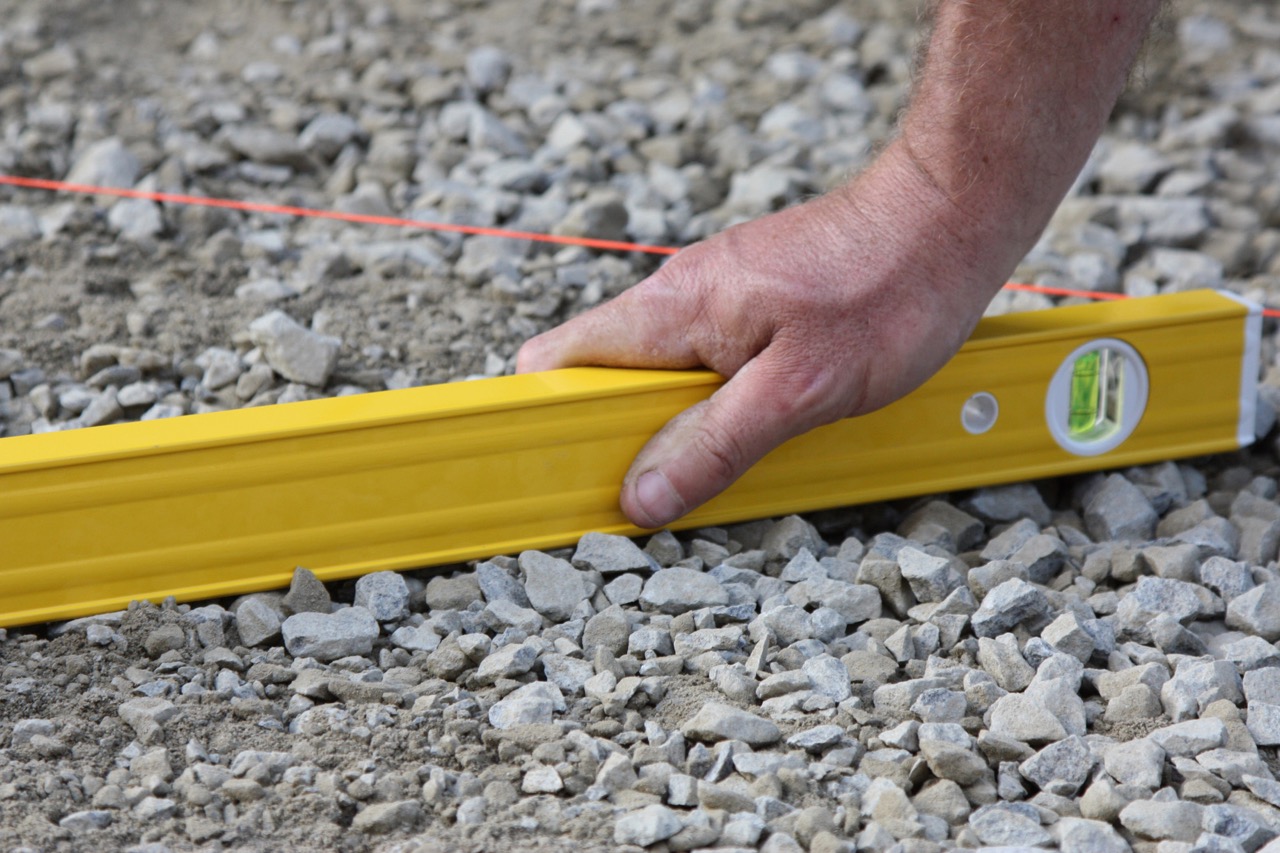
Prepare the Driveway
Proper preparation of the driveway surface is crucial to create a solid foundation for the gravel and minimize its movement. Follow these steps to ensure that your driveway is ready to withstand the test of time:
- Clear the area: Begin by removing any vegetation, rocks, or debris from the driveway surface. Use a shovel, rake, or a leaf blower to clean the area thoroughly.
- Grade the surface: Next, use a grading rake or a box blade to level the driveway and ensure proper drainage. Smooth out any uneven spots and eliminate low areas where water may accumulate.
- Compact the soil: Use a plate compactor or a hand tamper to compact the soil. This step is crucial for creating a stable base for the gravel. Start from the edges and work your way towards the center, making sure to achieve a uniformly compacted surface.
- Install geotextile fabric: Adding a layer of geotextile fabric on the compacted soil can provide additional stability. The fabric acts as a barrier, preventing the mixing of soil and gravel while allowing water to drain through. Lay the fabric over the entire driveway area, ensuring that it overlaps by several inches at the seams.
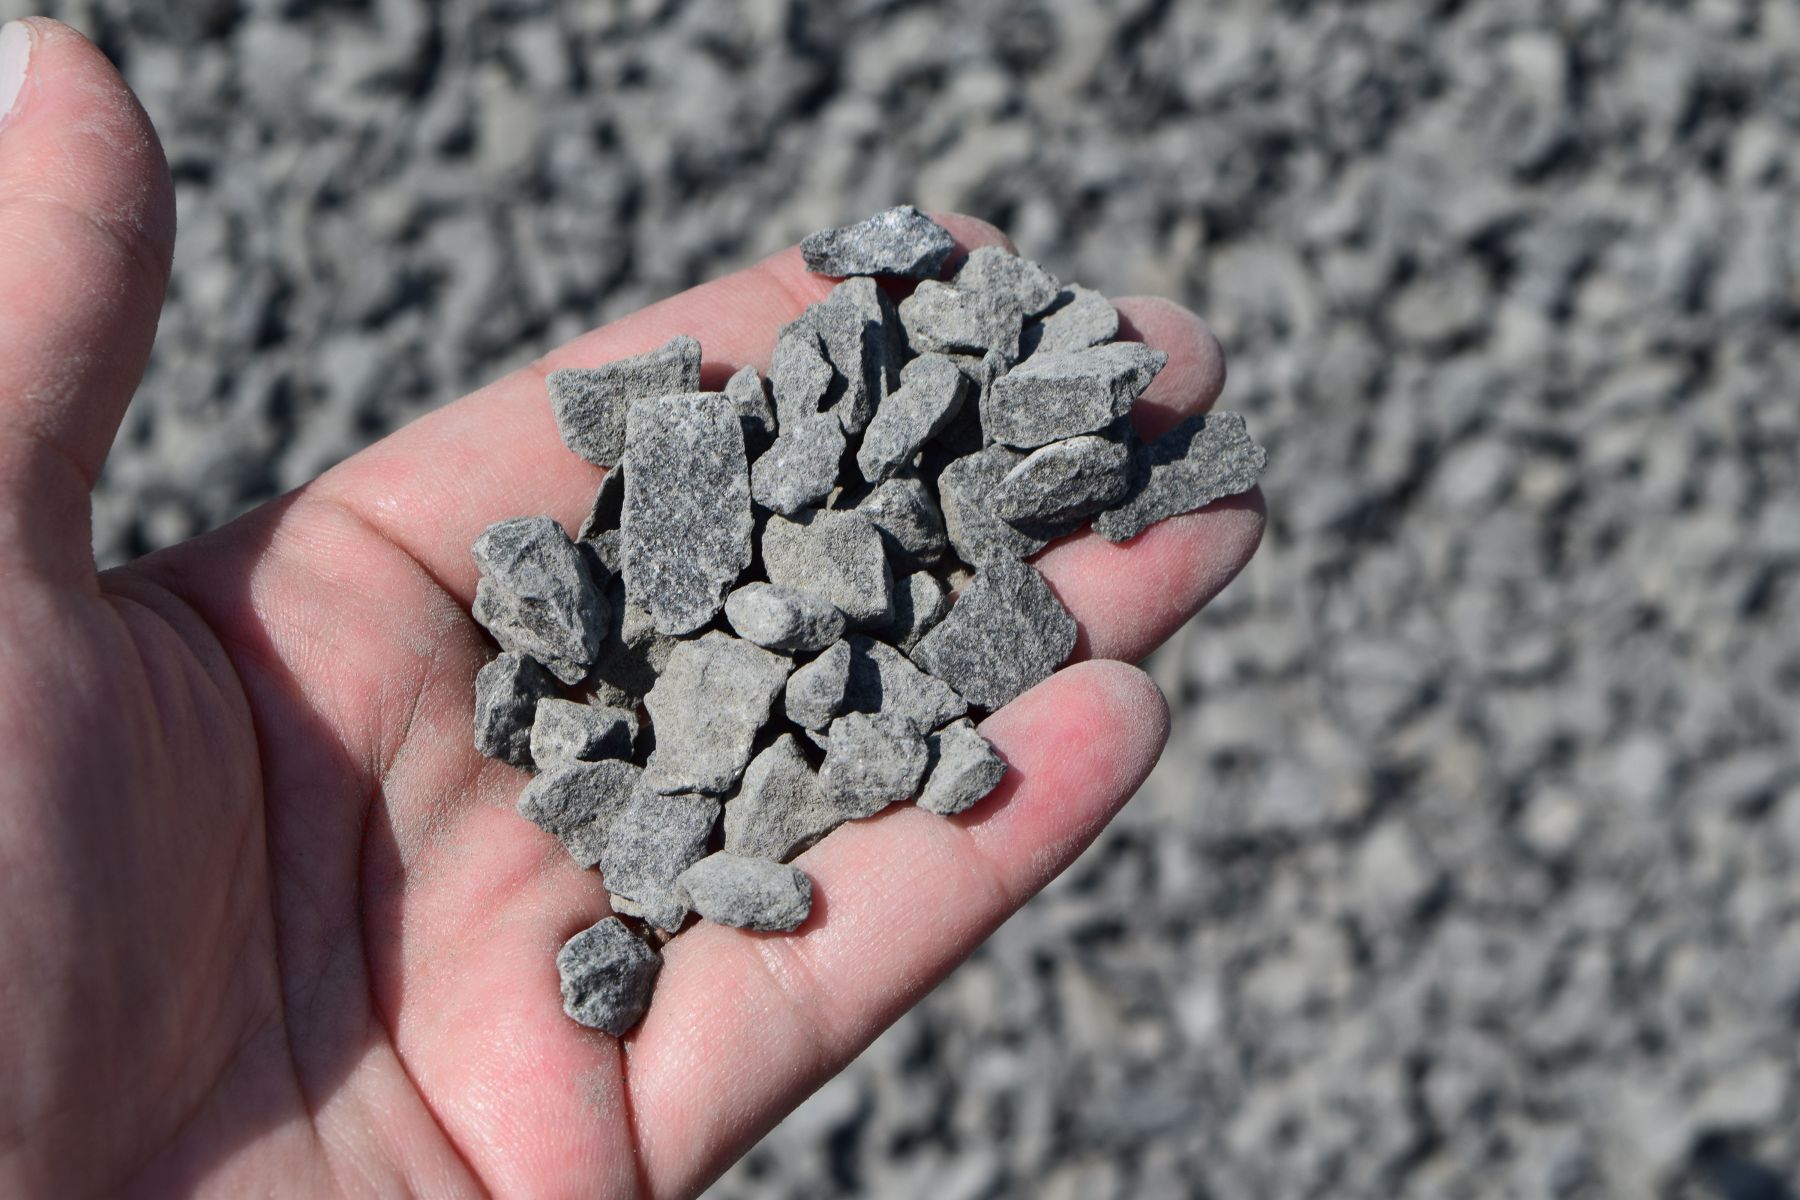
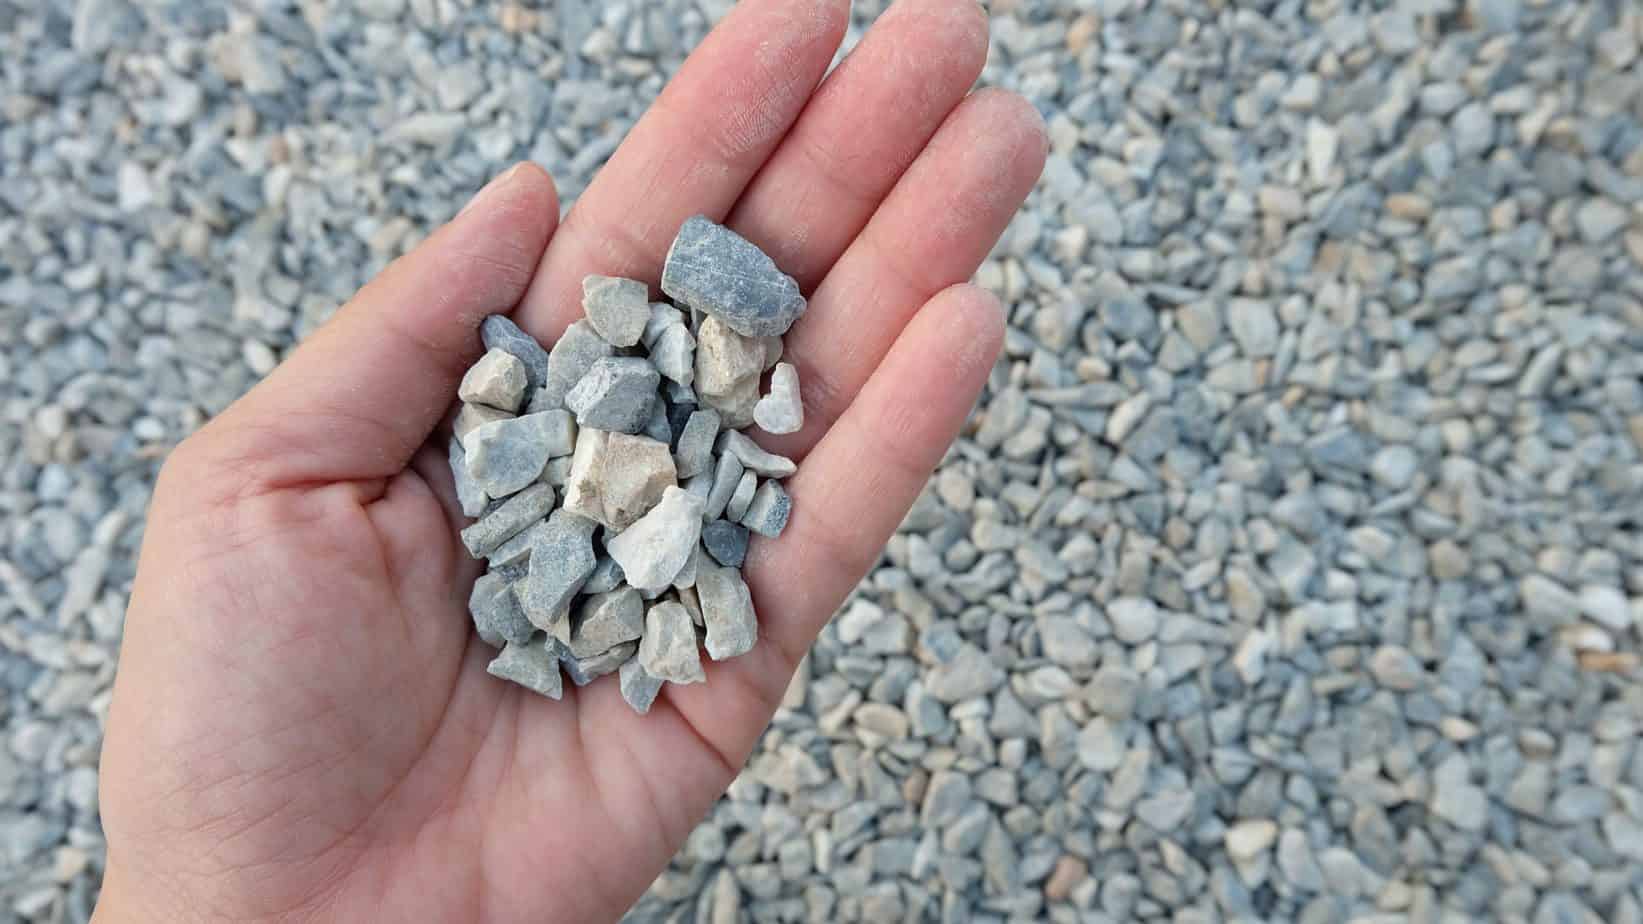
- Apply a layer of gravel: Finally, add a layer of gravel to the prepared surface. Choose the appropriate size and type of gravel for your driveway, based on your preferences and the recommendations of a professional. Spread the gravel evenly across the surface, aiming for a depth of 2-3 inches.
By properly preparing the driveway, you create a solid foundation that helps anchor the gravel in place. The grading, compacting, and use of geotextile fabric work together to minimize the risk of gravel movement, ensuring a more durable and long-lasting gravel driveway.
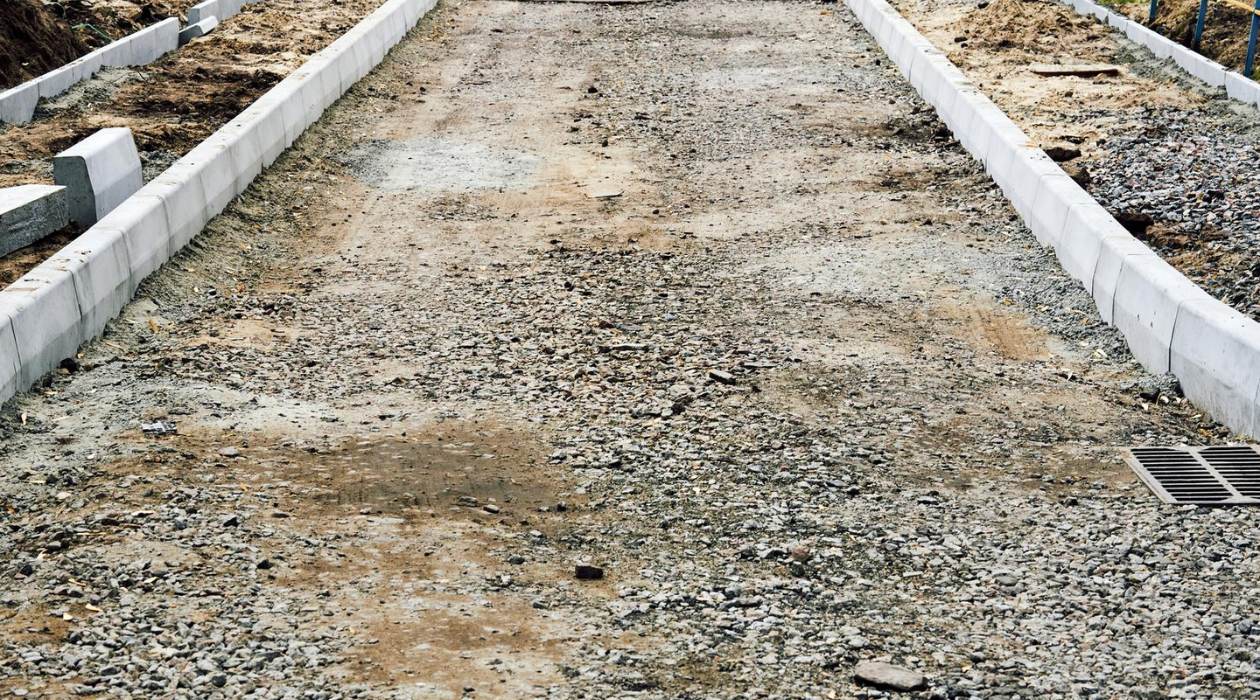
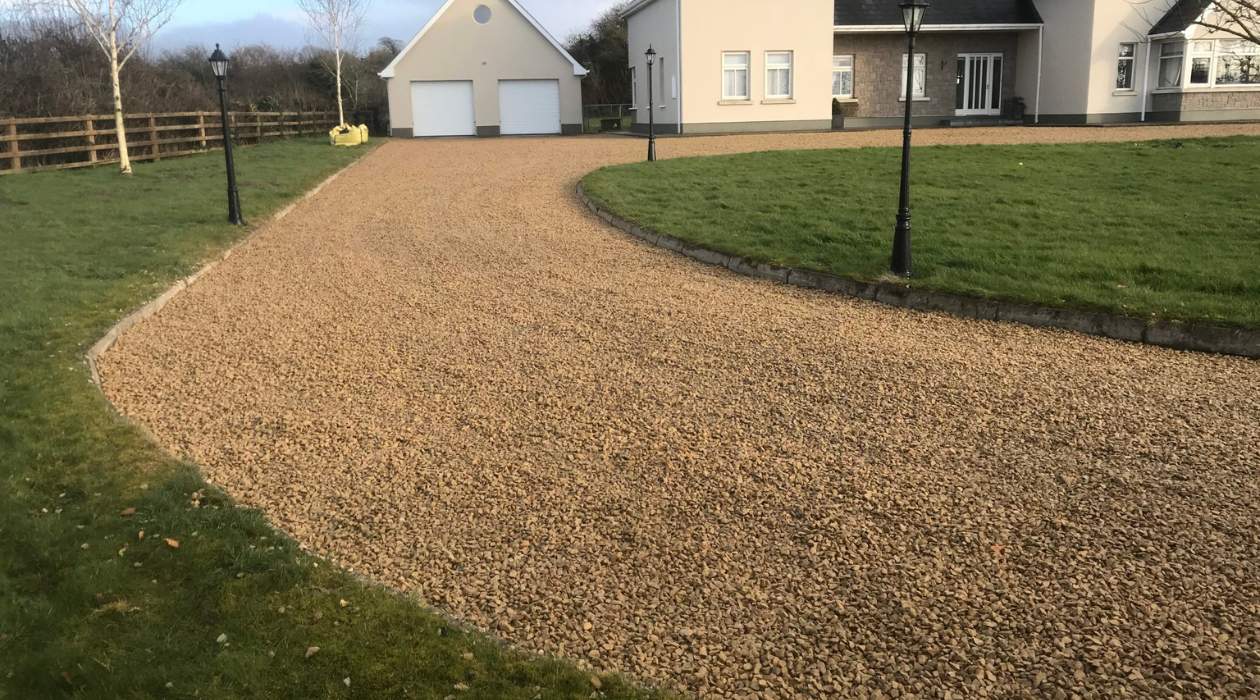
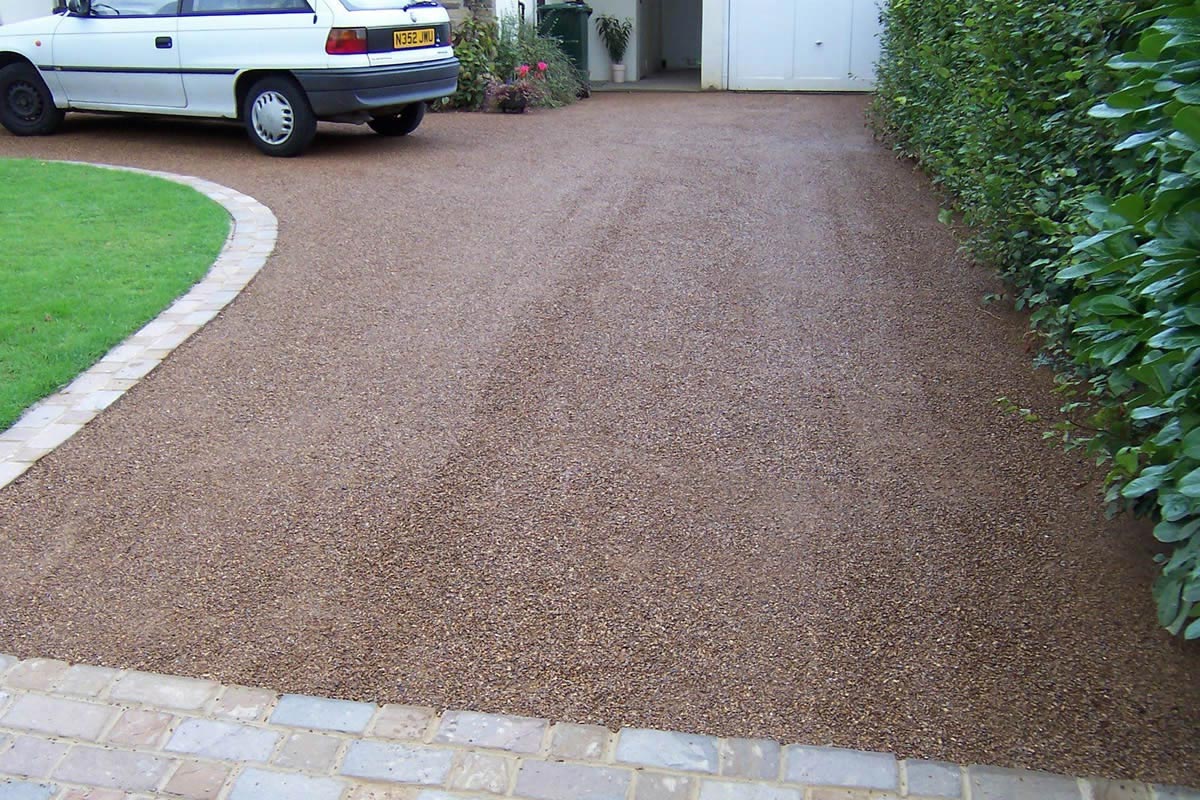
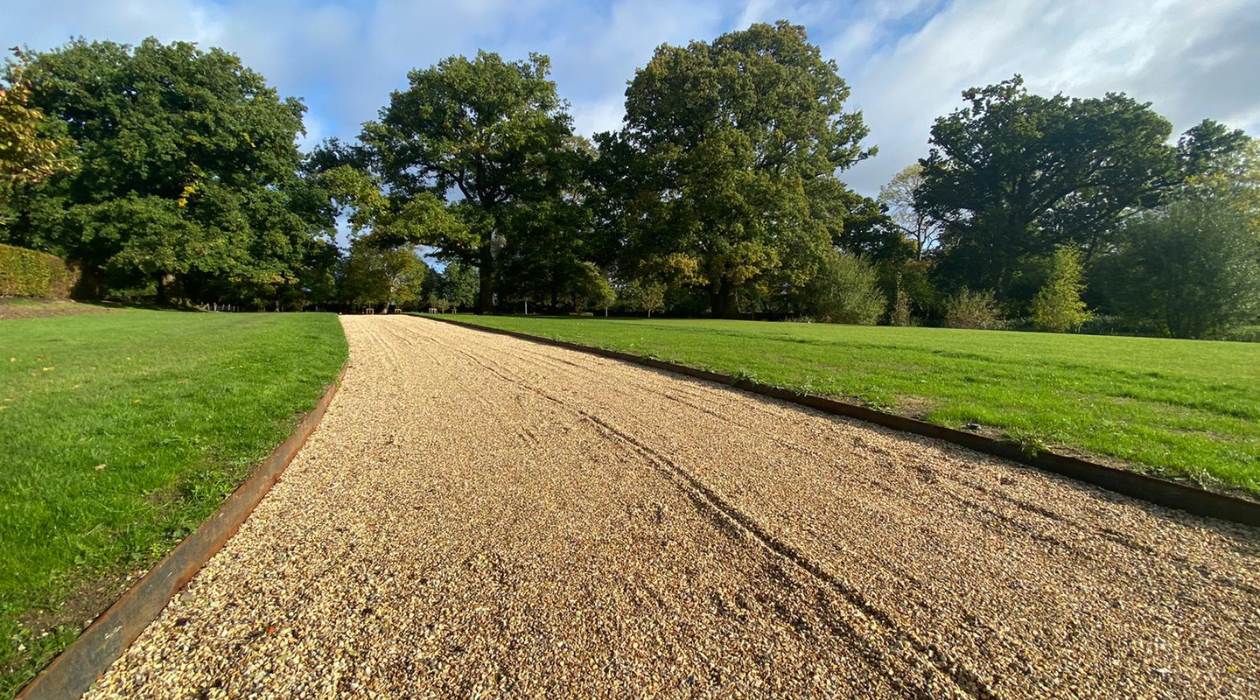
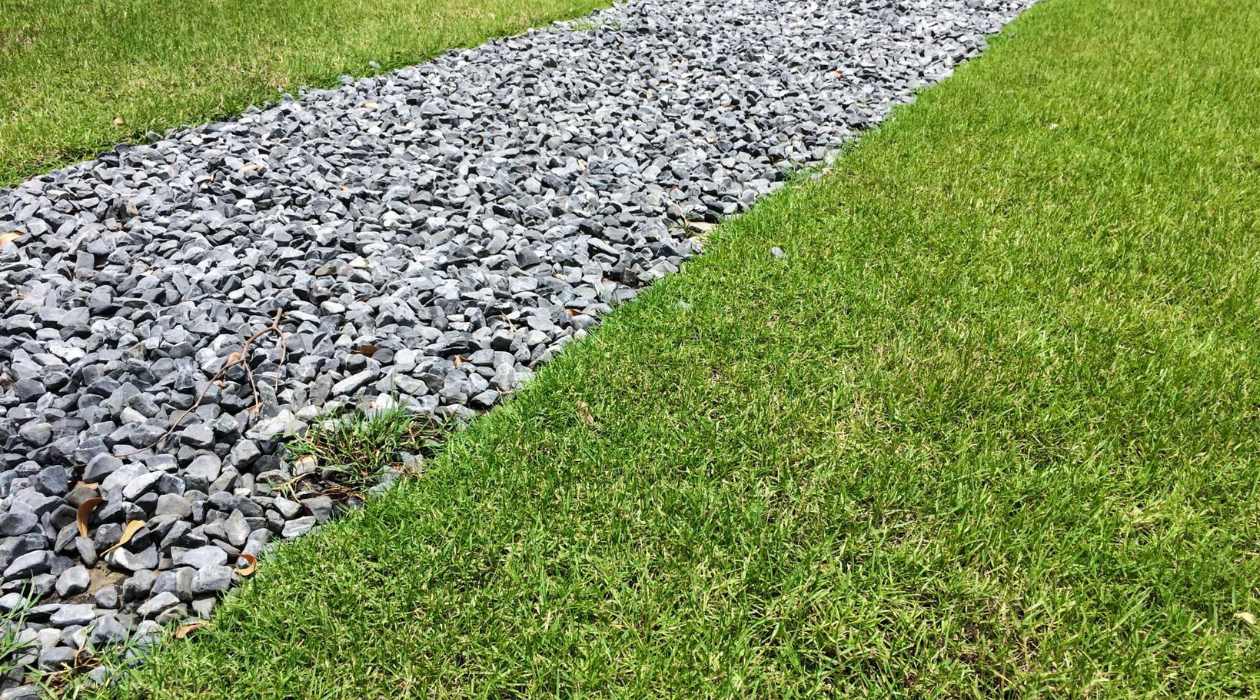
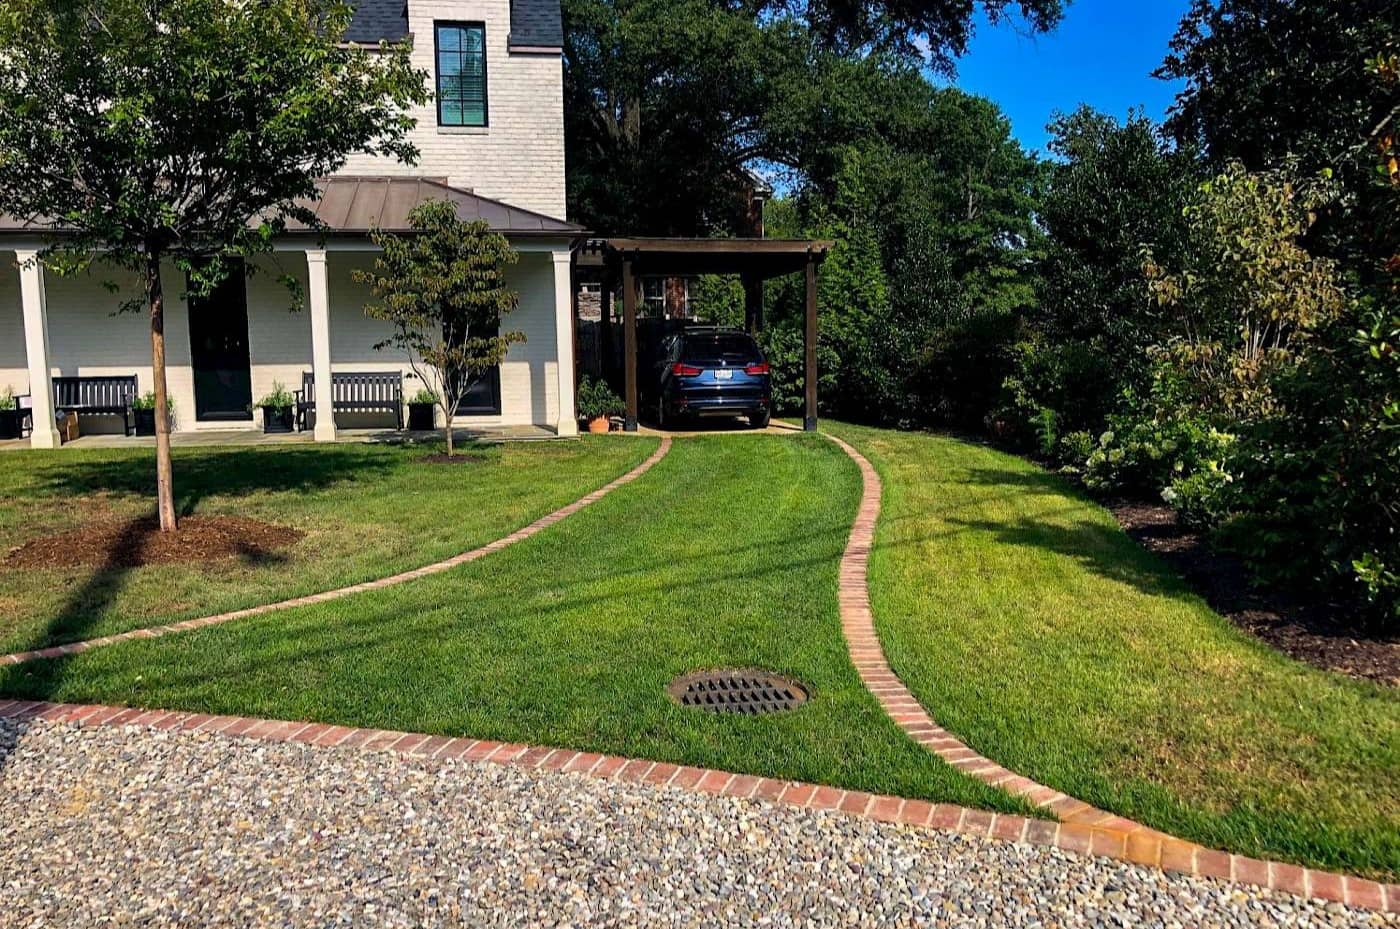
Use Edging or Borders
Installing edging or borders around your gravel driveway is an effective way to prevent the gravel from spreading beyond its intended area. Edging provides a physical barrier that keeps the gravel contained, reducing the chances of movement caused by natural forces or vehicle traffic. Here are a few options for edging or borders:
- Concrete or Asphalt Curbs: Concrete or asphalt curbs provide a durable and long-lasting solution for edging your driveway. They create a solid barrier that keeps the gravel in place. Ensure that the curbs are properly installed and are the appropriate height to effectively contain the gravel.
- Plastic or Metal Edging: Plastic or metal edging is a cost-effective and easily installable option. This type of edging comes in various lengths and is flexible, allowing you to create curves and angles along the driveway edge. Install the edging by inserting it into the ground and securing it with spikes or stakes.
- Railroad Ties or Landscape Timbers: Railroad ties or landscape timbers can provide a rustic and natural look to your driveway edges. They are often used for larger driveways or in rural settings. Secure the ties or timbers in place with rebar or stakes to prevent shifting over time.
When installing the edging, make sure it extends at least a couple of inches above the gravel surface. This prevents the gravel from spilling over the edges and helps maintain a neat and defined driveway appearance.
In addition to edging, consider creating borders around areas prone to gravel movement, such as curves or slopes. By adding extra reinforcement in these vulnerable spots, you can further minimize the chances of gravel displacement.
Edging or borders not only keep the gravel in place but also enhance the overall aesthetics of your driveway. Choose the option that best suits your style and budget, and ensure proper installation to reap the benefits of a stabilized gravel surface.
To keep gravel in place on a driveway, consider using a stabilizing grid system or installing edging along the sides to contain the gravel and prevent it from spreading.
Install a Geotextile Fabric
Installing a geotextile fabric is a proactive measure that can significantly reduce the movement of gravel on your driveway. Geotextile fabric, also known as geotextile membrane or landscape fabric, provides a barrier that separates the soil from the gravel while allowing water to drain through.
Here’s how to install a geotextile fabric on your gravel driveway:
- Clean the surface: Ensure that your driveway is clean and free of any debris or vegetation.
- Measure and cut the fabric: Roll out the geotextile fabric along the driveway surface, making sure it covers the entire area. Cut the fabric to the appropriate length, allowing for a few inches of overlap at the seams.
- Secure the fabric: Once the fabric is in place, fix it to the ground using landscape staples or heavy-duty nails. Place the staples approximately 1-2 feet apart along the edges and seams, ensuring a secure attachment to prevent shifting.
- Trim excess fabric: Trim any excess fabric that extends beyond the edges of the driveway to achieve a neat and tidy appearance.
- Spread the gravel: Finally, spread the gravel evenly over the geotextile fabric to the desired depth.
Geotextile fabric acts as a barrier, separating the soil below from the gravel on top. This prevents the soil from mixing with the gravel and helps maintain stability. Additionally, the fabric allows water to drain through, avoiding the buildup of standing water that can further contribute to gravel movement.
Choosing a high-quality geotextile fabric is essential for its effectiveness. Look for a fabric that is durable, UV resistant, and specifically designed for use in driveways or heavy-duty applications. Investing in a good quality geotextile fabric will ensure long-lasting results and reduce the need for frequent maintenance.
Installing a geotextile fabric is a simple yet powerful solution to keep your gravel driveway in place. By creating a barrier between the soil and gravel, you can minimize gravel movement and enjoy a more stable and visually appealing driveway.
Read more: How To Maintain Gravel Driveway
Proper Grading and Compacting Techniques
Proper grading and compacting are essential steps in creating a stable foundation for your gravel driveway. By ensuring a well-graded surface and thorough compaction, you can significantly reduce the risk of gravel movement. Here are some techniques to follow:
- Grade the surface: Use a grading rake or box blade to remove any high spots and fill in low areas on your driveway surface. The goal is to create a smooth and even surface that promotes proper drainage.
- Compact the soil: After grading, it’s crucial to compact the soil to provide a solid base for the gravel. Use a plate compactor or hand tamper to firmly compact the soil. Start from the edges and work your way towards the center, ensuring consistent compaction across the entire driveway.
- Add a layer of aggregate base: For extra stability, consider adding a layer of aggregate base material on top of the compacted soil. This layer acts as a sturdy foundation for the gravel. Spread the aggregate base evenly and compact it using the same techniques mentioned above.
- Moisten the soil: Before spreading the gravel, lightly moisten the soil with water. This helps to create a better bonding surface and aids in compaction.
- Spread and level the gravel: Spread the gravel evenly across the surface of your driveway. Aim for a consistent depth of 2-3 inches. Use a garden rake or gravel spreader to distribute the gravel and create an even layer. Pay extra attention to the edges and slopes to ensure a smooth transition.
- Compact the gravel: Once the gravel is spread, use a compactor to firmly compact the surface. This step further enhances stability and reduces the chances of gravel movement.
Proper grading and compaction techniques provide a solid and resilient base for your gravel driveway. By investing the time and effort into these crucial steps, you can create a more durable surface that resists erosion and minimizes gravel displacement.
Regular maintenance of your compacted gravel driveway is also essential. This includes filling in any potholes or low areas that may develop over time. By staying proactive with maintenance, you can extend the lifespan of your driveway and keep it looking its best.
Regular Maintenance and Repairs
Maintaining your gravel driveway on a regular basis is key to preventing gravel movement and ensuring its long-term durability. Here are some essential maintenance tips to keep in mind:
- Rake and level: Periodically rake the gravel to redistribute it and fill in any low spots. This helps to maintain a smooth and even surface and prevents the development of uneven areas that can contribute to gravel movement.
- Fill in potholes and gaps: Over time, potholes and gaps may appear in your gravel driveway. These can be caused by heavy traffic, weather conditions, or natural settling. Promptly fill in these areas with additional gravel to prevent further erosion and instability.
- Remove vegetation: Keep an eye out for any vegetation that may start to grow through the gravel. Weeds and grass can weaken the integrity of the driveway surface by penetrating through the gravel layer. Regularly pull out any vegetation and use an herbicide if necessary.
- Manage water drainage: Ensure that water is properly draining away from your gravel driveway. Poor drainage can lead to excess water pooling on the surface, causing erosion and compromising the stability of the gravel. Make sure gutters and downspouts direct water away from the driveway and consider adding additional drainage solutions if needed.
- Reapply gravel as needed: Over time, the gravel on your driveway may thin out or become displaced. Keep a stockpile of extra gravel on hand and periodically apply a fresh layer to maintain the desired depth and stability.
- Inspect and repair edging: Regularly inspect your edging or borders to ensure they are intact and properly positioned. Replace any damaged or deteriorated edging to maintain its effectiveness in containing the gravel.
By following these maintenance practices, you can proactively address any potential issues that may lead to gravel movement on your driveway. Regular inspections and timely repairs will help preserve the integrity of the gravel surface and extend its lifespan.
Remember, prevention is key when it comes to maintaining a stable gravel driveway. By staying on top of maintenance tasks and promptly addressing any signs of wear or damage, you can enjoy a beautiful and resilient driveway for years to come.
Conclusion
A well-maintained gravel driveway can be a beautiful addition to any home, but it requires proper care to prevent gravel movement and maintain its integrity. By understanding the factors that contribute to gravel displacement and implementing the right solutions, you can keep your driveway looking its best for years to come.
Start by preparing the driveway surface, ensuring a smooth and level base that promotes proper drainage. Use edging or borders to contain the gravel and prevent it from spreading beyond its intended area. Installing a geotextile fabric adds an additional layer of stability and keeps the gravel separate from the underlying soil.
Proper grading and compaction techniques create a solid foundation for the gravel, reducing the risk of movement. Regular maintenance, including leveling, filling potholes, managing water drainage, and removing vegetation, is crucial to preserving the integrity of your gravel driveway.
Remember, prevention and proactive maintenance are key when it comes to gravel driveways. By staying vigilant and addressing any issues promptly, you can extend the lifespan of your driveway and enjoy a stable and visually appealing surface.
So, take the time to implement the techniques outlined in this article and give your gravel driveway the care it deserves. With a little effort and attention, you can keep the gravel in place and enjoy a durable and attractive driveway that enhances the curb appeal of your home.
Frequently Asked Questions about How To Keep Gravel In Place On Driveway
Was this page helpful?
At Storables.com, we guarantee accurate and reliable information. Our content, validated by Expert Board Contributors, is crafted following stringent Editorial Policies. We're committed to providing you with well-researched, expert-backed insights for all your informational needs.

0 thoughts on “How To Keep Gravel In Place On Driveway”