Articles
How To Maintain Gravel Driveway
Modified: August 30, 2024
Learn expert tips and advice on how to maintain your gravel driveway with our informative articles. Keep your driveway looking pristine and durable with our helpful guidance.
(Many of the links in this article redirect to a specific reviewed product. Your purchase of these products through affiliate links helps to generate commission for Storables.com, at no extra cost. Learn more)
Introduction
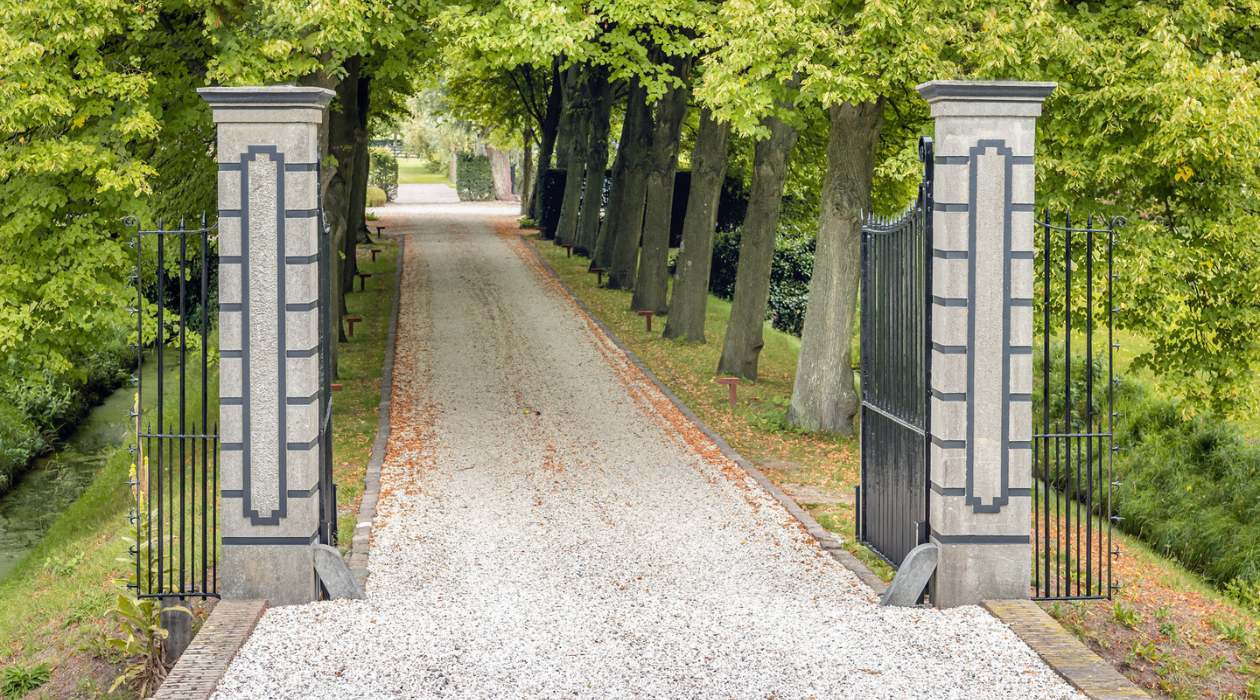
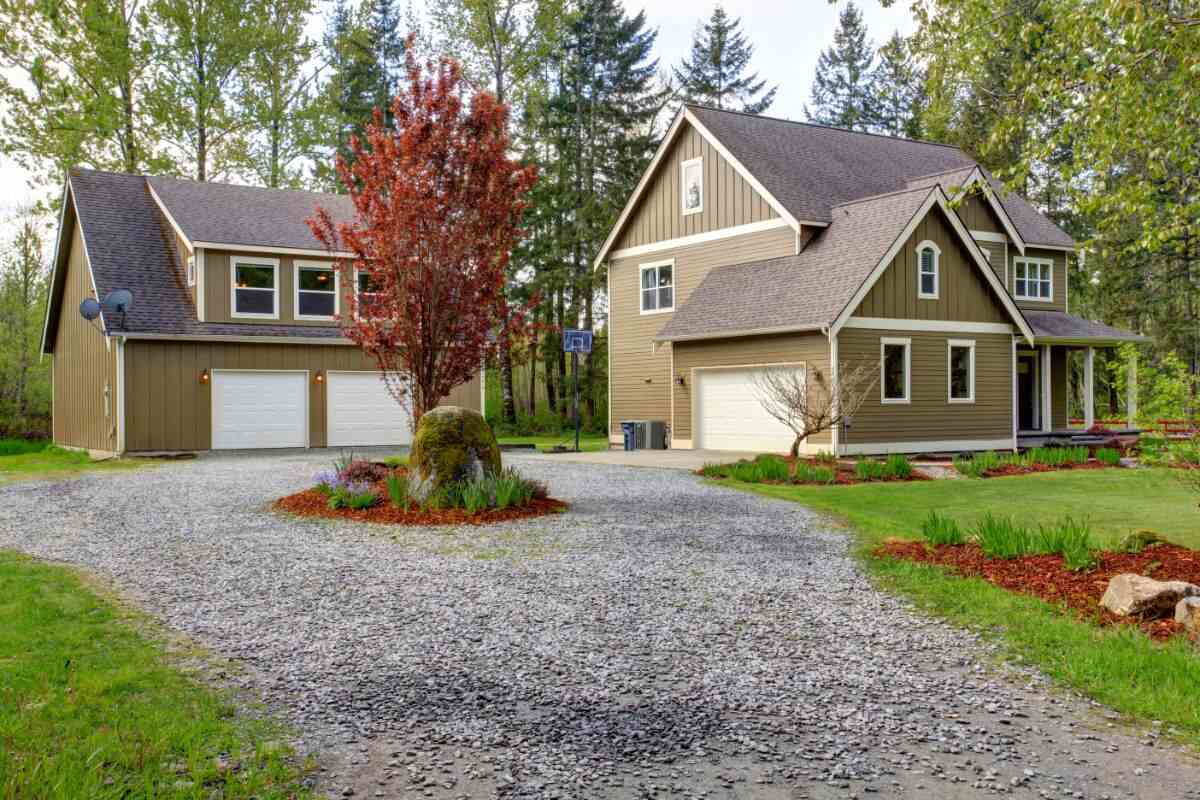
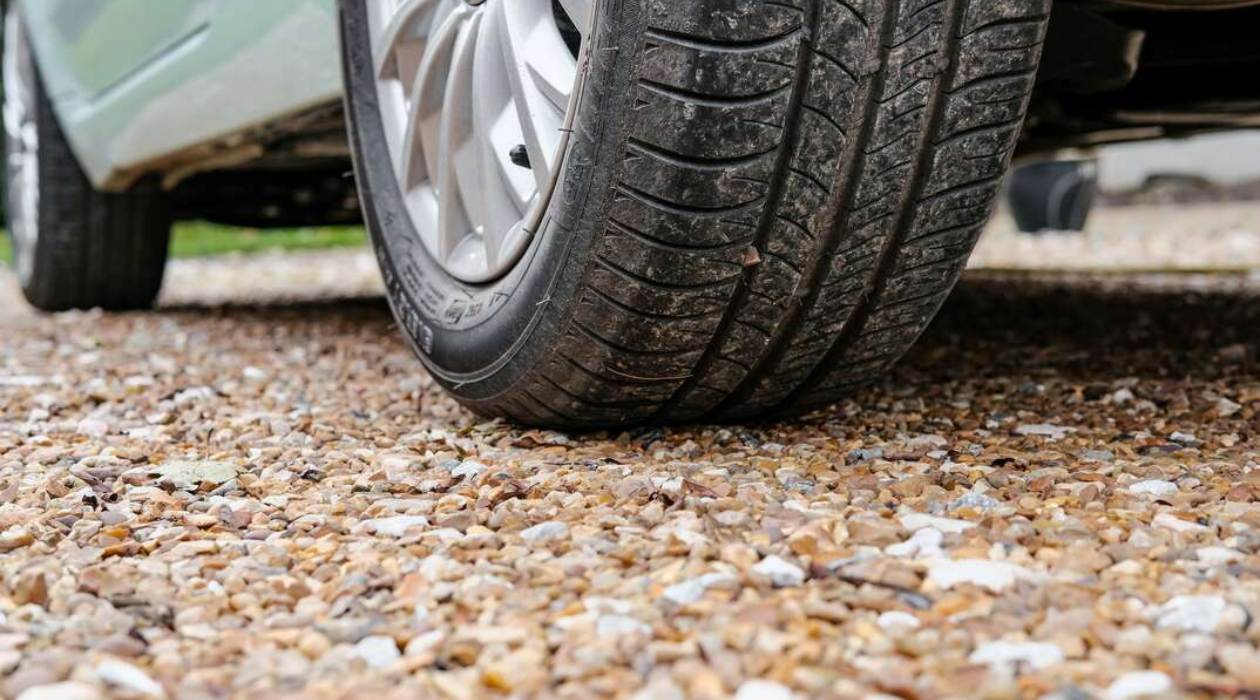
A gravel driveway can be a beautiful addition to your property, providing a rustic and natural look. However, like any driveway, it requires proper maintenance to ensure it remains in good condition and continues to enhance your property’s curb appeal. Whether you have just installed a new gravel driveway or have an existing one that needs some TLC, this article will guide you through the essential steps to maintain a gravel driveway and keep it looking its best.
From clearing debris and controlling weeds to repairing potholes and ensuring proper drainage, each step plays a vital role in preserving the integrity and appearance of your gravel driveway. By following these maintenance techniques and implementing preventive measures, you can extend the lifespan of your driveway and minimize the need for costly repairs.
So, let’s dive into the details and learn how to maintain a gravel driveway to keep it functional, durable, and visually appealing for years to come.
Key Takeaways:
- Regularly clearing debris, grading, controlling weeds, and addressing drainage issues are essential for maintaining a durable and visually appealing gravel driveway.
- Promptly repairing potholes, adding new gravel, and effectively managing snow and ice are crucial for ensuring the longevity and safety of your gravel driveway.
Read more: How To Plow A Gravel Driveway
Step 1: Clearing the Driveway
The first step in maintaining your gravel driveway is to regularly clear it of debris. Over time, leaves, twigs, branches, and other organic matter can accumulate on the surface, creating an ideal environment for weeds to grow. Additionally, dirt, dust, and small rocks can build up, affecting the overall appearance of the driveway.
To clear your driveway effectively, start by removing any large debris manually. Use a rake or broom to sweep away leaves, branches, and other visible debris. Be thorough in your cleaning, ensuring that you reach all corners and edges of the driveway. Dispose of the collected debris properly, either in a compost bin or as green waste.
Once the visible debris is cleared, you can use a leaf blower or a high-pressure hose to remove any remaining dirt and dust. Be cautious when using a pressure washer, as excessive use can dislodge the gravel and lead to erosion. Aim for a gentle spray and maintain a safe distance to avoid damaging the surface of the driveway.
Regularly clearing your gravel driveway will not only enhance its appearance but also prevent the accumulation of organic matter and weed growth. By starting with a clean foundation, you set the stage for effective maintenance and overall longevity of your gravel driveway.
Step 2: Regular Grading
Regular grading is crucial for maintaining the level and smoothness of your gravel driveway. Grading involves redistributing the gravel evenly and filling in any low spots or ruts that may have developed over time.
Start by inspecting your driveway for any noticeable unevenness or areas that have become worn or eroded. These can often be identified by the presence of potholes, low spots, or areas where the gravel appears sparse.
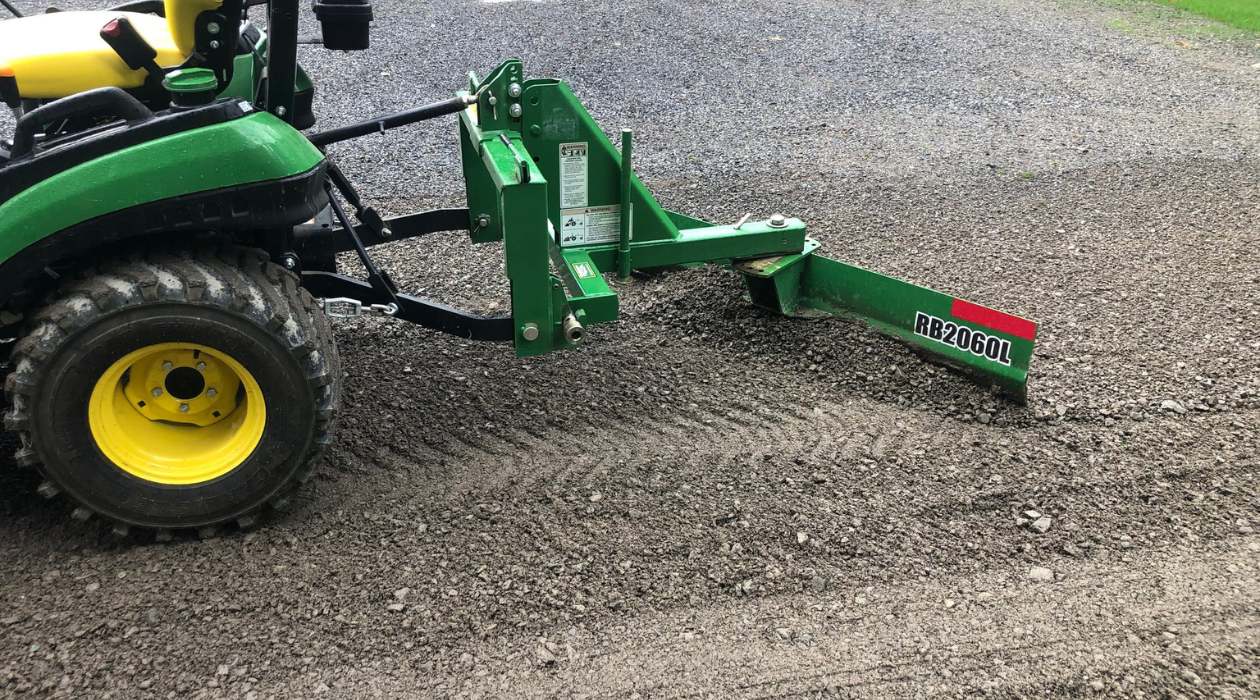
To begin the grading process, you will need a garden rake or a driveway grader. Use the rake or grader to spread the gravel evenly across the driveway surface, ensuring that it is level and smooth. Pay particular attention to any low spots or areas that are beginning to show signs of wear.
If you encounter any large potholes or deep ruts, you may need to add additional gravel to fill these areas. Use a shovel or wheelbarrow to add the needed gravel, then use the rake or grader to spread and smooth it out.
Regular grading should be done at least once or twice a year, depending on the condition of your driveway. By maintaining a level surface, you not only improve the aesthetics of the driveway but also prevent water from pooling, which can lead to erosion and even more significant damage over time.
Remember to take your time when grading the driveway, ensuring that the gravel is spread evenly and that all low spots are adequately filled. Proper grading will help maintain the integrity and functionality of your gravel driveway for years to come.
Step 3: Weed Control
Weeds can quickly take hold in a gravel driveway if left unchecked. Not only do they detract from the overall appearance of your driveway, but they can also cause damage by pushing through the gravel and disrupting the stability of the surface.
To effectively control weeds, there are several methods you can employ:
- Manual Weed Removal: Regularly inspect your driveway and manually pull out any weeds that you spot. Be sure to remove the entire root to prevent regrowth.
- Use of Weed Barrier Fabric: Consider using a weed barrier fabric beneath the gravel to prevent weed growth. This fabric allows water to drain through while blocking the penetration of weeds.
- Chemical Weed Control: If manual weed removal and the use of a weed barrier are not sufficient, you may consider using herbicides specifically formulated for gravel driveways. Look for herbicides that target broadleaf weeds and carefully follow the instructions provided.
Remember to follow safety guidelines when using herbicides, including wearing protective clothing and keeping children and pets away from the treated area. Additionally, always choose eco-friendly and safe weed control products to minimize any negative impact on the environment.
Implementing regular weed control practices will keep your gravel driveway looking clean and well-maintained. By preventing weed growth, you also minimize the risk of weeds causing damage to the structure and stability of your driveway.
Step 4: Repairing Potholes
Over time, potholes can develop in your gravel driveway due to factors such as heavy vehicle traffic, erosion, or freeze-thaw cycles. It’s important to repair these potholes promptly to prevent further damage and ensure a safe and smooth driving surface.
Here’s how you can effectively repair potholes in your gravel driveway:
- Clean the Area: Begin by thoroughly cleaning the pothole and its surrounding area. Remove any loose gravel, debris, or vegetation that may be present.
- Add Gravel: Fill the pothole with fresh gravel, ensuring that it is slightly higher than the surrounding area. Use a shovel or rake to spread the gravel evenly and compact it gently to achieve a firm and level surface.
- Compact the Gravel: To ensure proper compaction and stability, use a tamper or the back of a heavy tool to compact the gravel. This will help prevent the pothole from reoccurring in the future.
- Repeat if Necessary: For deeper or larger potholes, you may need to repeat the process by adding more layers of gravel and compacting until the hole is filled and level with the rest of the driveway.
It’s important to note that repairing potholes is a temporary solution, and regular maintenance practices, such as grading and proper drainage, will help prevent the formation of new potholes.
If you have significant or widespread damage to your gravel driveway, it may be necessary to seek professional assistance to ensure a proper and long-lasting repair.
By addressing potholes promptly and effectively, you can maintain a smooth and safe driving surface for you and your vehicles.
Regularly rake and remove debris from your gravel driveway to prevent weeds and maintain a clean appearance. Fill in any potholes or low spots to ensure a smooth driving surface.
Read more: How To Level A Gravel Driveway
Step 5: Proper Drainage
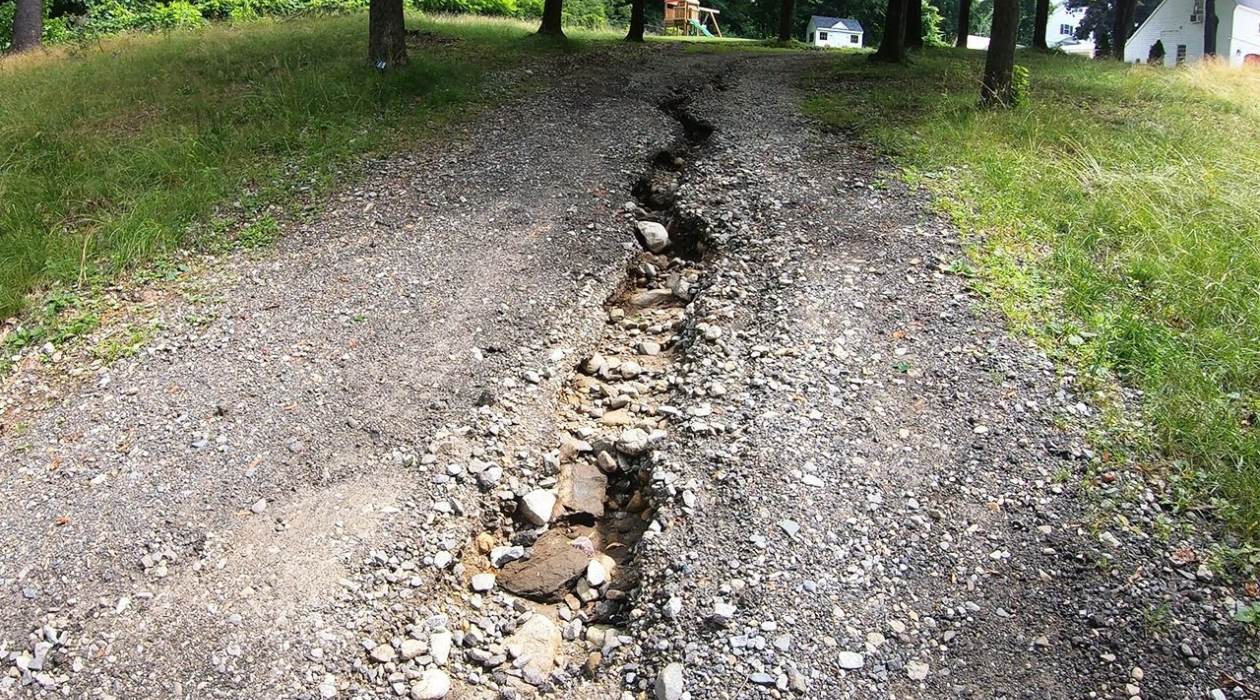
Proper drainage is essential for maintaining the integrity of your gravel driveway. Poor drainage can lead to water accumulation, which can cause erosion, potholes, and even damage to the foundation of the driveway. Taking steps to ensure effective drainage will help preserve the lifespan of your driveway.
Here are some measures you can take to improve the drainage of your gravel driveway:
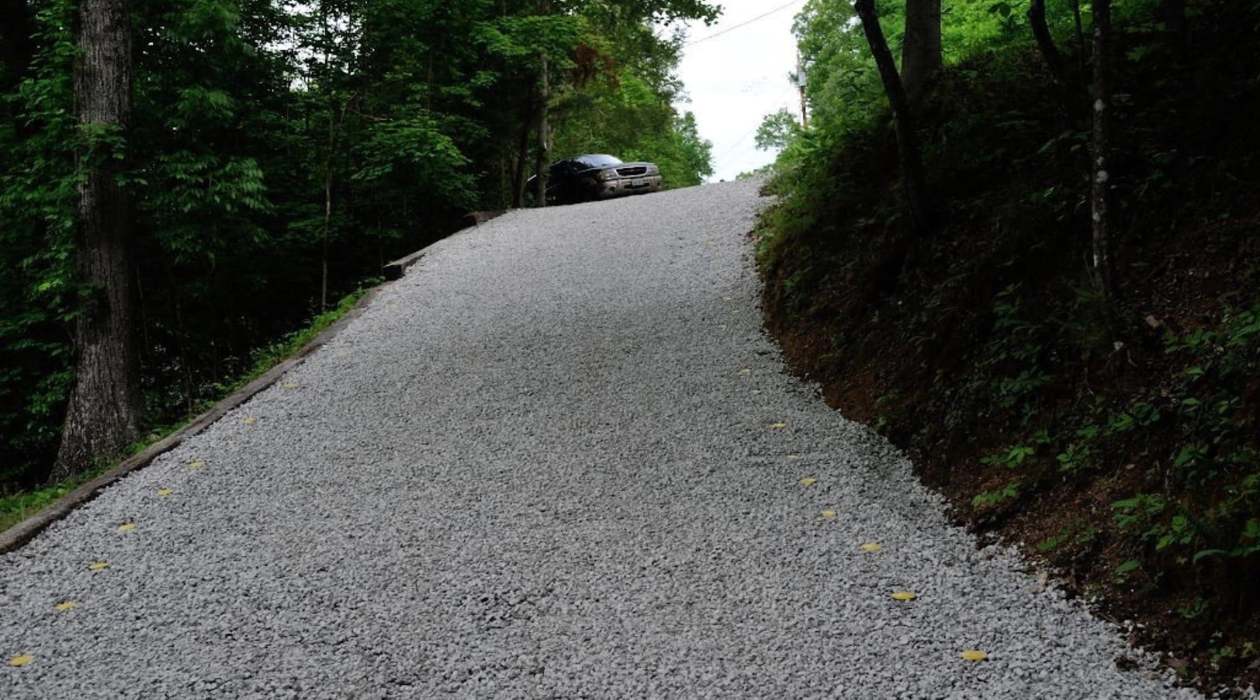
- Slope the Surface: Ensure that your driveway has a slight slope to allow water to naturally flow off the surface. Ideally, the slope should be at least 1% or 1 inch per every 10 feet of driveway.
- Create Swales or Channels: Dig shallow channels or swales along the edges of the driveway to redirect water away from the surface. This helps prevent water from pooling and causing damage.
- Add French Drains: Install French drains, which consist of perforated pipes surrounded by gravel, to help collect and redirect water away from the driveway. These drains can be placed in areas where water tends to accumulate.
Regularly inspect your driveway after heavy rainfall or during the melting of snow to identify any areas where water is pooling. Address these areas promptly by implementing the appropriate drainage measures mentioned above.
Additionally, avoid directing downspouts or other sources of water runoff onto your gravel driveway. Redirecting water away from the driveway will help maintain its stability and prevent erosion.
By ensuring proper drainage, you can protect your gravel driveway from the damaging effects of water accumulation and prolong its lifespan.
Step 6: Adding New Gravel
Over time, the gravel in your driveway may become compacted, displaced, or worn down due to weather conditions, heavy traffic, or regular maintenance activities. Adding new gravel to your driveway is an essential step in maintaining its appearance, functionality, and overall longevity.
Here’s how you can properly add new gravel to your driveway:
- Clean the Surface: Before adding new gravel, make sure to clear the driveway of any debris, weeds, or loose gravel. This will provide a clean and even surface for the new gravel to be spread.
- Determine the Amount of Gravel Needed: Measure the length, width, and depth of the area that requires new gravel. Depending on the depth, you may need to calculate the quantity needed in cubic yards or tons.
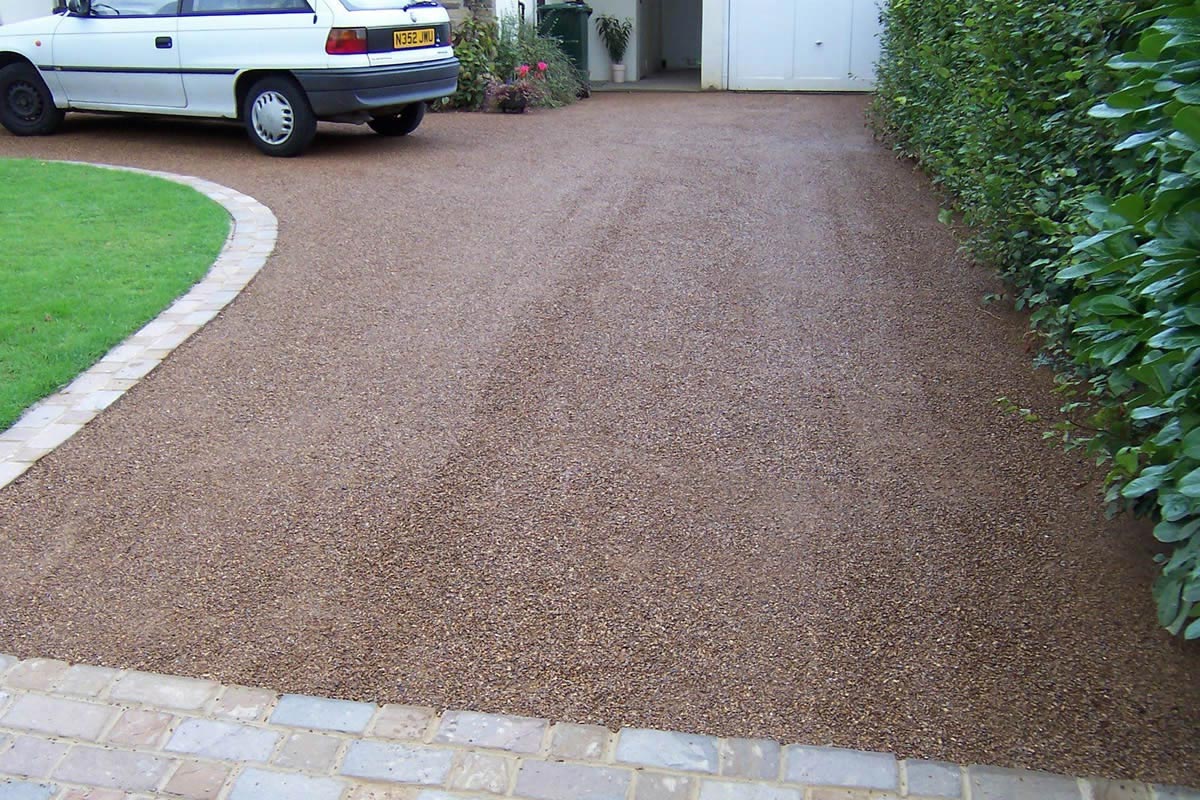
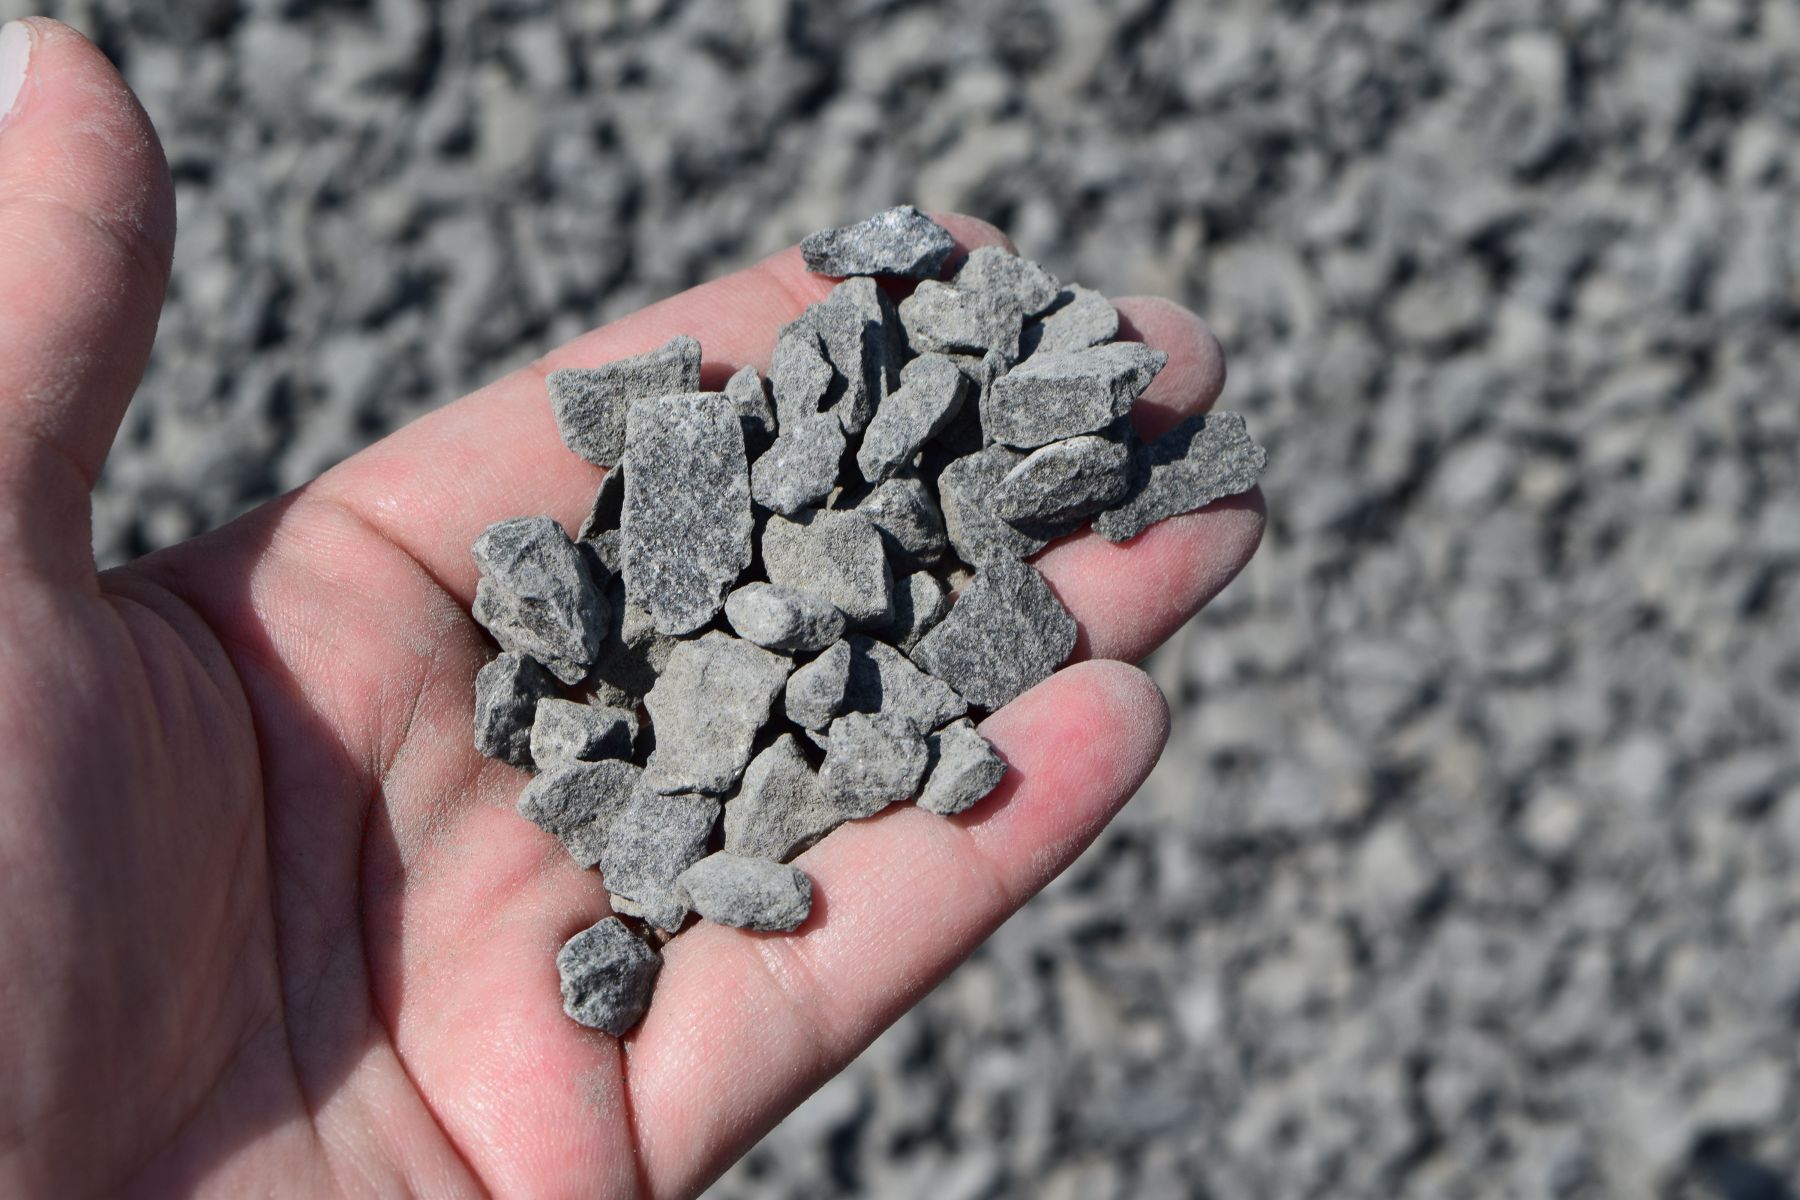
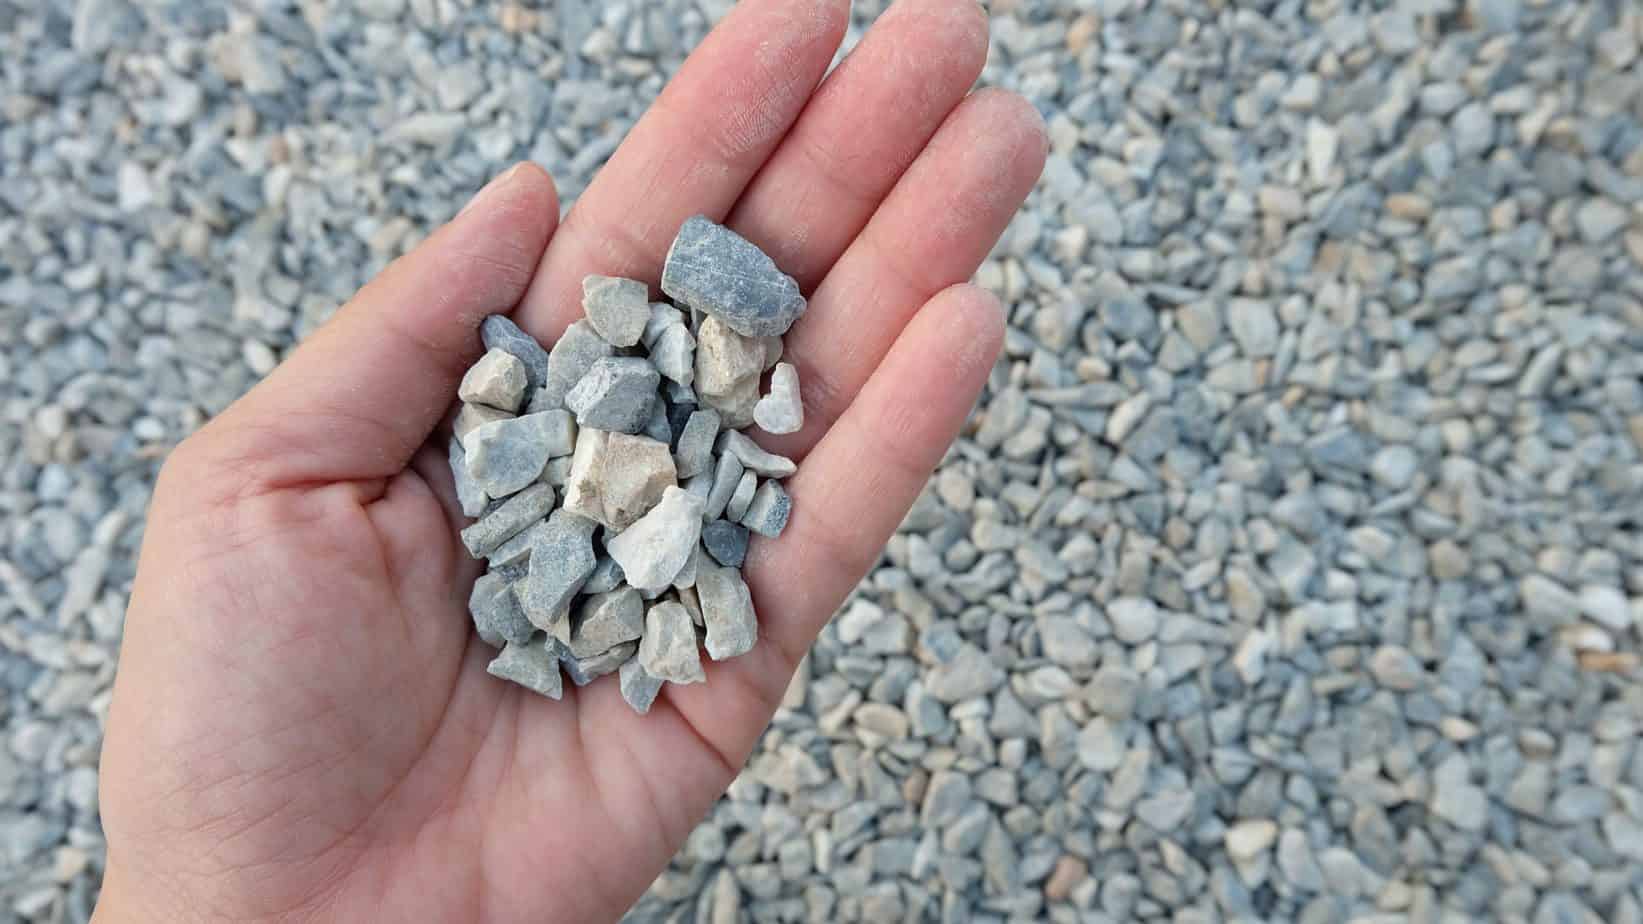
- Choose the Right Gravel: Select gravel that is suitable for driveways, such as crushed stone, gravel with angular edges, or gravel specifically labeled for driveways. Avoid using pea gravel or rounded stones, as they tend to shift and create an unstable surface.
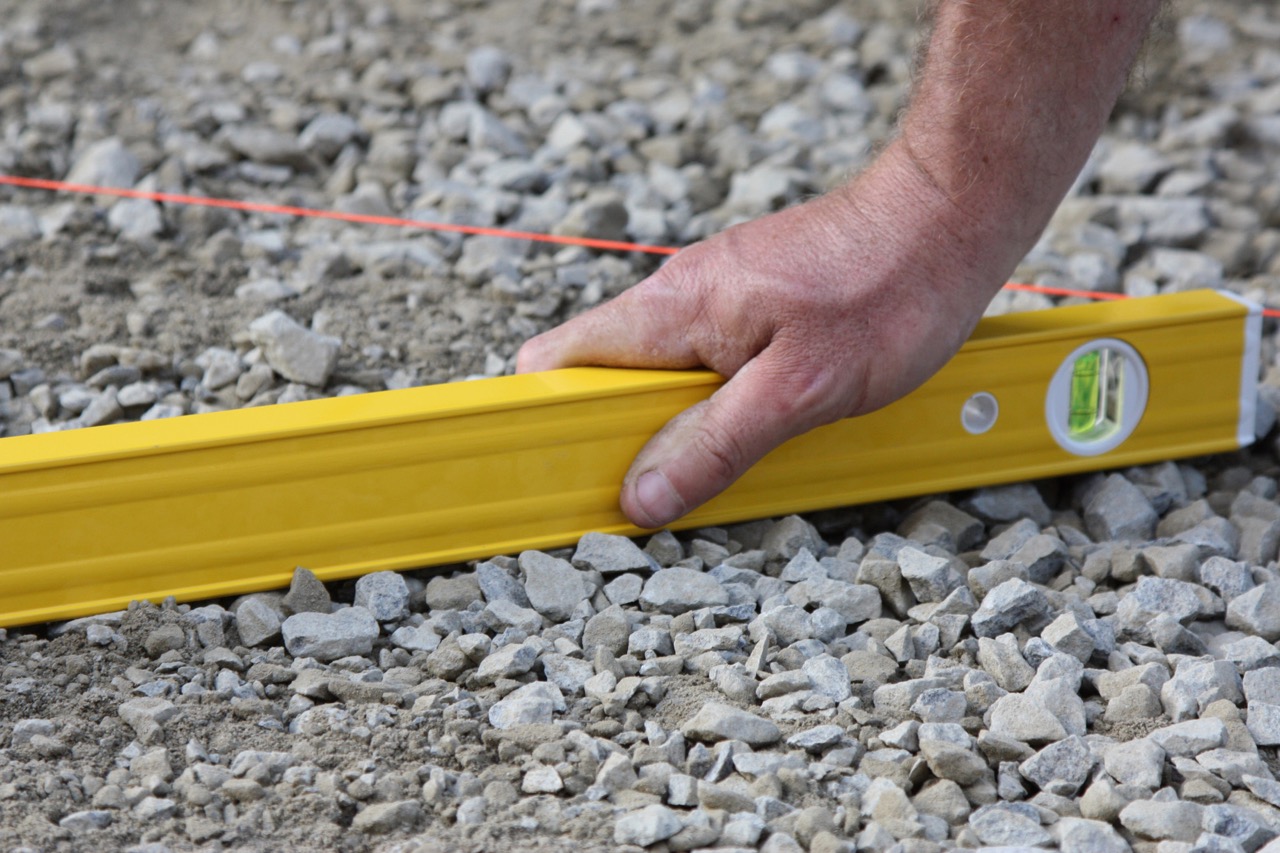
- Spread the Gravel: Begin by adding a layer of new gravel to the cleared surface. Use a rake or shovel to spread the gravel evenly, ensuring that it is not too thick or too thin. Aim for a depth of about 2-3 inches for proper coverage.
- Compact the Gravel: To ensure stability and proper compaction, use a tamper or the back of a heavy tool to compact the new gravel. This will help create a firm and solid surface for your driveway.
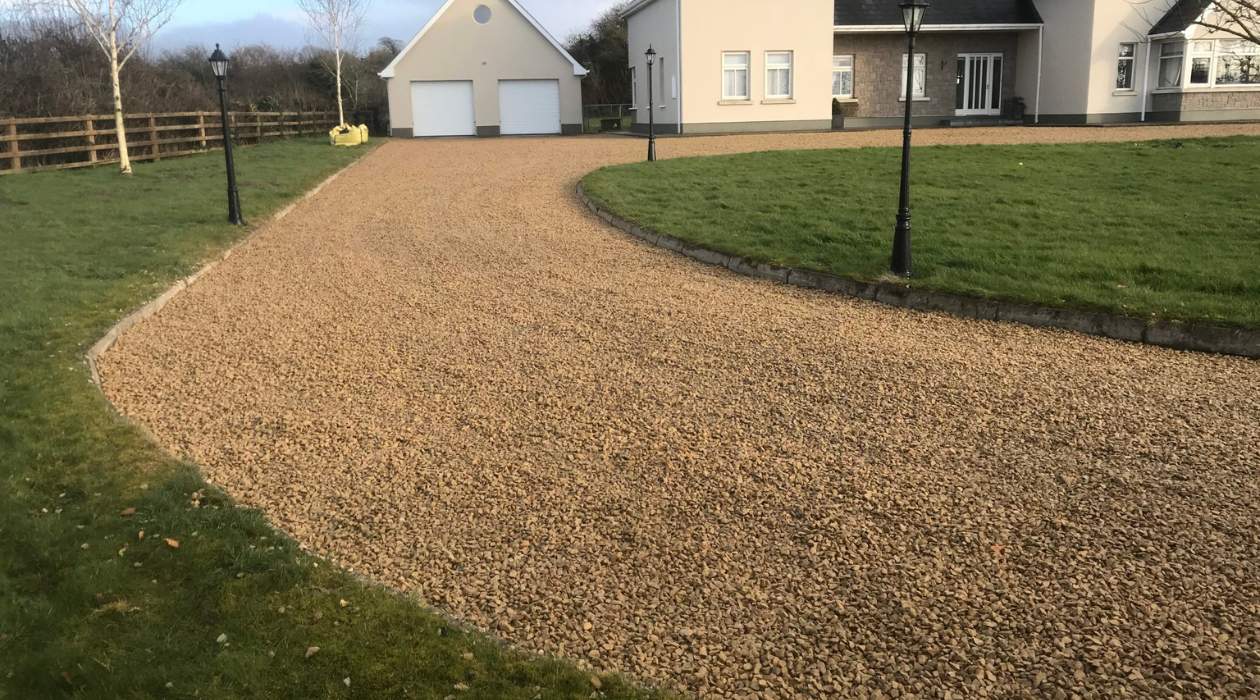
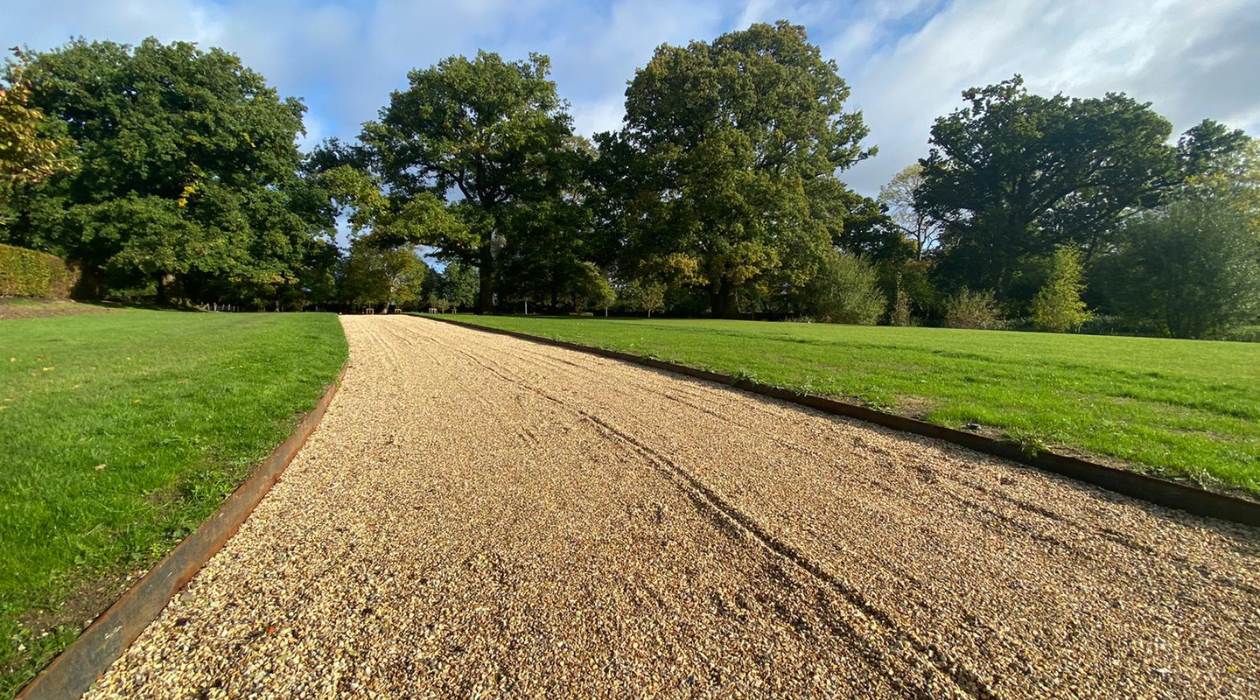
Adding new gravel to your driveway is a great opportunity to improve its aesthetic appeal. You can choose a gravel color or size that complements your property’s style or matches your personal preference.
Regularly inspect your driveway and add new gravel as needed to maintain a consistent and even surface. By doing so, you’ll ensure that your driveway remains functional, visually pleasing, and durable for years to come.
Step 7: Snow and Ice Removal
During the winter months, it’s important to take extra care of your gravel driveway to ensure safe passage and prevent damage caused by snow and ice buildup. Snow and ice can create slippery conditions and cause the gravel to shift or become compacted if not properly addressed.
Here are some tips for effectively removing snow and ice from your gravel driveway:
- Snow Removal: Use a snow shovel, snow blower, or plow to clear away the snow from your driveway. Be gentle when shoveling or plowing to avoid scraping the surface and removing excessive amounts of gravel.
- Ice Removal: To remove ice, use a de-icer specifically formulated for gravel driveways. Avoid using salt or chemical products that may damage the driveway or harm nearby vegetation. Alternatively, you can use sand or kitty litter to improve traction on icy areas.
- Avoid Excessive Force: When removing snow or ice, avoid using excessive force or aggressive tools that can displace or damage the gravel. Opt for plastic shovels and gentle snow removal techniques to protect the surface of your driveway.
- Regular Maintenance: Be diligent about snow and ice removal throughout the winter season. Clearing the driveway immediately after a snowfall or icy conditions can prevent the accumulation of excess moisture and help maintain the integrity of the gravel.
It’s important to note that while snow removal is necessary, some small amounts of snow left on the driveway can actually provide additional traction and aid in preventing slipping. Use your best judgment and consider the conditions to determine the level of snow removal required.
By effectively managing snow and ice on your gravel driveway, you can ensure safe and hassle-free access to your property during the winter months, while also preserving the condition of the surface.
Step 8: Preventive Maintenance Tips
Preventive maintenance is key to keeping your gravel driveway in excellent condition and reducing the need for major repairs. By following these preventive maintenance tips, you can prolong the lifespan of your driveway and ensure its long-term durability.
Here are some preventive maintenance tips for your gravel driveway:
- Regular Inspections: Periodically inspect your driveway for any signs of damage, erosion, or areas that may need attention. Catching and addressing issues early can prevent them from worsening and becoming more costly to repair.
- Keep It Clean: Regularly sweep or use a leaf blower to remove debris from the surface of your driveway. This helps prevent the accumulation of organic matter and reduces the likelihood of weed growth.
- Address Drainage Issues: Inspect and maintain proper drainage channels, swales, or French drains to ensure efficient water flow and prevent water from pooling on the surface of your driveway.
- Avoid Heavy Loads: Avoid parking or placing heavy vehicles or equipment on your gravel driveway for extended periods, as this can cause compression and damage to the surface. If necessary, use plywood or other materials to distribute the weight evenly.
- Control Weeds: Implement weed control measures, such as regular manual weeding or the use of weed barriers, to prevent weed growth and the possible damage they can cause to the structure of your driveway.
- Address Maintenance Issues Promptly: Repair any potholes, erosion, or areas of damage as soon as they are identified. Prompt action can prevent further deterioration and save you from more extensive repairs in the future.
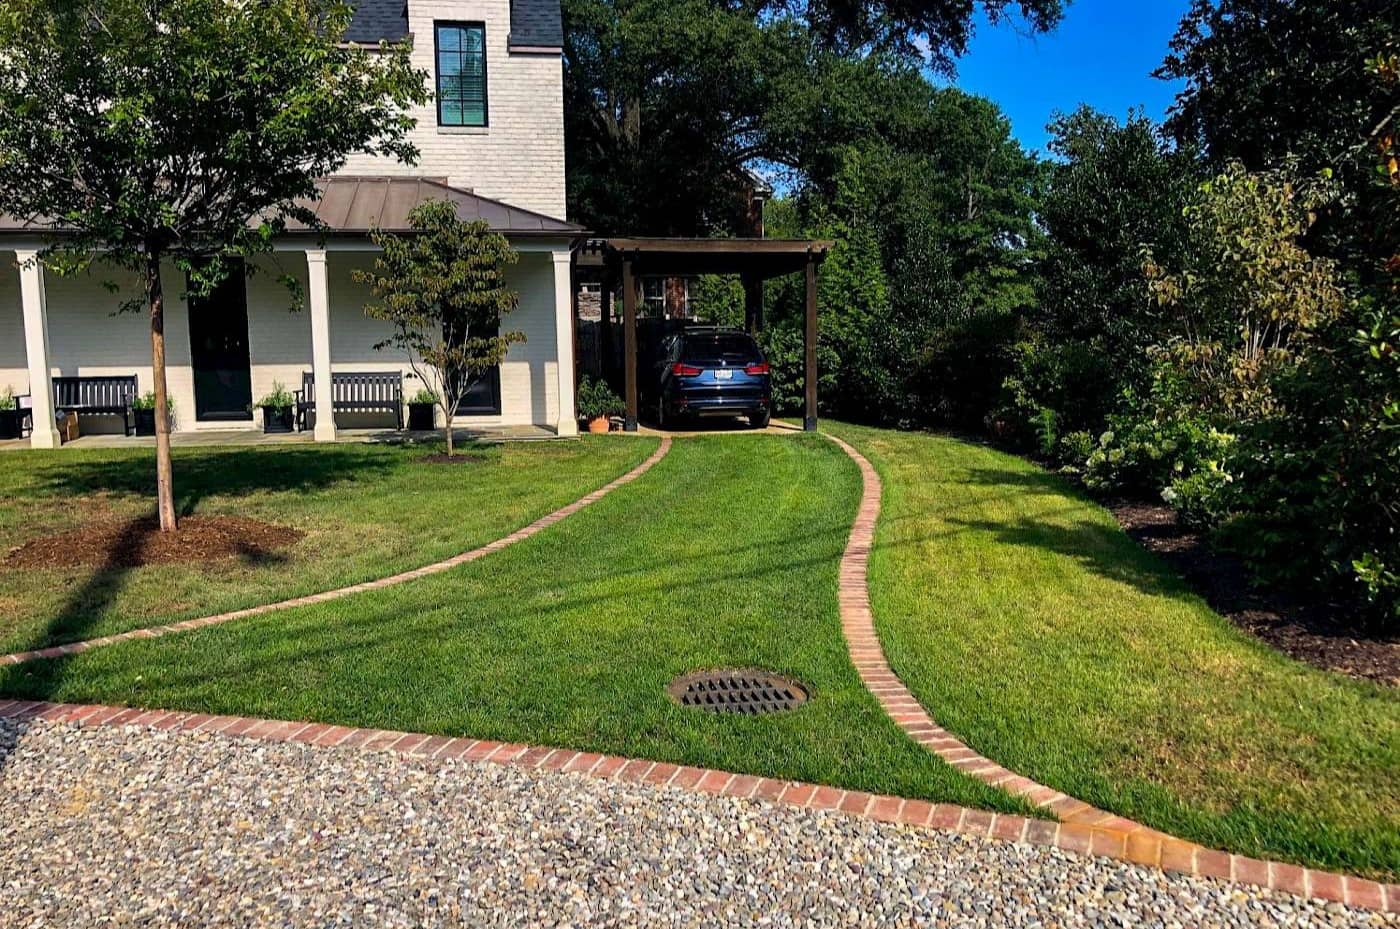
By adopting these preventive maintenance practices, you can ensure that your gravel driveway remains in optimal condition, maintaining its functionality and enhancing the overall aesthetic appeal of your property.
Read more: How To Edge A Gravel Driveway
Conclusion
Maintaining a gravel driveway is essential to preserve its appearance, functionality, and longevity. By following the steps outlined in this article, you can ensure that your gravel driveway remains in excellent condition for years to come.
Clearing debris, regularly grading the driveway, controlling weeds, repairing potholes, ensuring proper drainage, adding new gravel as needed, and effectively managing snow and ice are all integral parts of maintaining a gravel driveway.
In addition to the specific steps, it’s important to practice regular preventive maintenance, such as conducting inspections, keeping the driveway clean, avoiding heavy loads, and addressing maintenance issues promptly. These preventive measures can significantly extend the lifespan of your gravel driveway and reduce the need for costly repairs in the future.
Remember to approach the maintenance of your gravel driveway with a combination of care, knowledge, and attention to detail. By implementing these practices, you can enjoy a well-maintained and visually appealing gravel driveway that not only adds beauty to your property but also provides a safe and functional surface for your vehicles.
So, roll up your sleeves and get started on maintaining your gravel driveway today. With proper care and maintenance, you’ll be able to enjoy the benefits of a beautiful and long-lasting driveway for many years ahead.
Frequently Asked Questions about How To Maintain Gravel Driveway
Was this page helpful?
At Storables.com, we guarantee accurate and reliable information. Our content, validated by Expert Board Contributors, is crafted following stringent Editorial Policies. We're committed to providing you with well-researched, expert-backed insights for all your informational needs.
0 thoughts on “How To Maintain Gravel Driveway”