Articles
How To Seal A Gravel Driveway
Modified: May 6, 2024
Learn how to seal a gravel driveway with our informative articles. Find step-by-step guides and expert tips to ensure a long-lasting and durable seal.
(Many of the links in this article redirect to a specific reviewed product. Your purchase of these products through affiliate links helps to generate commission for Storables.com, at no extra cost. Learn more)
Introduction
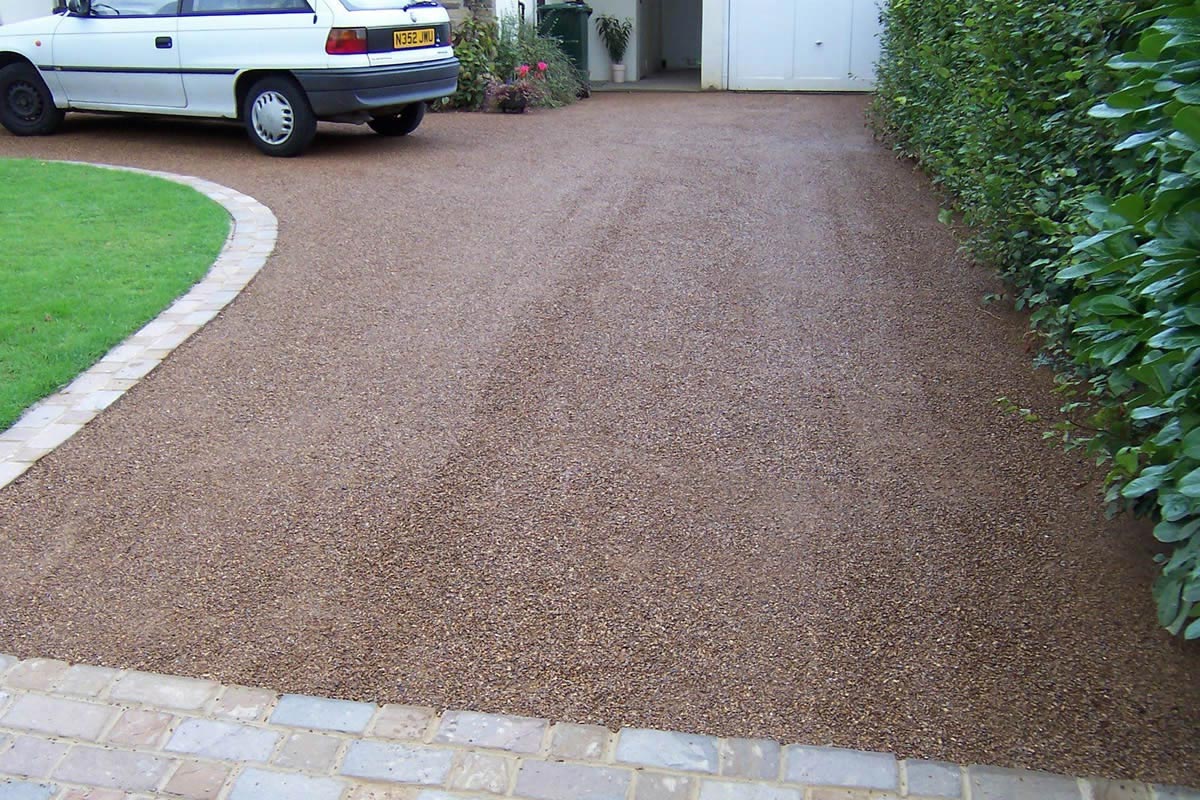
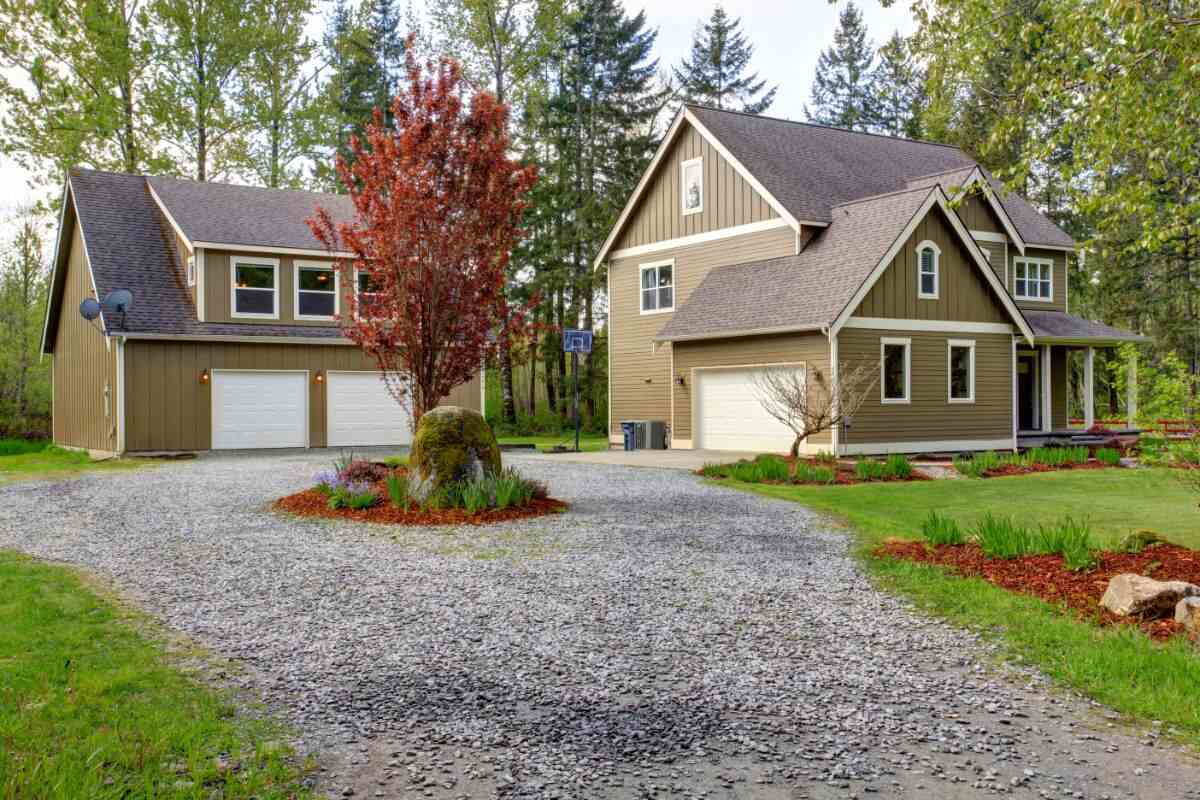
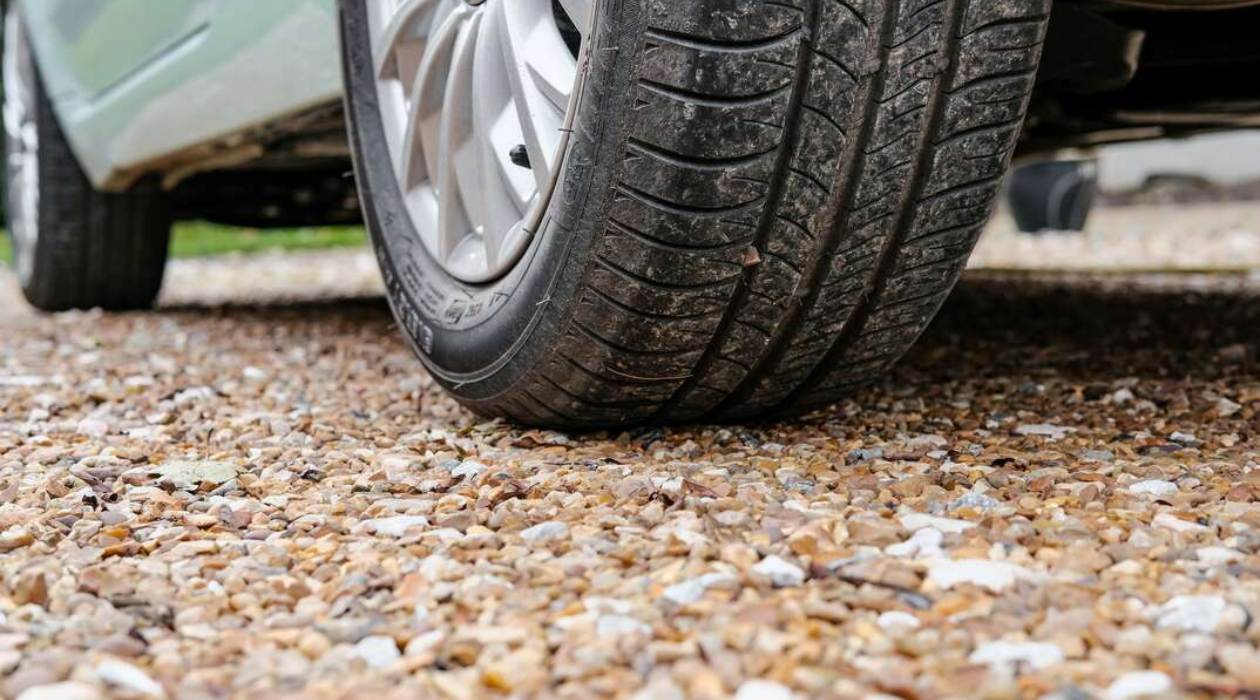
A gravel driveway can add charm and functionality to your property. It provides a durable surface for vehicles and can enhance the overall aesthetic appeal of your home. However, over time, gravel driveways can become worn, develop potholes, and allow weeds to grow through the surface. To prevent these issues and prolong the life of your driveway, it’s important to seal it regularly.
Sealing a gravel driveway not only helps to maintain its appearance, but also provides protection against weather elements, reduces dust, and minimizes the growth of weeds and vegetation. In this article, we will guide you through the process of sealing your gravel driveway, step-by-step.
Key Takeaways:
- Regularly sealing your gravel driveway protects it from weather damage, reduces weed growth, and extends its lifespan, ensuring a durable and visually appealing surface for your property.
- Choosing the right sealing product, applying it evenly, and allowing sufficient drying time are crucial steps in sealing your gravel driveway, ensuring maximum protection and longevity.
Read more: How To Maintain Gravel Driveway
Tools and Materials Needed
Before you begin sealing your gravel driveway, gather the necessary tools and materials. Here’s a list of what you’ll need:
- Pressure washer or garden hose
- Broom or rake
- Driveway repair compound
- Scraper or trowel
- Weed killer
- Gravel
- Driveway sealer
- Brush or roller
- Protective clothing (gloves, goggles, and mask)
The pressure washer or garden hose will be used to clean the driveway, removing any dirt, debris, or loose gravel. A broom or rake will help to even out the surface, ensuring a smooth and level base for the sealant. If there are any cracks or potholes in the driveway, you’ll need driveway repair compound and a scraper or trowel to fill and level them.
Weed killer is essential to eliminate any vegetation that may be growing through the gravel. Gravel can be used to fill in any low spots in the driveway and ensure a consistent surface. For the sealing process, you’ll need a driveway sealer and either a brush or roller to apply it evenly. Lastly, don’t forget to wear protective clothing like gloves, goggles, and a mask to protect yourself from any chemicals or fumes.
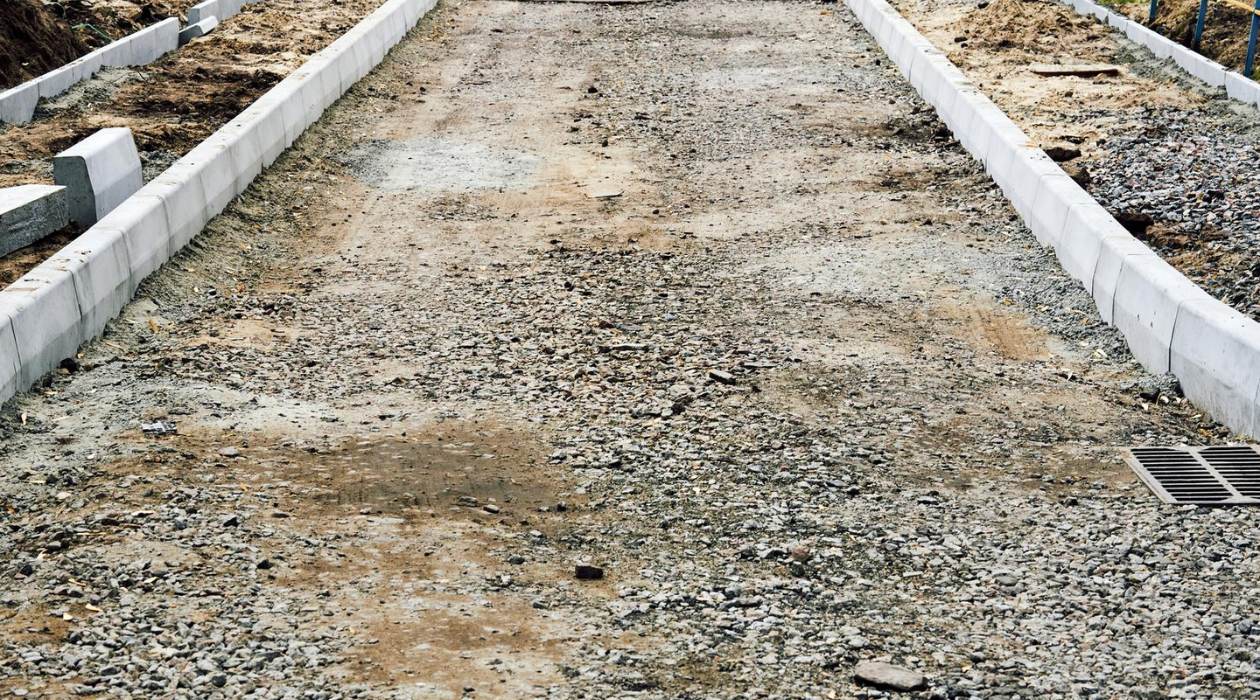
Step 1: Clean and Prep the Driveway
The first step in the process of sealing your gravel driveway is to clean and prepare the surface. Start by removing any loose debris, such as leaves, sticks, or stones, using a broom or rake. This will help to ensure an even application of the sealant.
Next, use a pressure washer or a garden hose with a high-pressure nozzle to thoroughly clean the driveway. This will help remove any dirt, oil stains, or other contaminants that could prevent the sealant from adhering properly. Pay close attention to areas with stubborn stains or buildup, and use a scrub brush if necessary. Allow the driveway to dry completely before proceeding to the next step.
If you notice any cracks or potholes in the driveway, it’s important to repair them before sealing. Use a scraper or trowel to remove any loose or crumbling material from the cracks. Then, fill the cracks or potholes with a driveway repair compound and level it with a scraper or trowel. Follow the manufacturer’s instructions for the repair compound and allow sufficient drying time before moving on.
Taking the time to properly clean and prepare your driveway will ensure that the sealant adheres well and provides optimal protection for your gravel driveway.
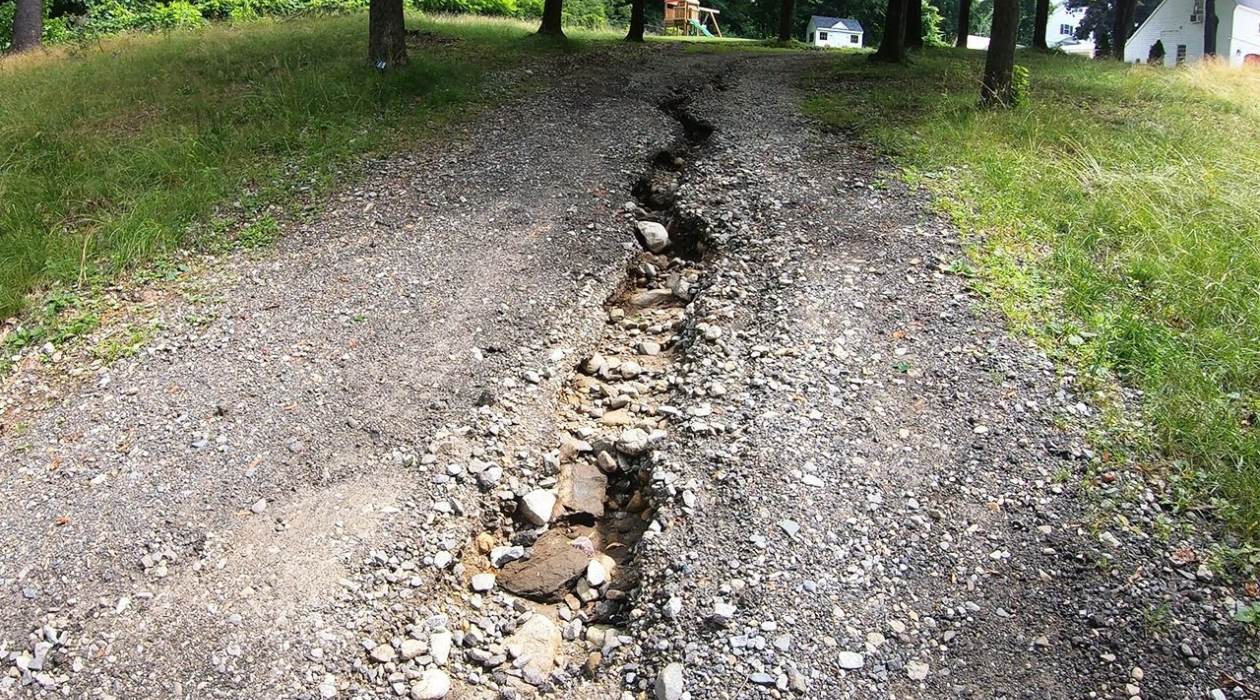
Step 2: Repair any Cracks or Potholes
Before sealing your gravel driveway, it’s important to inspect the surface for any cracks or potholes. These imperfections can worsen over time and affect the overall integrity of the driveway. Repairing them will help prolong the life of your driveway and ensure a smooth and even surface.
Start by thoroughly cleaning the cracks or potholes using a broom or brush. Remove any loose gravel, dirt, or debris that may be sitting in the imperfections. This will ensure proper adhesion of the repair material.
Next, choose an appropriate driveway repair compound that is compatible with gravel surfaces. Follow the manufacturer’s instructions for mixing and applying the repair compound. Use a scraper or trowel to fill the cracks or potholes with the repair material, ensuring that the surface is level and smooth. Be sure to slightly overfill the cracks to compensate for any settling that may occur.
Once the repair compound is applied, use the scraper or trowel to smooth out the surface and blend it with the surrounding gravel. Allow the repair material to cure according to the manufacturer’s instructions. This typically takes 24 to 48 hours.
After the repair material has fully cured, inspect the repaired areas to ensure they are level and seamless with the rest of the driveway. If necessary, add more repair material and repeat the smoothing process until the cracks or potholes are properly filled and repaired.
Repairing any cracks or potholes in your gravel driveway is crucial to maintain its functionality and visual appeal. It will also prevent further damage and potential hazards. Take the time to perform these repairs before moving on to the next step of sealing your driveway.
Step 3: Apply Weed Killer
To ensure that your gravel driveway remains free of weeds and vegetation, it’s important to apply a weed killer before sealing. Weeds can not only mar the appearance of your driveway but can also cause damage over time as their roots grow and push through the gravel.
Before applying the weed killer, carefully read and follow the instructions provided by the manufacturer. Some weed killers may require dilution with water, while others may be ready-to-use formulations.
Start by removing any visible weeds from the driveway using a hand tool, such as a garden trowel or weed puller. Be sure to remove the entire weed, including the roots, to prevent regrowth.
Once the visible weeds are removed, apply the weed killer according to the manufacturer’s instructions. Typically, this involves spraying the weed killer directly onto the weeds or the affected areas of the driveway. Take care to avoid overspray onto surrounding vegetation or areas where you don’t want the weed killer to reach.
Allow the weed killer to work its magic and effectively kill the weeds. This may take a few days, so be patient. In the meantime, refrain from watering the driveway or exposing it to heavy rainfall, as this may dilute the weed killer and reduce its effectiveness.
After the prescribed waiting period, inspect the driveway to ensure that the weeds are completely dead. If any weeds happen to survive, you may need to reapply the weed killer or manually remove the remaining weeds.
By applying a weed killer prior to sealing your gravel driveway, you’ll be able to enjoy a weed-free driveway and reduce the need for frequent weed removal in the future.
Read more: How To Plow A Gravel Driveway
Step 4: Fill Low Spots with Gravel
One common issue with gravel driveways is the development of low spots or depressions over time. These areas can collect water, creating puddles and compromising the overall stability of the driveway. Before sealing, it’s important to fill these low spots with additional gravel to ensure a smooth and even surface.
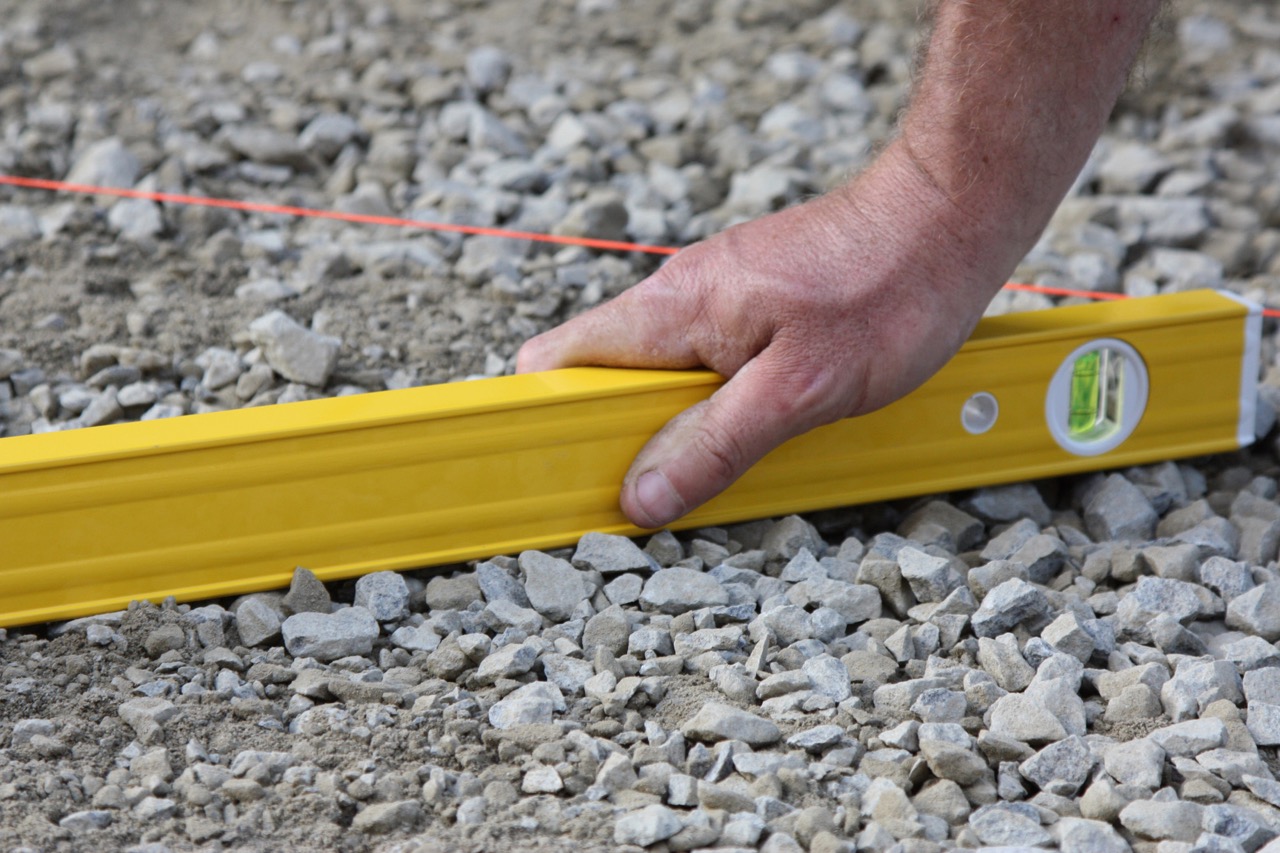
Start by identifying the low spots in your gravel driveway. These areas will typically appear sunken or uneven compared to the surrounding surface. Use a broom or rake to clear away any loose gravel or debris from the low spots.
Once the low spots are clear, add a layer of gravel to each area, using a shovel or wheelbarrow. Spread the gravel evenly across the low spots, ensuring that it fills the depressions completely. Level the gravel with a rake or the back of a shovel to create a seamless transition with the rest of the driveway.
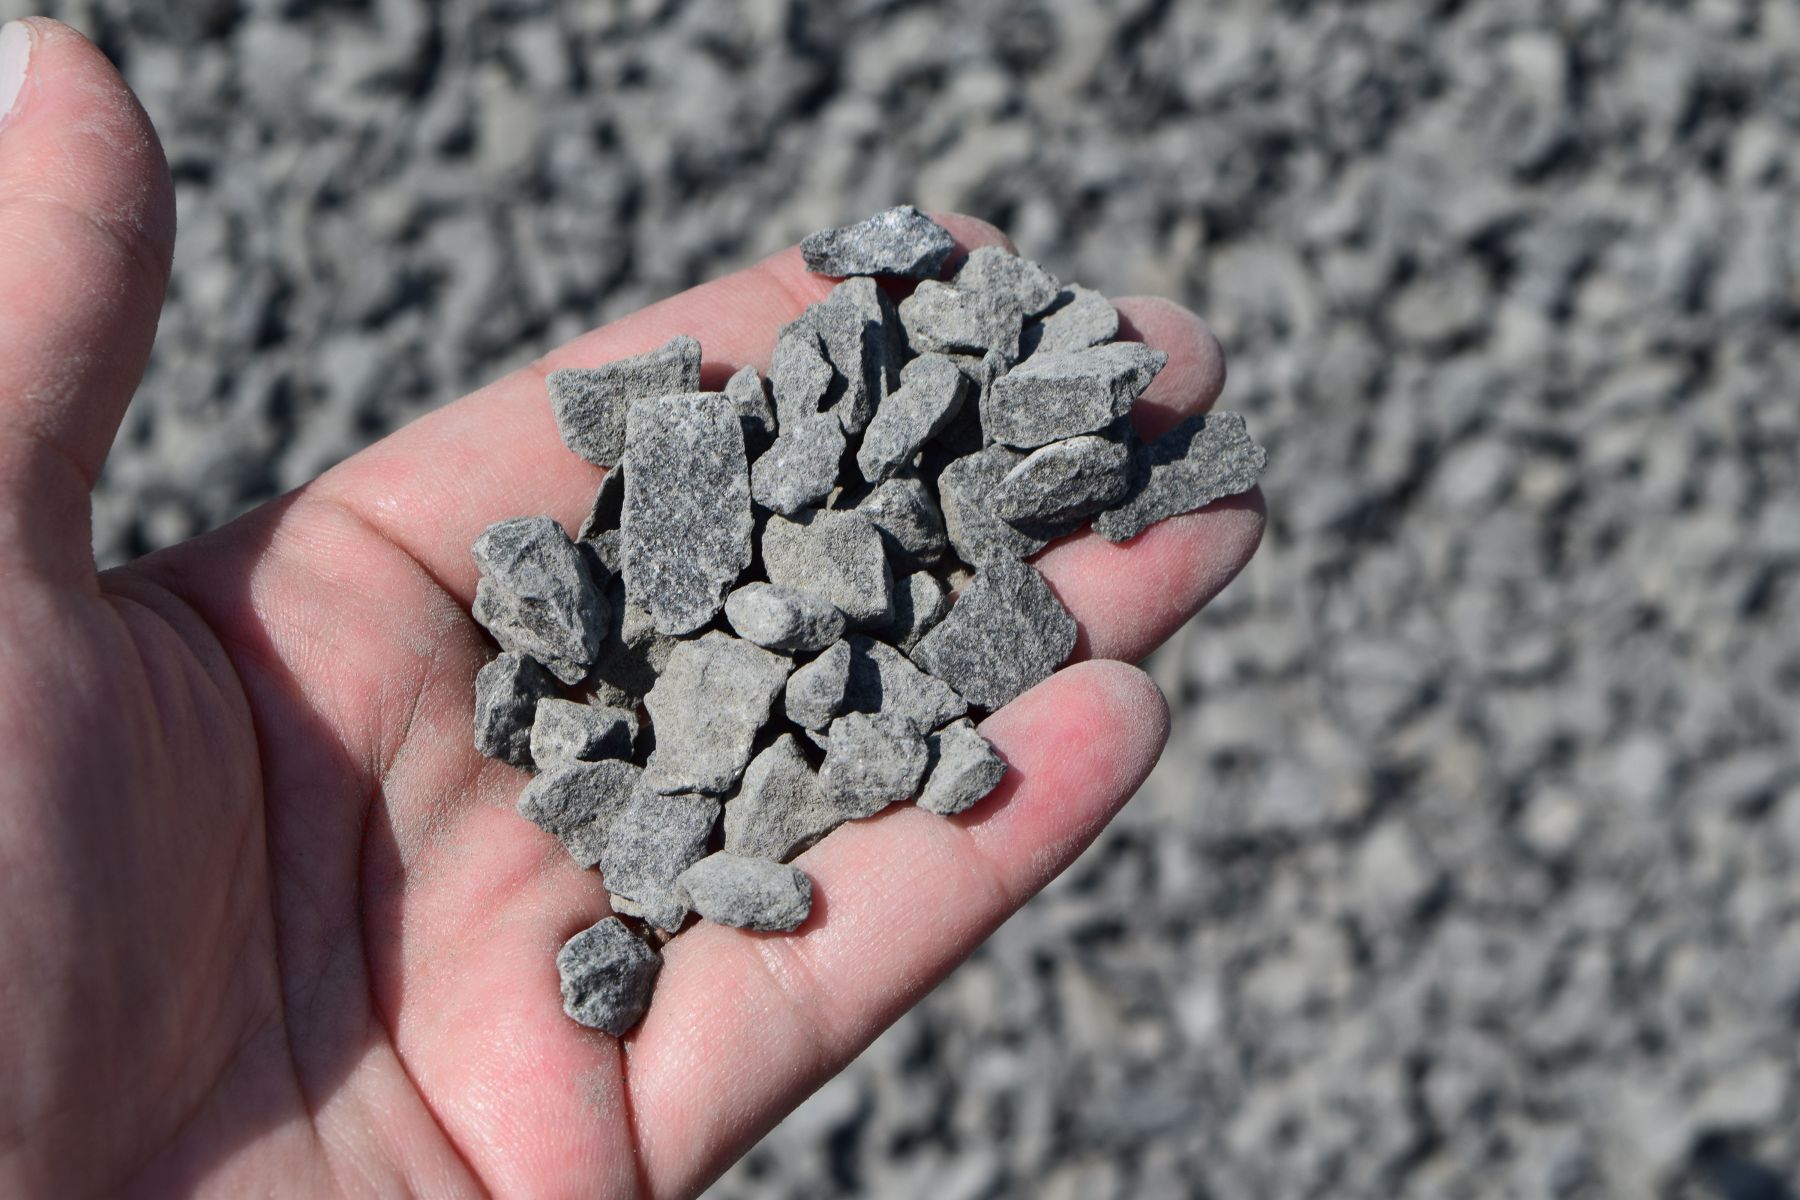
It’s important to choose the right type of gravel for this step. Ideally, you want to use the same type of gravel that is already present in your driveway to maintain consistency in appearance and quality. If needed, consult with a local gravel supplier to find a matching gravel option.
After filling the low spots, walk or drive over the newly added gravel to compact it and blend it with the existing driveway surface. This will help enhance the stability and longevity of the filled areas.
By filling the low spots in your gravel driveway, you’ll not only improve its appearance but also ensure that water drains properly and reduce the risk of potential damage.
Step 5: Choose the Right Sealing Product
Choosing the right sealing product is essential to achieve a long-lasting and effective seal for your gravel driveway. There are various types of sealants available, so it’s important to consider factors such as durability, appearance, and ease of application.
One popular option for sealing gravel driveways is an asphalt-based sealant. These sealants are designed specifically for asphalt surfaces and provide a durable protective layer that helps to prevent water penetration, reduce the growth of weeds, and extend the lifespan of the driveway.
Another option is a water-based sealant. These sealants are environmentally friendly and typically contain polymers that bond to the gravel surface, creating a protective barrier against weather elements and minimizing dust buildup. Water-based sealants are easy to apply and generally dry clear, preserving the natural look of the gravel.
Before making a decision, consider the specific needs and requirements of your gravel driveway. For example, if your driveway is prone to heavy traffic or harsh weather conditions, an asphalt-based sealant may provide added strength and protection. Conversely, if you prefer a more natural look and want to avoid harsh chemicals, a water-based sealant might be a better choice.
Additionally, read product labels and consult with experts or professionals to ensure that the chosen sealant is suitable for use on gravel surfaces. Some sealants may not be compatible with certain types of gravel or could negatively impact the appearance or performance of your driveway.
Ultimately, choose a sealing product that aligns with your specific needs and preferences, while also considering factors such as durability, compatibility, and environmental impact.
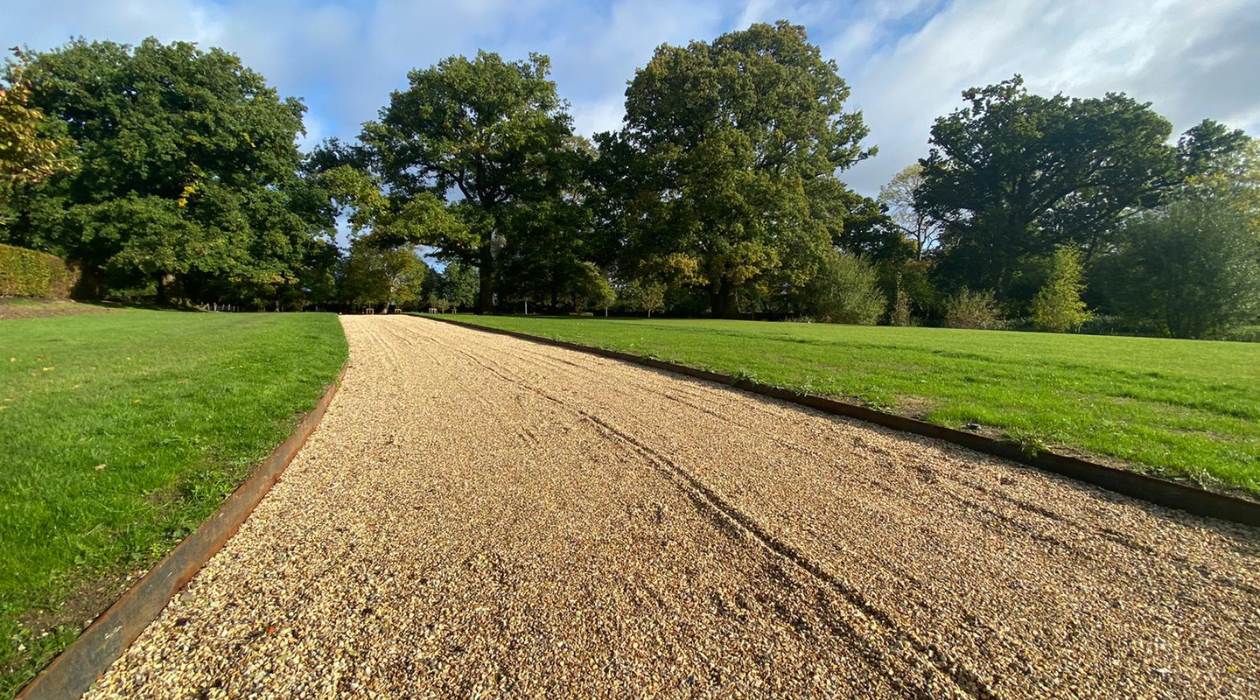
Apply a high-quality gravel driveway sealer using a sprayer or roller to ensure even coverage and protection against water, UV rays, and erosion.
Step 6: Apply the Sealant
Now that you’ve prepared the driveway and selected the appropriate sealant, it’s time to apply the sealant to your gravel driveway. Follow these steps to ensure a successful application:
- Read and carefully follow the instructions provided by the sealant manufacturer. Different sealants may have specific application guidelines, so it’s important to understand them before proceeding.
- Choose a dry and warm day for the application. Rain or excessive moisture can interfere with the sealant’s ability to bond properly with the gravel surface.
- Put on protective clothing, such as gloves, goggles, and a mask, to safeguard yourself from any potential chemicals or fumes emitted by the sealant.
- Pour the sealant into a suitable container or use the container provided by the manufacturer, if available. This will make it easier to apply the sealant evenly.
- Using a brush or roller, begin applying the sealant to the gravel driveway. Start at one end and work your way towards the other, ensuring thorough coverage of the entire surface. Apply the sealant in smooth, even strokes, making sure not to leave any gaps or streaks.
- Pay extra attention to areas prone to wear and tear, such as the edges of the driveway or spots where vehicles typically park or turn. These areas may require additional sealant to provide extra protection.
- Continue applying the sealant until the entire driveway is covered. Take breaks as needed to rest and refill the container with more sealant, if necessary.
Remember to work systematically and avoid stepping on the freshly applied sealant. This will prevent any accidental smudging or uneven distribution of the sealant.
By following these steps and applying the sealant properly, you’ll ensure that your gravel driveway receives maximum protection and improved longevity.
Step 7: Spread the Sealer Evenly
After applying the sealant to your gravel driveway, the next step is to spread it evenly to ensure a consistent and uniform coverage. Spreading the sealer evenly will help to enhance its effectiveness and appearance. Follow these steps to achieve an even spread:
- Once the initial application of the sealant is complete, use a long-handled squeegee or brush to spread it across the driveway surface. Choose a tool that is appropriate for the size of your driveway.
- Start at one end of the driveway and work your way towards the other, moving in overlapping passes. This will help to distribute the sealant evenly and avoid any missed spots.
- Apply light pressure on the squeegee or brush to ensure the sealant is spread smoothly without creating streaks or puddles.
- Take care to spread the sealant into corners and along the edges of the driveway, as these areas tend to be more vulnerable to wear and tear.
- Continue spreading the sealant until the entire driveway is evenly coated. Check the surface as you go to ensure an equal amount of sealant is applied to all areas.
- If you notice any excess sealant pooling or puddling in certain areas, use the squeegee or brush to redistribute it across the surface. This will help to prevent uneven drying and improve the overall appearance.
- Keep in mind that the sealant may appear darker while wet, but it will dry to its intended color once fully cured.
Spreading the sealer evenly is a critical step in the sealing process. It promotes proper adhesion and coverage, ensuring maximum protection and longevity for your gravel driveway.
Read more: How To Seal A Driveway
Step 8: Allow Sufficient Drying Time
After applying the sealant and spreading it evenly over your gravel driveway, it’s crucial to allow sufficient time for the sealant to dry and cure properly. The drying time can vary depending on factors such as weather conditions, the type of sealant used, and the thickness of the applied coat. Follow these guidelines to ensure the sealant dries effectively:
- Refer to the manufacturer’s instructions for the recommended drying time. This information is usually provided on the sealant container or in the product literature.
- Avoid walking or driving on the freshly sealed driveway during the drying process. This will prevent any potential damage to the sealant and ensure a smooth finish.
- Keep in mind that the weather can affect drying time. Ideally, choose a time when there is no rain or excessive humidity in the forecast. High temperatures and direct sunlight can accelerate drying, while cooler temperatures and high humidity may prolong the drying process.
- Patience is key. Allow the sealant to dry for at least 24 to 48 hours before allowing any foot or vehicle traffic on the driveway. For water-based sealants, a longer drying time of up to 72 hours may be required.
- During the drying period, be cautious not to disturb or touch the surface of the sealant. This can disrupt the curing process and compromise the effectiveness of the sealant.
By allowing sufficient drying time, you ensure that the sealant forms a strong bond with the gravel surface and provides optimal protection for your driveway. Rushing the drying process may result in premature wear and reduced longevity of the sealant.
Step 9: Add a Second Coat (Optional)
Adding a second coat of sealant to your gravel driveway is an optional step that can provide extra durability and protection. While not always necessary, it can be beneficial, especially for driveways that experience heavy traffic or harsh weather conditions. Follow these guidelines if you decide to apply a second coat:
- Before applying the second coat, ensure that the first coat has dried completely. Refer to the manufacturer’s instructions for the recommended drying time.
- Inspect the driveway for any missed spots or areas that may need additional coverage. This is your opportunity to touch up any areas that may have been overlooked during the initial application.
- If necessary, use a brush or roller to apply a second coat of sealant. Follow the same technique used for the first coat, ensuring even distribution and smooth coverage.
- Pay special attention to high-traffic areas, edges, and any other vulnerable spots that may require extra protection.
- Allow the second coat of sealant to dry and cure according to the manufacturer’s instructions. This may require another 24 to 48 hours, depending on the type of sealant used.
Applying a second coat can enhance the longevity and effectiveness of the sealant, providing an extra layer of protection for your gravel driveway. However, keep in mind that adding a second coat is not always necessary and may depend on the condition and specific needs of your driveway.
Step 10: Remove Excess Sealer
After allowing the sealant to dry and cure properly, it’s important to inspect the driveway and remove any excess sealer that may have accumulated during the application process. Removing excess sealer will improve the appearance of your gravel driveway and prevent any potential issues. Follow these steps to remove excess sealer:
- Inspect the surface of the driveway for any areas where the sealant appears thick, uneven, or pooled.
- Using a scraper or a putty knife, carefully scrape away the excess sealer from these areas. Be gentle to avoid damaging the underlying gravel surface.
- If necessary, you can also use a solvent recommended by the sealant manufacturer to dissolve any stubborn or dried sealer. Apply the solvent to a cloth and gently rub the affected area until the excess sealer is removed. Be sure to follow safety precautions and use the solvents in a well-ventilated area.
- Once you have removed the excess sealer, ensure that the driveway surface is smooth and uniform. Take the time to blend any scraped or treated areas with the rest of the driveway.
- Dispose of any excess sealer or solvent as per local regulations, as they may contain chemicals that can be harmful to the environment.
By removing excess sealer, you’ll create a more professional and polished look for your gravel driveway. It will also prevent any issues that may arise from thick or uneven sealant application.
Remember, it’s normal for some areas of the driveway to have a slightly different appearance due to variations in the gravel texture or color. As long as the excess sealer is removed and the overall surface is consistent, your gravel driveway should look clean and well-maintained.
Conclusion
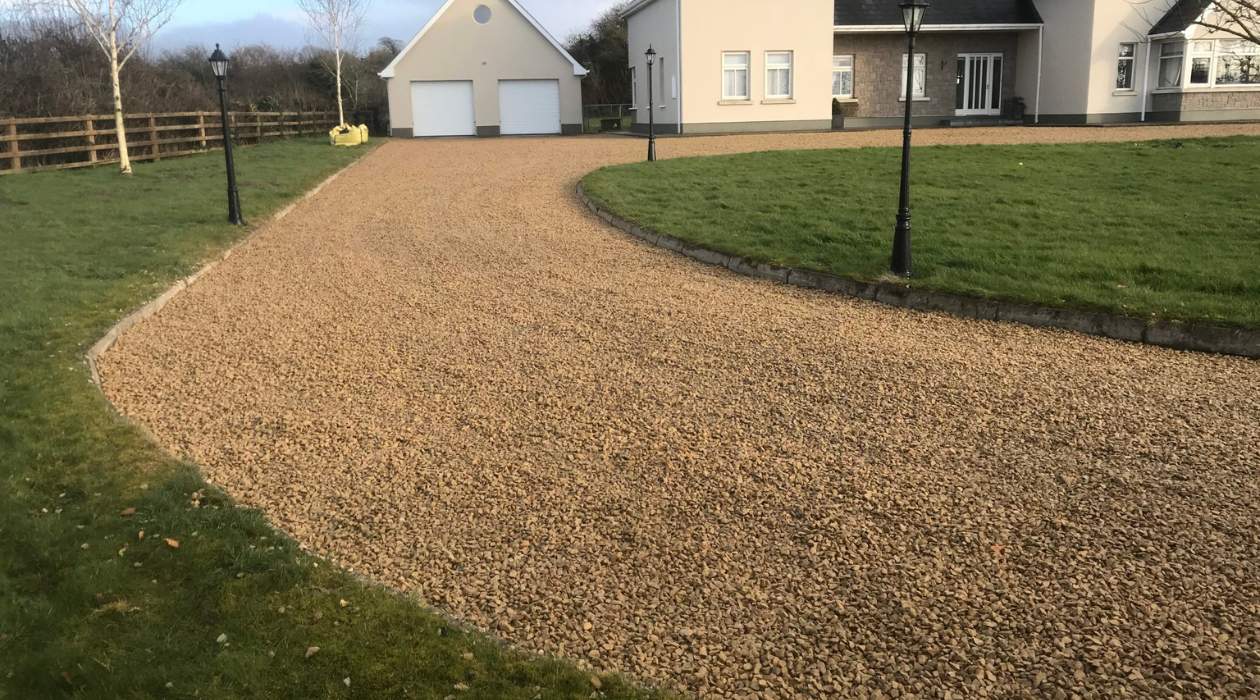
Sealing your gravel driveway is a vital step in preserving its functionality and appearance. By following the steps outlined in this guide, you can ensure that your driveway remains in optimal condition for years to come. From cleaning and preparing the surface to applying the sealant and removing excess sealer, each step plays a crucial role in the overall sealing process.
A well-maintained gravel driveway not only enhances the curb appeal of your property but also provides a durable surface for vehicles, reducing dust, and minimizing weed growth. Regularly sealing your driveway protects it from the damaging effects of weather, prevents cracks and potholes from developing, and extends its lifespan.
Remember to choose the right sealing product for your specific needs, whether it’s an asphalt-based or water-based sealant. Take your time to apply the sealant evenly and spread it thoroughly across the surface of the driveway. Allow ample drying time and consider adding a second coat for added protection if necessary.
By completing the sealing process and maintaining your gravel driveway, you ensure that it remains a functional and visually appealing feature of your property. Regular maintenance, including periodic resealing, will help preserve the integrity of your driveway and provide many years of use and enjoyment.
So, take the necessary steps to seal your gravel driveway and enjoy the benefits of a well-protected and beautiful outdoor space.
After mastering how to keep your gravel driveway in tip-top condition, why not give your garden a fresh new look? Dive into our collection of creative garden fence ideas that can transform any outdoor space. Whether you're aiming for privacy, beauty, or just a touch of personality, you'll find inspiration to design that perfect boundary. So, if you're all set to spruce up your landscape, check out our exciting guide for some innovative fencing solutions.
Frequently Asked Questions about How To Seal A Gravel Driveway
Was this page helpful?
At Storables.com, we guarantee accurate and reliable information. Our content, validated by Expert Board Contributors, is crafted following stringent Editorial Policies. We're committed to providing you with well-researched, expert-backed insights for all your informational needs.

0 thoughts on “How To Seal A Gravel Driveway”