
Articles
How To Edge A Gravel Driveway
Modified: October 20, 2024
Learn the best techniques for edging your gravel driveway with these informative articles. Enhance the overall appearance and functionality of your driveway with expert tips and advice.
(Many of the links in this article redirect to a specific reviewed product. Your purchase of these products through affiliate links helps to generate commission for Storables.com, at no extra cost. Learn more)
Introduction
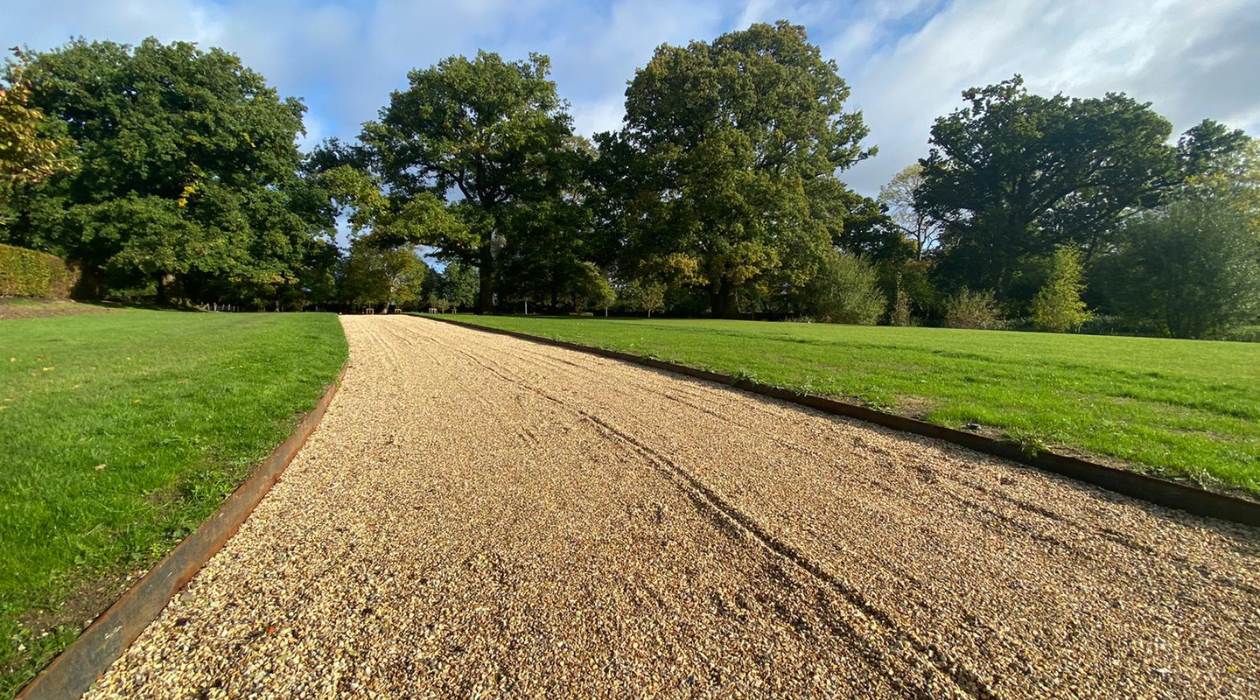
Having a gravel driveway can add beauty and functionality to your property. It provides a durable surface for vehicles and creates a rustic and charming aesthetic. However, without proper edging, the gravel can spread and become uneven, diminishing the driveway’s appeal and functionality. In this article, we will guide you through the process of edging a gravel driveway to enhance its appearance and ensure that the gravel stays in place.
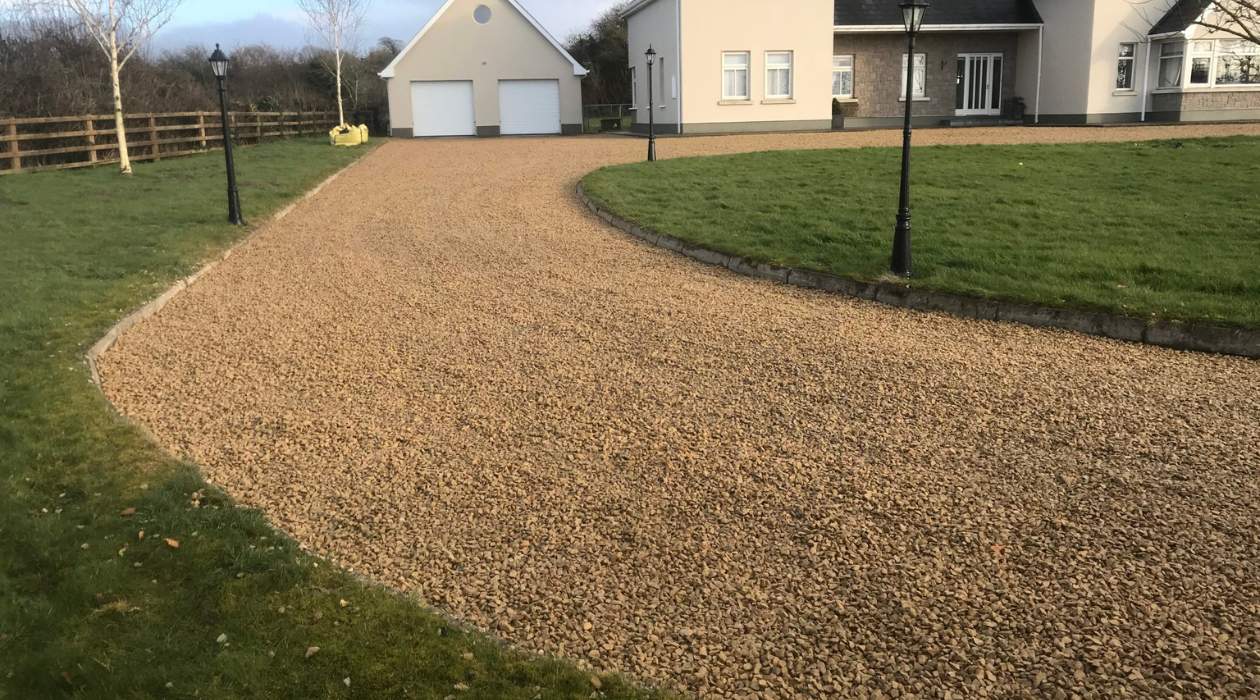
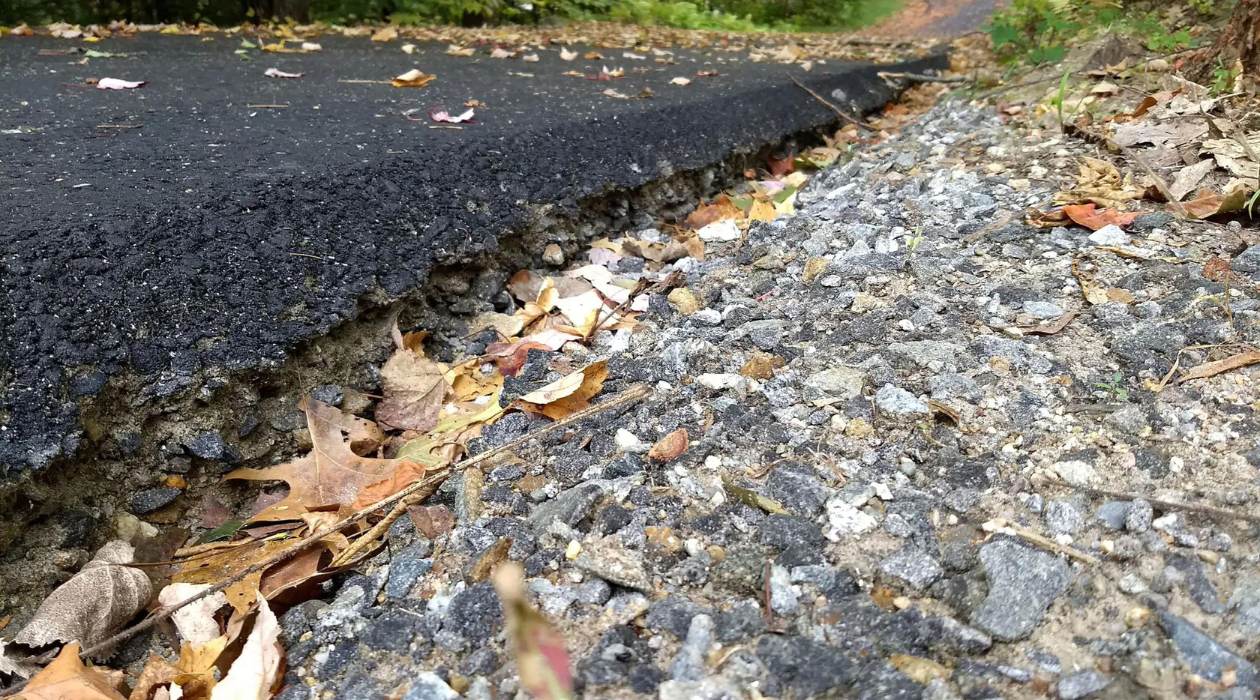
Edging is an essential step in maintaining a well-defined and tidy gravel driveway. It provides a physical barrier that prevents the gravel from spreading onto the surrounding areas or getting washed away during heavy rain. Additionally, edging creates a clean, finished look and helps to keep the driveway organized.
In the following steps, we will explain the process of edging a gravel driveway, from gathering the necessary tools to maintaining the driveway after the installation. By following these steps, you can achieve a professional-looking result and enjoy the benefits of a well-maintained and visually appealing gravel driveway.
Before we dive into the steps, remember that safety should always be a priority. Ensure that you wear appropriate safety gear, such as gloves and goggles, and exercise caution when handling tools and materials.
Now, let’s move on to the first step of the process – gathering the necessary tools.
Key Takeaways:
- Properly edging a gravel driveway enhances its appearance and functionality, preventing gravel spreading and adding a rustic charm to your property. Regular maintenance is key to preserving its integrity and aesthetics.
- Edging a gravel driveway involves gathering tools, preparing the area, installing edging materials, filling gaps with gravel, compacting the surface, and ongoing maintenance. This process ensures a professional-looking, durable, and visually appealing driveway.
Read more: How To Edge A Driveway
Step 1: Gather the necessary tools
Before you begin edging your gravel driveway, it’s essential to gather all the necessary tools and materials. Having everything at hand will make the process smoother and more efficient. Here are the tools you will need:
- Shovel or spade: A sturdy shovel or spade will be used to dig and remove any excess gravel from the edge of the driveway.
- String or twine: This will be used to create a guide line to ensure a straight and uniform edge.
- Wooden stakes: These will be used to secure the string or twine in place.
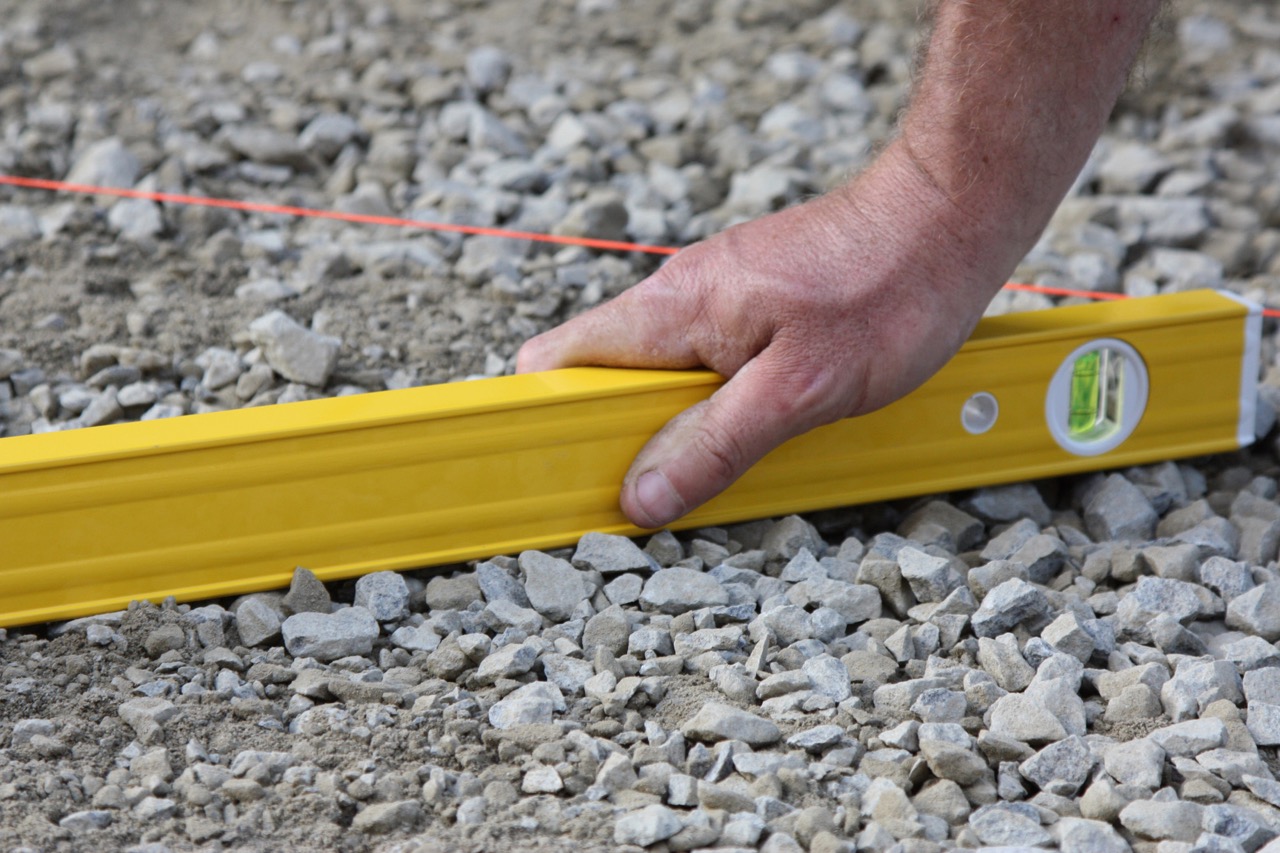
- Level: A level will be helpful in ensuring that the edging materials are installed evenly.
- Hammer: You will need a hammer to secure the edging materials in place.
- Edging materials: There are various options for edging materials, including plastic, metal, or wood. Choose a material that best suits your aesthetic preferences and budget.
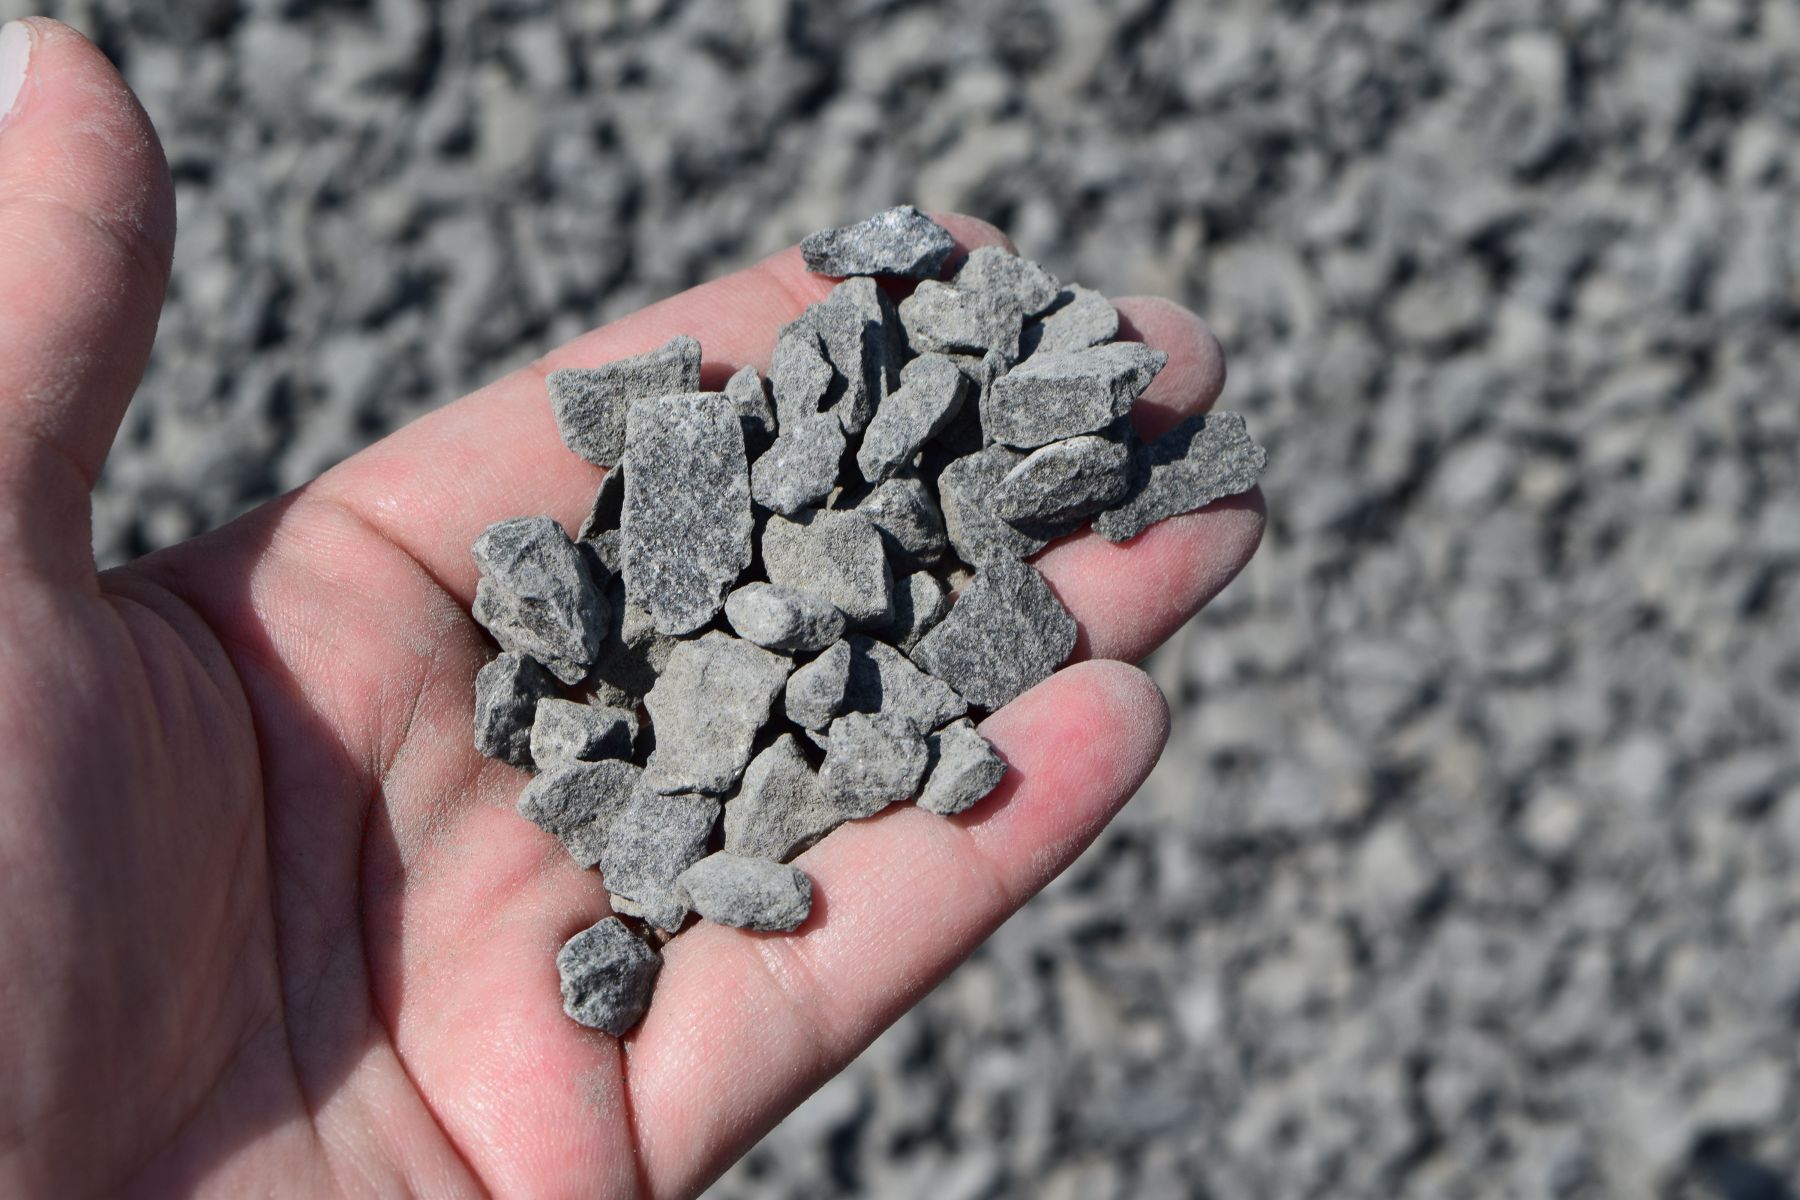
- Gravel: If your driveway is in need of gravel replenishment, make sure you have enough gravel to fill in the gaps after the edging is installed.
- Weed barrier fabric: This optional but recommended material will prevent weeds from growing in the gaps between the gravel.
Once you have gathered all the necessary tools and materials, you are ready to move on to the next step – preparing the area.
Step 2: Prepare the area
Before installing the edging materials, it’s important to prepare the area to ensure a smooth and effective installation. Follow these steps to properly prepare the area for the edging:
- Clear the driveway: Remove any existing obstacles or debris from the driveway, such as rocks, plants, or excess gravel. This will give you a clean and clear surface to work with.
- Mark the desired edge: Use the string or twine to mark the desired edge of your driveway. Start from one end and stretch the string across to the other end, ensuring it is pulled tightly and remains straight. Use the wooden stakes to secure the string in place.
- Excavate the area: Using a shovel or spade, dig along the marked edge to create a trench. The depth of the trench will depend on the height of the edging material you are using. Generally, a depth of around 4-6 inches should be sufficient. Make sure the trench is wide enough to accommodate the edging materials.
- Level the trench: Use a level to ensure that the trench is even and has a consistent slope. This will help with water drainage and overall stability.
- Add weed barrier fabric (optional): If you want to prevent weeds from growing in the gaps between the gravel, consider laying down a weed barrier fabric along the trench. Cut the fabric to fit the length of the trench and secure it in place.
By properly preparing the area, you are setting the foundation for a successful edging installation. Once the area is prepared, you can move on to the next step – installing the edging materials.
Step 3: Install the edging materials
Now that the area is prepared, it’s time to start installing the edging materials. The type of edging material you choose will depend on your personal preference, budget, and the overall aesthetic you want to achieve. Here are the steps to install the edging materials:
- Start at one end of the driveway: Begin installing the edging materials at one end of the trench. Position the first piece of the edging material firmly against the side of the trench, ensuring it is level and aligned with the desired edge of the driveway. Use a hammer to secure the edging material in place, driving stakes or nails through the pre-drilled holes if necessary.
- Continue along the trench: Move along the trench, fitting the subsequent pieces of edging material snugly against each other. Overlap the ends of the edging material slightly to create a seamless connection. Use the hammer to secure each piece in place, making sure they are level and aligned.
- Flexible edging materials: If you are using flexible edging materials, such as plastic or rubber, they can easily be bent to follow the desired curve of your driveway. Use landscape spikes or stakes to secure flexible edging materials in place every few feet.
As you proceed with installing the edging materials, periodically step back to ensure that everything is straight and aligned. Adjust as necessary to achieve a cohesive and professional-looking result.
Once all the edging materials are installed, you can move on to the next step – securing the edging in place.
Step 4: Secure the edging in place
After installing the edging materials, it’s important to secure them in place to ensure stability and longevity. Here are the steps to securely fasten the edging:
- Check for stability: Before securing the edging, make sure it is level and stable along the entire length of the driveway. Adjust any pieces that may have shifted during the installation process.
- Use landscape spikes or stakes: Depending on the type of edging material you are using, you may need to use landscape spikes or stakes to secure it in place. Align the spikes or stakes with the pre-drilled holes in the edging material and drive them into the ground. Place the spikes or stakes at regular intervals, ensuring that the edging is held securely.
- Hammer nails into wooden edging: If you are using wooden edging, hammer nails into the edging and into the ground to provide additional stability. Space the nails evenly along the length of the edging.
- Recheck for levelness: Once the edging is secured, double-check its levelness and adjust as needed. Use a level to ensure that the top edge of the edging is straight and even.
Securing the edging in place is crucial to prevent any movement or shifting of the materials. It ensures that the edging remains intact and effectively keeps the gravel contained within the driveway.
With the edging securely fastened, you can now move on to the next step – filling the gaps with gravel.
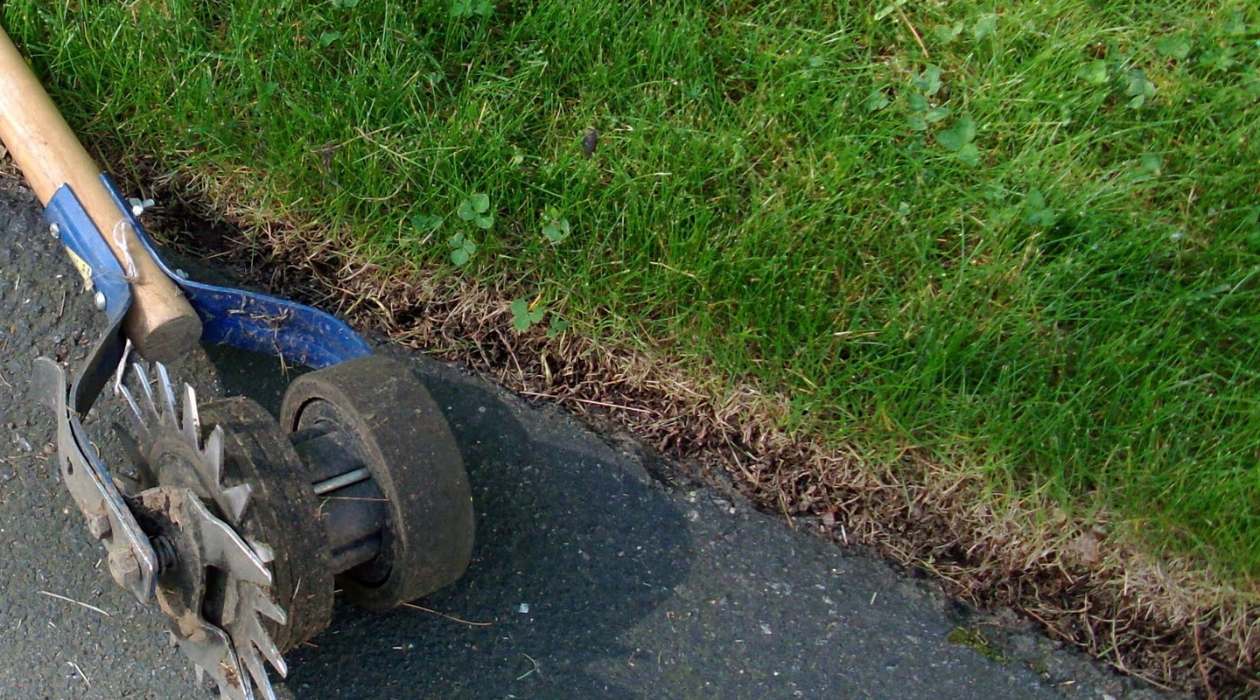
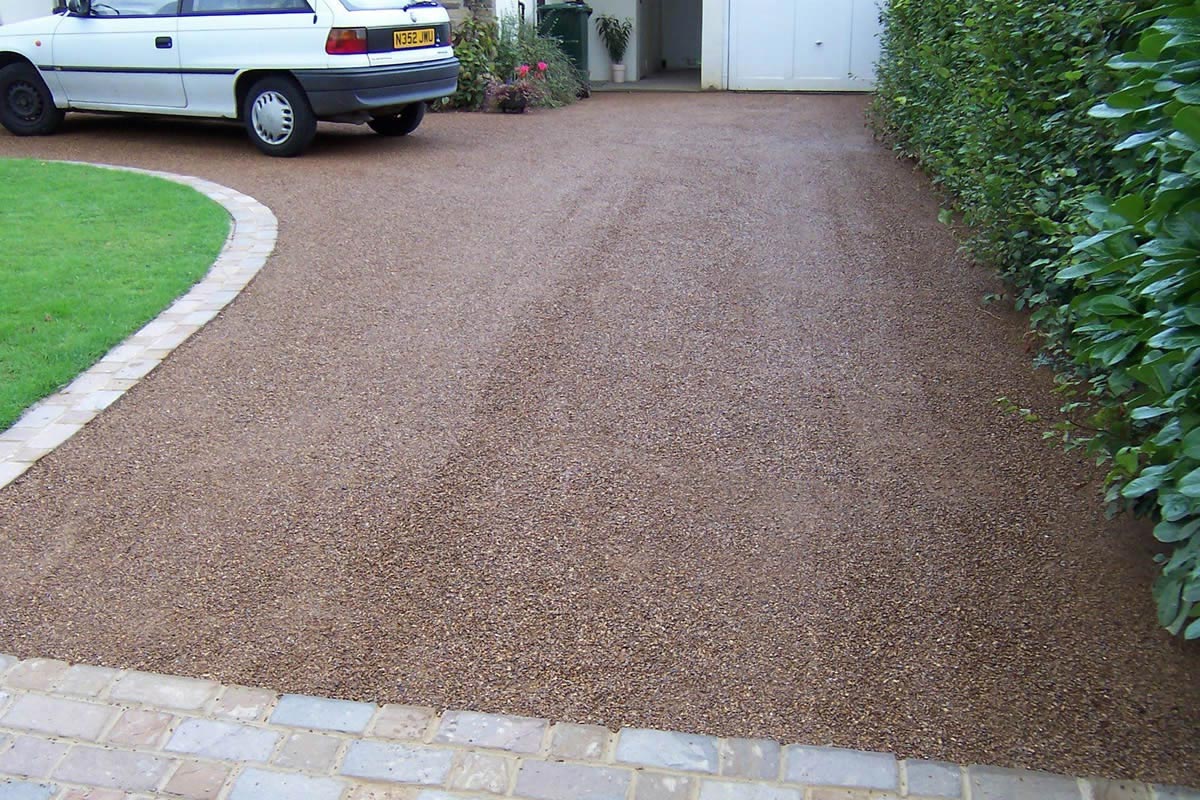
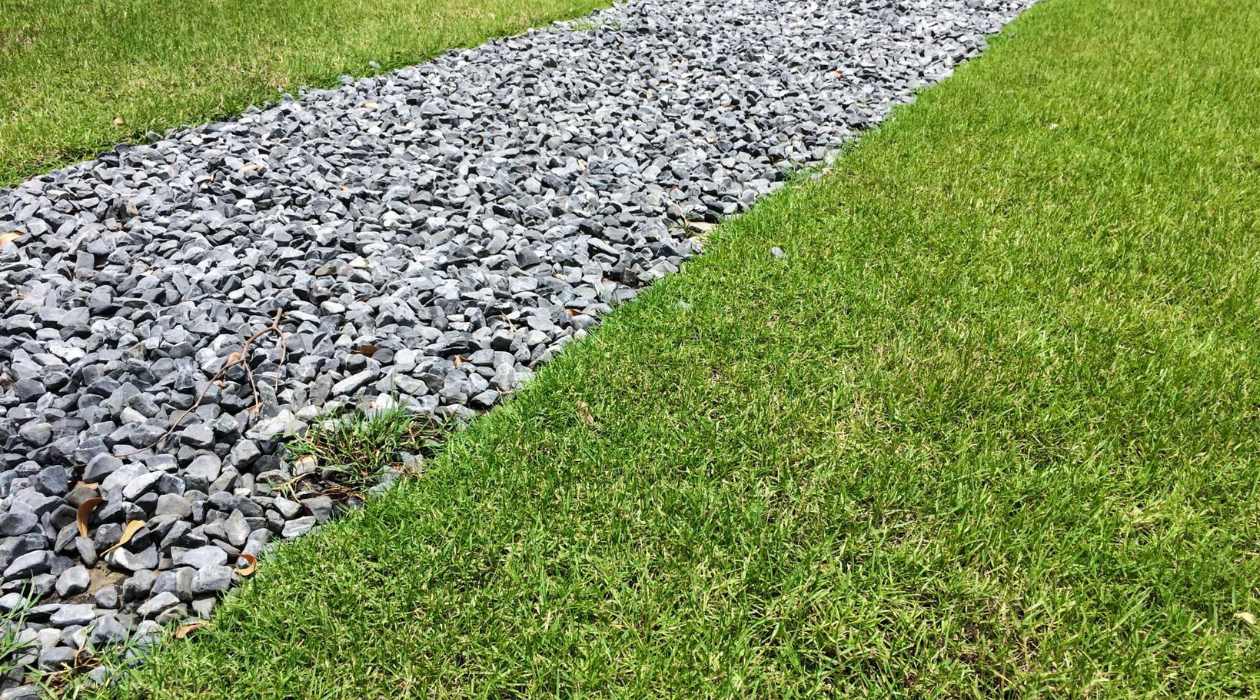
To edge a gravel driveway, use a spade to create a clean border between the driveway and surrounding grass or landscaping. This will help prevent gravel from spreading and give the driveway a neat, finished look.
Read more: How To Maintain Gravel Driveway
Step 5: Fill the gaps with gravel
With the edging materials in place and secured, it’s time to fill the gaps between them with gravel. This step will not only enhance the appearance of your driveway but also provide stability to the edging. Follow these steps to fill the gaps with gravel:
- Start at one end: Begin filling the gaps at one end of the driveway. Use a shovel or wheelbarrow to pour the gravel into the gaps between the edging materials.
- Spread the gravel evenly: Use a rake or shovel to evenly distribute the gravel. Make sure to fill the gaps completely, ensuring that the gravel is level with the edging materials.
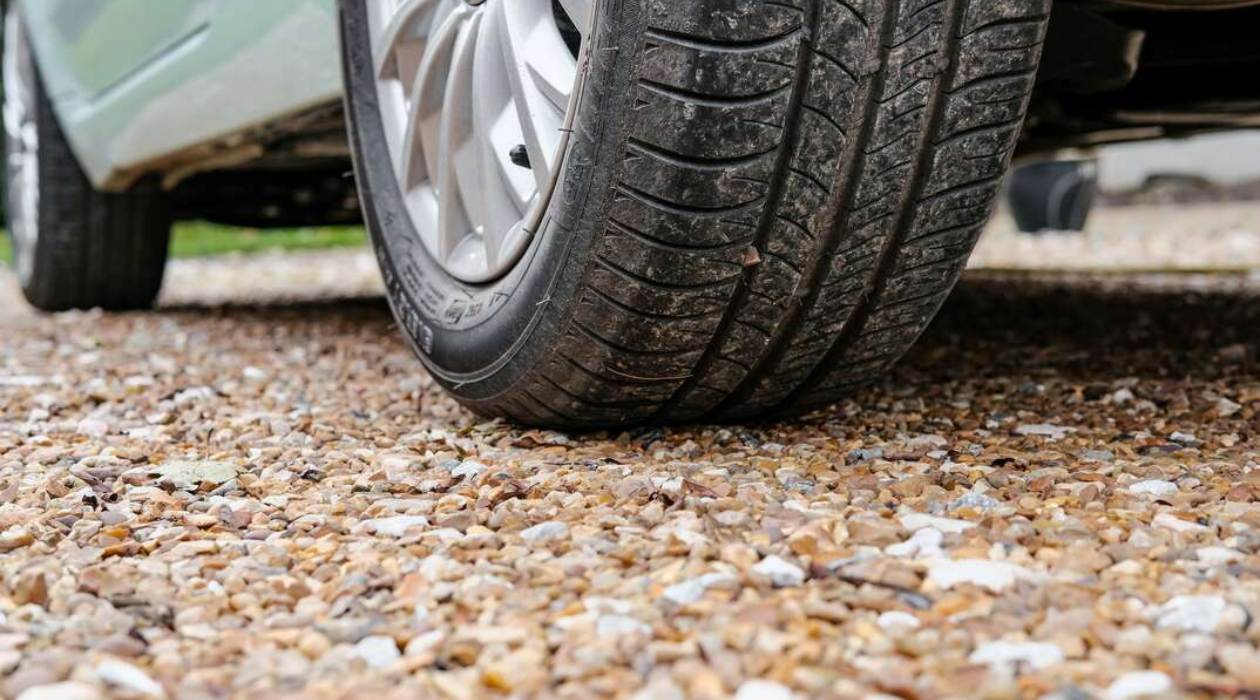
- Compact the gravel: To ensure stability, use a tamper or compactor to compact the gravel. This will help the gravel settle firmly into place and prevent it from shifting over time.
- Check for evenness: As you compact the gravel, periodically step back and check for evenness. Make any necessary adjustments to ensure a smooth and consistent surface.
Filling the gaps with gravel not only provides a finished look but also helps to reinforce the stability of the driveway. The compacted gravel will prevent the edging materials from shifting and maintain the overall integrity of the driveway.
With the gaps filled, you can move on to the next step – compacting the gravel.
Step 6: Compact the gravel
After filling the gaps with gravel, it’s important to properly compact the gravel to ensure a stable and durable surface. Compacting the gravel helps to prevent displacement and maintain a smooth and level driveway. Follow these steps to compact the gravel:
- Use a mechanical compactor: Rent or borrow a mechanical compactor from a local hardware store. These machines, also known as plate compactors, are specifically designed for compacting gravel and other loose materials.
- Start at one end: Begin compacting the gravel at one end of the driveway and work your way towards the other end. Ensure that you cover the entire surface of the driveway.
- Pass over each area multiple times: To achieve optimal compaction, go over each area of the driveway multiple times with the compactor. This will help to firmly settle the gravel and remove any air pockets.
- Move in a systematic pattern: Avoid random movements with the compactor. Instead, move in a systematic pattern, such as overlapping rows, to ensure even compaction.
- Check for evenness: Throughout the compacting process, periodically step back and inspect the gravel for evenness. Make any necessary adjustments to ensure a uniformly compacted surface.
Properly compacting the gravel will enhance the stability of your driveway and minimize the risk of future issues such as sinking or shifting. It ensures that the gravel remains firmly in place, providing a reliable surface for vehicles and foot traffic.
With the gravel compacted, you can move on to the final step – cleaning up and maintaining the driveway.
Step 7: Clean up and maintain the driveway
Once the edging is installed, the gaps are filled with gravel, and the surface is compacted, it’s time to clean up and maintain your newly edged gravel driveway. Following these steps will help keep your driveway in great condition:
- Remove excess gravel: Use a broom or rake to sweep away any excess gravel that may have spilled onto the surrounding areas during the installation process. Pay particular attention to the edges of the driveway.
- Inspect the edging: Take a close look at the edging materials and ensure that they are securely in place. Check for any damage or signs of movement. If necessary, re-secure or replace any damaged sections.
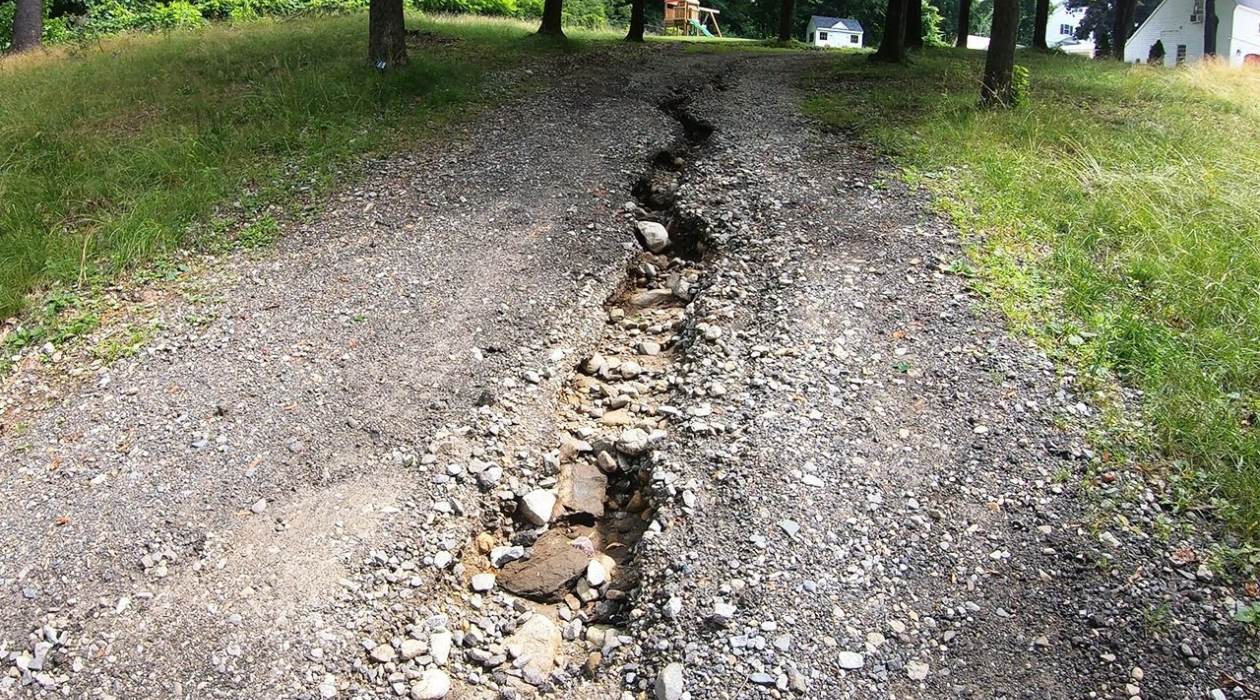
- Address drainage issues: Monitor the driveway during rain showers or after watering to identify any drainage issues. If you notice pooling water or uneven water flow, consider adjusting the grade or adding drainage solutions to prevent water damage and erosion.
- Regular maintenance: Establish a routine maintenance schedule for your gravel driveway. This may involve periodically sweeping away debris, filling in any gaps with additional gravel, and recompacting the surface as needed.
- Prevent weed growth: To keep weeds from sprouting up between the gravel, consider using a weed killer or applying a pre-emergent herbicide to the driveway. Alternatively, manually remove any weeds that may appear.
- Repair any damage: If you notice any cracks or potholes in the gravel driveway, repair them promptly to prevent further deterioration. Fill the cracks with gravel and compact it or consider using a patching compound for larger repairs.
- Regular inspections: Regularly inspect your gravel driveway for signs of wear and tear. Address any issues as soon as possible to prevent them from worsening and requiring more extensive repairs.
Maintaining your gravel driveway will ensure its longevity and keep it looking its best. By regularly cleaning and addressing any issues, you can enjoy a well-maintained driveway that adds beauty and functionality to your property for years to come.
With these steps, you have successfully learned how to edge a gravel driveway. Following these guidelines will help you achieve a professionally edged and visually appealing driveway that not only enhances your property’s aesthetics but also provides a functional and durable surface.
Remember, regular maintenance and upkeep are key to preserving the integrity and appearance of your gravel driveway. With proper care, you can enjoy a well-maintained driveway that adds value and curb appeal to your property.
Now, grab your tools and get started on enhancing your gravel driveway with a neat and defined edge!
Conclusion
Edging a gravel driveway is a crucial step in maintaining its appearance and functionality. By following the steps outlined in this article, you can achieve a professional-looking result that prevents the gravel from spreading and enhances the overall aesthetics of your driveway.
Gathering the necessary tools, preparing the area, installing the edging materials, securing them in place, filling the gaps with gravel, compacting the surface, and maintaining the driveway are all integral parts of the edging process.
Properly executed edging not only adds a clean and finished look to your driveway but also ensures that the gravel stays in place, preventing erosion and maintaining a tidy appearance. The edging materials act as a physical barrier, keeping the gravel contained and preventing it from spreading onto surrounding areas.
Maintaining your gravel driveway should be an ongoing effort. Regularly inspecting, cleaning, and addressing any issues will help prolong its lifespan and keep it in optimal condition. By following a routine maintenance schedule and promptly addressing any repairs or drainage issues, you can enjoy a beautiful and functional gravel driveway for years to come.
Remember, safety should always be a priority during the edging process. Ensure you wear appropriate safety gear and exercise caution when handling tools and materials.
Now that you have learned how to edge a gravel driveway, it’s time to put your knowledge into practice. Take the necessary steps to transform your driveway into a visually appealing and well-maintained feature of your property.
So, gather your tools, roll up your sleeves, and let’s create a stunning edge for your gravel driveway!
Frequently Asked Questions about How To Edge A Gravel Driveway
Was this page helpful?
At Storables.com, we guarantee accurate and reliable information. Our content, validated by Expert Board Contributors, is crafted following stringent Editorial Policies. We're committed to providing you with well-researched, expert-backed insights for all your informational needs.
0 thoughts on “How To Edge A Gravel Driveway”