Articles
How To Plow A Gravel Driveway
Modified: August 22, 2024
Learn how to plow a gravel driveway with our informative articles. Discover tips and techniques for efficient and effective snow removal, ensuring a clear pathway all winter long.
(Many of the links in this article redirect to a specific reviewed product. Your purchase of these products through affiliate links helps to generate commission for Storables.com, at no extra cost. Learn more)
Introduction
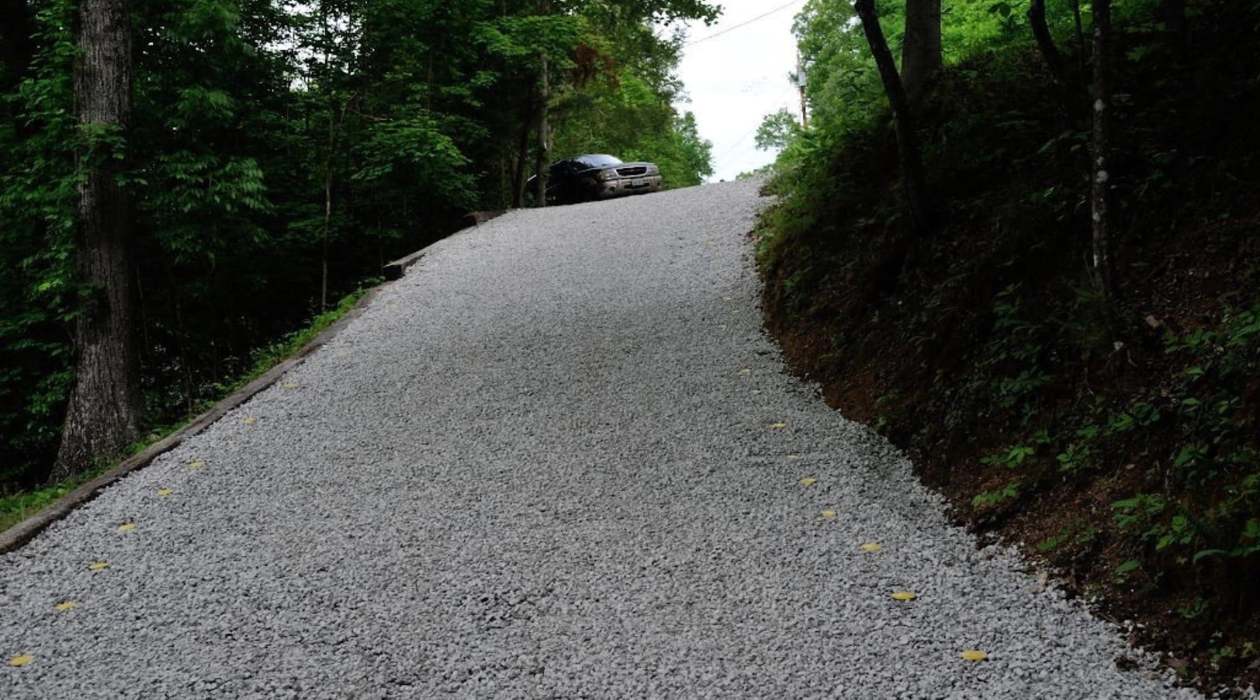
Welcome to our comprehensive guide on how to plow a gravel driveway. If you live in an area that experiences heavy snowfall during the winter months, keeping your driveway clear and accessible can be a challenging task. Unlike paved driveways, gravel driveways require special care and techniques to prevent damage to the surface while effectively removing snow. In this article, we will walk you through the essential steps and best practices for plowing your gravel driveway, ensuring smooth and efficient snow removal.
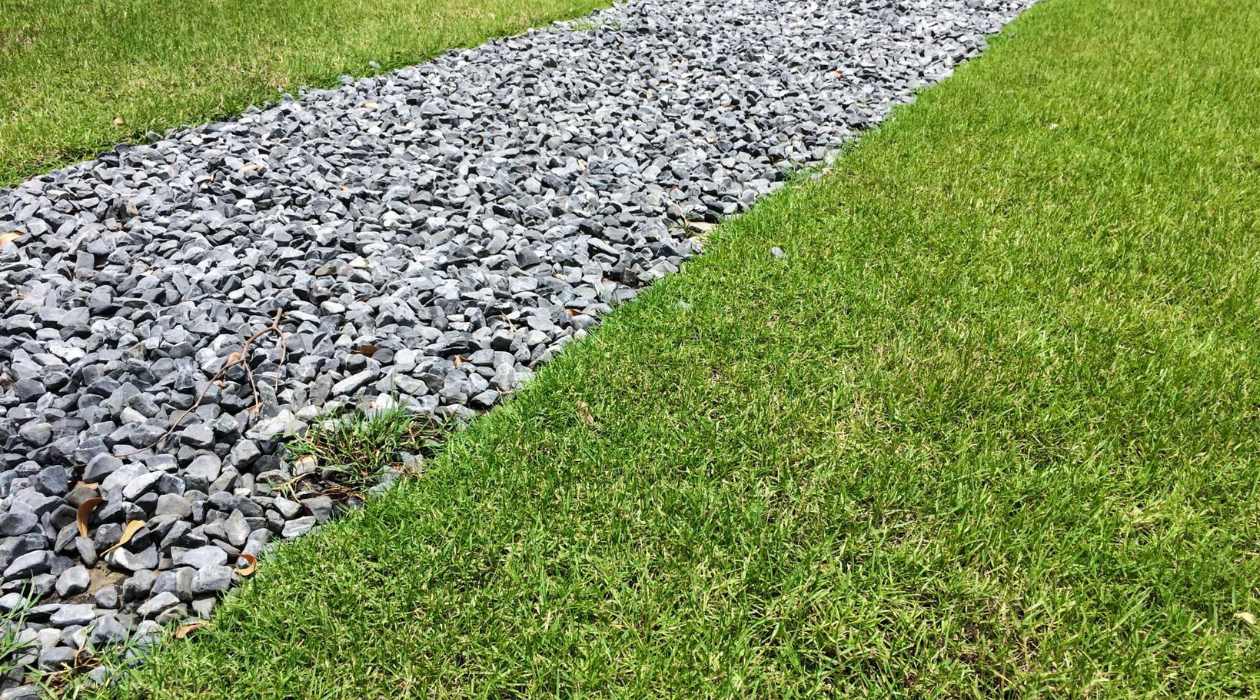
Before we begin, it’s important to note that plowing a gravel driveway is not the same as plowing a paved driveway. The loose nature of gravel makes it susceptible to displacement and damage when subjected to the weight and force of a plow. Therefore, taking the necessary precautions and using the correct techniques will help minimize any adverse effects on your driveway’s condition.
In the following sections, we will provide step-by-step instructions, along with helpful tips and insights, to ensure successful snow removal without causing harm to your gravel driveway. From gathering the necessary equipment to the final cleanup, we’ll cover it all. So, let’s get started!
Key Takeaways:
- Plowing a gravel driveway requires specialized techniques and equipment to prevent damage. Adjusting the plow blade, clearing debris, and plowing in sections are essential steps for effective snow removal without harming the gravel surface.
- After plowing, proper snow pile removal and final cleanup are crucial for maintaining a safe and well-maintained gravel driveway. Attention to detail, including inspecting for damage and making necessary repairs, ensures the long-term durability of the driveway.
Read more: How To Maintain Gravel Driveway
Step 1: Gather the Necessary Equipment
Before you begin plowing your gravel driveway, it’s essential to have the appropriate equipment on hand. This will not only make the process more efficient but also ensure that you can effectively tackle the task at hand. Here are the essential tools and equipment you’ll need:
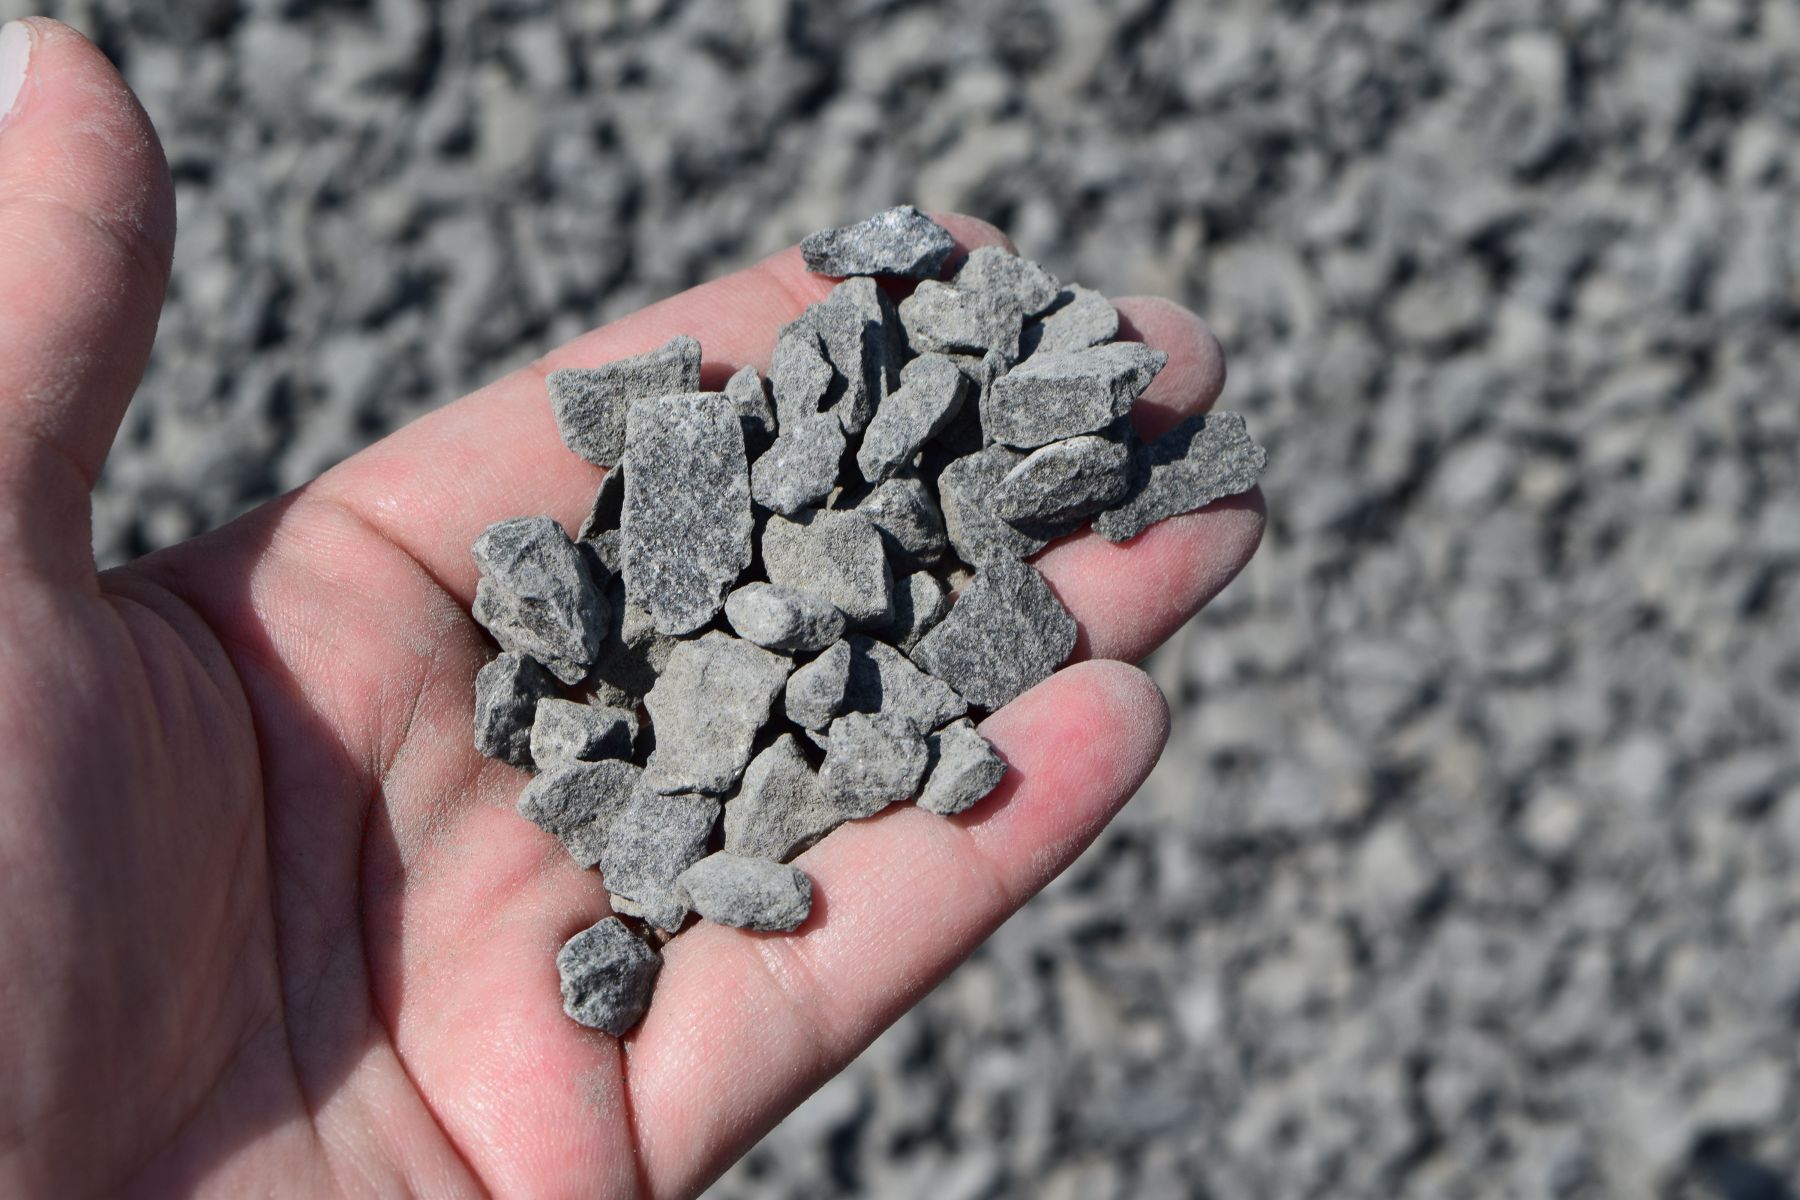
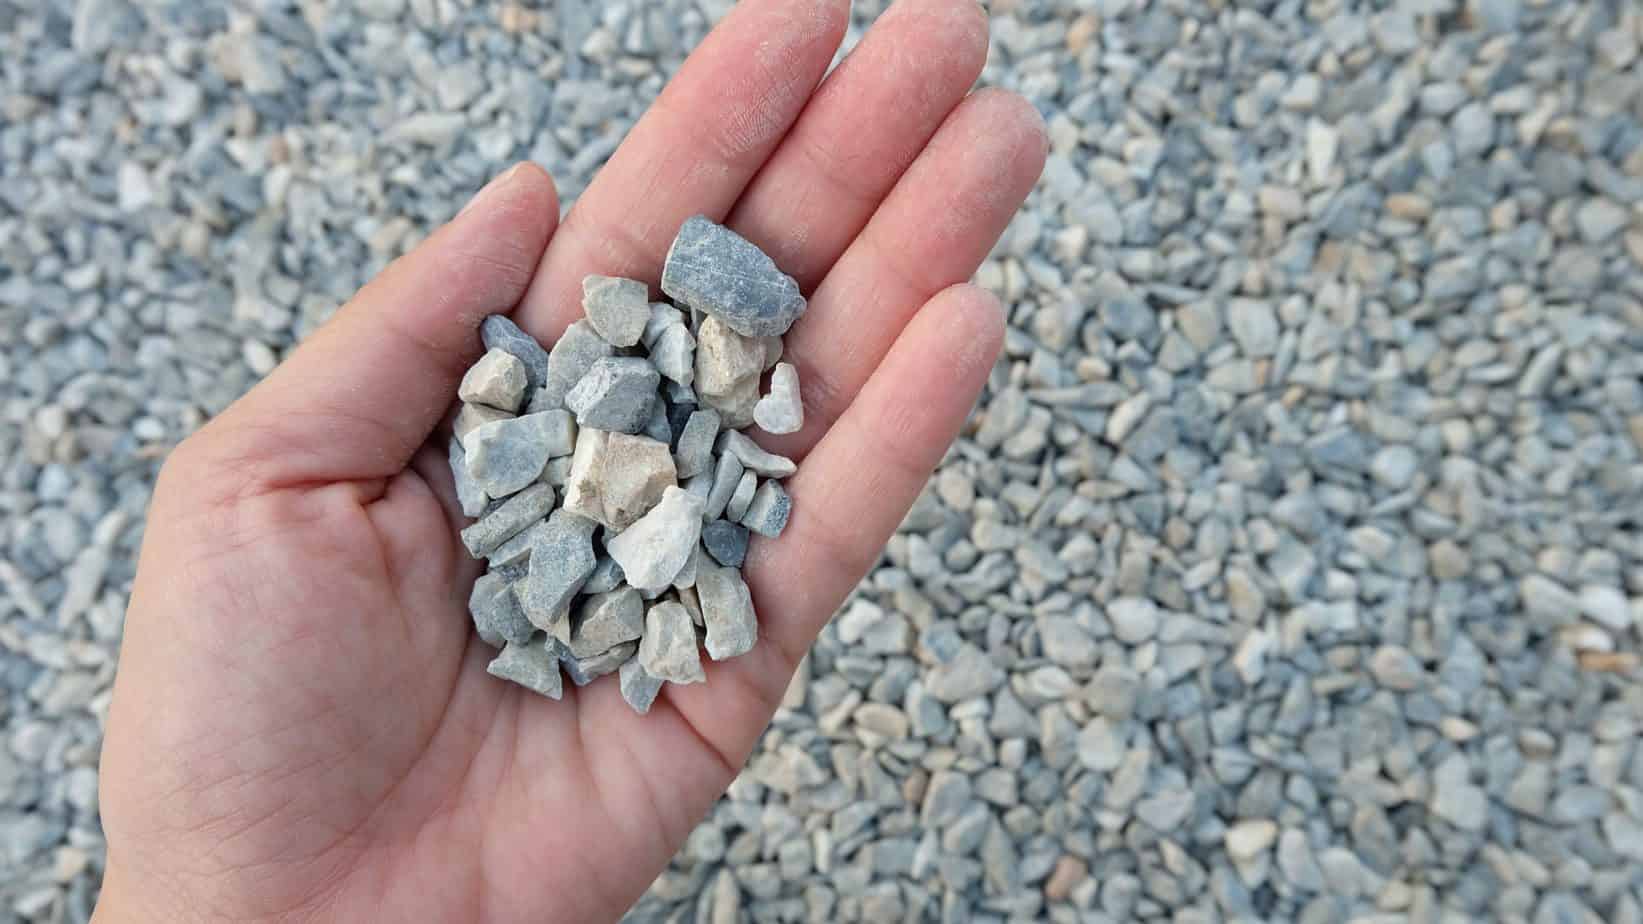
- Snow Plow: Invest in a snow plow attachment or blade that is specifically designed for use on gravel surfaces. These plows typically have adjustable settings to prevent them from digging into the gravel and causing damage.
- Tractor or Truck: You’ll need a vehicle with sufficient power and traction to operate the plow. A sturdy tractor or a truck with plow attachments are common choices for gravel driveway plowing.
- Safety Gear: Ensure that you have the appropriate safety gear, such as gloves, a warm hat, and waterproof boots, to protect yourself from the cold and wet conditions.
- Shovel: A sturdy shovel will come in handy for areas that are difficult to reach with the plow, such as corners or near obstacles like trees or fences.
- Reflective Markers: It’s a good idea to place reflective markers along the edges of your driveway to increase visibility for both yourself and others during plowing.
- Salt or Ice Melt: Stock up on salt or ice melt to help melt any remaining ice or prevent slippery conditions after plowing.
Make sure that all of your equipment is in good working condition and properly maintained before you begin. This will ensure that you can efficiently tackle the snow removal task and minimize any potential issues along the way.
Once you’ve gathered all the necessary equipment, you’re ready to move on to the next step: clearing the driveway.
Step 2: Clear the Driveway
Before you start plowing, it’s important to clear any obstacles or debris from your gravel driveway. This will help prevent damage to your plow and ensure smoother, more effective snow removal. Here’s how to clear your driveway:
- Remove any large debris: Walk along your driveway and remove any large branches, rocks, or other debris that could potentially obstruct the plowing process. Clearing these items beforehand will help prevent damage to your plow and ensure a safer plowing experience.
- Mark any hidden obstacles: Take note of any hidden obstacles, such as tree stumps or large rocks buried in the snow. Mark these areas with reflective markers or flags to ensure they are visible during plowing and avoid collisions or damage.
- Clear snow from entrances and exits: If possible, clear snow from the entrances and exits of your driveway to allow for easy access and prevent snow buildup that could block your path later on.
By clearing your driveway of debris and marking any hidden obstacles, you’ll create a safer and more efficient environment for the plowing process. Remember to take your time and be thorough when clearing the driveway, as this will make the subsequent steps much easier to complete.
Now that your driveway is clear, it’s time to adjust the plow blade to ensure optimal performance. This will be covered in the next step.
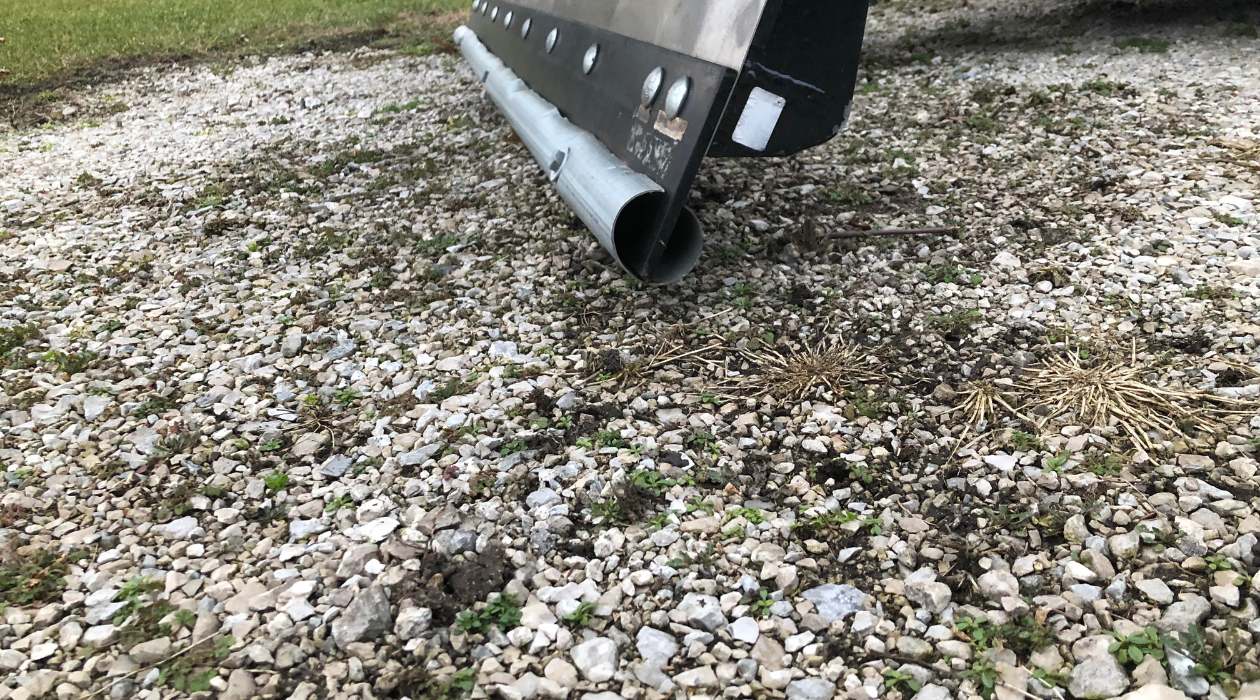
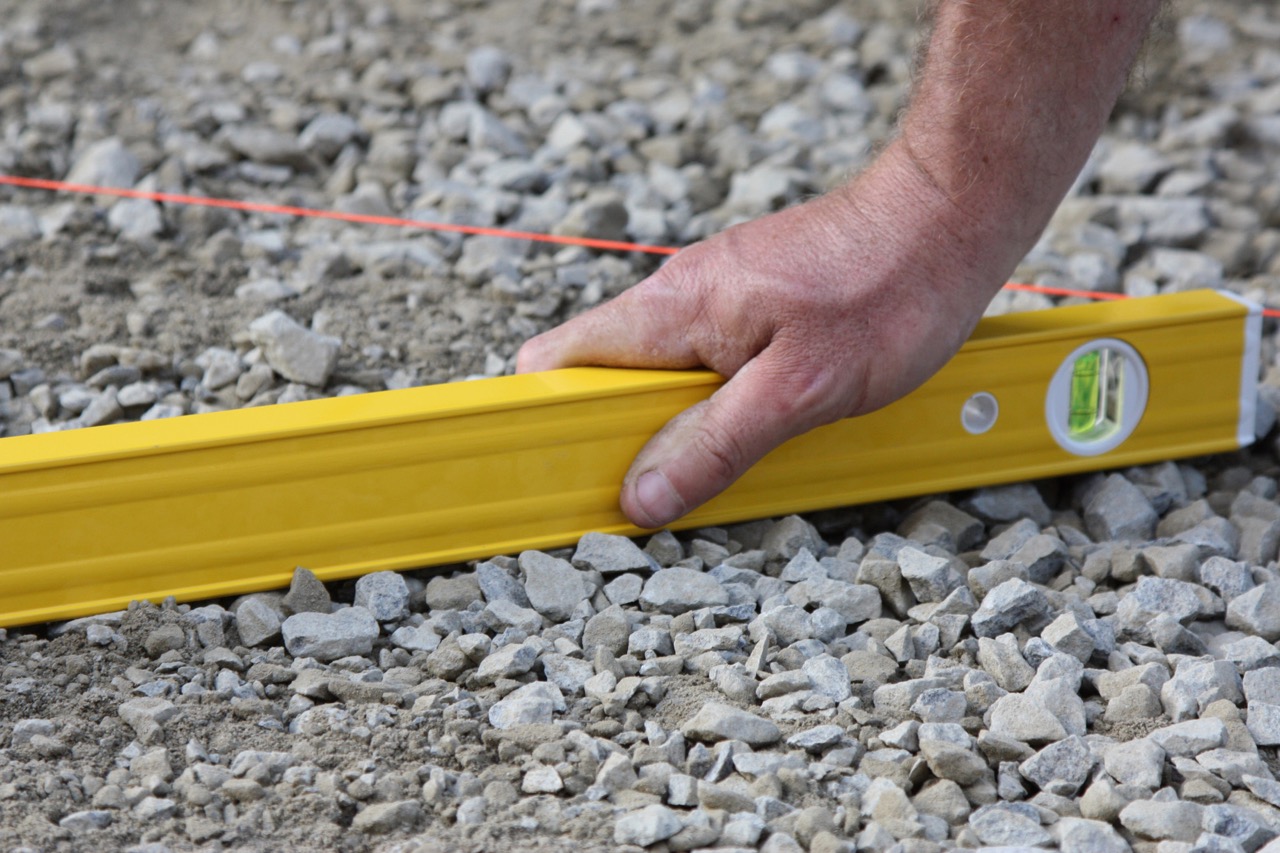
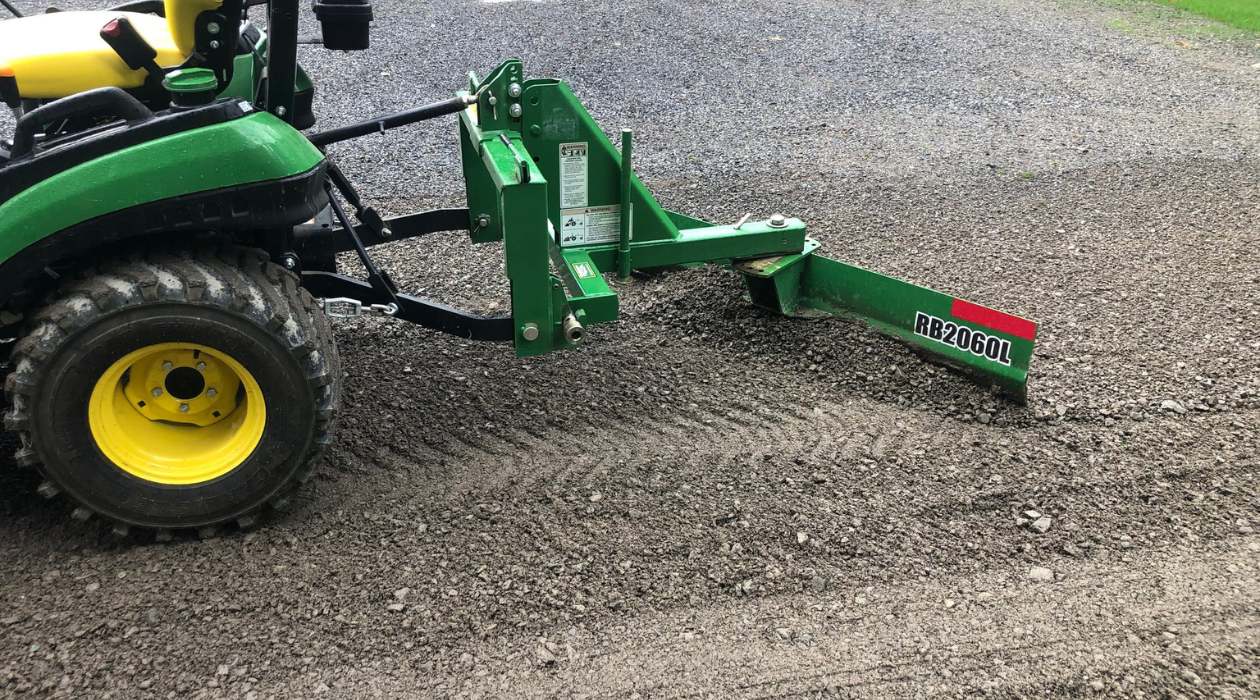
Step 3: Adjust the Plow Blade
Properly adjusting the plow blade is crucial for effective snow removal on a gravel driveway. With the right adjustments, you can minimize the risk of damaging the gravel and ensure that your plow operates smoothly. Follow these steps to adjust the plow blade:
- Set the blade height: Start by adjusting the height of the plow blade to ensure that it hovers just above the gravel surface. This will prevent the blade from digging into the gravel and causing unnecessary damage. Most plows have a height adjustment mechanism that allows you to customize the blade height based on your specific driveway.
- Angle the blade: Depending on the amount and density of the snow, you may want to angle the blade slightly to push the snow to one side. This can help prevent large snow piles in the middle of your driveway. Experiment with different angles to find what works best for your situation.
- Lock or float the blade: Some plows have the option to lock the blade in a fixed position or allow it to float as it encounters obstacles. For a gravel driveway, using the floating feature is recommended to minimize the risk of damaging the gravel surface. This allows the plow blade to move up and down with the uneven terrain.
Take the time to adjust the plow blade according to your specific driveway conditions. Carefully read the manufacturer’s instructions for your particular plow model to ensure you’re making the proper adjustments. Remember, the goal is to have the blade hover above the gravel and avoid excessive pressure that could lead to damage.
With the plow blade properly adjusted, you’re ready to move on to the next step: actually plowing the snow. We’ll cover that in the following section.
Step 4: Start Plowing
Now that you have cleared your driveway and adjusted the plow blade, it’s time to start plowing the snow off your gravel surface. Follow these steps for efficient and effective snow removal:
- Start from the center: Begin plowing from the center of your driveway and work your way outwards. This will allow you to push the snow towards the edges, preventing large snow piles in the middle of your driveway.
- Move in straight lines: To achieve consistent and even snow removal, move the plow in straight lines. Avoid random or zigzag patterns, as this can lead to uneven snow distribution and possible damage to the gravel surface.
- Overlap your passes: Overlapping each pass with the previous one will ensure that you don’t miss any spots and provide thorough snow removal. Aim for about a 50% overlap to achieve optimal results.
- Take it slow: While plowing, it’s important to maintain a slow and steady pace. Rushing can lead to uneven snow removal and increase the risk of damaging the gravel. By taking your time, you can ensure a more thorough and efficient process.
As you progress with plowing, you might encounter areas with deeper snow or ice patches. In such cases, you can angle the blade slightly to apply more pressure for effective removal. However, be cautious not to exert excessive force that could damage the gravel surface.
Remember to take breaks as needed, especially if you’re plowing a large area. This will help prevent fatigue and keep you alert throughout the process. Pay attention to your surroundings and be mindful of any hidden obstacles you may have marked earlier.
Continue plowing until you have cleared the entire driveway. Once finished, it’s time to move onto the next step: plowing in sections for better efficiency. We’ll cover that in the following section.
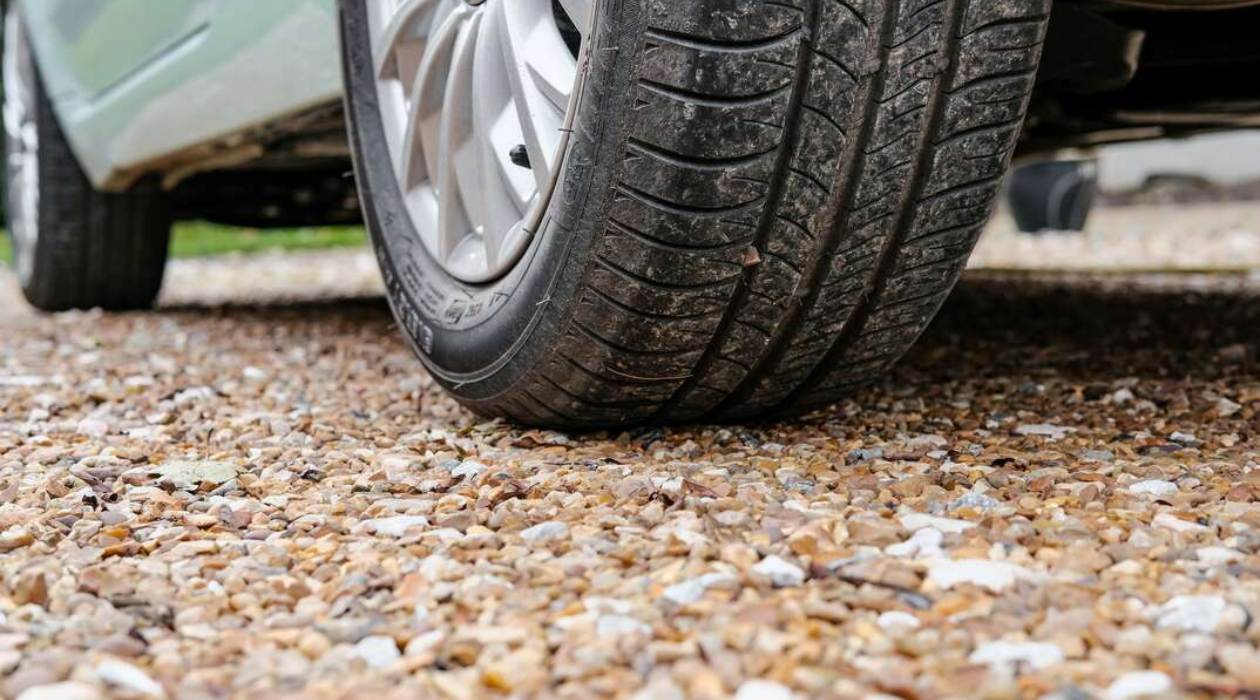
When plowing a gravel driveway, be sure to adjust the plow blade to avoid scraping the gravel. It’s best to keep the blade slightly elevated to prevent damage to the driveway surface.
Read more: How To Level A Gravel Driveway
Step 5: Plow in Sections
When plowing a gravel driveway, it’s often more efficient to divide it into manageable sections. Plowing in sections allows for more focused and thorough snow removal, ensuring that no areas are missed. Follow these steps to plow your gravel driveway in sections:
- Identify the sections: Analyze the layout of your driveway and determine how to divide it into sections. You can divide it based on size or any natural divisions such as curves or turns. The goal is to create smaller, more manageable areas to plow.
- Plow one section at a time: Start with the first section and complete the snow removal process before moving on to the next one. Follow the same plowing techniques as mentioned in Step 4, but focus specifically on the designated section.
- Clear edges and boundaries: Pay extra attention to the edges and boundaries between sections. Ensure that each section is cleared all the way to the edge to prevent any leftover snow from spilling over into the neighboring sections.
- Keep track of progress: As you complete each section, mark it or mentally keep track of it to prevent confusion and ensure that you cover the entire driveway. This simple step will help maintain order and organization throughout the plowing process.
By plowing in sections, you’ll achieve a more thorough and efficient snow removal process. It allows you to focus your efforts and ensure that every area of your driveway receives attention. Remember to adjust the plow blade and maintain a slow, steady pace as you work through each section.
Once you’ve completed plowing all the sections, it’s time to tackle the piles of snow that may have accumulated. This will be covered in the next step: removing snow piles.
Step 6: Remove Snow Piles
After plowing your gravel driveway, you may have accumulated snow piles along the edges or in certain areas of your property. It’s important to remove these snow piles to prevent them from melting and refreezing, which can create icy patches and make your driveway hazardous. Follow these steps to properly remove snow piles:
- Shovel the snow: Start by using a shovel to manually remove the snow piles. Take your time and work in small sections, gradually moving the snow away from your driveway. Be careful not to throw the snow back onto the driveway or adjacent areas, as this can undo your efforts of clearing the driveway.
- Disperse the snow: Once the snow is shoveled, evenly disperse it in a designated area, such as a snowbank or an area where it won’t obstruct walkways or driveways. This will prevent the snow from melting and refreezing on your gravel, keeping your driveway safe and free of icy patches.
- Use caution with salt or ice melt: If you decide to use salt or ice melt to further melt any remaining snow or prevent icy conditions, use it sparingly and follow the manufacturer’s instructions. Be aware that some types of salt or ice melt can be harmful to plants and can also contribute to the degradation of the gravel over time. Consider using alternatives or environmentally friendly options if possible.
Removing snow piles is an important step in maintaining a safe and accessible gravel driveway during the winter months. By manually clearing the piles and dispersing the snow properly, you’ll help prevent potential hazards and extend the longevity of your gravel surface.
Once you’ve removed the snow piles, it’s time for the final step: the cleanup process. We’ll cover that in the following section.
Step 7: Final Cleanup
After plowing and removing the snow piles from your gravel driveway, it’s essential to perform a final cleanup to ensure a tidy and well-maintained appearance. This step will not only enhance the visual appeal of your property but also help protect the integrity of your gravel surface. Follow these steps to complete the final cleanup:
- Rake or brush the gravel: Use a rake or a stiff brush to even out the gravel surface. This will help redistribute any displaced gravel caused during the plowing process and give your driveway a neater look. Additionally, it will help prevent uneven spots or future damage when vehicles drive over the gravel.
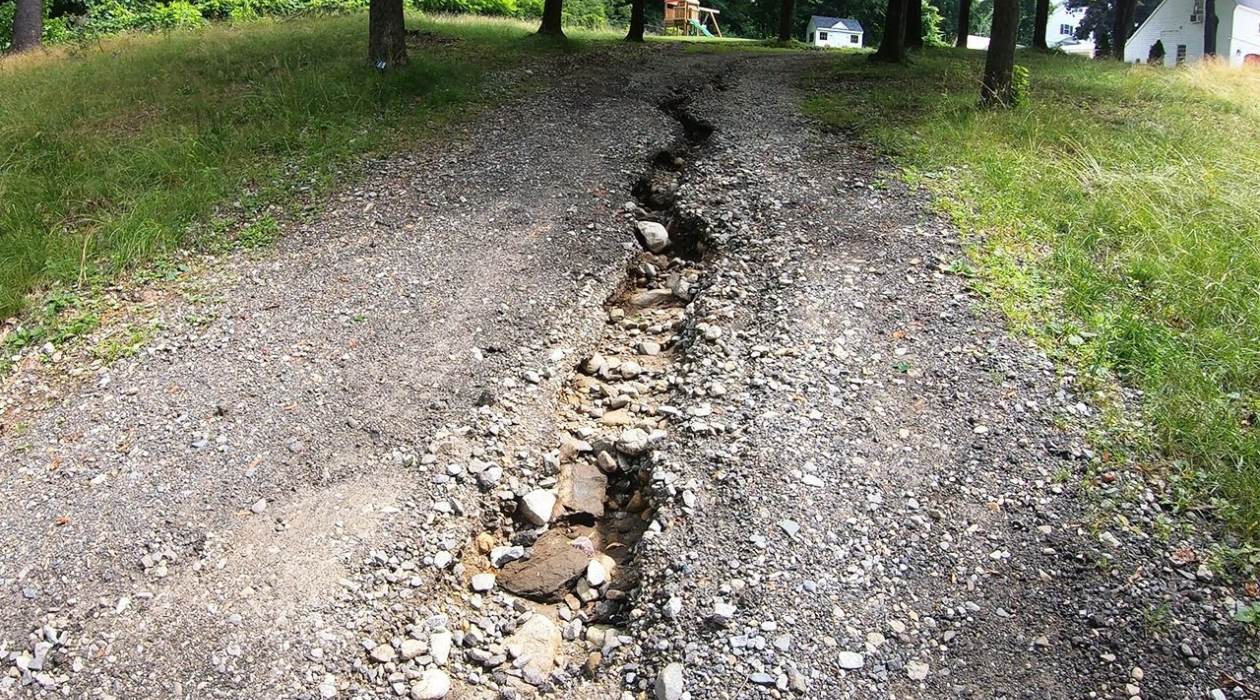
- Inspect for damage: Take a moment to carefully inspect your gravel driveway for any signs of damage. Look for deep ruts, excessive displacement of gravel, or areas that may have been inadvertently damaged during the plowing process. Address any issues promptly to prevent further deterioration and maintain the integrity of your gravel surface.
- Repair as needed: If you notice any significant damage or areas of concern, it may be necessary to perform repairs. This could involve adding additional gravel to fill in deep ruts or grading the surface to ensure proper drainage. Consult with a professional if needed to ensure proper repairs and maintenance of your gravel driveway.
- Store equipment properly: After completing the cleanup, store your plow, shovels, and other equipment in a dry and secure location. Proper storage will help prolong the lifespan of your equipment and keep it in good working condition for future use.
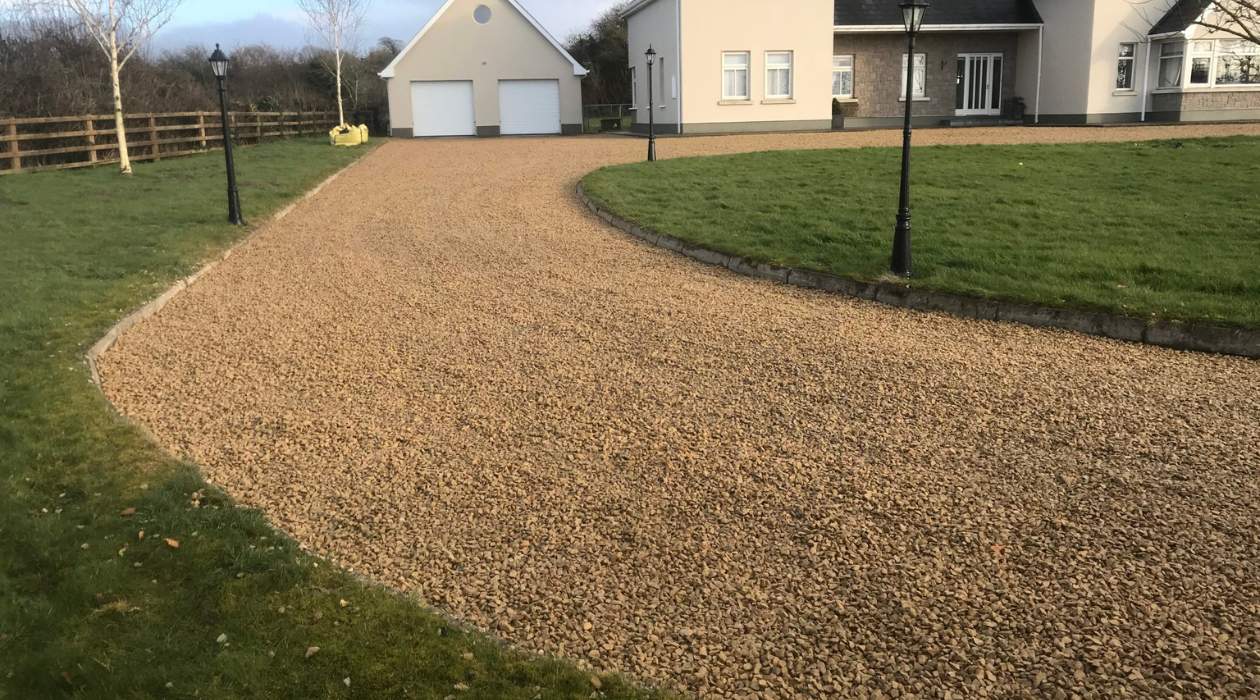
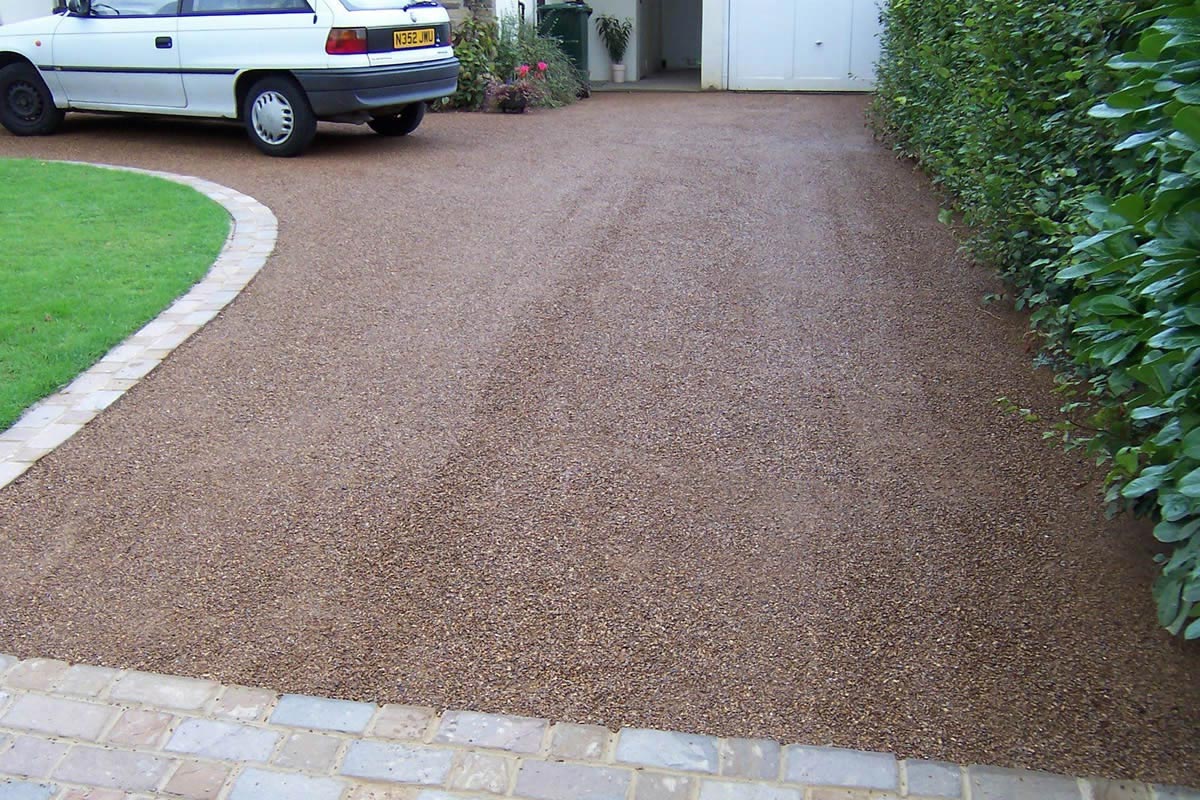
By following these final cleanup steps, you can maintain the overall condition and appearance of your gravel driveway and ensure its long-term durability. Regular upkeep and attention to detail will go a long way in extending the life of your driveway and minimizing future maintenance requirements.
Congratulations! You’ve successfully plowed your gravel driveway and completed the final cleanup. By following these steps and best practices, you’ll ensure safe and efficient snow removal while preserving the integrity of your gravel surface.
Remember, each gravel driveway is unique, so it’s important to assess your specific conditions and make adjustments accordingly. With proper care and maintenance, your gravel driveway will continue to serve you well for years to come.
Conclusion
Snow removal from a gravel driveway requires a specific set of techniques and considerations to ensure both effective snow removal and the preservation of the gravel surface. By following the step-by-step guide outlined in this article, you can successfully plow your gravel driveway without causing unnecessary damage.
Remember to start by gathering the necessary equipment, including a snow plow attachment or blade designed for gravel surfaces, a suitable vehicle for plowing, safety gear, and necessary tools like shovels and reflective markers. With the right equipment, you’ll be well-prepared for the task at hand.
Next, clear the driveway of any debris and obstacles, making note of hidden obstacles that require marking. Adjusting the plow blade properly is crucial to avoid damaging the gravel. Set the blade height to hover above the surface, angle it to push snow to the side, and consider using the floating feature to accommodate uneven terrain.
When it’s time to start plowing, work in straight lines, start from the center, and overlap your passes to ensure comprehensive snow removal. Taking your time and maintaining a slow and steady pace will help prevent damage and achieve a more efficient process. Plow the driveway in sections, focusing on one area at a time for better organization and thoroughness.
After plowing, remove any snow piles and disperse the snow to prevent melting and refreezing. Then, perform a final cleanup by raking or brushing the gravel, inspecting for damage, and making any necessary repairs or adjustments. Properly storing your equipment will help maintain its longevity.
By following these steps and best practices, you can successfully plow your gravel driveway and keep it accessible throughout the winter months. Remember to take precautions, be mindful of hidden obstacles, and adapt to the specific needs of your driveway. With proper care and maintenance, your gravel driveway will provide you with a clear and functional path for years to come.
Once you've mastered clearing your gravel driveway, why not spruce up your garden's boundaries with creative flair? Our guide on landscaping offers a variety of garden fence ideas that are perfect for any home. From classic to contemporary designs, these suggestions will transform your outdoor space, making it more inviting and stylish. Don't miss out on this chance to elevate your garden's aesthetic with our easy-to-follow tips.
Frequently Asked Questions about How To Plow A Gravel Driveway
Was this page helpful?
At Storables.com, we guarantee accurate and reliable information. Our content, validated by Expert Board Contributors, is crafted following stringent Editorial Policies. We're committed to providing you with well-researched, expert-backed insights for all your informational needs.


0 thoughts on “How To Plow A Gravel Driveway”