Articles
How To Make A Gravel Driveway
Modified: December 7, 2023
Learn how to create a durable and attractive gravel driveway with our informative articles. Gain valuable insights and expert tips for a successful project.
(Many of the links in this article redirect to a specific reviewed product. Your purchase of these products through affiliate links helps to generate commission for Storables.com, at no extra cost. Learn more)
Introduction
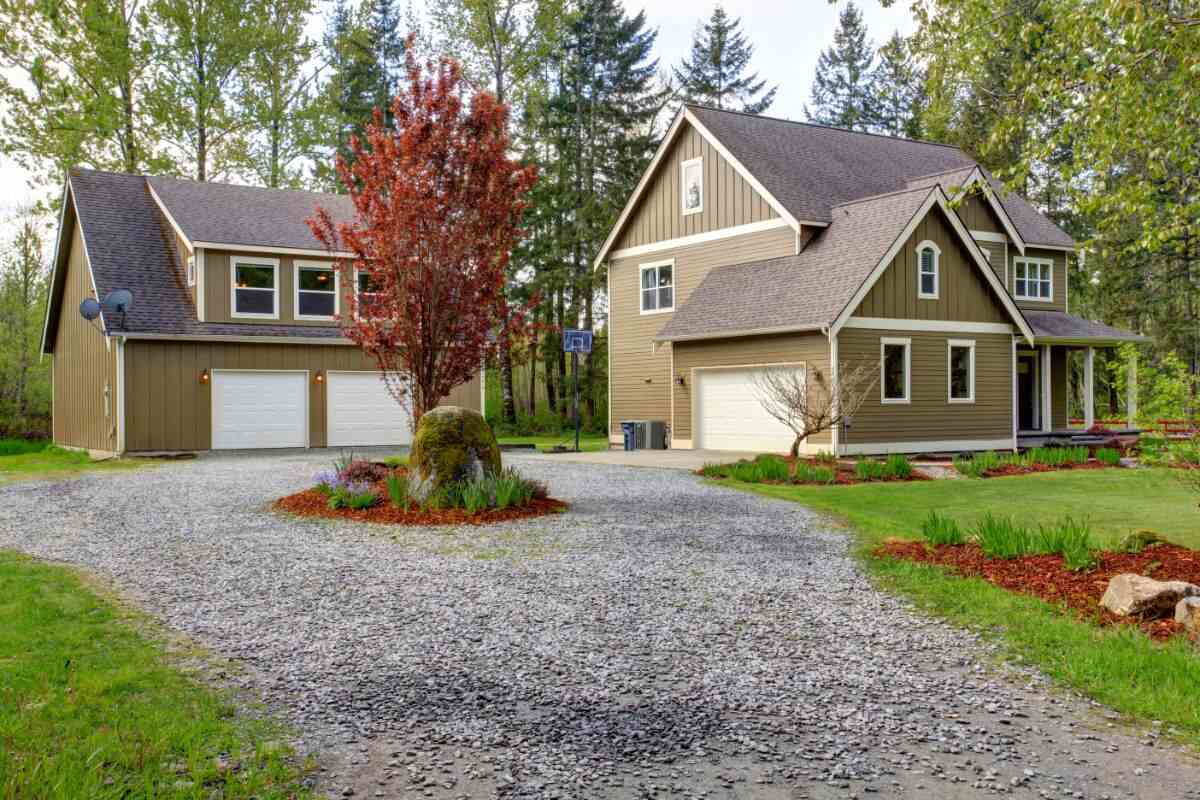
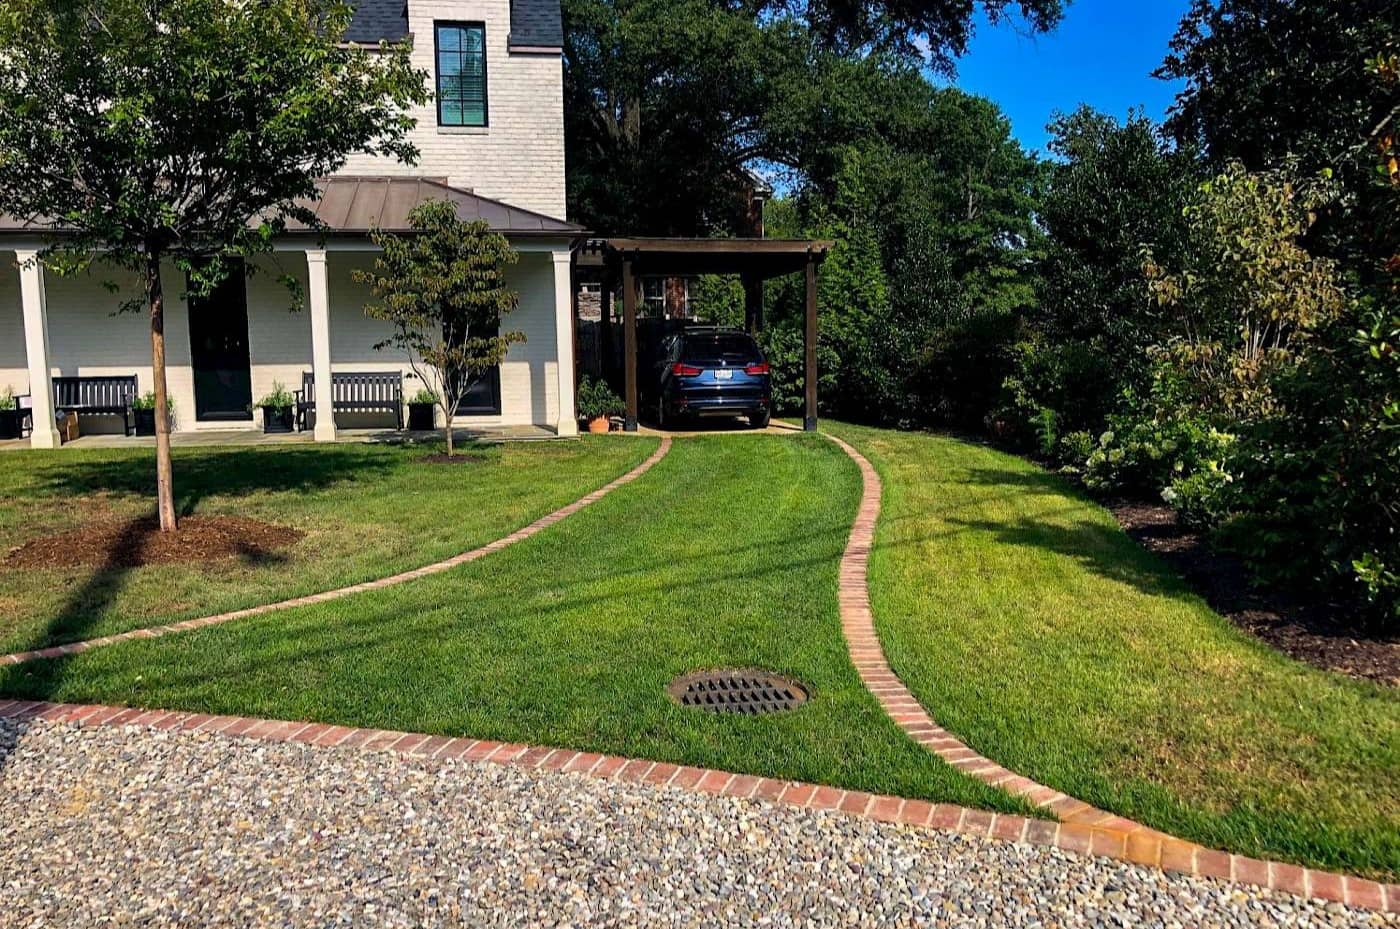
Having a gravel driveway can be a practical and cost-effective choice for homeowners. Gravel driveways offer excellent drainage, are easy to maintain, and can add a rustic charm to your property. Whether you’re looking to create a new gravel driveway or refresh an existing one, this comprehensive guide will walk you through the steps to make it happen.
Before you start the project, it’s essential to determine the location and size of the driveway. Take a look at your property and decide where the driveway will be the most convenient and functional. Consider factors such as the distance from the road, the slope of the land, and any obstacles that need to be taken into account.
Once you have determined the location and size, the next step is to gather the necessary materials and tools. You will need a variety of items, including gravel, edging or borders, a weed barrier, compacting equipment, and basic landscaping tools. These materials can be readily obtained from your local home improvement store or gravel supplier.
Before you start working on the driveway, it’s important to clear the area and prepare the ground. Remove any existing vegetation, rocks, or debris from the site. Use a shovel, rake, or power equipment to level the ground and ensure a smooth surface for the gravel.
Adding a weed barrier is a crucial step in creating a durable and low-maintenance gravel driveway. This barrier will prevent weeds and grass from growing through the gravel, ensuring a cleaner and neater appearance. Lay the weed barrier directly on top of the prepared ground, cutting it to fit the shape of the driveway.
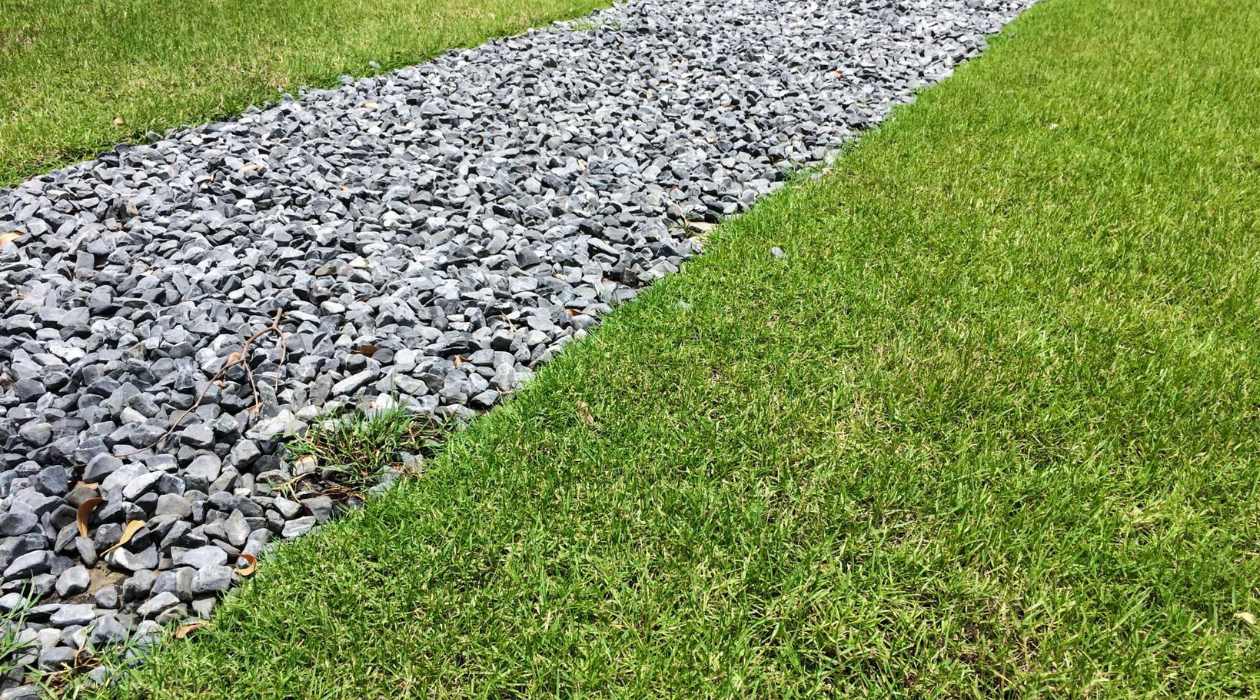
Installing edging or borders along the edges of the driveway will help to contain the gravel and prevent it from spreading out onto your lawn or flowerbeds. There are various options available, such as plastic or metal edging, concrete curbs, or timber borders. Choose the type that best suits your aesthetic preferences and install it securely around the perimeter of the driveway.
Key Takeaways:
- Creating a gravel driveway involves determining the location, gathering materials, preparing the ground, adding a weed barrier, installing edging, spreading and compacting gravel, and ongoing maintenance.
- Proper maintenance, including weed removal, gravel leveling, addressing drainage issues, and adding fresh gravel as needed, is essential for preserving the longevity and visual appeal of a gravel driveway.
Read more: How To Make A Gravel Driveway Look Nice
Step 1: Determine the Location and Size of the Driveway
Before you can start building your gravel driveway, you need to determine where it will be located and how big it should be. The location and size will depend on various factors, including the layout of your property, the distance from the road, and any existing structures or landscaping features that need to be considered.
Start by assessing your property and identifying the most convenient and functional location for the driveway. Consider the following:
- Accessibility: The driveway should provide easy access to your home or garage. It should be located in a spot that allows for a smooth transition between the driveway and any connecting roads or pathways.
- Drainage: Choose a location that allows for proper drainage. It’s essential to prevent water from pooling on the driveway, as this can lead to erosion and damage.
- Obstacles: Take into account any existing structures, trees, or other obstacles that may affect the layout of the driveway. Ensure that the chosen location allows for enough clearance and maneuverability.
Once you have determined the location, you need to determine the size of the driveway. Consider the following factors:
- Number of Vehicles: How many vehicles do you need to accommodate on the driveway? Consider your current needs as well as any future plans for additional vehicles.
- Parking Space: In addition to accommodating the vehicles, you may also want to have some additional space for parking or maneuvering.
- Turning Radius: Ensure that the driveway is wide enough to provide a comfortable turning radius for your vehicles.
Measure the dimensions of the driveway area and mark the boundaries using stakes or spray paint. This will help you visualize the space and plan accordingly. Keep in mind that it’s a good idea to provide some additional width and length to ensure ease of use and maneuverability.
Once you have determined the location and size of the driveway, you can move on to the next steps in creating your gravel driveway.
Step 2: Gather the Required Materials and Tools
Gathering the necessary materials and tools is an important step in building a gravel driveway. Having everything you need on hand will ensure a smooth and efficient construction process. Here is a list of the materials and tools you will need:
Materials:
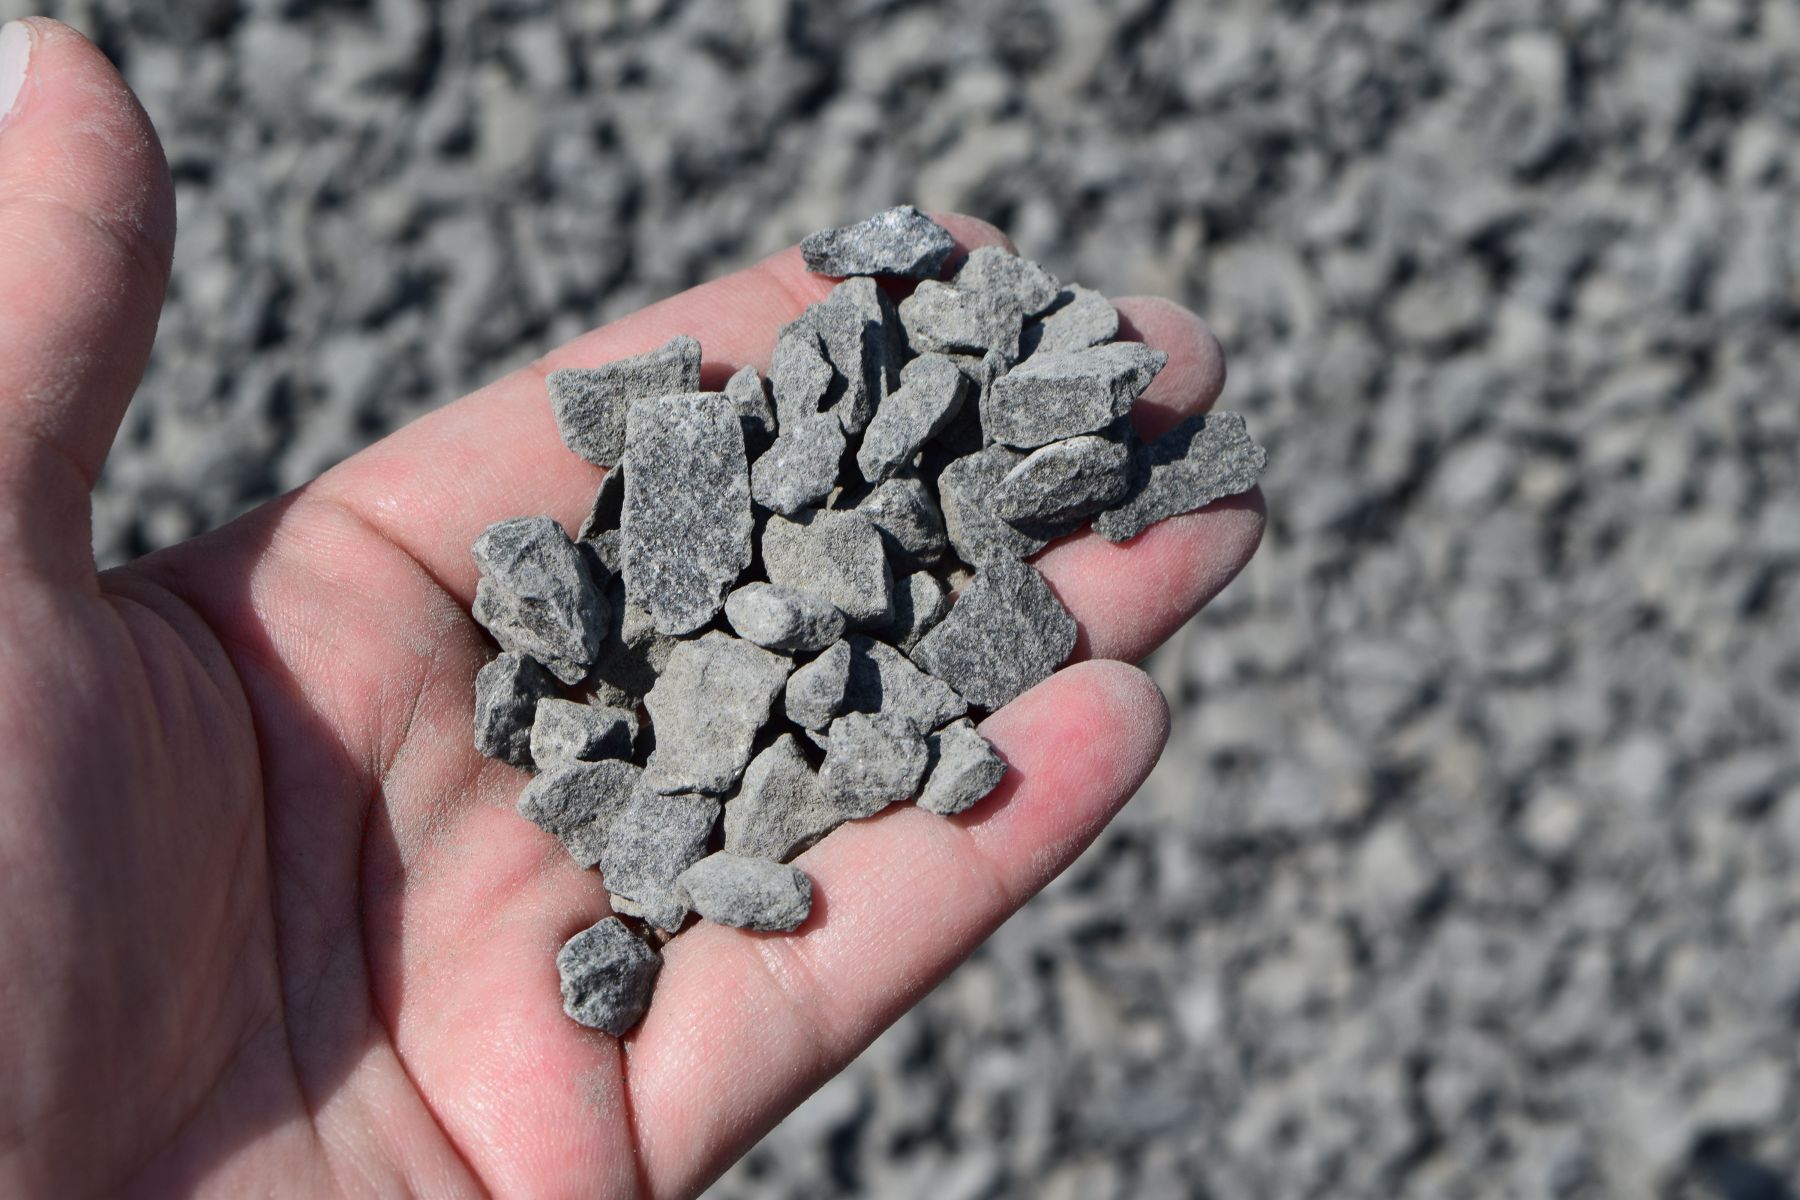
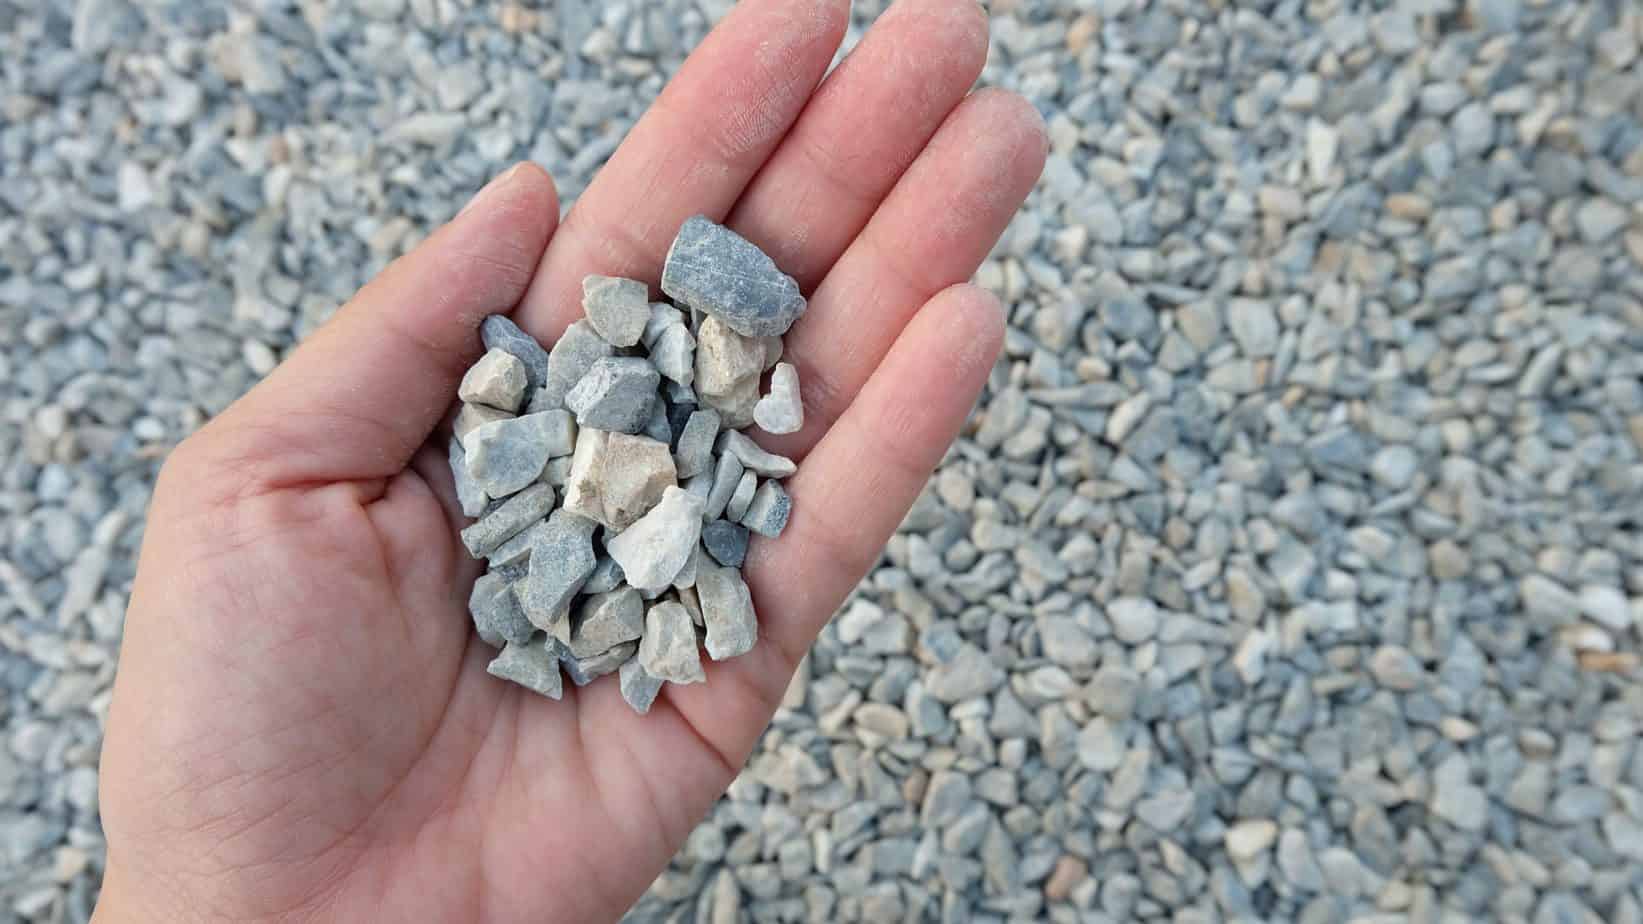
- Gravel: Choose the type of gravel that best suits your needs and preferences. Common options include crushed stone, pea gravel, and gravel with a mix of larger and smaller stones. Calculate the amount of gravel you will need based on the size and depth of your driveway.
- Weed Barrier: A weed barrier helps prevent unwanted vegetation from growing through the gravel. Opt for a durable and permeable fabric that allows for proper drainage.
- Edging or Borders: Edging or borders will help contain the gravel and give your driveway a finished look. Options include plastic or metal edging, concrete curbs, or timber borders.
Tools:
- Shovel: A sturdy shovel will be needed to clear the area and prepare the ground for the driveway.
- Rake: Use a rake to level the ground and create a smooth surface for the gravel.
- Wheelbarrow: A wheelbarrow will make it easier to transport and distribute the gravel.
- Compactor: A gas-powered or manual compactor is necessary to compact the gravel and create a stable surface.
- Tape Measure: Use a tape measure to accurately measure the dimensions of the driveway area.
- Stakes or Spray Paint: Stakes or spray paint can be used to mark the boundaries of the driveway area.
Most of these materials and tools can be readily obtained from your local home improvement store or gravel supplier. It’s a good idea to make a list and gather everything you need before you start the construction process. This will help ensure that you have everything on hand and avoid any unnecessary delays or trips to the store.
Once you have gathered all the materials and tools, you’re ready to move on to the next steps in creating your gravel driveway.
Read more: How To Maintain Gravel Driveway
Step 3: Clear the Area and Prepare the Ground
Before you can start building your gravel driveway, it’s crucial to clear the area and prepare the ground. This step ensures that you have a clean and level surface to work with, which will ultimately result in a better quality driveway. Here’s how to clear the area and prepare the ground:
1. Remove Vegetation and Debris:
Start by removing any vegetation, rocks, or debris from the area where the driveway will be located. Use a shovel, rake, or power equipment to clear the surface. Pay special attention to any large rocks or tree roots that may obstruct the construction process.
2. Level the Ground:
Once the area is clear, use a shovel, rake, or a rented grading machine to level the ground. The goal is to create a smooth and even surface for the gravel. Take note of any areas that may need extra attention, such as low spots or uneven terrain. Use the tools at your disposal to make adjustments and ensure that the ground is properly leveled.
3. Compact the Soil:
After the ground is leveled, use a compactor to compact the soil. This step is important to create a solid base for the gravel. Start by moistening the soil slightly to improve compaction. Then, use the compactor to press down on the soil in a systematic and overlapping pattern. Pay extra attention to the edges of the driveway area to ensure a smooth transition between the driveway and the surrounding ground.
Read more: How To Plow A Gravel Driveway
4. Check the Slope:
It’s crucial to ensure that the driveway has proper drainage to prevent water from pooling on the surface. Check the slope of the ground using a long level or a measuring tool. Generally, the driveway should have a slight slope of about 1-2% away from your home or any structures. This will allow water to flow away from the driveway and prevent water damage or erosion.
By clearing the area and preparing the ground properly, you are setting a solid foundation for your gravel driveway. This step ensures that the driveway will be durable, level, and visually appealing. Once the ground is prepared, you can move on to the next steps in building your gravel driveway.
Step 4: Add a Weed Barrier
Adding a weed barrier is an essential step in creating a low-maintenance and weed-free gravel driveway. A weed barrier acts as a protective layer between the ground and the gravel, preventing unwanted weeds and vegetation from growing through the surface. Here’s how to add a weed barrier to your driveway:
1. Choose the Right Weed Barrier:
Start by choosing the appropriate type of weed barrier for your driveway. Look for a durable and permeable fabric that allows for proper drainage. Weed barriers are typically available in rolls, and you can find them at your local home improvement store or garden center.
2. Clear and Level the Ground:
Before installing the weed barrier, make sure the ground is clear and level. Follow Step 3: Clear the Area and Prepare the Ground to remove any vegetation, rocks, or debris and level the ground. Having a clean and even surface will ensure that the weed barrier lays flat and is effective in preventing weed growth.
Read more: How To Level A Gravel Driveway
3. Measure and Cut the Weed Barrier:
Unroll the weed barrier and measure the driveway area. Leave a few extra inches on each side to ensure complete coverage. Use scissors or a utility knife to cut the weed barrier to the desired size and shape. It should fit tightly within the boundaries of the driveway area.
4. Secure the Weed Barrier:
Lay the weed barrier directly on top of the prepared ground. Smooth out any wrinkles or folds to ensure a flat and even surface. If necessary, you can use landscape pins or stakes to secure the weed barrier in place. Place them every few feet along the edges and throughout the area to prevent the weed barrier from shifting or moving.
5. Cut Openings for Drainage:
If your driveway has existing drainage systems or areas where water needs to flow, such as catch basins or downspouts, cut openings in the weed barrier to allow for proper drainage. Use scissors or a utility knife to create small slits or holes to accommodate the drainage needs of your driveway.
By adding a weed barrier, you are taking an important step in maintaining the cleanliness and aesthetics of your gravel driveway. This barrier will help prevent unwanted weeds and vegetation from growing through the gravel, reducing the amount of maintenance required. With the weed barrier in place, you can move on to the next steps in completing your gravel driveway.
Step 5: Install Edging or Borders
Installing edging or borders along the edges of your gravel driveway is an important step that brings structure and definition to your driveway. Edging helps to contain the gravel, prevent it from spreading out onto your lawn or flowerbeds, and gives a polished and finished look to the overall design. Here’s how to install edging or borders for your gravel driveway:
Read more: How To Edge A Gravel Driveway
1. Choose the Right Edging Material:
There are various options available for edging or borders, including plastic or metal edging, concrete curbs, or timber borders. Consider the aesthetic appeal, durability, and maintenance requirements of each option before making your choice.
2. Measure and Mark the Edging Placement:
Measure the length of the driveway edges and mark where the edging or border will be installed. Use stakes or spray paint to mark the boundaries. This will help you visualize the placement and ensure that the edging is installed evenly and consistently along the entire length of the driveway.
3. Prepare the Edging Installation Area:
Clear any remaining debris or vegetation along the edges of the driveway. Ensure that the ground is level and free of obstructions before proceeding with the installation.
4. Install the Edging:
Depending on the type of edging you have chosen, follow the manufacturer’s instructions for installation. This may involve digging a shallow trench, securing the edging into the ground using stakes or connectors, or using adhesive or concrete for more permanent installation.
Read more: How To Fix A Gravel Driveway
5. Ensure Proper Alignment and Stability:
As you install the edging, make sure it is properly aligned and level. Use a level or straightedge to check for evenness. Secure the edging firmly into the ground to ensure stability and prevent shifting or movement.
6. Backfill and Compact:
After the edging is installed, carefully backfill the area next to it with extra gravel. This will help stabilize the edging and provide a clean finish. Use a compactor or tamper to compact the gravel against the edging for added stability.
By installing edging or borders, you are enhancing the appearance and functionality of your gravel driveway. It helps to contain the gravel, prevent spreading, and adds a professional and finished look to the overall design. With the edging in place, you’re ready to move on to the next steps in finalizing your gravel driveway.
Step 6: Spread and Grade the Gravel
Spreading and grading the gravel is a crucial step in creating a smooth and even surface for your driveway. This step ensures that the gravel is distributed uniformly and at the right thickness, providing a solid foundation for your driveway. Here’s how to spread and grade the gravel for your gravel driveway:
1. Calculate the Amount of Gravel Needed:
Determine the amount of gravel you will need for your driveway based on its size and desired thickness. Measure the length, width, and depth of the driveway, and use these measurements to calculate the volume of gravel required. Consult with a gravel supplier to determine the quantity needed, factoring in any adjustments for compaction or settling.
Read more: How To Buy Gravel For Driveway
2. Start Spreading the Gravel:
Begin by spreading a layer of gravel along one edge of the driveway. Use a shovel, rake, or a gravel spreader to distribute the gravel evenly. Work in small sections, moving systematically across the driveway to ensure consistent coverage. Aim for a layer of gravel that is about 2-4 inches thick.
3. Use a Grading Rake:
After spreading the gravel, use a grading rake to level and distribute the gravel evenly. The grading rake has long, sturdy teeth that help to break up clumps, smooth out uneven areas, and create a uniform surface. Rake the gravel back and forth, working from one end of the driveway to the other.
4. Check for Evenness:
Periodically stop and step back to assess the evenness of the gravel. Look for any low or high spots and make adjustments as needed. Use the grading rake or a shovel to redistribute the gravel and create a level surface. Aim for a consistent grade that slopes slightly away from any structures to allow for proper drainage.
5. Compact the Gravel:
Once the gravel is spread and graded, use a compactor or tamper to compact the gravel. This step helps to stabilize the driveway and prevent future shifting or settling. Start at one end of the driveway and move systematically, overlapping each pass to ensure even compaction. Pay special attention to the edges and any areas that may require additional compaction.
By spreading and grading the gravel, you are creating a solid and even surface for your gravel driveway. This step ensures that the gravel is distributed properly and at the right thickness, providing a stable base for your driveway. After completing this step, you’re ready to move on to the final steps in completing your gravel driveway.
Read more: How To Seal A Gravel Driveway
Step 7: Compact the Gravel
Compacting the gravel is a crucial step in creating a stable and durable gravel driveway. This step helps to compress the gravel particles, creating a solid and tightly packed surface that can withstand heavy vehicle traffic and minimize the risk of future settling. Here’s how to compact the gravel for your gravel driveway:
1. Choose the Right Compacting Equipment:
There are different compaction tools available, including gas-powered compactors or manual tampers. Consider the size of your driveway and the amount of compaction needed when choosing the appropriate equipment.
2. Start at One End:
Begin compacting the gravel at one end of the driveway. Move in a systematic pattern, overlapping each pass to ensure even compaction. Start at the edges and work your way towards the center to ensure that the entire area is compressed.
3. Apply Even Pressure:
When using a gas-powered compactor, guide it slowly and steadily over the gravel surface. Allow the machine’s weight and vibration to do the work. If using a manual tamper, apply even downward pressure with your body weight as you move across the surface of the driveway.
Read more: How To Keep Gravel In Place On Driveway
4. Cover the Entire Surface:
Make sure to cover the entire surface area of the driveway, including the edges. Pay special attention to any uneven areas or low spots, as these may require additional compaction to level them out.
5. Check for Evenness and Stability:
Periodically stop and walk on the compacted gravel to check for evenness and stability. The surface should feel solid and firm underfoot. If you notice any soft or loose areas, add more gravel and compact again until the entire driveway is uniformly compressed.
6. Repeat the Compaction Process:
After the initial compaction, it’s recommended to go over the entire driveway once more with the compactor or tamper. This ensures that the gravel particles are tightly packed and bonded together, creating a stable and durable surface.
By compacting the gravel, you are creating a strong and resilient surface for your gravel driveway. This step minimizes the risk of settling and ensures that the driveway can withstand heavy vehicle traffic for years to come. Once the gravel is properly compacted, you’re ready for the final step in completing your gravel driveway.
Step 8: Maintain and Refresh the Driveway
Once you have completed the construction of your gravel driveway, it’s important to properly maintain it to ensure its longevity and visual appeal. Regular maintenance will help prevent weed growth, minimize erosion, and keep the driveway looking clean and well-maintained. Here’s how to maintain and refresh your gravel driveway:
Read more: How Deep Should A Gravel Driveway Be
1. Remove Weeds and Debris:
Regularly inspect your driveway and remove any weeds, grass, or other vegetation that may be growing through the gravel. Use a weed puller or a hoe to carefully extract the weeds, taking care not to disturb the surrounding gravel.
2. Rake and Level the Gravel:
Periodically rake the gravel to redistribute it and level out any uneven patches caused by foot or vehicle traffic. This will help maintain a smooth and even surface. Pay special attention to high-traffic areas or areas prone to erosion.
3. Fill in Low Spots and Ruts:
If you notice any low spots or ruts developing in your gravel driveway, fill them in with additional gravel. Spread the gravel evenly and compact it using a tamper or compactor to ensure a stable surface.
4. Add Fresh Gravel as Needed:
Over time, the gravel in your driveway may break down or get washed away. If you notice thinning areas or areas with exposed soil, add fresh gravel to replenish the surface. Spread the gravel evenly and compact it to blend it with the existing gravel.
Read more: How To Calculate Gravel Needed For Driveway
5. Maintain Proper Drainage:
Ensure that your driveway has proper drainage to prevent water from pooling. Clear any debris or obstructions from drainage channels or ditches to allow water to flow freely away from the driveway. This will help prevent erosion and maintain the stability of the gravel surface.
6. Address Drainage Issues:
If you notice any drainage issues, such as standing water on the driveway, consider adding additional drainage solutions such as French drains or gutter extensions. These measures will help divert water away from the driveway and prevent any potential damage.
By regularly maintaining and refreshing your gravel driveway, you can ensure its longevity and keep it looking its best. With proper care, your gravel driveway will provide a functional and aesthetic addition to your property for years to come.
Conclusion
Creating a gravel driveway can be a rewarding DIY project that offers both functionality and aesthetic appeal to your property. With the right planning, materials, and steps, you can create a durable and visually pleasing driveway that withstands the test of time. By following the steps outlined in this guide, you can successfully build a gravel driveway from start to finish.
Beginning with determining the location and size of the driveway, you can ensure that it fits seamlessly into your property and meets your specific needs. Gathering the required materials and tools, such as gravel, edging, and a weed barrier, will set you up for a smooth construction process. Clearing the area and preparing the ground provides a solid foundation, while adding a weed barrier helps maintain a tidy and weed-free driveway.
Installing edging or borders brings structure to your driveway and prevents gravel from spreading beyond its boundaries. Spreading and grading the gravel ensures an even surface and proper drainage. Compact the gravel to create a stable and long-lasting driveway that can withstand heavy use.
Once your gravel driveway is constructed, ongoing maintenance is essential to keep it in top condition. Removing weeds, raking and leveling the gravel, and addressing any drainage issues will help preserve the quality and appearance of your driveway over time.
Remember, it’s important to adapt these steps to suit the specific parameters of your project and take into account any local regulations or guidelines. Whether you’re creating a new gravel driveway or refreshing an existing one, following these steps will guide you towards creating a beautiful and functional addition to your property.
Enjoy the process of building and maintaining your gravel driveway, and revel in the benefits it provides – from its practicality to its visual charm. A well-constructed gravel driveway not only enhances the functionality of your property but also adds a touch of character and elegance that will impress visitors and passersby.
Now that you have the knowledge and guidance, it’s time to put it into action and create the perfect gravel driveway for your home.
Frequently Asked Questions about How To Make A Gravel Driveway
Was this page helpful?
At Storables.com, we guarantee accurate and reliable information. Our content, validated by Expert Board Contributors, is crafted following stringent Editorial Policies. We're committed to providing you with well-researched, expert-backed insights for all your informational needs.
0 thoughts on “How To Make A Gravel Driveway”