Articles
How To Fix A Gravel Driveway
Modified: October 20, 2024
Learn how to fix your gravel driveway with our comprehensive articles. Get expert tips and step-by-step instructions for a smooth and durable driveway.
(Many of the links in this article redirect to a specific reviewed product. Your purchase of these products through affiliate links helps to generate commission for Storables.com, at no extra cost. Learn more)
Introduction
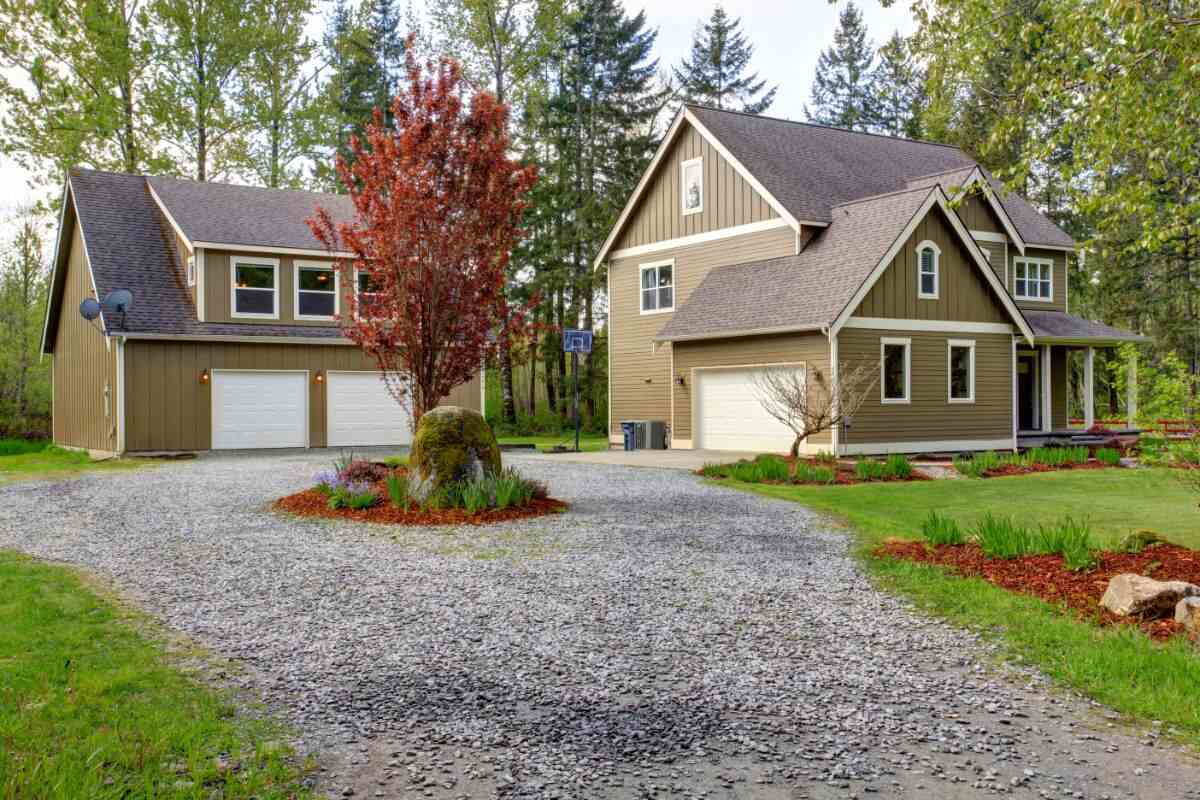
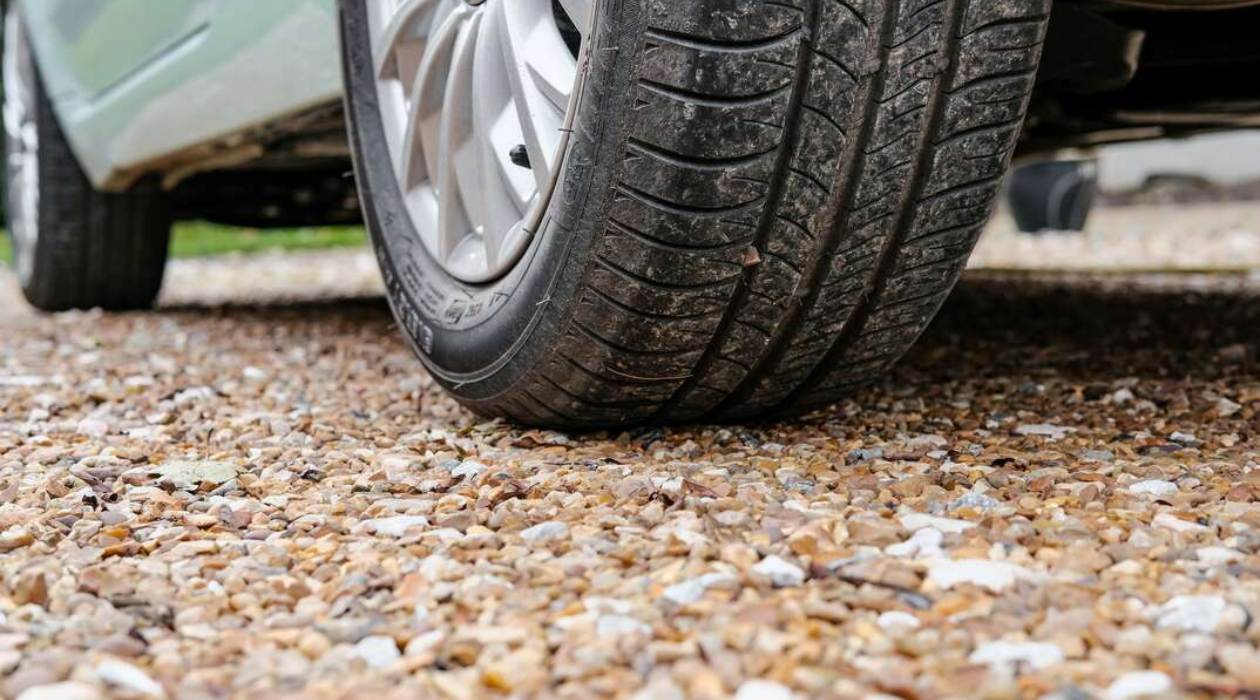
Having a gravel driveway can be a beautiful and practical addition to your property. It provides a rustic and natural look, while also offering a durable surface for vehicle access. However, over time, gravel driveways can develop issues such as potholes, cracks, and uneven areas. These problems not only detract from the appearance of your driveway but can also pose a hazard to vehicles and pedestrians.
If your gravel driveway is in need of repair, don’t worry! With some basic knowledge and a little bit of effort, you can easily fix these issues and restore your driveway to its former glory. In this article, we will guide you through step-by-step instructions on how to fix your gravel driveway, from assessing the damage to sealing the surface.
Before we dive into the repair process, it’s important to mention that the methods outlined here are suitable for minor to moderate damage. If your driveway is severely degraded or requires extensive repairs, it may be best to consult with a professional contractor.
Now, let’s begin our journey to rejuvenate your gravel driveway and bring back its functionality and aesthetic appeal!
Key Takeaways:
- Restoring a gravel driveway is a manageable DIY project that involves assessing damage, clearing debris, filling potholes, repairing cracks, adding new gravel, and compacting the surface. With proper maintenance, a gravel driveway can provide long-lasting functionality and visual appeal.
- Sealing a gravel driveway is an optional but beneficial step that can protect against moisture, reduce weed growth, and enhance the overall appearance. Regular maintenance, including resealing every few years, can extend the lifespan of the driveway and preserve its integrity.
Read more: How To Maintain Gravel Driveway
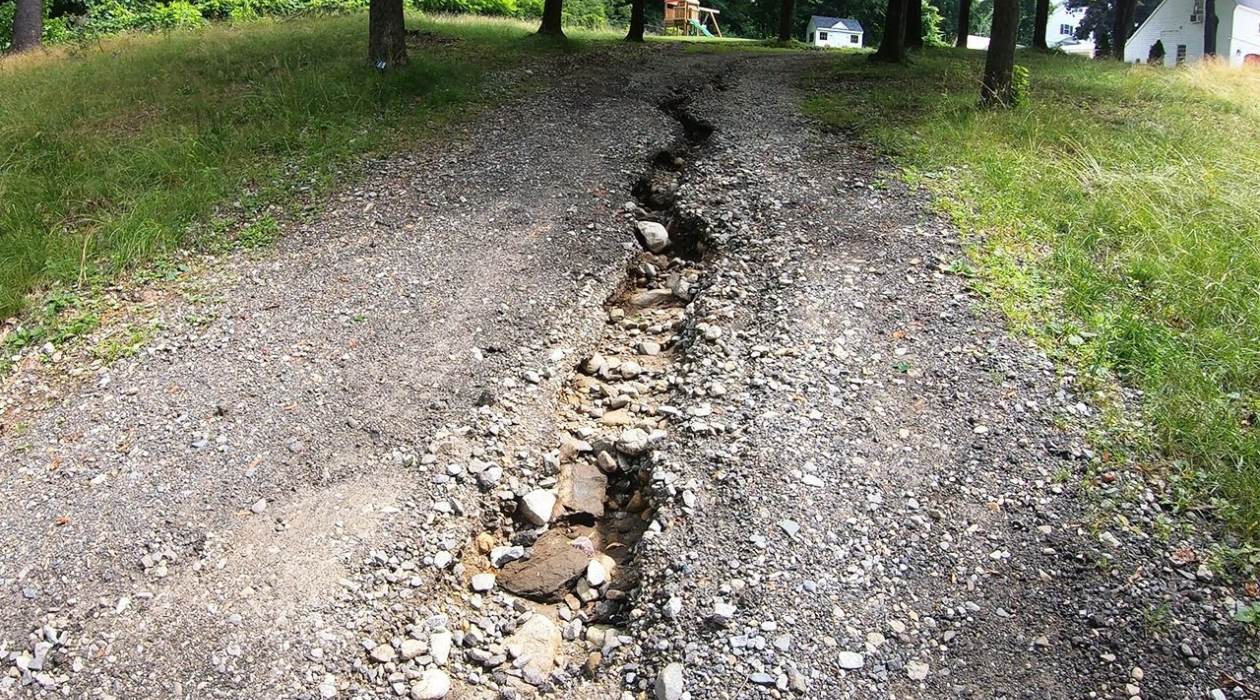
Assessing the Damage
The first step in fixing a gravel driveway is to assess the extent of the damage. This will help you determine the appropriate repair methods and materials needed.
Start by carefully inspecting the entire driveway, paying close attention to areas where damage is evident. Common issues include potholes, cracks, ruts, and uneven surfaces. Take note of the size and depth of each problem area.
Potholes are usually the result of water accumulation and constant vehicle traffic. They appear as holes in the gravel surface and can vary in size and depth. Cracks, on the other hand, are linear fissures that can range from small hairline cracks to larger gaps.
Ruts are depressions or grooves formed by continuous traffic in the same path. They can distort the shape of the driveway and lead to water pooling. Uneven surfaces occur when the gravel becomes unevenly distributed, causing bumps and dips.
Once you have identified the damage, make a note of the materials and tools you will need for the repairs. This may include gravel, a rake, a shovel, a tamper or compactor, and any additional materials for crack filling or driveway sealing.
Remember to consider the overall condition and age of your driveway. If it has been neglected for a long time or shows signs of significant wear and tear, you may need to consider more extensive repairs or even a complete driveway replacement.
With a thorough assessment of the damage, you are now ready to move on to the next step: clearing and preparing the driveway for repair.
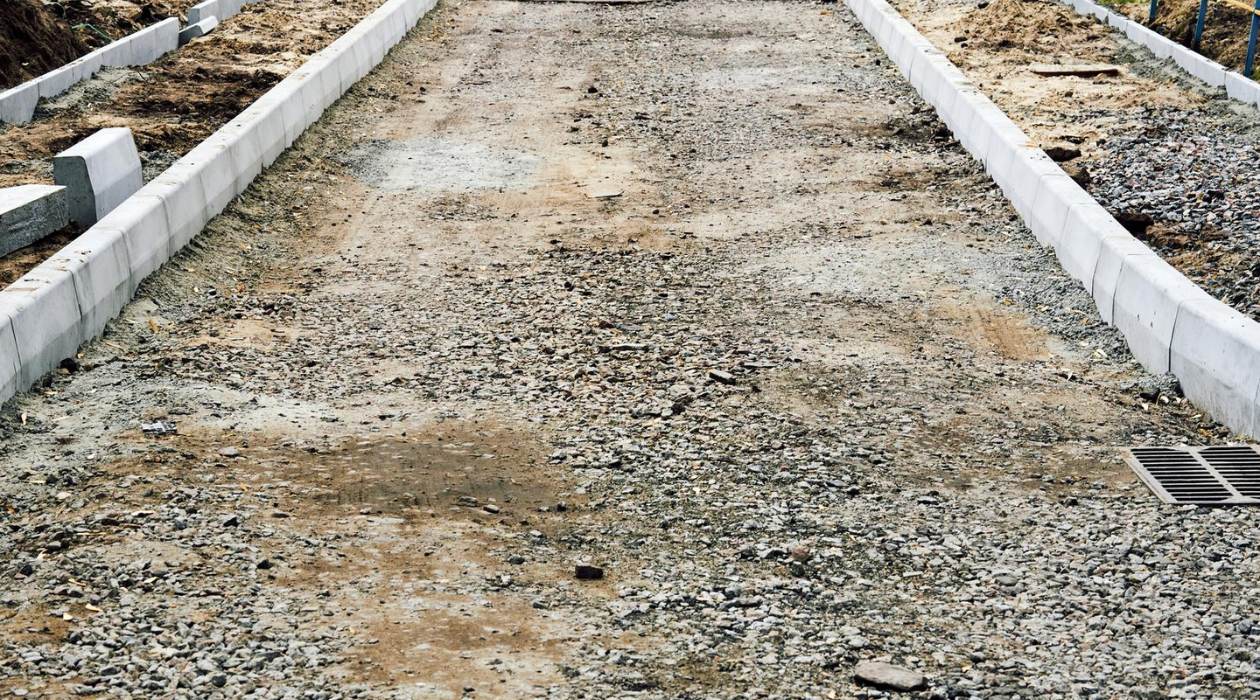
Clearing and Preparing the Driveway
Before you can begin the repair work on your gravel driveway, it’s essential to clear the area of any debris and prepare the surface properly. This will ensure that your repairs are effective and long-lasting.
To start, remove any weeds, grass, or vegetation that may be growing in the driveway. Use a rake or shovel to scrape away the unwanted growth, taking care not to damage the surrounding gravel. This step is crucial as vegetation can cause further damage and prevent proper adhesion of repair materials.
Next, remove any loose gravel or debris from the damaged areas. Use a shovel to scoop out any loose gravel from potholes, cracks, or ruts. Make sure to clear the surrounding areas as well, as loose gravel can interfere with the repair process.
Once the driveway is cleared of debris, it’s a good idea to give it a thorough cleaning. Use a pressure washer or a high-pressure hose to remove dirt, mud, and any oil or grease stains from the surface. This will create a clean and smooth base for the repair materials to adhere to.
After cleaning, allow the driveway to dry completely before proceeding with the repairs. This may take a few days depending on the weather conditions. It’s important to ensure that the surface is dry to ensure proper bonding of the repair materials.
Now that you have cleared and prepared the driveway, you are ready to move on to the next step: filling and leveling the potholes.
Filling and Leveling the Potholes
Potholes can be not only unsightly but also a potential hazard. They can cause damage to vehicles and create an uneven driving surface. Filling and leveling potholes in your gravel driveway is an important step to restore its smoothness and functionality.
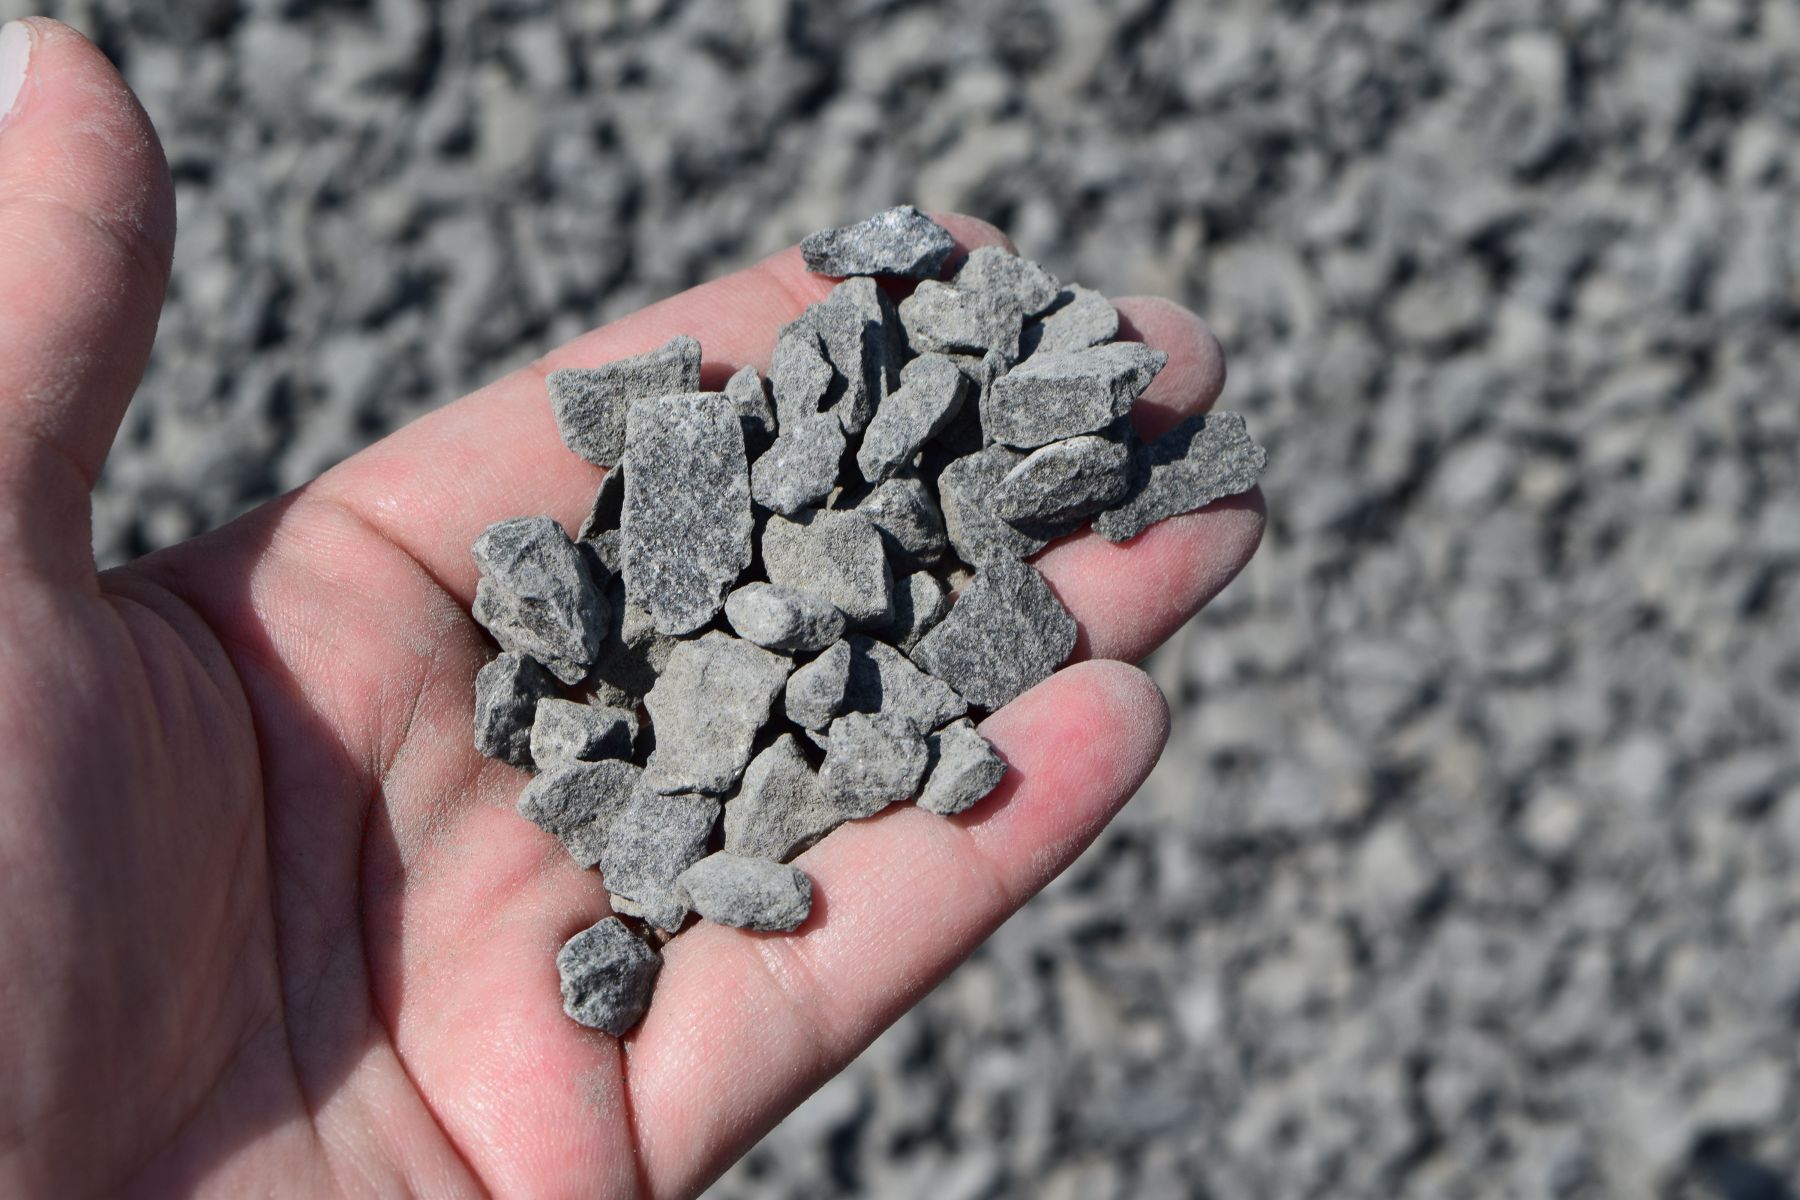
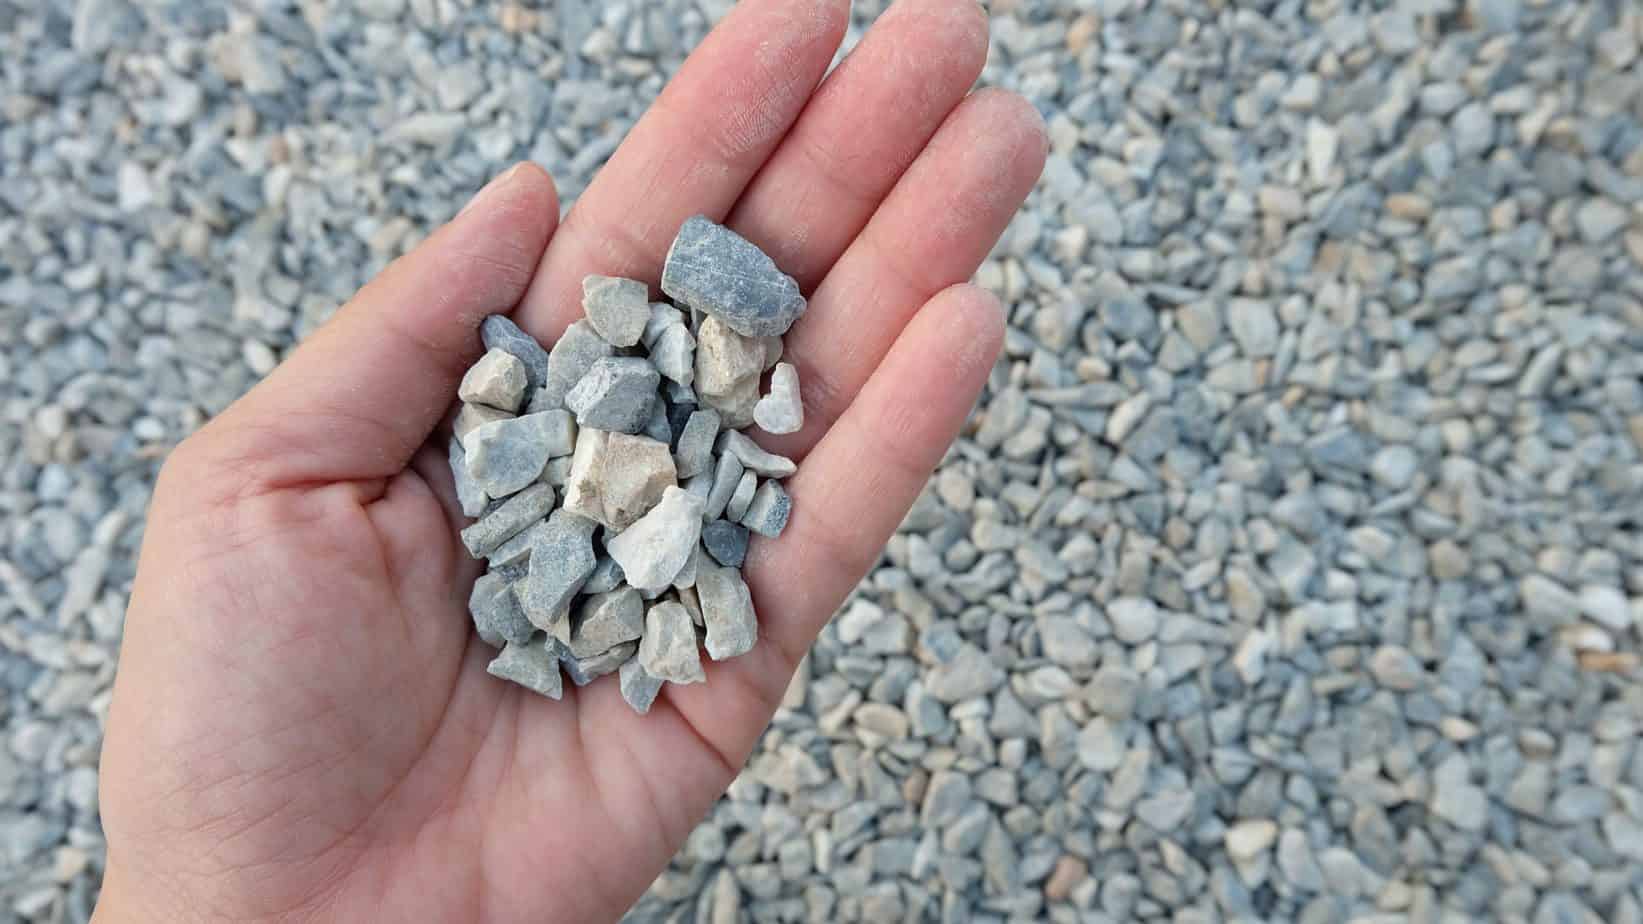
Before you begin filling the potholes, gather the necessary materials such as gravel, a shovel, a hand tamper or a mechanical compactor, and a wheelbarrow. It’s important to choose the right type of gravel for your driveway. Opt for gravel that is similar in size and color to the existing gravel to maintain a cohesive appearance.
Start by filling the potholes with gravel. Scoop up the gravel using the shovel and pour it into the pothole until it is slightly overfilled. Use the back of the shovel or a tamper to compact the gravel, ensuring it is tightly packed and level with the surrounding area.
Continue this process until all the potholes have been filled. It may be necessary to add more gravel and compact it multiple times to achieve a level and stable surface. Pay attention to any low areas or depressions and make sure they are adequately filled and leveled.
Once the potholes are filled and leveled, use a rake to spread some additional gravel over the repaired areas. This will help blend the new gravel with the existing surface, making the repairs less noticeable. Rake the gravel evenly to ensure a smooth and cohesive appearance.
After filling and leveling the potholes, it’s important to allow the gravel to settle. Drive over the repaired areas with your vehicle or use a compactor to firmly pack the gravel. This will help prevent future sinking or shifting of the repaired areas.
By filling and leveling the potholes in your gravel driveway, you have taken a significant step towards restoring its functionality and appearance. The next step is to address any cracks and ruts that may be present in the driveway.
Repairing Cracks and Ruts
Cracks and ruts in a gravel driveway are not only unattractive but can also lead to further damage if left unrepaired. Repairing these issues will help maintain a smooth and durable surface for your driveway.
Before starting the repair process, make sure the surface is clean and dry. Remove any loose gravel or debris from the cracks and ruts using a shovel or a stiff brush.
For small cracks, you can use a gravel or asphalt crack filler. These products are readily available at hardware stores and are designed to fill and seal cracks in driveways. Follow the manufacturer’s instructions for application and use a trowel or putty knife to fill the cracks evenly. Smooth the surface of the filler to ensure it is level with the surrounding gravel.
For larger cracks or ruts, you may need to use a more extensive repair method. One option is to use a cold patch asphalt repair product. These products come in pre-packaged bags and are designed specifically for repairing damaged asphalt surfaces. Follow the instructions on the package to apply the cold patch material, ensuring that it is compacted and leveled properly.
If you prefer a more DIY approach, you can also use a combination of gravel and a binding agent such as water or a gravel binder. Mix the gravel and binder to form a thick paste and apply it to the cracks or ruts. Use a trowel or putty knife to spread the mixture evenly and compact it to ensure a solid repair.
After filling the cracks and ruts, it’s important to give the repairs time to cure. Follow the instructions provided with the repair materials for the recommended curing time. This will ensure the repairs have a chance to harden and stabilize.
Once the repairs are fully cured, use a rake to spread additional gravel over the repaired areas. This will help blend the repaired sections with the rest of the driveway, creating a seamless look. Rake the gravel evenly and compact it with a tamper or compactor to ensure a smooth and level surface.
By addressing the cracks and ruts in your gravel driveway, you are taking important steps towards preserving its integrity and prolonging its lifespan. The next step is to add new gravel to any areas that may be lacking in coverage.
Regularly rake and fill in any potholes or low spots with additional gravel to maintain a smooth and even surface on your gravel driveway.
Read more: How To Plow A Gravel Driveway
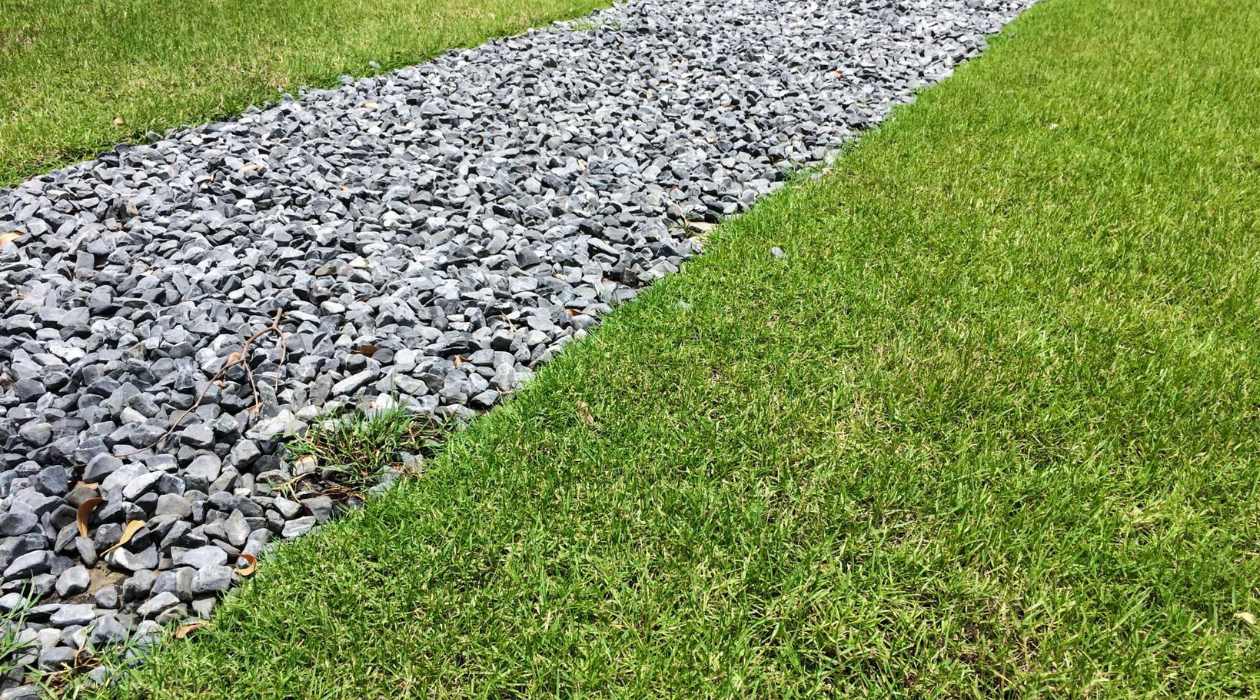
Adding New Gravel
Adding new gravel to your driveway is a crucial step in maintaining its appearance and functionality. Over time, gravel driveways can become compacted, worn, or washed away, resulting in uneven surfaces and poor drainage. By adding new gravel, you can replenish the driveway’s surface and ensure a smooth and durable driving experience.
Before adding new gravel, it’s essential to assess the current condition of your driveway. Determine areas that are low on gravel or have experienced erosion. These areas may appear uneven or show signs of pooling water.
Once you’ve identified the areas that require new gravel, gather the necessary materials. You will need additional gravel, a shovel or rake, and a wheelbarrow or buckets for transporting the gravel.
Begin by spreading a layer of fresh gravel over the areas that need replenishment. Use a rake or shovel to distribute the gravel evenly, ensuring it covers the entire section. Aim for a depth of approximately 2-3 inches to provide ample coverage and stability.
As you add the new gravel, blend it with the existing gravel to create a seamless transition. This will help maintain a uniform appearance and prevent any stark contrasts between old and new material.
If you notice any low spots or uneven areas, add an extra layer of gravel to level them out. Use a rake or shovel to spread the gravel evenly and compact it with a hand tamper or mechanical compactor. This will ensure a solid and even surface throughout the driveway.
Continue adding new gravel and leveling out any problem areas until you achieve a smooth and consistent surface. Take your time during this process to ensure proper coverage and even distribution of the new gravel.
After adding new gravel, it’s important to compact the surface to enhance its stability and durability. Use a hand tamper or mechanical compactor to compress the gravel. This will help prevent future erosion and enhance the load-bearing capacity of the driveway.
Adding new gravel to your driveway is an essential step in maintaining its longevity and appearance. The next step is to compact and finish the driveway, ensuring a solid and long-lasting surface for years to come.
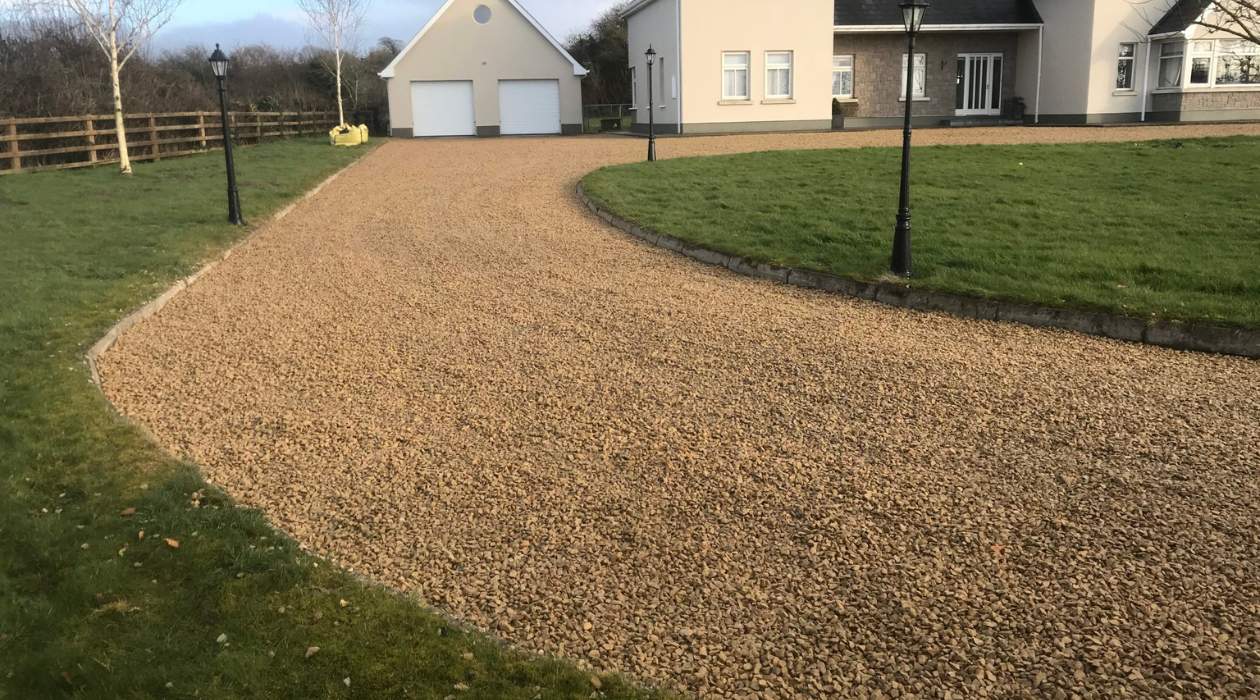
Compacting and Finishing the Driveway
After adding new gravel to your driveway, the next crucial step is to properly compact and finish the surface. This will help ensure the stability, longevity, and aesthetic appeal of your gravel driveway.
Before you begin the compaction process, ensure that all the new gravel has been spread evenly and covers the necessary areas. Use a rake or shovel to distribute the gravel and make any necessary adjustments to achieve a level surface.
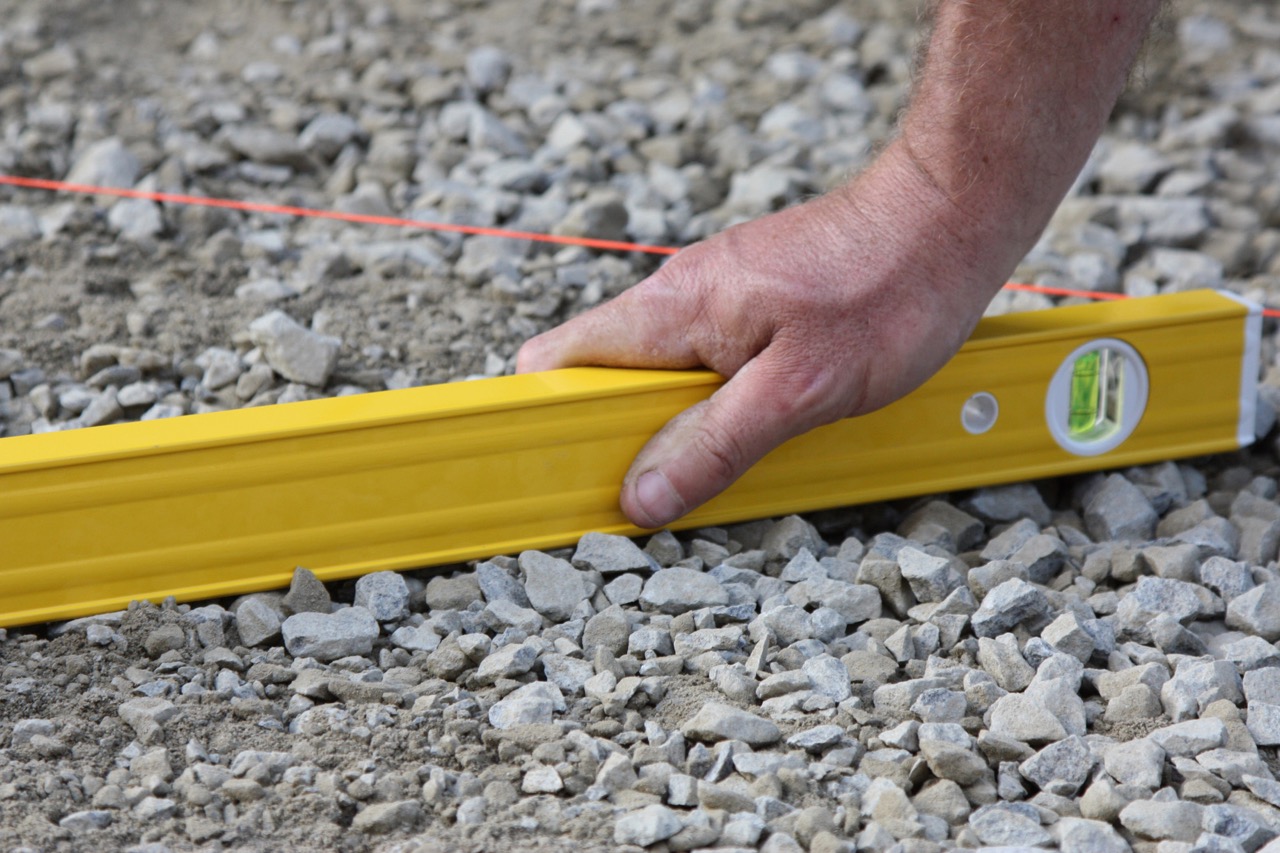
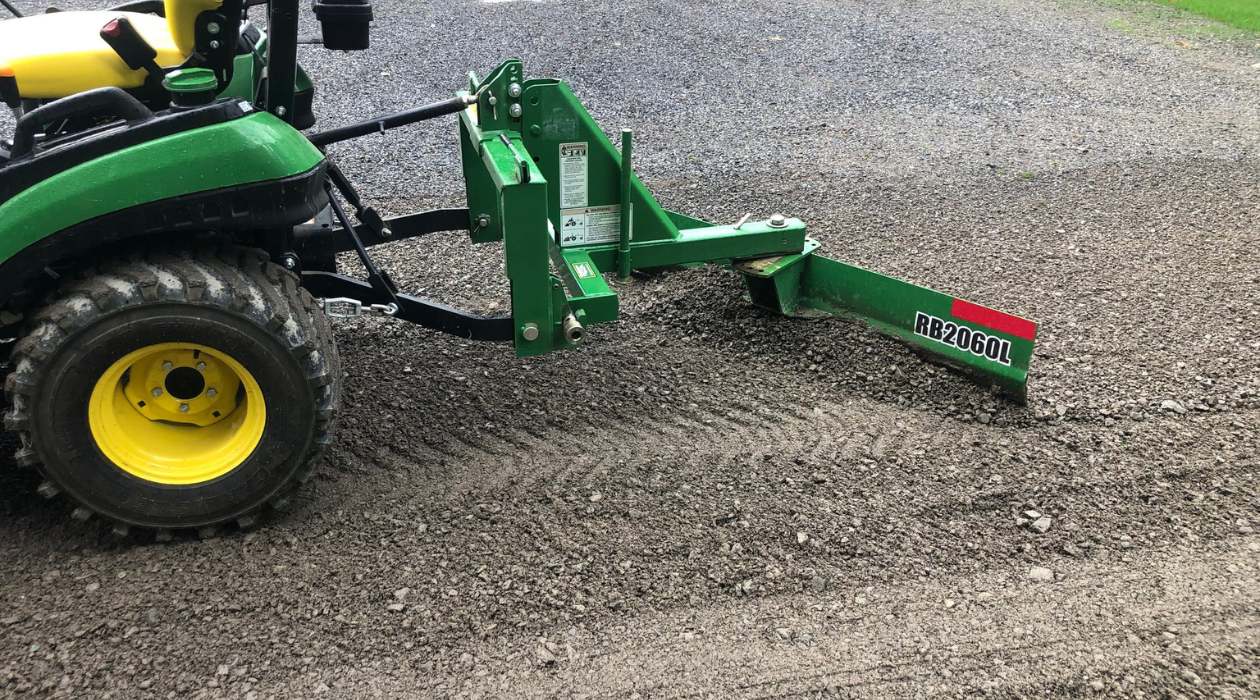
Once the gravel is evenly distributed, it’s time to compact the driveway. Compacting is crucial to increase the density of the gravel, reducing the risk of future settling and erosion.
There are two main methods you can use to compact the gravel: a hand tamper or a mechanical compactor. If you have a small driveway or only a few problem areas, a hand tamper can be sufficient. Simply use the tamper to apply downward force and compress the gravel. Move across the surface in overlapping sections to ensure even compaction.
If you have a larger driveway or prefer a more efficient and thorough compaction, consider renting a mechanical compactor. These machines provide greater power and precision, allowing for a more uniform and effective compaction process.
When using a mechanical compactor, follow the manufacturer’s instructions for proper operation. Start at one end of the driveway and gradually work your way to the other end, moving in a back-and-forth pattern. Repeat the process as necessary to ensure every section of the driveway has been properly compacted.
After compacting the driveway, take a step back and inspect the surface for any uneven areas or low spots. Use a rake or shovel to make any necessary adjustments and level out any problematic sections.
Finally, give the newly compacted driveway a finishing touch. Use a rake to evenly spread out the gravel and create a smooth and cohesive appearance. Pay attention to any visible tire tracks or compacted areas, ensuring they blend seamlessly with the rest of the surface.
By properly compacting and finishing your gravel driveway, you are ensuring its stability, durability, and aesthetic appeal. The final optional step is to consider sealing the driveway for added protection.
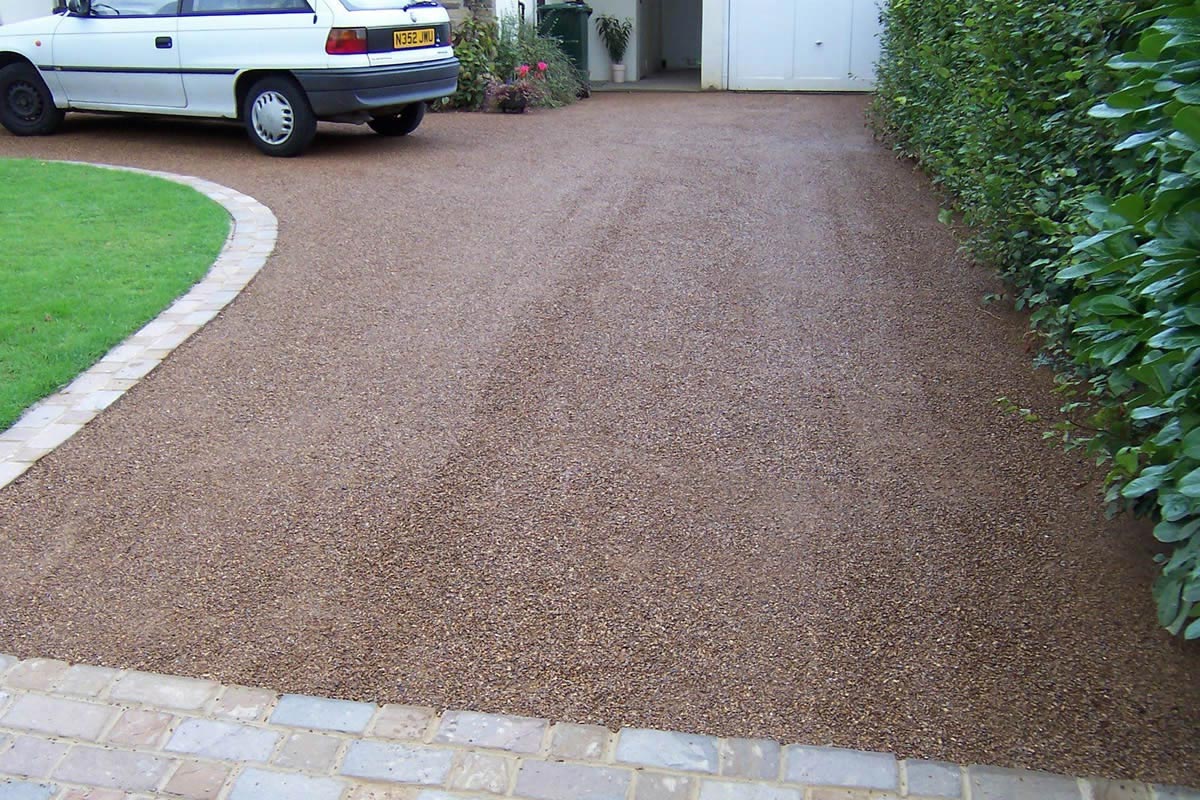
Sealing the Driveway (Optional)
Sealing your gravel driveway is an optional step but can provide several benefits in terms of protection and longevity. While it is not a requirement, sealing can help prevent water infiltration, reduce weed growth, and enhance the overall appearance of your driveway.
Before you begin the sealing process, make sure that your driveway is completely dry. Sealing a damp or wet surface can result in an ineffective seal and poor adhesion of the sealant.
Start by choosing the right type of sealer for your gravel driveway. There are specialized sealing products available specifically for gravel surfaces. These sealers are designed to penetrate the gravel, creating a barrier against moisture and reducing the risk of erosion.
Before applying the sealer, thoroughly clean the surface of the driveway. Remove any debris, loose gravel, or dirt using a broom or pressure washer. This will ensure that the sealer adheres properly and provides an even finish.
Once the surface is clean, apply the sealer according to the manufacturer’s instructions. Use a sprayer or a roller to evenly distribute the sealer across the entire driveway. Pay attention to any problem areas, cracks, or joints, as these areas are more prone to moisture infiltration.
Allow the sealer to dry completely before using the driveway. The drying time can vary depending on the product and weather conditions, so be sure to follow the instructions provided by the manufacturer.
Remember that sealing is not a one-time solution. It is recommended to reapply the sealer every few years to maintain its effectiveness. Regular maintenance and resealing will help preserve the condition of your gravel driveway and extend its lifespan.
While sealing is an optional step, it can provide added protection and enhance the overall appearance of your gravel driveway. Consider the benefits and consult with professionals or local experts to determine if sealing is the right choice for your specific situation.
With the completion of the optional sealing step, your gravel driveway is now restored and ready to provide years of reliable use and visual appeal.
Conclusion
Repairing and maintaining a gravel driveway may seem like a daunting task, but with the right approach and knowledge, it can be a straightforward and rewarding process. By following the steps outlined in this article, you can restore the functionality, appearance, and durability of your gravel driveway.
Remember to start by assessing the damage and understanding the specific issues you need to address. Clear any debris and prepare the driveway surface before proceeding with repairs. Fill and level any potholes, repair cracks and ruts, and add new gravel to areas that require replenishment.
After the repair work is complete, compact the surface to ensure stability and durability. Use a hand tamper or mechanical compactor to increase the density of the gravel and create an even surface. Finish by raking and smoothing the gravel for a cohesive appearance.
Sealing the driveway is an optional step but can provide additional protection against moisture and enhance the overall appearance. Consider sealing if you want to further increase the longevity of your gravel driveway.
Remember to regularly inspect and maintain your gravel driveway to prevent future damage and address any minor issues early on. This will help preserve the integrity and functionality of the driveway for years to come.
With the completion of the repair and maintenance steps outlined in this article, you can enjoy a functional, beautiful, and long-lasting gravel driveway. So, roll up your sleeves, gather your tools, and give your driveway the care it deserves. Your efforts will be rewarded with a driveway that not only enhances the curb appeal of your property but also provides a smooth and reliable surface for years to come.
Frequently Asked Questions about How To Fix A Gravel Driveway
Was this page helpful?
At Storables.com, we guarantee accurate and reliable information. Our content, validated by Expert Board Contributors, is crafted following stringent Editorial Policies. We're committed to providing you with well-researched, expert-backed insights for all your informational needs.

0 thoughts on “How To Fix A Gravel Driveway”