Articles
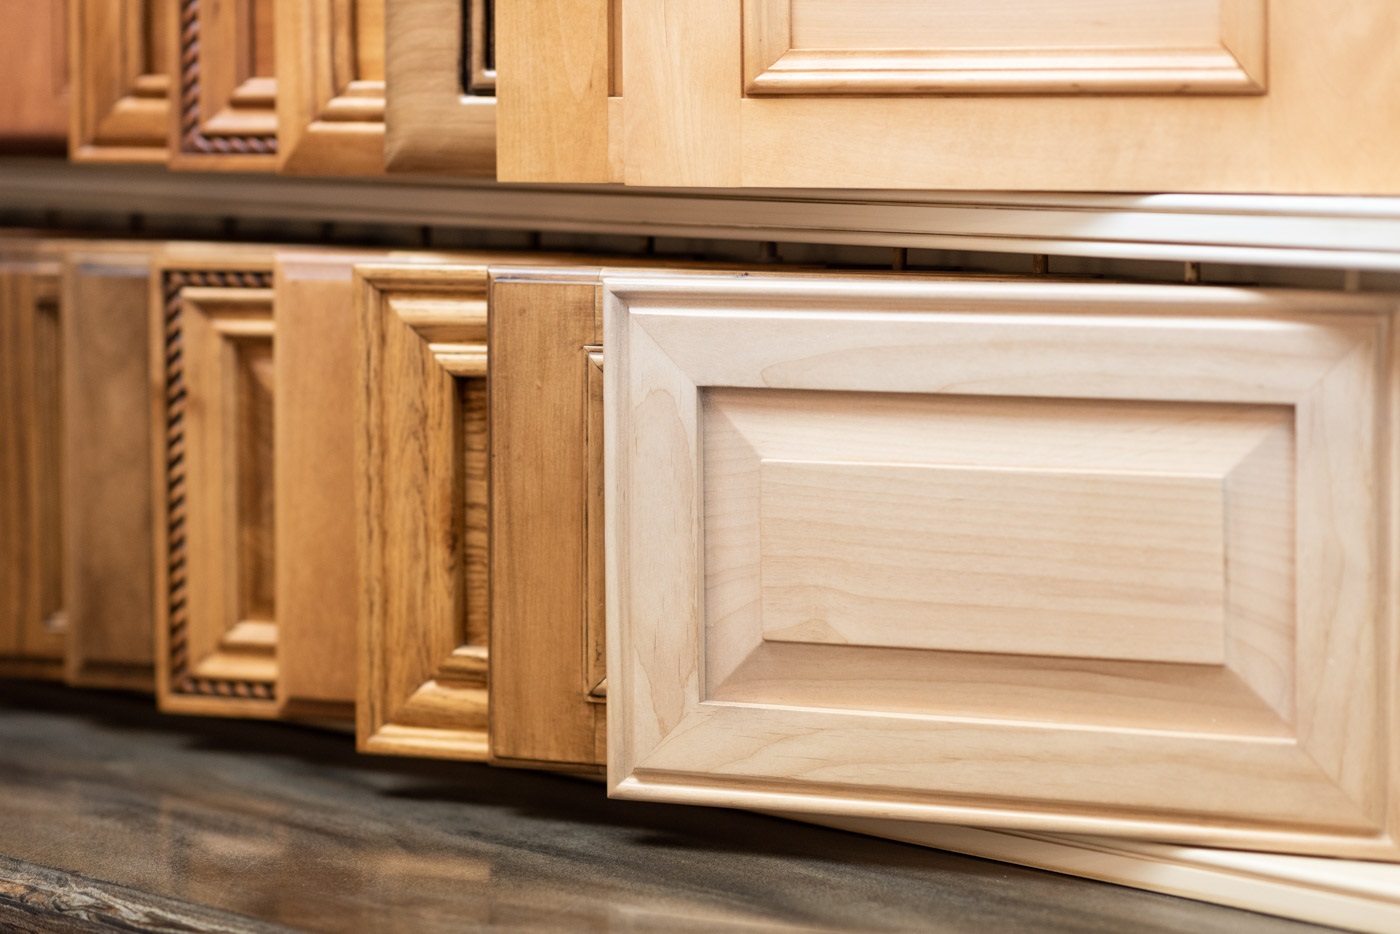
How To Make Plywood Cabinet Doors
Modified: March 22, 2024
Learn how to make beautiful plywood cabinet doors for your interior design projects. Discover step-by-step instructions and expert tips on creating stunning, custom cabinet doors.
(Many of the links in this article redirect to a specific reviewed product. Your purchase of these products through affiliate links helps to generate commission for Storables.com, at no extra cost. Learn more)
Introduction
Welcome to this guide on how to make plywood cabinet doors. Plywood is a versatile and budget-friendly material that can be used to create beautiful and functional cabinet doors for your kitchen, bathroom, or any other area of your home. In this tutorial, we will walk you through the step-by-step process of measuring, cutting, sanding, and attaching hardware to create custom plywood cabinet doors.
Whether you are a seasoned DIY enthusiast or a beginner looking to tackle a new project, making plywood cabinet doors is a rewarding and relatively simple task. By following the instructions in this guide, you can enhance the aesthetic appeal of your cabinets while adding a personal touch to your living space.
Before we dive into the details, let’s take a look at the materials and tools you will need for this project.
Key Takeaways:
- Elevate your living space with custom plywood cabinet doors using budget-friendly materials and simple DIY steps. Add a personal touch and enhance functionality with this rewarding project.
- Achieve professional-looking results by measuring, cutting, sanding, attaching hardware, and applying finishing touches to create custom plywood cabinet doors. Enjoy the satisfaction of a job well done and refreshed cabinets.
Read more: How To Make A Cabinet Door
Materials and Tools Needed
Before you start making plywood cabinet doors, gather the necessary materials and tools to ensure a smooth and efficient process. Here’s a list of what you will need:
- Plywood sheets (preferably 1/2 inch or 3/4 inch thickness)
- Tape measure
- Saw (circular saw or table saw)
- Sandpaper (various grits)
- Wood glue
- Hinges
- Screwdriver or drill
- Handles or knobs
- Screws
- Paint or stain (optional)
- Paintbrushes or foam rollers (if painting)
Make sure to choose plywood sheets that are of good quality and free from any defects. The size of the plywood will depend on the measurements of your cabinet openings, so take accurate measurements before purchasing or cutting the sheets.
A tape measure is essential for accurately measuring the dimensions of your cabinet doors. It is crucial to measure twice to ensure the perfect fit before making any cuts.
A saw, such as a circular saw or table saw, will be used to cut the plywood sheets according to your measurements. Ensure that the saw blade is appropriate for cutting plywood to achieve clean and precise cuts.
Sandpaper of various grits is required to smoothen the edges and surfaces of the plywood. Start with a rougher grit sandpaper and gradually move to finer grits for a polished finish.
Wood glue is necessary to securely attach the different parts of the plywood cabinet doors. Look for a high-quality wood glue that dries clear and is strong enough to withstand everyday use.
Hinges will be used to attach the cabinet doors to the cabinet frame. Choose hinges that are suitable for the weight and size of your plywood doors. A screwdriver or drill will be needed to screw the hinges into place.
Handles or knobs are optional but can add functionality and aesthetic appeal to your cabinet doors. Choose handles or knobs that complement your overall design scheme.
Lastly, if you prefer to paint or stain your plywood cabinet doors, have the appropriate paint or stain ready. Make sure to select a paint or stain that is suitable for plywood and your desired finish. Paintbrushes or foam rollers will be needed to apply the paint or stain evenly.
Now that you have gathered all the necessary materials and tools, let’s proceed to the next steps: measuring and cutting the plywood.
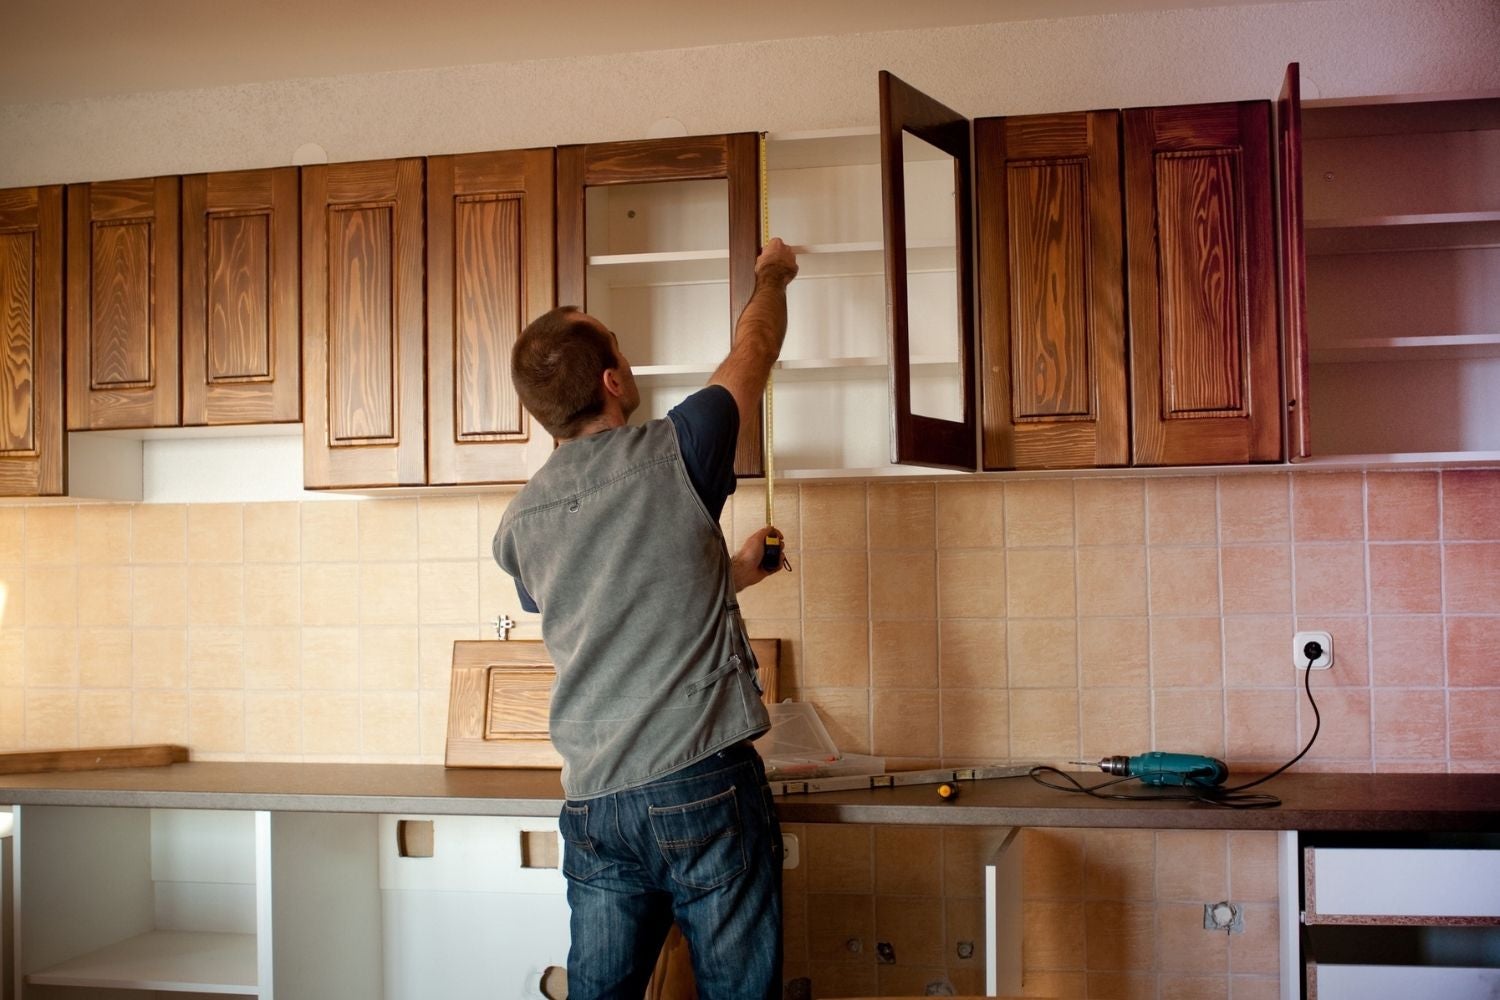
Step 1: Measure and Cut the Plywood
The first step in making plywood cabinet doors is to accurately measure the dimensions of your cabinet openings and then cut the plywood sheets accordingly. Follow these steps:
- Measure the height and width of each cabinet opening using a tape measure. Take precise measurements to ensure a proper fit for your cabinet doors.
- Transfer the measurements onto the plywood sheets, marking the dimensions of each door with a pencil or marker. Use a straightedge or a square to ensure straight lines.
- Ensure that you have accounted for the width of the hinges and any gaps you want between the doors when determining the size of the plywood pieces.
- Once you have marked the dimensions on the plywood, carefully cut along the lines using a circular saw or table saw. Take your time and make sure to maintain a steady hand for straight and accurate cuts.
- For safety purposes, always wear appropriate protective gear, such as safety goggles and gloves, when working with power tools.
Remember to double-check your measurements before making any cuts and always measure twice to ensure accuracy. It’s better to be cautious and triple-check than to end up with ill-fitting cabinet doors.
Once you have cut the plywood pieces to the desired dimensions, move on to the next step: sanding the edges.
Step 2: Sand the Edges
After cutting the plywood pieces for your cabinet doors, it’s important to sand the edges to create a smooth and polished finish. Follow these steps to properly sand the edges:
- Start with a rougher grit sandpaper, such as 120-grit, to remove any rough edges and uneven surfaces. Hold the sandpaper firmly and move it back and forth along the edges of the plywood in a consistent motion.
- Continue sanding until the edges are smooth to the touch and any splinters or jagged edges have been removed. Be mindful of maintaining a straight and even edge while sanding.
- Once you are satisfied with the result, switch to a finer grit sandpaper, such as 220-grit, to further refine the edges. This will help achieve a polished finish and prepare the plywood for painting or staining, if desired.
- After sanding the edges, use a damp cloth or tack cloth to remove any dust or debris from the surface of the plywood.
- Inspect the edges to ensure they are smooth and free from imperfections. If needed, perform additional sanding until you achieve the desired smoothness.
Sanding the edges not only enhances the appearance of the plywood cabinet doors but also helps prevent any splinters or sharp edges that could potentially cause injury. Take your time during this step to achieve a professional and flawless finish.
With the edges sanded, we can now move on to attaching hinges to the doors in the next step of the process.
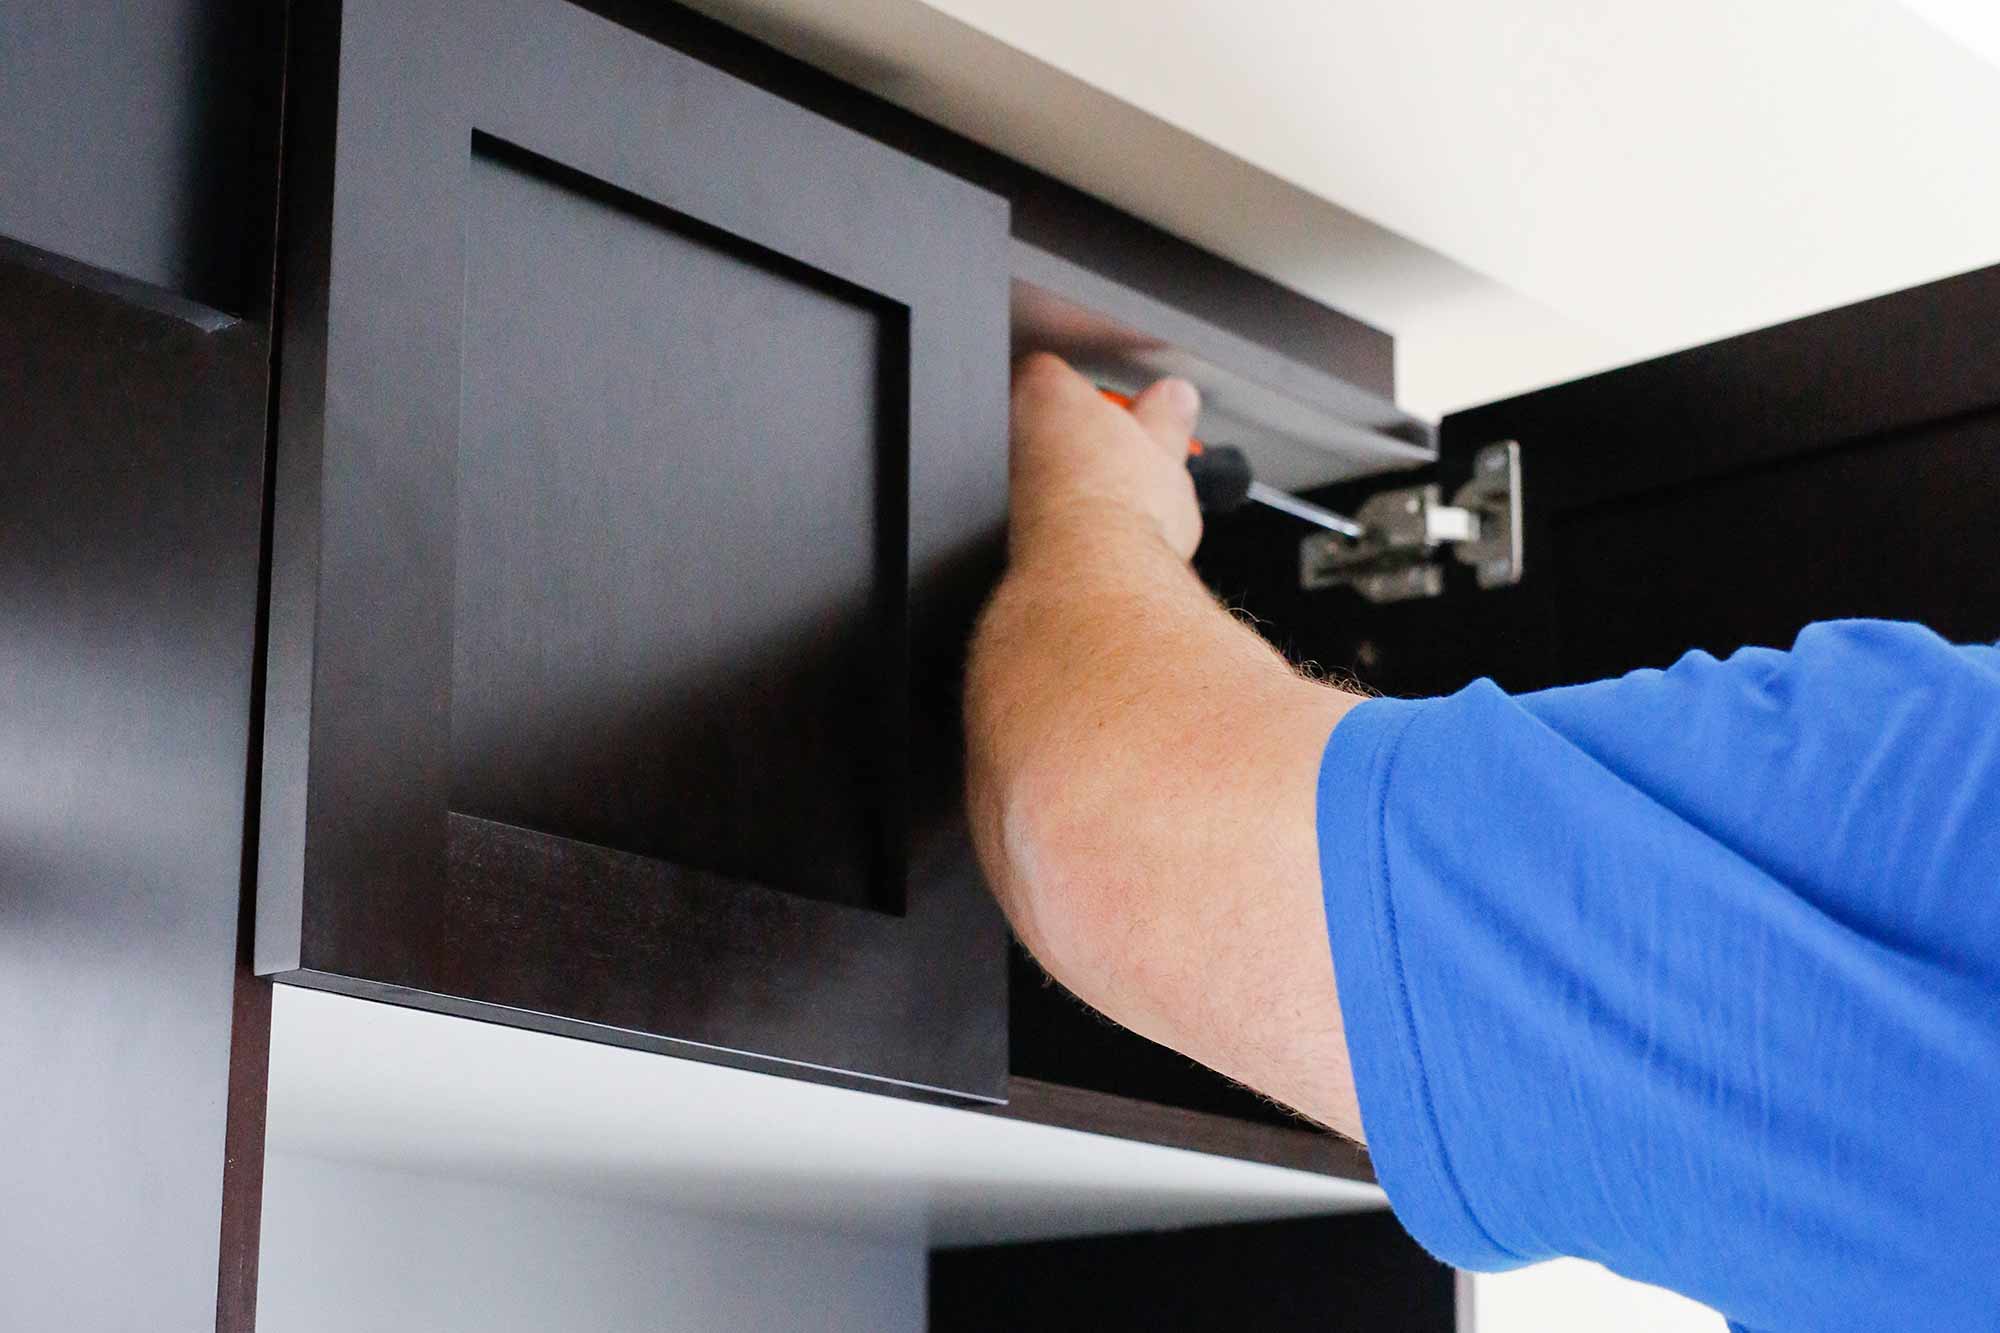
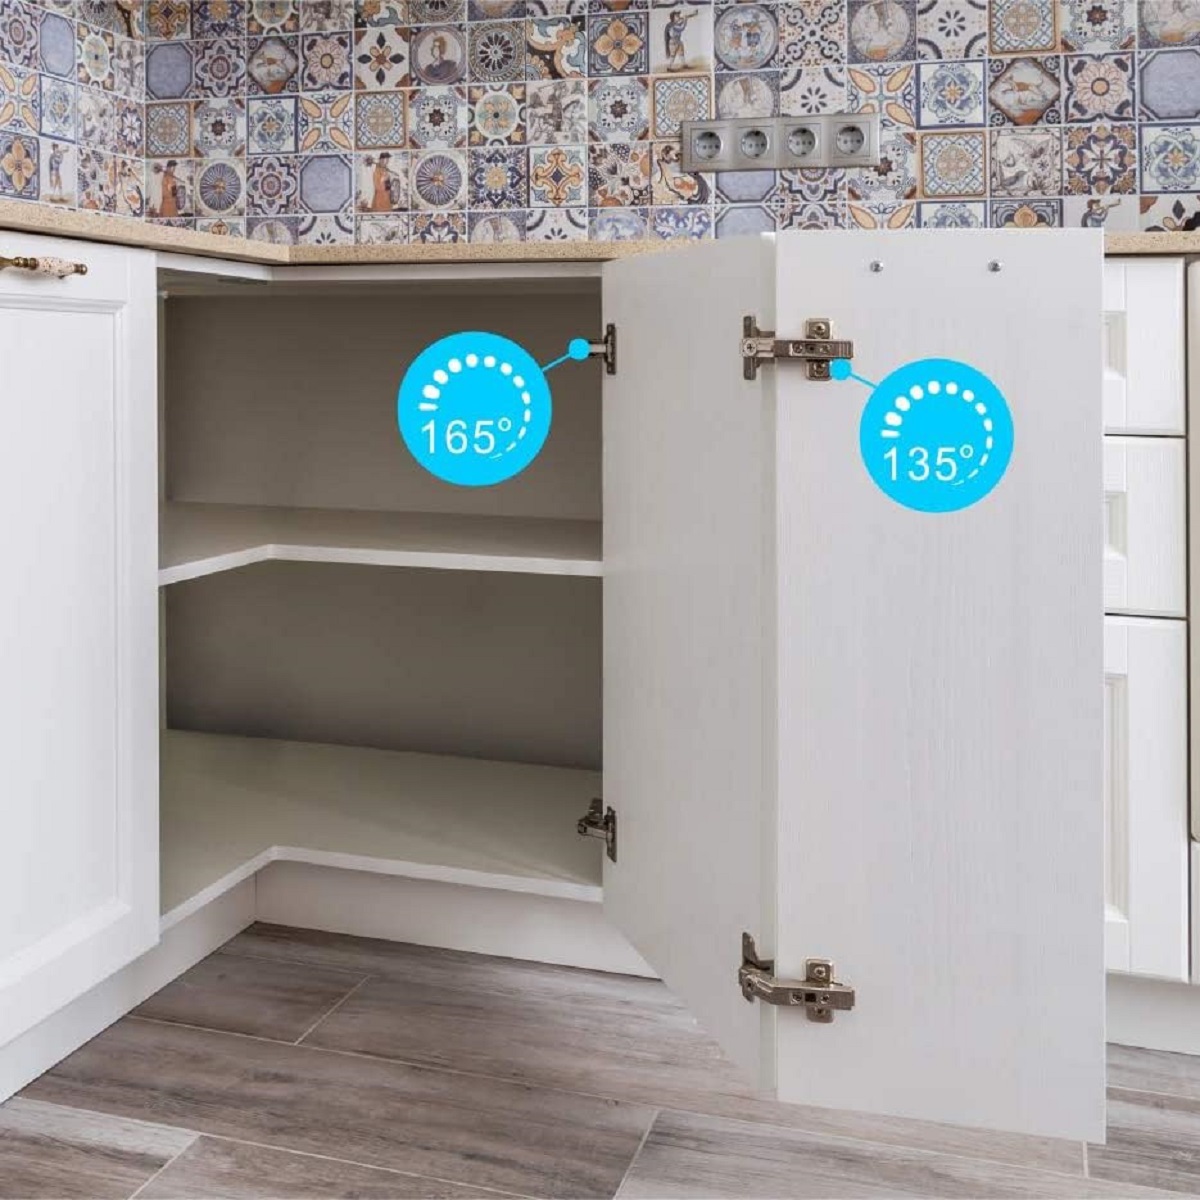
Step 3: Attach Hinges to the Doors
Now that you have measured, cut, and sanded the plywood for your cabinet doors, it’s time to attach hinges that will allow them to open and close smoothly. Follow these steps to properly attach hinges to the doors:
- Begin by placing the first door onto a flat surface with the front side facing down.
- Measure and mark the desired placement of the hinges on the edge of the door. Most cabinet doors typically have two hinges, evenly spaced from the top and bottom edges.
- Align the hinge leaf against the markings and mark the positions for the screw holes.
- Pre-drill pilot holes for the screws to prevent the plywood from splitting. Use a drill bit that is slightly smaller in diameter than the screws you will be using.
- Attach the hinge leaf to the door using the appropriate screws. Make sure the hinge is securely fastened and aligned properly.
- Repeat the steps for attaching hinges to the remaining doors, ensuring consistent spacing and alignment.
- Once all the hinges are attached, check the movement of the doors to ensure they open and close smoothly.
Properly attaching hinges is crucial for the functionality of your plywood cabinet doors. Make sure to choose hinges that can support the weight of the doors and are suitable for your specific cabinet design.
With the hinges securely in place, let’s move on to the next step: installing handles or knobs.
When making plywood cabinet doors, be sure to use a high-quality plywood to ensure durability. Consider adding edge banding to cover the exposed edges for a polished look.
Read more: Where To Buy Cabinet Grade Plywood
Step 4: Install Handles or Knobs
Adding handles or knobs to your plywood cabinet doors not only enhances their appearance but also provides a convenient way to open and close them. Here’s how you can install handles or knobs:
- Decide on the placement of the handles or knobs on the doors. Typically, they are positioned horizontally or vertically at a comfortable height.
- Measure and mark the locations for the screws or mounting holes for the handles or knobs on the front side of the doors.
- Use a drill bit that matches the diameter of your screws or mounting hardware to pre-drill holes at the marked positions.
- If the handles or knobs come with screws, insert the screws through the holes from the backside of the door and tighten them using a screwdriver.
- If your chosen handles or knobs require different mounting hardware, follow the manufacturer’s instructions to attach them securely to the doors.
- Repeat the process for installing handles or knobs on each plywood cabinet door.
- Double-check that all handles or knobs are securely tightened and aligned.
By installing handles or knobs, you can add a personal touch to your plywood cabinet doors and create a cohesive look with the overall design of your space.
With the handles or knobs in place, it’s time to move on to the next step: mounting the cabinet doors.
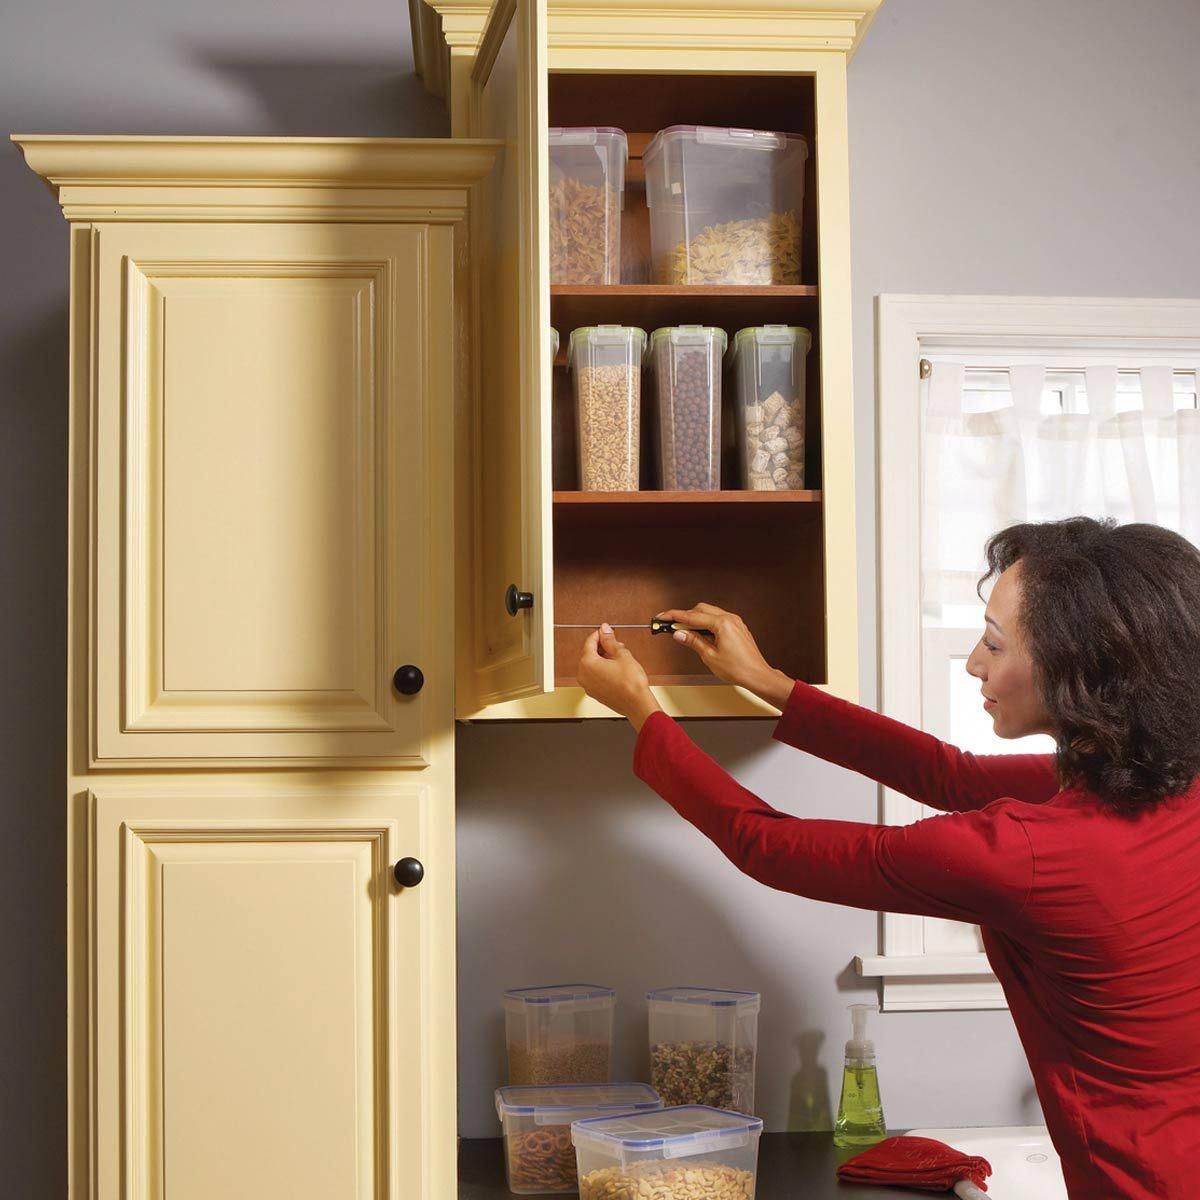
Step 5: Mount the Cabinet Doors
Now that you have measured, cut, sanded, attached hinges, and installed handles or knobs on your plywood cabinet doors, it’s time to mount them onto your cabinets. Follow these steps to properly mount the doors:
- Begin by positioning the first door onto the cabinet frame where it will be mounted.
- Align the hinges on the door with the corresponding hinge plates or brackets on the frame.
- Hold the door in place and slowly open and close it to ensure that it aligns properly and moves smoothly.
- If adjustments are needed, slightly tighten or loosen the screws on the hinge plates or brackets to achieve proper alignment.
- Repeat the process for mounting the remaining doors, making sure each one aligns correctly with the hinge plates or brackets.
- Double-check all doors to ensure they are level, properly aligned, and open and close smoothly without any obstructions.
Properly mounting the cabinet doors is essential for their functionality and overall appearance. Take your time to ensure that each door is aligned correctly and moves as intended.
With the cabinet doors securely mounted, we can move on to the final step: applying finishing touches.
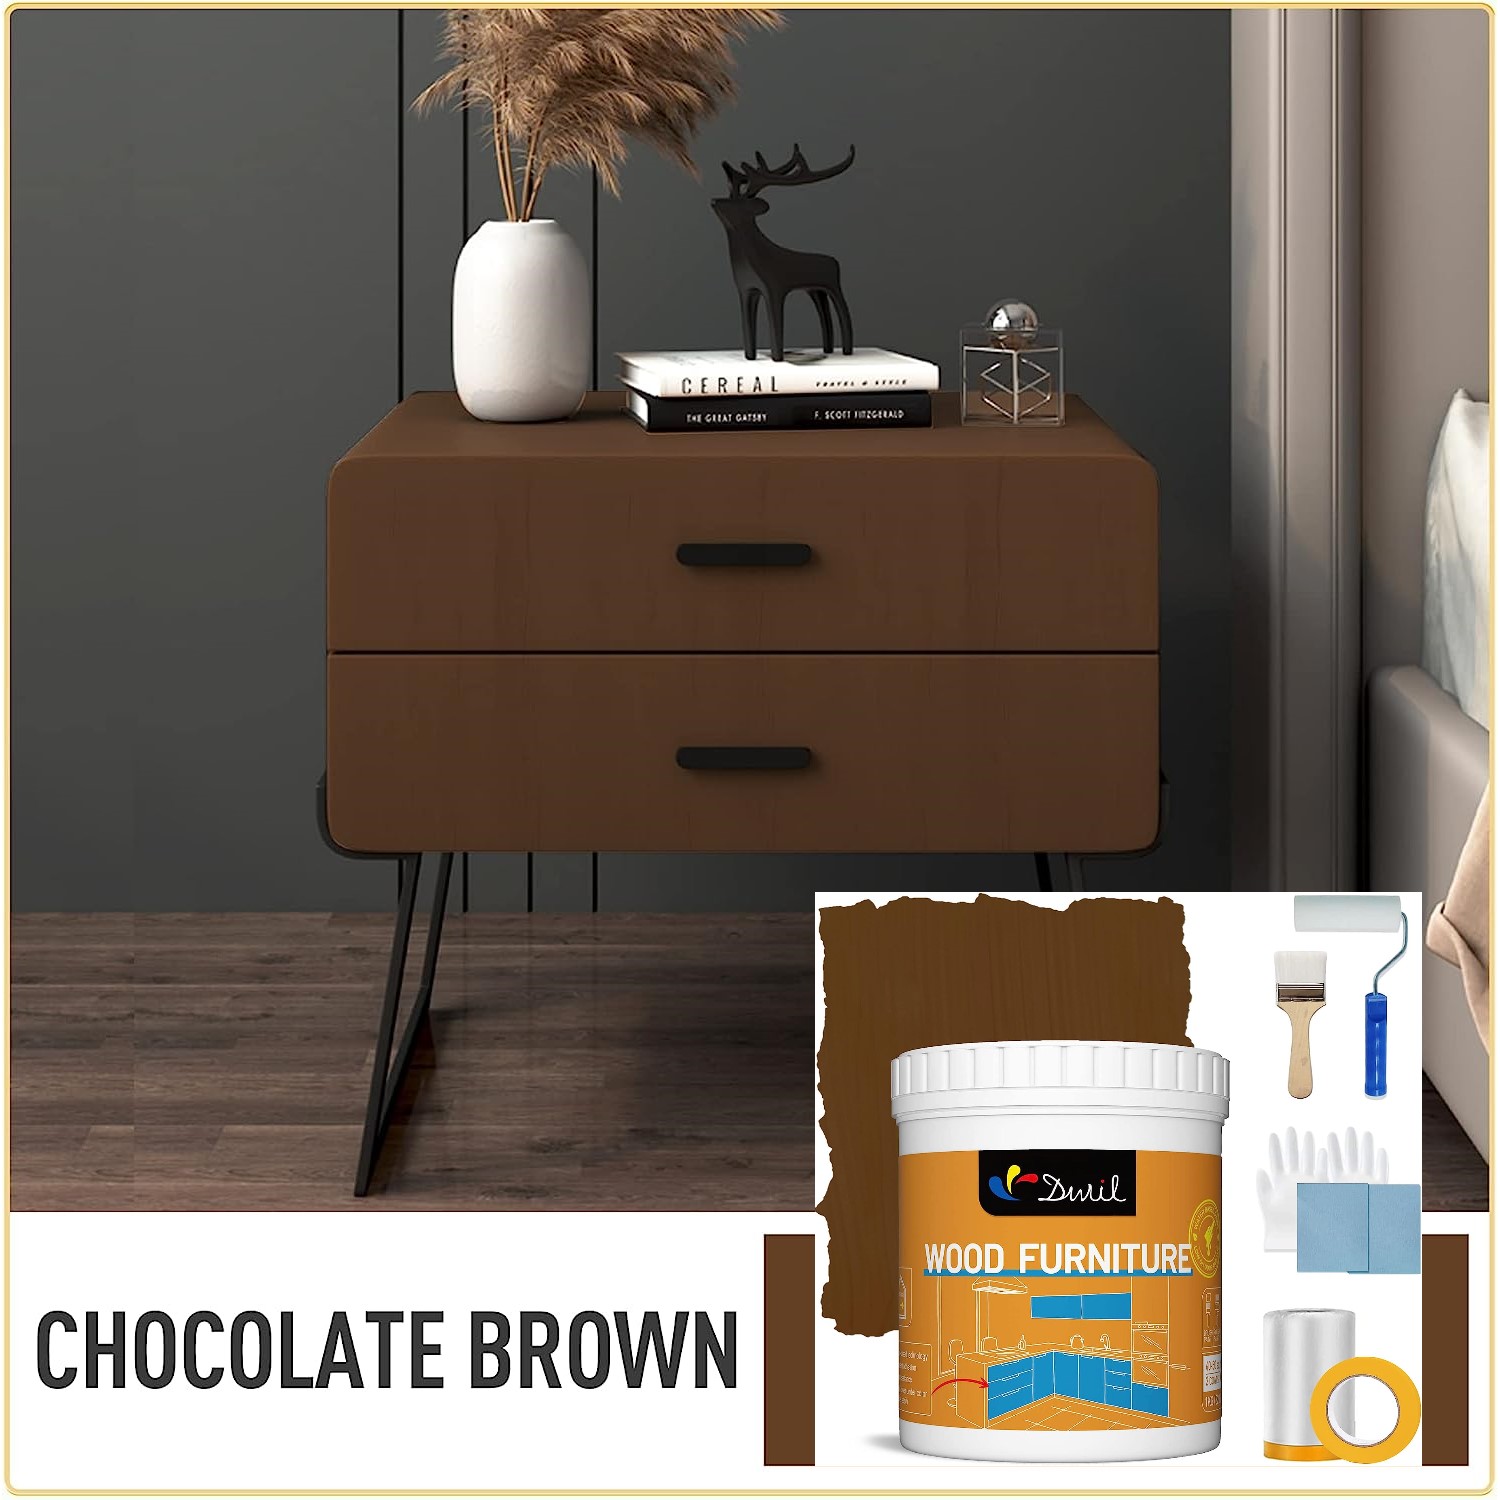
Step 6: Apply Finishing Touches
After successfully mounting the plywood cabinet doors, you may choose to apply some finishing touches to enhance their appearance and durability. Follow these steps to complete the final stage:
- If desired, you can paint or stain the plywood doors to match your desired aesthetic. Ensure that the paint or stain is suitable for use on plywood.
- Before applying any finish, make sure the doors are clean and free from dust or debris. Use a damp cloth to wipe down the surface and allow it to dry completely.
- If you are painting the doors, apply a primer coat to create a smooth surface and improve paint adhesion. Let the primer dry according to the manufacturer’s instructions.
- Apply your chosen paint or stain using a paintbrush or foam roller, following the grain of the wood for an even application. Allow each coat to dry thoroughly before applying additional coats, if needed.
- Once the doors are dry, you can optionally apply a clear protective finish, such as varnish or polyurethane, to add an extra layer of durability and provide a glossy or satin sheen.
- Allow the final finish to dry completely according to the product instructions before handling or reinstalling the cabinet doors.
By applying a finish to your plywood cabinet doors, you not only protect them from moisture and wear but also enhance their visual appeal and ensure longevity.
With the finishing touches applied, your plywood cabinet doors are now complete! Take a moment to admire your craftsmanship and enjoy the refreshed look of your cabinets.
Congratulations on successfully making plywood cabinet doors! We hope this step-by-step guide has been helpful in guiding you through the process. Whether you are updating your kitchen cabinets or embarking on a DIY project, creating custom plywood cabinet doors can make a significant difference in your living space.
Thank you for following along, and happy woodworking!
Conclusion
In conclusion, making plywood cabinet doors is a rewarding and cost-effective way to elevate the aesthetics and functionality of your cabinets. With the right materials, tools, and instructions, you can create custom doors that perfectly fit your cabinet openings.
In this guide, we walked you through the step-by-step process of measuring and cutting the plywood, sanding the edges, attaching hinges, installing handles or knobs, mounting the doors onto the cabinets, and applying finishing touches. By following these steps, you can achieve professional-looking results and enjoy the satisfaction of completing a DIY project.
Remember to take accurate measurements, use proper safety precautions when working with tools, and pay attention to details to ensure the best outcome. Whether you choose to paint or stain your plywood doors, the finishing touches will add durability and enhance the overall appearance of your cabinets.
By constructing your own plywood cabinet doors, you have the opportunity to customize them to your unique style and preference. This allows you to create a cohesive look that complements your existing decor and adds a personal touch to your living space.
We hope this guide has been informative and has inspired you to take on the task of making plywood cabinet doors. Whether you are an experienced DIY enthusiast or a beginner, with patience and attention to detail, you can successfully complete this project and enjoy the satisfaction of a job well done.
Best of luck with your plywood cabinet door project, and may they bring new life and functionality to your cabinets!
Frequently Asked Questions about How To Make Plywood Cabinet Doors
Was this page helpful?
At Storables.com, we guarantee accurate and reliable information. Our content, validated by Expert Board Contributors, is crafted following stringent Editorial Policies. We're committed to providing you with well-researched, expert-backed insights for all your informational needs.
0 thoughts on “How To Make Plywood Cabinet Doors”