Articles
How To Build A Plywood Chimney Chase
Modified: August 28, 2024
Learn how to build a plywood chimney chase with our informative articles. Step-by-step instructions and expert tips to help complete your project successfully.
(Many of the links in this article redirect to a specific reviewed product. Your purchase of these products through affiliate links helps to generate commission for Storables.com, at no extra cost. Learn more)
Introduction
Welcome to our comprehensive guide on how to build a plywood chimney chase. A chimney chase is a structure that encloses a chimney to protect it from the elements and add aesthetic appeal to your home. Whether you’re looking to replace an existing chimney chase or build a new one from scratch, this article will provide you with step-by-step instructions to successfully complete the project.
Building a plywood chimney chase is a relatively straightforward process that requires some basic tools and materials. By following our guide, you’ll be able to create a sturdy and attractive chimney chase that will not only protect your chimney but also add a stylish touch to your home’s exterior.
Before we dive into the steps of building a plywood chimney chase, let’s take a moment to discuss the materials and tools you’ll need. This will ensure that you have everything ready before you begin your project.
Key Takeaways:
- Building a plywood chimney chase is a rewarding project that adds both protection and visual appeal to your home. By following the step-by-step guide, you can create a sturdy and stylish structure that enhances your chimney’s functionality and your home’s exterior.
- Safety, proper planning, and attention to detail are essential when constructing a plywood chimney chase. From gathering materials to attaching the chase to the roof, each step contributes to a successful and long-lasting addition to your home.
Read more: What Is A Chimney Chase
Step 1: Gathering Materials and Tools
Before you start building your plywood chimney chase, it’s important to gather all the necessary materials and tools. Having everything prepared in advance will make the construction process smoother and more efficient. Here’s a list of what you’ll need:
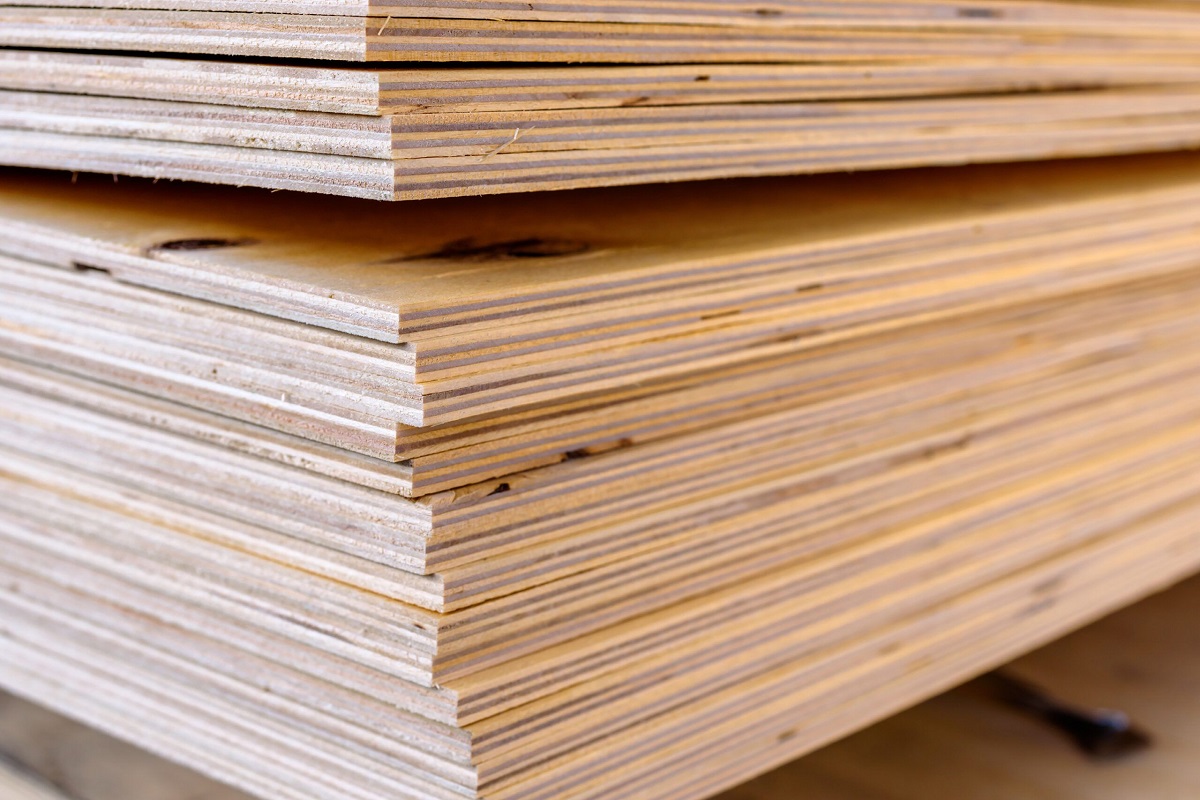
- Plywood sheets: Choose a high-quality plywood, preferably weather-resistant, in the desired thickness.
- Chimney pipe: Measure the dimensions of your chimney pipe to ensure you purchase the correct size for your chase.
- Plywood screws: Select screws that are appropriate for outdoor use and compatible with plywood.
- Roofing nails: These will be used to secure the chimney chase to the roof.
- Lumber: You’ll need 2×4 lumber to create the frame of the chimney chase.
- Roofing materials: Depending on the style of your home, you may want to match the roofing materials of your chimney chase to those of your roof.
- Insulation: If you live in a cold climate, consider adding insulation to the interior of the chimney chase to prevent heat loss.
- Paint or stain: Choose a high-quality outdoor paint or stain to protect the plywood from the elements and to enhance its appearance.
In addition to the materials, you’ll need the following tools:
- Tape measure: Essential for measuring the dimensions of your chimney and planning the chase.
- Circular saw: To cut the plywood sheets and lumber.
- Drill: Used for creating pilot holes and driving screws into the plywood and lumber.
- Hammer: For hammering roofing nails into place.
- Level: To ensure that the chimney chase is plumb and level during the construction process.
- Safety equipment: It’s important to wear safety goggles, gloves, and a dust mask to protect yourself during cutting and assembly.
Once you have all the necessary materials and tools gathered, you’ll be ready to move on to the next step: measuring and planning.
Step 2: Measuring and Planning
Before constructing your plywood chimney chase, it’s crucial to properly measure and plan out the dimensions and design. This will ensure that the chase fits your chimney properly and is aesthetically pleasing. Here’s what you need to do:
1. Measure the Chimney: Use a tape measure to determine the height and width of your chimney. Take accurate measurements from the bottom of the chimney to the top, as well as the width and depth. Write down these measurements for reference.
2. Determine the Chase Dimensions: Decide on the desired dimensions for the plywood chimney chase. It should be slightly larger than the chimney to provide enough space for clearance and airflow. Add a few inches to the height, width, and depth measurements of the chimney to determine the chase dimensions.
3. Create a Sketch: Draw a rough sketch of the chimney chase, incorporating the dimensions you determined. Take into account any architectural elements or design features you want to include, such as decorative trim or siding. This will help you visualize the final product and guide you during construction.
4. Consider Roof Clearance: Take into account any roof overhangs or obstructions that may impact the placement of the chimney chase. Ensure that there is sufficient clearance from the roof to prevent any potential fire hazards or damage.
5. Check Local Building Codes: Before proceeding, check with your local building authority to ensure that you comply with any regulations or permits required for building a chimney chase. It’s important to adhere to the codes to ensure the safety and legality of your project.
By taking the time to measure and plan your plywood chimney chase, you’ll be able to proceed with confidence to the next step: cutting plywood panels.
Step 3: Cutting Plywood Panels
With the measurements and plan in hand, it’s time to move on to cutting the plywood panels for your chimney chase. This step is crucial in ensuring that you have the necessary pieces to assemble the structure. Here’s how to cut the plywood panels:
1. Prepare the Plywood: Lay the plywood sheets on a stable work surface. Ensure that the surface is clean and free from debris to prevent any damage to the plywood. Use a tape measure to mark the dimensions of each panel based on your chase design.
2. Set Up the Circular Saw: Adjust the blade of the circular saw to the desired depth of your plywood. It’s important to set the depth correctly to avoid cutting too deep or too shallow. Follow the manufacturer’s instructions for adjusting the saw blade.
3. Make Precise Cuts: Carefully guide the circular saw along the marked lines to cut the plywood into individual panels. Take your time and ensure that the cuts are straight and accurate. If needed, use clamps to secure the plywood sheets in place to prevent any movement during cutting.
4. Cut Openings for Chimney Pipe: If your chimney has a pipe protruding from it, measure and mark the appropriate opening on the plywood panel that will accommodate the pipe. Use a jigsaw or hole saw to cut out the opening carefully.
5. Label Panels: To make assembly easier, label each plywood panel according to its position in the chase. This will help you identify which piece goes where during the construction process.
6. Sand the Edges: Use sandpaper or a sander to smooth the edges of the plywood panels. This will remove any rough or splintered edges and give the chase a cleaner, more professional appearance.
By accurately cutting the plywood panels, you’ll have the foundation for your chimney chase ready to be assembled. The next step will guide you through the process of putting the chase together.
Step 4: Assembling the Chimney Chase
Now that you have cut the plywood panels, it’s time to assemble the chimney chase. This step will bring your project to life as you see the structure taking shape. Follow these steps to successfully assemble your plywood chimney chase:
1. Frame Construction: Start by constructing the frame of the chimney chase using 2×4 lumber. Using your measurements and plan as a guide, cut the lumber to the appropriate lengths for the top, bottom, and sides of the chase. Use a drill and screws to secure the pieces together, ensuring they are square and level.
2. Attach Plywood Panels: Once the frame is complete, begin attaching the plywood panels to the frame using plywood screws. Start with the back panel and secure it to the frame, followed by the side panels and finally the front panel. Make sure the panels are flush with the frame and evenly spaced.
3. Reinforce the Corners: To strengthen the structure, add corner braces or brackets to the inside corners of the chimney chase. This will provide additional stability and prevent the chase from shifting or bending over time.
4. Install Insulation (Optional): If you live in a cold climate, consider adding insulation to the interior of the chase to prevent heat loss and improve energy efficiency. Install the insulation before attaching the front panel to make the process easier.
5. Secure the Chimney Pipe: If your chimney has a pipe that extends through the chase, use appropriate brackets or supports to secure it in place. Ensure that the pipe is properly aligned and centered within the opening you created in the plywood panel.
6. Seal Gaps and Joints: Inspect the chase for any gaps or joints between the panels and the frame. Use caulk or sealant to fill these gaps and ensure that the structure is weatherproof and airtight.
7. Add Decorative Trim (Optional): To enhance the appearance of the chimney chase, consider adding decorative trim or molding along the edges. This will give it a finished and polished look. Use a saw and screws or nails to attach the trim securely.
With the chimney chase assembled, you have made significant progress towards completing this project. The next step will guide you through the installation of the chimney caps.
When building a plywood chimney chase, make sure to use pressure-treated plywood to protect against moisture and rot. Additionally, use construction adhesive and screws to secure the plywood for added stability.
Read more: How To Build A Chimney
Step 5: Installing the Chimney Caps
Now that your plywood chimney chase is assembled, it’s time to install the chimney caps. Chimney caps serve two primary purposes: they prevent debris, animals, and rainwater from entering the chimney, and they help to improve draft by creating a barrier against gusts of wind. Follow these steps to install the chimney caps:
1. Measure and Purchase the Chimney Caps: Start by measuring the dimensions of the chimney opening. Take accurate measurements of the width and height of the opening to ensure you purchase the correct size caps. There are various types of chimney caps available, including stainless steel, copper, and galvanized steel. Choose a material that suits your aesthetic preferences and meets your functionality requirements.
2. Secure the Chimney Caps: Place the chimney caps over the chimney opening and ensure they fit securely. Use screws or brackets provided with the caps to attach them to the plywood chase. Make sure they are centered and level on the top of the chase.
3. Check for Proper Airflow: It’s important to check that the chimney caps do not impede the airflow through the chimney. Ensure that there is enough clearance around the caps to allow proper ventilation while still providing protection against debris and animals.
4. Inspect for Proper Seal: Check the fit and seal of the chimney caps against the opening. Make sure there are no gaps or areas where water or debris can enter. Apply a sealant, such as silicone caulking, if necessary, to create a tight and weatherproof seal.
5. Maintain and Clean the Chimney Caps: Regularly inspect the chimney caps to ensure they are in good condition. Over time, they may become dirty or accumulate debris. Clean them as needed to maintain their functionality and aesthetic appeal.
Installing the chimney caps is an essential step in protecting your chimney from potential damage and maintaining proper ventilation. Once you have successfully installed the caps, you can move on to attaching the chimney chase to the roof.
Step 6: Attaching the Chimney Chase to the Roof
With the plywood chimney chase built and the chimney caps installed, it’s time to secure the chimney chase to the roof. This step is crucial to ensure that the chase is securely attached and weatherproof. Follow these steps to properly attach the chimney chase to the roof:
1. Choose the Right Location: Determine the ideal location for the chimney chase on your roof. Consider factors such as proximity to the chimney, accessibility, and aesthetic appeal. Ensure that there is sufficient clearance from any obstruction and that the chase is aligned with the chimney pipe.
2. Mark the Placement: Use a tape measure and level to mark the exact placement of the chimney chase on the roof. Take accurate measurements to ensure that the chase is positioned correctly. Double-check the measurements to avoid any issues during installation.
3. Install Flashing: To prevent water leakage, it’s essential to install flashing around the base of the chimney chase. Flashing is a waterproof material that creates a barrier between the chase and the roof. Follow the manufacturer’s instructions to properly install and secure the flashing.
4. Secure the Chase to the Roof: Using roofing nails or screws, secure the chimney chase to the roof. Start with the bottom of the chase and work your way up, ensuring that each side is securely fastened to the roof. Be mindful of the type of roofing materials you have and use the appropriate nails or screws to prevent damage.
5. Check for Proper Alignment: As you secure the chase to the roof, periodically check for proper alignment. Ensure that the chase is straight and level, using a level if necessary. Adjust the placement as needed to achieve the desired alignment and appearance.
6. Seal Roof Junction: Inspect the area where the chimney chase meets the roof for any gaps or openings. Use roofing caulk or sealant to create a watertight seal along this junction. This will prevent water penetration and ensure that the chimney chase is fully weatherproof.
7. Test for Stability: Once the chimney chase is securely attached to the roof, test for stability by gently applying pressure. Ensure that the chase does not move or wobble. If any adjustments or additional fastening is needed, do so to ensure a stable and secure installation.
By properly attaching the chimney chase to the roof, you’ll ensure its stability and protect it from the elements. The final step will guide you through adding the finishing touches to your plywood chimney chase.
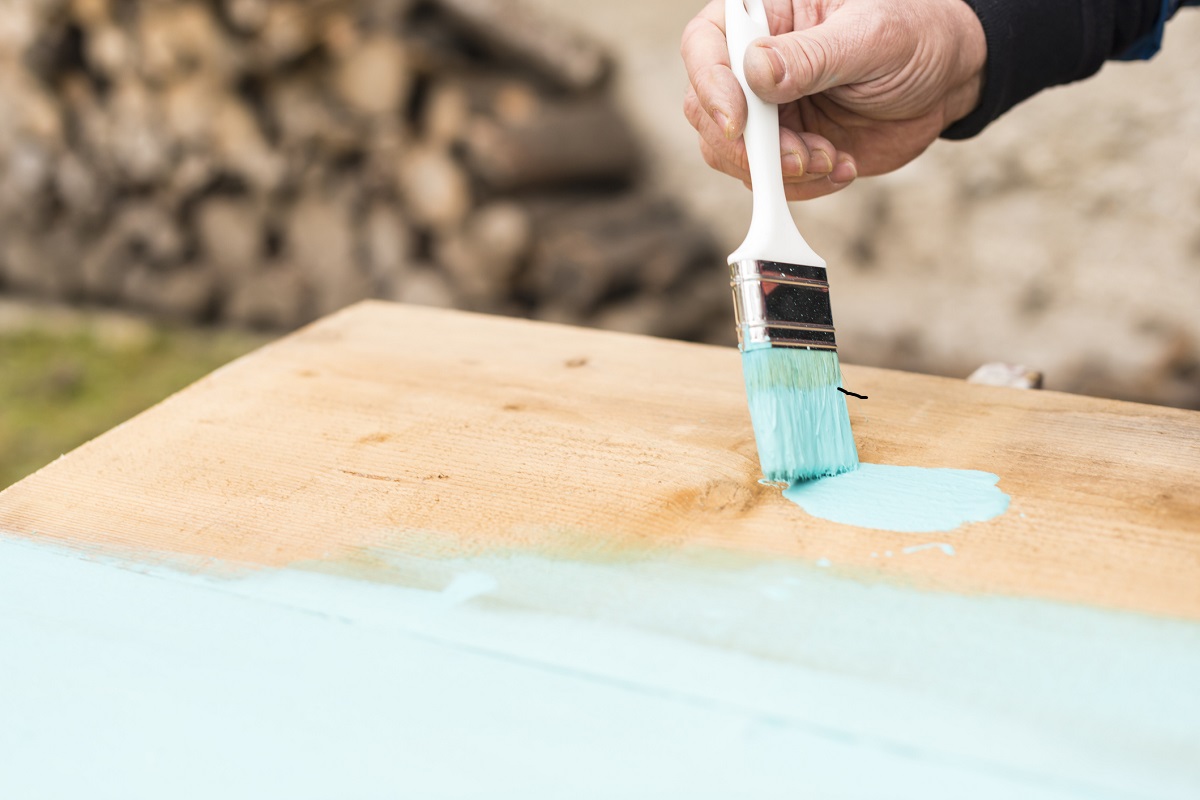
Step 7: Painting and Finishing Touches
After successfully attaching the chimney chase to the roof, it’s time to add the final touches to enhance its appearance and protect it from the elements. This step involves painting the plywood and adding any additional finishing touches you desire. Follow these steps to complete the project:
1. Prepare the Surface: Before painting, ensure the surface of the plywood is clean and free from dust or debris. Use a broom or brush to remove any loose particles. If needed, lightly sand the surface to create a smooth and even base for paint application.
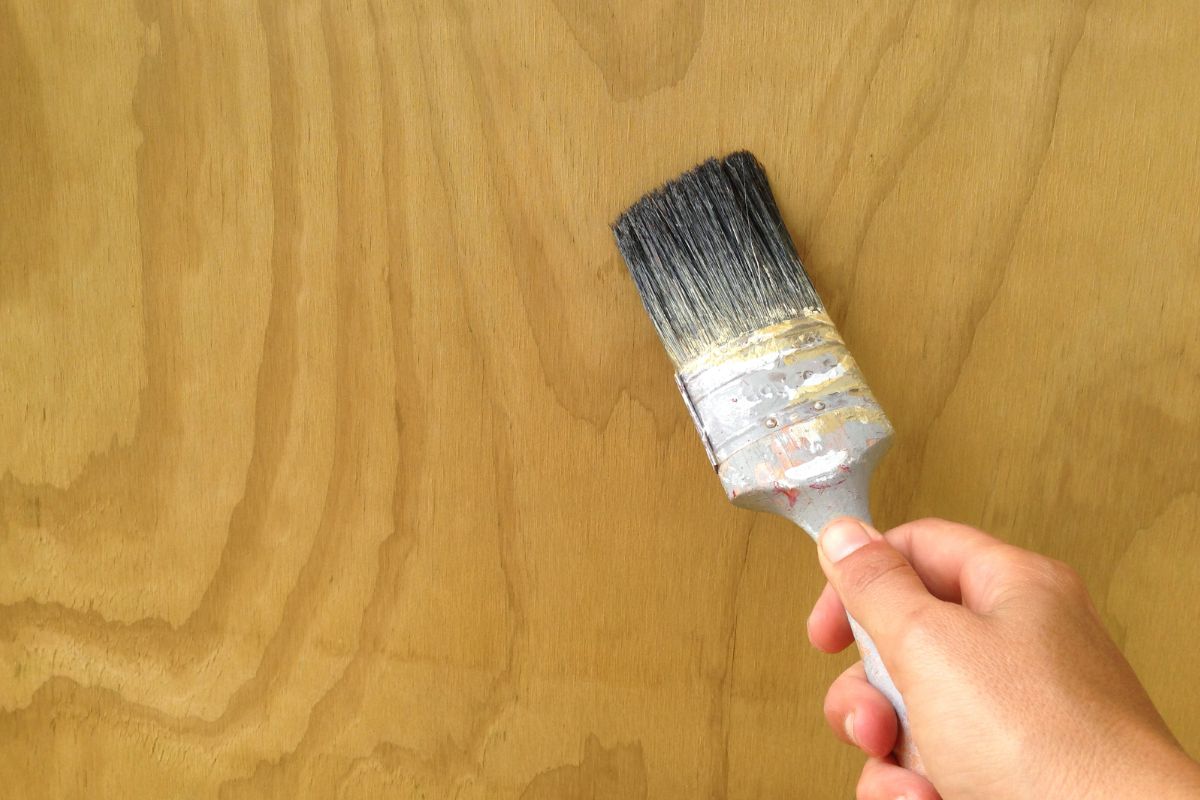
2. Choose Exterior Paint: Select a high-quality exterior paint that is suitable for use on plywood. Consider the climate in your area and choose a paint that offers durability and UV protection to withstand the elements. You may also choose to stain the plywood if you prefer a natural wood look.
3. Apply Primer: Priming the plywood before painting will help the paint adhere better and provide a more even finish. Follow the manufacturer’s instructions for applying the primer and allow it to dry completely before moving on to the next step.
4. Paint the Plywood: Use a brush or roller to apply the paint evenly to the plywood panels. Start with the back panel, followed by the side panels, and finish with the front panel. Apply multiple coats if necessary for full coverage, allowing each coat to dry before applying the next one.
5. Add Trim and Decorative Elements (Optional): To further enhance the appearance of the chimney chase, consider adding decorative trim or architectural elements. This could involve attaching trim boards around the edges, adding corbels for a decorative touch, or incorporating other design features that complement your home’s style.
6. Inspect and Touch Up: Once the paint has dried, inspect the chimney chase for any areas that may require touch-up. Check for any missed spots, uneven coverage, or imperfections. Touch up the paint as necessary to ensure a flawless finish.
7. Clean and Maintain: Regularly clean and maintain your chimney chase to keep it looking its best. Use a soft brush or cloth to remove dirt and debris. Inspect the paint for any signs of peeling or damage, and touch up as needed to maintain its protective and aesthetic qualities.
With the painting and finishing touches complete, step back and admire your newly constructed and beautifully painted plywood chimney chase. You’ve successfully completed the project, adding both functionality and visual appeal to your home.
Conclusion
Congratulations on successfully building your plywood chimney chase! By following the steps outlined in this guide, you have created a sturdy and visually appealing structure that will protect your chimney and enhance the exterior of your home.
Throughout the process, you have learned how to gather the necessary materials and tools, measure and plan the dimensions, cut the plywood panels, assemble the chase, install chimney caps, attach the chase to the roof, and apply the finishing touches. Each step was carefully explained to ensure that you had a comprehensive understanding of the process.
Remember, safety should always remain a priority when working on any construction project. Wear appropriate safety gear such as goggles, gloves, and a dust mask. Take necessary precautions while using power tools, and ensure that all attachments and fastenings are secure.
Now that your chimney chase is complete, take some time to appreciate the results of your hard work. Not only does the chase provide protection for your chimney against the elements, but it also adds visual appeal and value to your home.
Regular maintenance and cleaning of your chimney chase will help prolong its lifespan and keep it looking its best. Inspect for any signs of damage or wear, and address them promptly to prevent further issues down the line.
We hope that this guide has been helpful in your journey to build a plywood chimney chase. While the process may seem daunting at first, with the right materials, tools, and guidance, it can be a rewarding project with impressive results.
Remember, if you ever have any questions or need assistance, don’t hesitate to seek the help of professionals or consult additional resources. Enjoy the long-lasting benefits of your beautiful plywood chimney chase for years to come!
Frequently Asked Questions about How To Build A Plywood Chimney Chase
Was this page helpful?
At Storables.com, we guarantee accurate and reliable information. Our content, validated by Expert Board Contributors, is crafted following stringent Editorial Policies. We're committed to providing you with well-researched, expert-backed insights for all your informational needs.

0 thoughts on “How To Build A Plywood Chimney Chase”